
CyberBrick ZK004 Storage Box - Print in Place
Print Profile(1)

Bill of Materials
Description
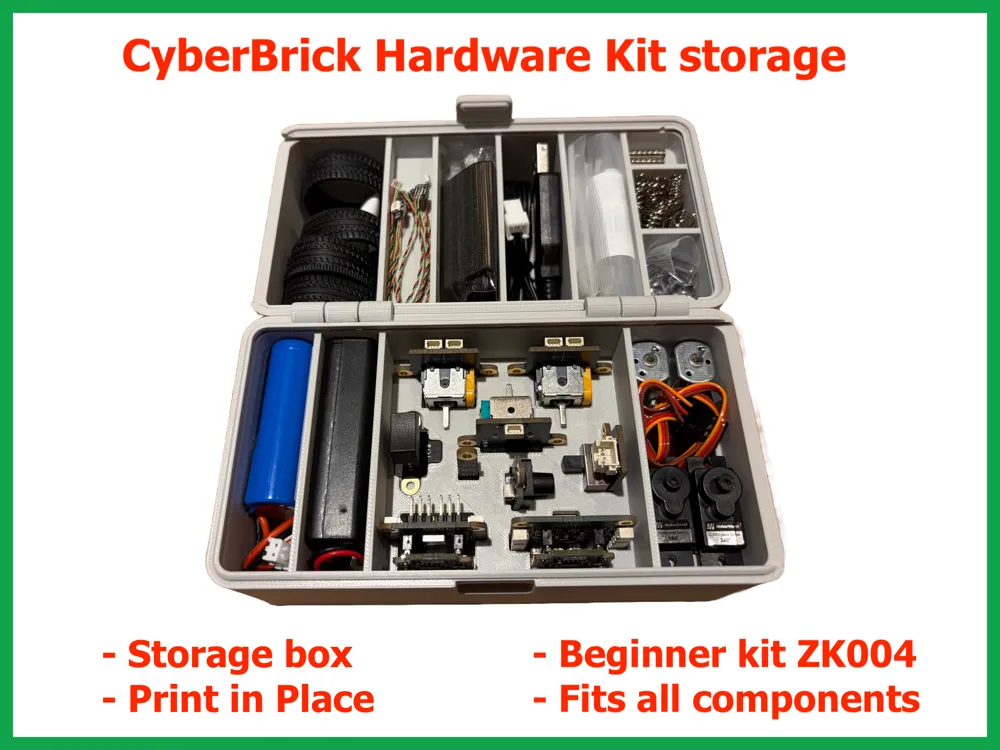
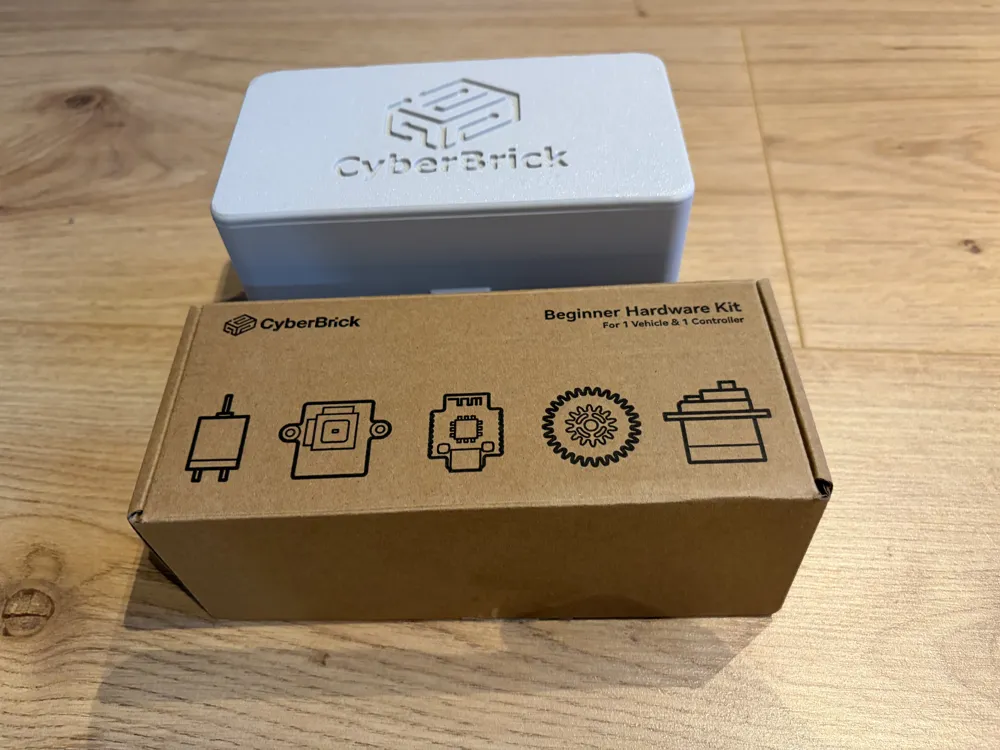
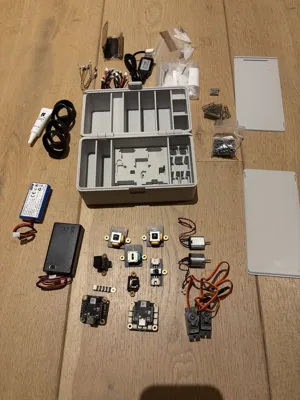
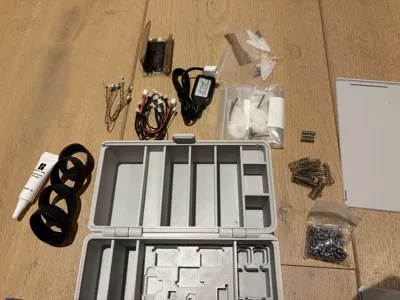
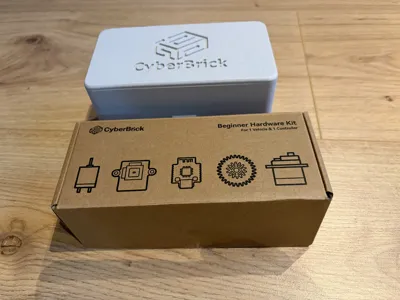
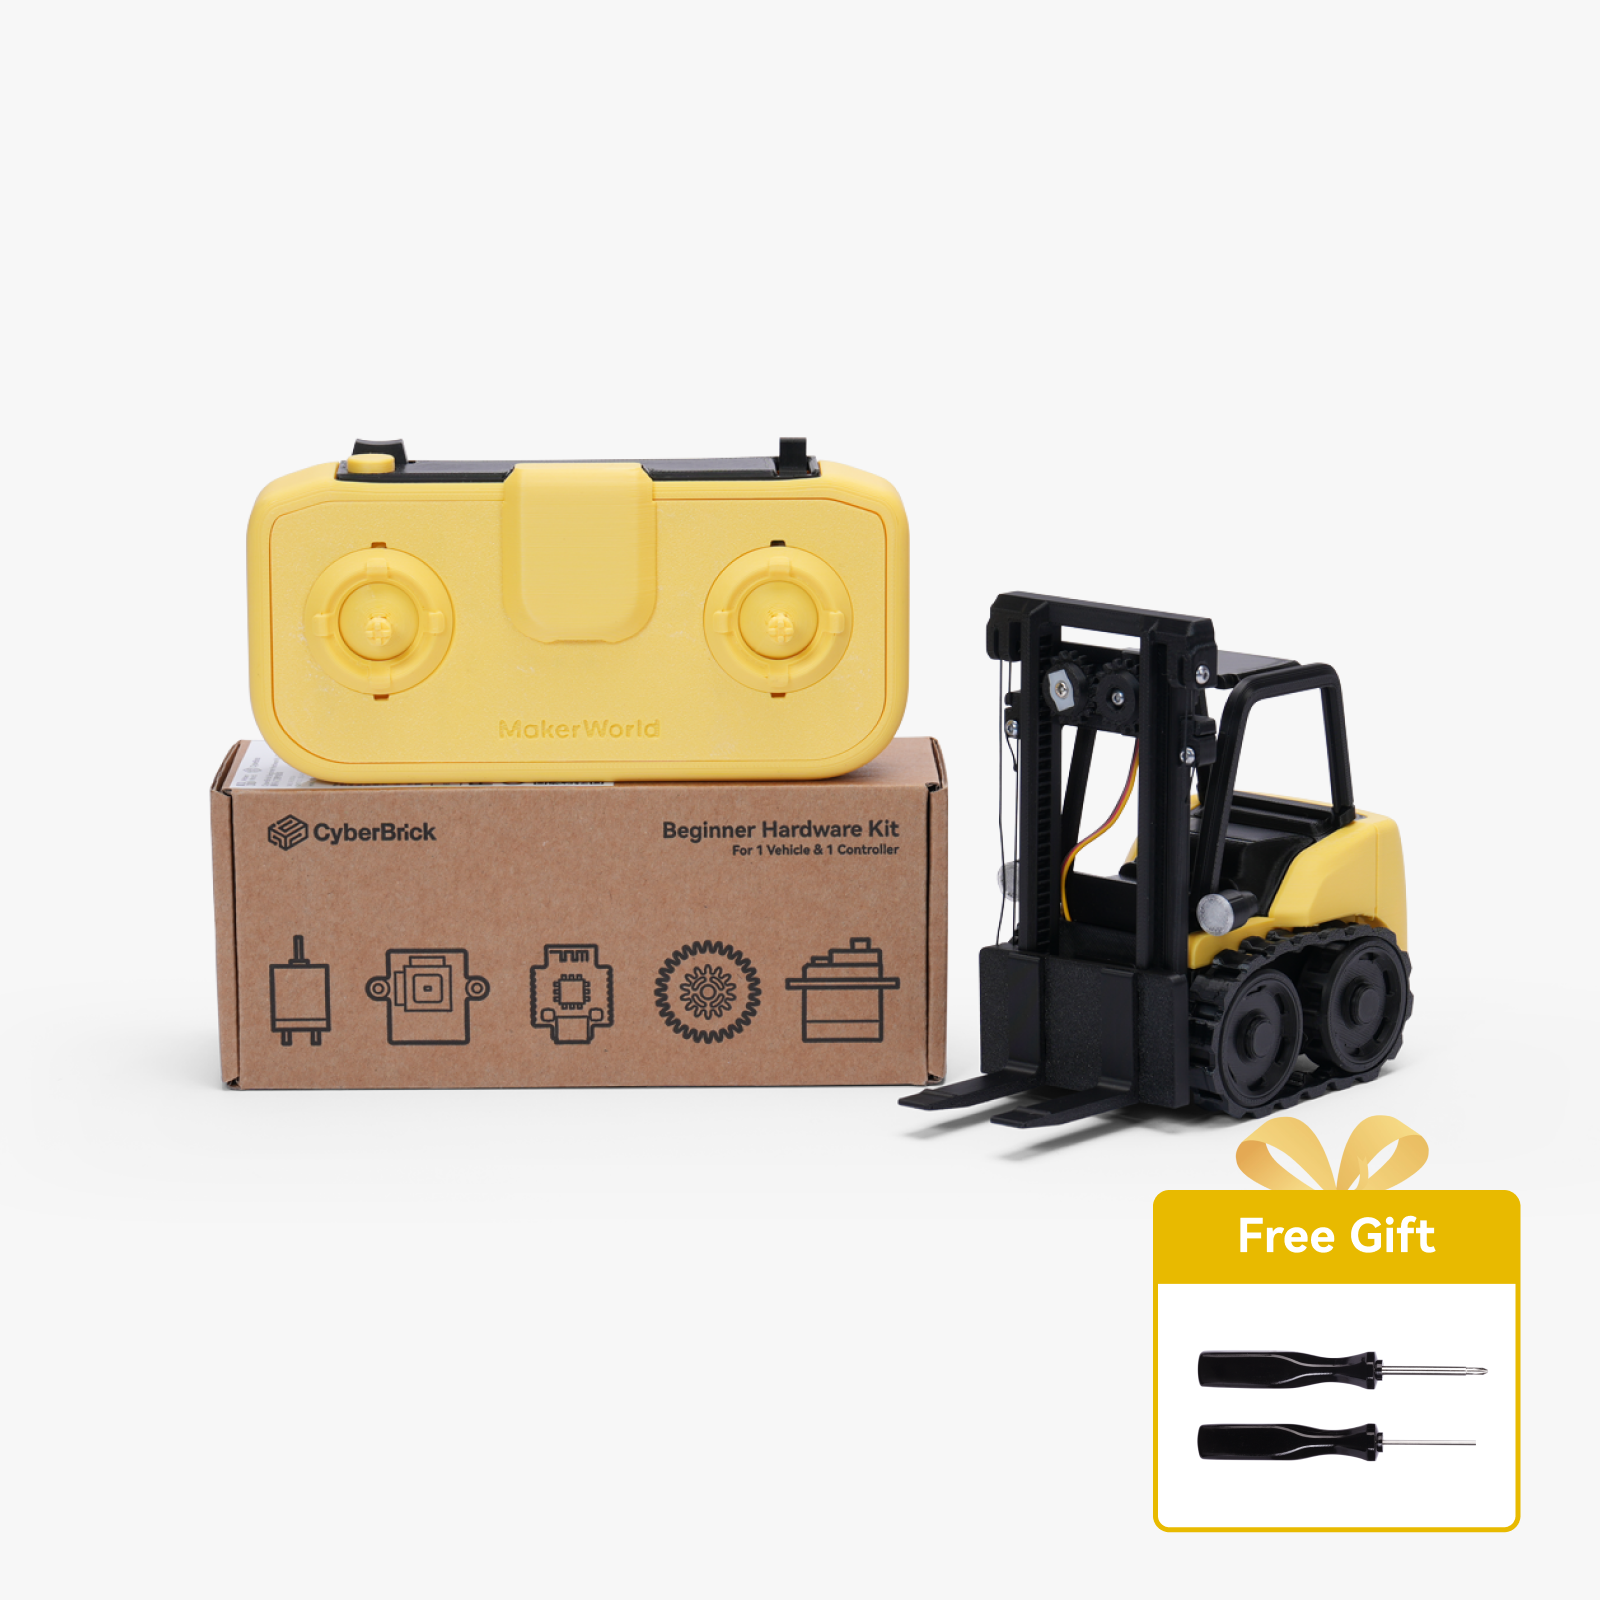
I recently purchased the CyberBrick Beginner Hardware Kit (ZK004: see below) and I could not find a storage box that fits my needs. The cardboard box it comes in, is not really suited in my opinion. Due to all the packaging material, it is cramped in there and you don't have a good overview of what is where. Without the packaging material, everything just moves around freely which can potentially break things. There are very nice Gridfinity solutions available, but I don't use that system. There are ‘stand alone’ Gridfinity versions (boxes), but these cannot be printed on a A1 mini, and/or are for the Ultimate hardware kit (everything x 2).
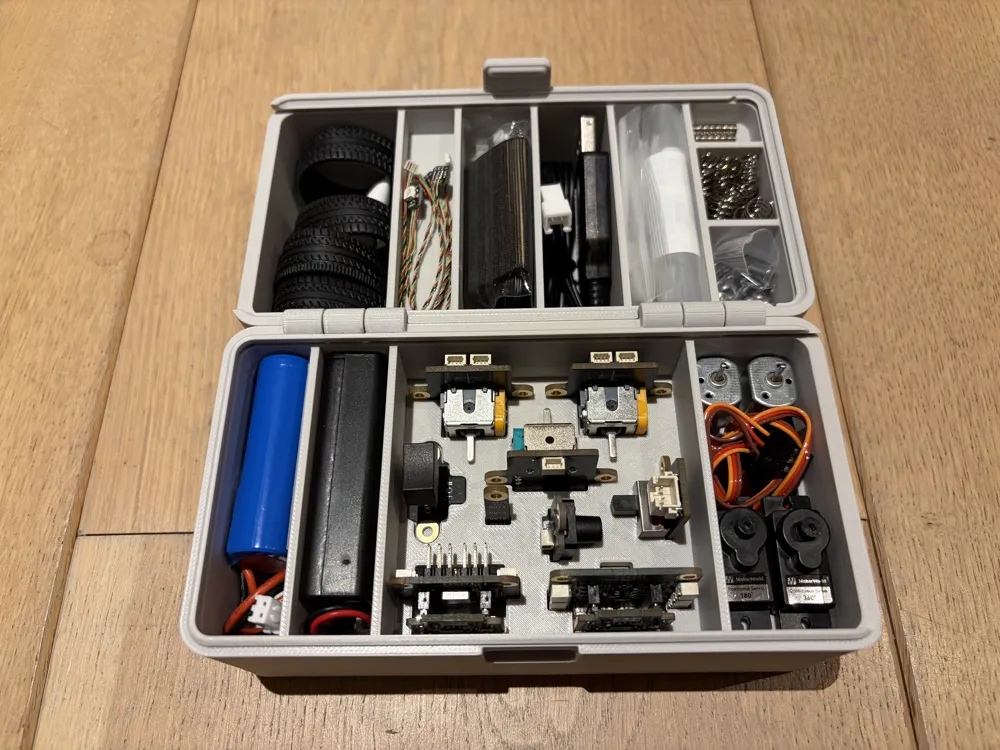
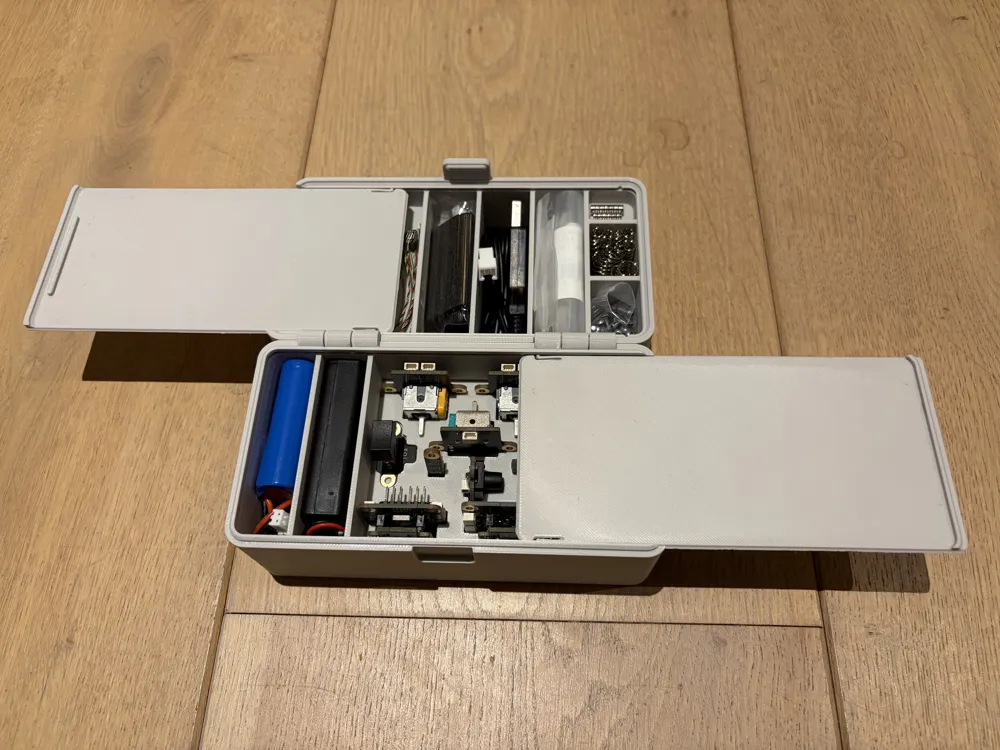
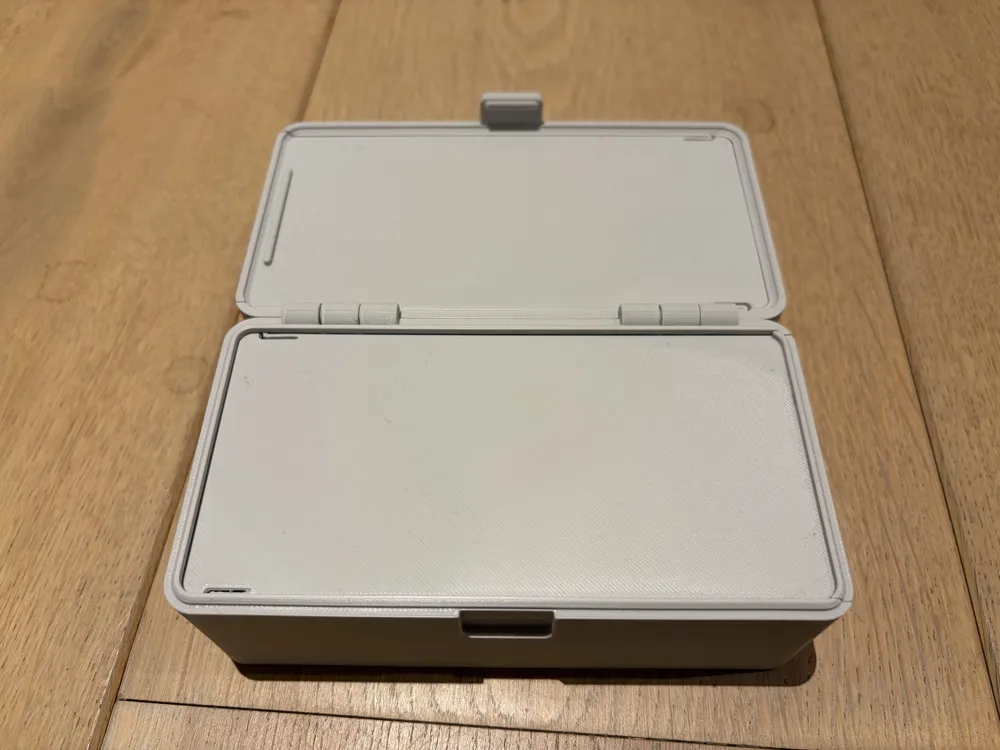
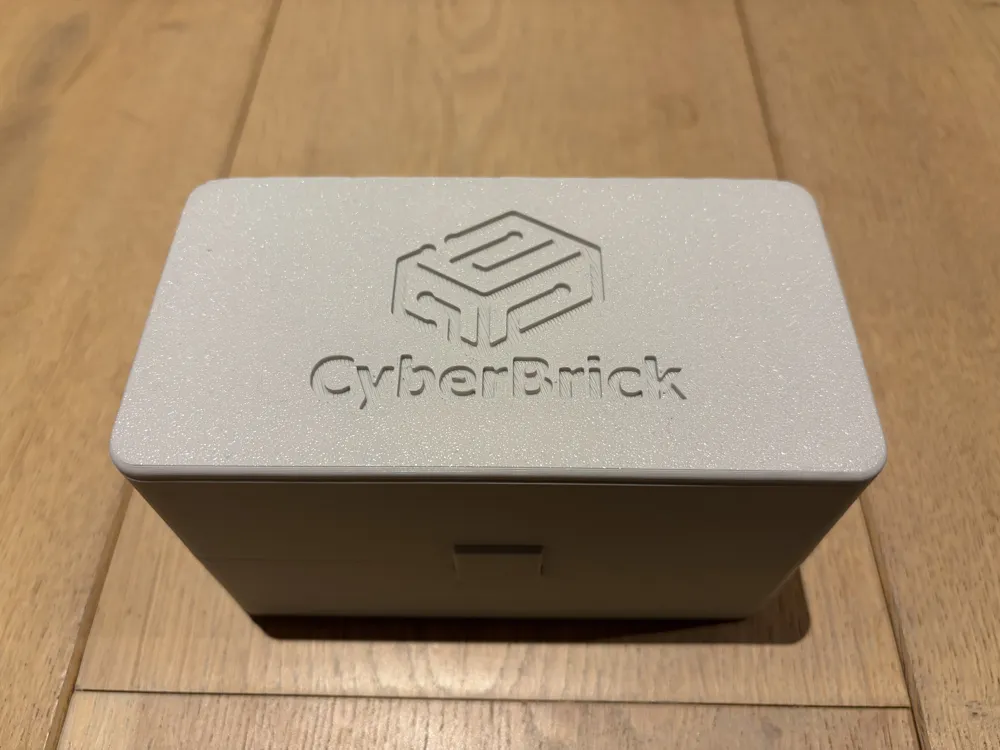
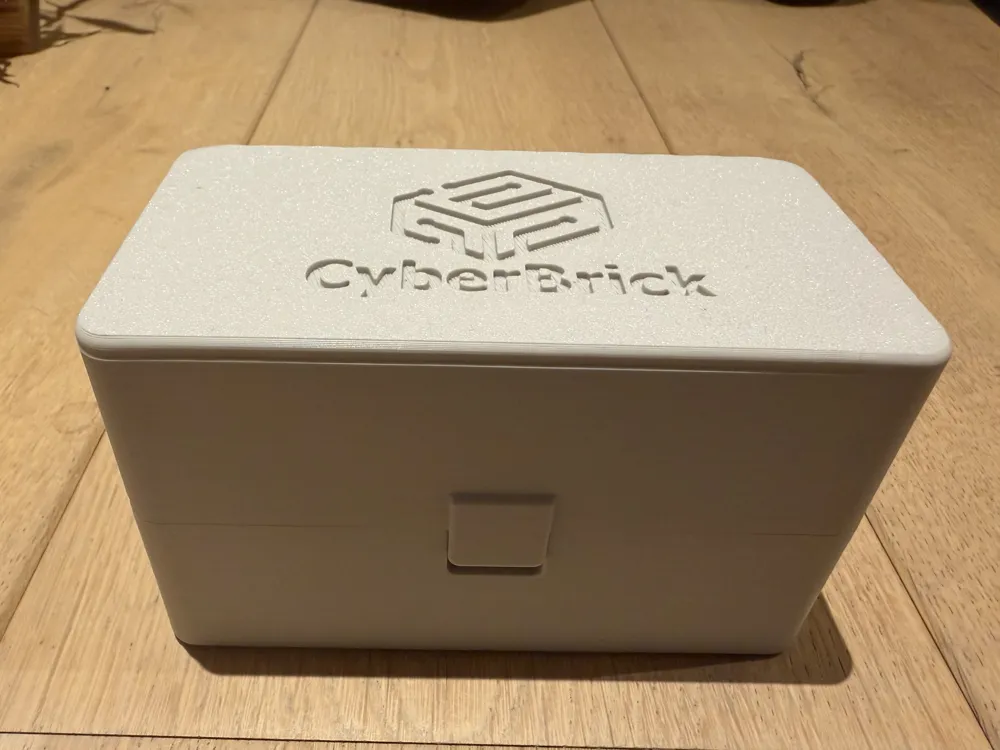
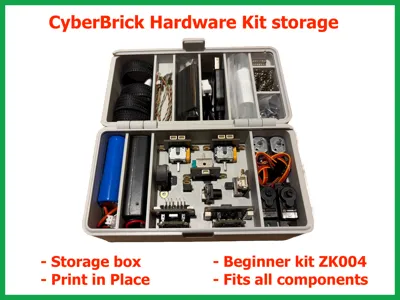
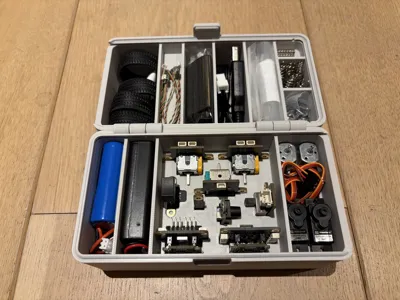
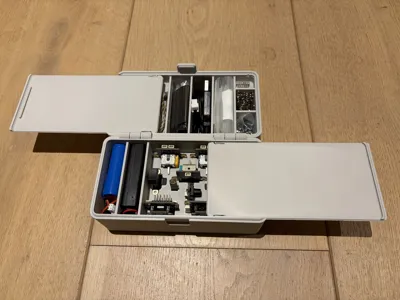
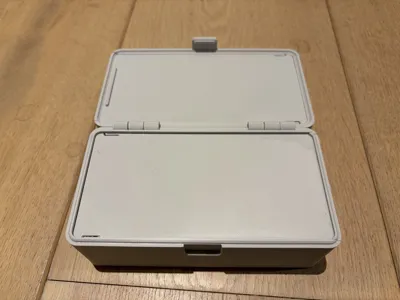
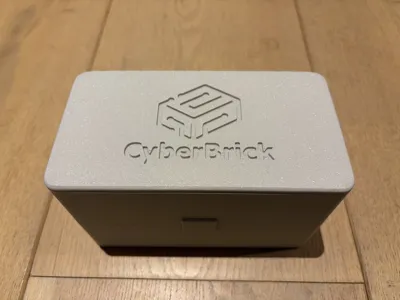
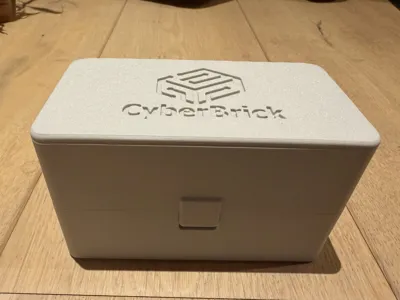
So I took a model I already created (https://makerworld.com/en/models/1859912-parametric-storage-box-with-customizable-dividers#profileId-1989142) as a base and modified that to fit the elements of the ZK004 kit. The end result is a Print-in-Place box with hinges, that can store all elements of the kit in a neat way. To prevent items from falling out, both halves of the box have a sliding lid.
Dimensions
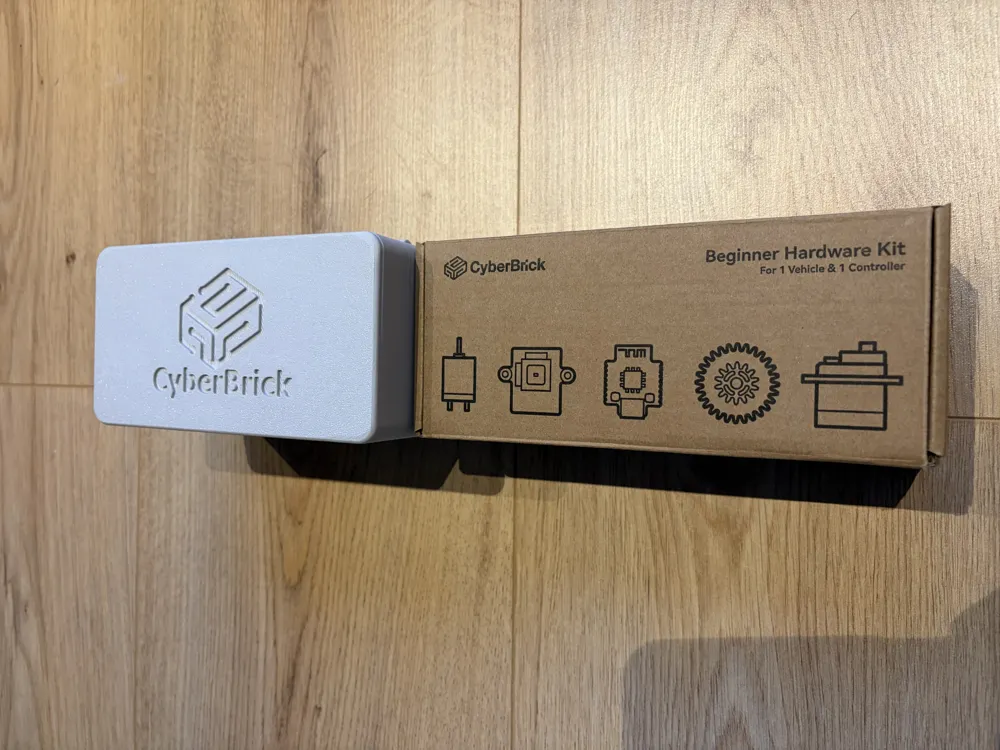
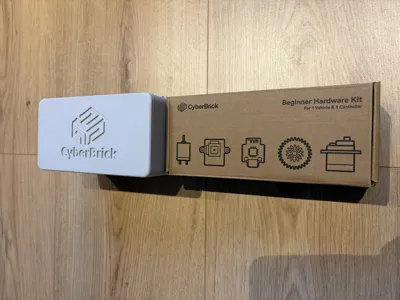
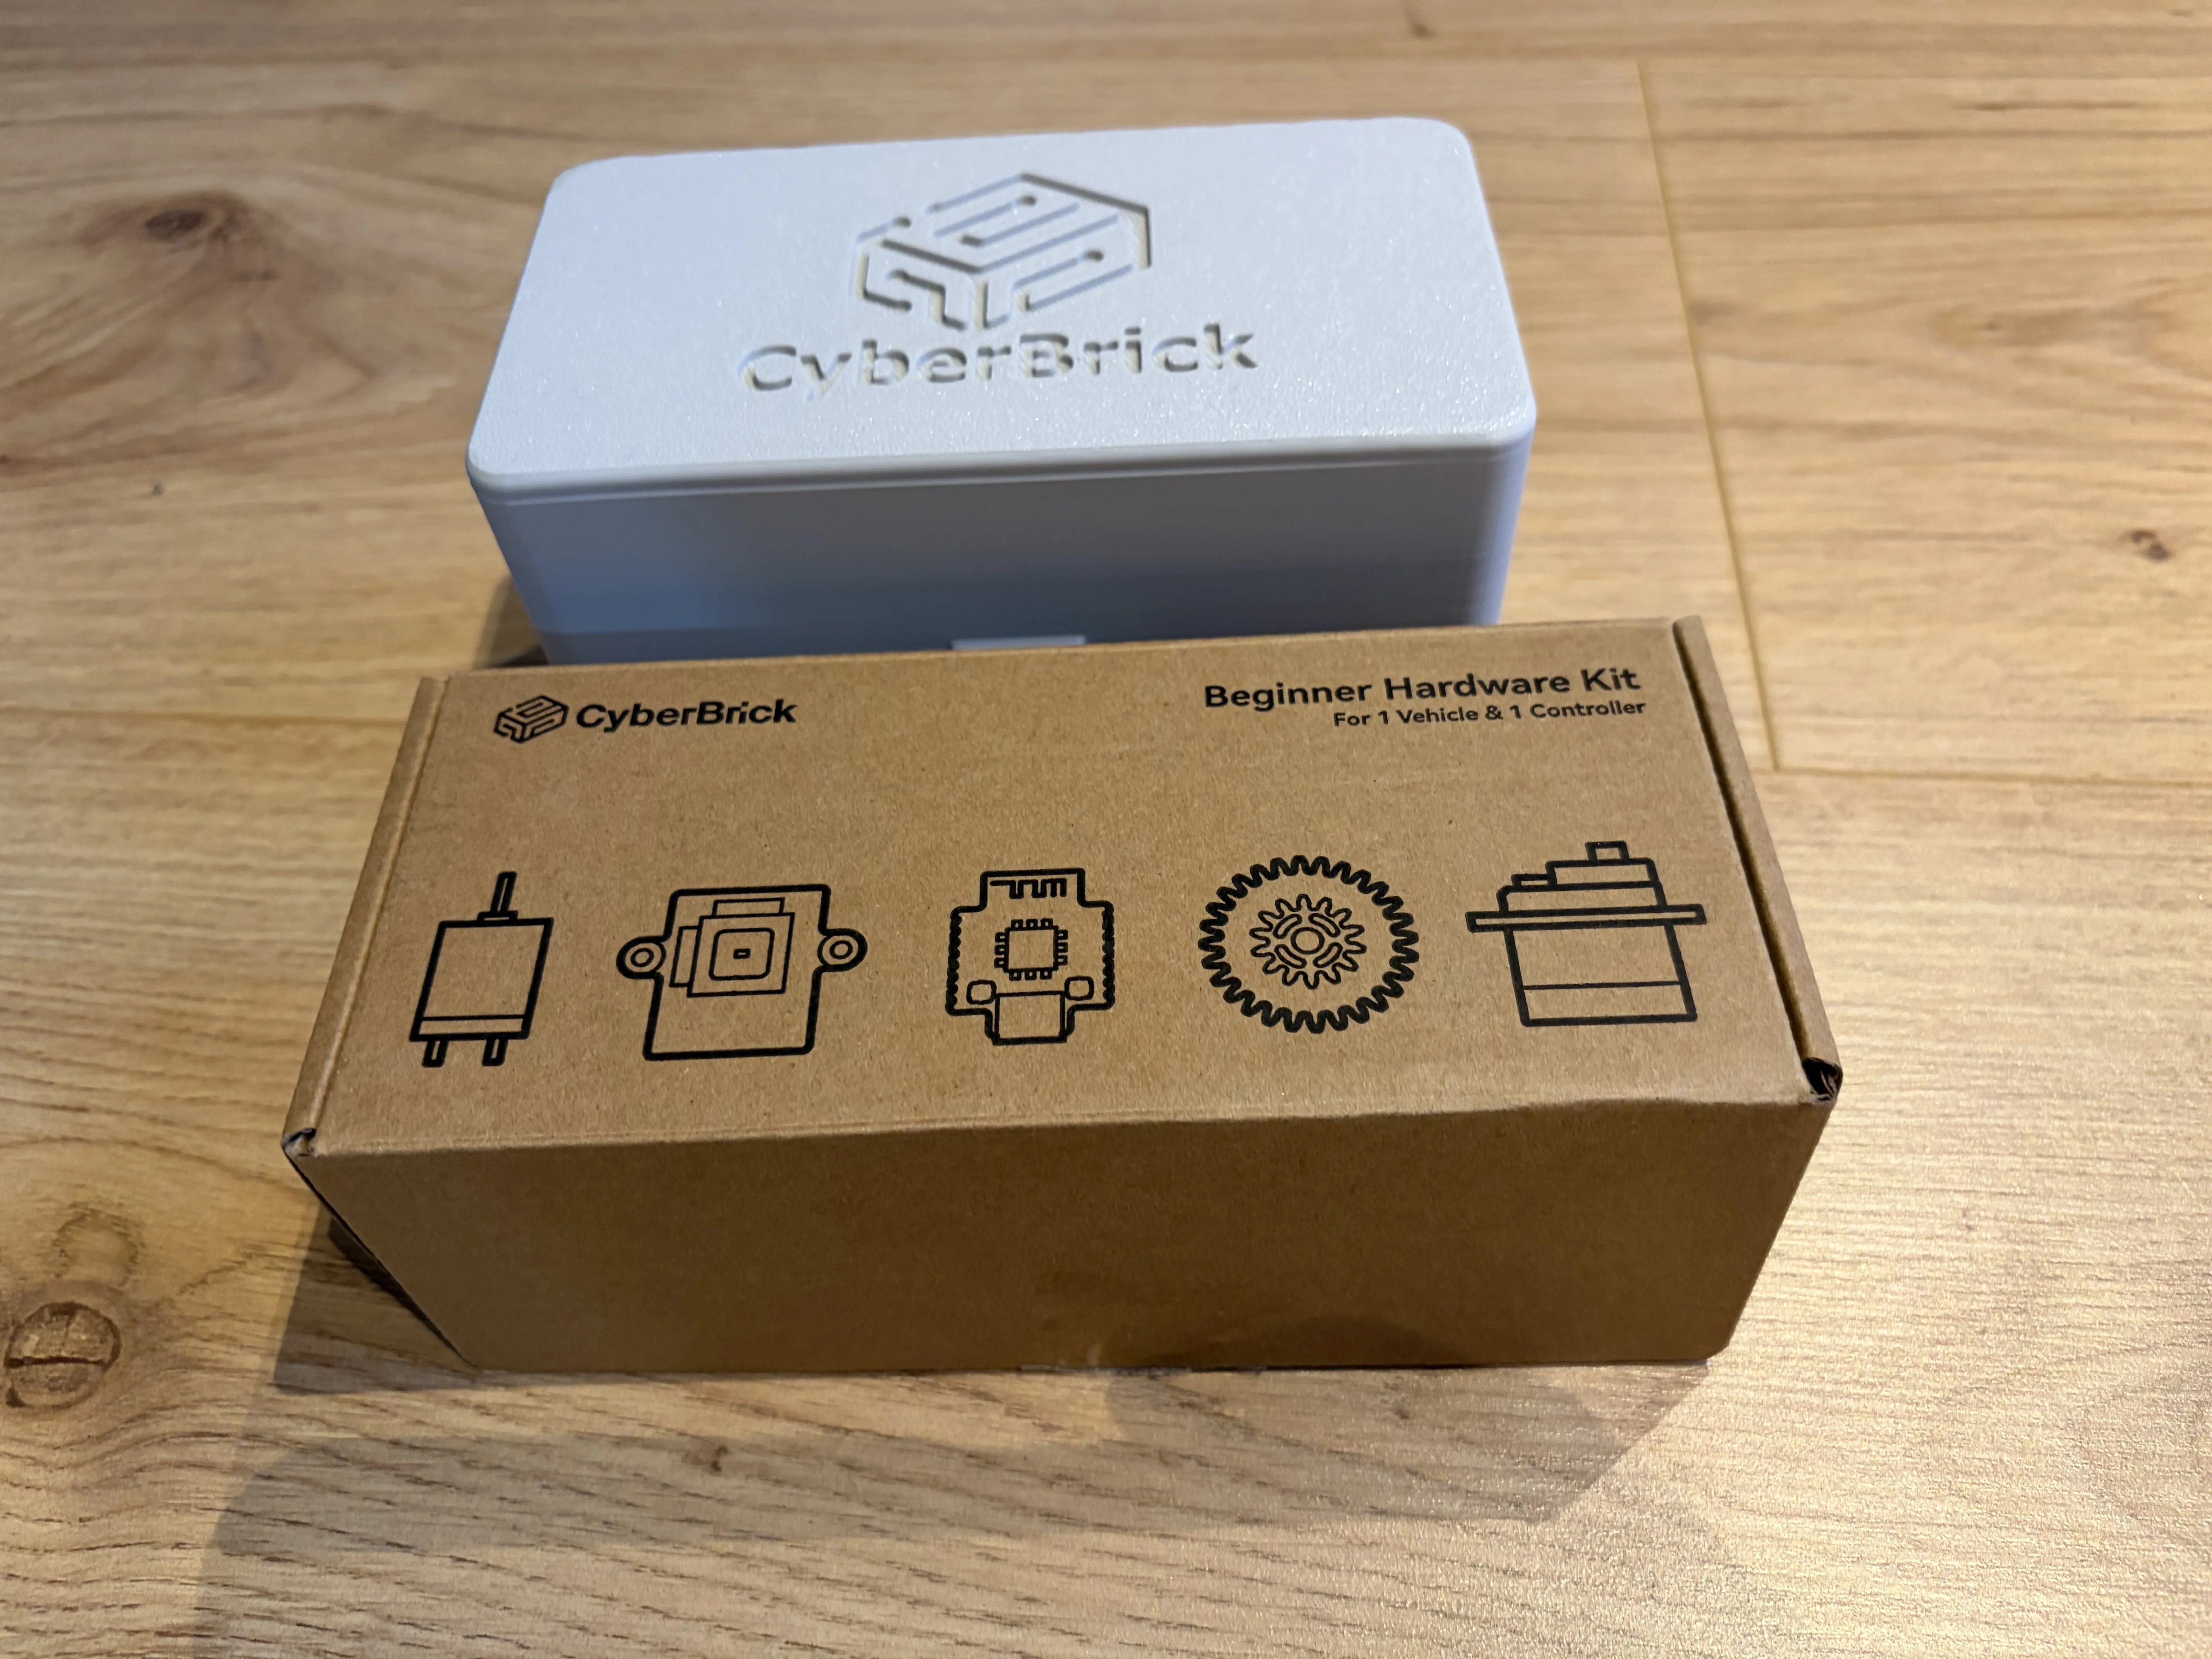
The closed box is 150 x 80 x 90 mm (width x depth x height). Consequently, when opened, both halves have a height of 45 mm. In volume, it is nearly the same as the original cardboard box the kit came in:
Boost Me (for free)
If you like the model, please consider giving it a boost! That motivates me to create more models and upload them on MakerWorld.
Membership
Selling physical prints of this model? A commercial license is available via my MakerWorld Commercial Membership.
Print instructions
- The print profile is for a A1 mini, but also works on larger printers. There are 2 print plates in the profile: 1 for the box and 1 for the 2 sliding (inner) lids.
- I printed the model in PLA and that works great. I have not tested other types of filament, but I assume that most common types work as well. Please share your experiences in the comments!
- I used the standard Bambu Studio settings for PLA, but I decreased the infill to 10%. That saves a bit of filament/time while still remaining strong.
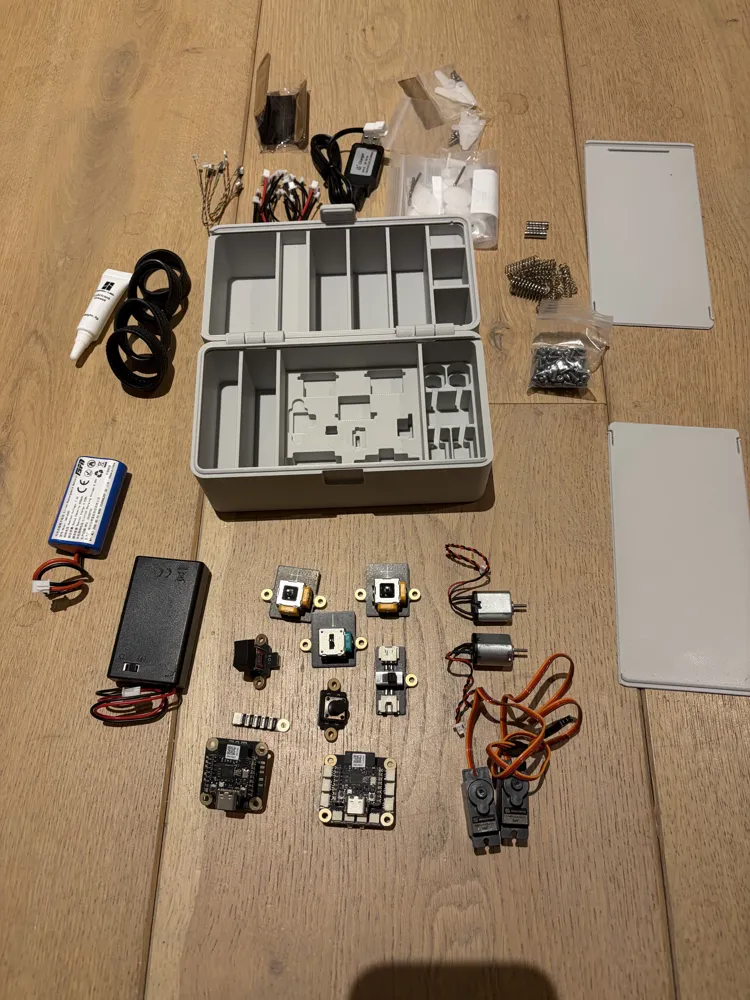
Bottom Layout
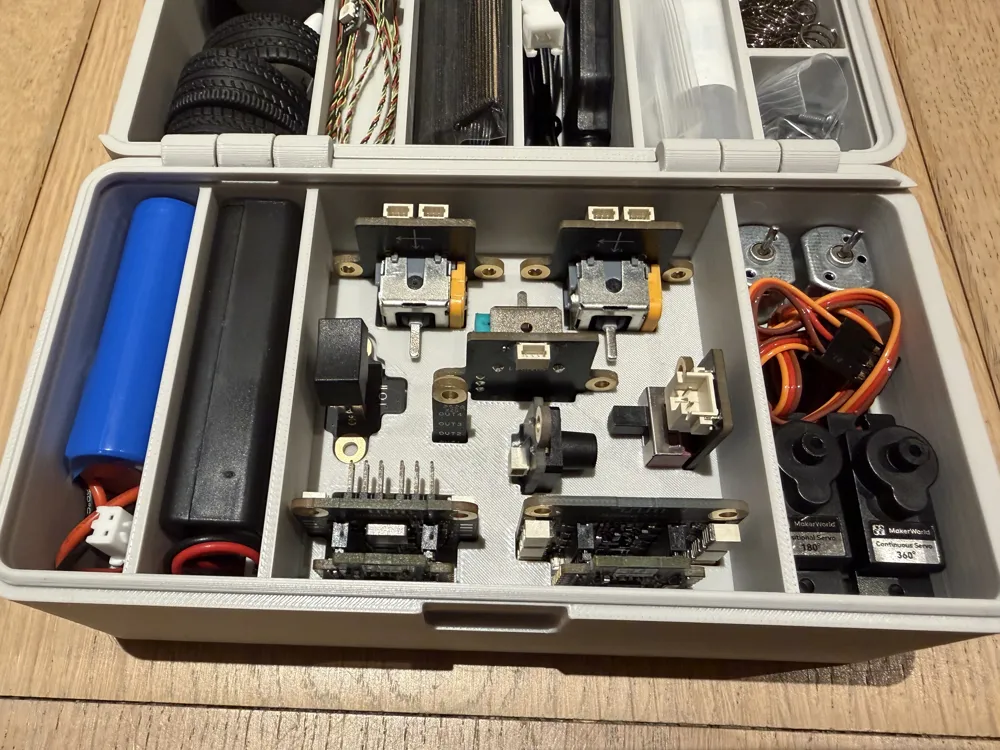
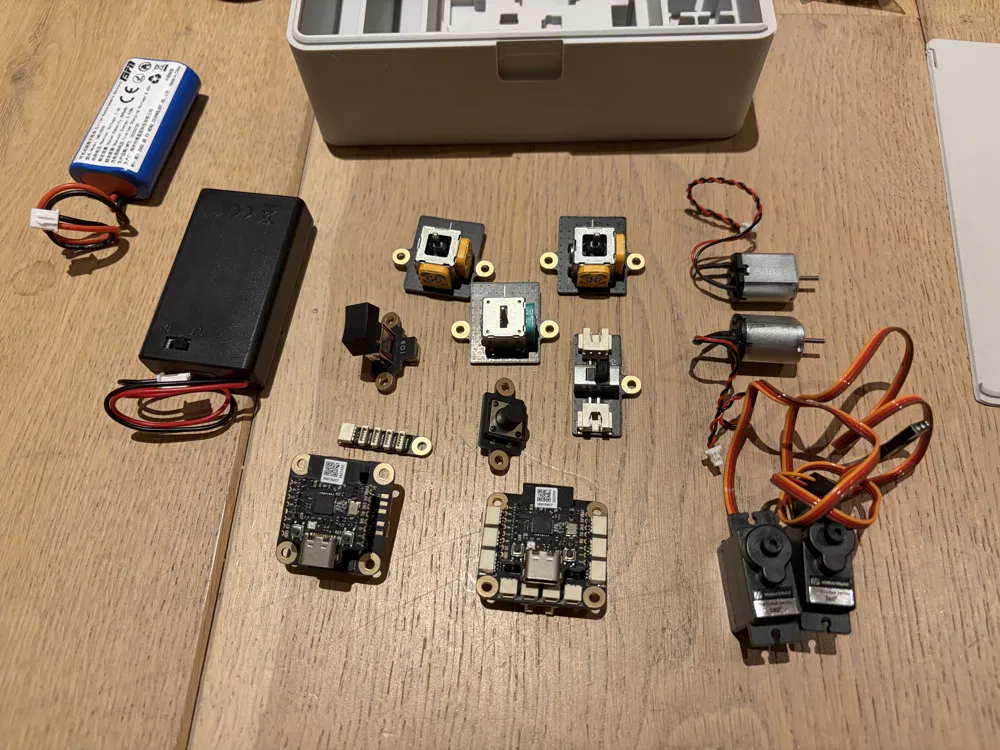
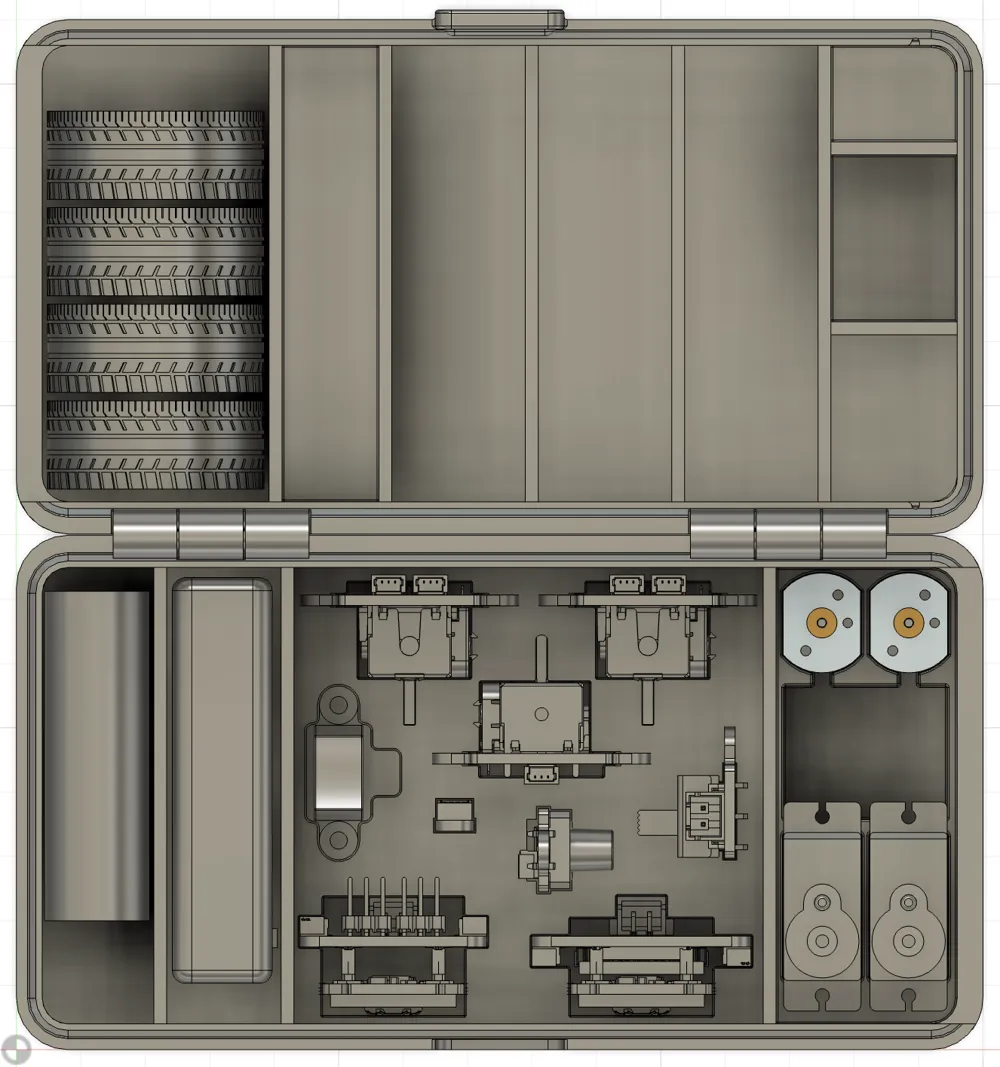
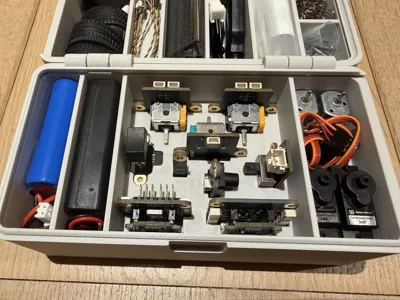
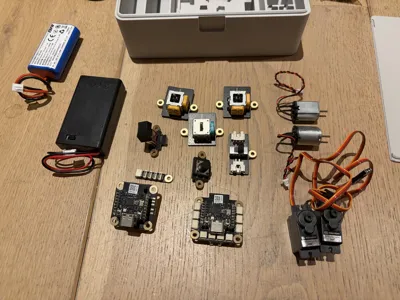
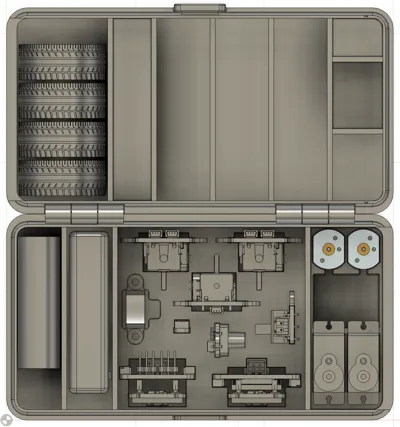
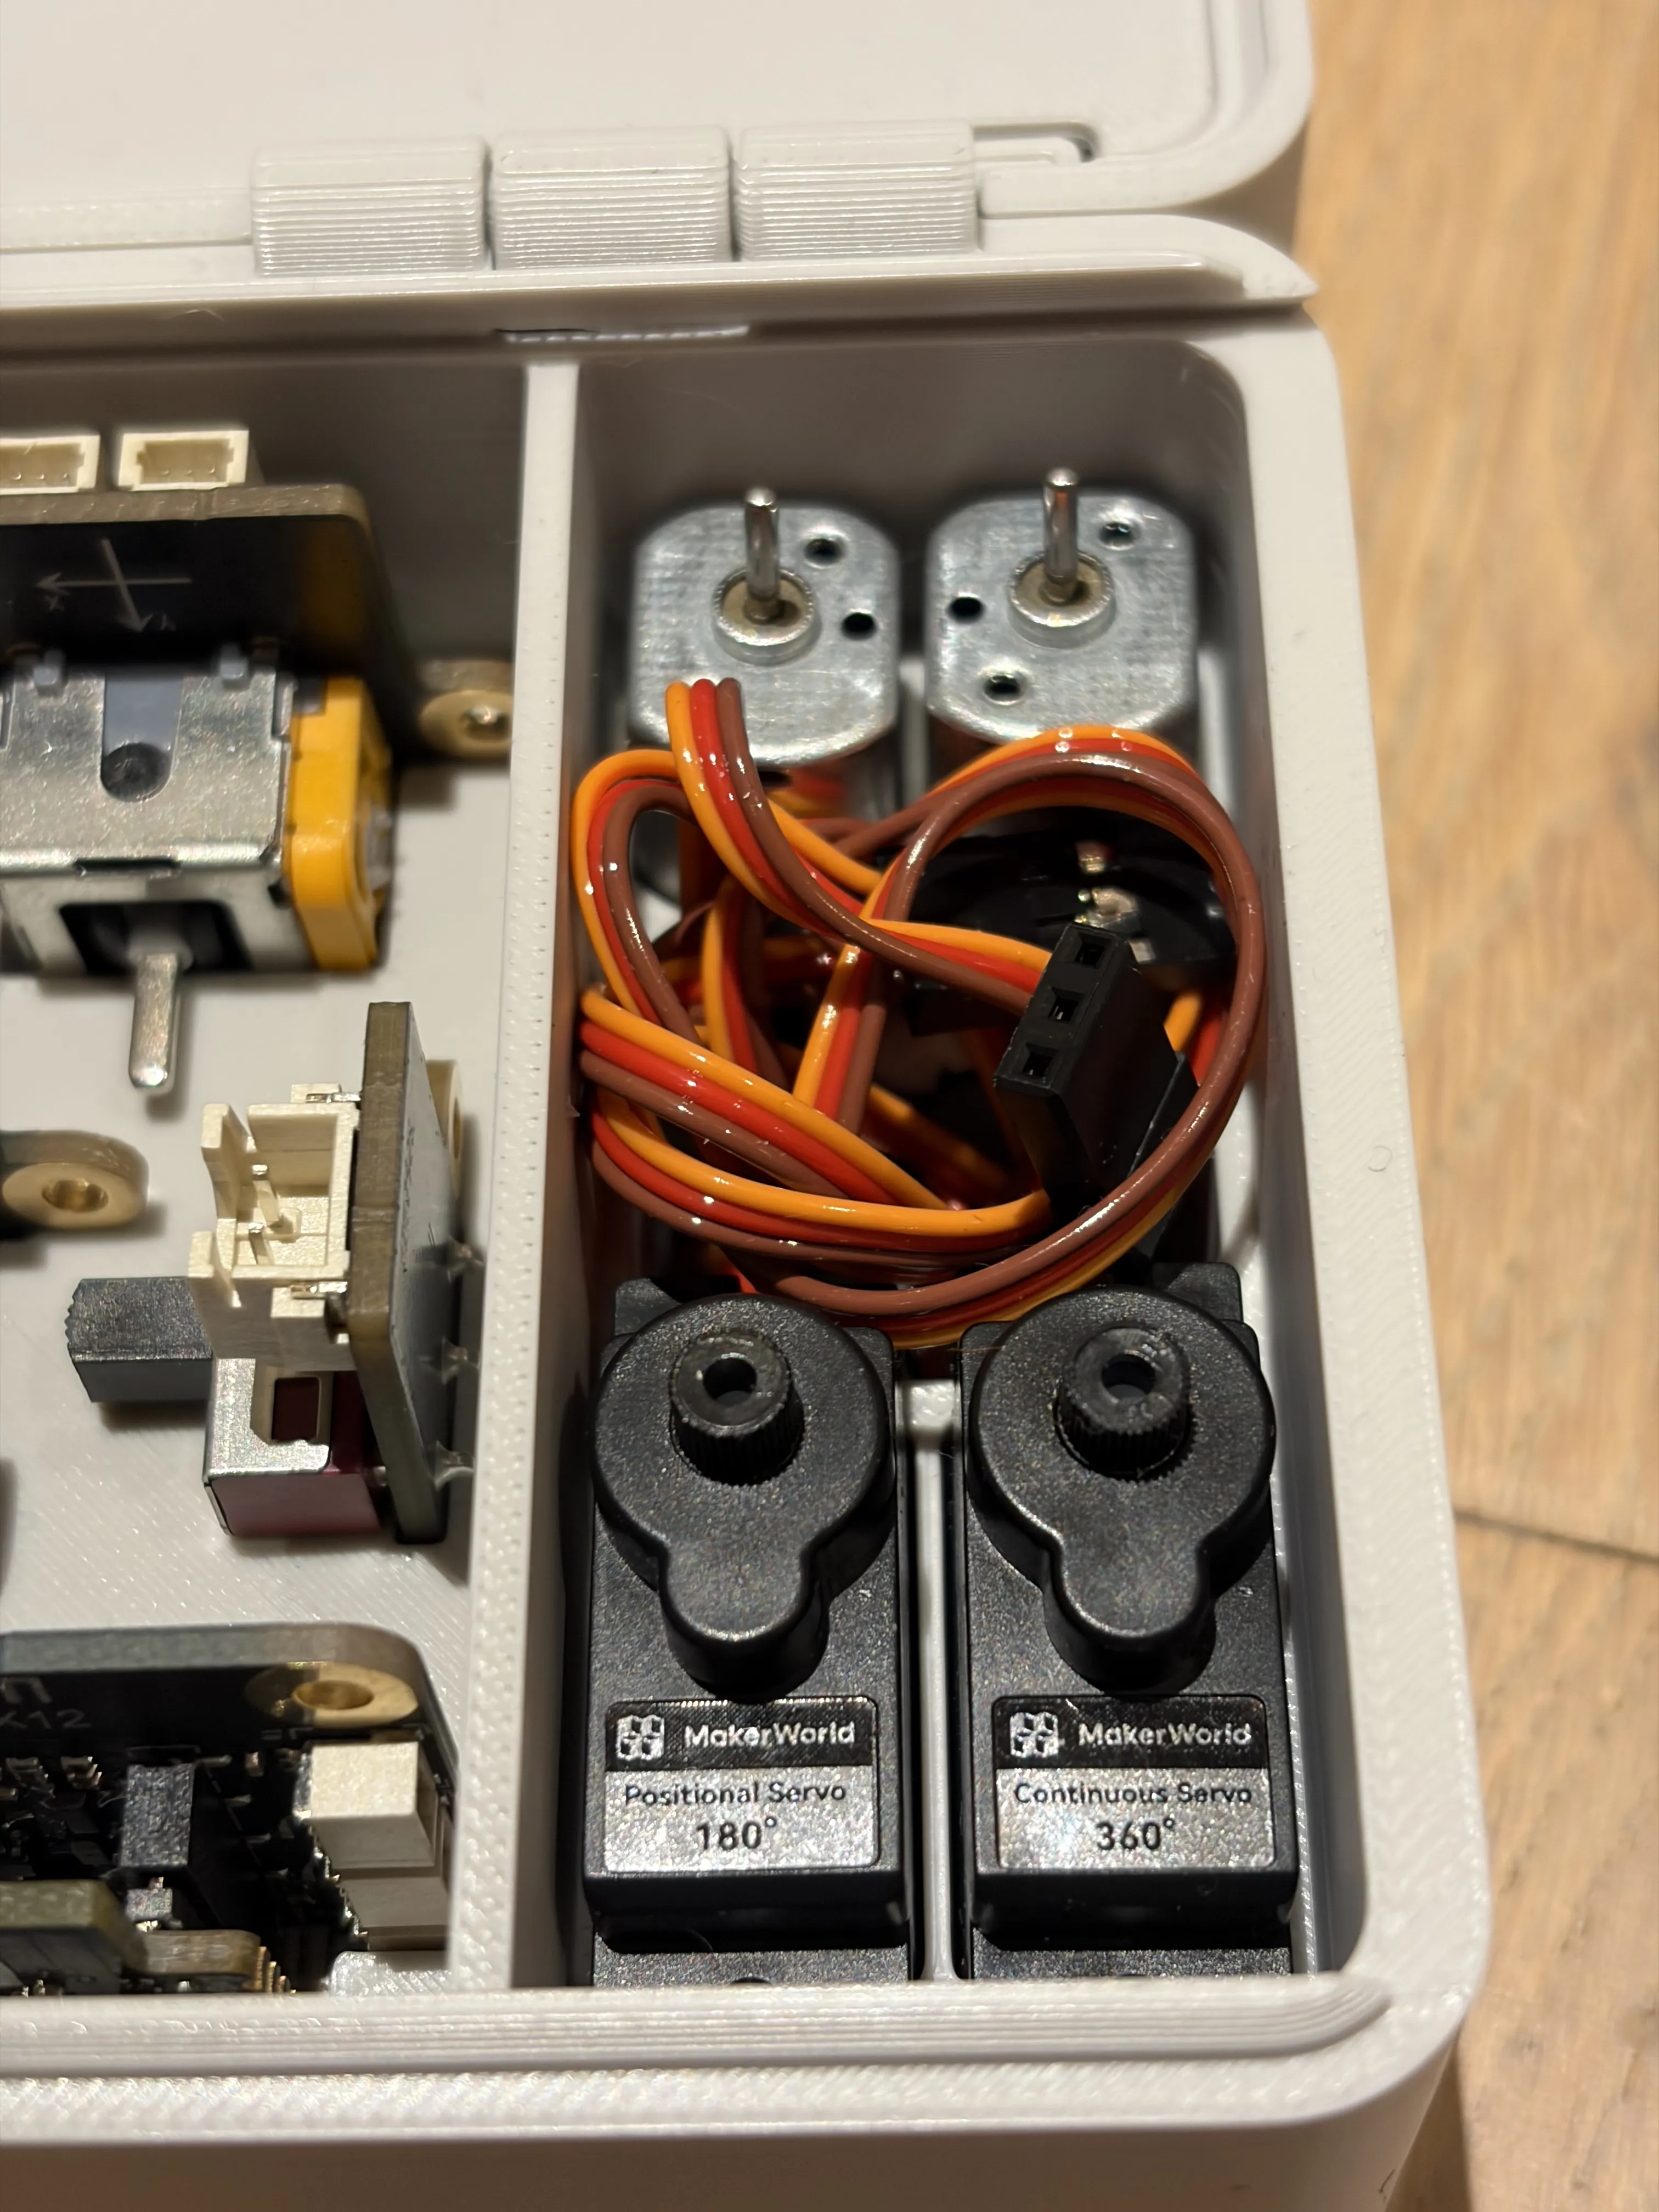
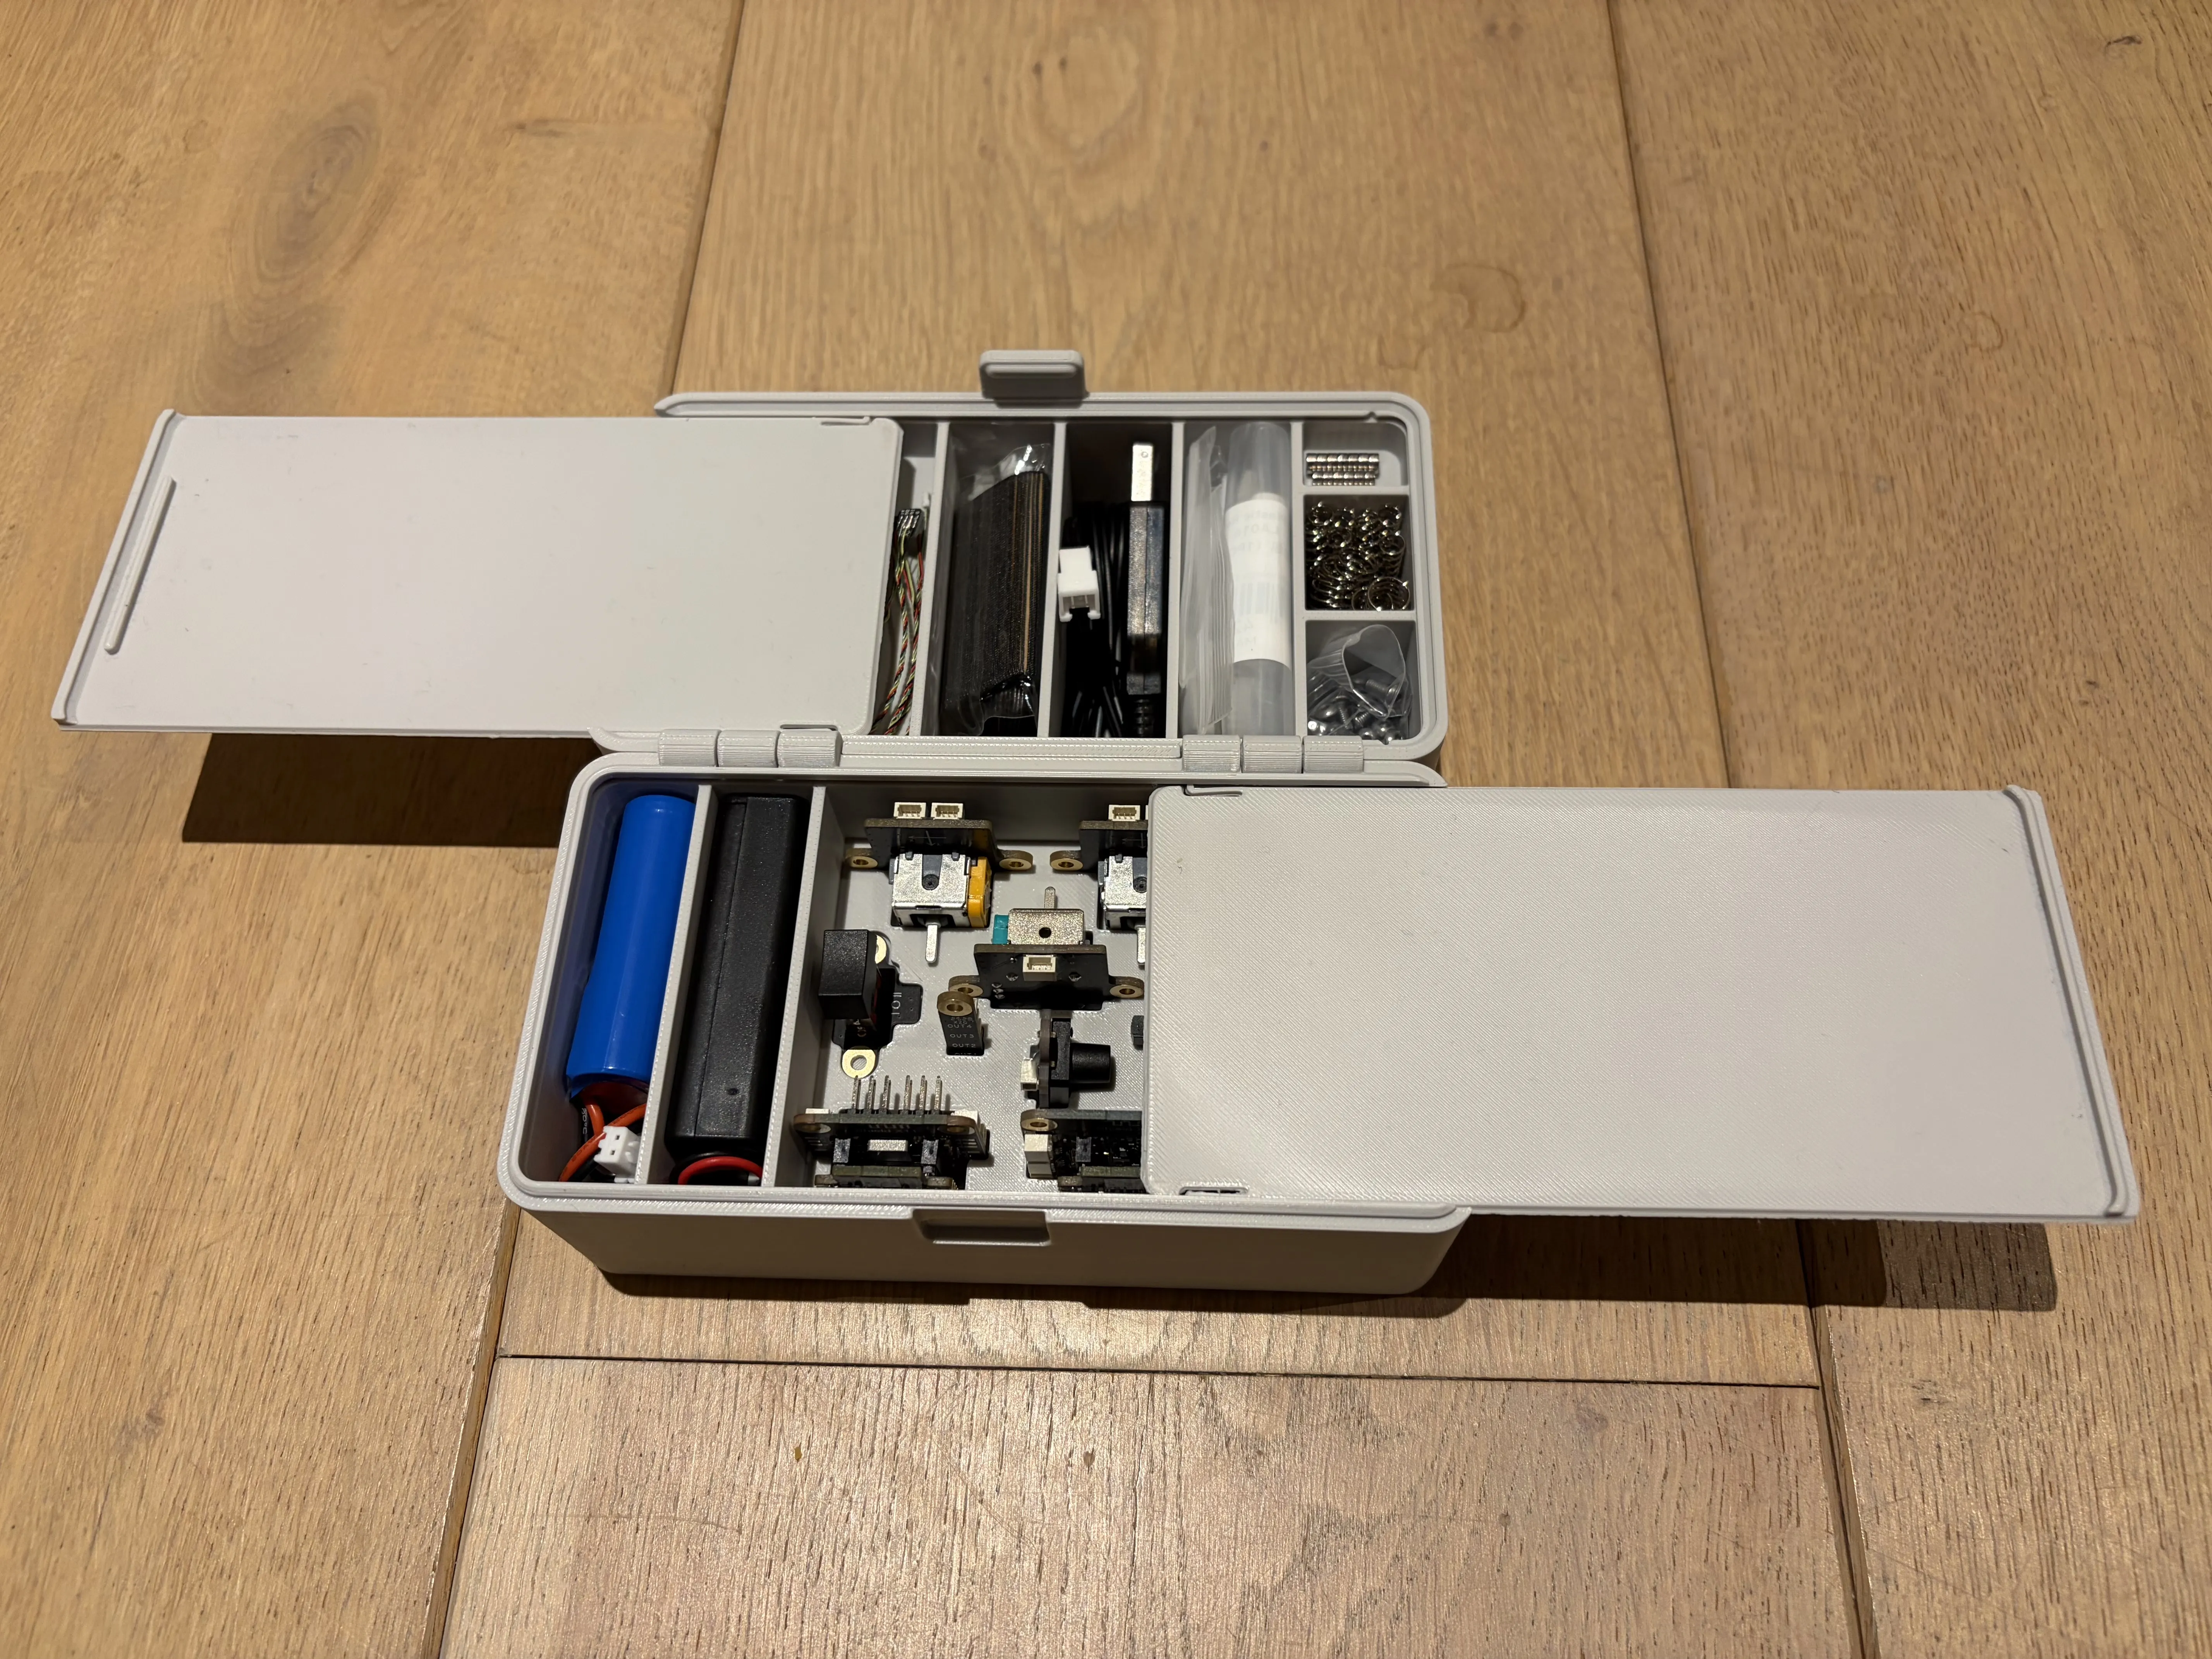
The bottom of the box contain the battery, battery holder, most components, the motors and the servos:
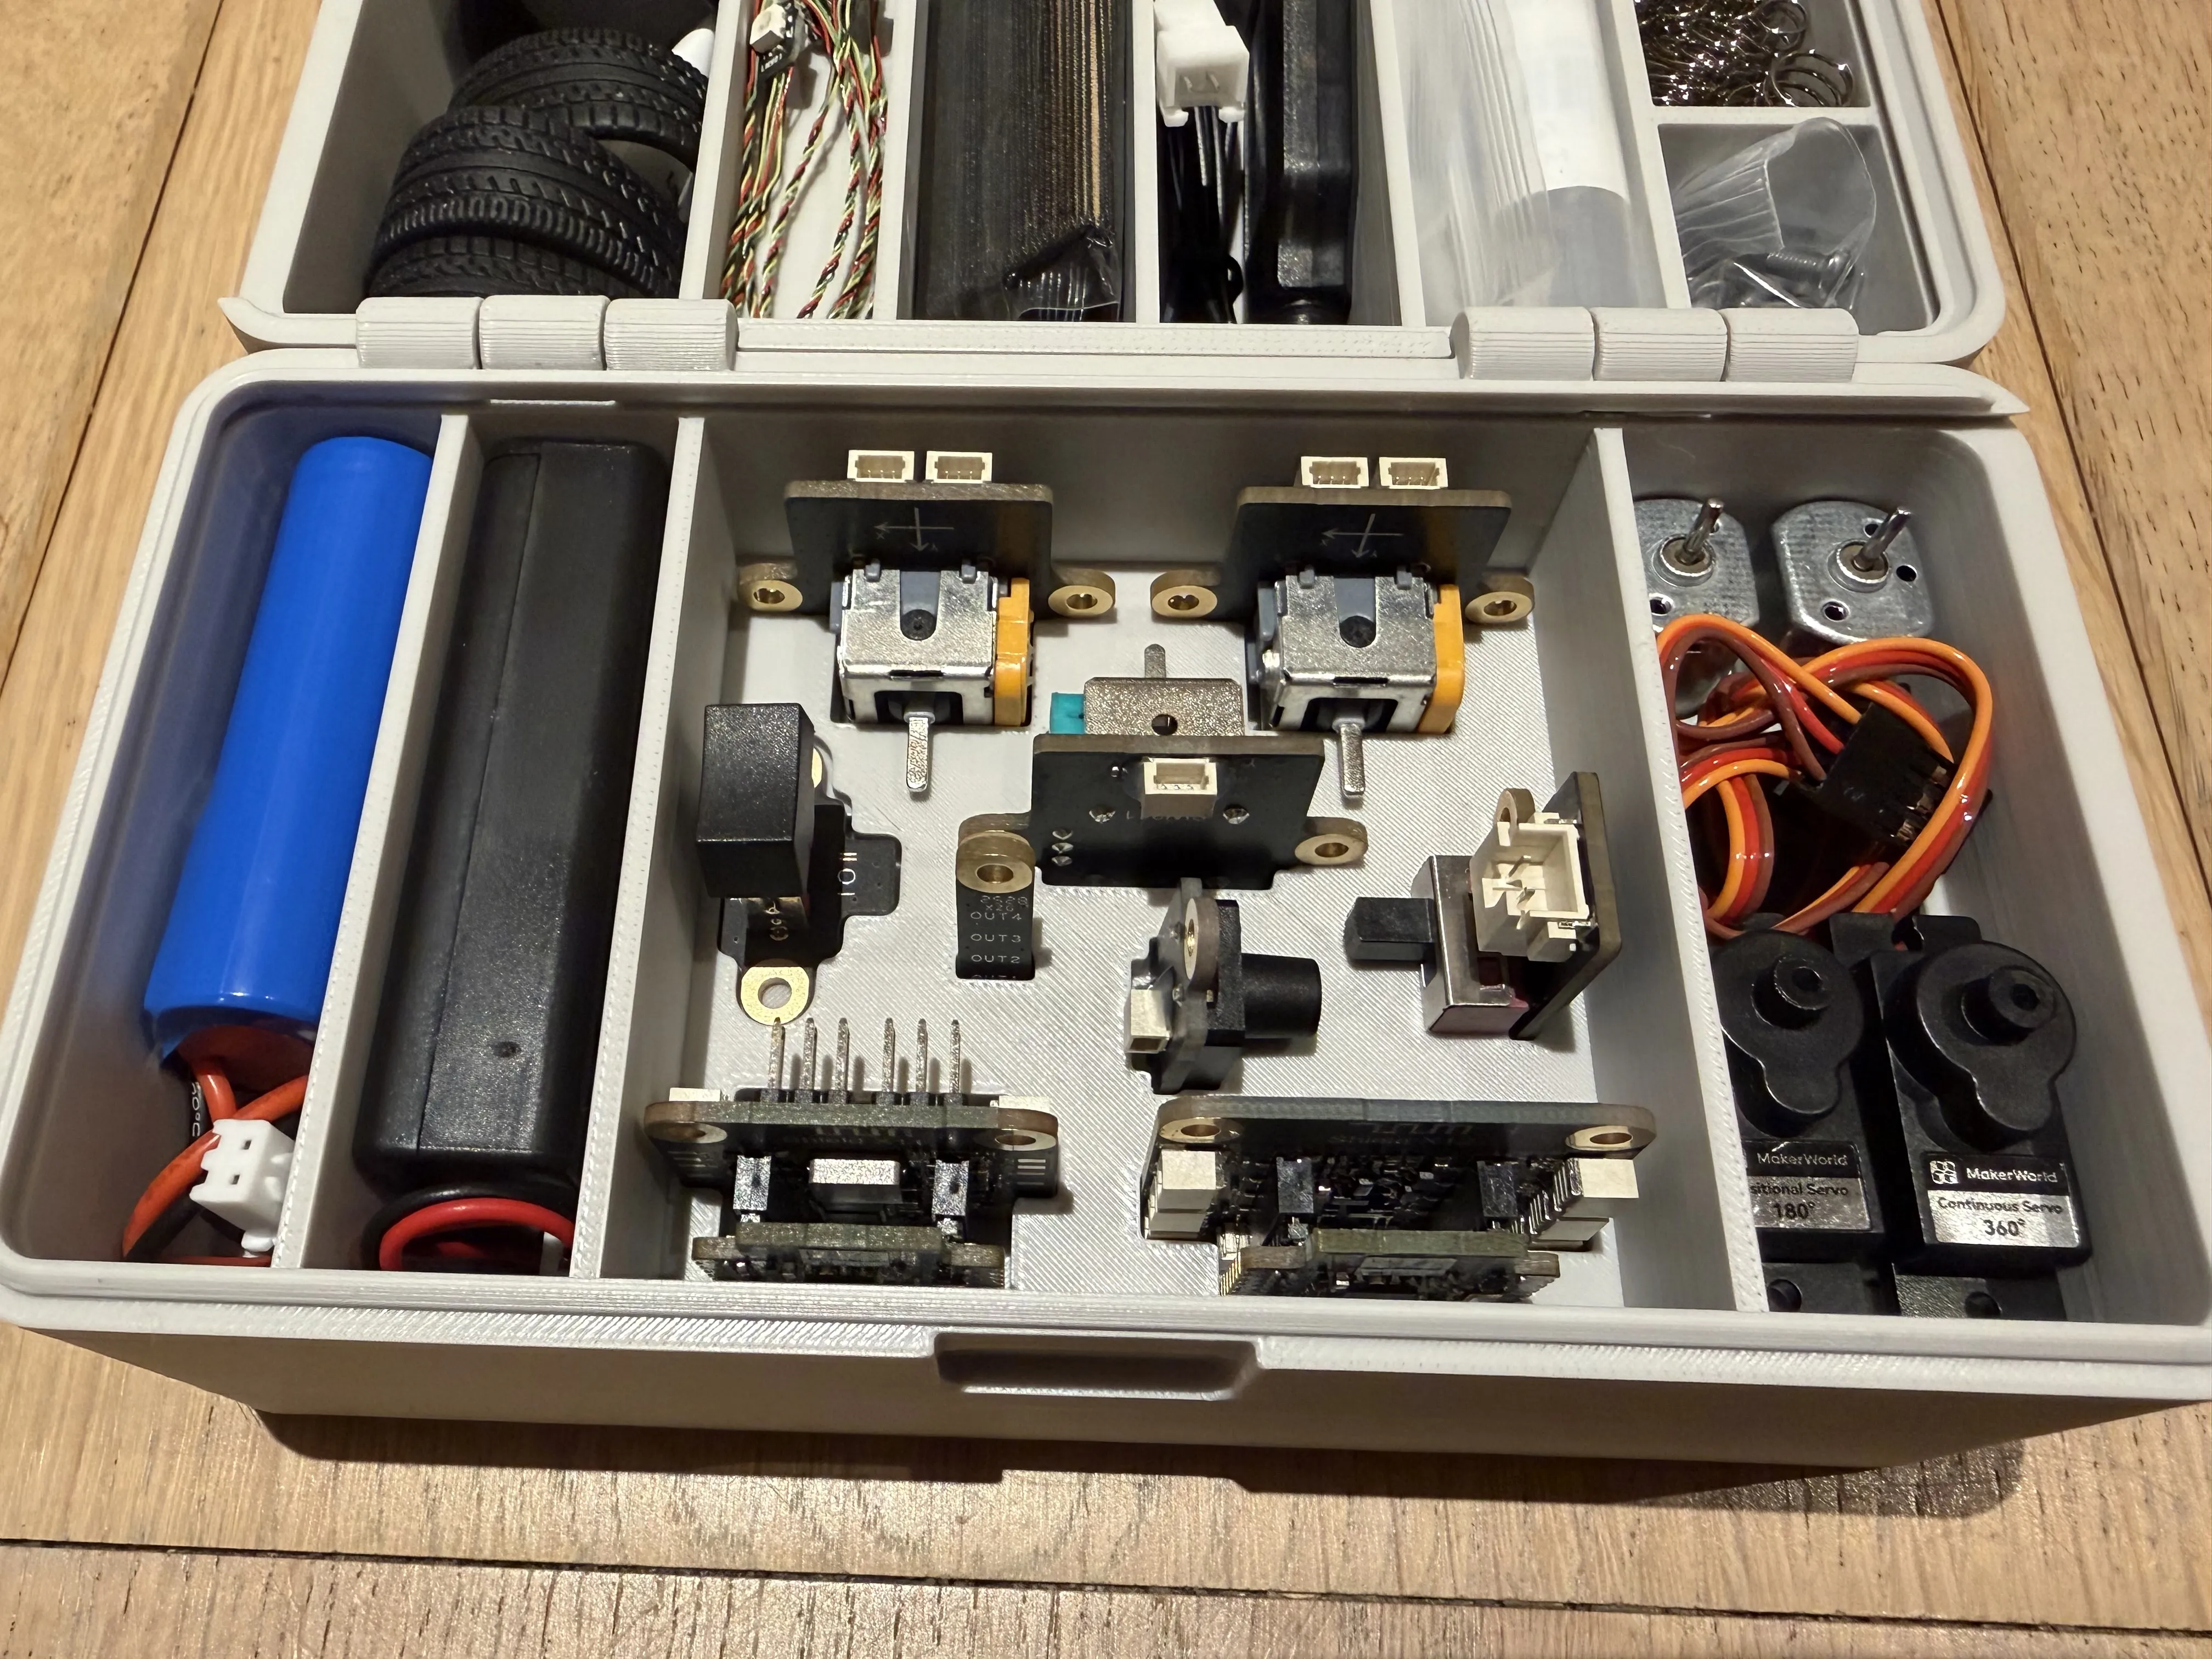
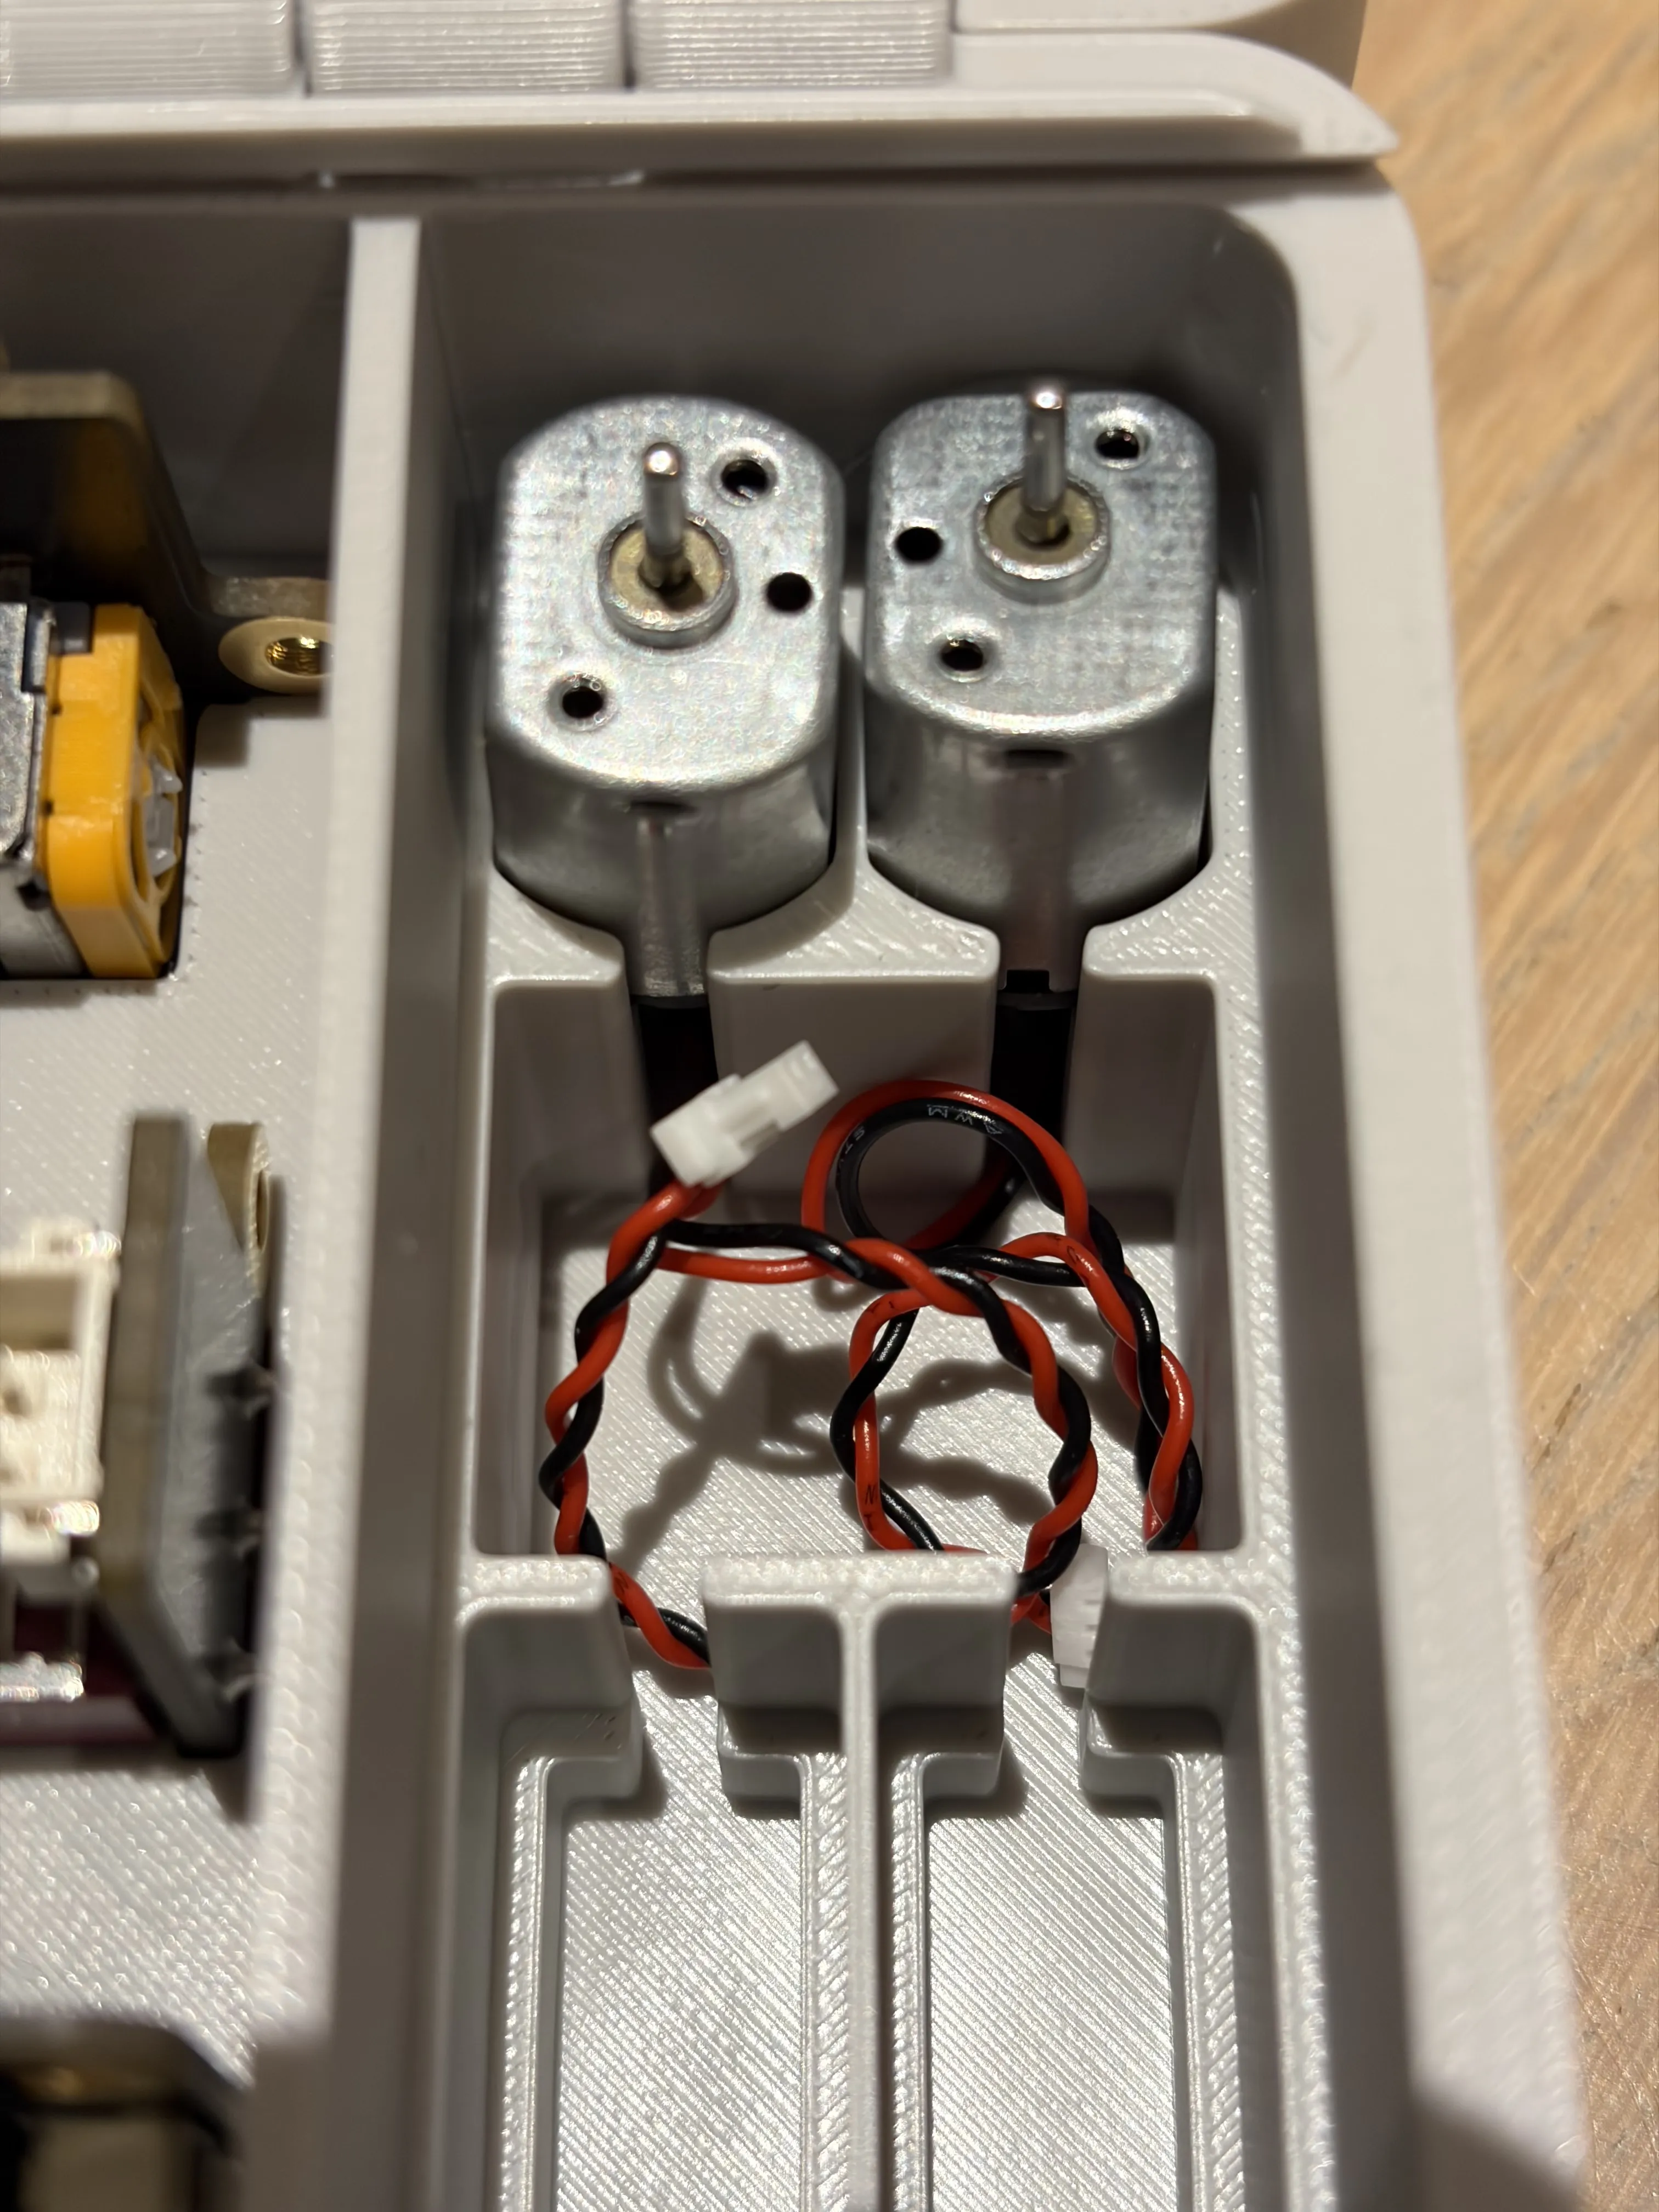
The components fit as shown in the picture above. The motors and servos have attached cables and I created additional space for those:
First place the motors:
Then the servos:
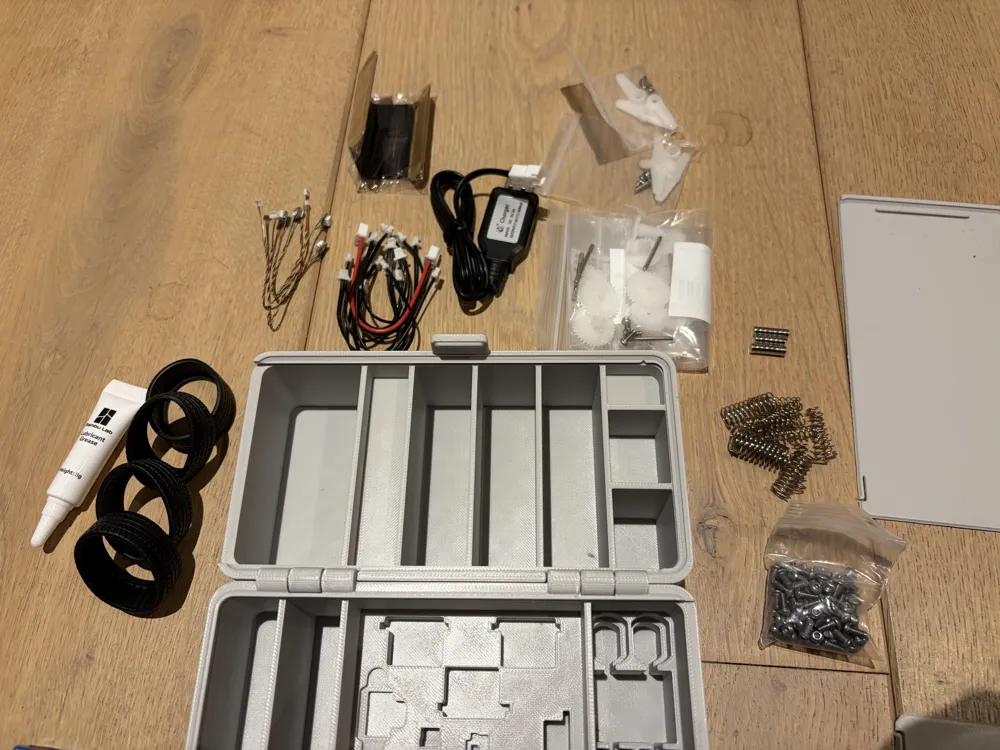
Lid Layout
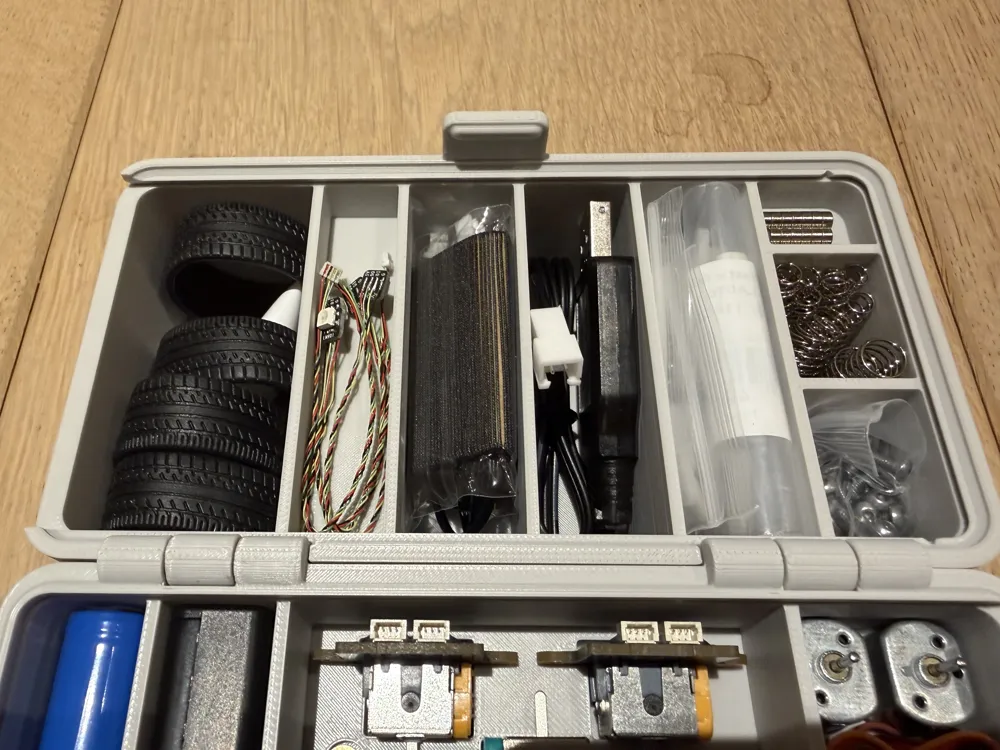
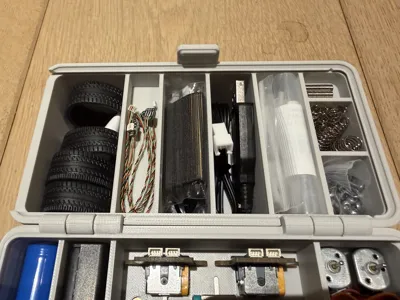
The lid holds the tires, grease, LEDs, cables, wire, charger, gears, servo linkages, magnets, springs and screws:
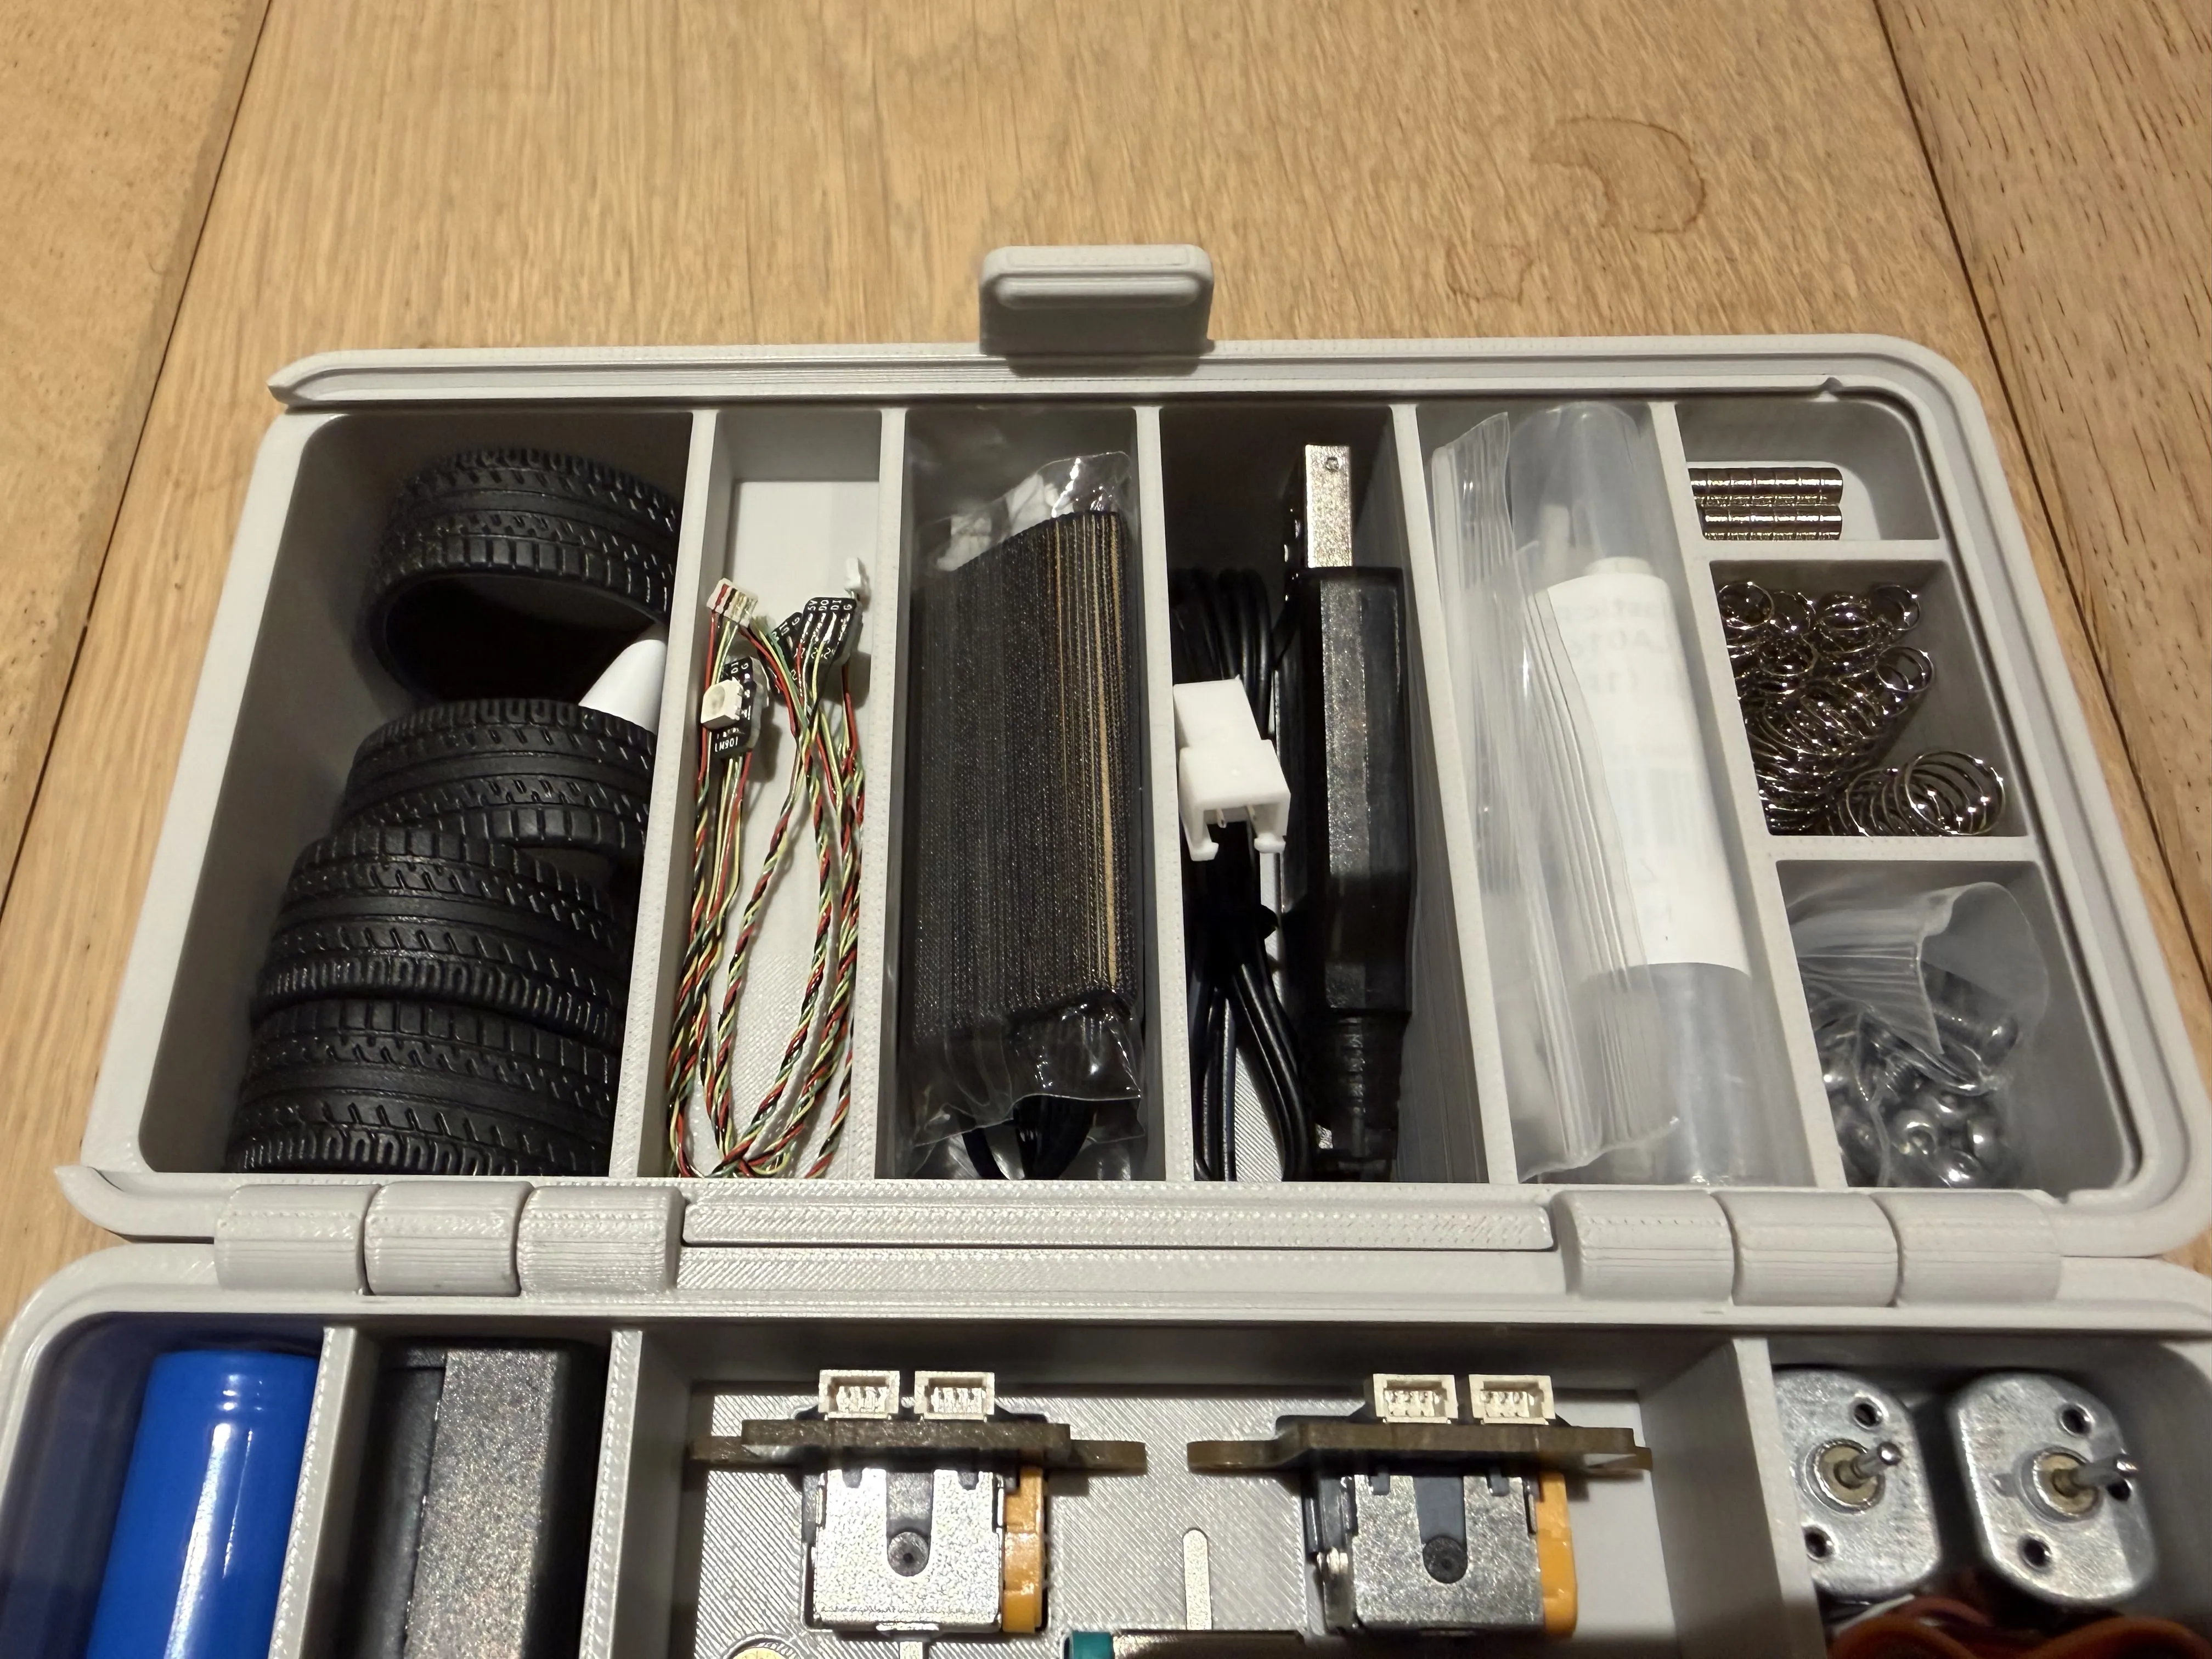
- The grease tube is stored together with the tires (tube sits inside the tires)
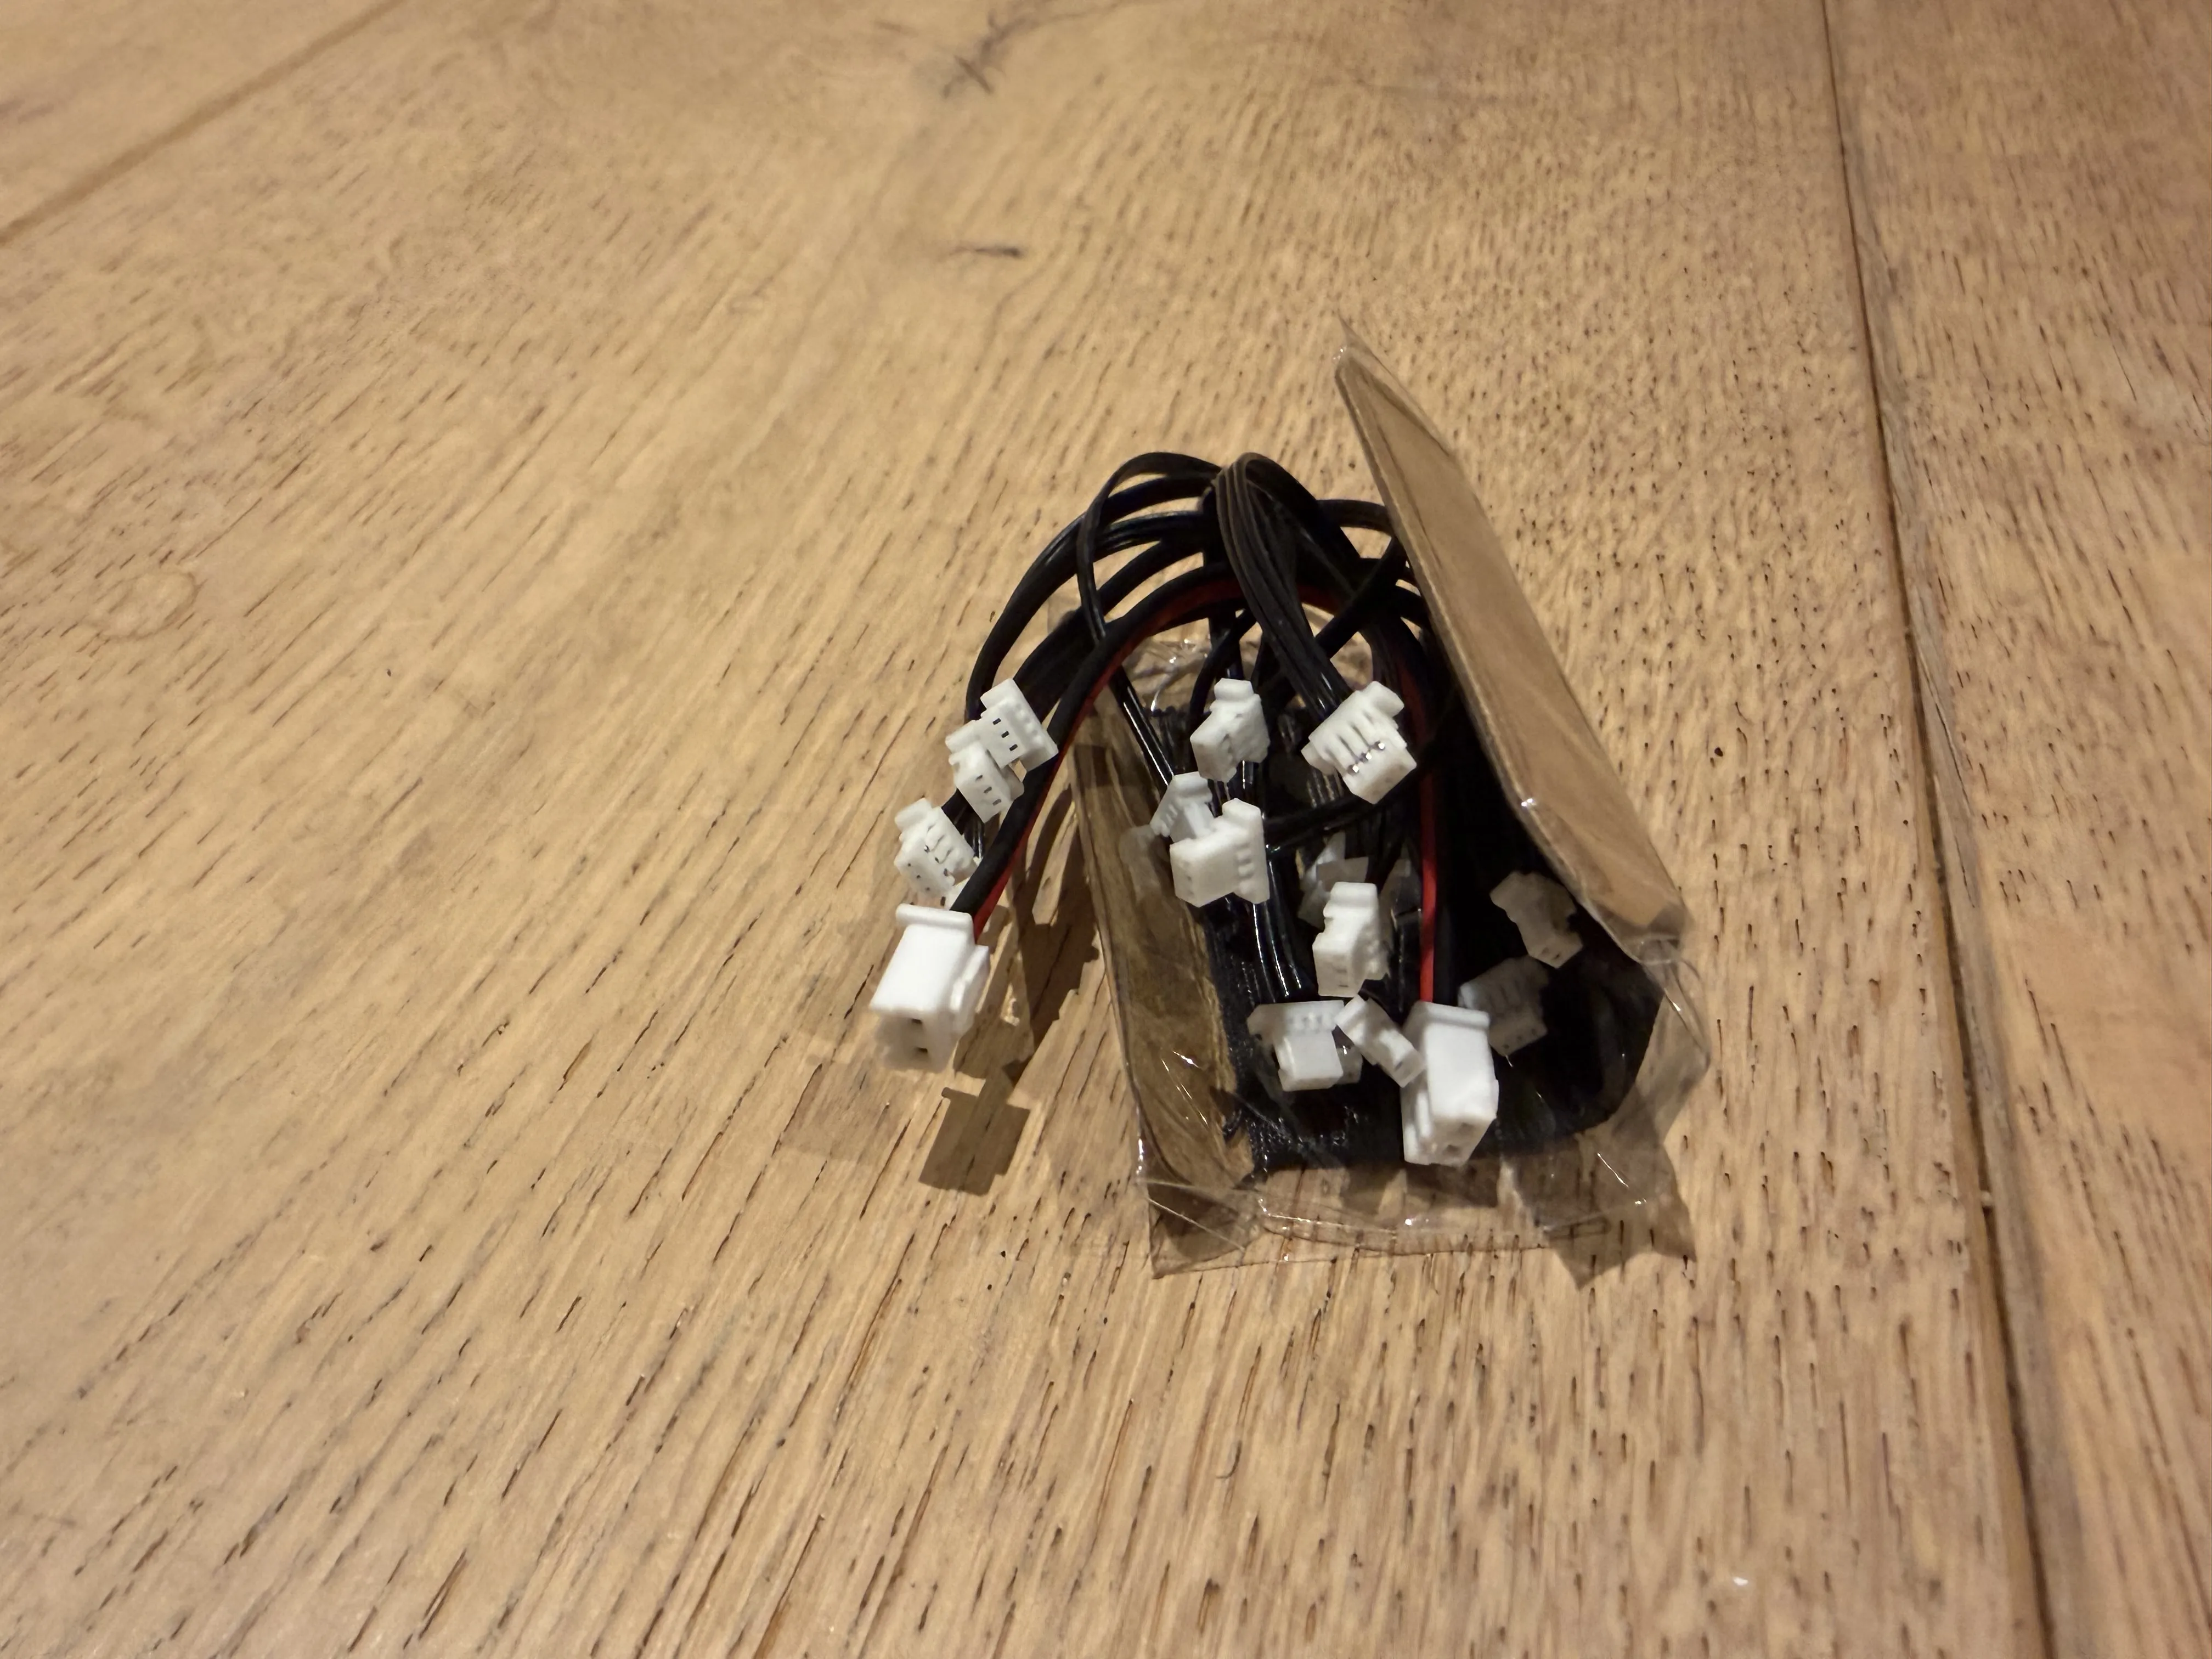
- The cables and the wire (wrapped around a piece of cardboard) are stored together:
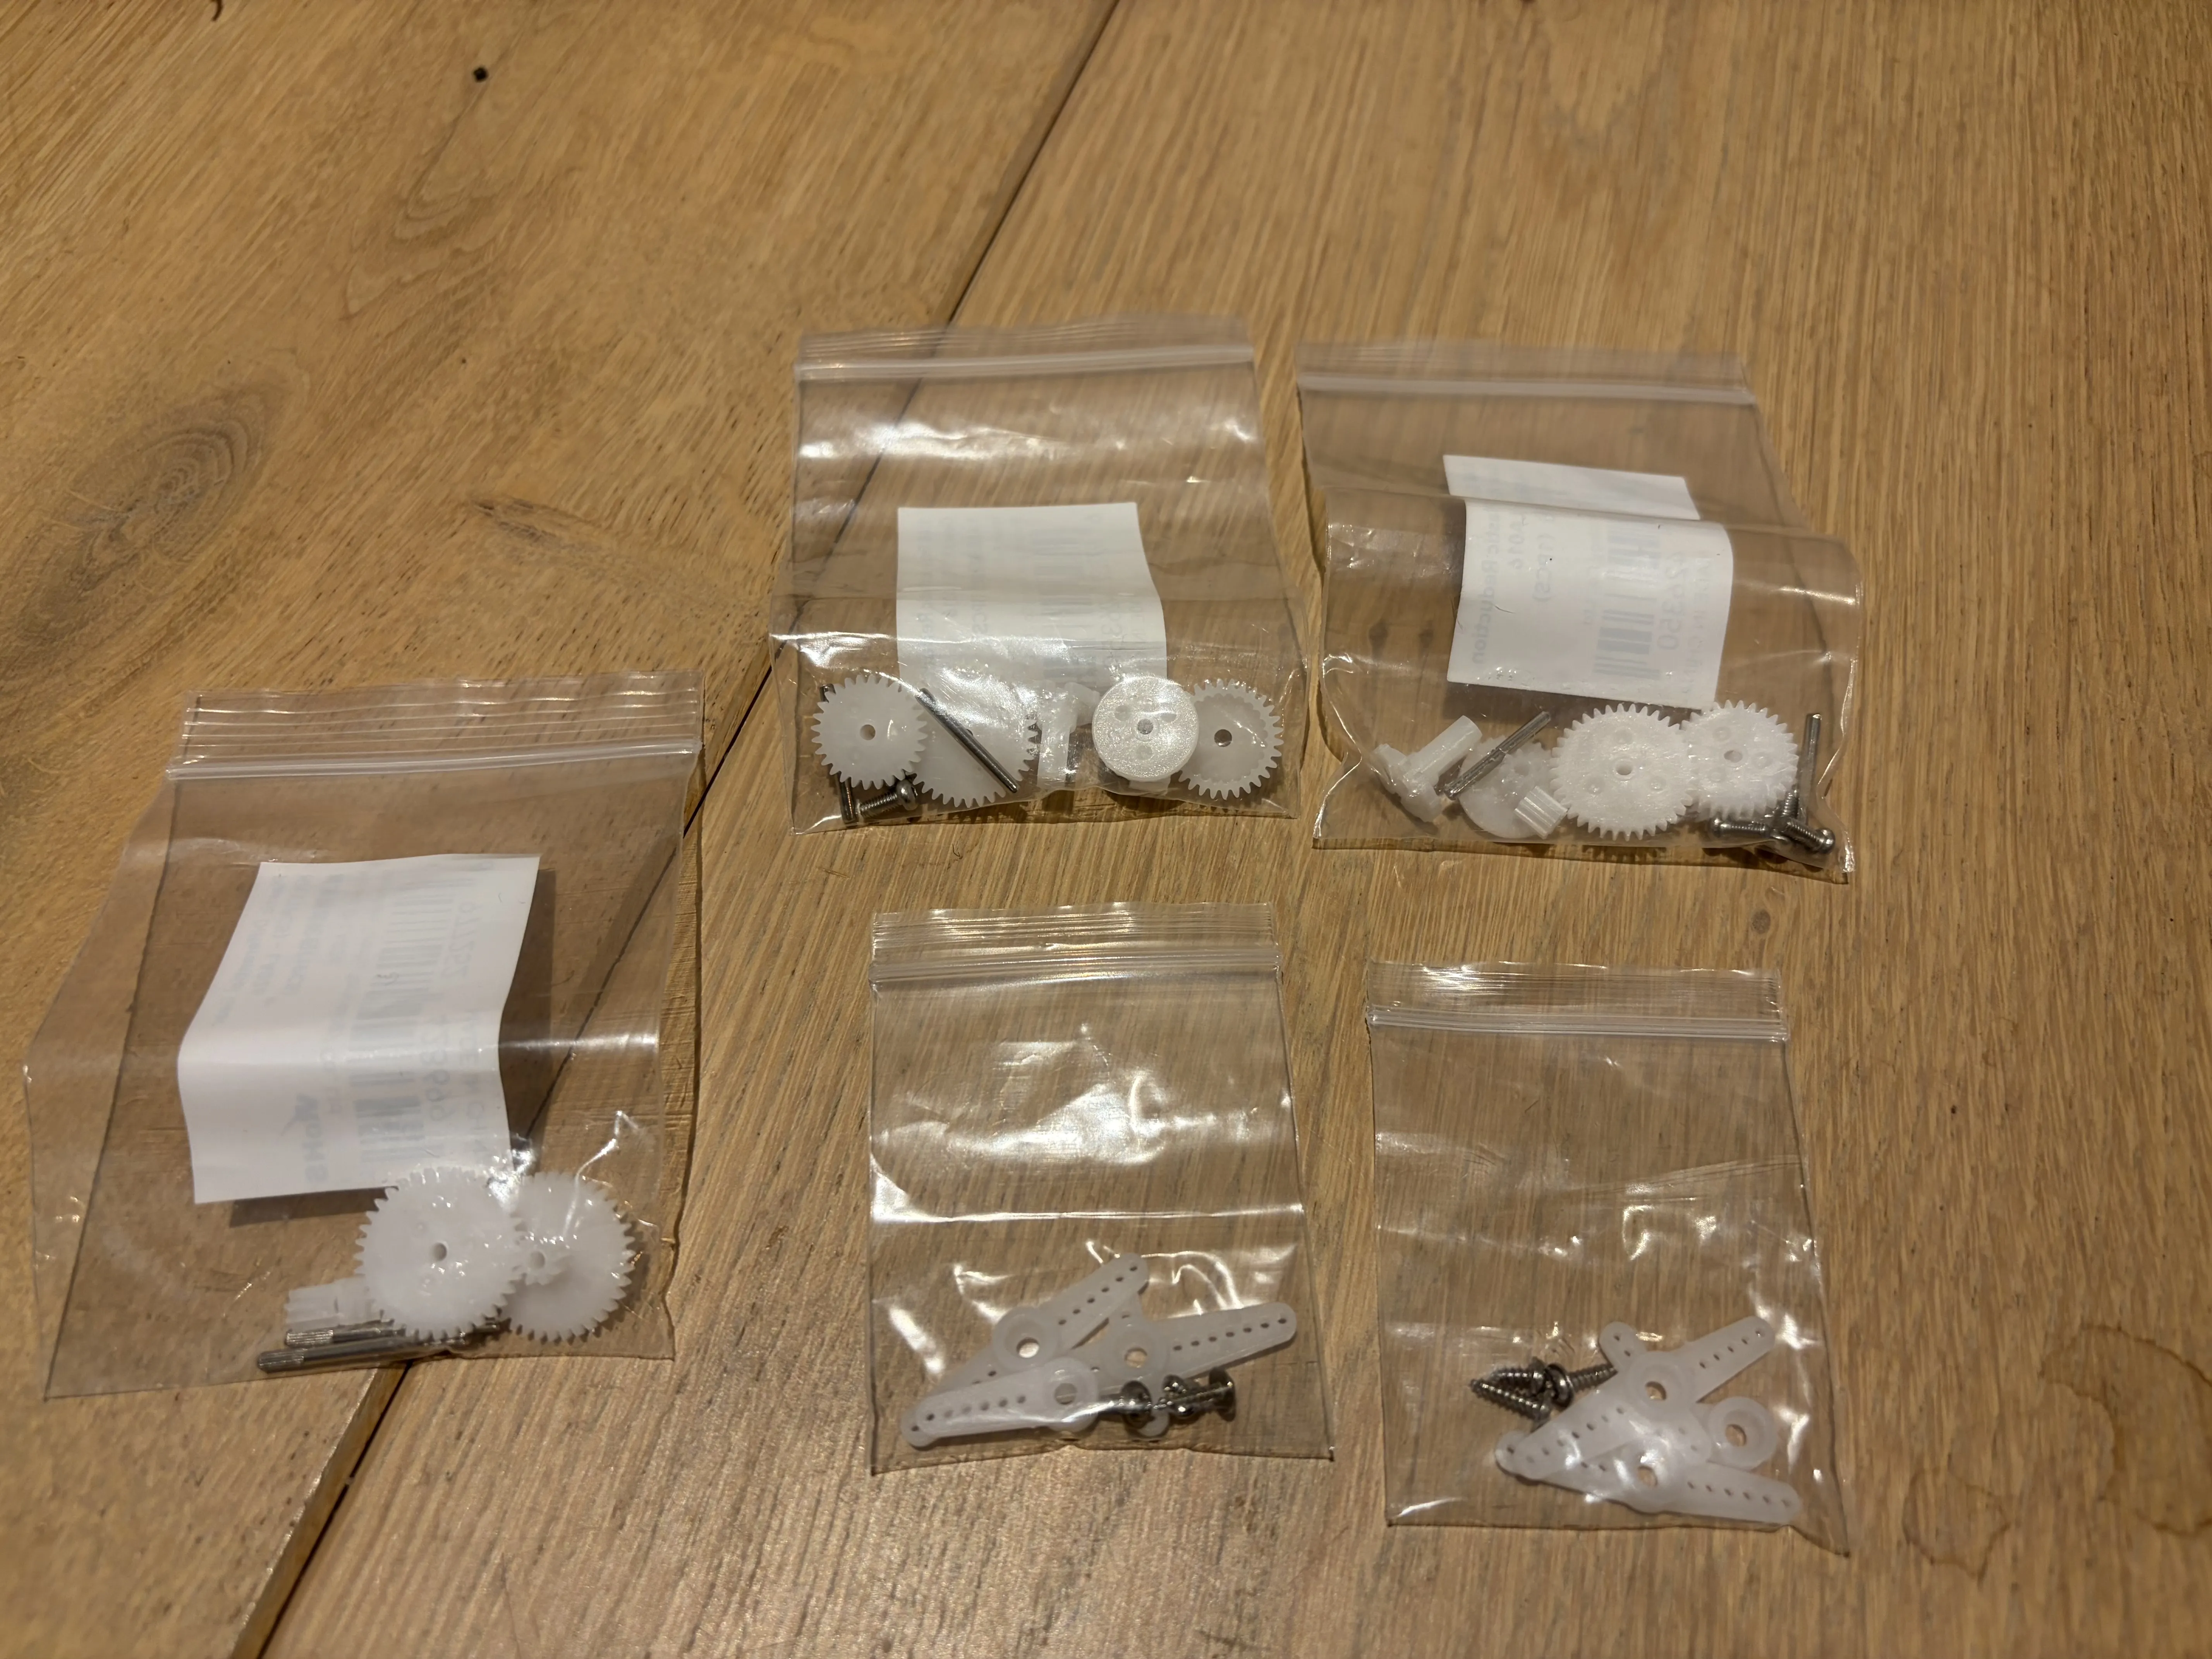
- The gears and servo linkages are stored together:
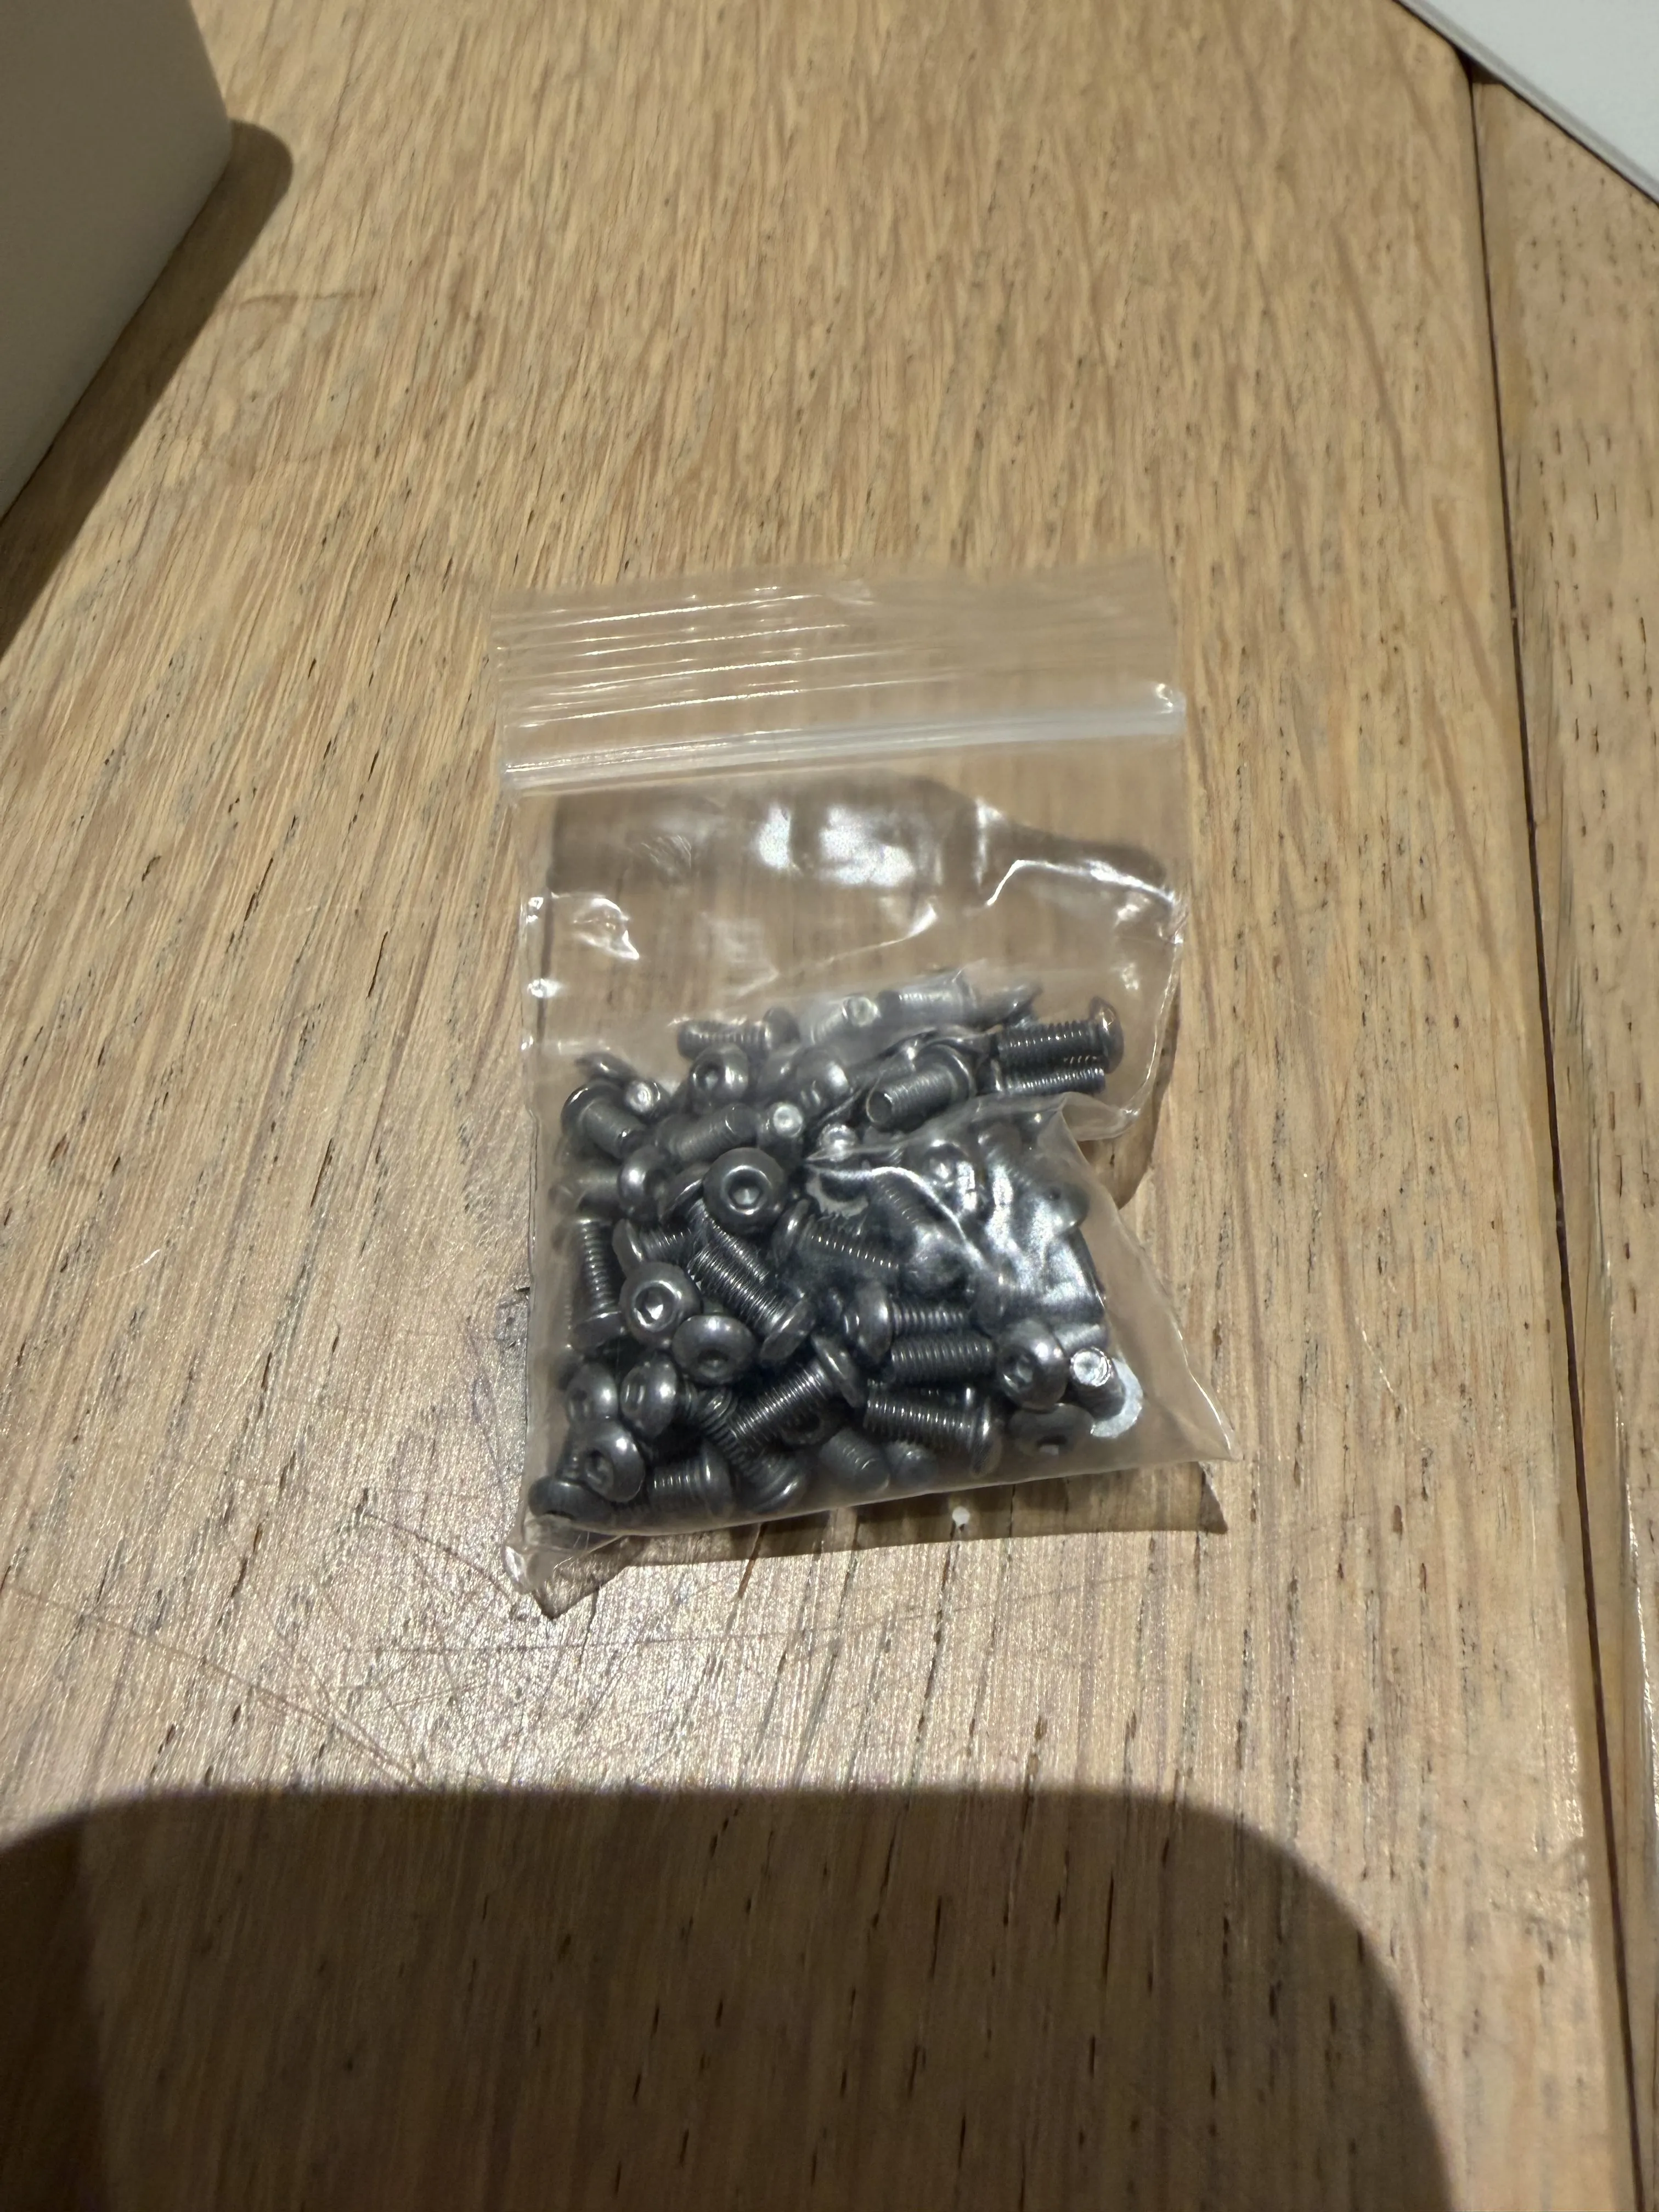
- I put the screws in a small ziplock bag. You can also put them in the box without the bag of course:
Inner sliding lids
To close the bottom and lid compartments, I added 2 sliding lids. This keeps everything neatly in its own compartment. Make sure to use the right sliding lid for the bottom and the lid, as these differ! The sliding lid with the 2 ridges should go in the lid (top halve of the box):
The lids slide in from the side:
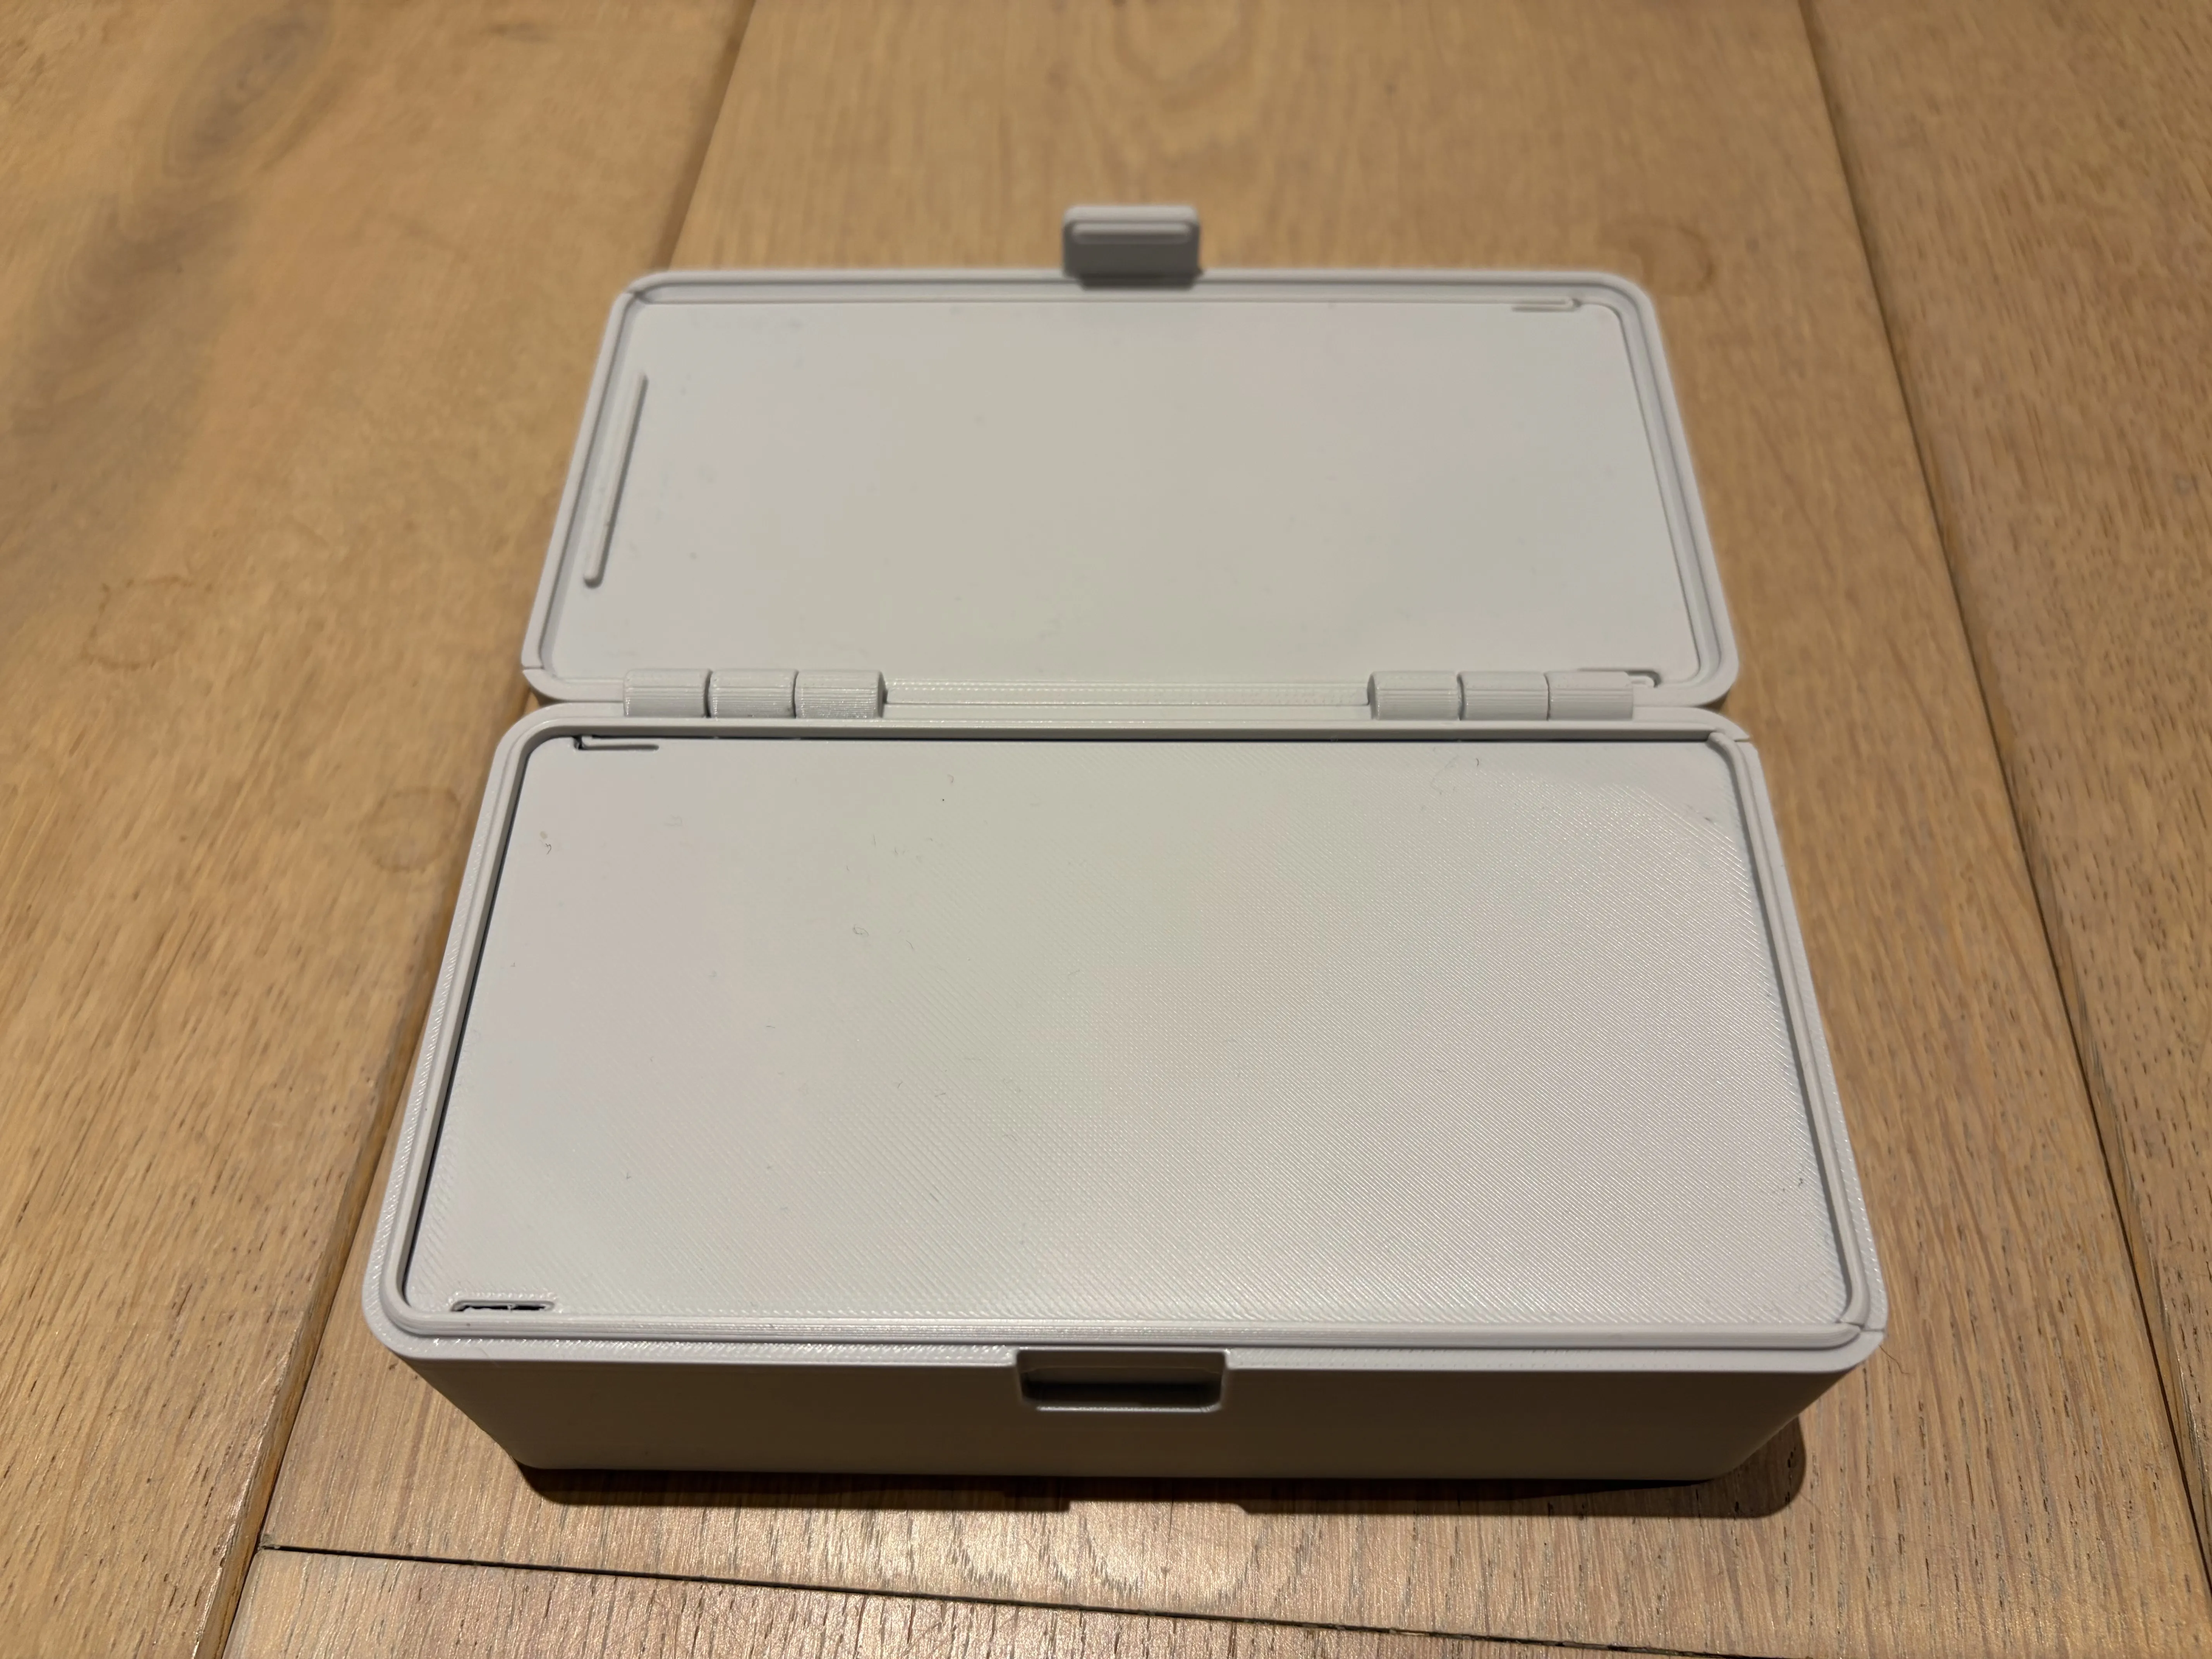
Fully closed:
Let me know what you think
If you have comments, tips, feedback or just want to share a picture of your print, please leave a comment!
License

You shall not share, sub-license, sell, rent, host, transfer, or distribute in any way the digital or 3D printed versions of this object, nor any other derivative work of this object in its digital or physical format (including - but not limited to - remixes of this object, and hosting on other digital platforms). The objects may not be used without permission in any way whatsoever in which you charge money, or collect fees.


Comment & Rating (44)