
Rigid TPU Input for PTFE Tube H2 Series
Print Profile(4)


Bill of Materials


Description
Boost Me (for free)
If you liked my model, please support it with a boost if possible. Thank you.
Update 02.02.2026
Both versions have been added for use with the TPU and Auto Fire Extinguishing System. This version only supports the PC4M6 connector.
==========
Update 27.12.25
Added both versions for PC4M10 connector.
==========
Update 16.12.25
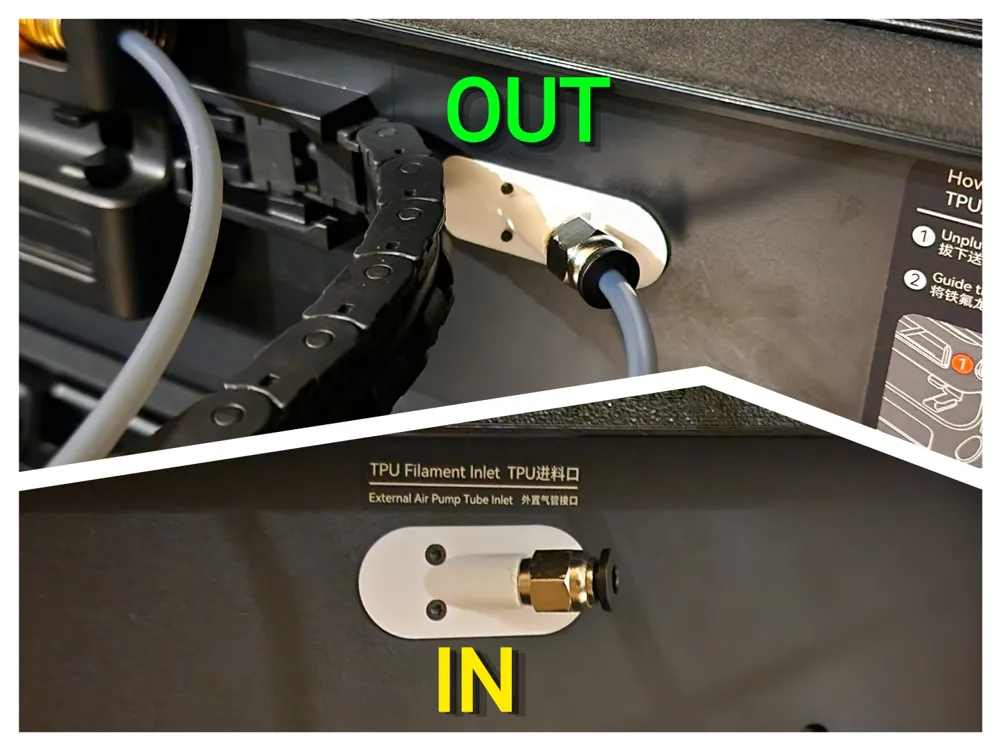
Added V2, which uses only 1 connector on the outside and a single PTFE tube, for those who are worried that the connector inside the printer can damage the cable.
==========
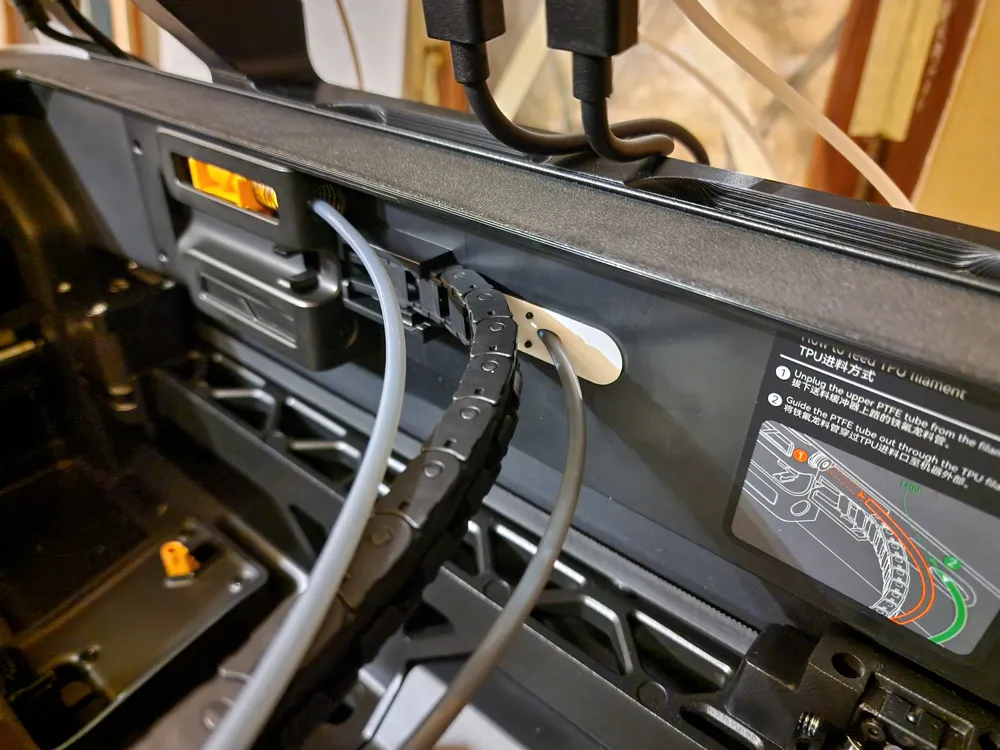
I present my version of the TPU input. Simple as it is.
Installation process:
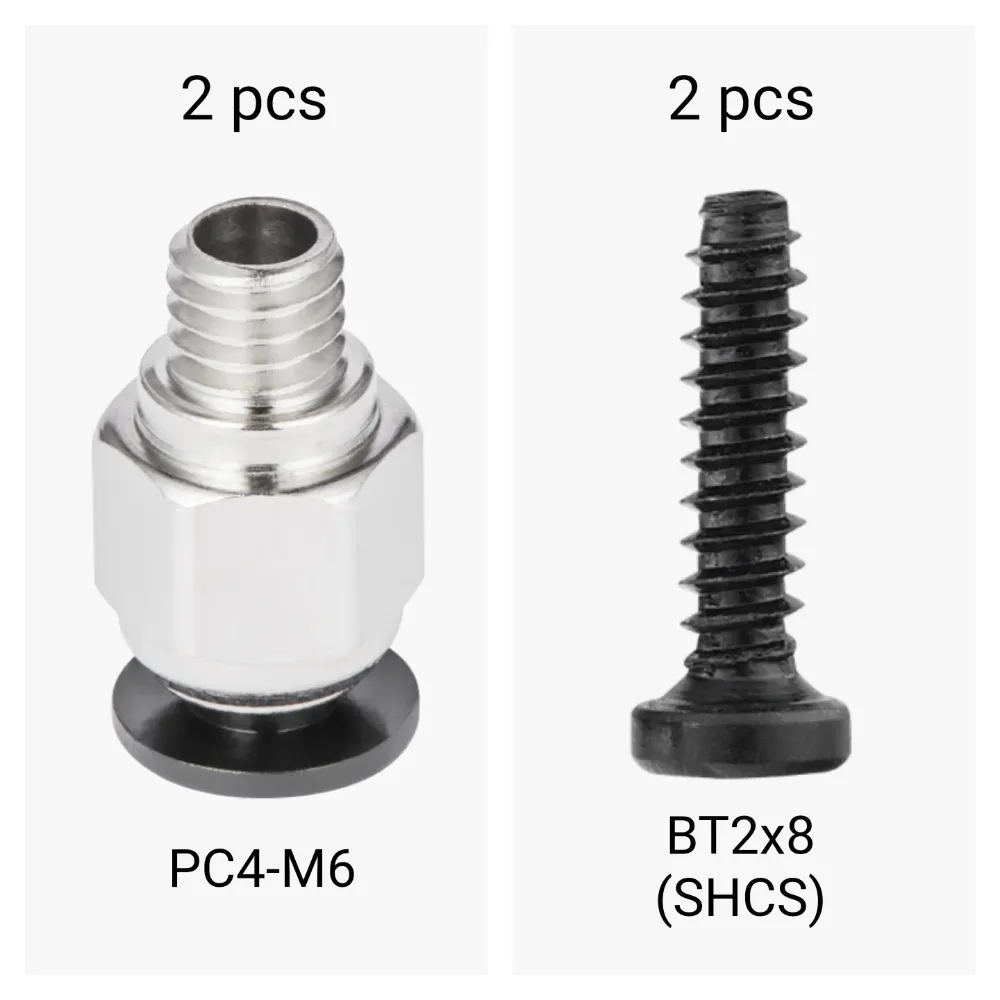
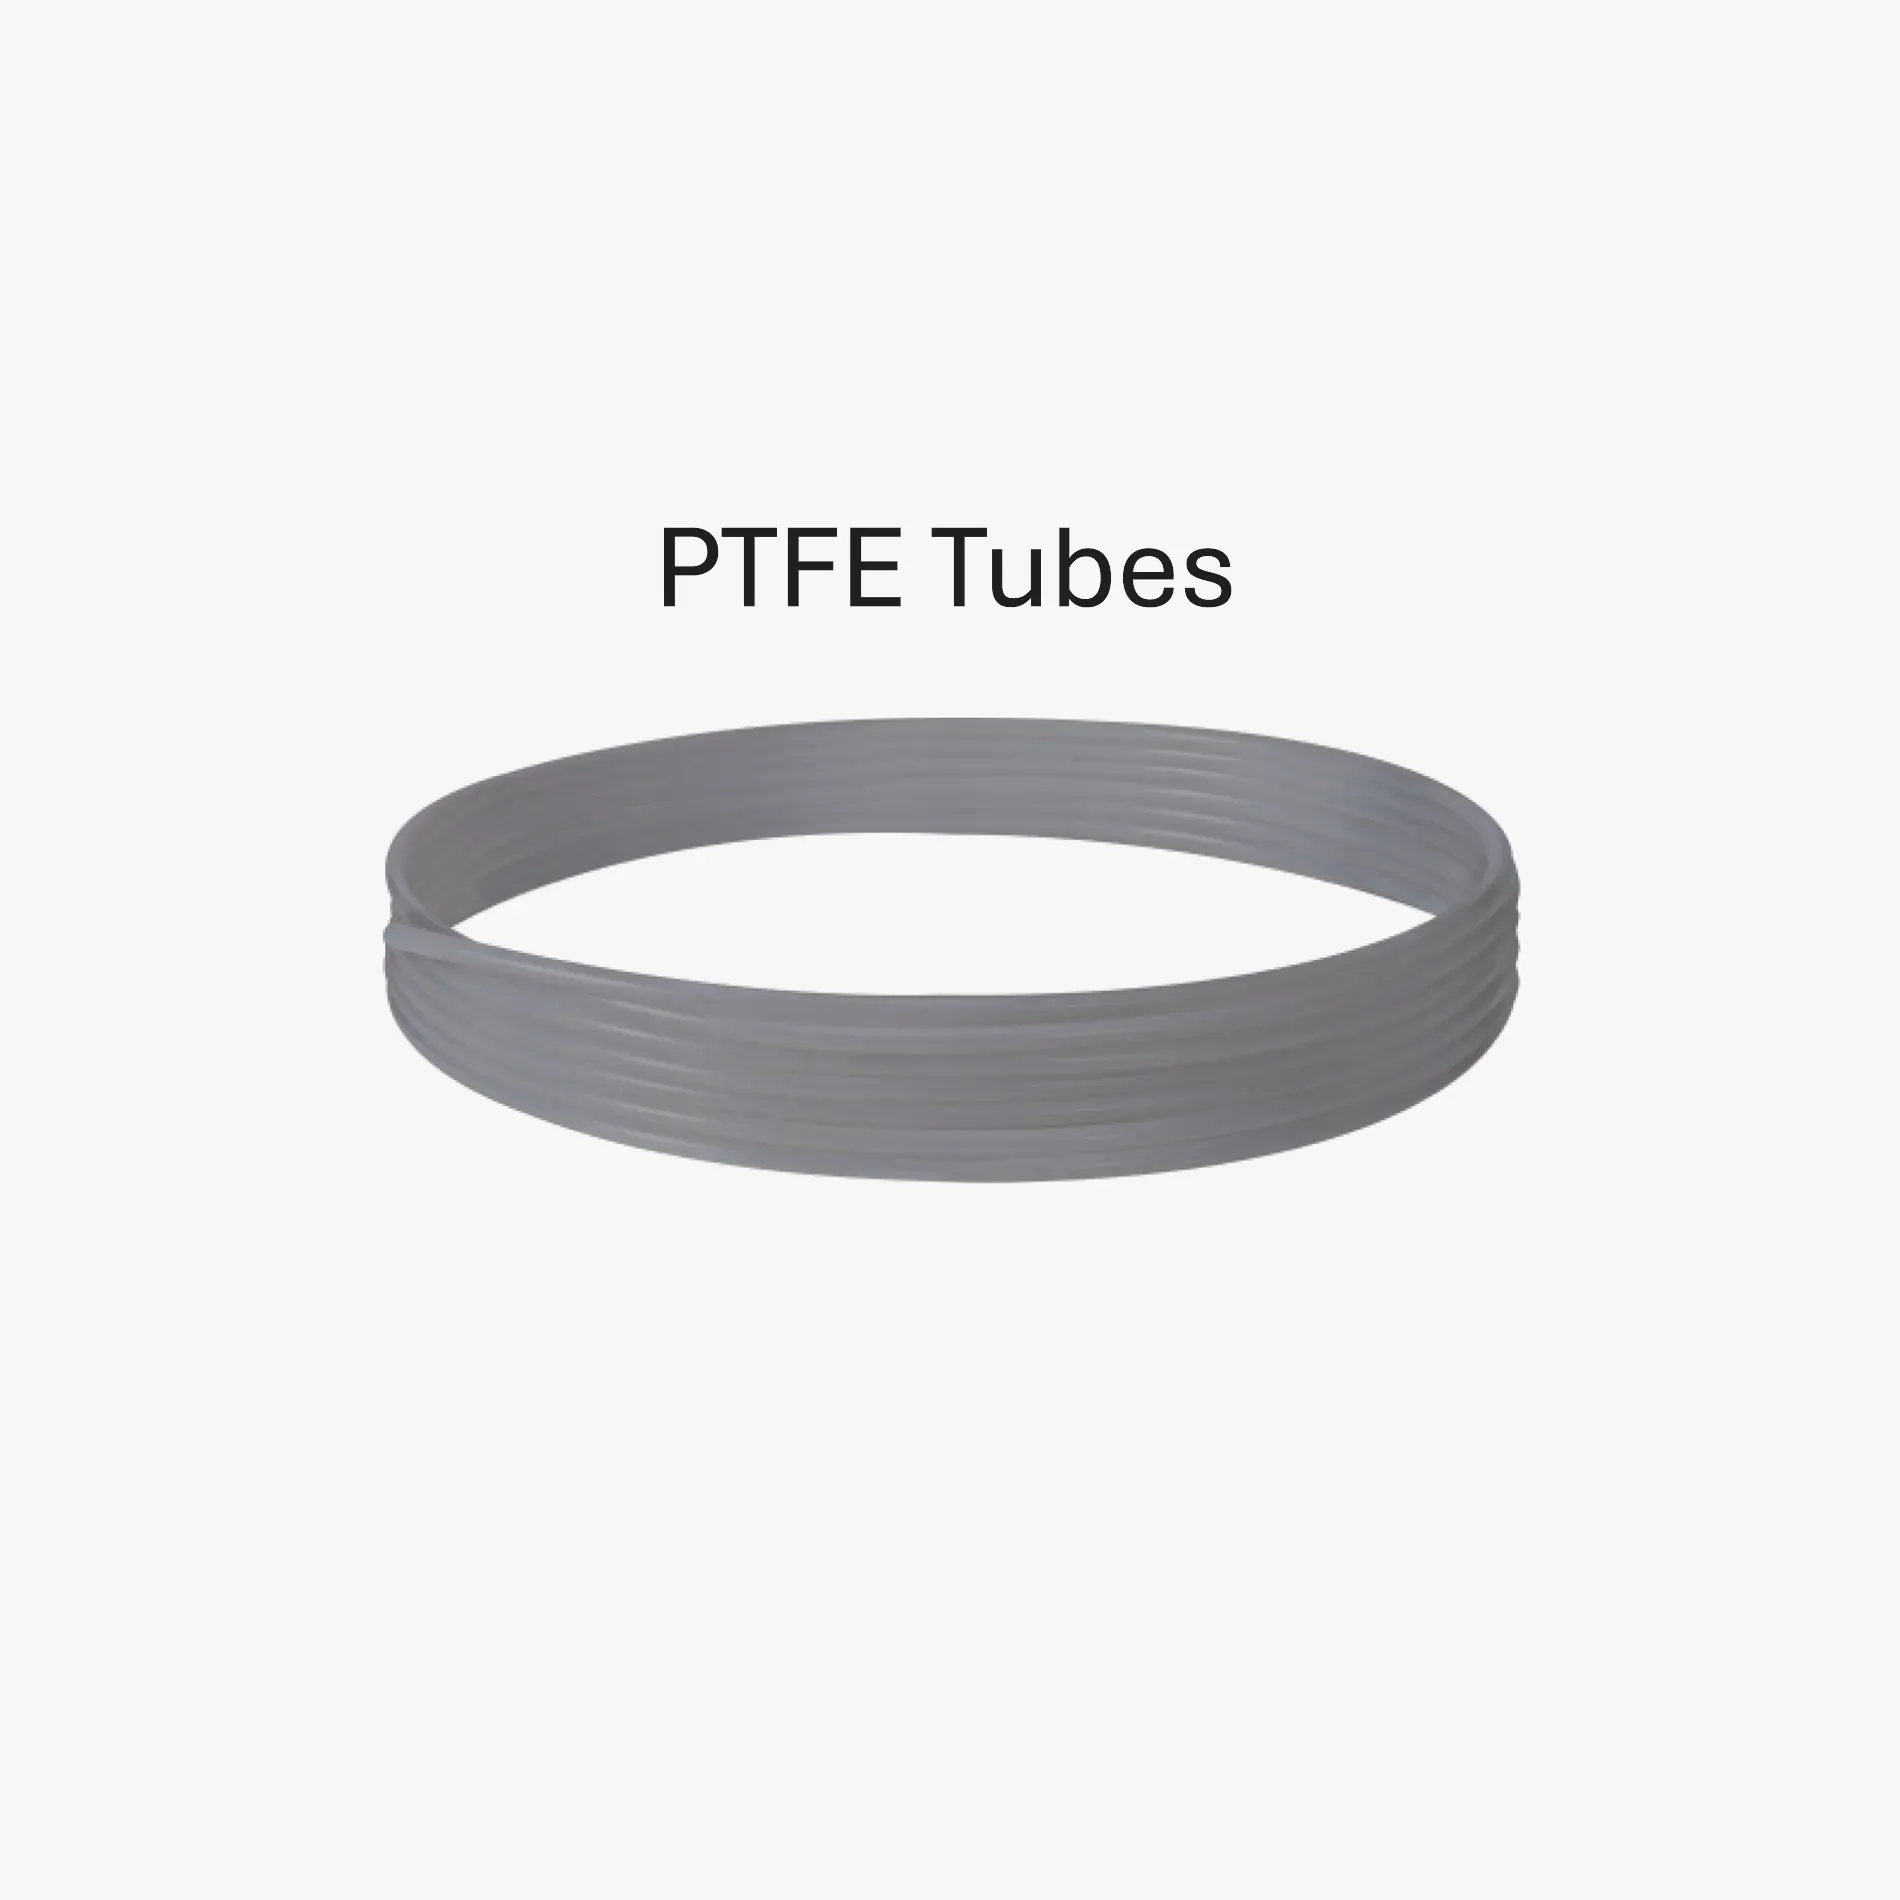
Prepare the following.
- Print model.
- Carefully screw the PC4 M6 bolt into each part. Don't screw it all the way in, or the walls will crack.
- Remove everything from the printer and remove the top glass.
Carefully remove the original rubber plug.
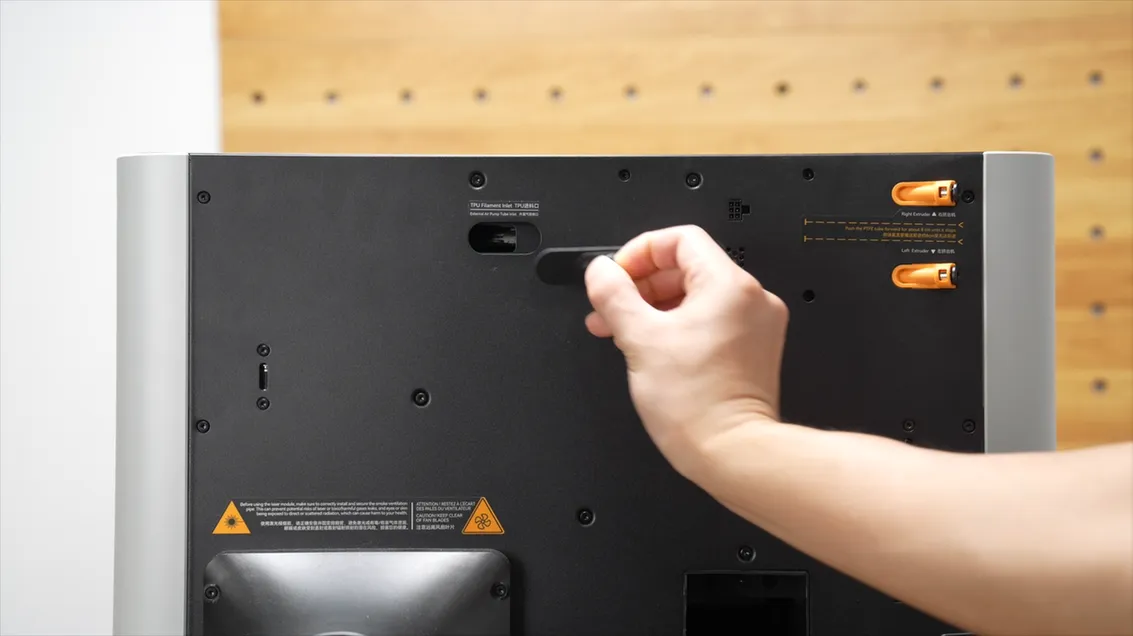
- Take both parts of the model and, holding one of them from the inside of the printer, screw the second one to it with screws from the outside of the printer.
- All that's left is to measure and cut the PTFE tube so that it's long enough from the inlet to the farthest corner, and another piece of tube for external connection with whatever it may be.
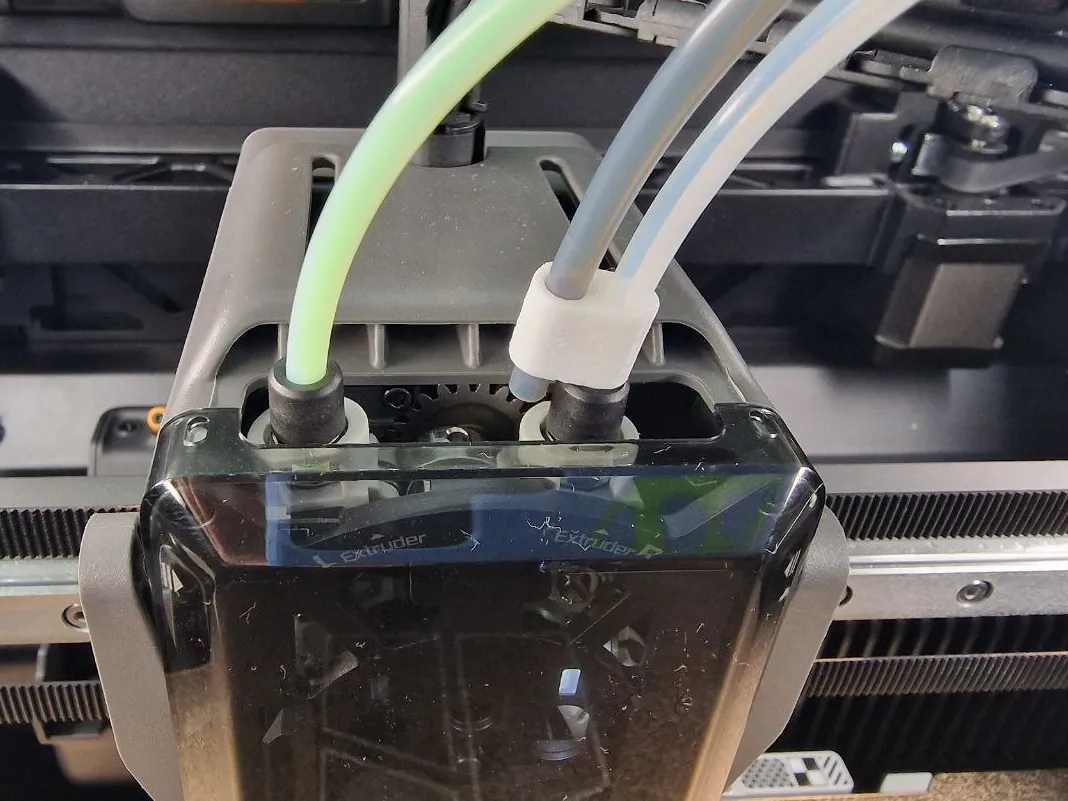
To keep the free end of the tube from dangling around the chamber, I use this model. Maybe I'll make something better later, but for now this is it.
License

You shall not share, sub-license, sell, rent, host, transfer, or distribute in any way the digital or 3D printed versions of this object, nor any other derivative work of this object in its digital or physical format (including - but not limited to - remixes of this object, and hosting on other digital platforms). The objects may not be used without permission in any way whatsoever in which you charge money, or collect fees.


Comment & Rating (57)