Small wall shelf (mini 180x100)


Print Profile(4)


Bill of Materials


Description
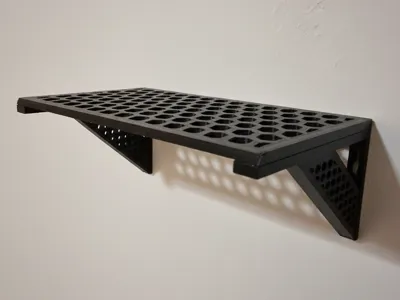
Minimalist Modular Wall Shelf System
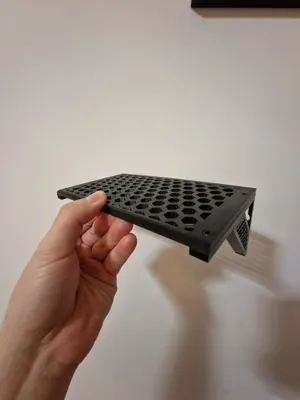
A sleek, functional wall shelf designed for modern interiors. This 180×100 mm shelf features a modular construction that allows you to stack multiple units vertically, creating a customizable shelving solution for any room.
Key Features:
• Dimensions: 180 mm (W) × 100 mm (D)
• Modular Design: Connect additional shelves vertically with interchangeable legs (coming soon)
• Secure Assembly: M3×8mm Socket Head Cap Machine Screws (4 pcs) + M3 Hex Nuts for tool-free customization
• High Strength: Printed with 50% infill in PETG for exceptional durability and load-bearing capacity
• A1 Mini Compatible: Entire model fits within Bambu A1 mini build plate
• Minimalist Aesthetic: Clean geometric lines, modern design
Print Settings (Recommended):
• Printer: Bambu A1 mini (or larger)
• Material: PETG (for strength) or PLA (for lighter weight)
• Infill: 50% (honeycomb or grid pattern recommended)
• Supports: Minimal
• Estimated Print Time: 4.5 hour
• Material Weight: ~100g (depends on infill)
Assembly Instructions:
1. Print the base and legs separately or as one unit
2. Insert M3×8mm screws through the shelf mounting points
3. Secure with M3 hex nuts from the underside of the legs
4. Mount securely to wall using appropriate anchors
5. Stack additional shelves by repeating the process (coming soon)
Comment & Rating (27)