
A1/mini Heated Bed Leveling Caliper Holder
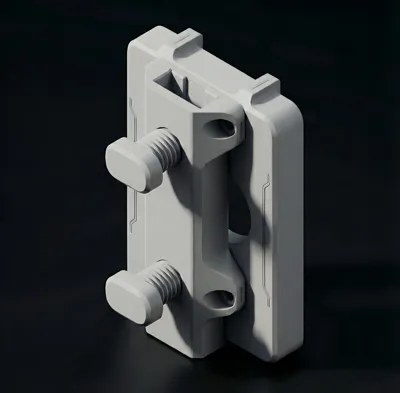
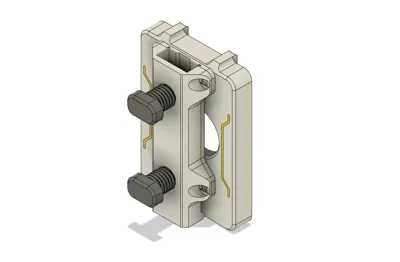
Print Profile(1)

Description
Boost Me (for free)
If this helps you, please consider boosting me
Are there many wavy lines on your first layer print? Does tightening the composite plate not help? The uneven build plate might be the culprit
Traditional A4 paper leveling is difficult to quantify, and there's often a significant height difference after adjustment I happened to have two calipers and put them to good use The actual measured effect is indeed much better than leveling with A4 paper
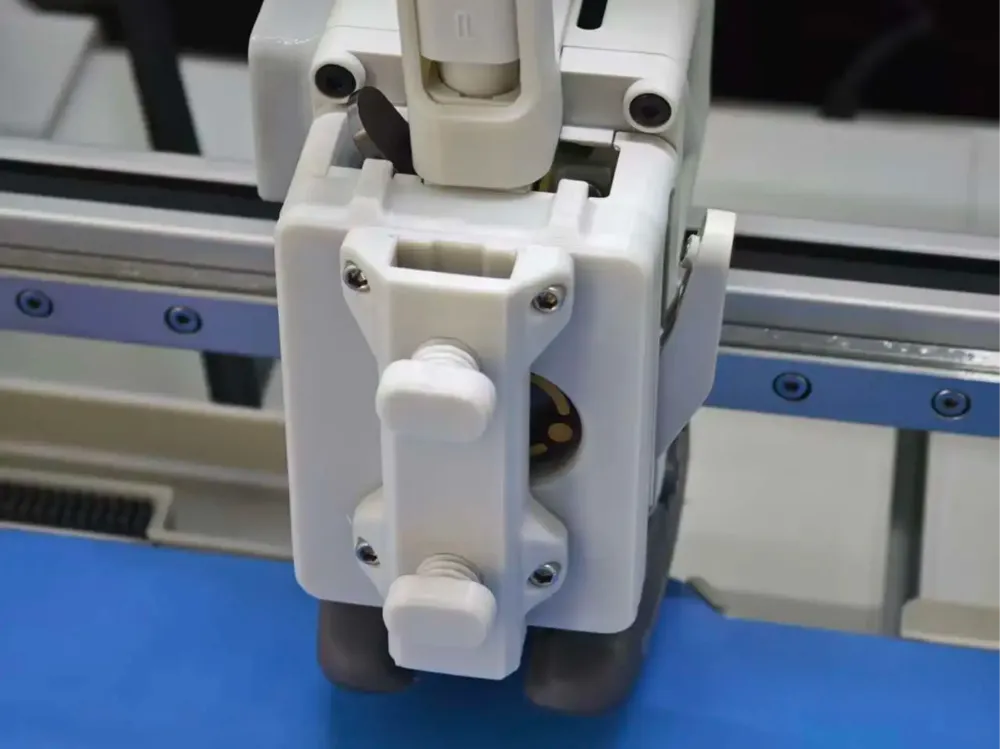
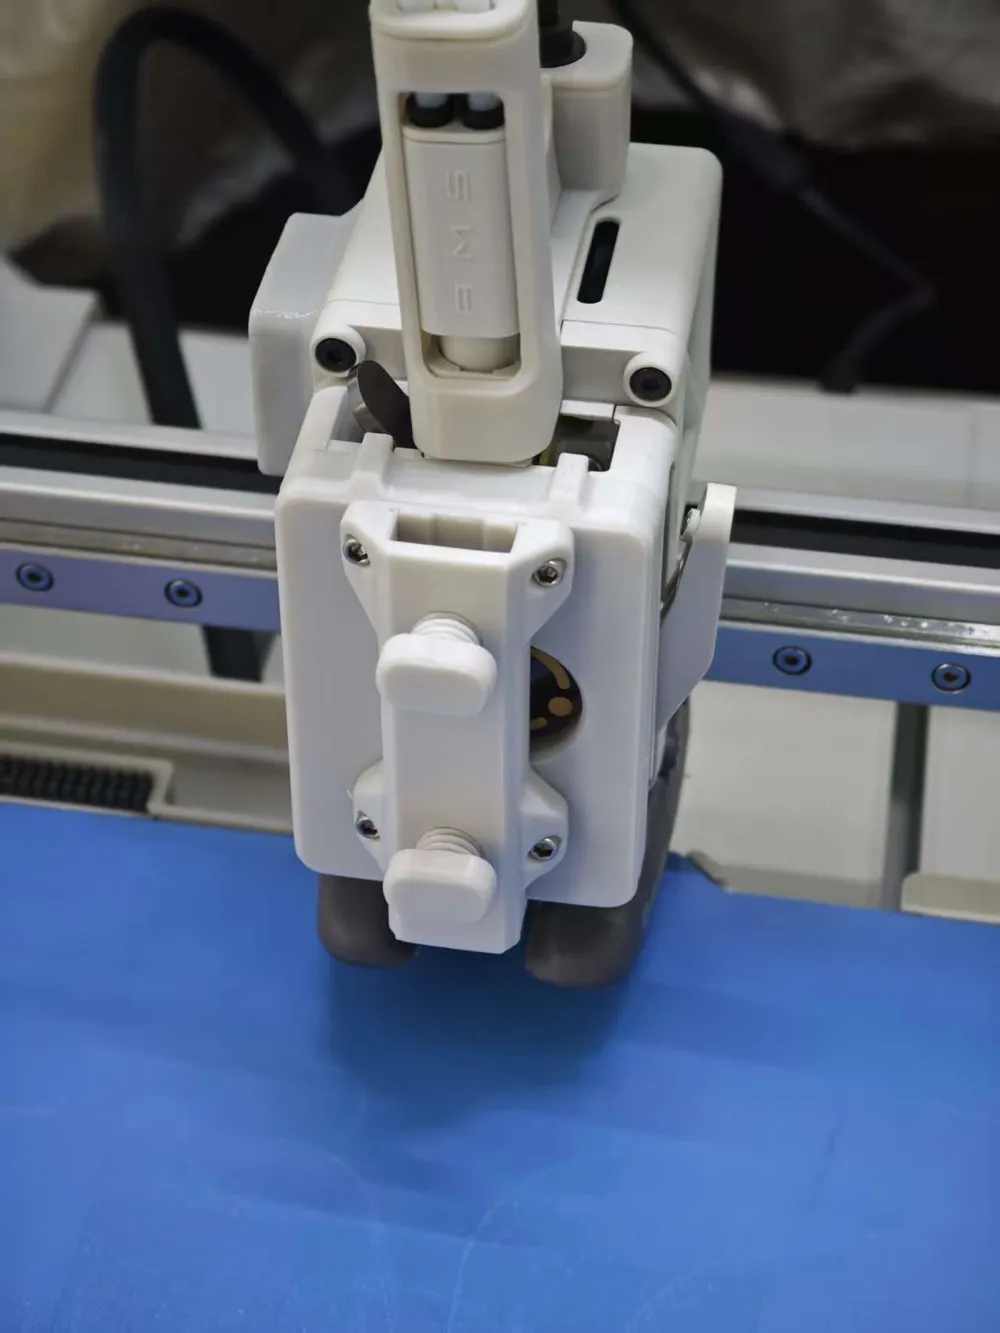
The toolhead housing itself has an optimized heat dissipation airflow channel design It doesn't need to be removed normally; simply attach the fixture module when a fixture is required
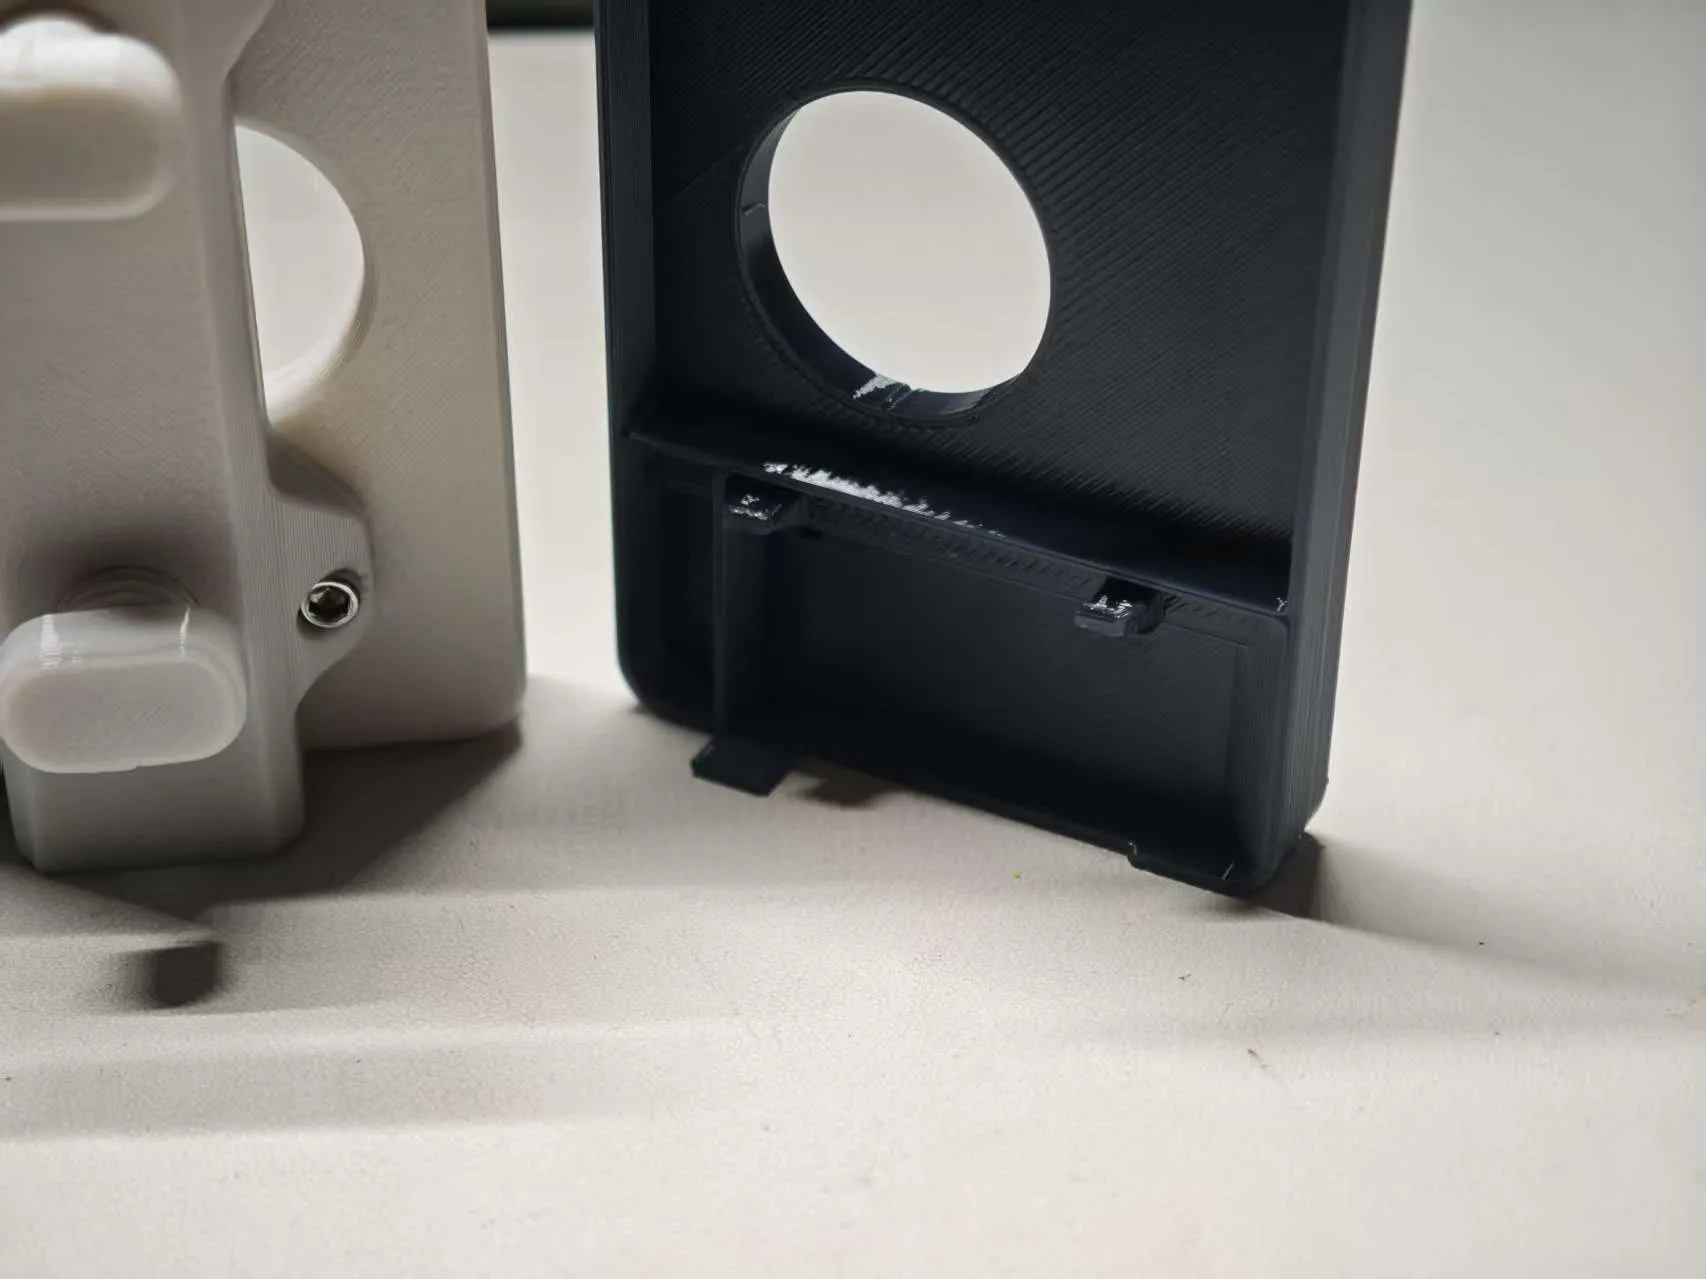
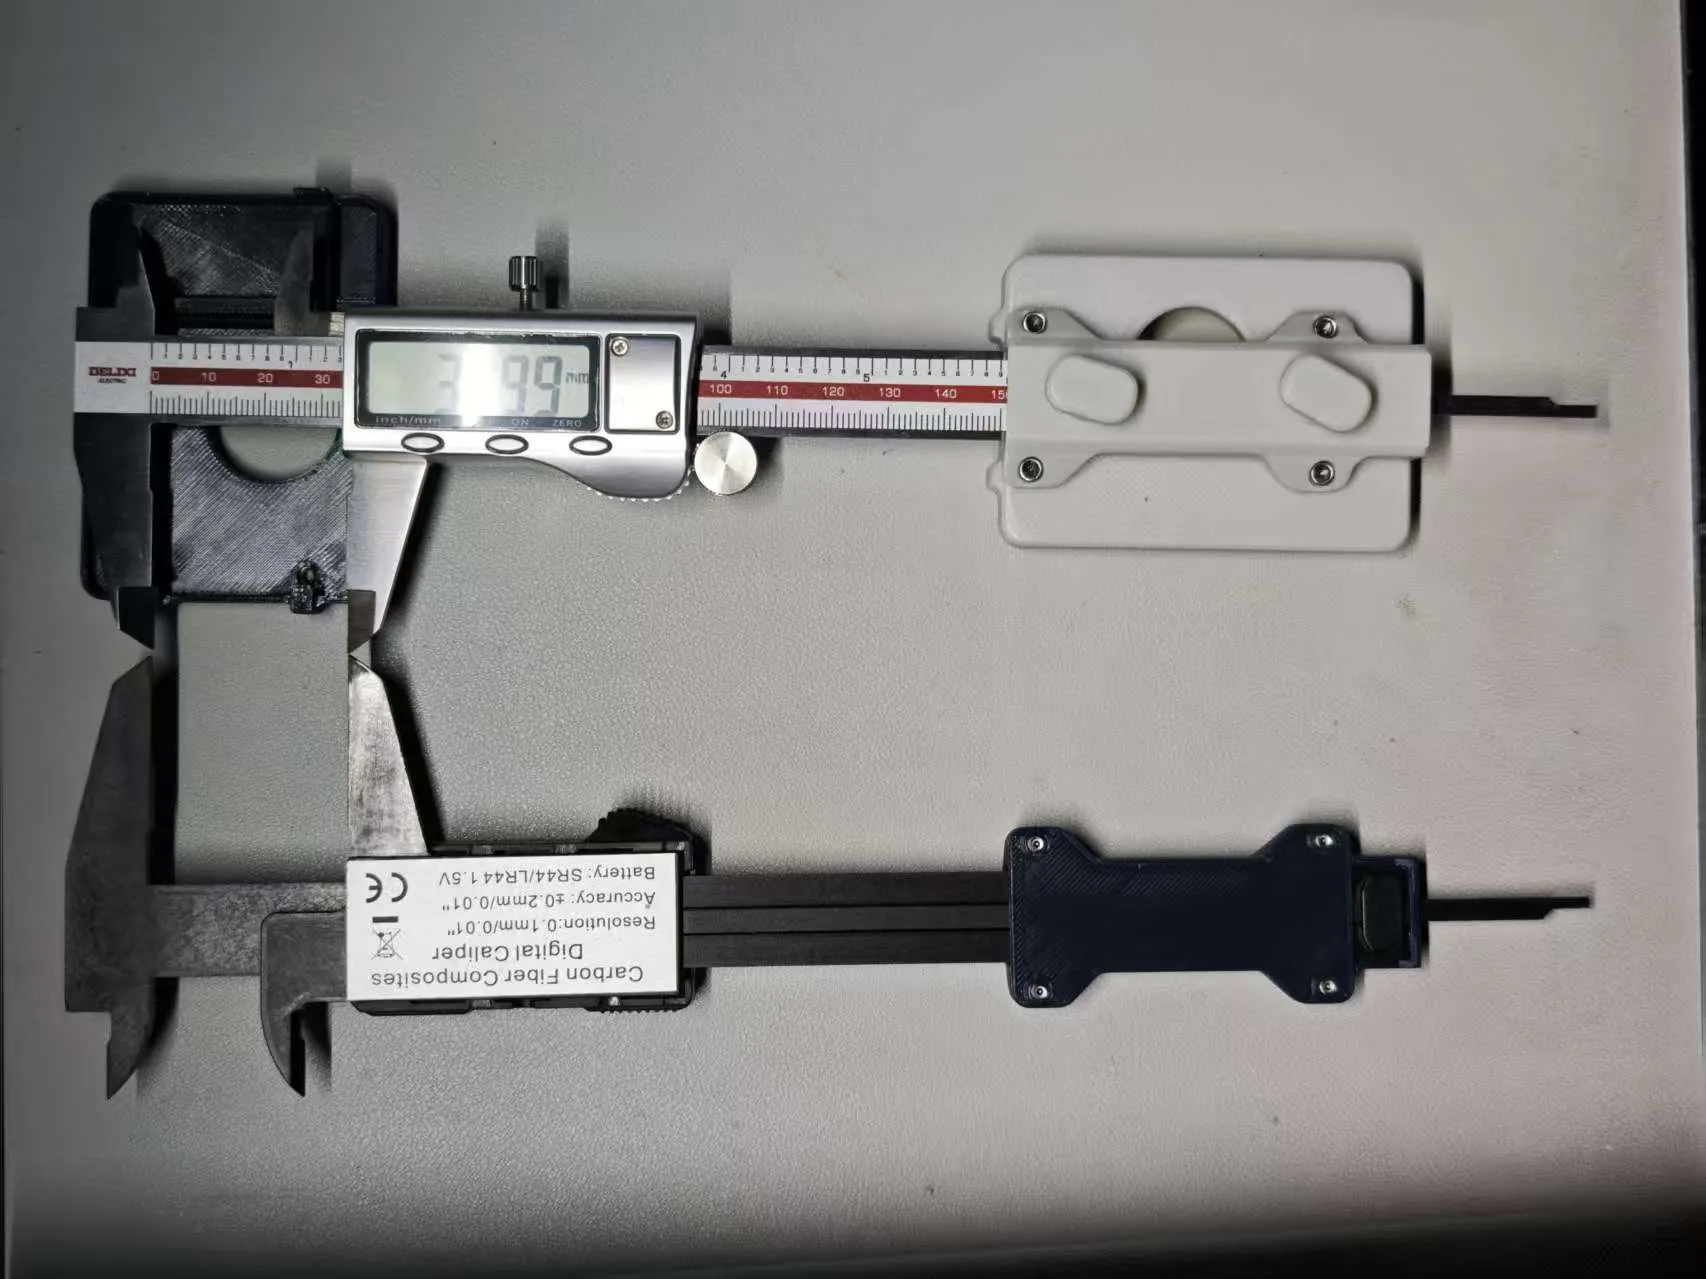
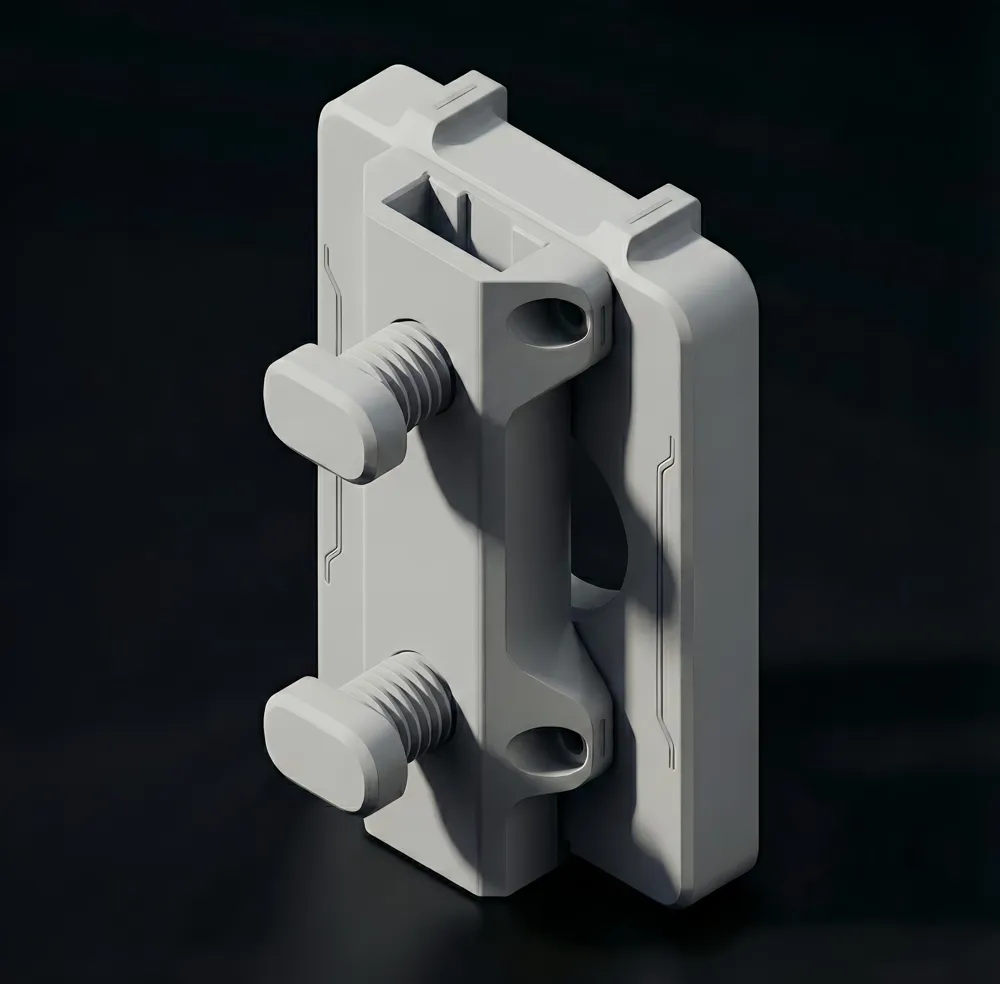
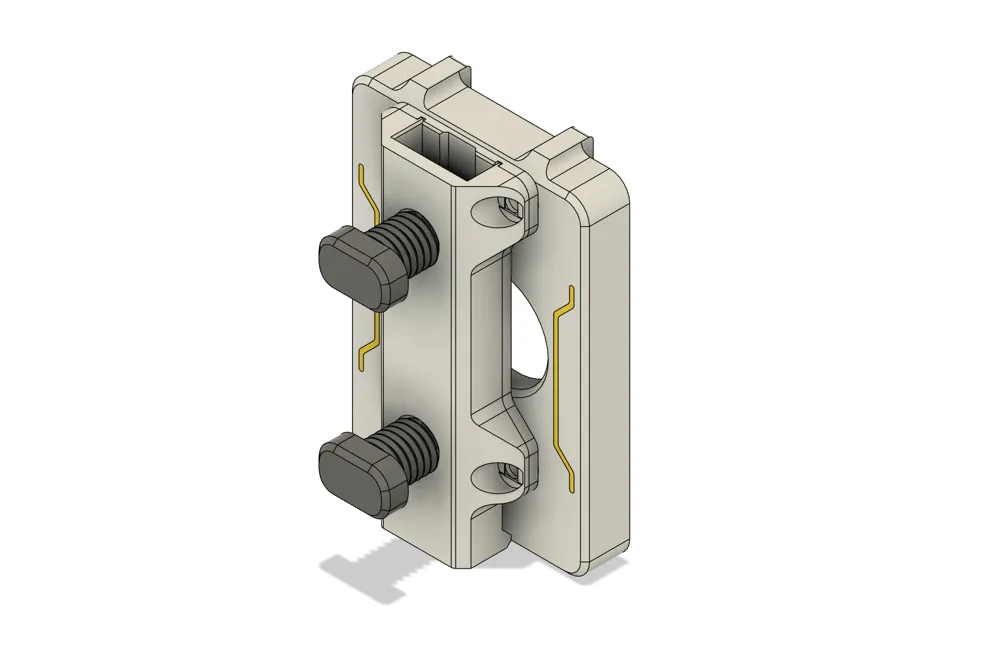
1 Assemble the printed accessories in place (do not install the two caliper fastening screws yet) (requires 4 M3*6 round head or cap head screws)
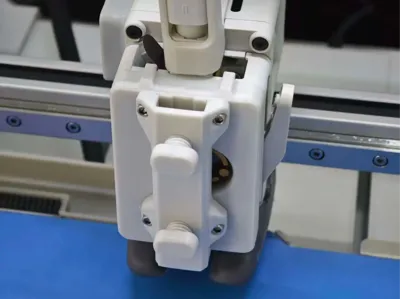
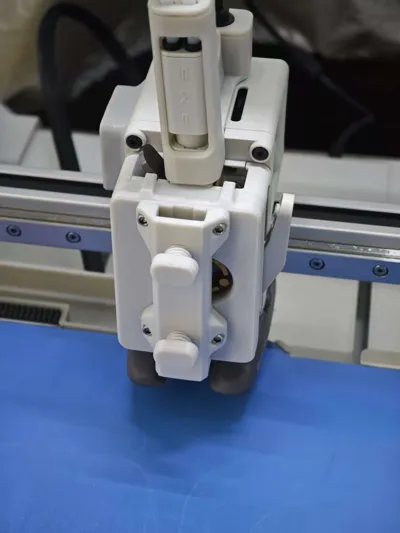
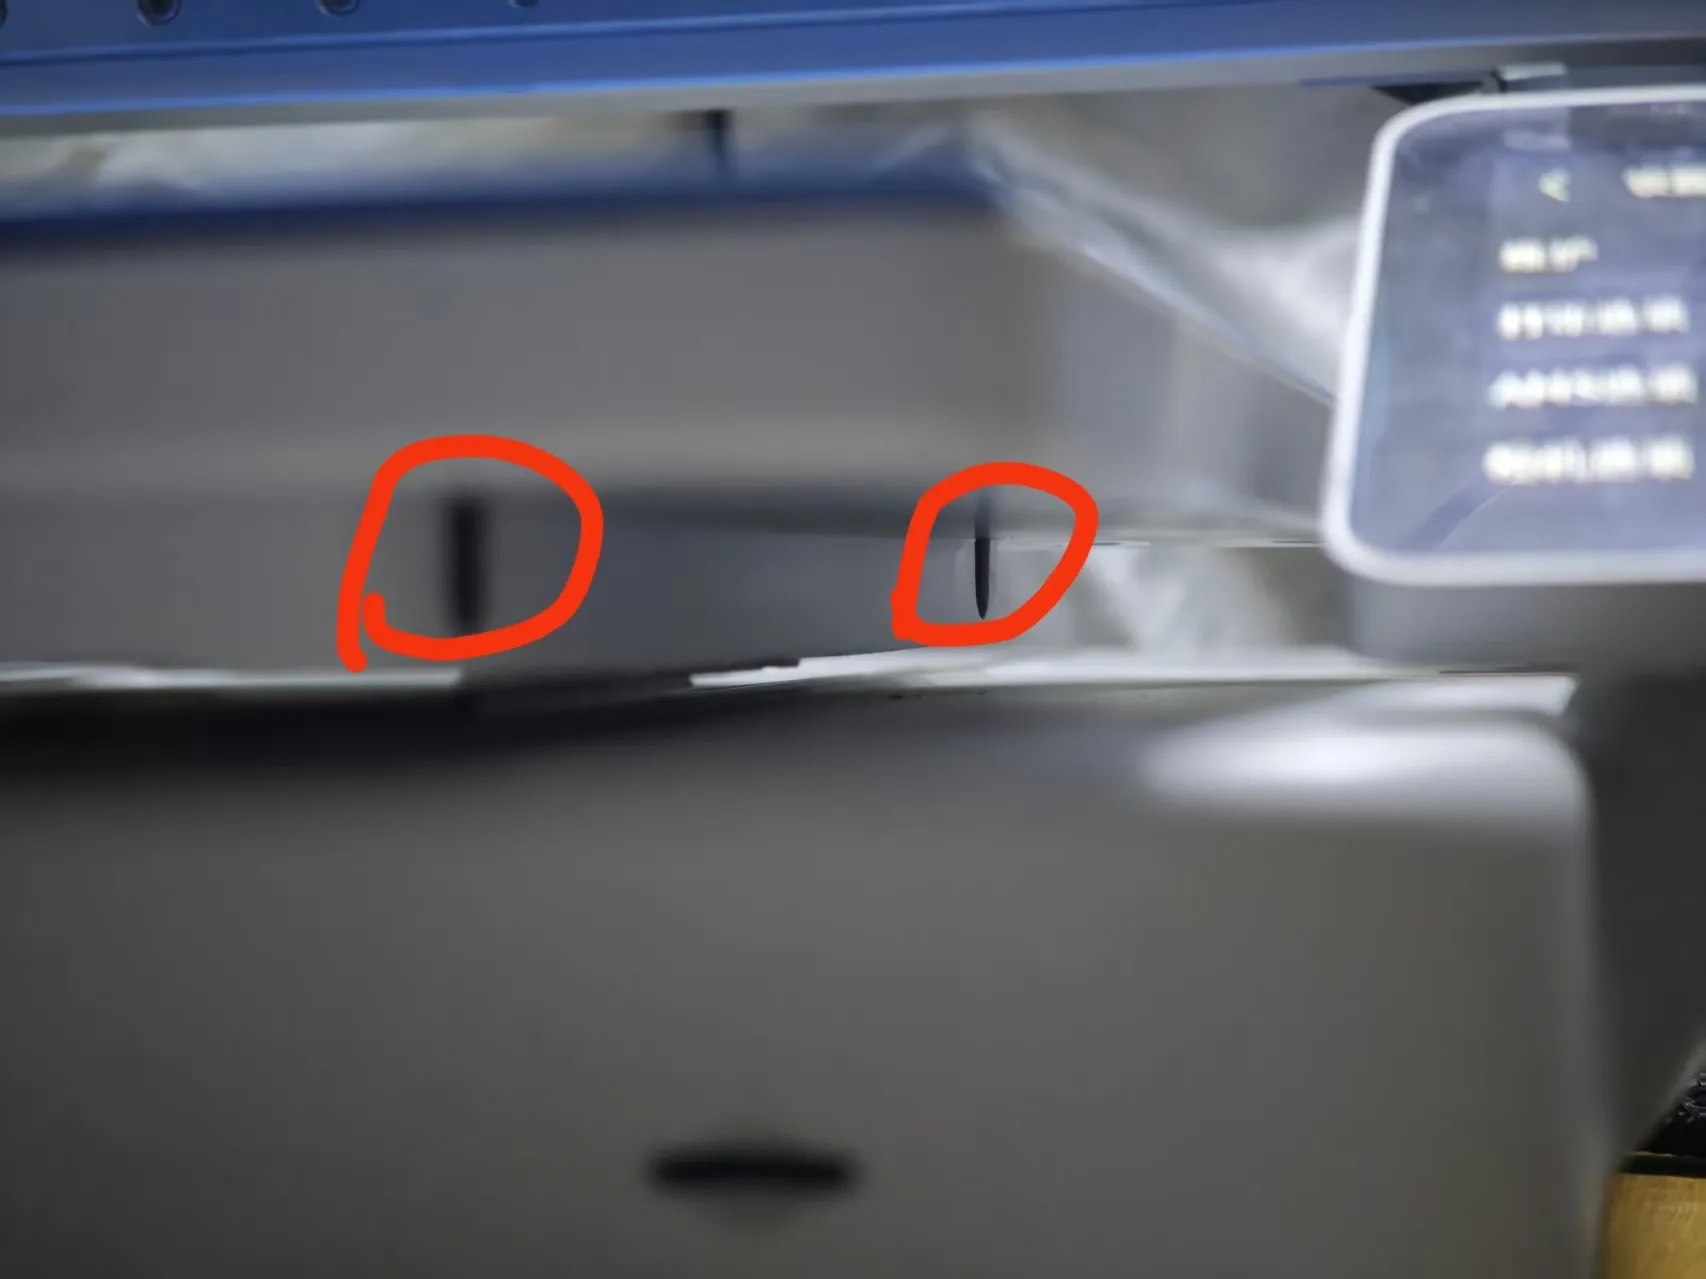
2 Snap the fixture into the toolhead (it's quite tight, apply force only after ensuring it's properly seated)
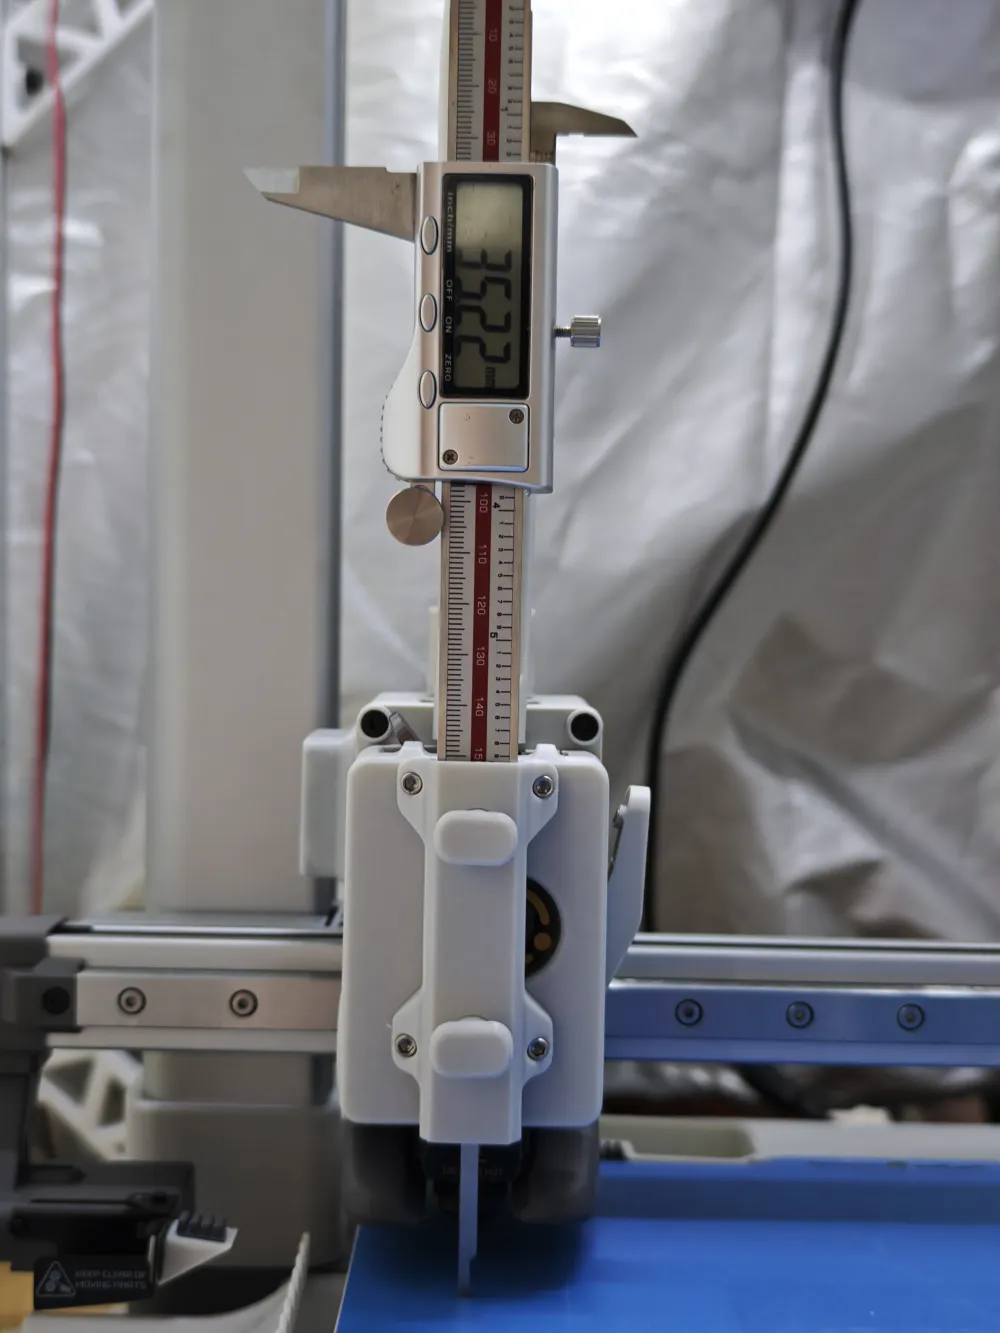
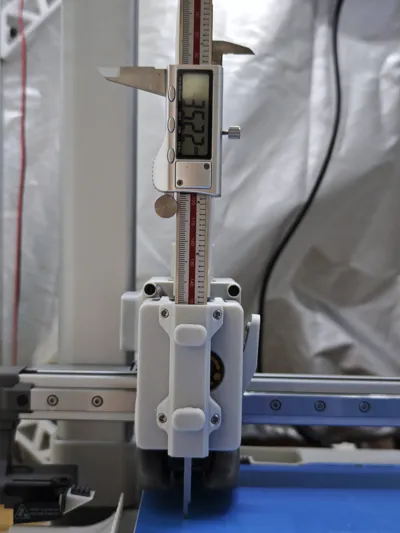
3 Insert the caliper into the fixture and then tighten it
4 After tightening the caliper, click the printer's homing button
5 After homing is complete, you can measure the height difference with the caliper's depth gauge
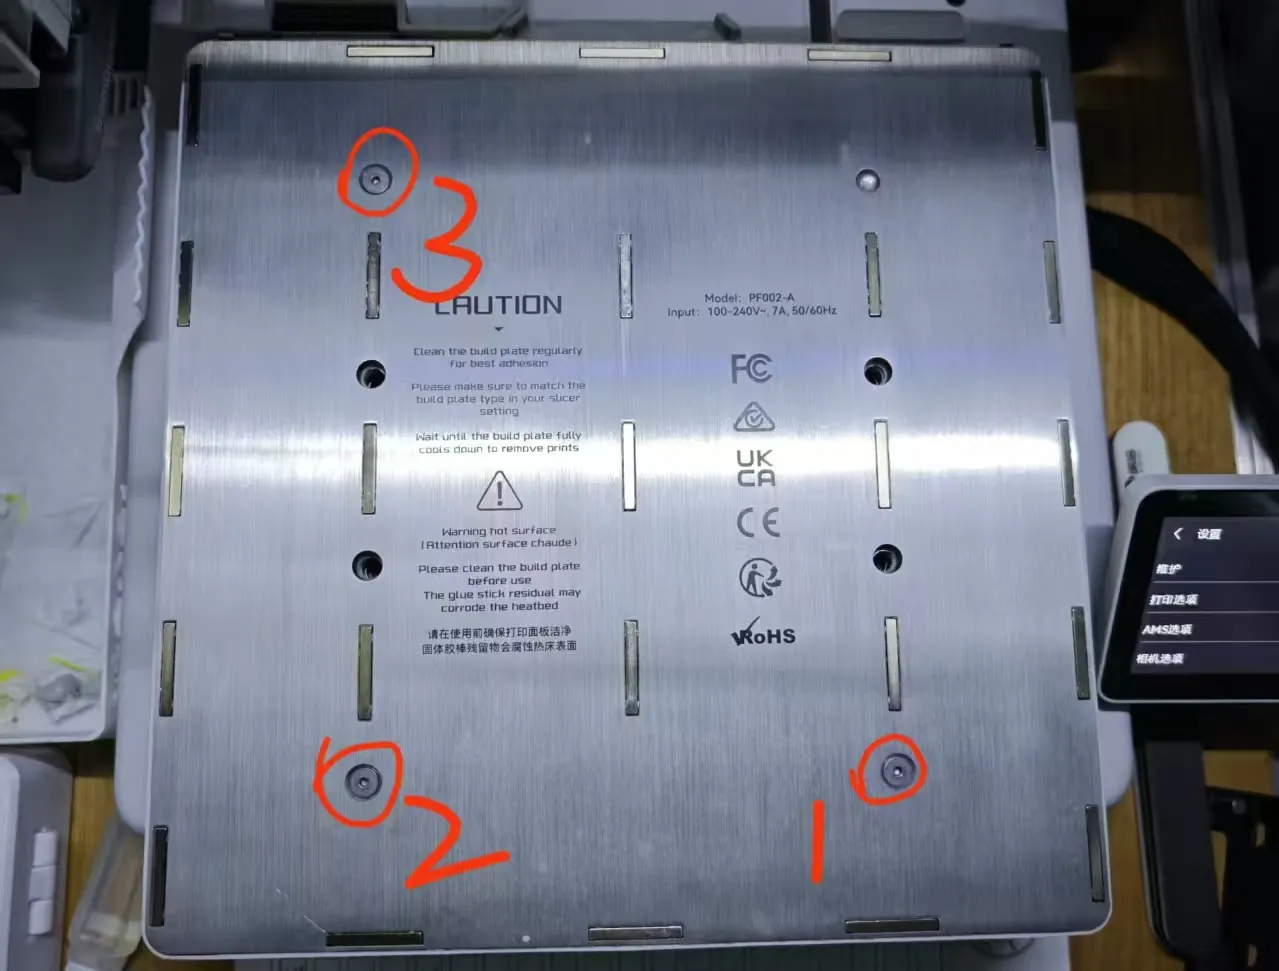
6 Loosen the two screws on the right side of the build plate
7 While measuring, continuously adjust the three screws of the build plate until the four corners are roughly level
License



Comment & Rating (1)