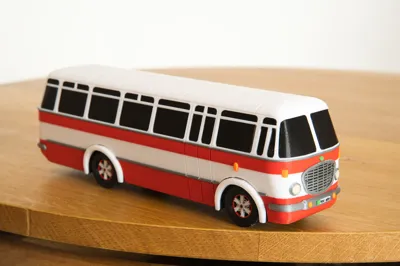
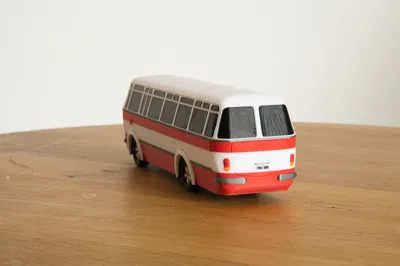
Škoda 706 RTO: The Classic (Easy Print 1:43)


Print Profile(4)


Bill of Materials


Description
Boost Me (for free)
If you like this project, a boost or sharing a pic of your print means a lot 😊
⚠️ Which version is right for you?
- This is Version A: Optimized for Robustness & Playable Fun. It prints in only 9 pieces on a single plate. Best for AMS users.
- Don't have an AMS? Or want to save filament waste and enjoy a detailed build? Download The Builder's Kit (No AMS) instead. (Requires glue, but saves waste).
Update notes
06.Jan.2026 - Wheels and Axles updated for easier assembly
The Road Legend
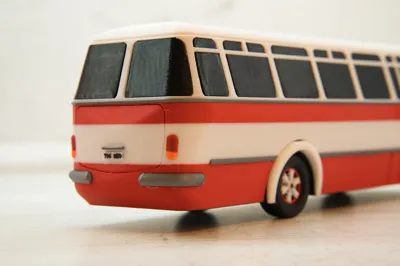
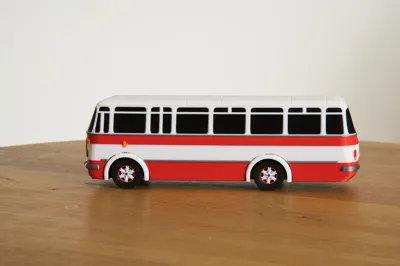
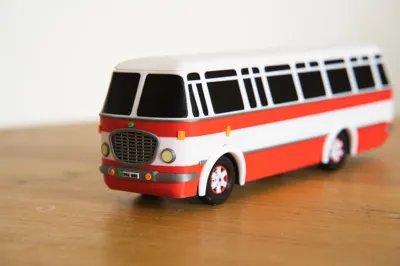
The Škoda 706 RTO is the definitive icon of Czechoslovak roads. This 1:43 scale tribute captures the golden age of travel in a form that is tough enough for the carpet and beautiful enough for the shelf.
⚡ Highlights
- No Hardware: 100% 3D printed.
- Click-Fit Assembly: 9 parts total. Snaps together in seconds. No glue needed.
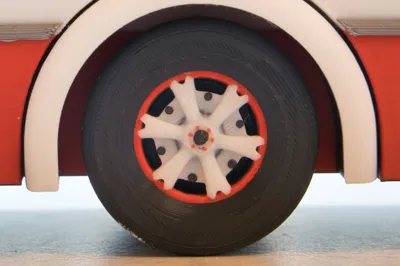
- Play Ready: Robust, monolithic body with fully rolling wheels.
- 1 Plate Project: Fits comfortably on standard 256x256mm printers.
⚙️ Smart Engineering
- Smooth Rolling: Custom low-friction wheel design rolls perfectly without metal bearings.
- FDM First: Designed specifically for 0.4mm nozzles. No fragile walls, no slicer tricks.
- Minimal Supports: Only 4 small supports (pre-tuned in the profiles).
🖨️ Print Profiles
- 🌈 Multi-Color (AMS / Toolchanger):
- 7-Color: The ultimate showcase (Vortek / multi-AMS).
- 4 & 5-Color: Optimized for standard AMS setups.
- ⚪ Single Color:
- Fast, clean, and sculptural. Perfect for painting yourself.
Print, Snap, Roll. Enjoy the ride!
🛠️ Assembly manual
Step 1 – Install the Slip Inserts
Press the two slip inserts into their slots on the underside of the bus body.
Push each insert straight in until it stops.
You may feel a very subtle click or positive stop.
Note:
Slip inserts are 3D-printed parts included with the model. They are designed with a reduced contact surface to minimize friction and allow the axle to rotate smoothly. No additional hardware is required.

Step 2 – Assemble the Axles and Wheels
Each axle shaft has one flat side on its end.
Each wheel hub has a matching flat slot.
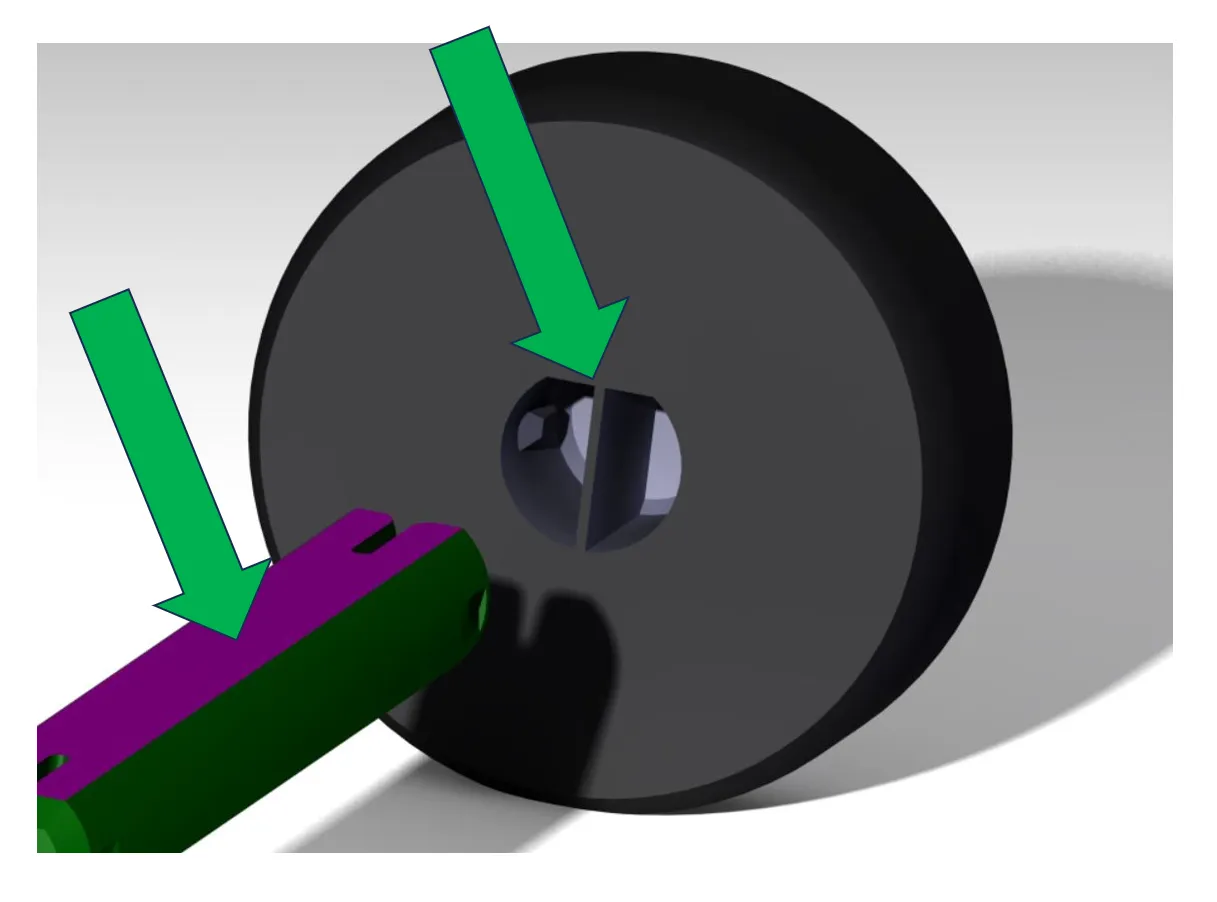
- Align the flat side of the shaft with the flat slot in the wheel.
- Press the wheel onto the shaft until it clicks into place.
- Insert the shaft (with one wheel installed) through the slip insert in the bus body.
- Align the flat side again and press the second wheel onto the shaft until it clicks.
Repeat the same process for the second axle.

Step 3 – Done
Your Škoda 706 RTO is fully assembled.
The wheels should rotate freely and smoothly.
Enjoy — and let it roll.
License
You shall not share, sub-license, sell, rent, host, transfer, or distribute in any way the digital or 3D printed versions of this object, nor any other derivative work of this object in its digital or physical format (including - but not limited to - remixes of this object, and hosting on other digital platforms). The objects may not be used without permission in any way whatsoever in which you charge money, or collect fees.
Comment & Rating (3)