Razorback from the Expanse


Print Profile(3)


Bill of Materials


Description
Introduction
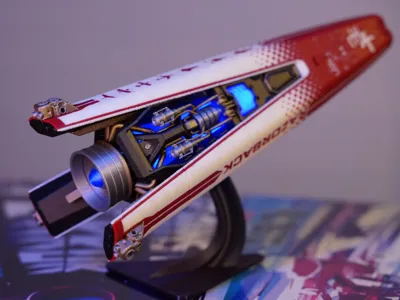
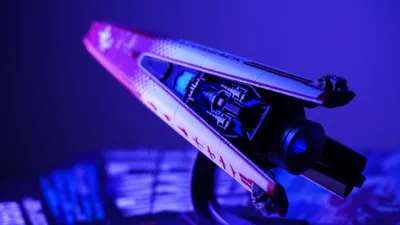
As an effort to push H2C and my design skills to the limits, I modeled the Razorback from one of my favorite shows the Expanse. The model is based on art illustrations found here by Ryan Dening. The entire ship was modeled using Fusion 360 with more than 900 features and produced 500+ parts. It is my most complex design project to date.
Features
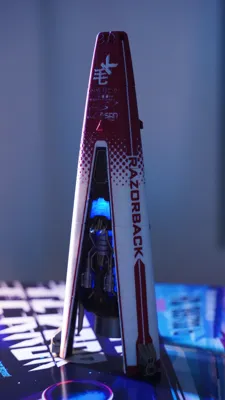
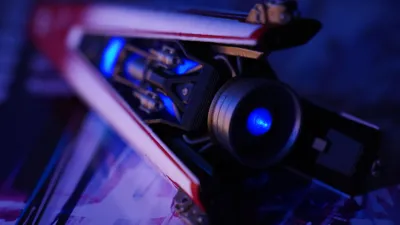
- Translucent core
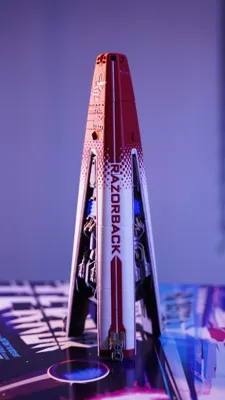
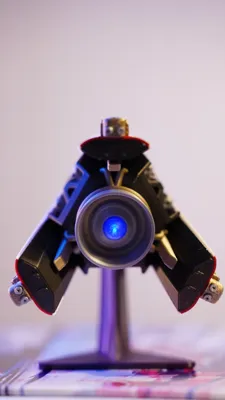
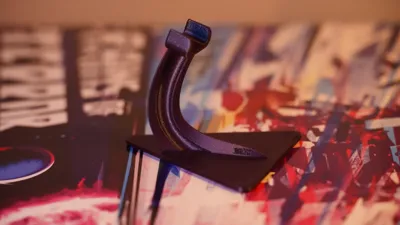
- Ship stand
- LED support
- Magnetic assembly
- Minimal support geometries
- Dimensions
- 78mm X 85mm X 235mm (The original ship is said to be 20m long)
Change Log
2/1/2026 Default (Experimental) print profile update: Lowered tree support branch distance from 5 to 1 to force a smooth interface layer. As shown below:

- 12/20/2025 Default (Experimental) print profile update: Added support for small fins on the cap. Fixed cap bottom geometry so the first layer is correct.
Printing

The model in theory* can be printed in 2 parts with no need for gluing parts together, thanks to the unique shape of the ship. Small amount of support is still needed in this case however. Bed adhesion will be critical due to the height of the model.
You will find 2 profiles, one Default with 2 parts, and one Split with split parts. The model pictures are from the one printed using Split parts. Nonetheless the complete models are provided in the Default profile and they can be split differently too.
Materials
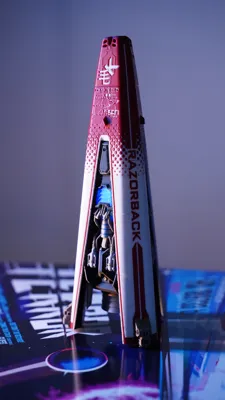
Shown on the right are 2 iterations. The one on the right uses 5 colors, while the one on the left uses 6, with colors as close to the original design as possible.
| Filament (PLA) | Left | Right |
| Basic Maroon Red | Matte Dark Red | |
| Basic white | Matte white | |
| Metal Iridium gold | Silk+ gold | |
| Basic Silver | Metal iron gray |
*Due to temporary limitation I had to print the model split in multiple parts. While this completely avoided the need for support, gluing is still required. In the future I will experiment with non-split prints and using 0.2mm nozzles.
Assembly
Split Part Assembly
- If using Split parts profile, simply glue together the cap parts and main body parts separately. The base part has pins while the rest require dowels. The dowels can be too large sometimes so they may need to be scaled down. They are for alignment and are not strictly necessary.
Magnets & LED

- 7 6x2mm magnets in total are required. 4 for the cap, and 3 for the main body. The LED can be magnetically attached to the center base of the cap, with the battery side.
- The LED is magnetically operated, so you can use the embedded magnets in the main body to operate the LED after taking it apart.
Stand

- The stand uses one of the engine casing as grip. The ship can sit on one of the 3 engine sides as shown.
If you like my work and want to support me, here is my Patreon ❤️
License
You shall not share, sub-license, sell, rent, host, transfer, or distribute in any way the digital or 3D printed versions of this object, nor any other derivative work of this object in its digital or physical format (including - but not limited to - remixes of this object, and hosting on other digital platforms). The objects may not be used without permission in any way whatsoever in which you charge money, or collect fees.
Comment & Rating (156)