
Fidget EDC Dual Bead Slot Chocolate Mechanical Slider
Print Profile(1)

Description
Personal Catalog NO.111, Difficulty: ⭐⭐
Original Author: LAUTIE老铁匠
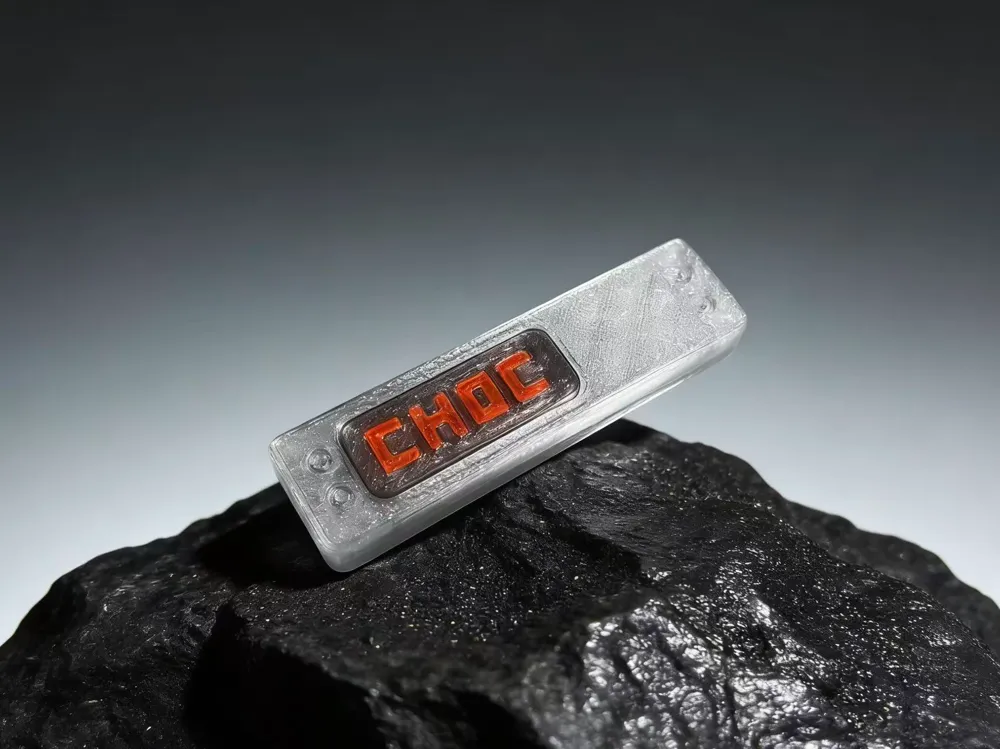
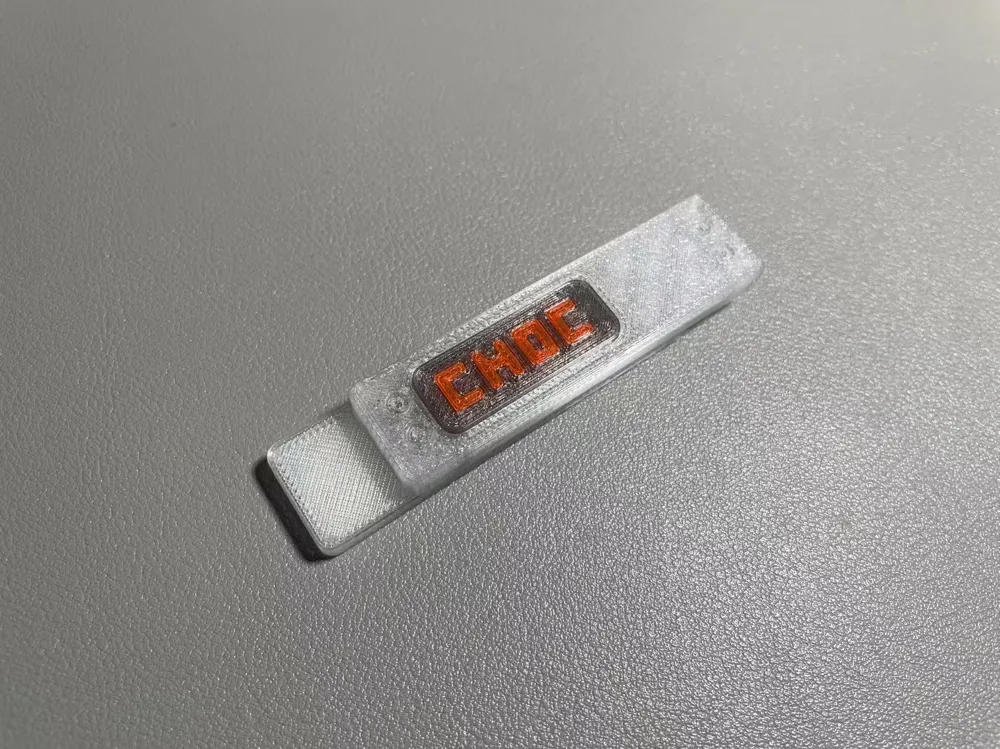
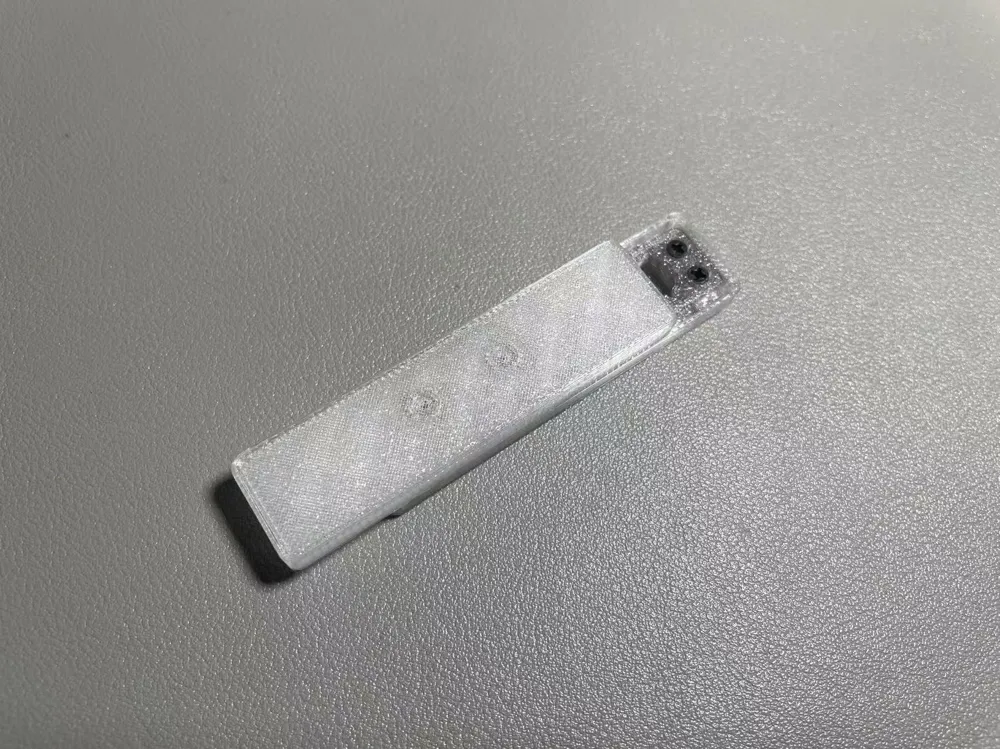

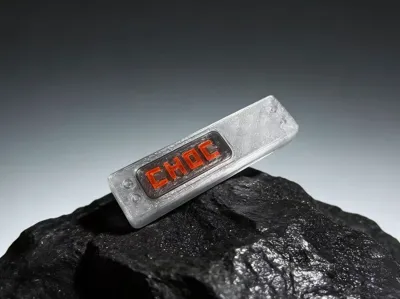
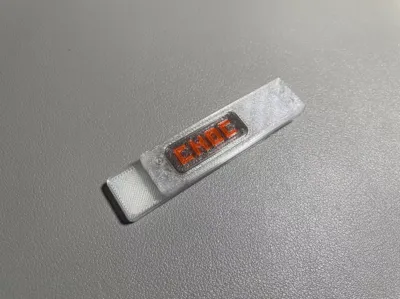
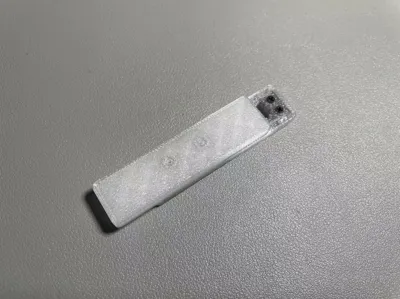
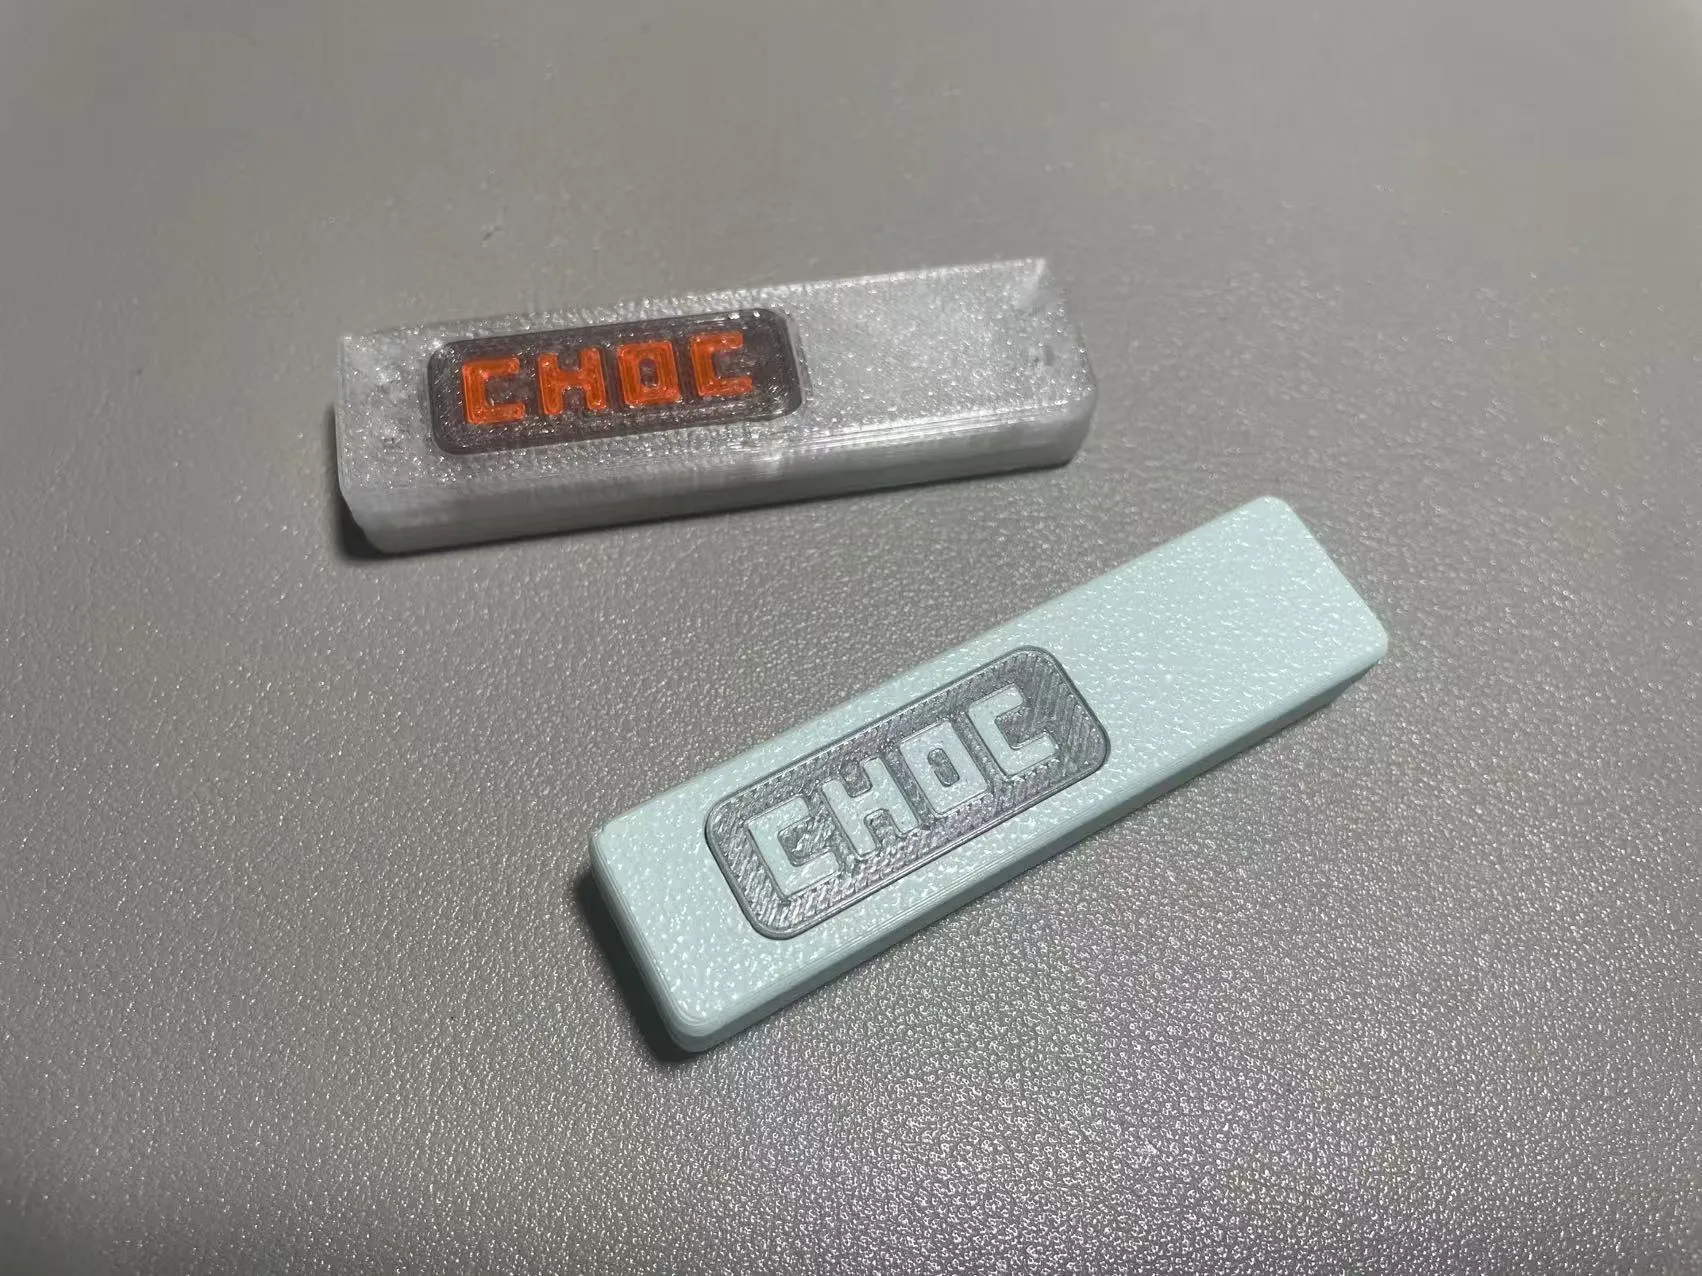
Chocolate. It's quite small and portable, a classic that speaks for itself. The text is intentionally drawn in reverse, and the print structure has been adjusted according to my needs, thickened, entirely secured with screws, and bead grooves added. Assembly is relatively simple, but the feel requires adjustment. I personally find the 0.3mm diameter spring to be harder and crisper, leaning towards a clicky effect for a tactile play style. The 0.2mm diameter spring can produce an electric current sound, suitable for a rapid reciprocal play style. With skill, it might be possible to create high and low tones using dual bead grooves
For PETG printing, adhesive spray is a must, otherwise, there's a high chance of print failure!
Standard plate 1-2, plate 3 is an empty patch for personal DIY, take as needed
The track supports have been specially configured. The trick to easy removal is that the first layer of the support base follows the same direction as the track. If you can't adjust it, it's not recommended to modify the plate arrangement
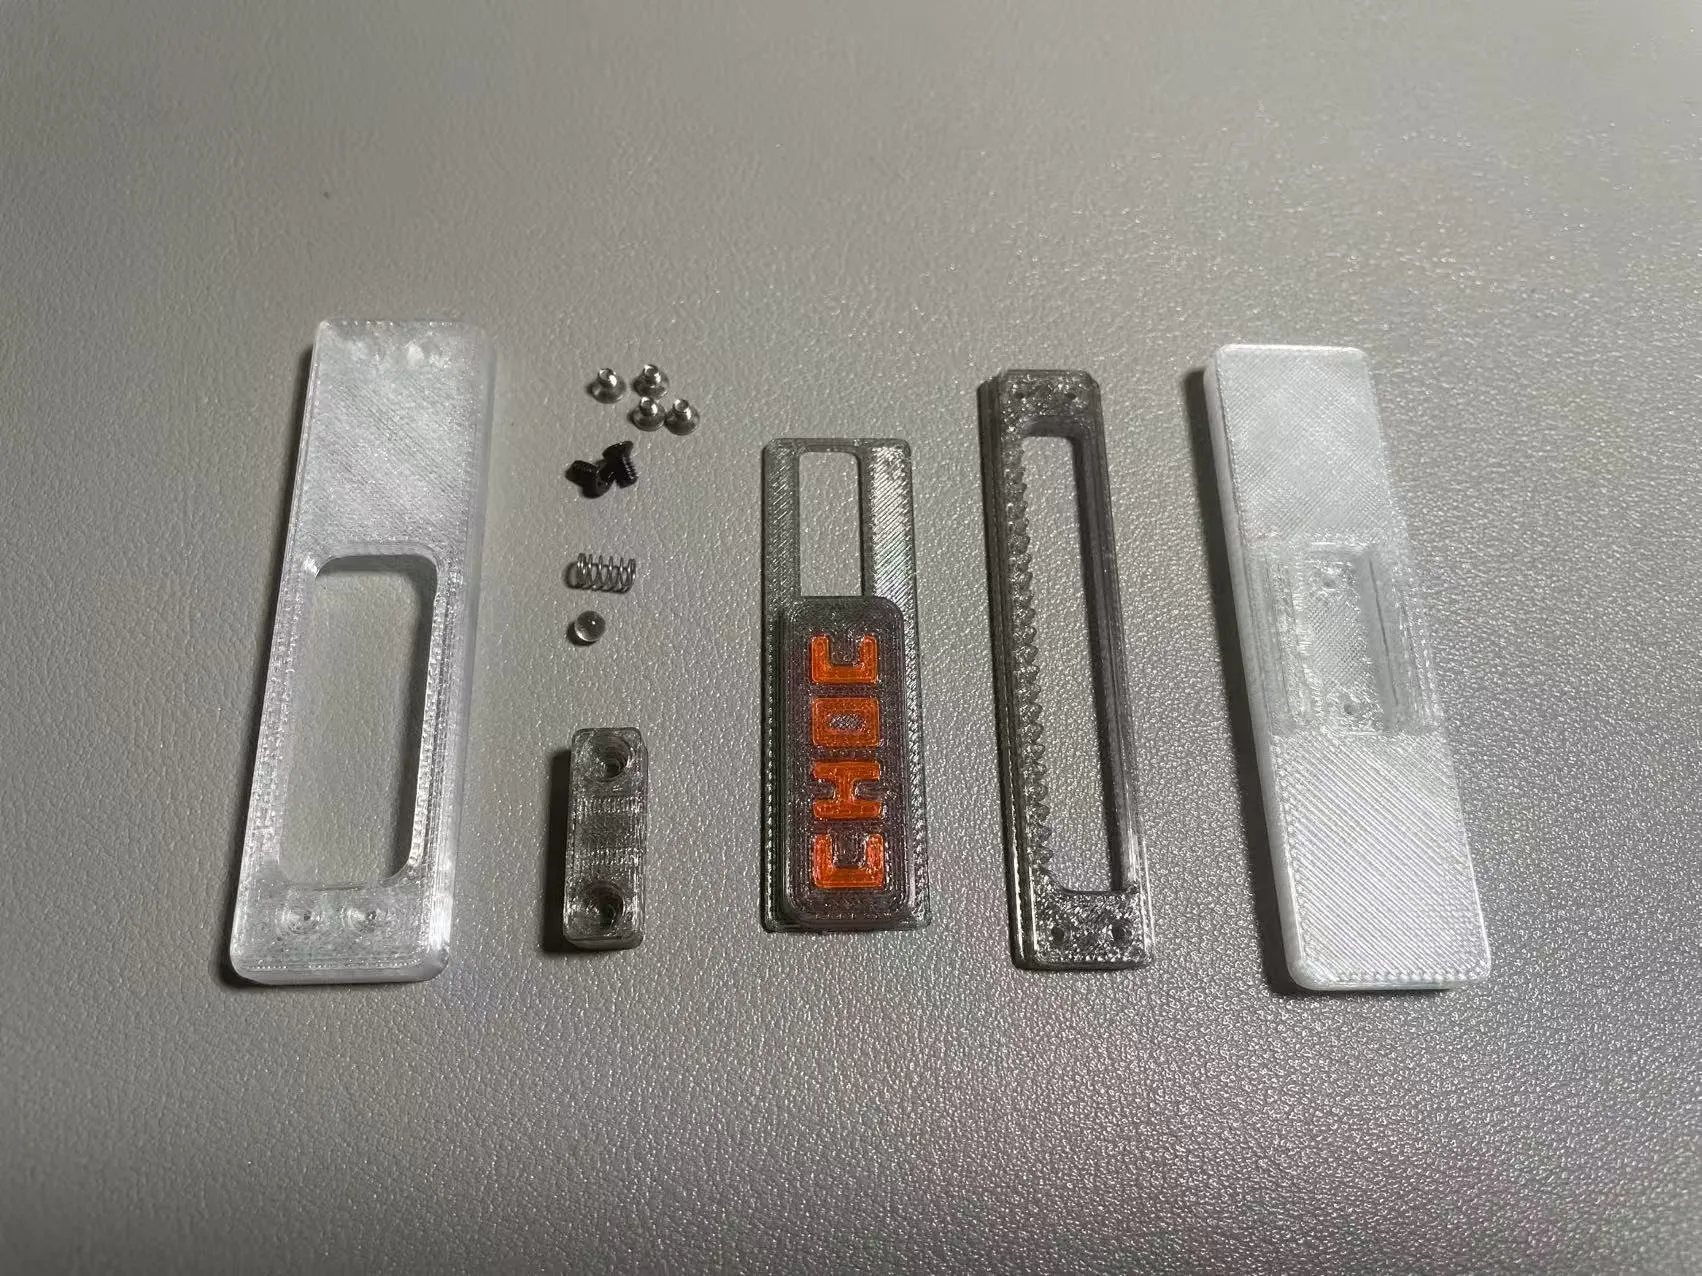
- Accessories to prepare:
- 6 M2*4mm countersunk screws
- 1-2 3mm glass beads
1-2 0.3*3*5 springs or 0.2*3*5 springs, adjust according to personal feel
Parts overview:
Assembly steps:
① Insert the serrated track into the base plate, test the sliding effect
② Place the spring and bead into the stopper block, insert it into the square recess of the base plate, and tighten 2 M2*4mm countersunk screws to secure it
These 2 screws must be tightened completely, otherwise, if the slider is too high, it will affect the assembly of other parts. If there are material expansion issues, the slider can be slightly scaled on the Z-axis
③ After combining the text patch and the top cover, place it on top, slide to expose the screw holes, tighten the remaining 4 M2*4mm countersunk screws to secure it, and it's done
License

You shall not share, sub-license, sell, rent, host, transfer, or distribute in any way the digital or 3D printed versions of this object, nor any other derivative work of this object in its digital or physical format (including - but not limited to - remixes of this object, and hosting on other digital platforms). The objects may not be used without permission in any way whatsoever in which you charge money, or collect fees.


Comment & Rating (3)