
Filament Drain Line for Bambu H2 Series
Print Profile(2)


Description
Boost Me (for free)
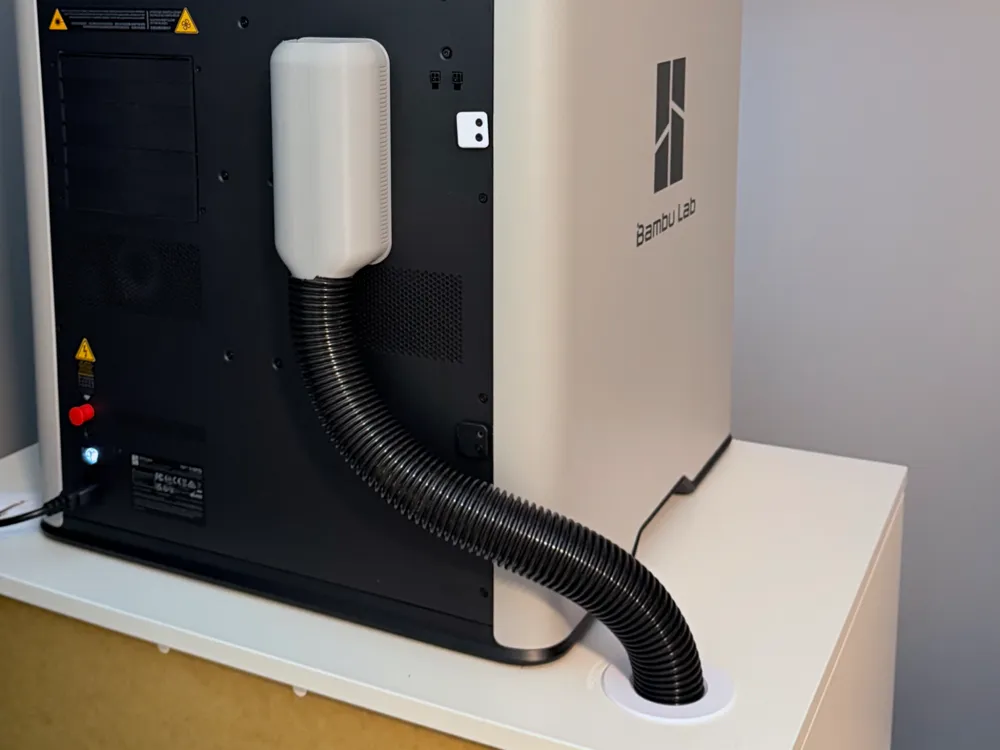
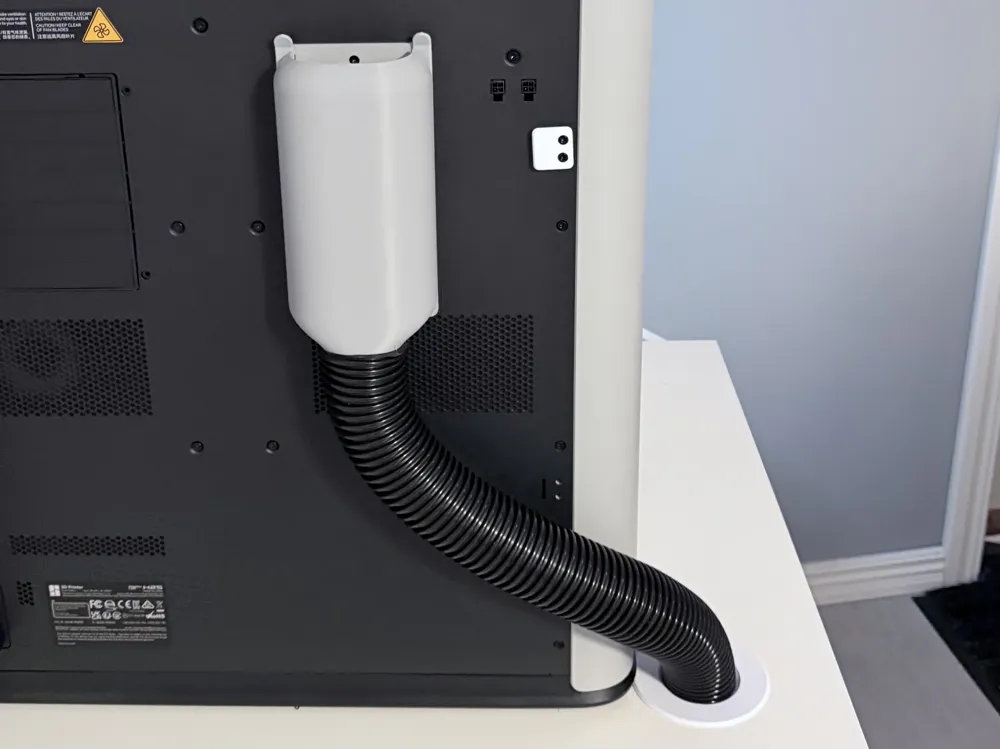
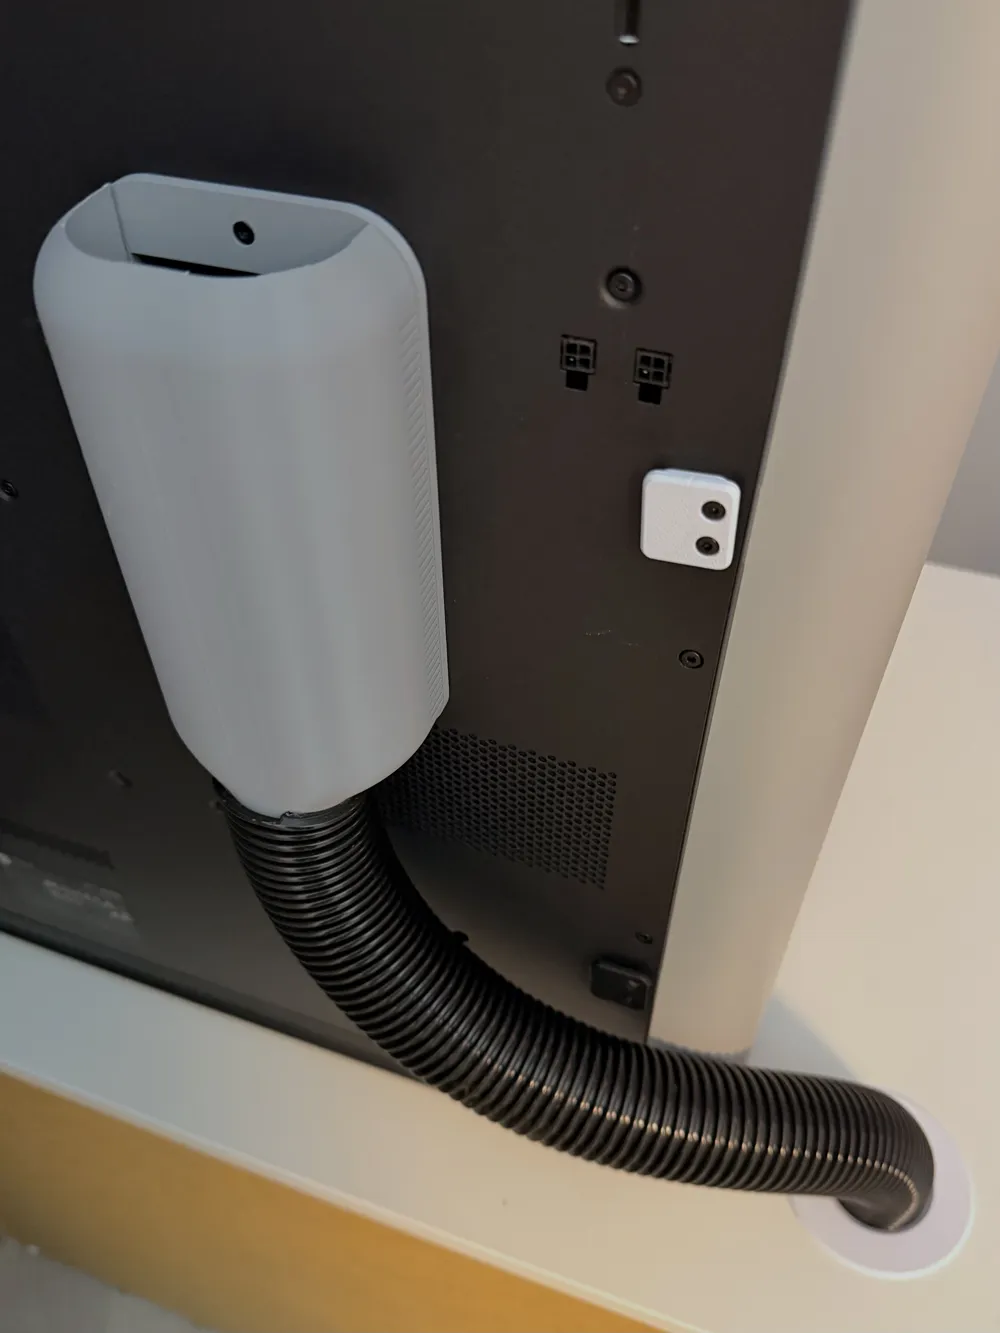
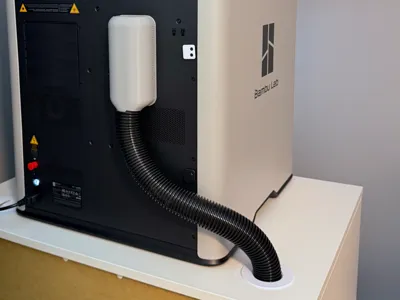
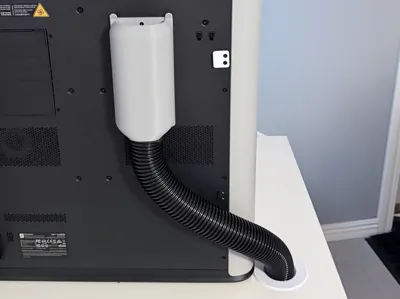
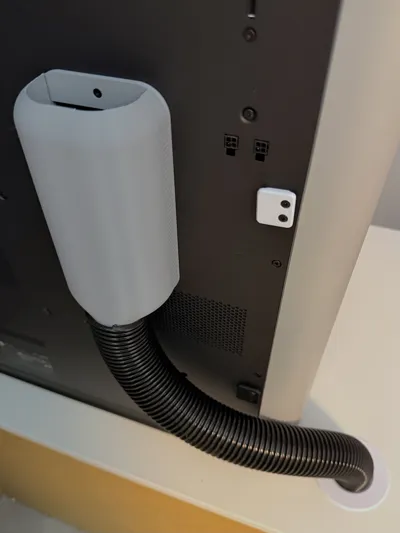
Filament Drain Line is a through-surface filament waste solution for Bambu H2-series printers. It guides filament waste from the printer’s purge chute down through a surface and into a container below, keeping the area around the printer free from purge debris.
The design uses a standard 38 mm corrugated vacuum cleaner hose as the flexible section between the printer and the surface.
Parts
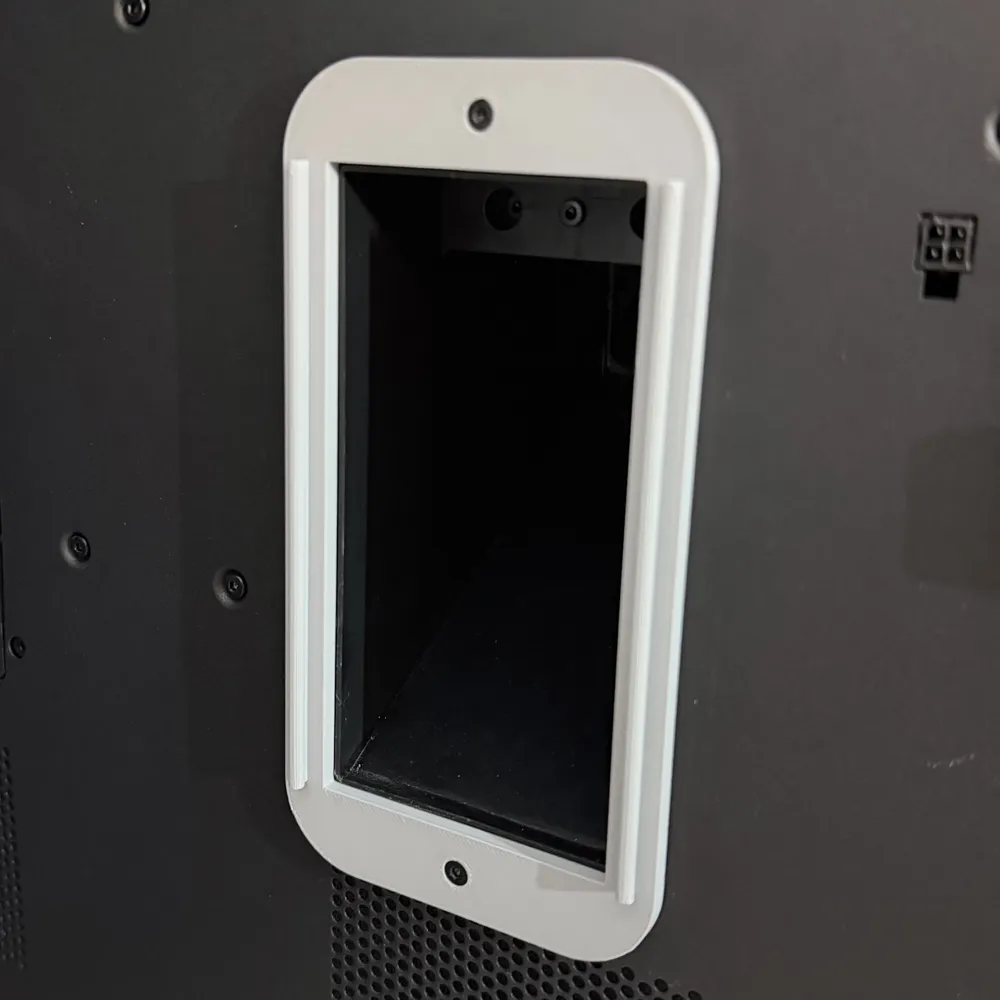
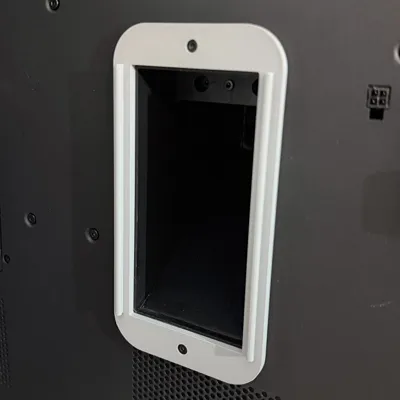
- Mounting Bracket: Attaches to the printer using the existing screws around the purge chute.
- Hose Connector: Slides onto the mounting bracket from above and provides a threaded interface for the hose. The connector has an open top, making it easy to see into the purge path during installation and operation.
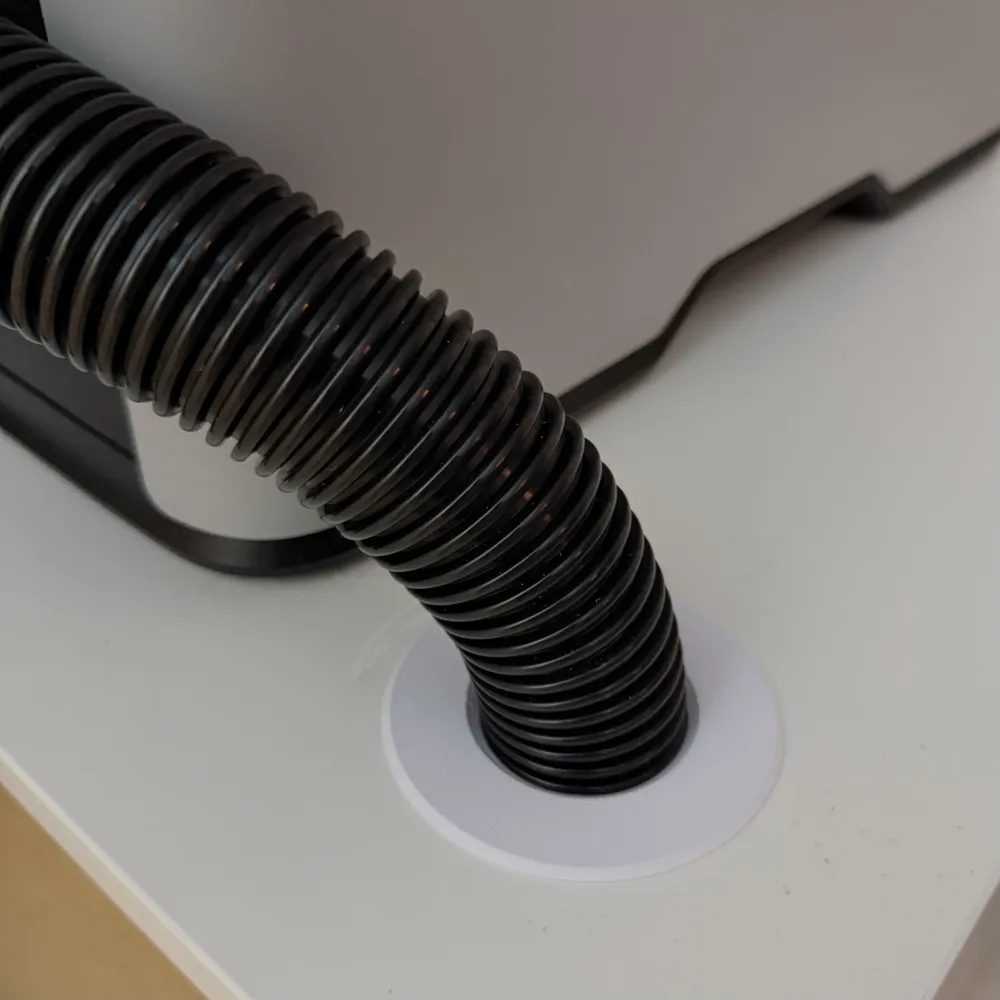
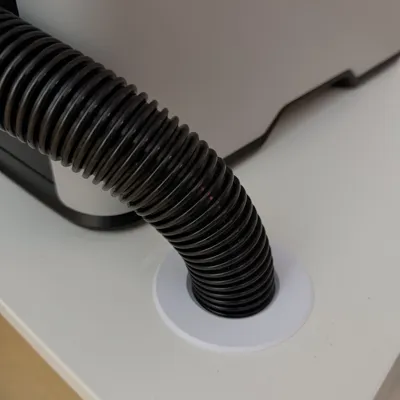
- Grommet (Top + Bottom): Clamps into a drilled hole in the surface and holds the hose in place.
Requirements
- Bambu H2-series printer
- Standard 38 mm corrugated vacuum cleaner hose
- Drill hole in surface: 58–70 mm diameter
- Container or bin placed below the surface
Installation
- Mounting the bracket
- Remove the screws located above and below the printer’s purge chute.
- Position the mounting bracket.
- Reinstall the same screws to secure the bracket.
- Attaching the hose connector
- Slide the hose connector onto the mounting bracket from above until the latches click into place.
- Screw the vacuum hose onto the hose connector. The hose uses a left-hand helix, opposite of what is commonly used for tightening screws, so it must be rotated in the opposite direction to tighten.
- Installing the grommet
- Drill a 58–70 mm hole in the surface.
- Screw the top grommet onto the free end of the hose.
- Insert the grommet into the hole from above.
- From below the surface, screw on the bottom grommet to clamp everything in place.
- Final setup
- Route the hose as vertically as possible to ensure reliable gravity-fed purge flow.
- Place a container below the surface to collect filament waste.
- Verify that purge material from the printer falls freely through the hose.
Notes
- The grommet supports surface thicknesses up to 50 mm.
- The grommet is optional; the system can also be used with only the hose connector if a different routing solution is preferred.
Change Log
2025-12-29: Added flexible retention latches to the hose connector to prevent it from sliding upward along the mounting bracket when under tension from the hose.
This parametric model was made using Cadova, the CAD DSL for Swift.
License

You may create derivative works based on this object, provided that all such derivative works are published exclusively on the MakerWorld platform and include proper attribution to the original creator. You may not share, upload, host, distribute, or publish this object—or any derivative work of this object—on any other digital platform, marketplace, or distribution channel. Commercial use of this object and any derivative works is strictly prohibited. This includes, but is not limited to, selling, renting, sublicensing, or using the object in any context in which you receive monetary compensation or other financial benefits.


Comment & Rating (73)