
Glow Party Neon Headband and Glasses
Print Profile(2)

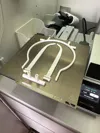

Description

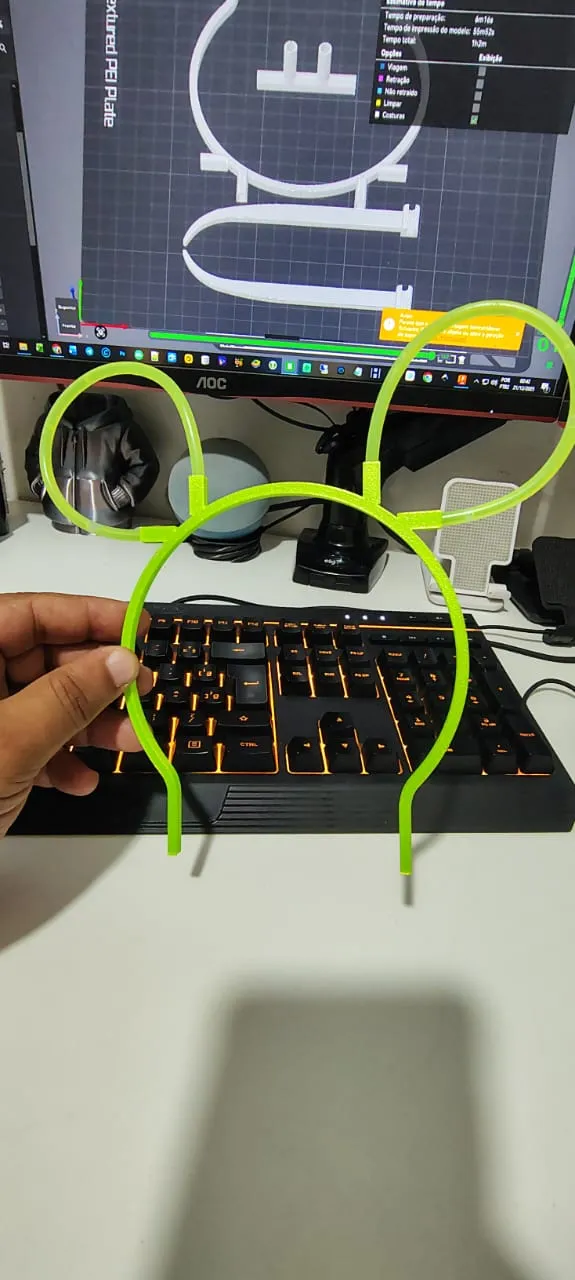
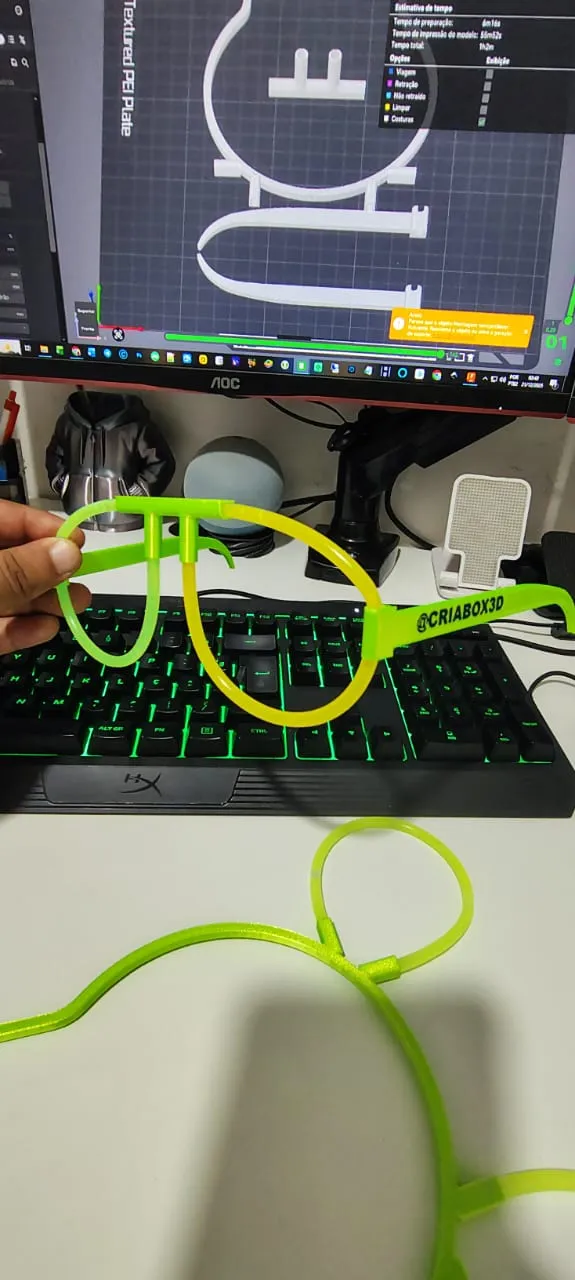
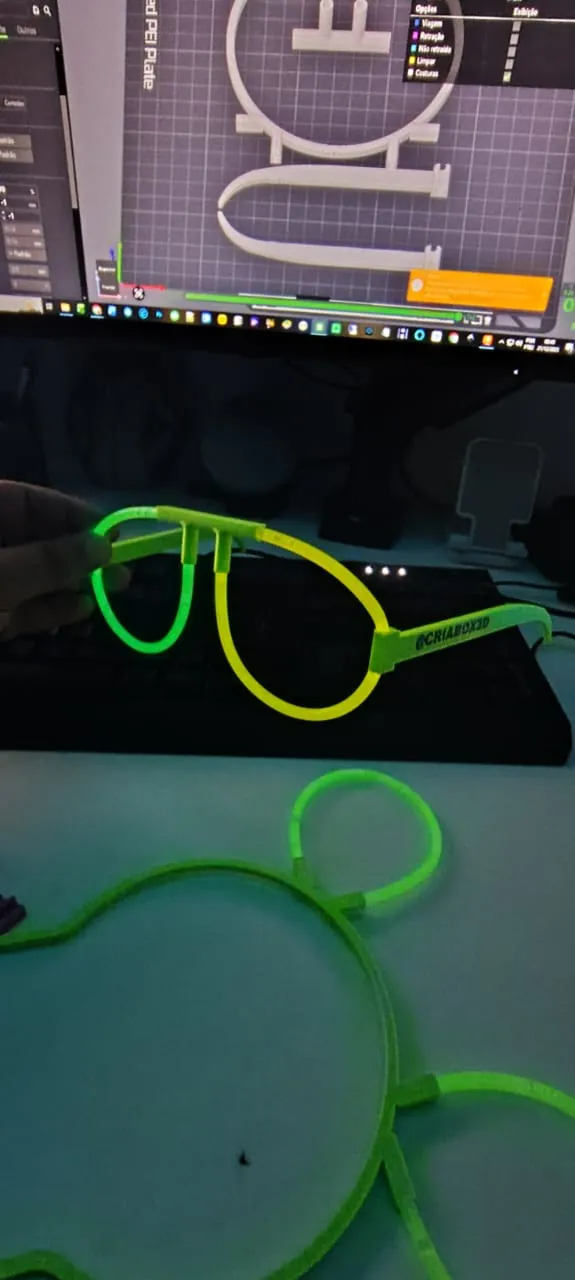
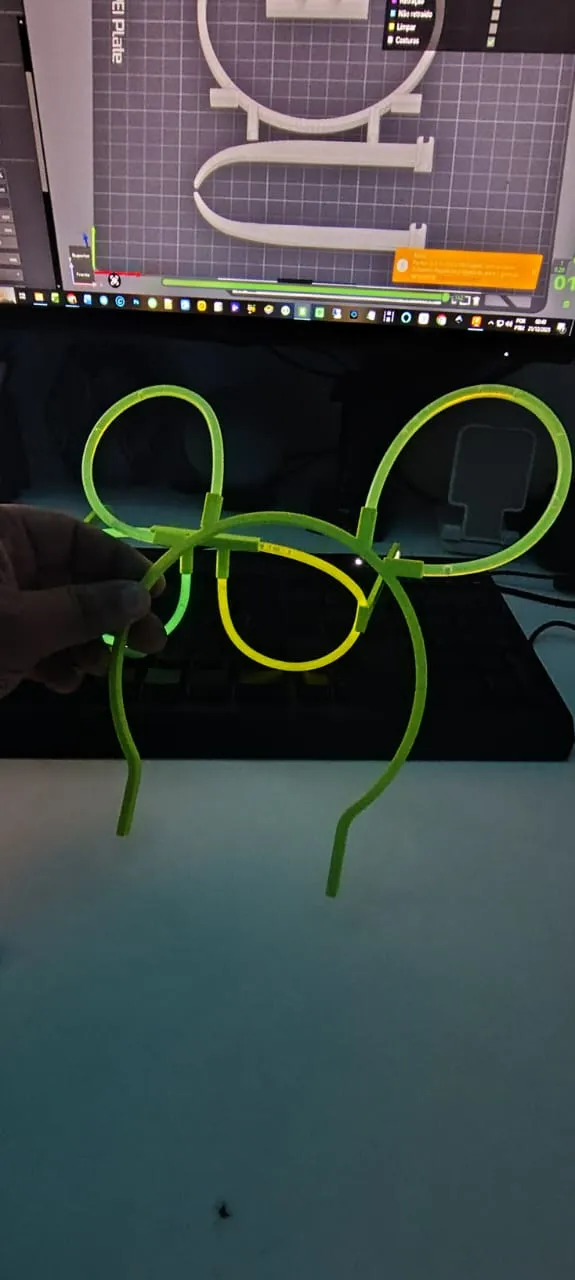
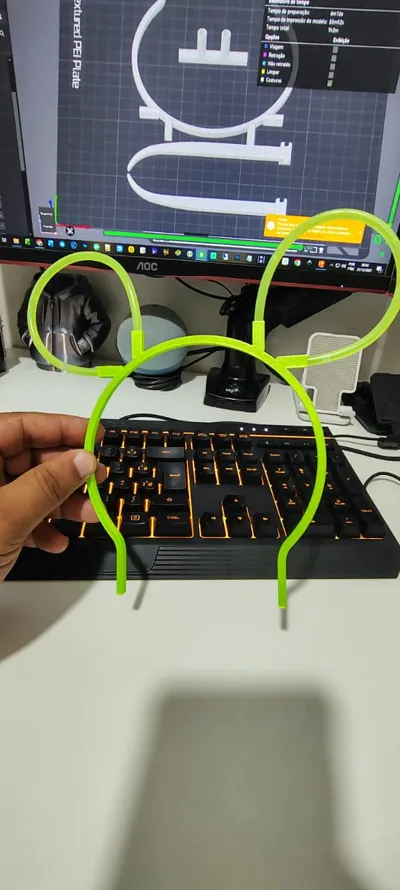
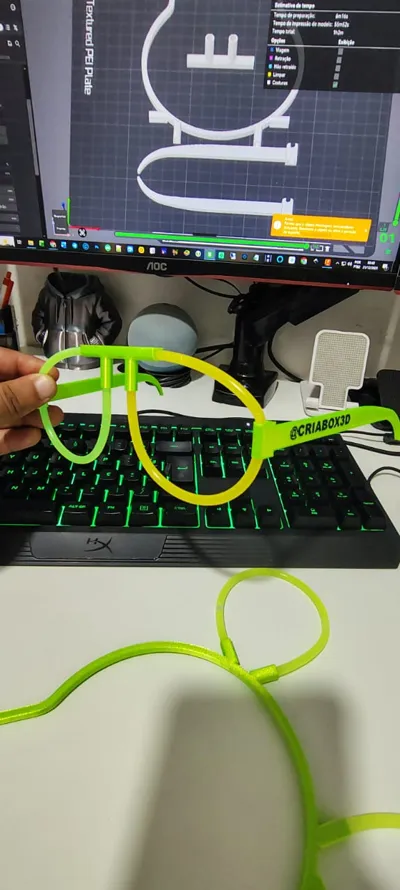
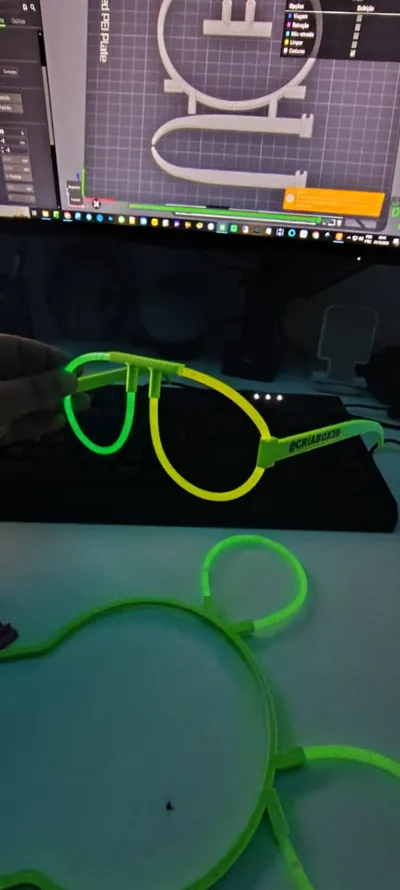
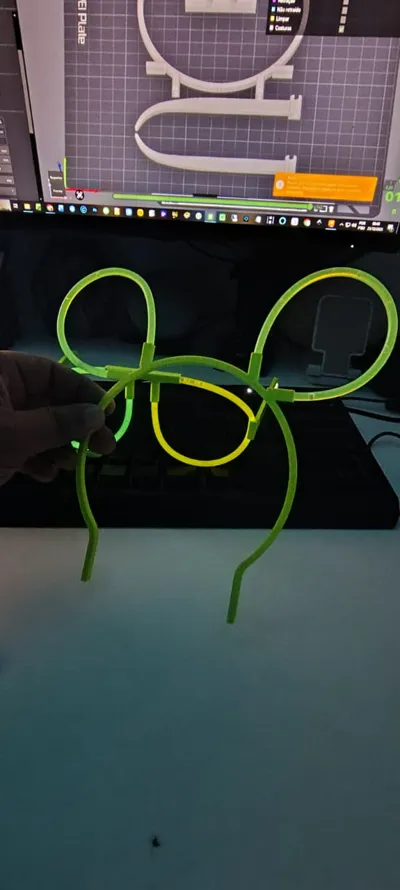
This model was developed to be used with neon bracelets, very common at night parties, clubs, events, and themed parties.

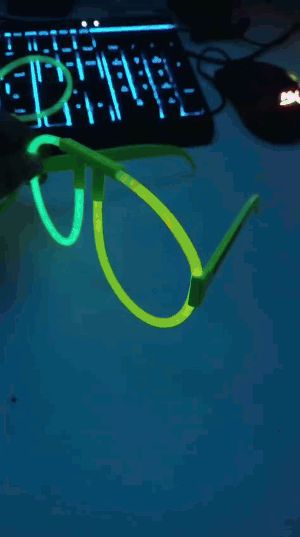
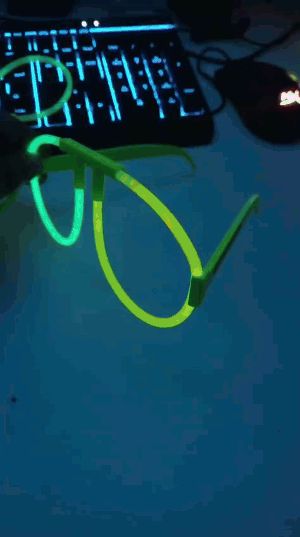
The idea is simple and fun: fit the neon bracelet into the printed structure, creating a headband or glasses frame that stands out in the dark and under black light (UV).
The models were designed to be easy to print, consume little material, and allow for text customization, even for those just starting with 3D printing.
✨ What's included in the download
- Neon Headband Model
- Neon Glasses Frame Model
- Models with editable text
- Ready-to-print 3D files
(Neon bracelet NOT included – used for demonstration in images only)
🖨️ Printing Recommendations
- Material: PLA or PETG
- Nozzle: 0.4 mm
- Layer height: 0.2 mm
- Infill: 10% to 20%
- No supports needed
- Single-color print
(neon colors are highly recommended)
✏️ How to change name/text in Bambu Studio (Step-by-Step)
This model allows text customization directly in Bambu Studio, without needing any modeling software.
🔹 Step 1 – Open the file
Open the model normally in Bambu Studio.
🔹 Step 2 – Access the Objects tab
In the left sidebar, click on the Objects tab.
This tab shows all the parts that make up the model.
🔹 Step 3 – Locate the text
Within the object list, look for items called:
- text_shape
⚠️ Important:
The model text always appears with the name text_shape.
If there are two texts, you will see two text_shape items in the list.
🔹 Step 4 – Select the text
Click on the text_shape you want to change.
The corresponding text will be highlighted directly on the 3D model.
🔹 Step 5 – Edit the content
With text_shape selected:
- Go to the properties panel
- Find the Text field
- Delete the current text
- Type the desired name, brand, or word
🔹 Step 6 – Adjust if necessary
If the new text becomes larger or smaller:
- Adjust the position
- Adjust the scale
- Check that the text does not exceed the part
This ensures a good finish on the final print.
🔹 Step 7 – Slice and print
After customization:
- Click on Slice plate
- Check the preview
- Start printing normally
📌 Important Notes
- Product is not a toy
- Intended for parties and events
- Can be resized according to the size of the neon bracelet used
- Small variations may occur depending on the print profile
💬 Support the Project
If you download this model:
- Like ❤️
- Comment 💬
- Share photos of the printed result
This greatly helps encourage the creation of new models for the community 🙌
License

You shall not share, sub-license, sell, rent, host, transfer, or distribute in any way the digital or 3D printed versions of this object, nor any other derivative work of this object in its digital or physical format (including - but not limited to - remixes of this object, and hosting on other digital platforms). The objects may not be used without permission in any way whatsoever in which you charge money, or collect fees.


Comment & Rating (4)