
Fidget EDC Owl Spinning and Magnetic Slider
Print Profile(1)

Description
Personal Collection NO.110, Difficulty: ⭐⭐⭐
Original Author: GAO点好玩
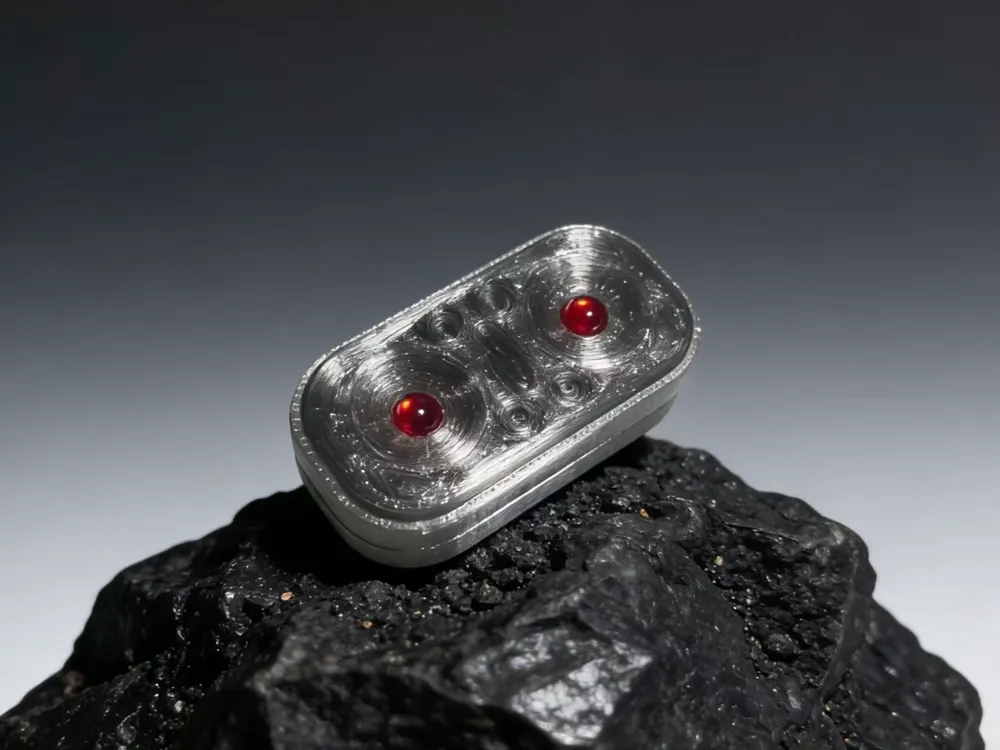
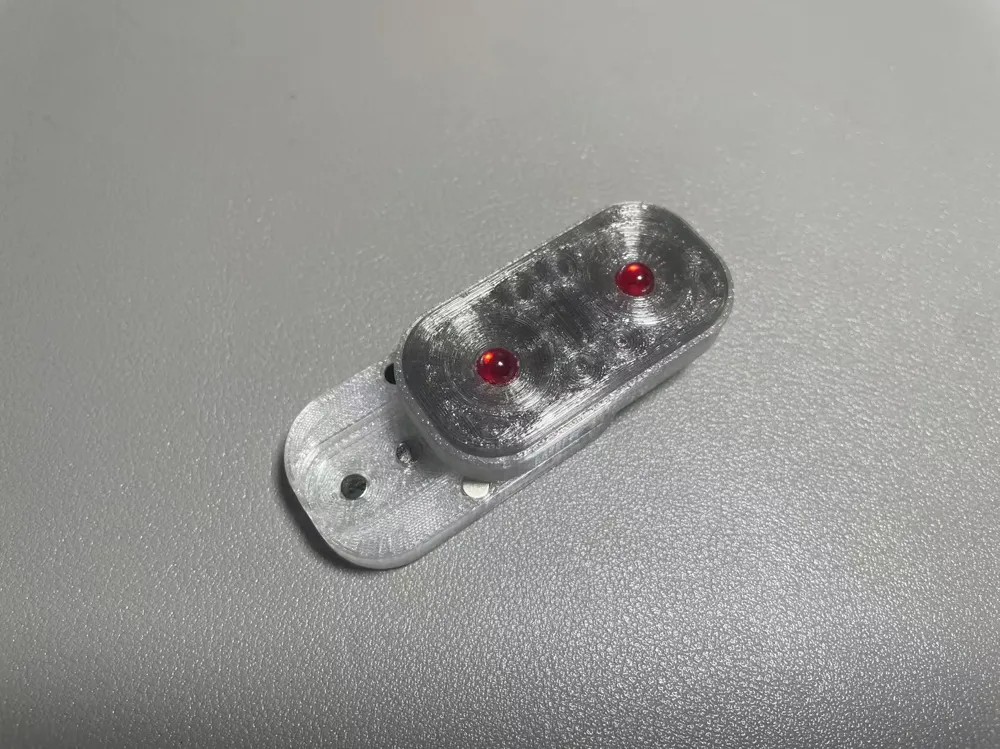


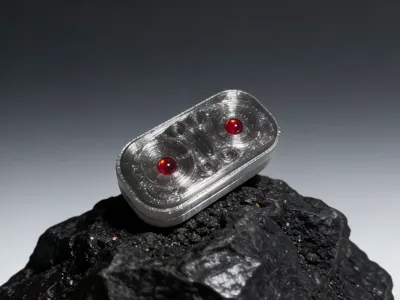
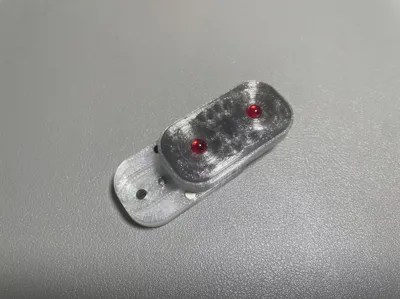
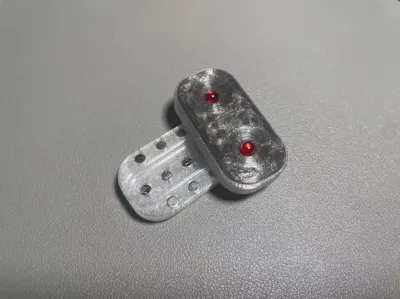
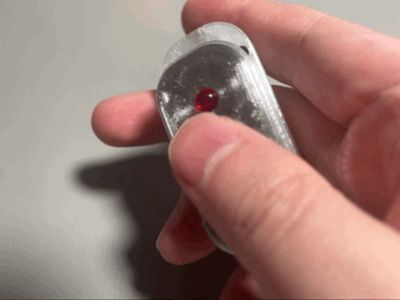
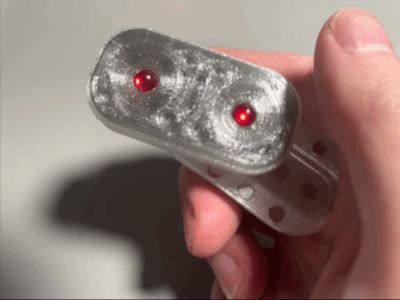
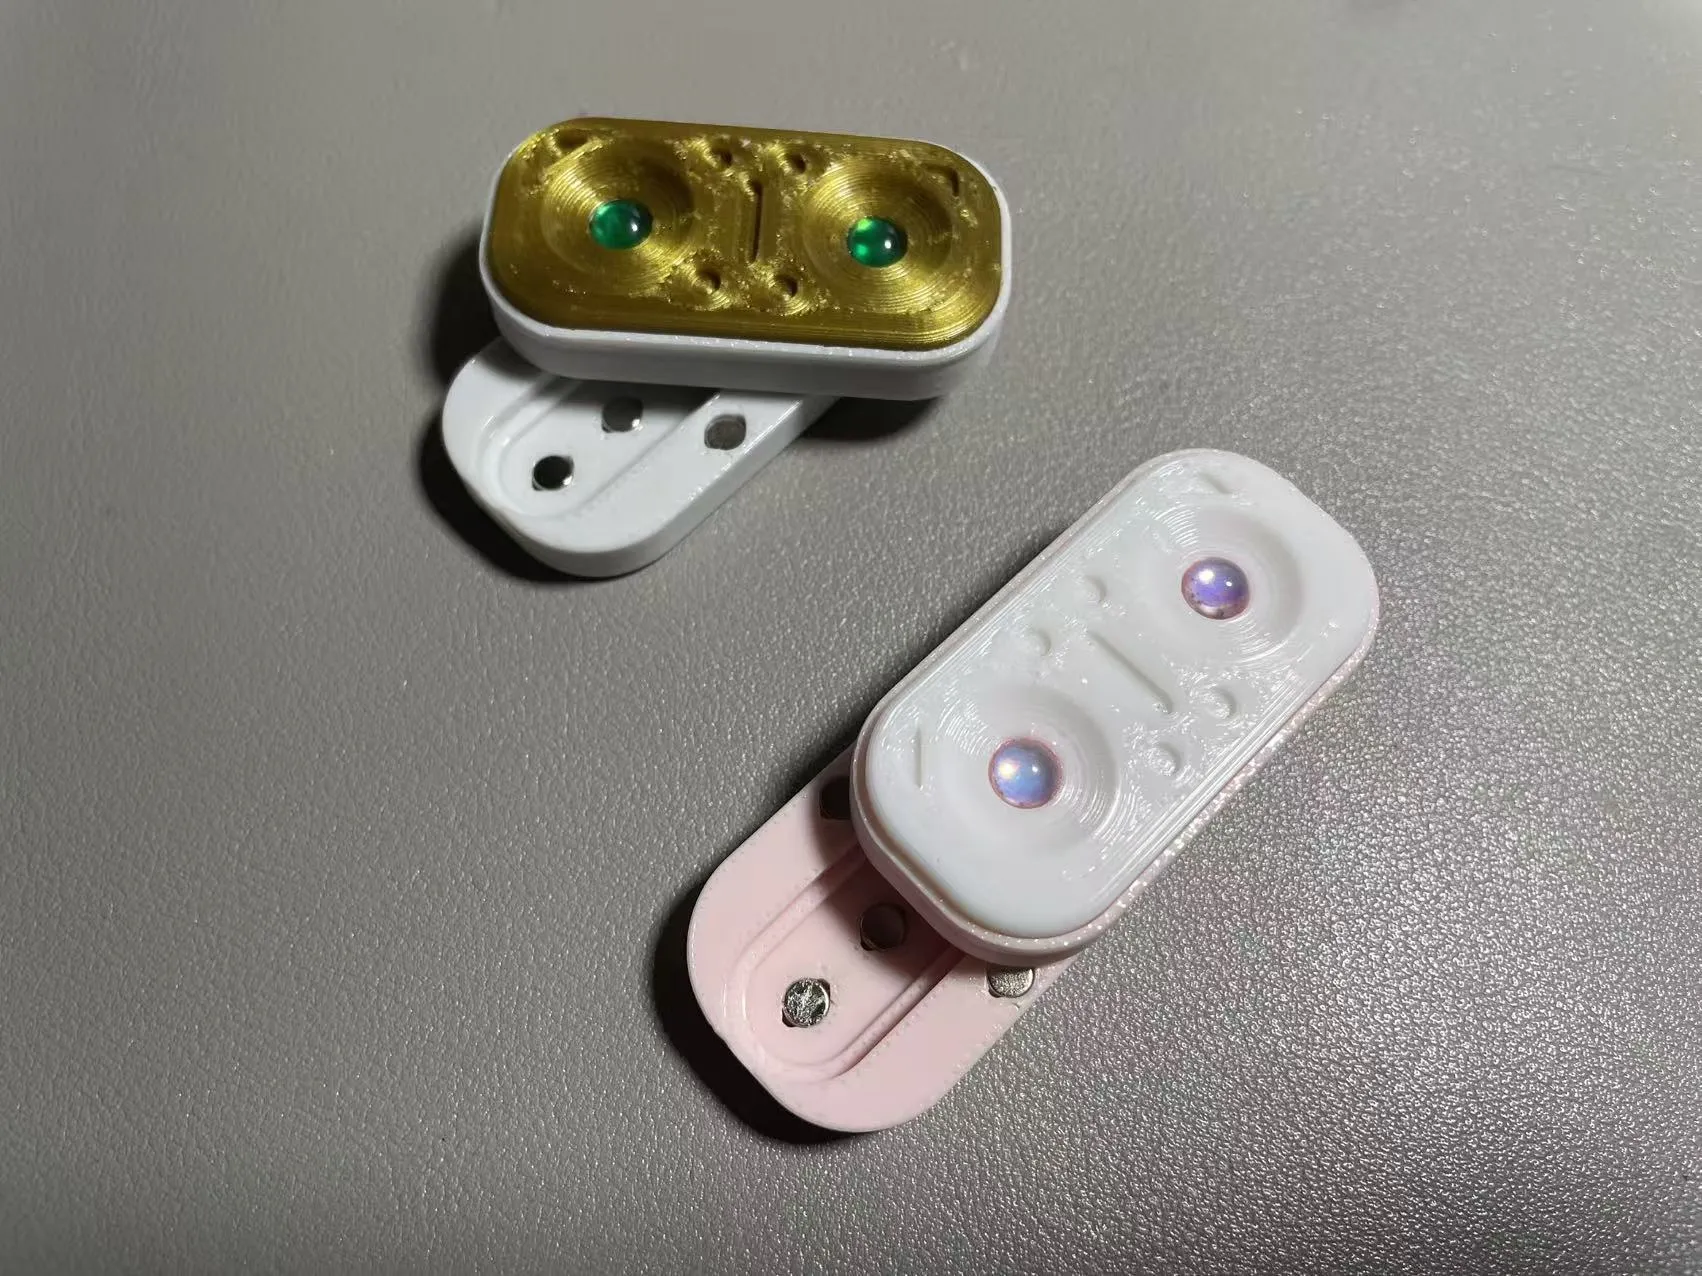
Owl. Spinning and magnetic slider, a relatively quiet toy that prioritizes aesthetics over tactile feel. Structural optimization has been performed for printing, using N52 magnets + N35 magnets + free-spinning R188 bearings for structural implementation; the appearance is adorned with 6mm resin gems for the best effect.
PETG printing must use glue spray, otherwise, there's a high chance of failure!
Regular plate 1-2, resin gems are purchased separately, plate 3 is for printed gems (not recommended)
Plate 4 is a replacement for when the central post of plate 1 is too tight, plate 5 is an enhanced version if you feel the magnet strength is insufficient, take as needed
Accessories to prepare:
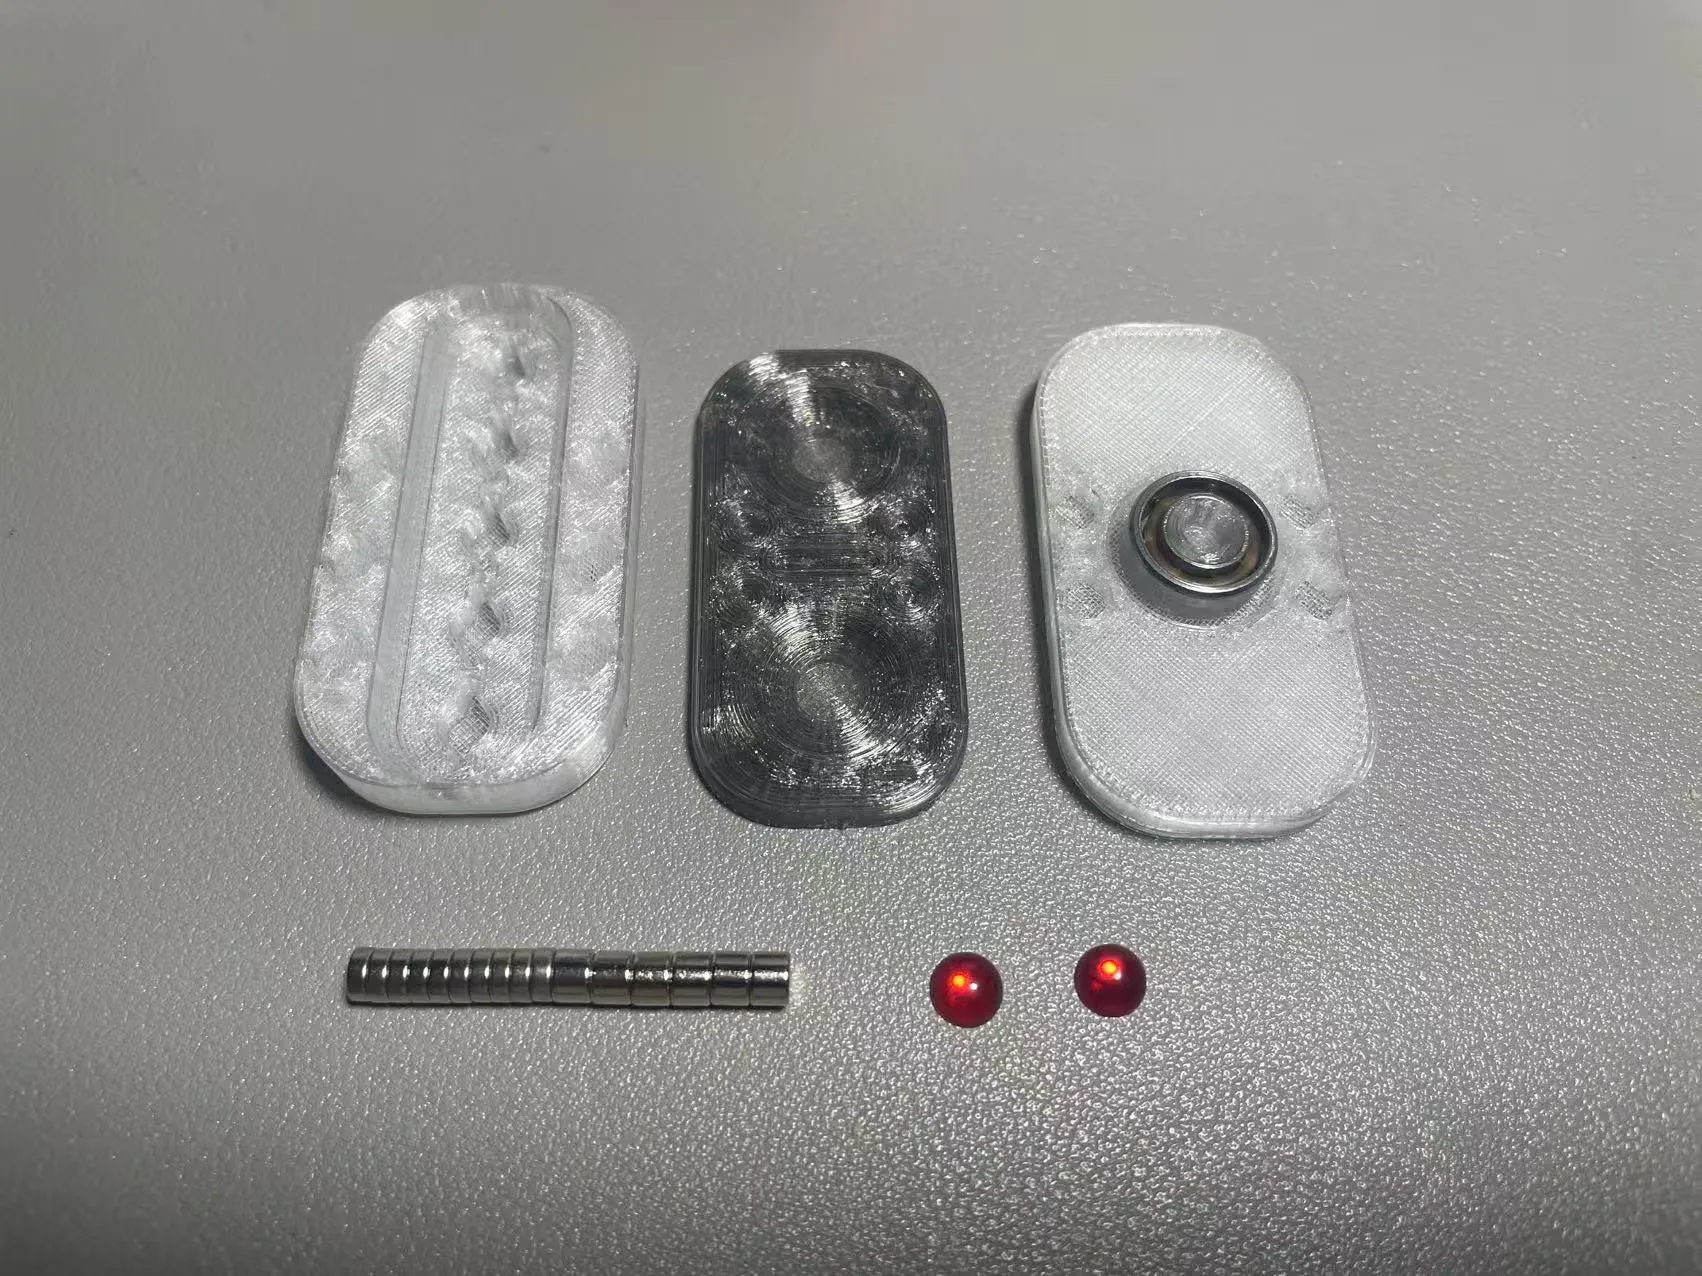
- 1 free-spinning R188 bearing
- 6 N52, 4*3mm magnets
- 10 N35, 4*2mm magnets
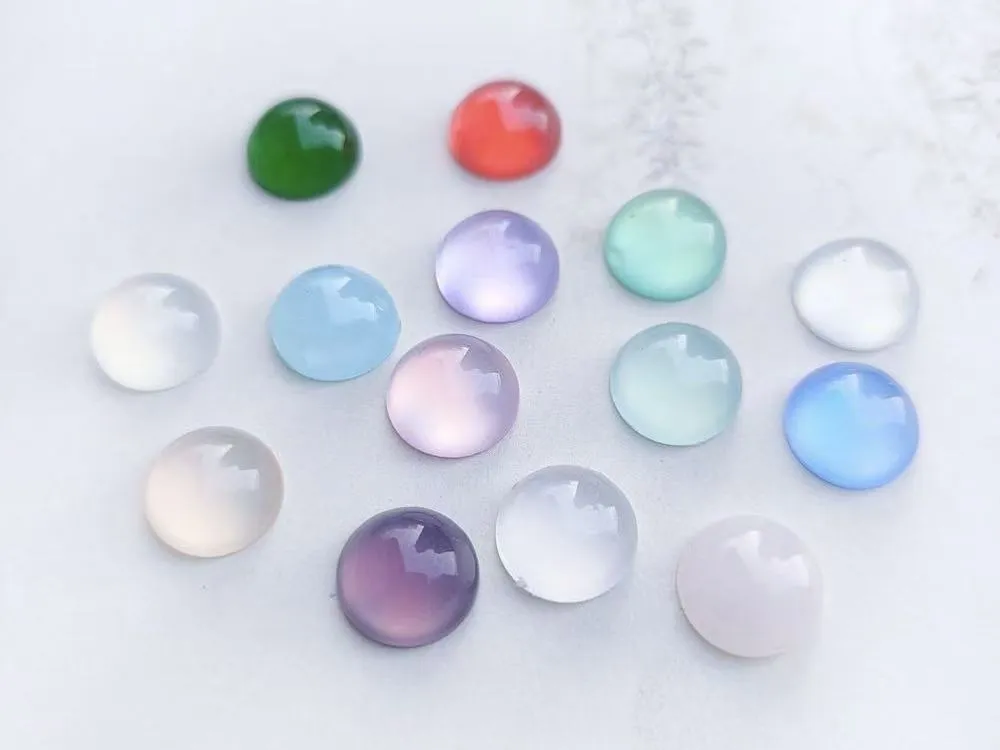
2 6mm resin hemispherical faux cat's eye patches
Look for the following texture to avoid buying the wrong one and wasting money
- If using plate 5 as the base plate, 6 additional N52, 5mm*3mm magnets are needed
- Glue as needed, 3M Super Glue is recommended for reinforcing magnets and resin gems
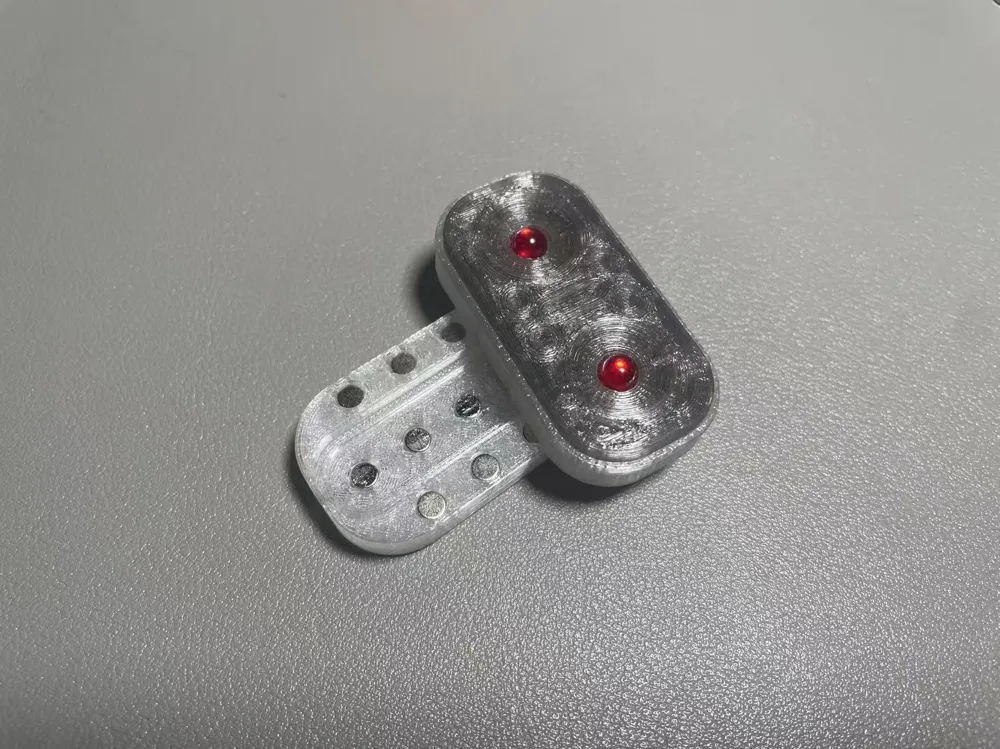
Parts overview (bearings in place):
Assembly steps:
① Take out the top plate and place the R188 bearing, the bearing is press-fit; if it doesn't fit, don't force it, find a replacement in plate 4
② Place the magnets on the top and bottom plates, with 4*3mm magnets in the middle and 4*2mm magnets on both sides, paying attention to the magnet orientation so that the two plates attract magnetically
③ Combine the top and bottom plate parts, slide and test the working state, and after confirming it's correct, cover with the decorative plate and glue the resin gems, then it's finished
License

You shall not share, sub-license, sell, rent, host, transfer, or distribute in any way the digital or 3D printed versions of this object, nor any other derivative work of this object in its digital or physical format (including - but not limited to - remixes of this object, and hosting on other digital platforms). The objects may not be used without permission in any way whatsoever in which you charge money, or collect fees.


Comment & Rating (3)