Car Phone Mount (Air Vent Blade Hook)


Print Profile(1)

Description
Boost Me (for free)
Thank you for your support, I will continue to make more great models!
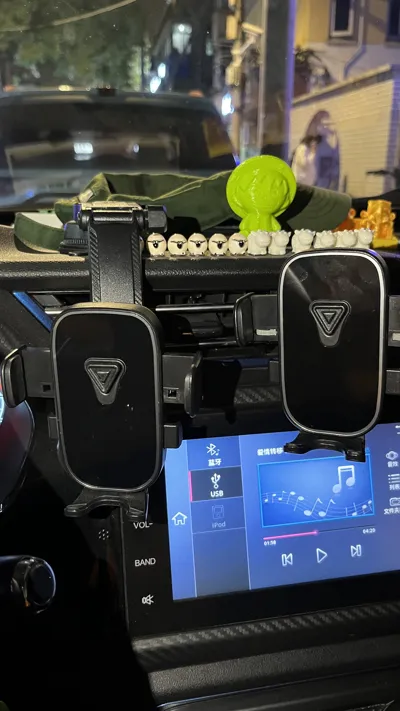
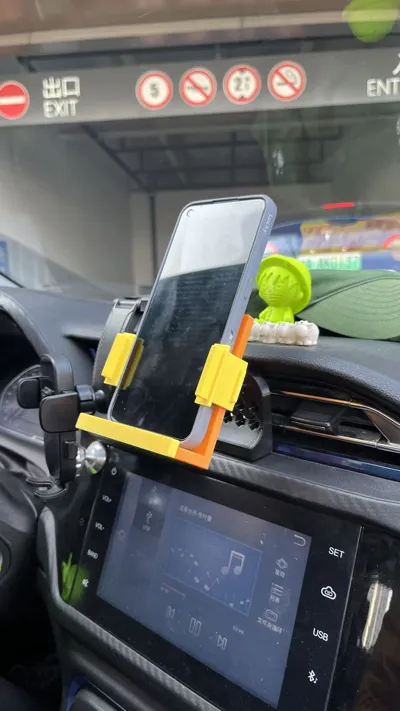
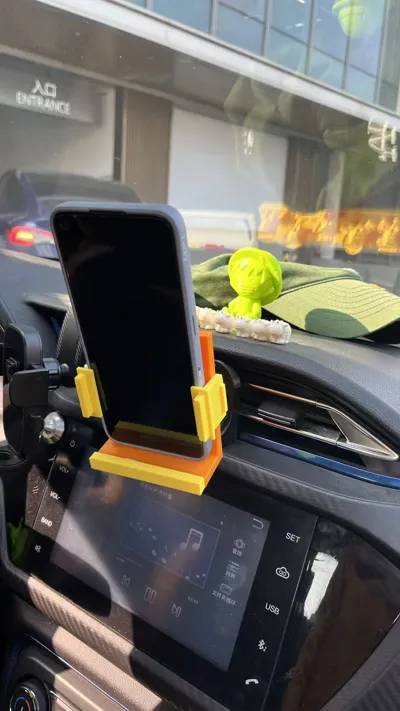
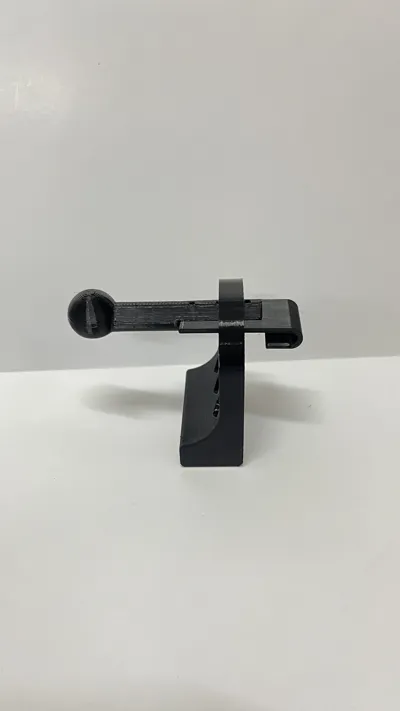
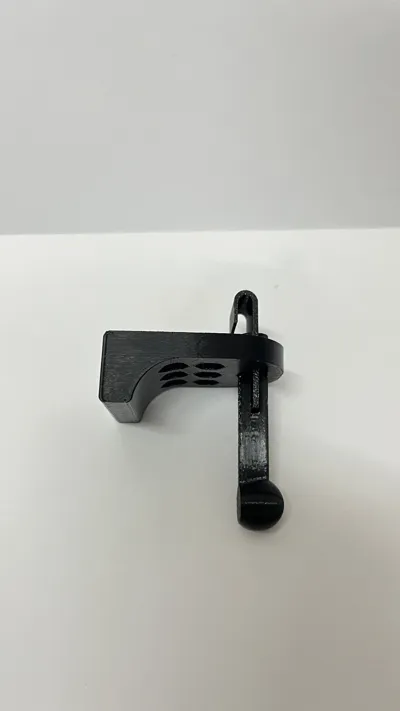
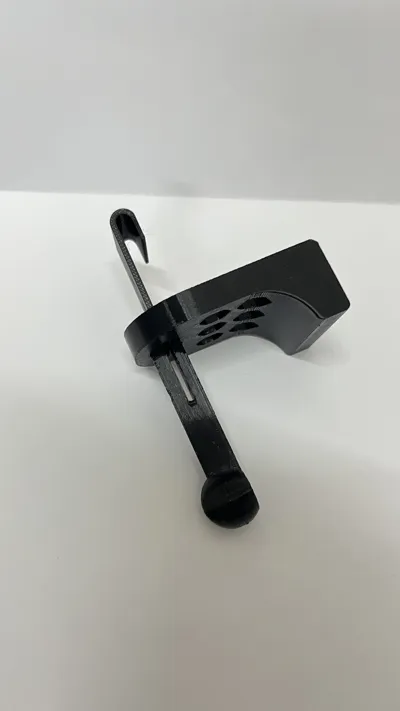
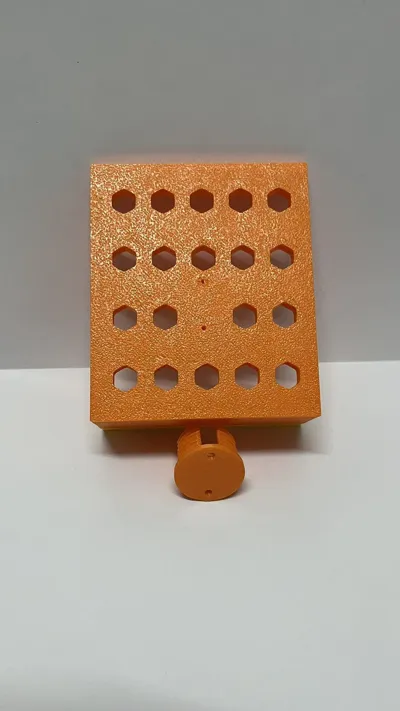
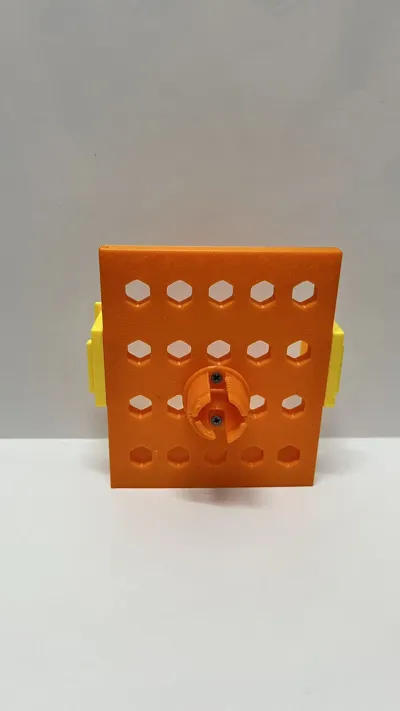
I call it the best car (air vent hook) phone holder:
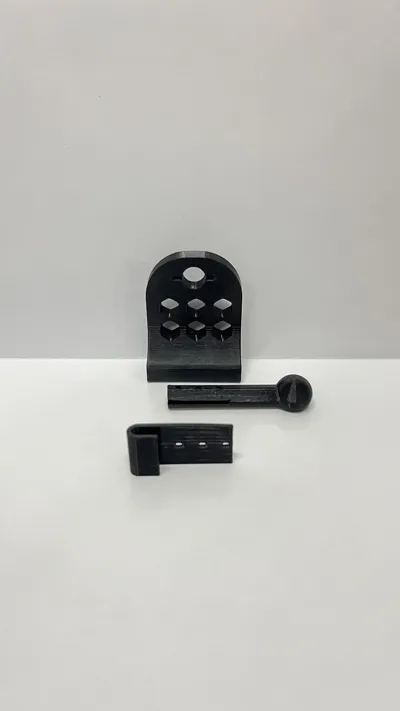
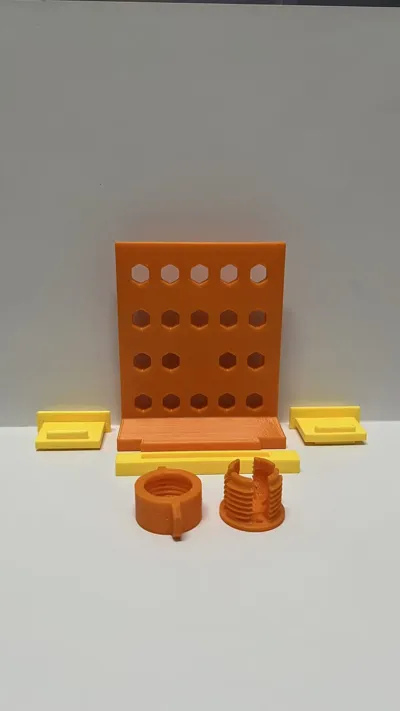
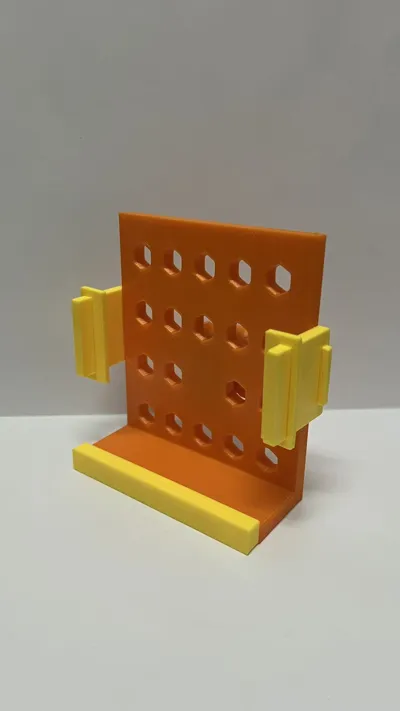
The file also includes a DIY phone holder back plate
No supports needed during printing, no skirt needed, no AMS needed, saving time and filament.
Only 10%-15% infill for PETG or ABS is required, and 30% infill for areas where screws (M2.5*8 or M2.5*6) need to be tightened.
 、
、Flat placement printing makes the printed structural surface more robust. Printing individual parts at a 45-degree angle is more robust but will generate some supports.

Of course, if the filament is strong enough and there's enough material, you don't need to worry about flat printing issues.
The air vent hook is suitable for air vent blades with a thickness of 44mm, it can fit snugly. The hook has distance holes, allowing you to tighten it according to the actual situation.
No glue is needed for assembly, just use filament to thread through for fixation, and you can secure the baffle and tighten the hook.
Easy to disassemble and store.
Assembly Instructions (Please read patiently and carefully, pay attention to installation details)
1. According to point [C] in the diagram, without cutting the filament, insert filament at points A and B, then insert the hook into the air vent.
- Inserting filament at point A is to allow the hook to go in the longest distance.
- Inserting filament at point B is to secure it so the hook doesn't shake around.

2. Press D (air vent blade) to push it upwards, against the hook tab.
Pull the tab outwards to make the inner hook fit tightly against the air vent blade.

3. First, cut the filament so the filament is flush with the hole, to easily insert the buckle of the support base plate.

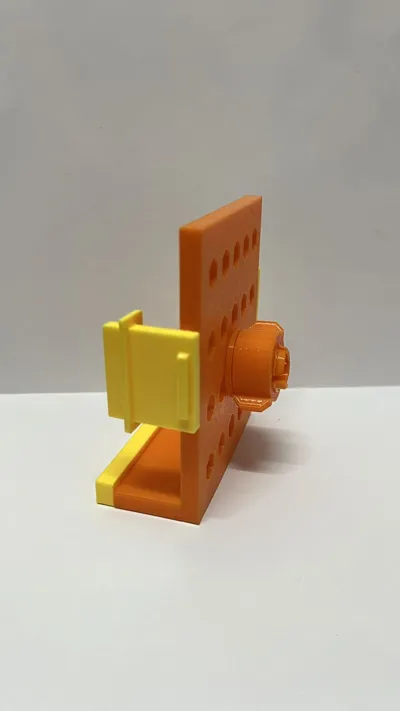
4. Insert the bracket rod into the hole of the support base, it will take some time to patiently find the position, as you cannot see the back.
You can change the outer contour of the tab hook to -0.2 (it's -0.15 in the file), which makes insertion easier.

5. Prepare a piece of nano tape (it won't stick to objects when removed). Or choose sponge pads, silicone pads, or other non-smooth pads to increase friction between the support base and the car surface.

6. Apply nano tape to the support base, then attach it to the approximate position on the car surface (Before applying nano tape, position it, place your phone to test the range of motion, and determine the final position F )
G: Re-insert the filament (bend it slightly up and down for easy future removal, do not cut it short to prevent it from falling off after a long time), block the support base plate, tighten the hook, and complete the final installation!!

Finally, thank you for your patient reading, I wish you successful printing and happy usage!!
License
You shall not share, sub-license, sell, rent, host, transfer, or distribute in any way the digital or 3D printed versions of this object, nor any other derivative work of this object in its digital or physical format (including - but not limited to - remixes of this object, and hosting on other digital platforms). The objects may not be used without permission in any way whatsoever in which you charge money, or collect fees.
Comment & Rating (1)