
Simson Schwalbe Headlight Cover Crosshair
Print Profile(2)


Description
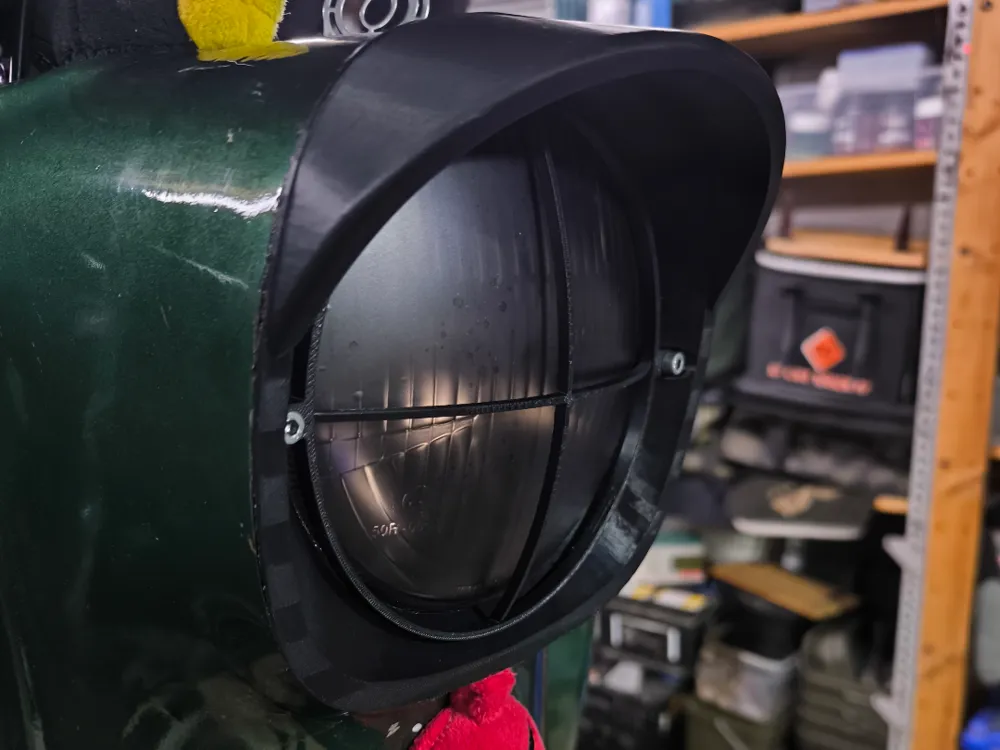
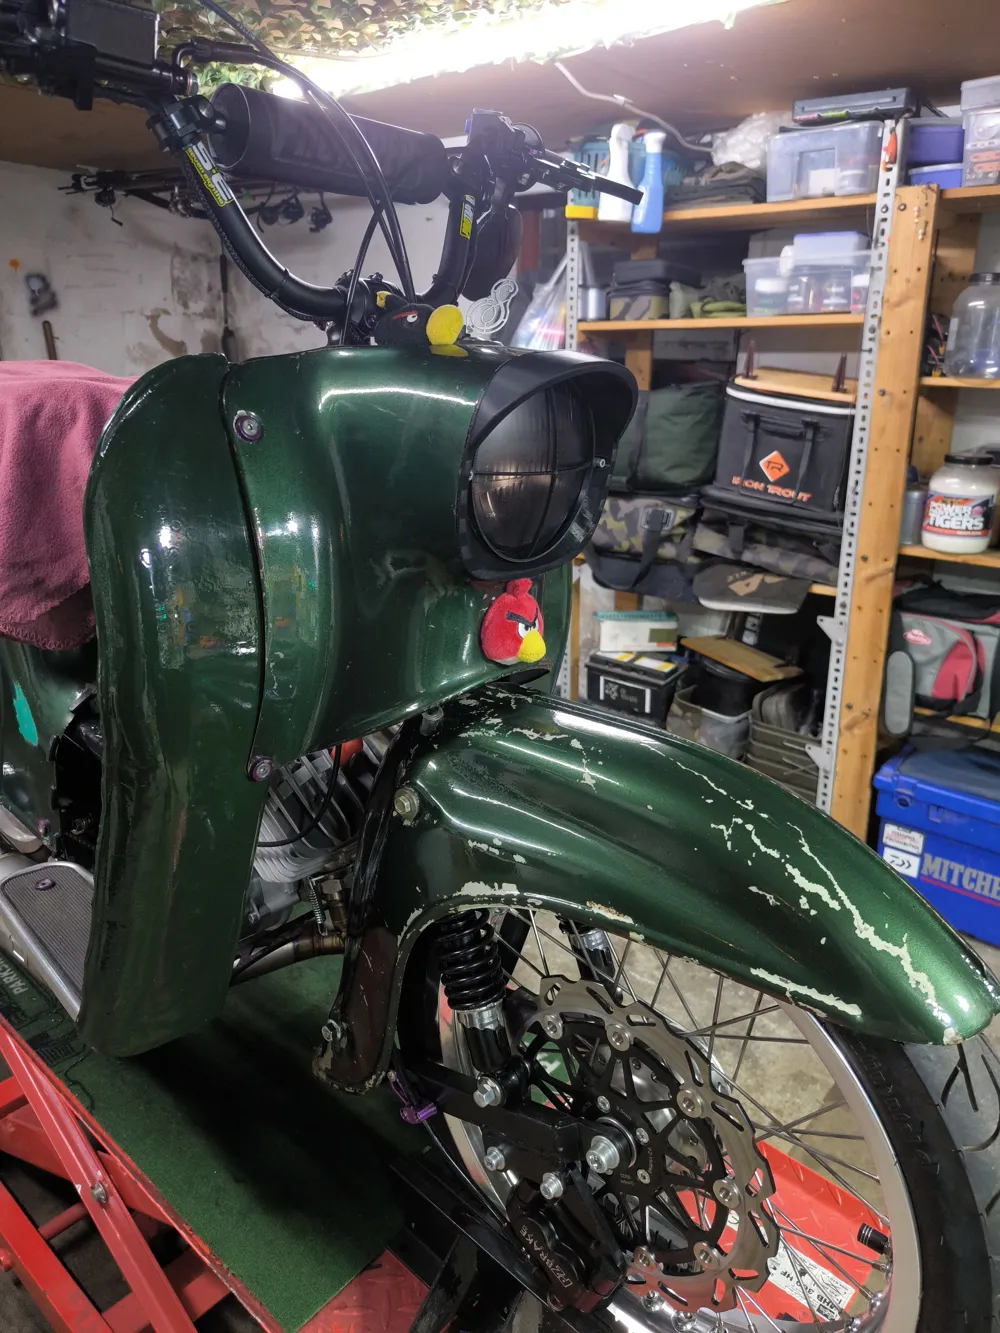
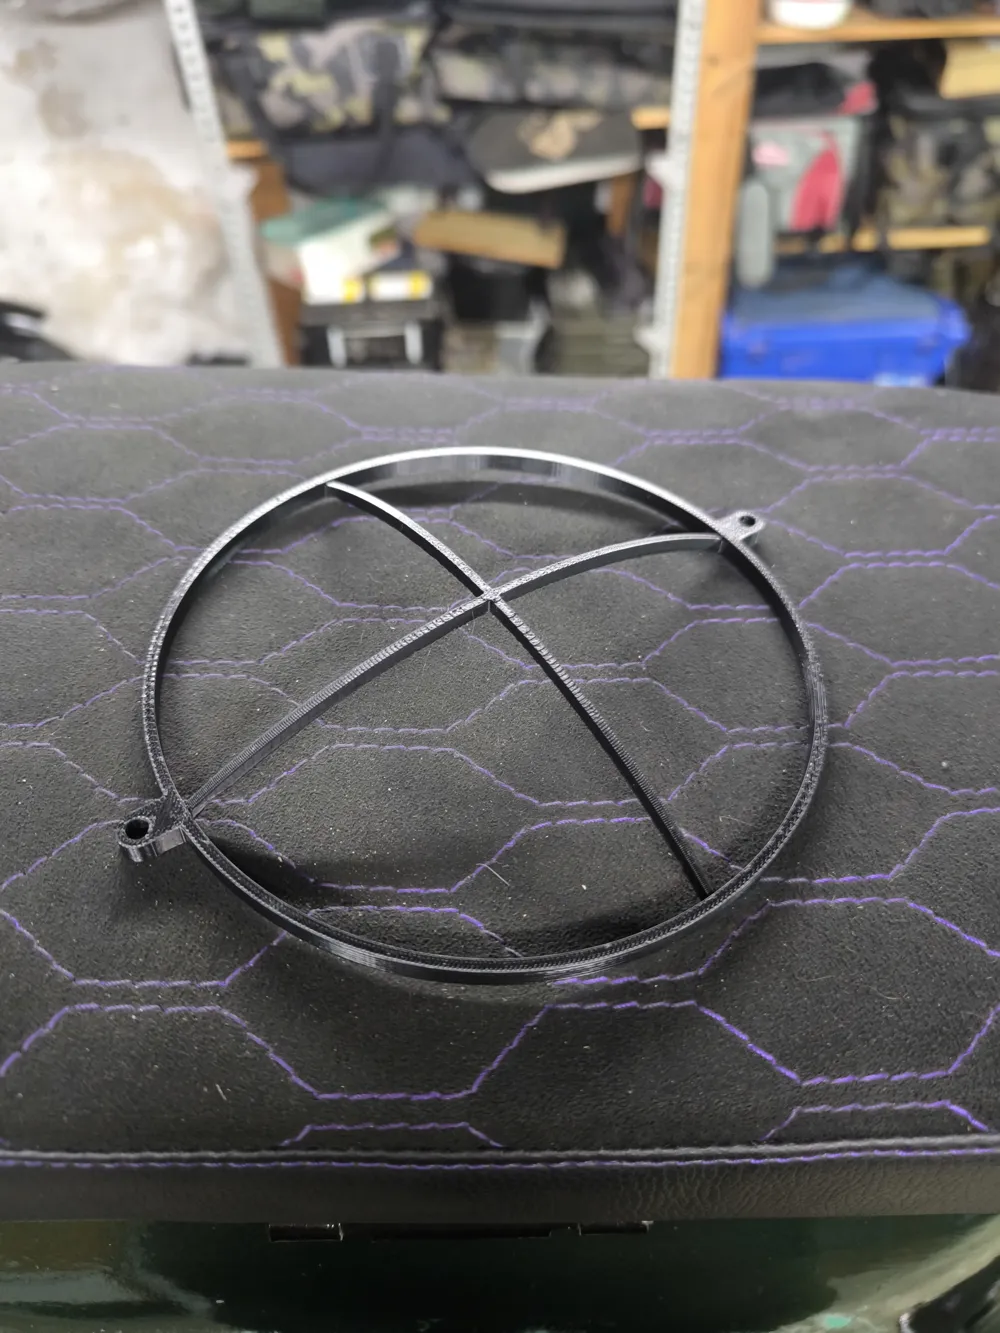
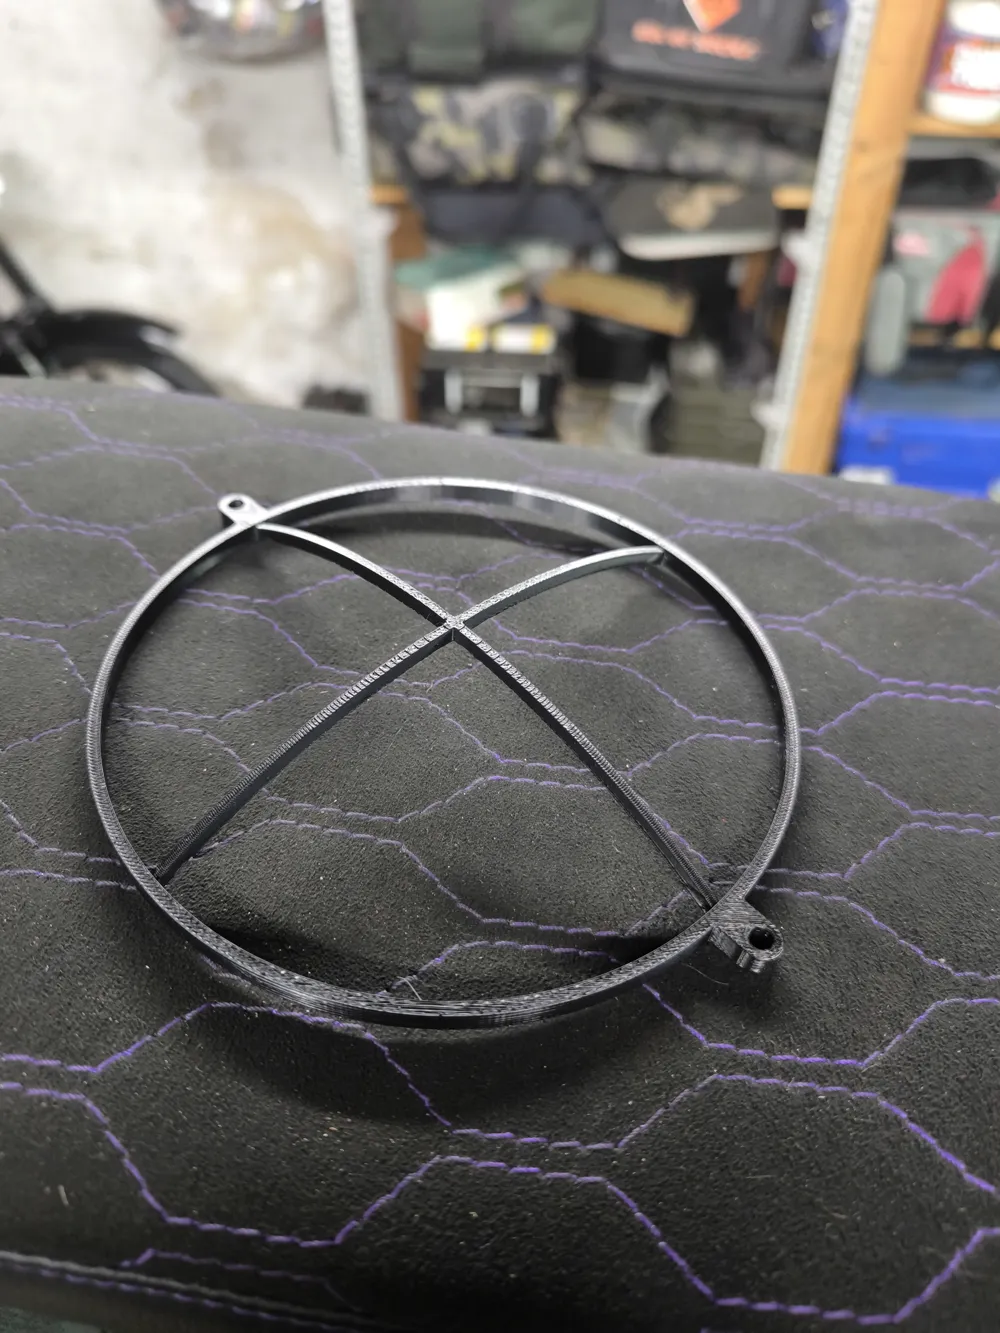
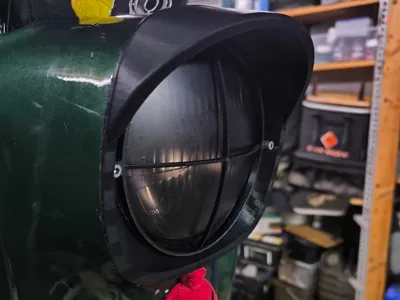
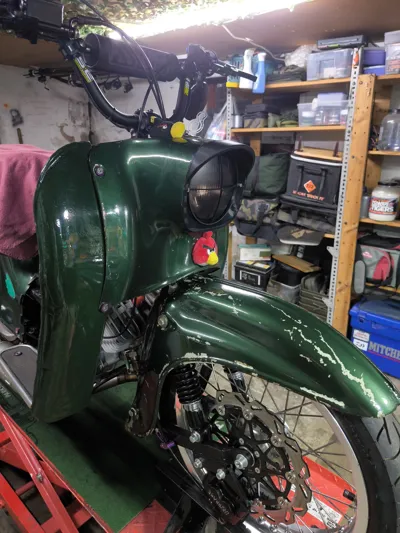
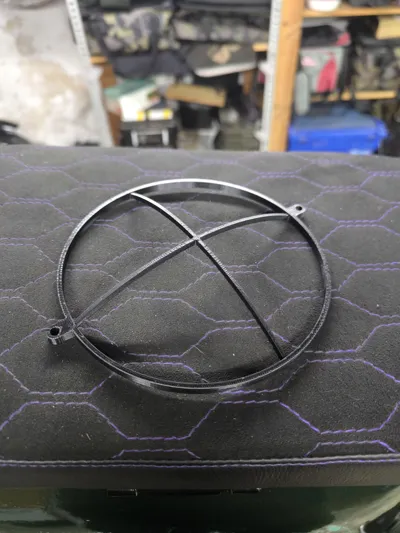
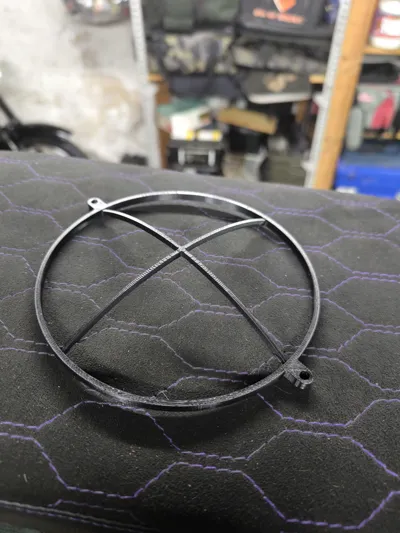
Simson Schwalbe Headlight Grille "Crosshair" – Screw-on Version
Description
Give your Simson Schwalbe (KR51/1 & KR51/2) a distinctive custom look! This 3D-printed headlight cover in a crosshair design is the ideal upgrade for anyone who values a clean appearance and secure fit.
Unlike simple plug-in solutions, this cover is screwed directly in front of the original lamp ring. This ensures it sits rock-solid, doesn't rattle, and is secured against coming loose while driving.
Product Details:
- Model: Suitable for Simson Schwalbe KR51/1 and KR51/2.
- Appearance: Classic crosshair for the perfect tuning or rat look.
- Assembly: The cover is simply placed on the headlight and secured with the existing (or longer) screws of the lamp ring.
- Stability: Very vibration-resistant due to the screw mounting.
Print Recommendations (Print Settings)
To ensure the cover holds up even with heat and vibrations:
- Material: PETG, ASA, or ABS.
- Note: Do not use PLA, as it can deform due to heat from the bulb or direct sunlight.
- Walls: At least 3-4 to keep the screw holes stable.
- Infill: 25% (Grid or Gyroid for best stability).
Print Profiles & Versions:
- I am providing you with two optimized print profiles for this project:
- Standard Profile (Without AMS): Classic print with automatic supports from the main material.
- AMS Support Profile (Interface Layer): Optimized for Bambu Lab AMS (or similar). In this profile, an interface layer made of PLA is set. Since PLA and the main material (e.g., PETG or ASA) do not form a strong bond, the supports can be removed without leaving any residue. The result is a perfectly smooth underside on the lampshade, without the typical marks from support structures.
Installation Instructions
- Loosen the screws of the original lamp ring.
- Place the crosshair cover flush.
- Tighten the screws again (screws with 2-5mm more length may be necessary depending on the thickness of your construction).
Important Note (Disclaimer)
Legal: This cover is designed for show purposes, exhibitions, and private property. Since it alters the light-emitting surface, it is generally not approved for use under the StVZO. Installation at your own risk.
Boost Me (for free)
Support my work! 🚀 If you like this model and your print was successful, I would be thrilled with a boost! This helps me continue to develop free designs for the community. Thank you for your support!
License

You shall not share, sub-license, sell, rent, host, transfer, or distribute in any way the digital or 3D printed versions of this object, nor any other derivative work of this object in its digital or physical format (including - but not limited to - remixes of this object, and hosting on other digital platforms). The objects may not be used without permission in any way whatsoever in which you charge money, or collect fees.


Comment & Rating (1)