
Emergency Stop Button | Anti-Stress Toy | BU03
Print Profile(3)


Bill of Materials







Description
Boost Me (for free)
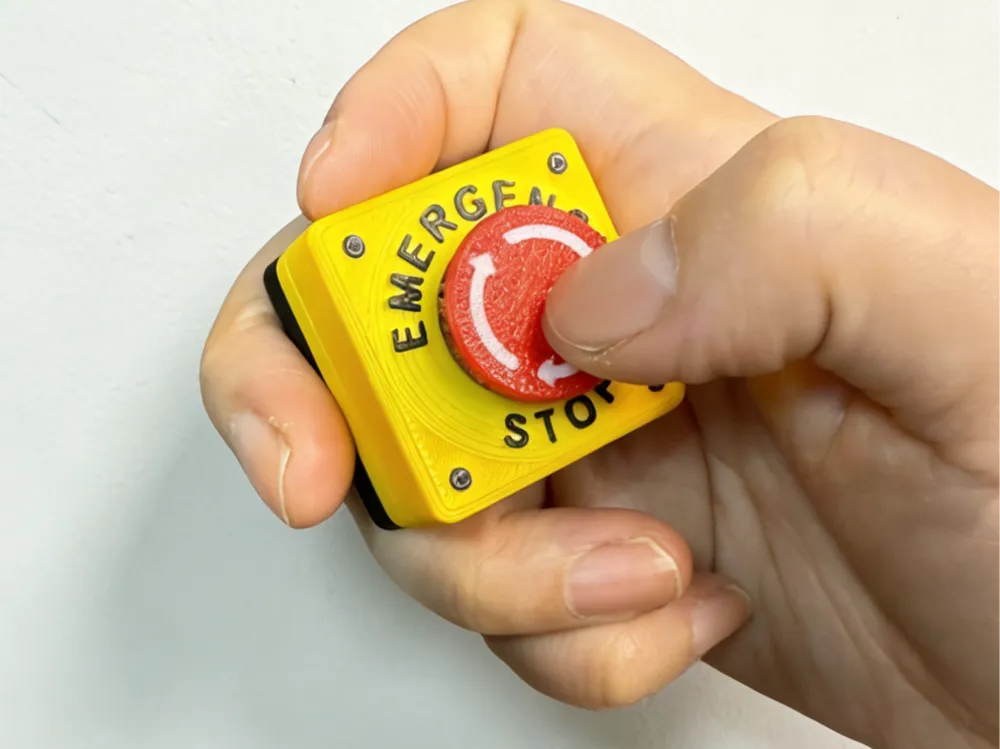
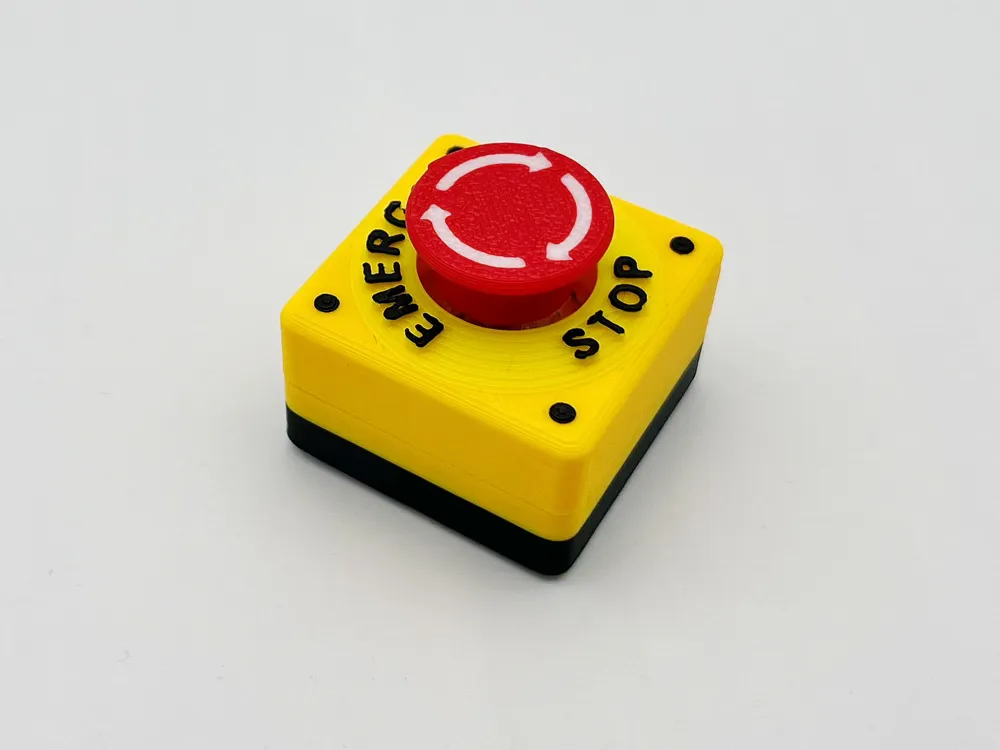
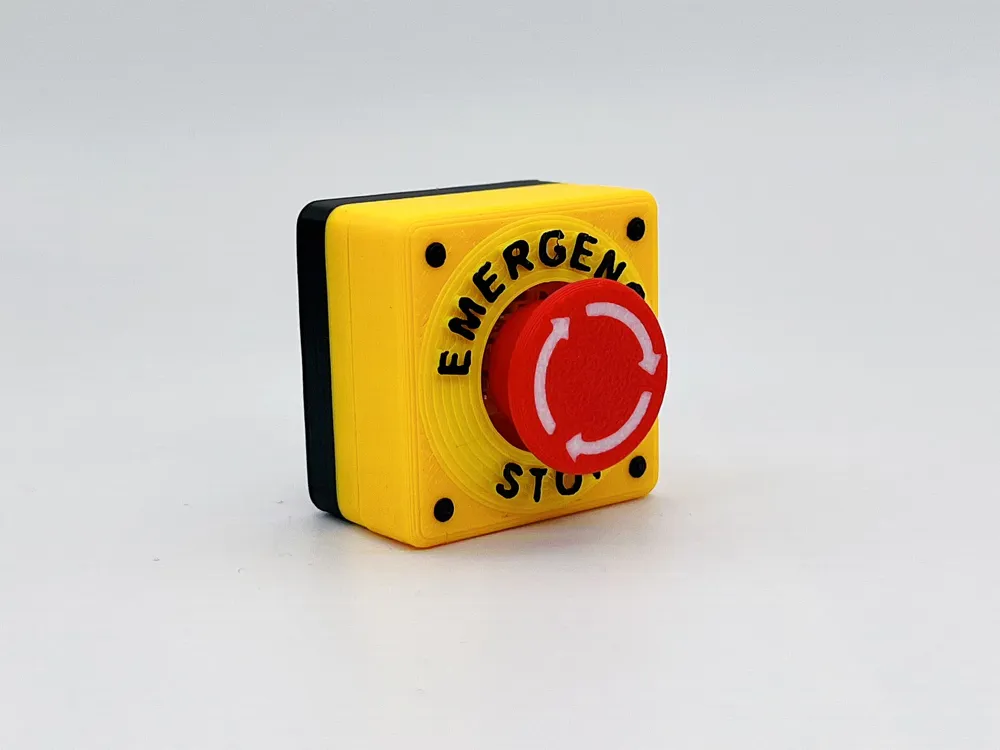
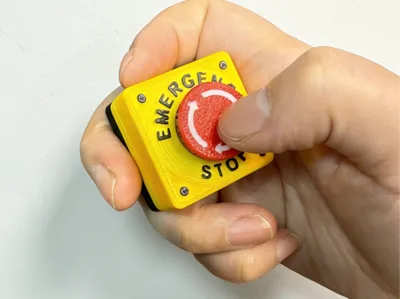
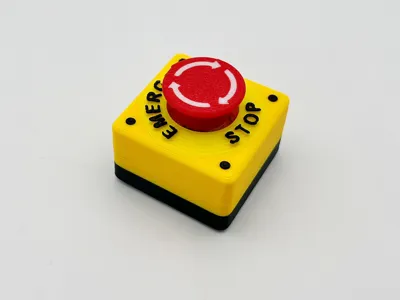
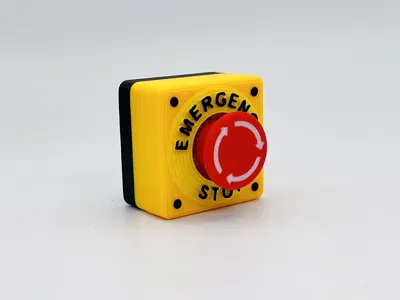
This Emergency Stop Button is the third piece in my ongoing Button Universe series — a small desk object designed for moments when everything feels a bit too much.
Inspired by real industrial E-Stop buttons, this version doesn’t control any machine.
It’s purely mechanical, tactile, and symbolic.
Pressing it is a reminder that:
- you’re allowed to pause
- you’re allowed to stop
- you don’t have to push through everything
Heads up, you'll need a mechanical keyboard switch to complete this stress-relief toy. Personally, I prefer switches with a strong tactile click and a crisp, clear sound.
Click on the video below to hear this refreshing and pleasant click for yourself. Of course, you're absolutely free to choose any switch that suits your preference. The video also demonstrates the assembly process for this button toy—it's incredibly straightforward.
Important assembly note:
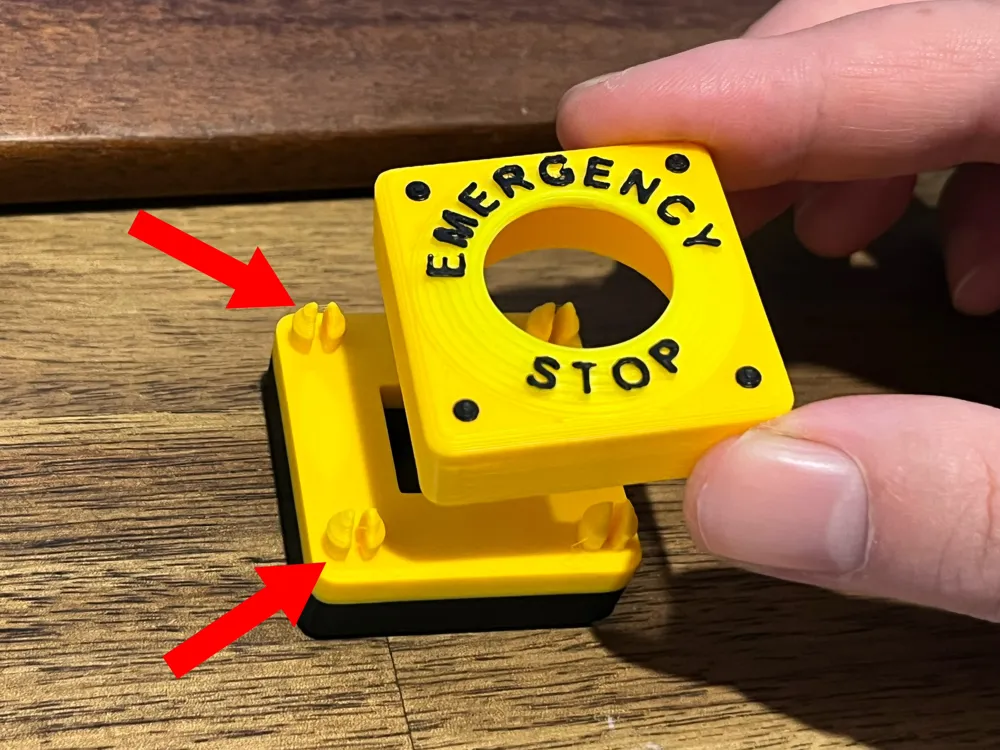
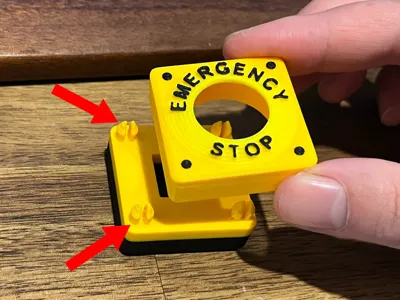
Before installing the top part, insert the mechanical keyboard switch into the recessed slot in the base.
Once the top part is installed, the switch cannot be inserted.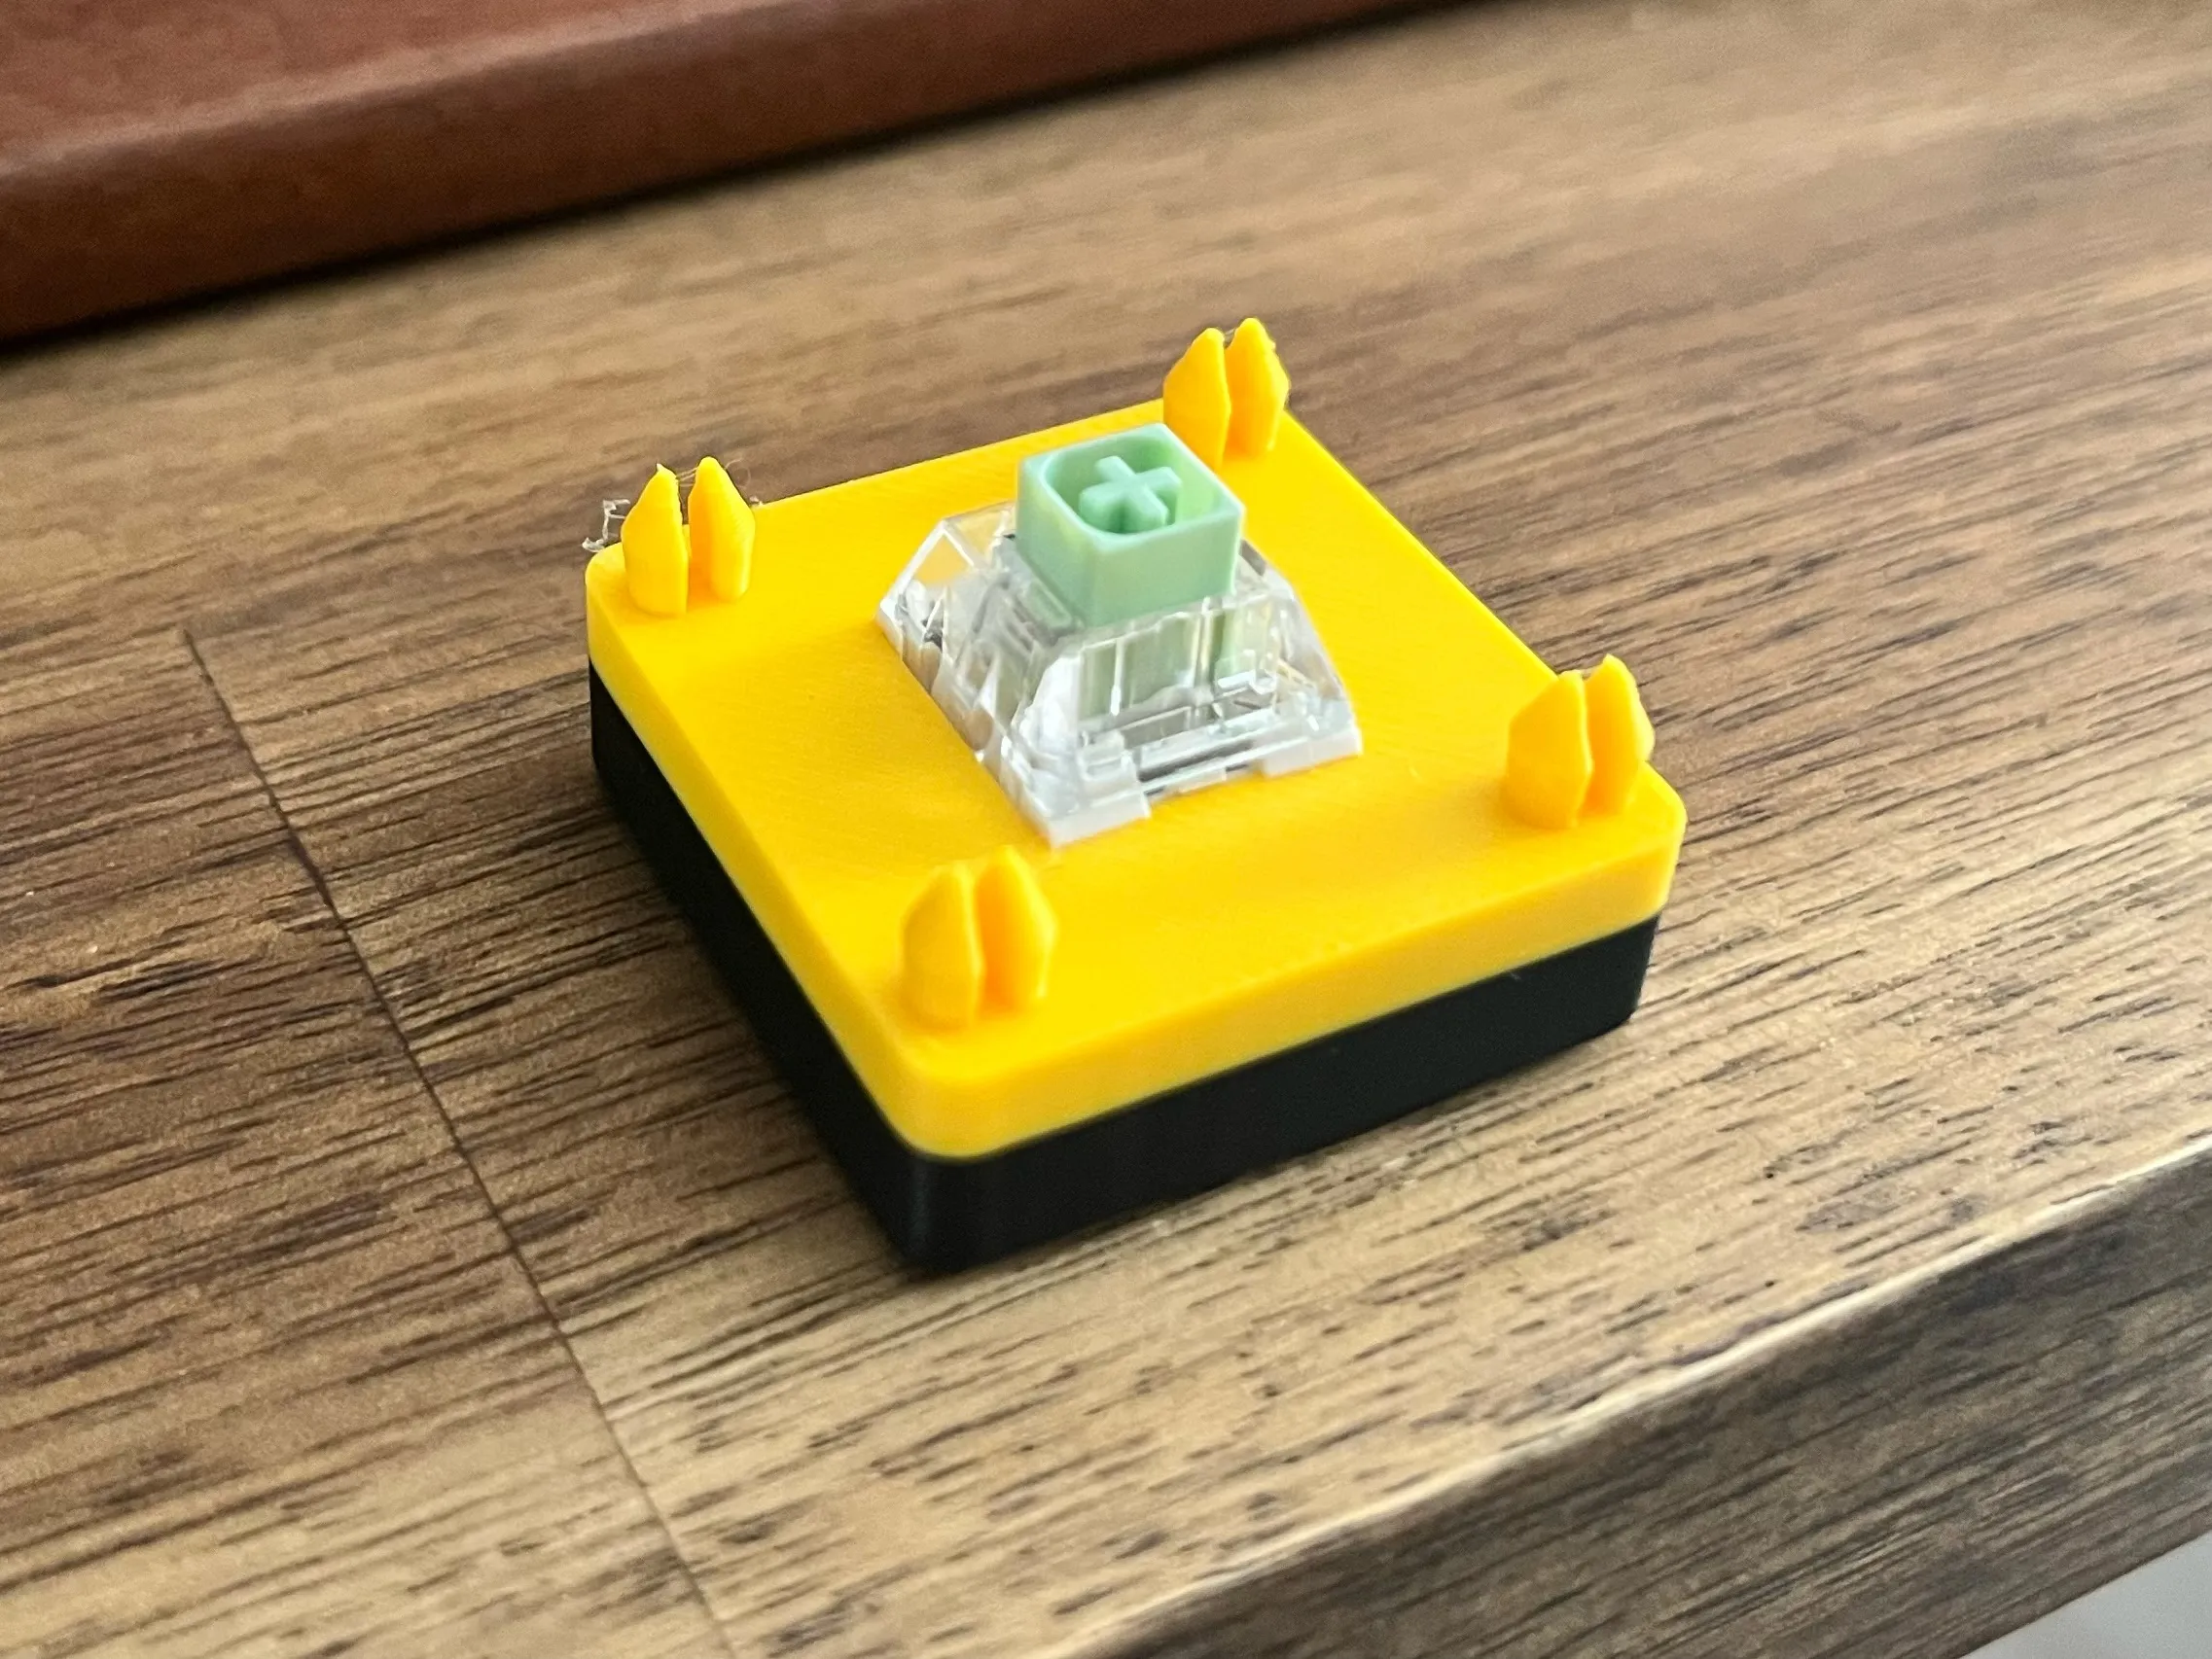
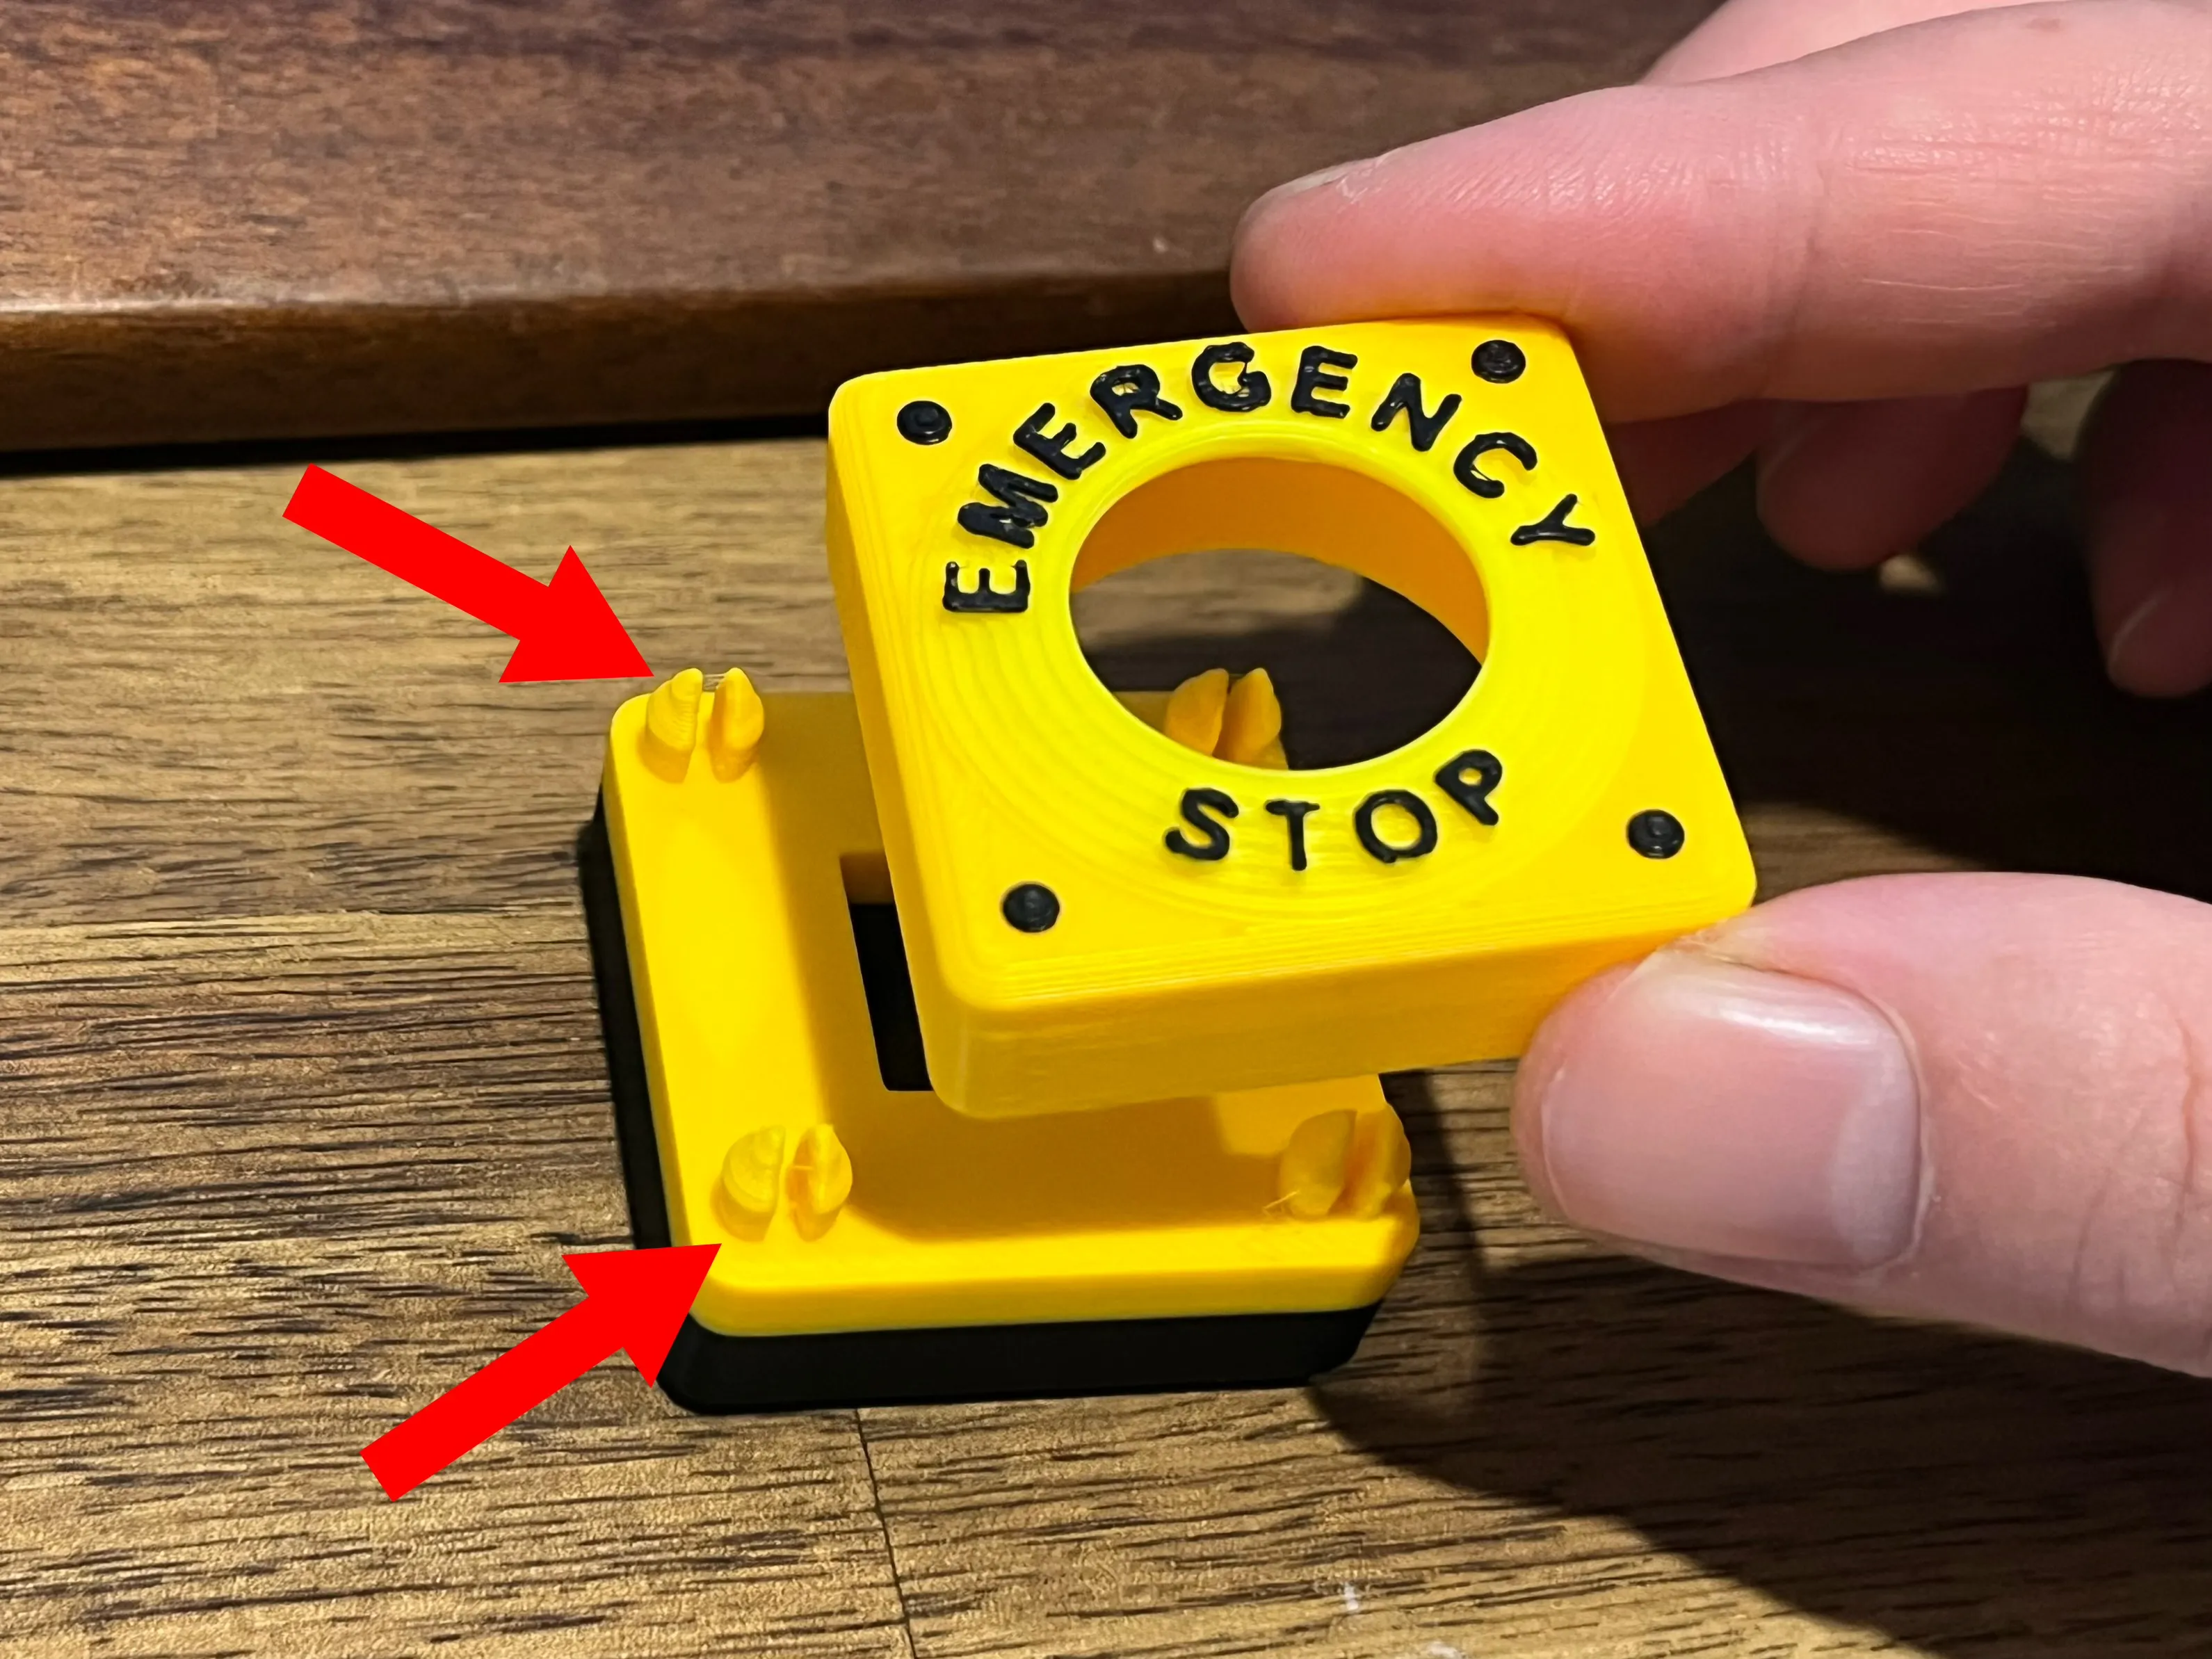
When installing the top part, make sure the slot (gap) in the snap pins is facing toward you (the user).
This orientation allows the snap pins to flex correctly during assembly.
Installing it in the wrong direction may cause excessive force or damage.Assembly Note
The small clips are designed for alignment and positioning only.
They are not intended to function as load-bearing snap-fit locks. For permanent assembly, adhesive (e.g., super glue or epoxy) is required to securely bond the top and bottom parts.
Print Profiles:
– Profile 1: Standard desktop version
– Profile 2: Keychain version (with keyring hole)
Happy printing!
License

You shall not share, sub-license, sell, rent, host, transfer, or distribute in any way the digital or 3D printed versions of this object, nor any other derivative work of this object in its digital or physical format (including - but not limited to - remixes of this object, and hosting on other digital platforms). The objects may not be used without permission in any way whatsoever in which you charge money, or collect fees.


Comment & Rating (57)