
Fidget Clicker
Print Profile(2)

Description
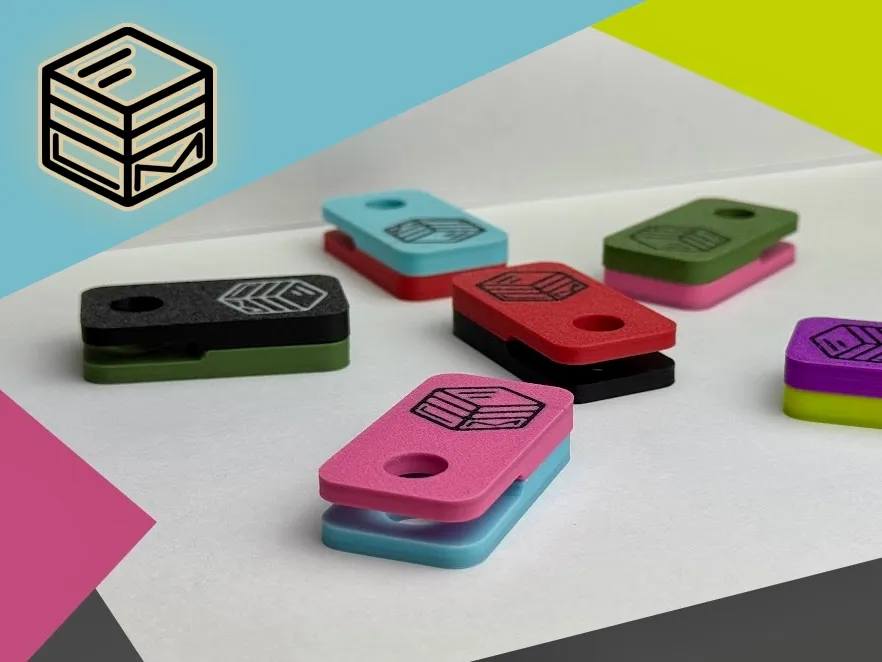
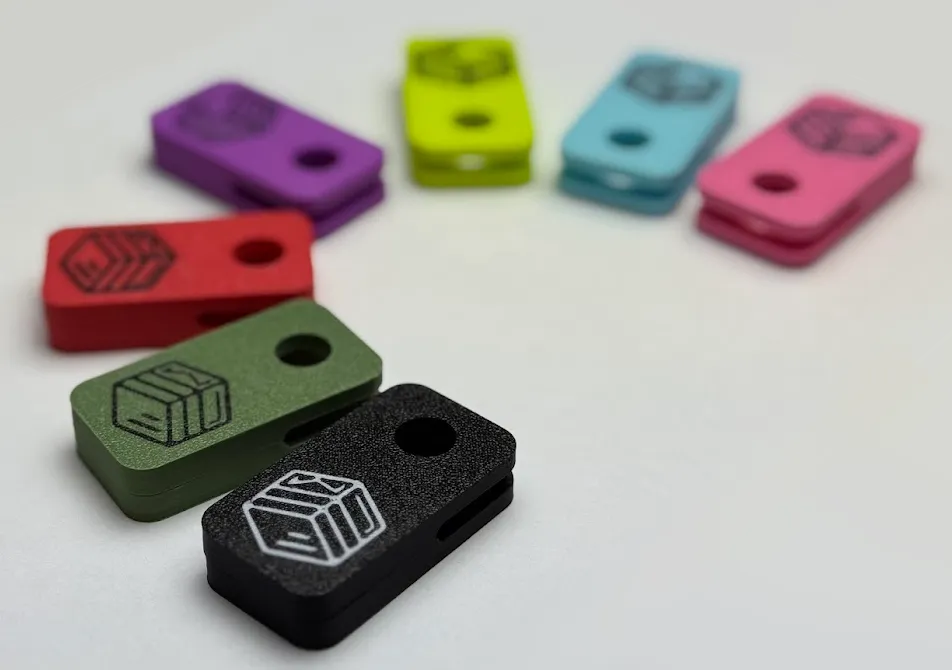
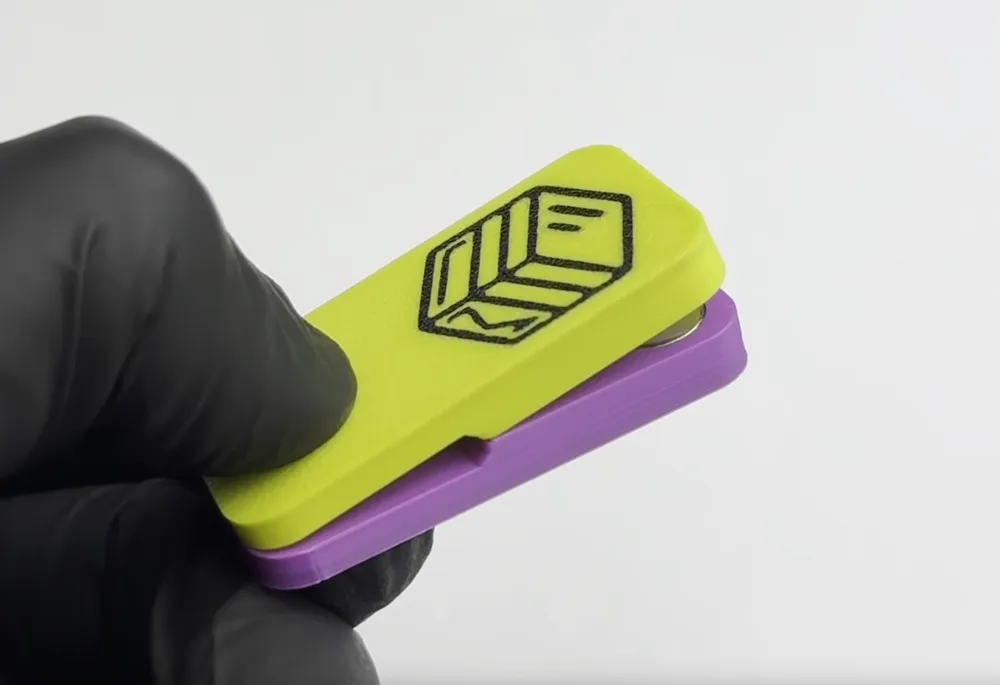
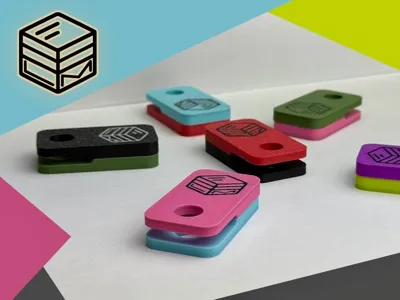
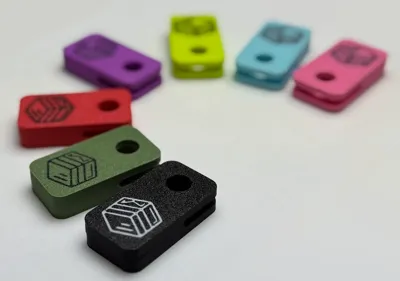
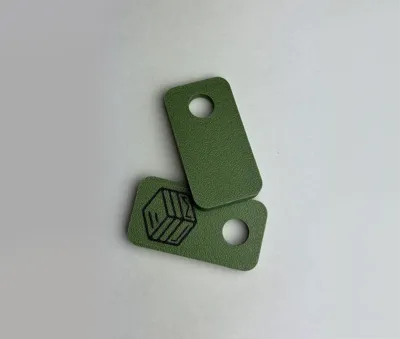
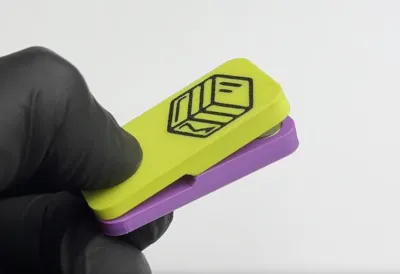
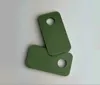
Meet the LayerMaker Fidget Clicker!
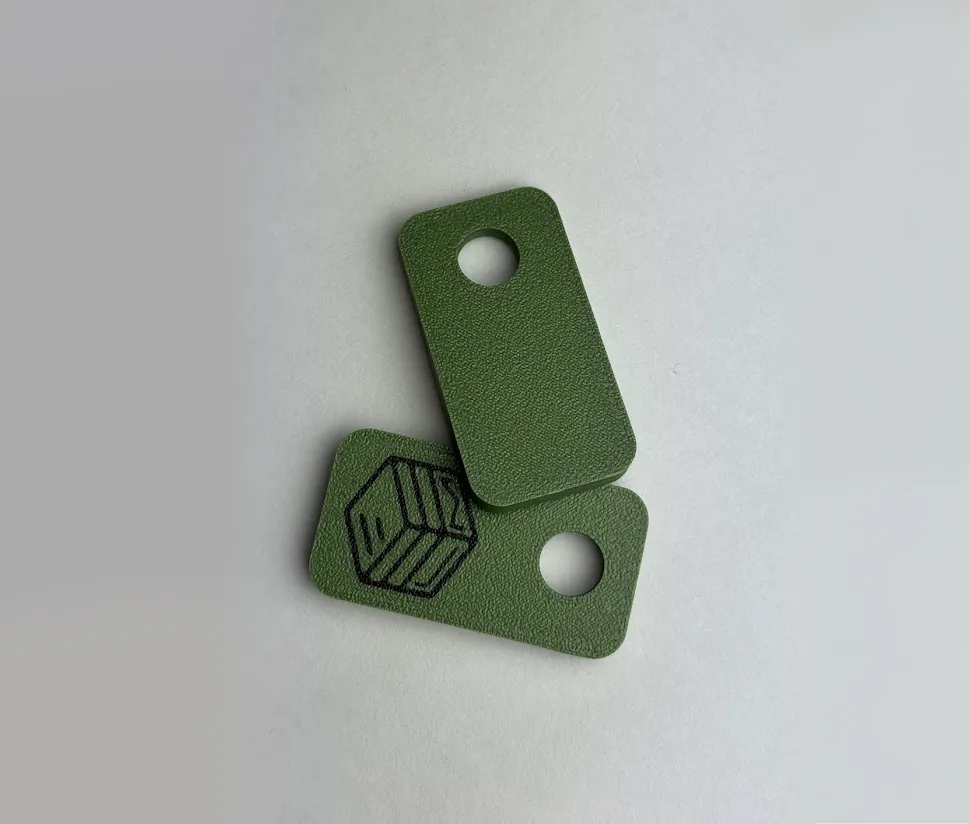
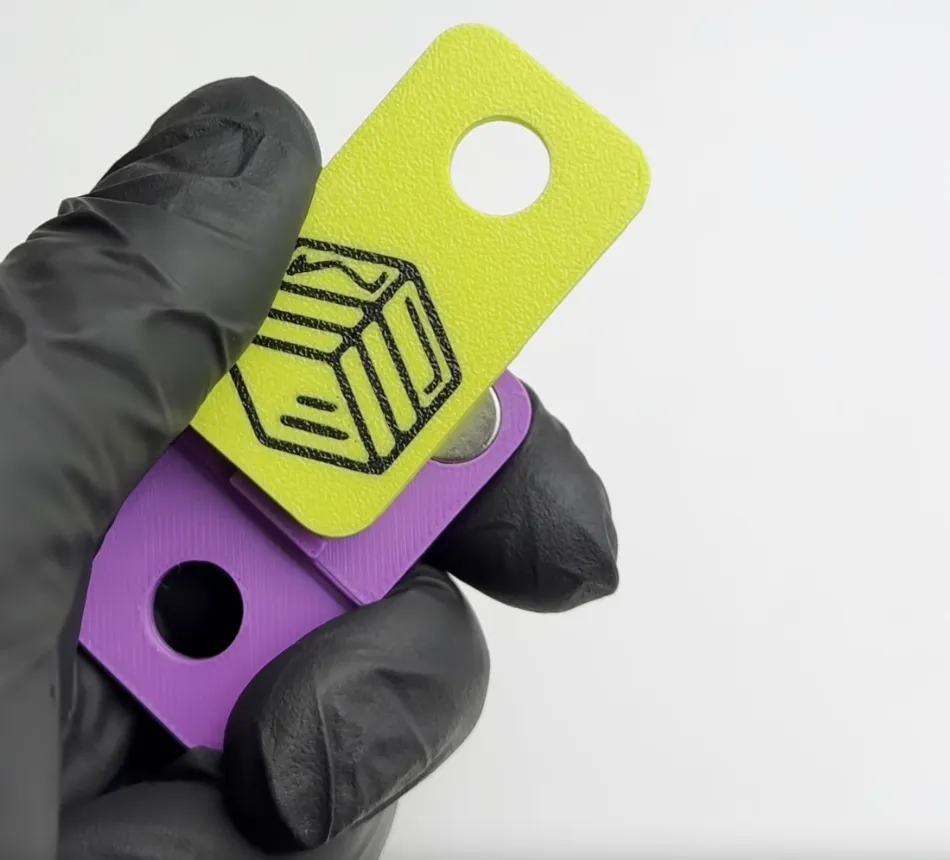
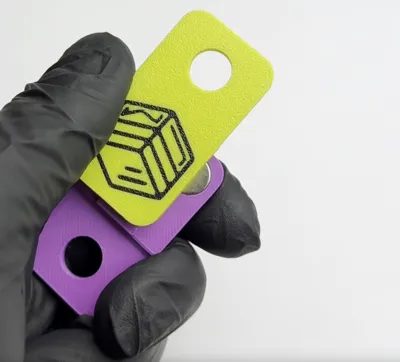
This original design will satisfy your fidget needs while annoying your friends and family with a very audible “click”. It can also be reversed and used as a haptic slider (see pictures).
Boost Me (for free)
Please consider supporting my work with a boost. This haptic fidget toy has been a labor of love. I've spent more hours than I care to admit fine tuning this model to produce the best "click" and haptic feedback while standing up to thousands of clicks.
Printing:
The fidget has my logo and has been fine tuned for my printer and my magnet. The model itself is not difficult to print, however, the settings in the attached .3mf have been tuned to work best for me. Your results may vary. This design does utilize a multi-color printing setup, as it bears my logo. You could remove my logo, if you cannot take advantage of multi-color printing.
Important: You may need to adjust the XY Compensation for your magnets. The settings I used were the best fit for the magnets I was using. Not all 10x3 magnets have the same dimensions.
Parts required:
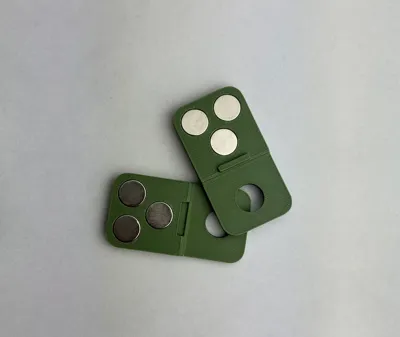
- Six 10x3 magnets
- Glue
Assembly
Part/Side 1:
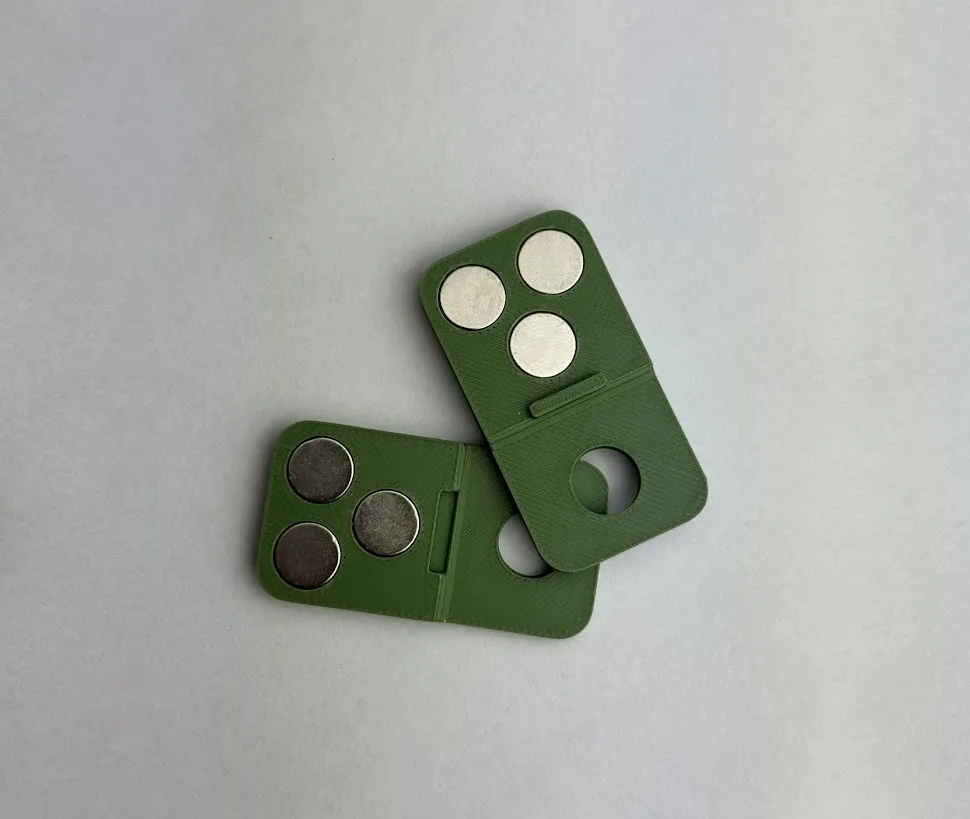
- Add glue to the magnet holes of one (e.g. the part with the logo).
- Insert one magnet at a time and ensure your magnet polarity is consistent for the first part (all magnets in the same direction)
Part/Side 2:
- Add/stack a magnet on top of each of the magnets that have been glued into the first part/side. The completed side should now have three magnets sitting proud.
- Note: You will use the completed side to insert the magnets into the other part/side that has no magnets yet.
- Add glue to the magnet holes of the second side (e.g. non-logo part).
- Bring the two parts together and shift/slide until you can start to press the non-glued magnets into the holes of the second part.
Once assembled, all three magnets on opposing sides should be attracted to each other. This will make the click motion and the sliding motion work properly.
Happy printing!
License

You shall not share, sub-license, sell, rent, host, transfer, or distribute in any way the digital or 3D printed versions of this object, nor any other derivative work of this object in its digital or physical format (including - but not limited to - remixes of this object, and hosting on other digital platforms). The objects may not be used without permission in any way whatsoever in which you charge money, or collect fees.


Comment & Rating (2)