
IQOS Ashtray v2: Odor-Free, Heets and Terea Sticks
Print Profile(2)


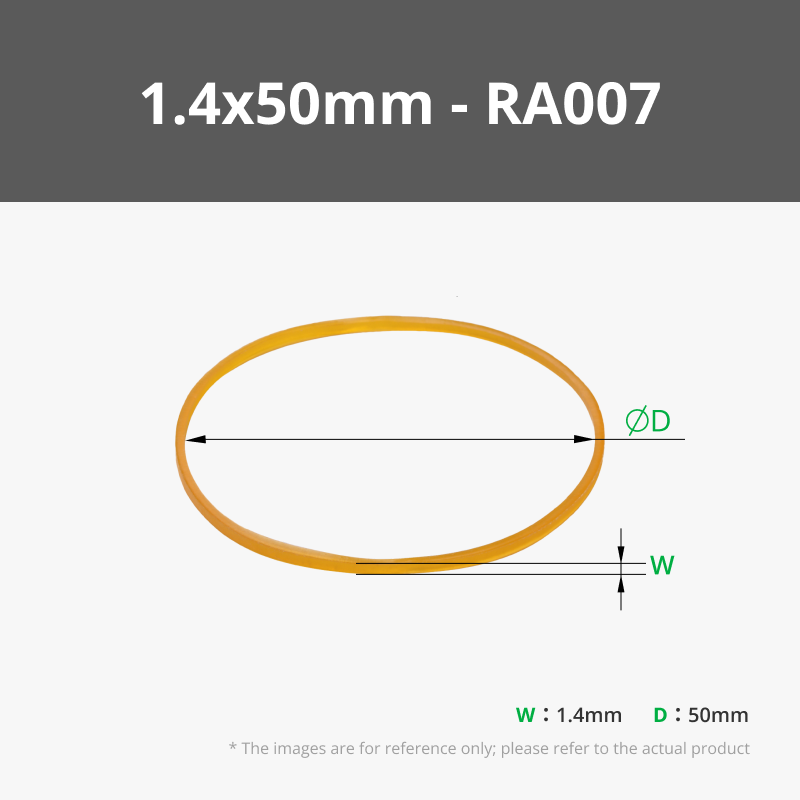
Bill of Materials
Description
Boost Me (for free)
Boost this model if you’re tired of your heatsticks stinking up your room! 🚀 Every like, follow and boost helps me keep designing and improving useful stuff. 🙌
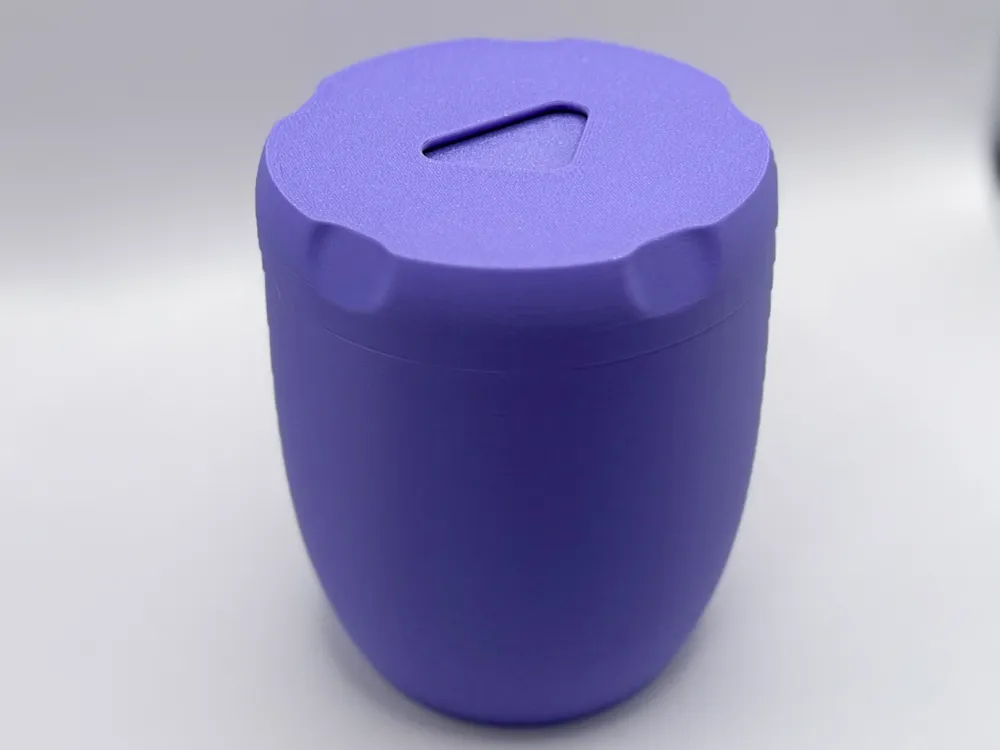
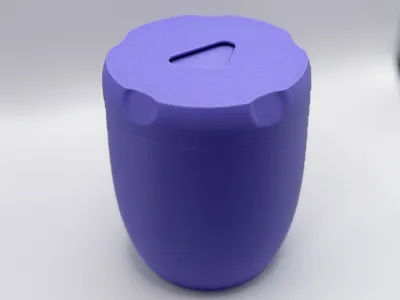
This is v2 of my popular odor-free ashtray designed for storing used heat-not-burn sticks like IQOS Heets, TEREA, GLO, and similar systems. While these devices don’t produce ash, the used sticks can still smell really bad, think old socks in a hot drawer. This container is made to keep that smell sealed away while being easy and satisfying to use.
What’s New in v2:
- Twist-Lock Lid – Much faster and easier to open for emptying. Also provides a better seal and improved aesthetics, since the cap and container now align more cleanly.

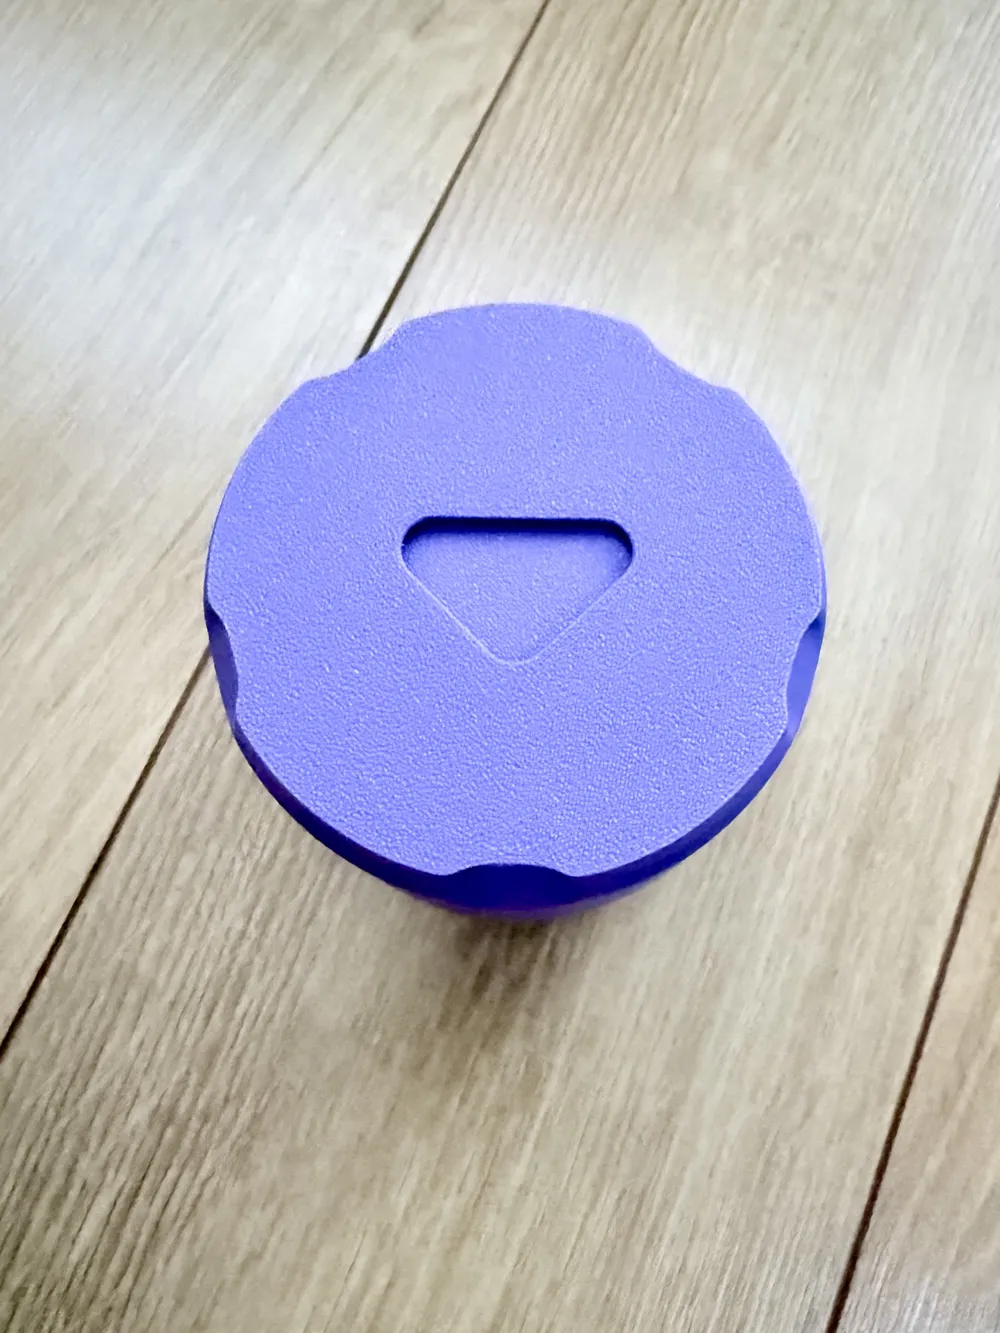
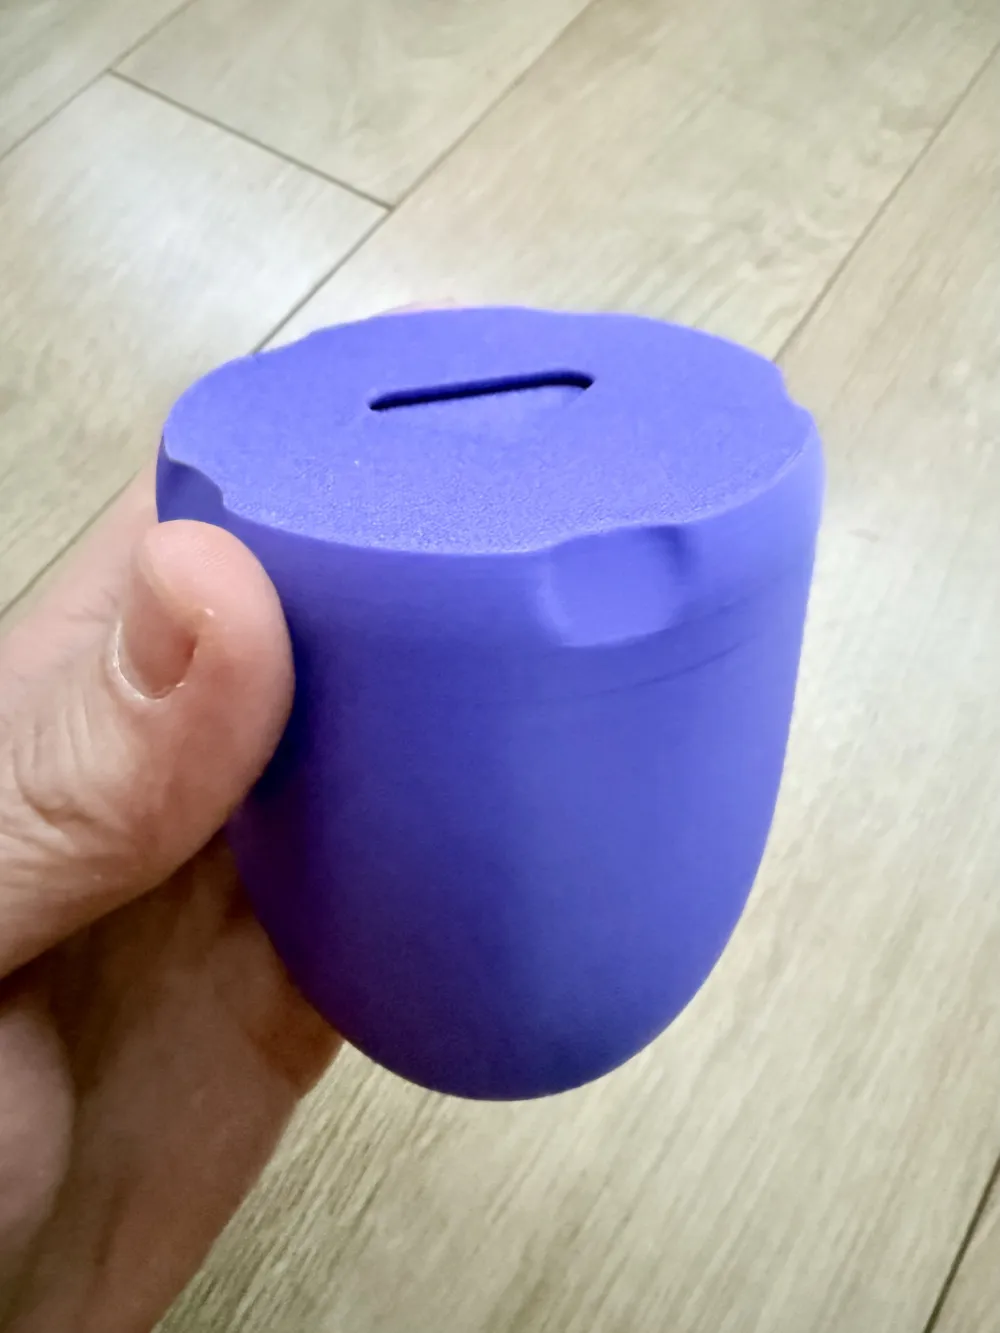
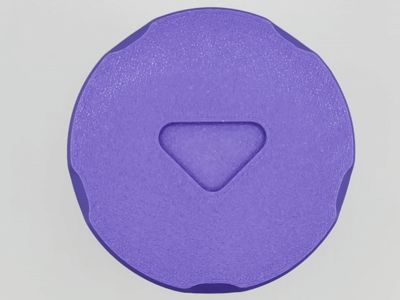
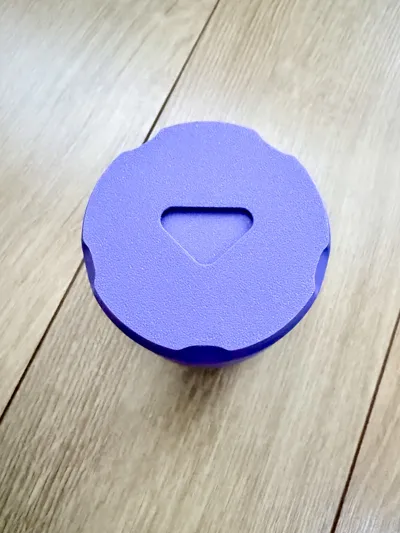
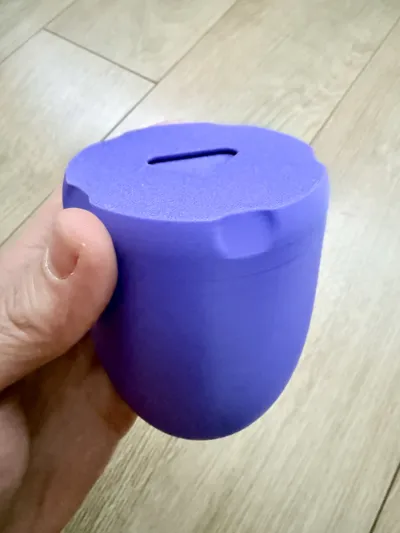
- Grip Indents on the Lid – Added subtle finger indents to make opening the container easier without slipping.
- Rubber Band Tension System – Replaces the old 3D printed spring. Now uses a standard rubber band and includes multiple anchor posts so you can adjust the tension to your liking.
- Improved Print Profile – Smoother, cleaner lines with tighter tolerances
This version was refined through months of real-world testing, and I’ll continue improving it based on your feedback.
About the Design:
The ashtray features a compact, modern look. Drop the used stick into the slot and the lid automatically snaps back thanks to the band tension. To empty it, just twist off the lid and dump the contents.
Assembly Instructions:
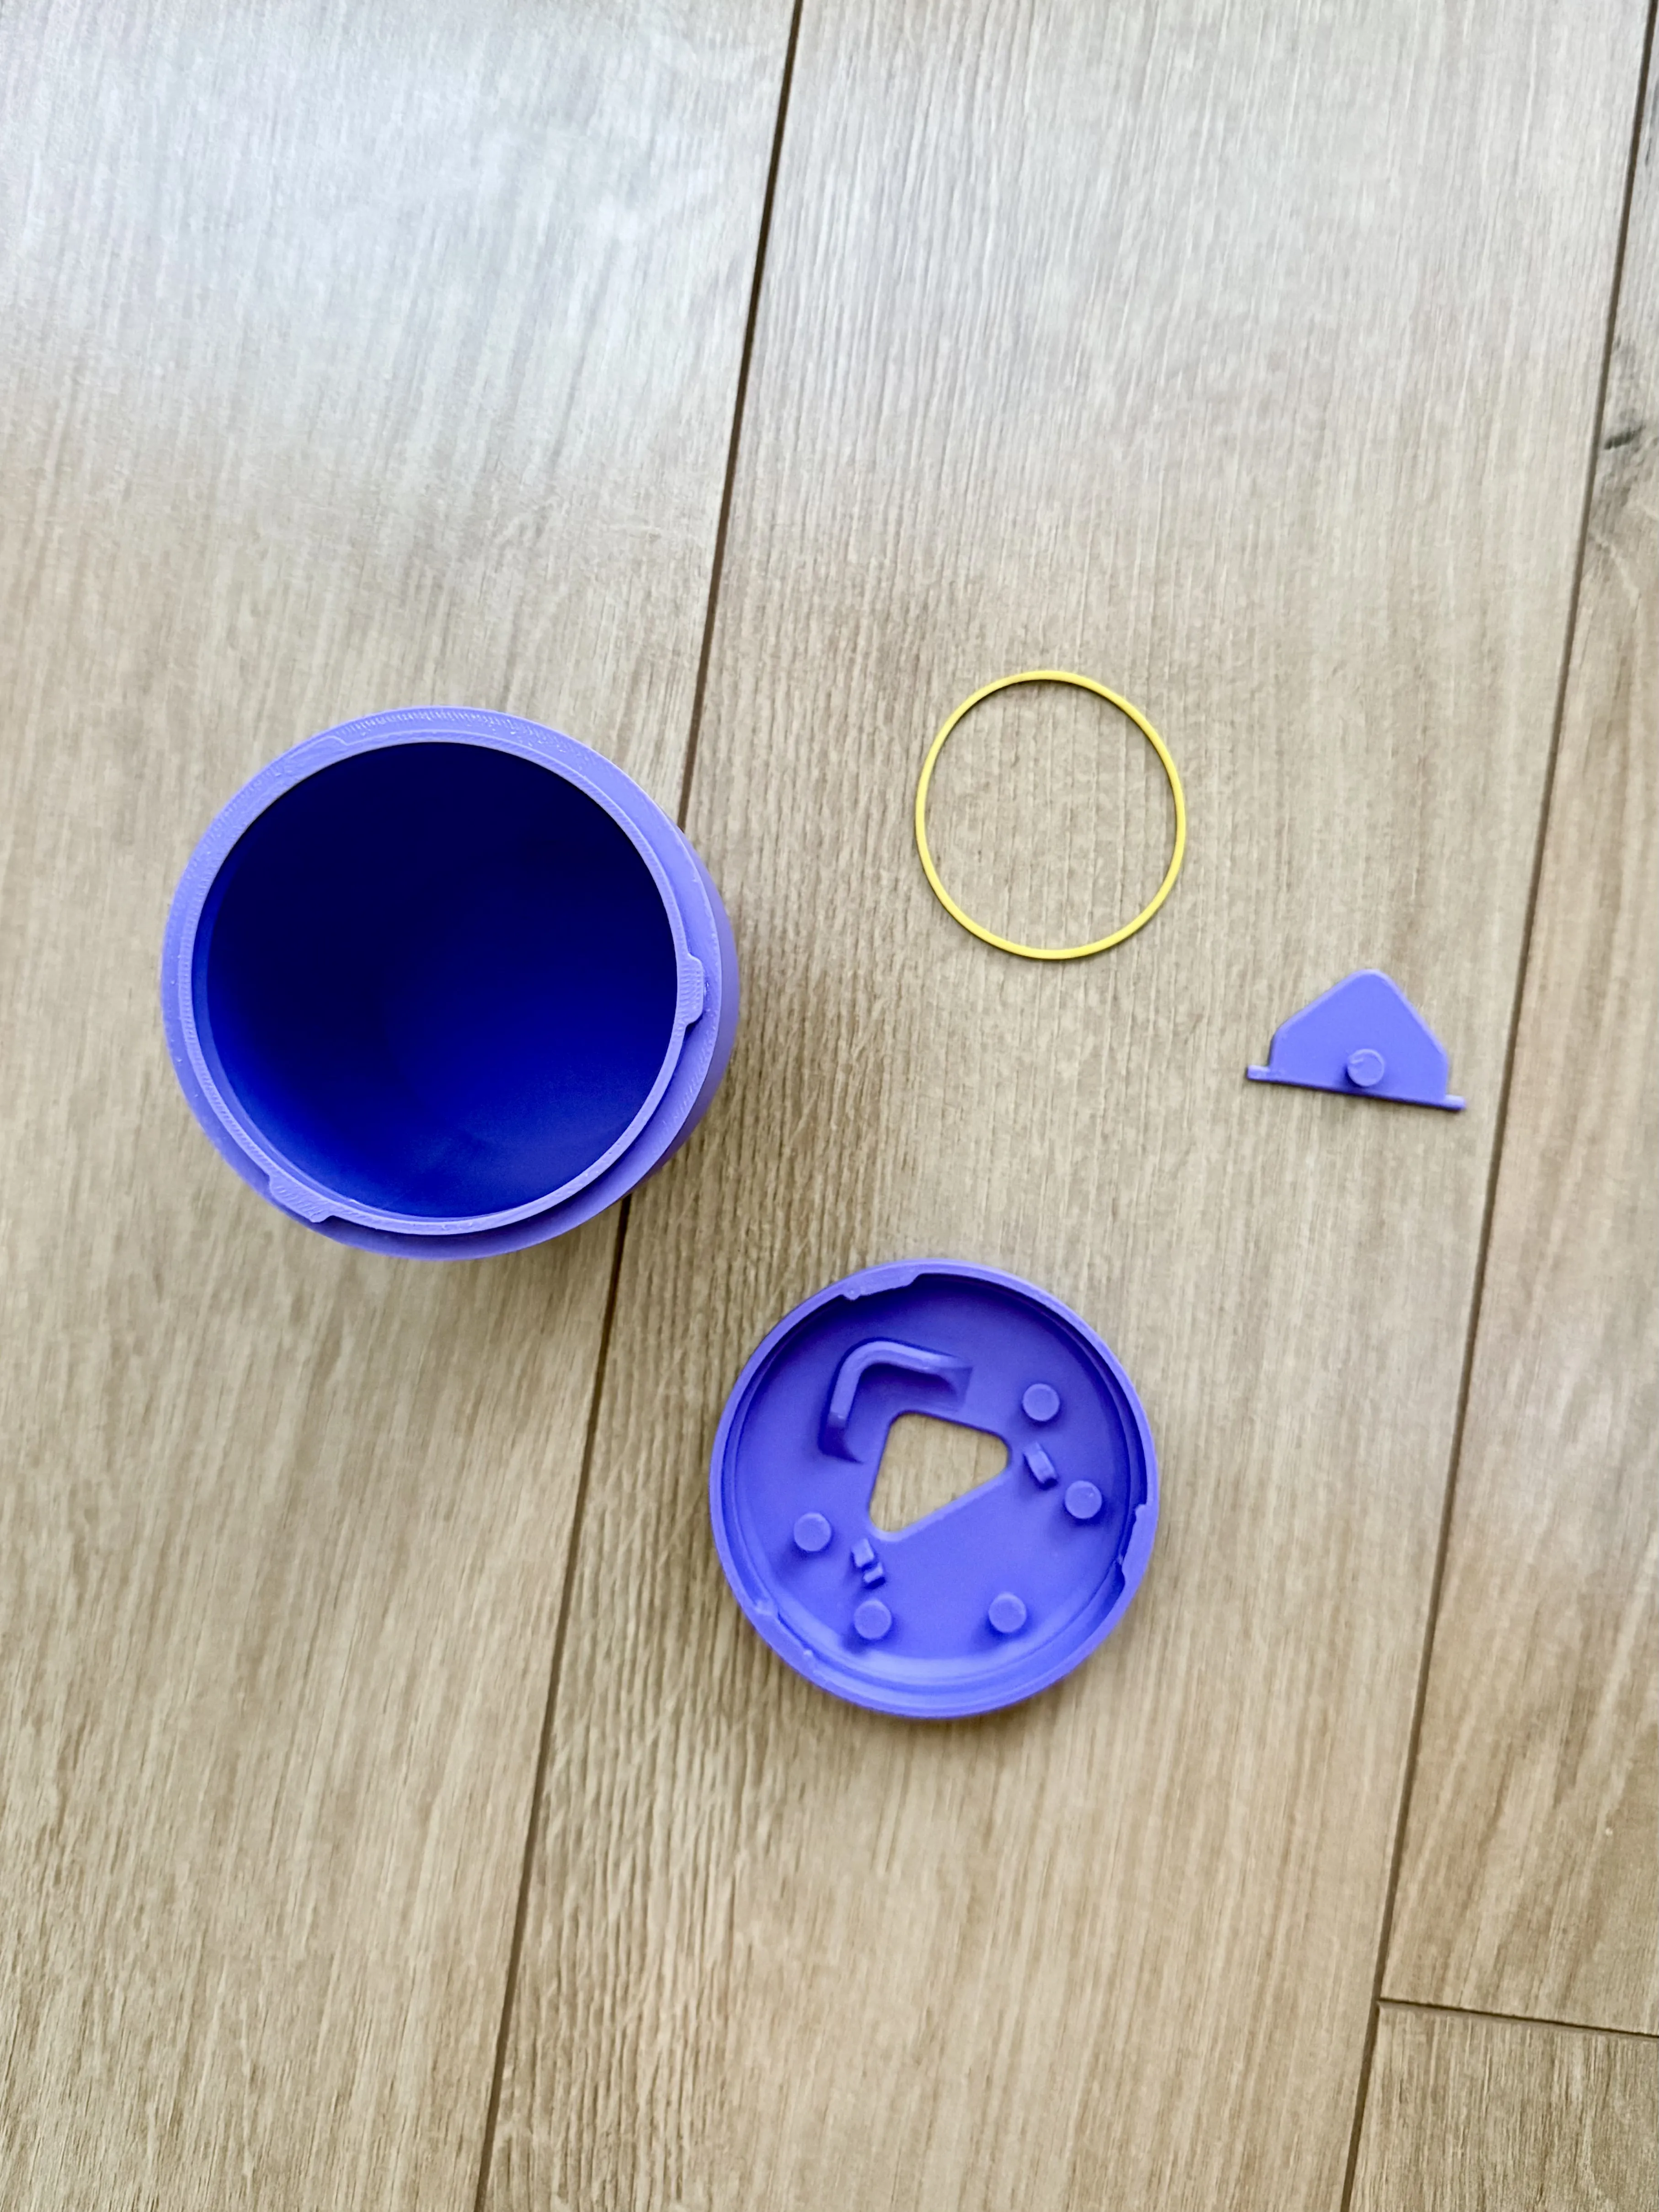
Step 1: Gather the printed base, lid, flap, and a standard rubber band, multiple anchor posts are built into the lid so you can use almost any band you have.
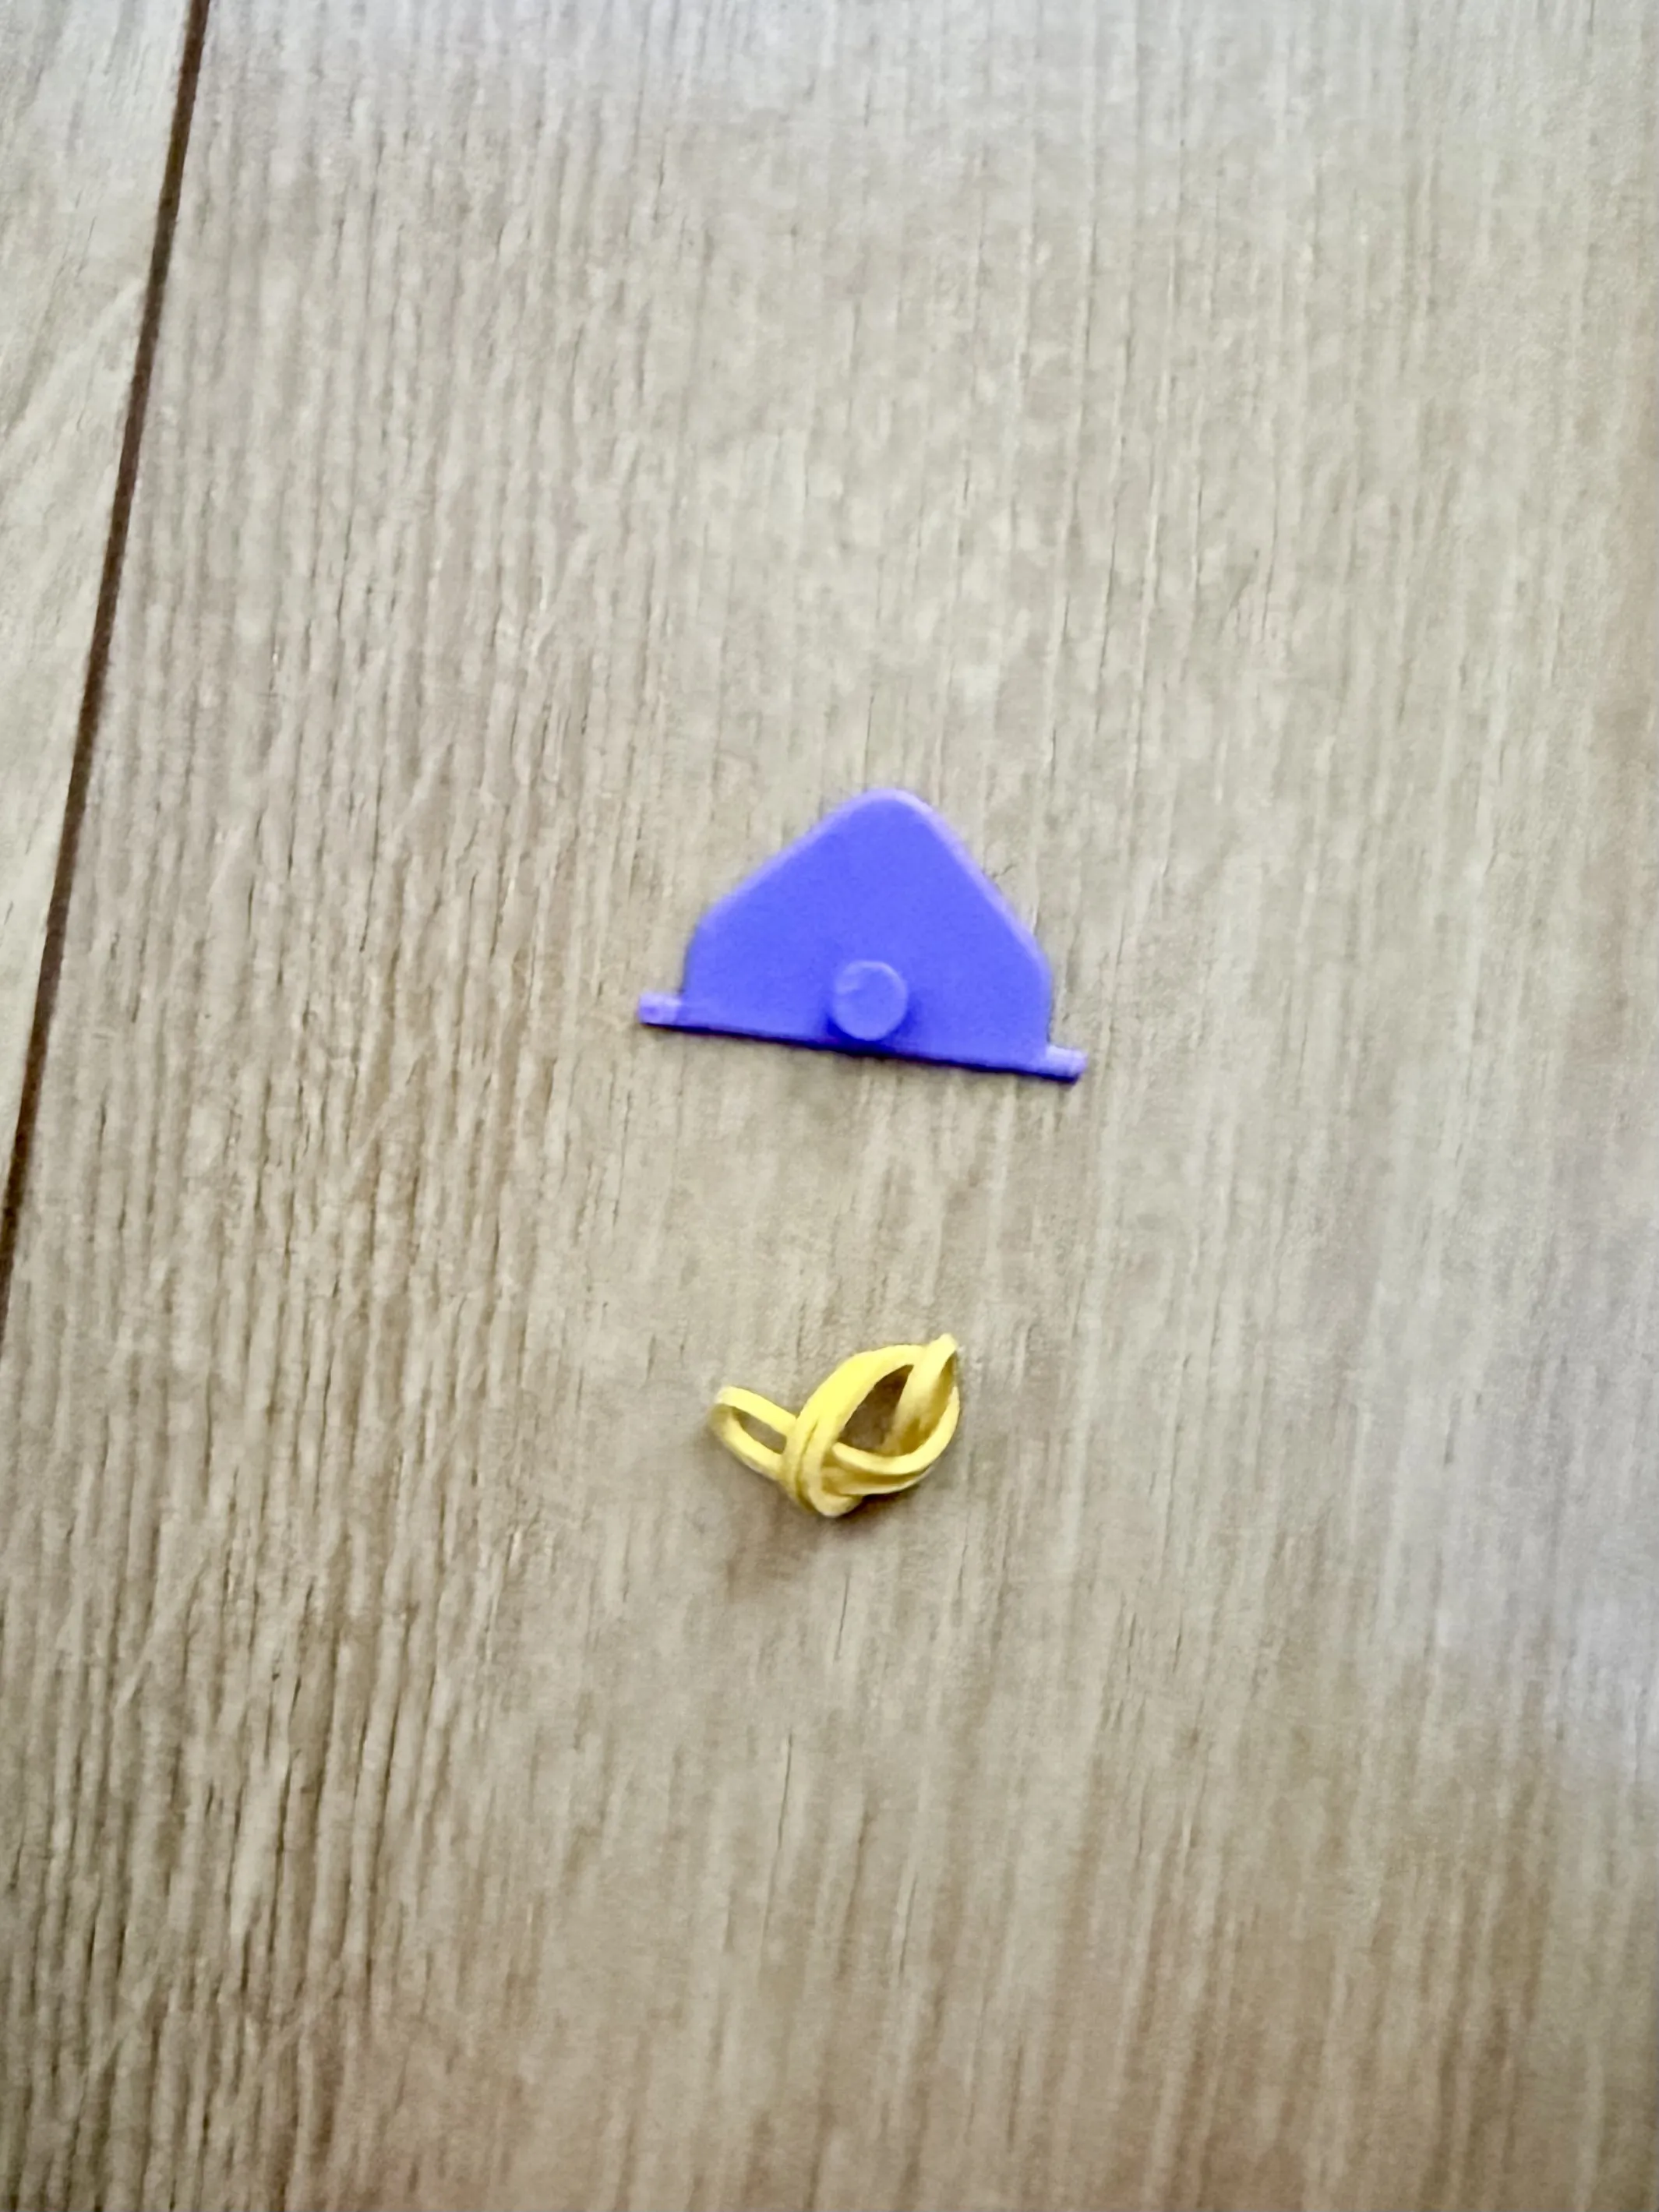
Step 2: Make a loose knot in the rubber band without tightening it, this will help with hooking it onto the anchor posts later.
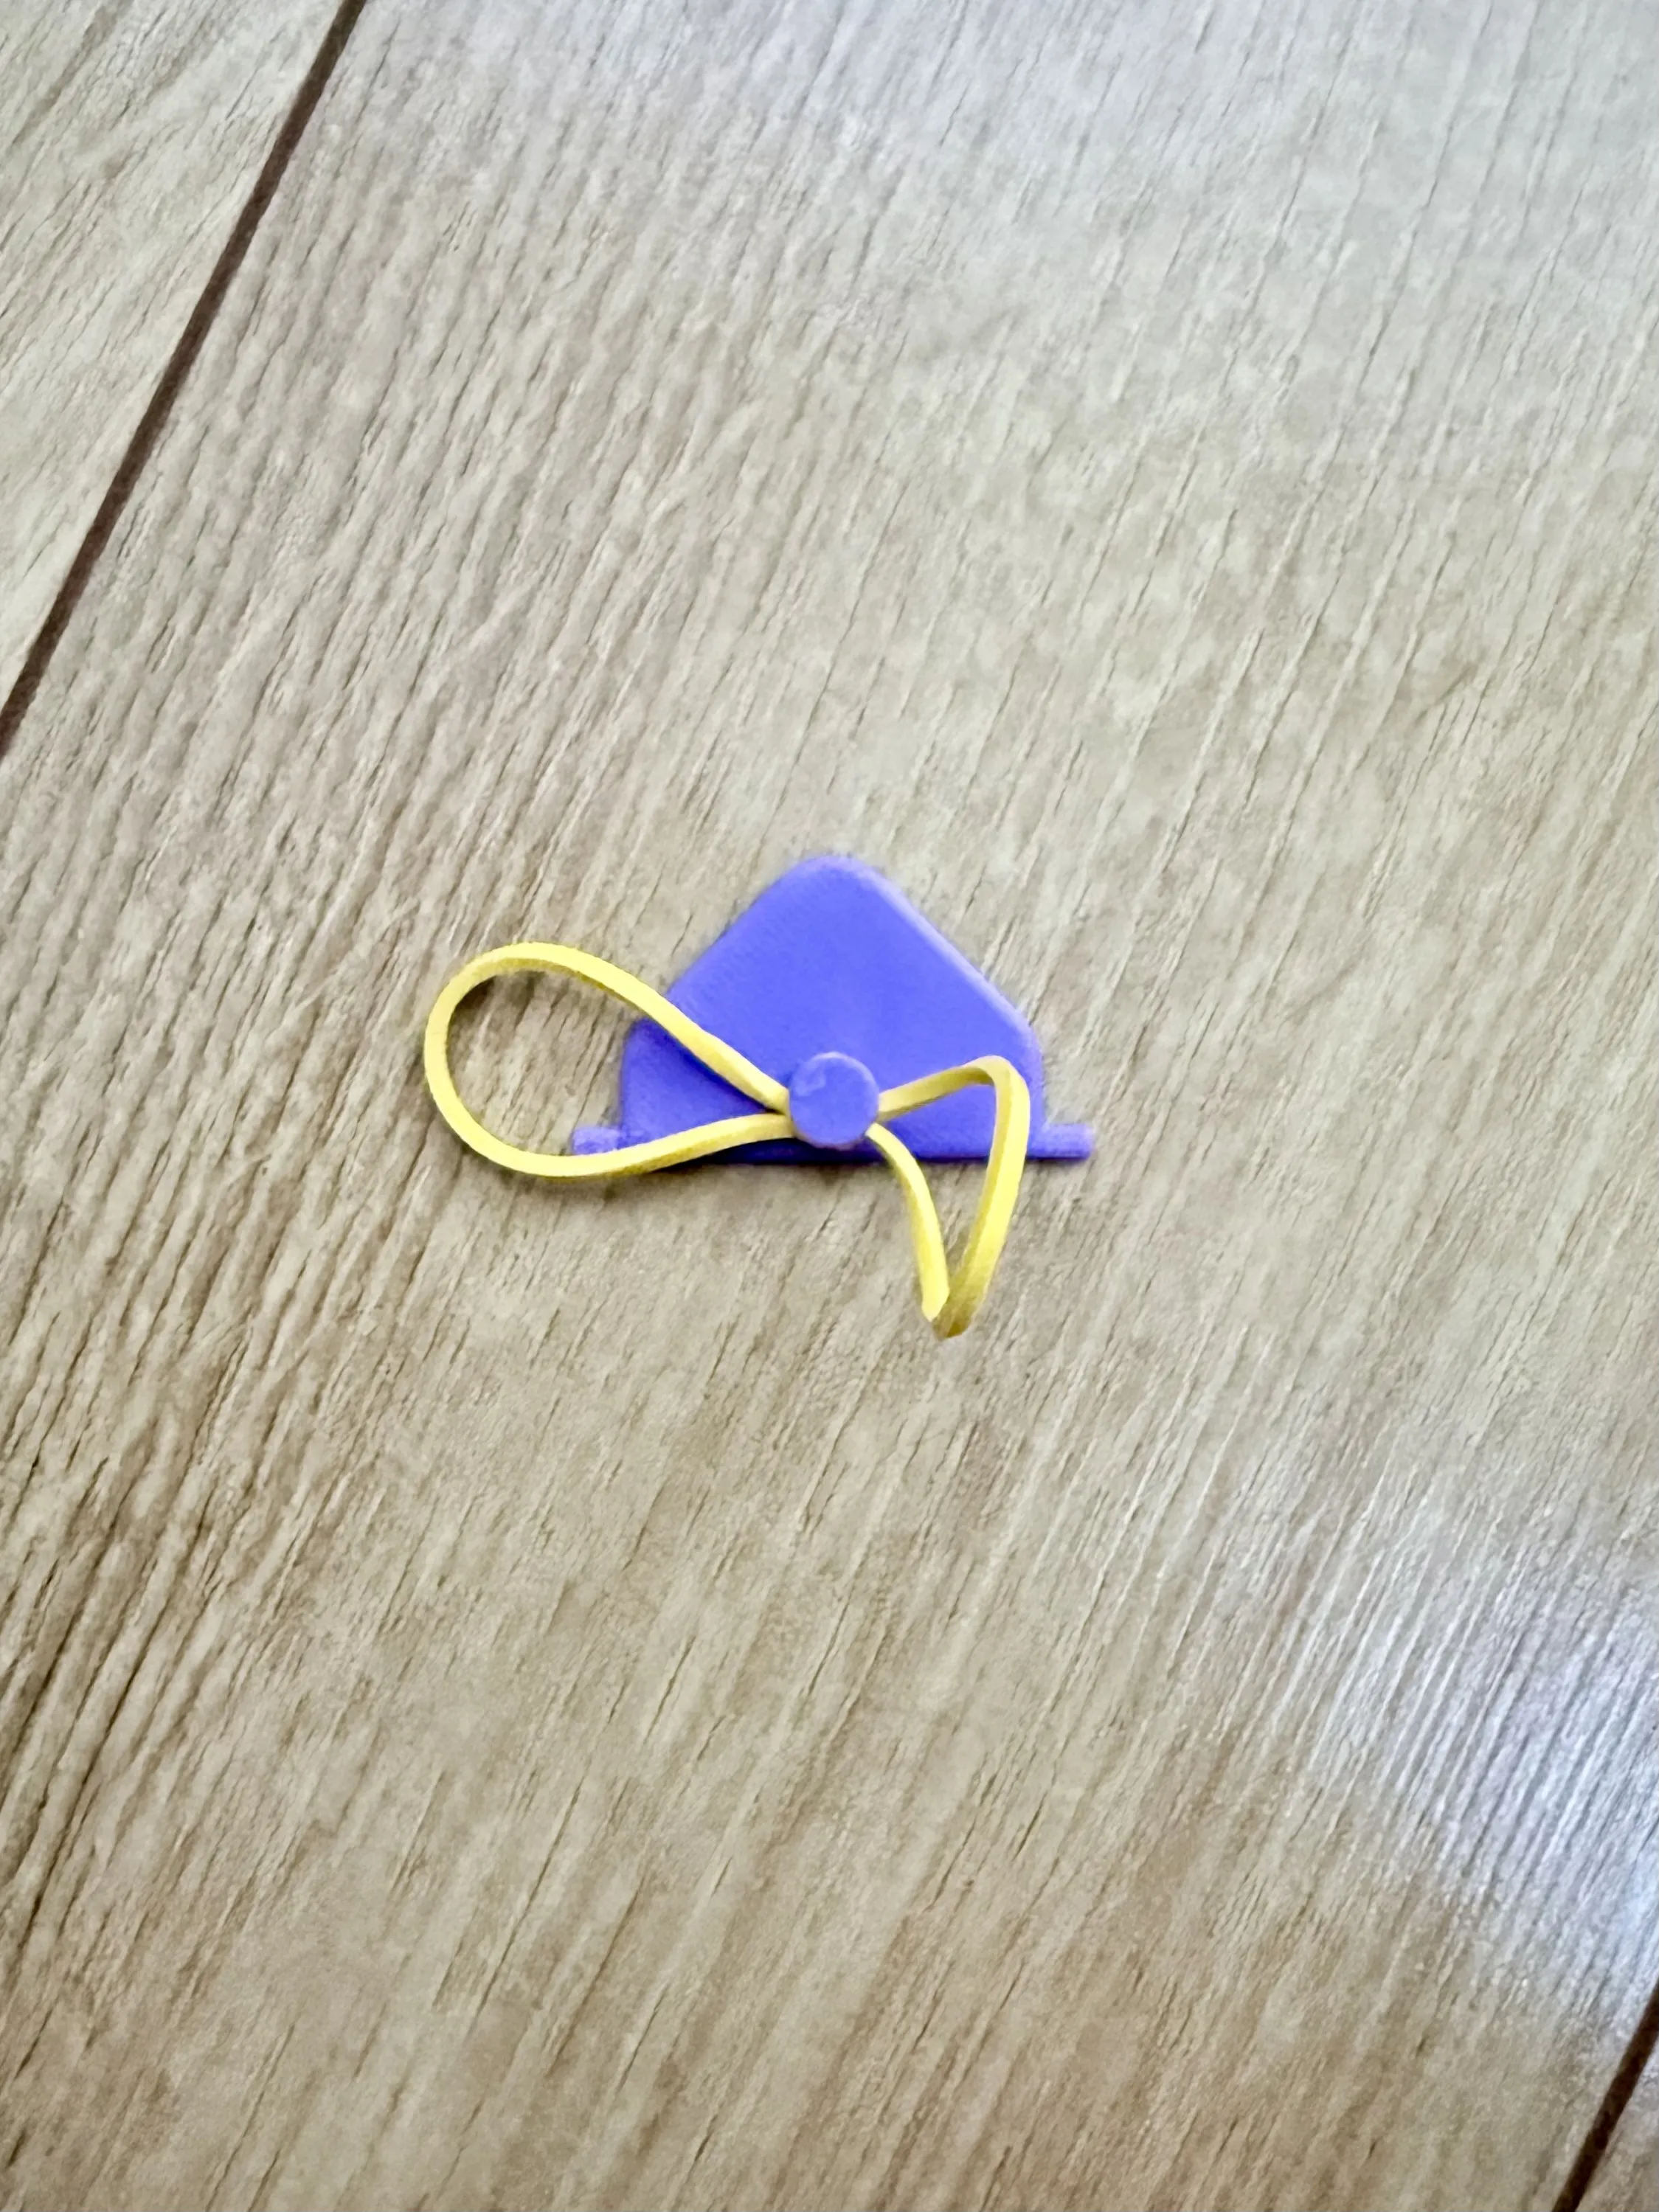
Step 3: Slip the loose knot over the anchor post on the flap and tighten it to secure the band in place.
Step 4: The flap is rounded where it touches the rubber band to prevent cutting it during use. Attach the flap to the lid by aligning the hinge parts. The flap has two small cuts on one side of its hinge that allow it to snap onto the open-sided hinge ring on the lid.
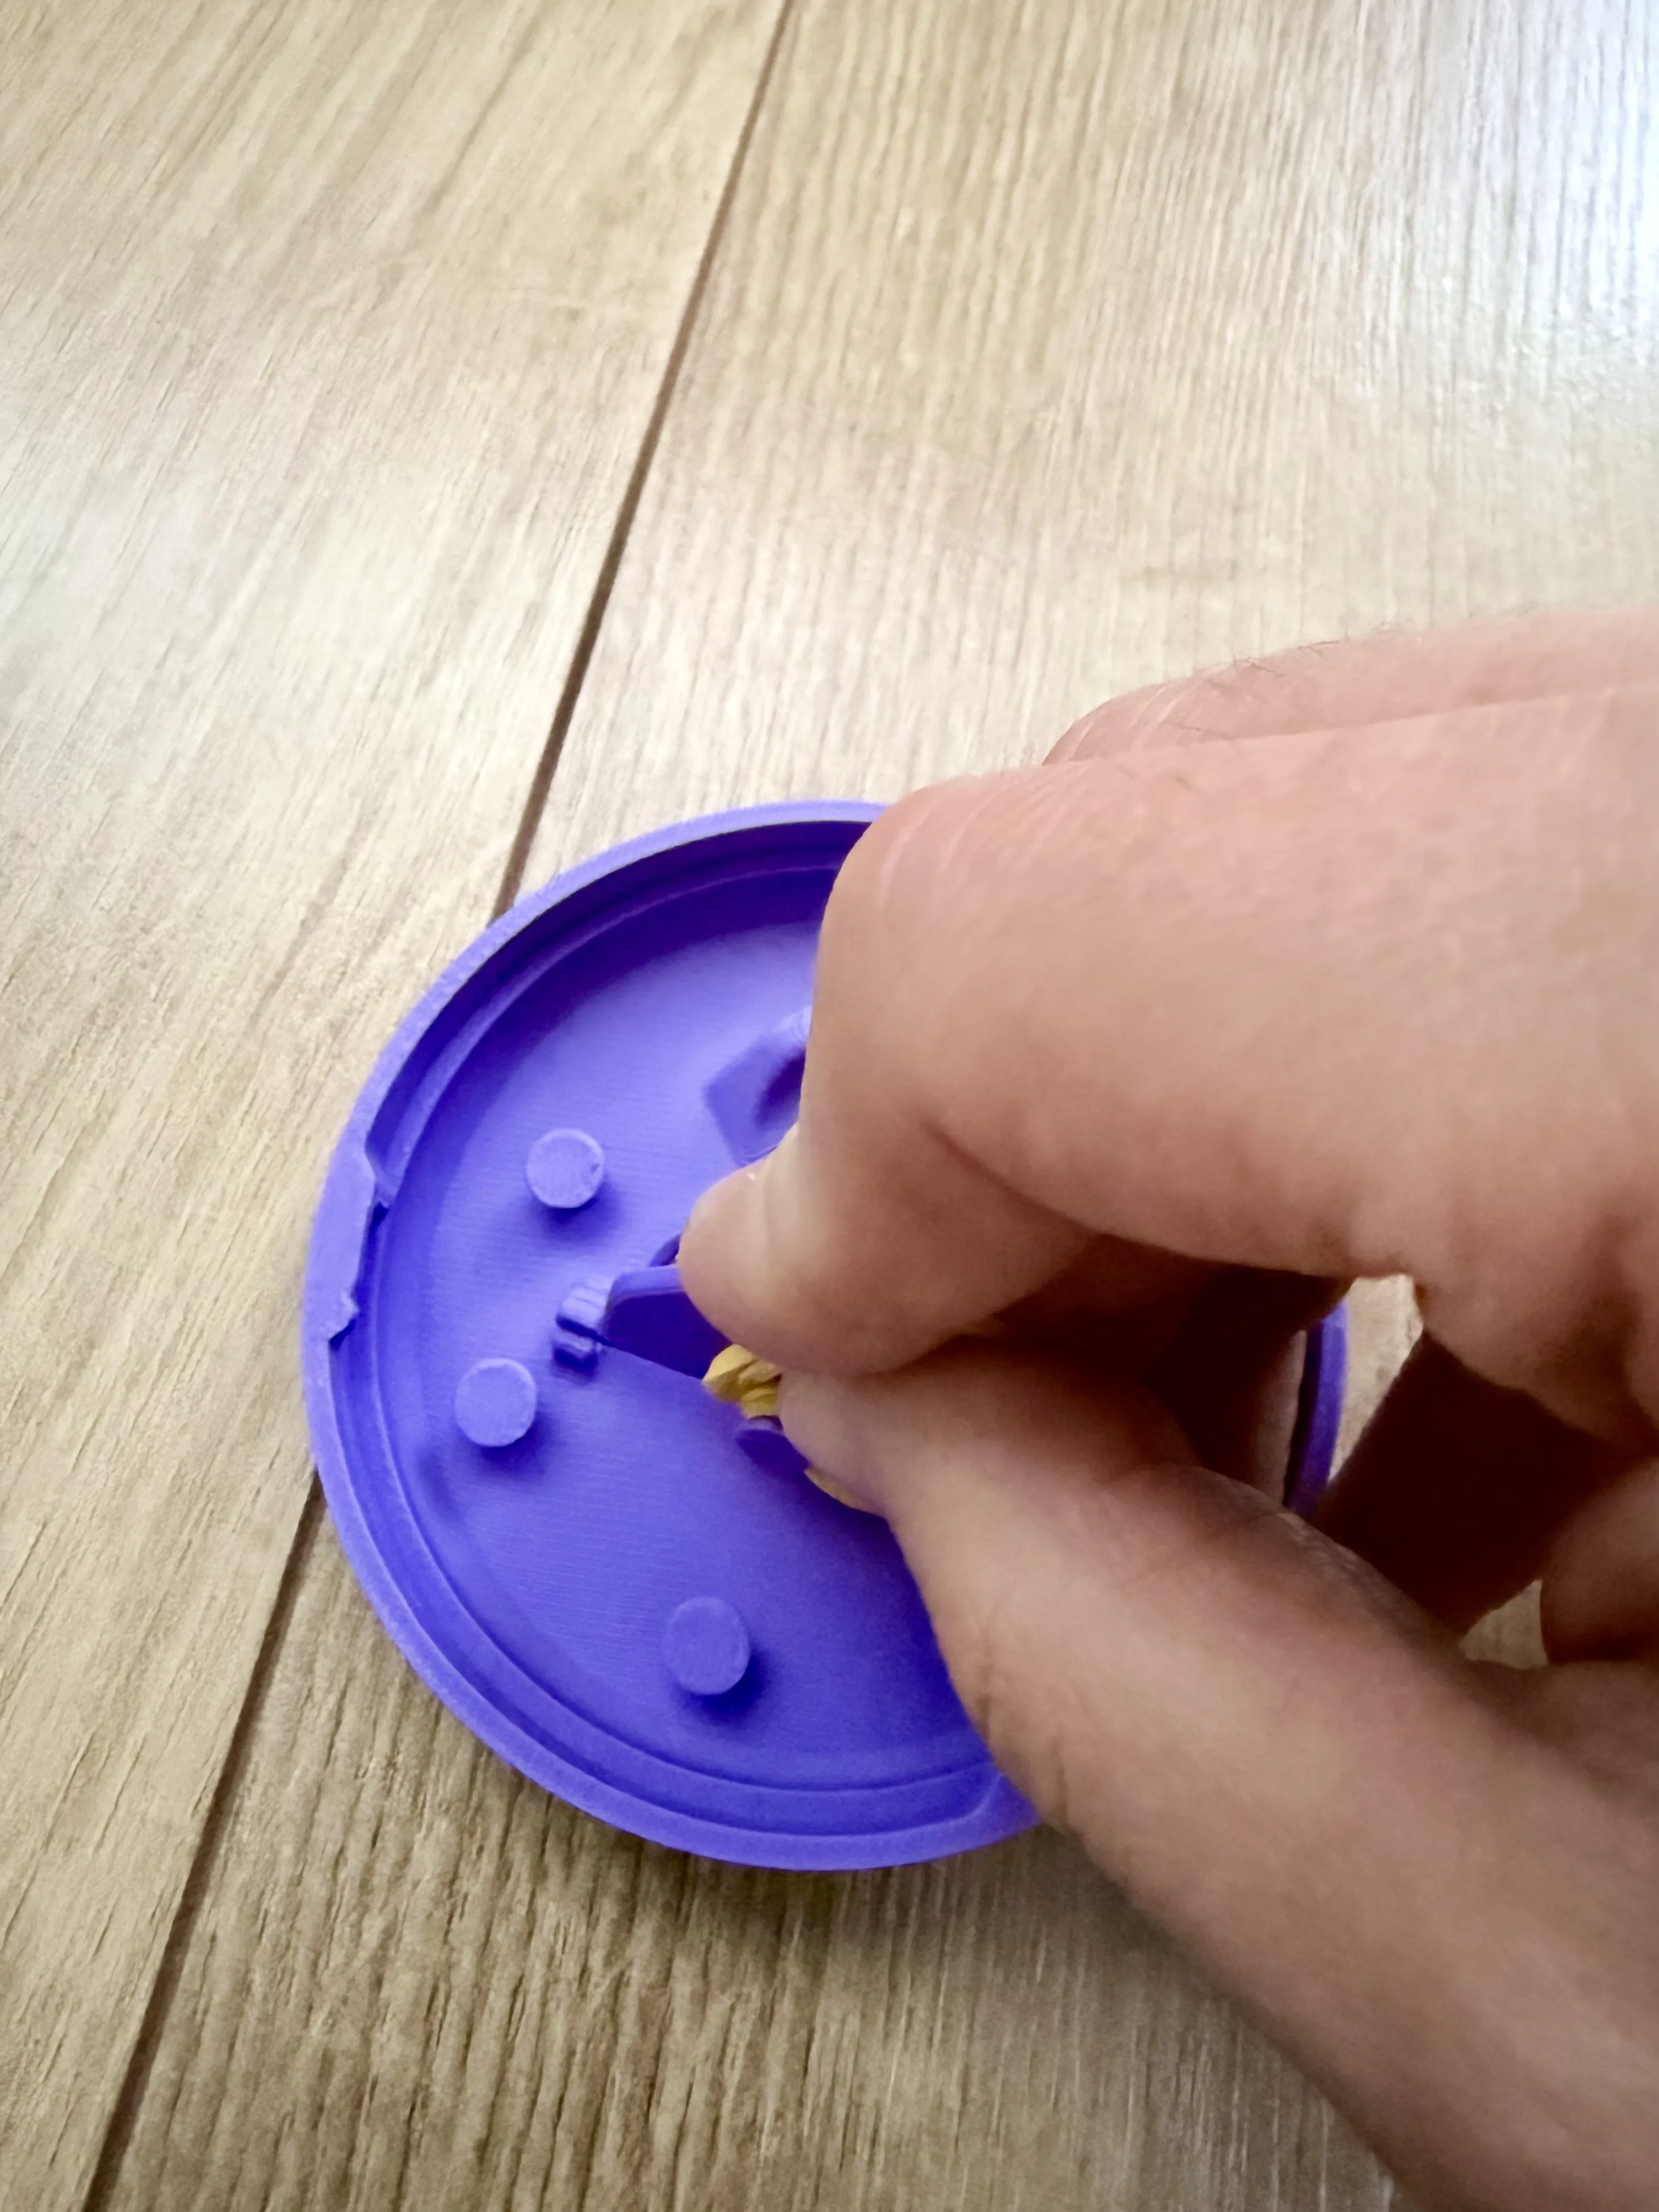
Step 5: Wrap the rubber band around the internal anchor posts inside the lid to build up tension, then secure both ends by looping them around any one post to hold everything in place.
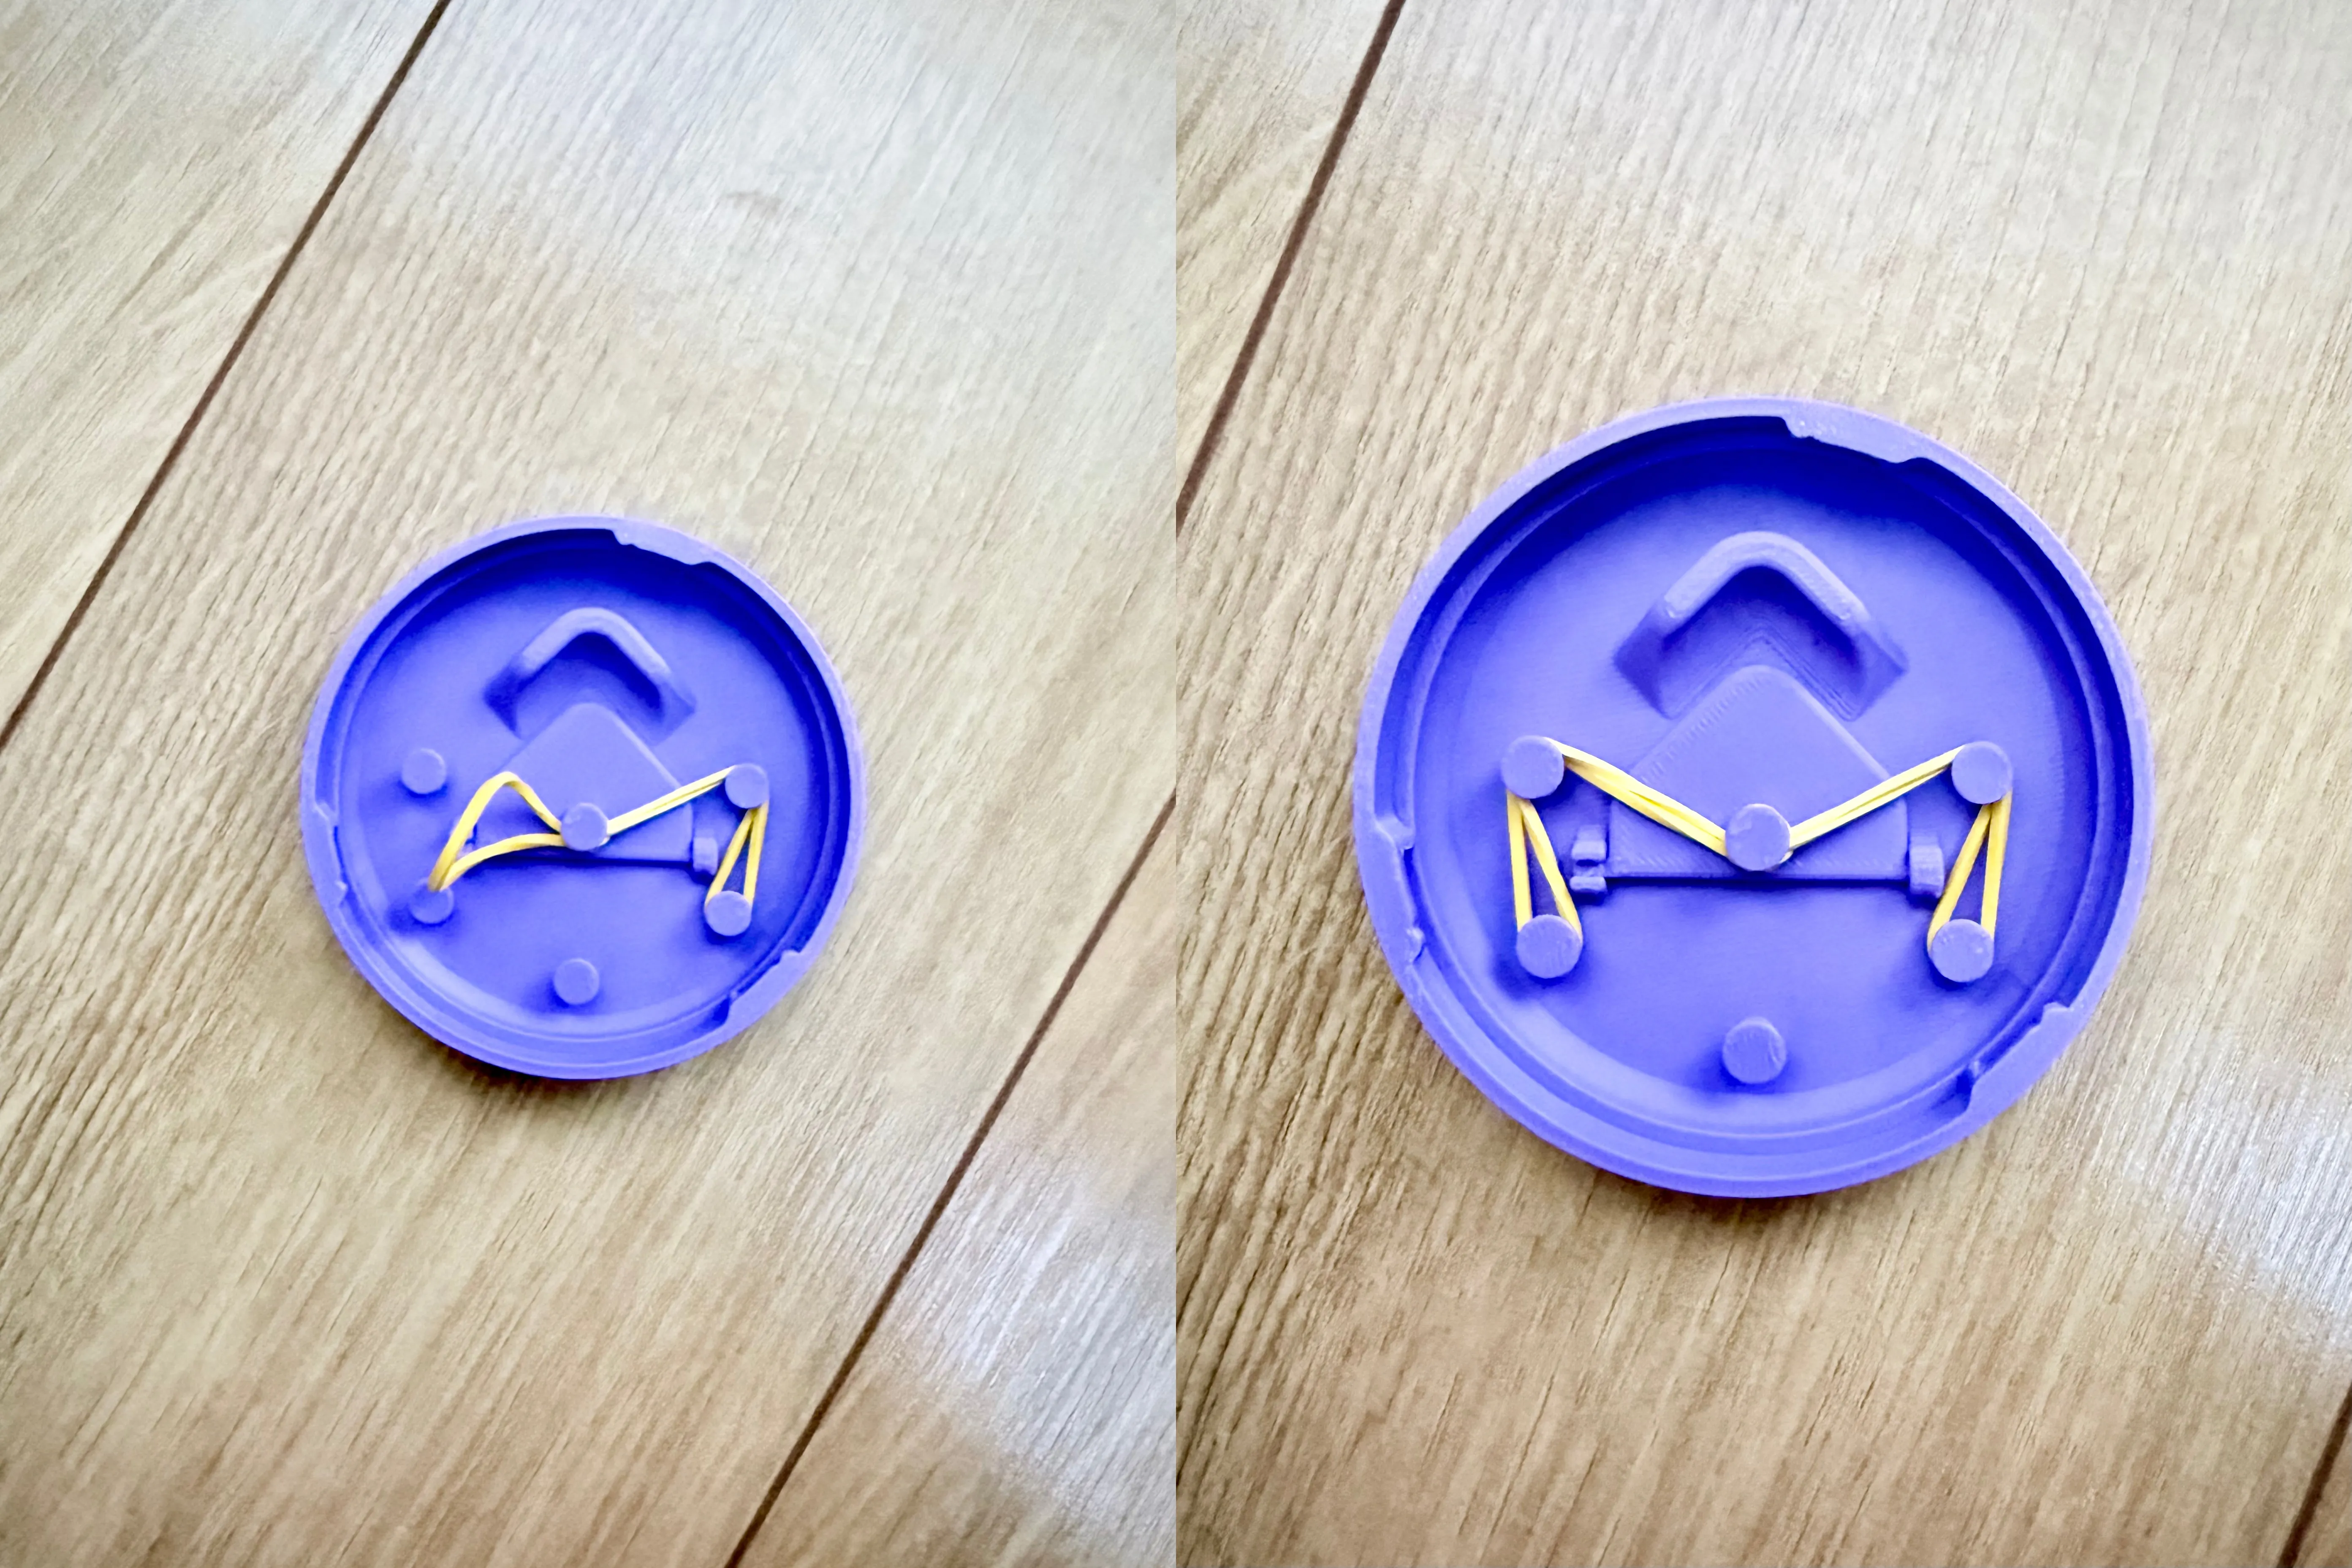
Step 6: Twist the lid onto the base using the twist-lock mechanism, you might want to twist it open and closed a couple of times to smooth it out. This will make future use easier. And that’s it! Enjoy your cleaner, smell-free space!
License

You shall not share, sub-license, sell, rent, host, transfer, or distribute in any way the digital or 3D printed versions of this object, nor any other derivative work of this object in its digital or physical format (including - but not limited to - remixes of this object, and hosting on other digital platforms). The objects may not be used without permission in any way whatsoever in which you charge money, or collect fees.


Comment & Rating (75)