
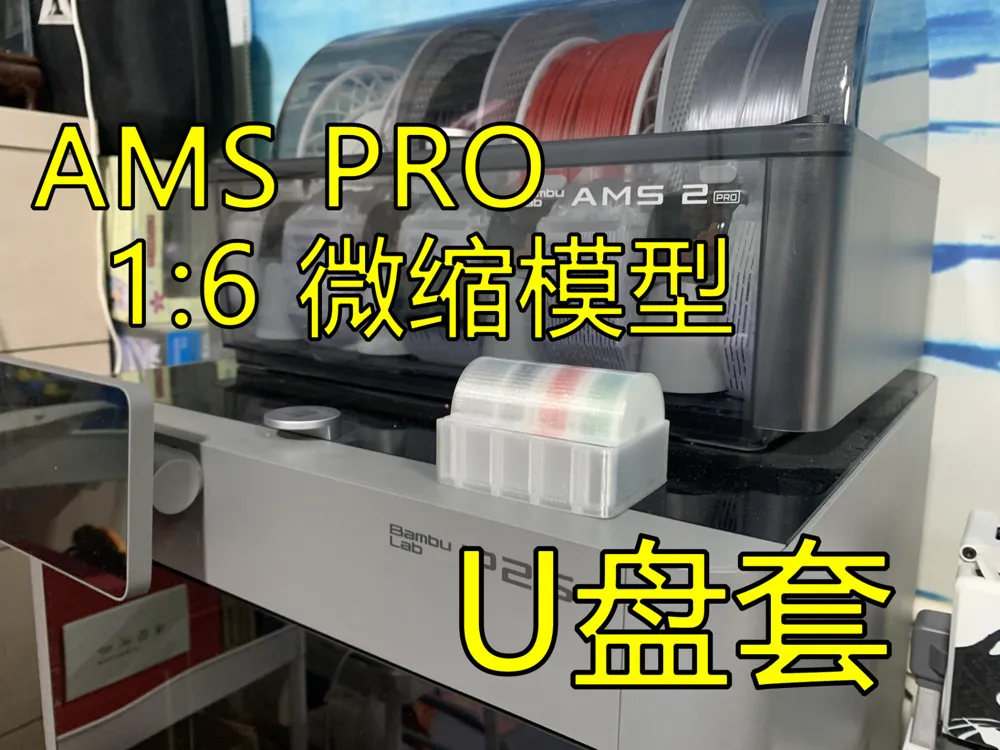
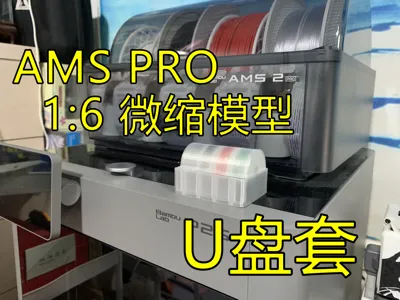
AMS PRO 1:6 Miniature Model USB Drive Case
Print Profile(1)

Description
Does plugging a USB drive into the P2S's USB port seem too plain and rigid?
Wondering what decorations you can put on your printer?
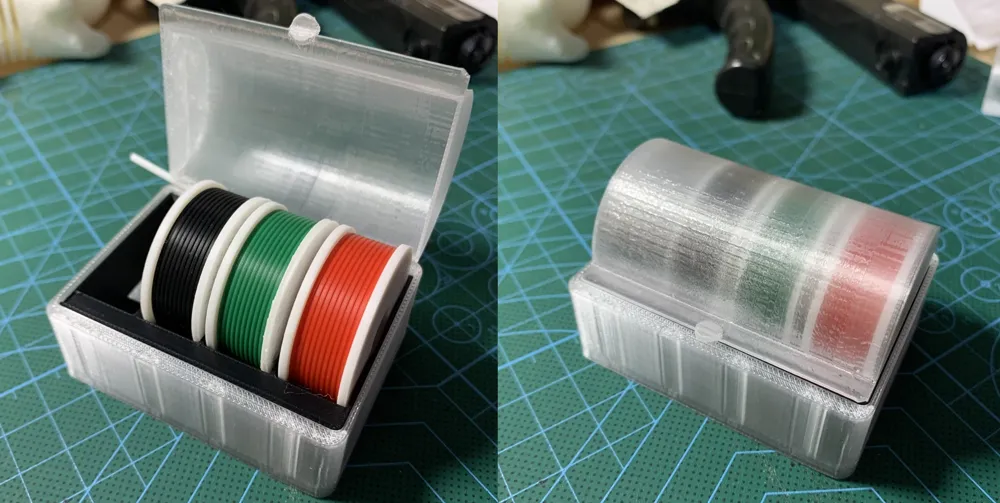
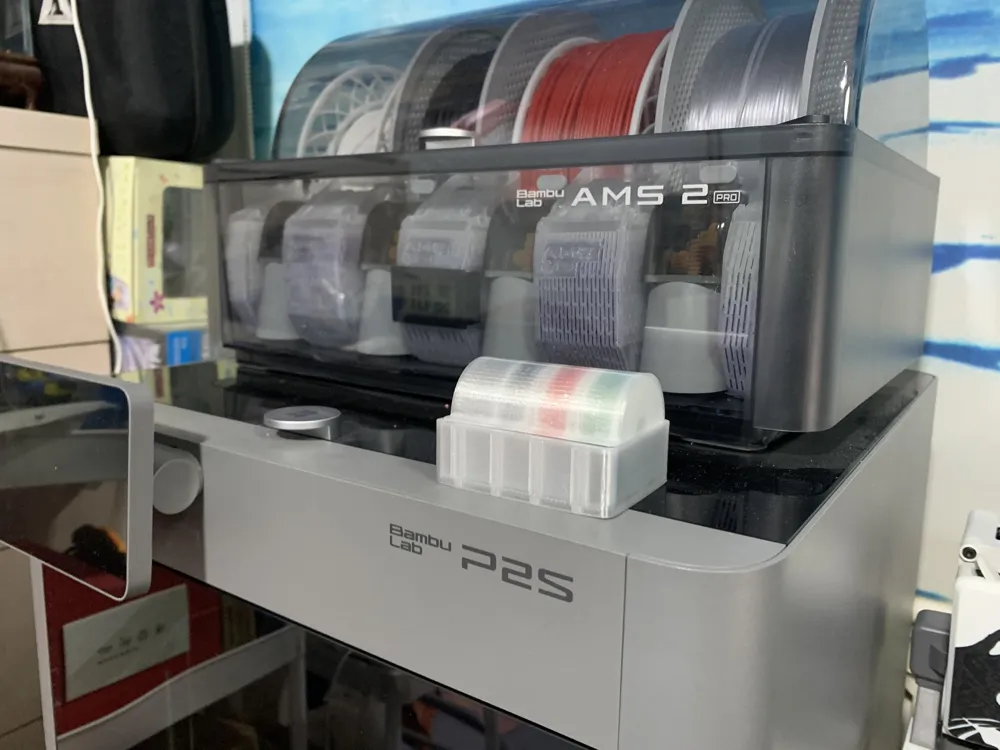
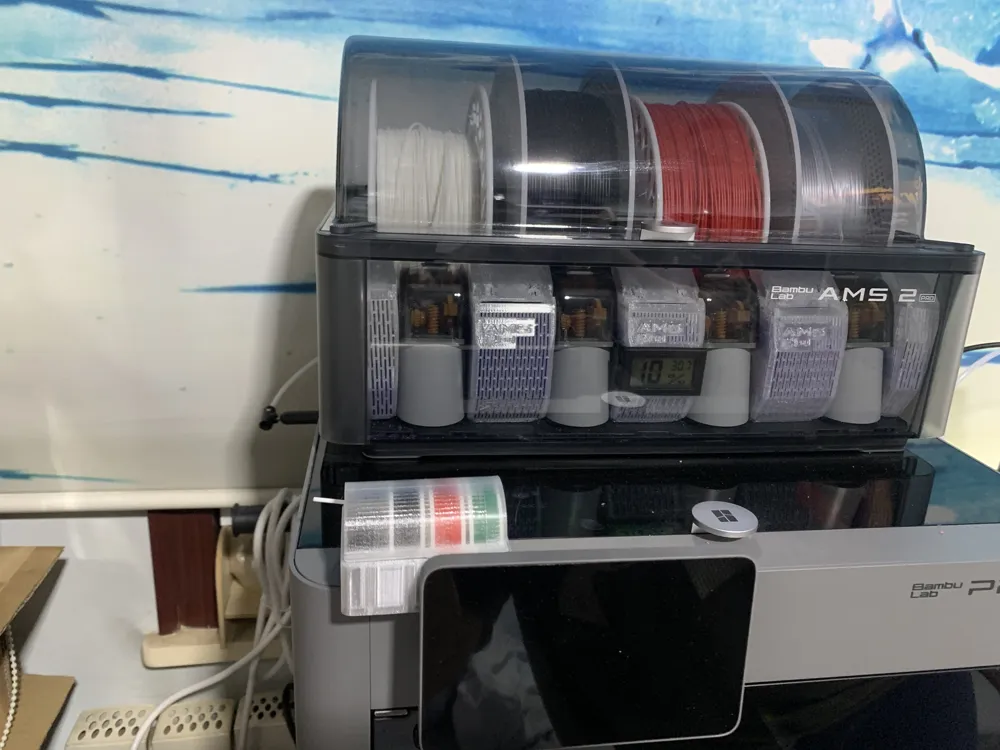
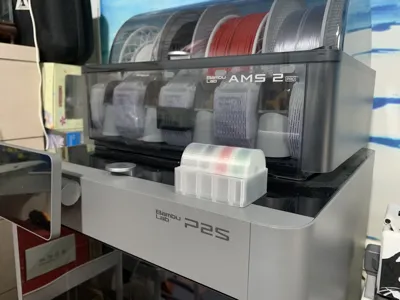
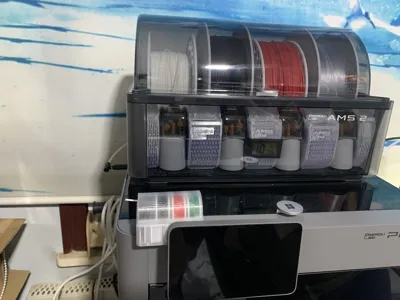
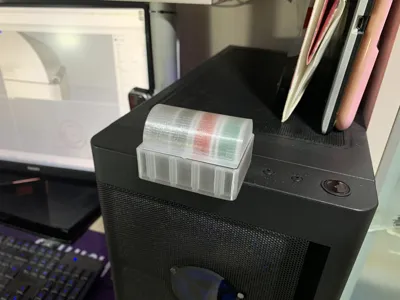
This model allows you to have a 1:6 mini AMS pro, giving your AMS a little baby so it's no longer alone.
I. Applicable USB Chips
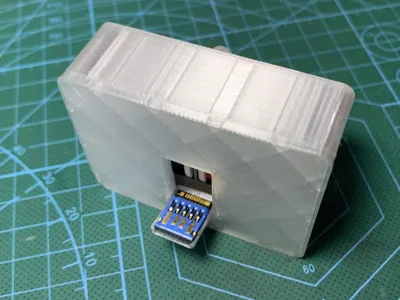
Currently, it is only suitable for USB drive chips that are 15mm long and 11mm wide. Both USB 2.0 and USB 3.0 are compatible. (Future versions supporting other chip sizes may be designed; suggestions are welcome.)
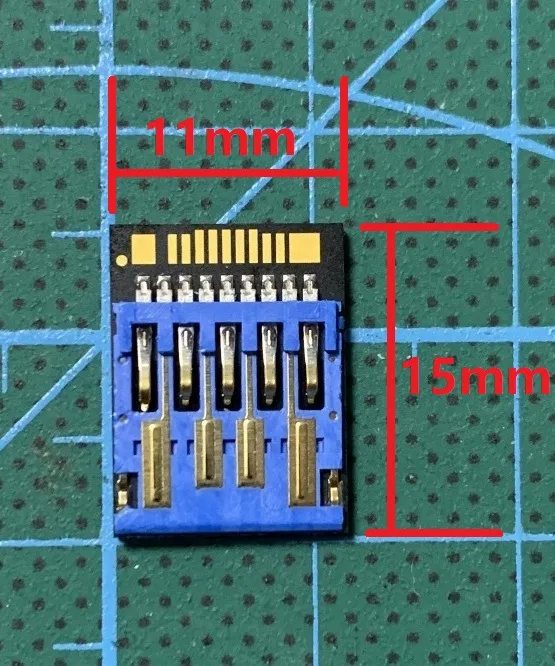
II. Printing Precautions
- Some parts of the model are thin, so please do not adjust any line widths, as this will likely lead to print failure.
- To ensure smooth overhangs and reduce filament change time and waste, the lid component of this model uses a special support mode. On plate 1, please use transparent filament as the main material, such as PETG Translucent (or other transparent materials with a slightly darker color for better effect), and use filament of a different material than the main material, such as PLA Basic, for support. The main material doesn't necessarily have to be PETG; using transparent PLA as the main material + PETG as support is also theoretically possible.
- After selecting the material you want to use, check the filament printing order in the parameter settings for plate 1: For layer 305, main material first, then support; for layer 306 and after, support first, then main material.
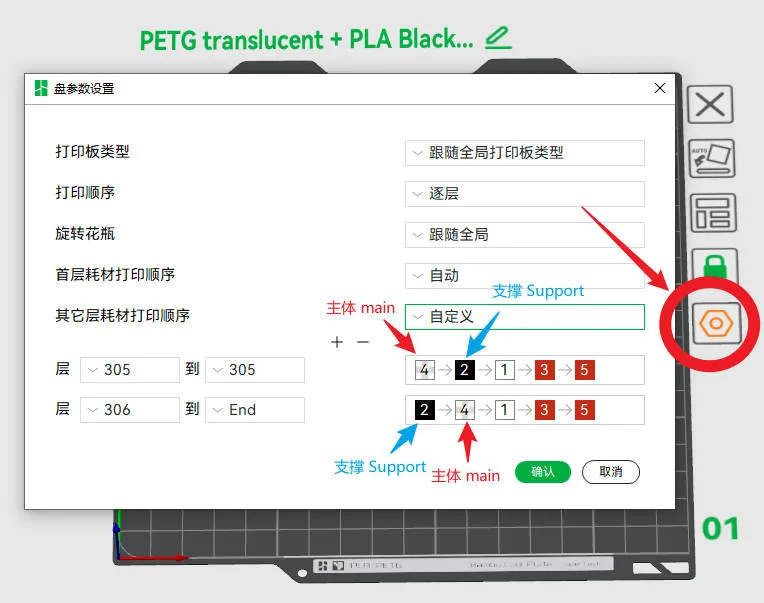
The lid component is thin and relatively fragile. After printing, please do not forcibly remove supports. It is recommended to use a bed scraper or similar tool to gently pry them off by inserting it into the gap between the support and the main material.
III. Installation Instructions
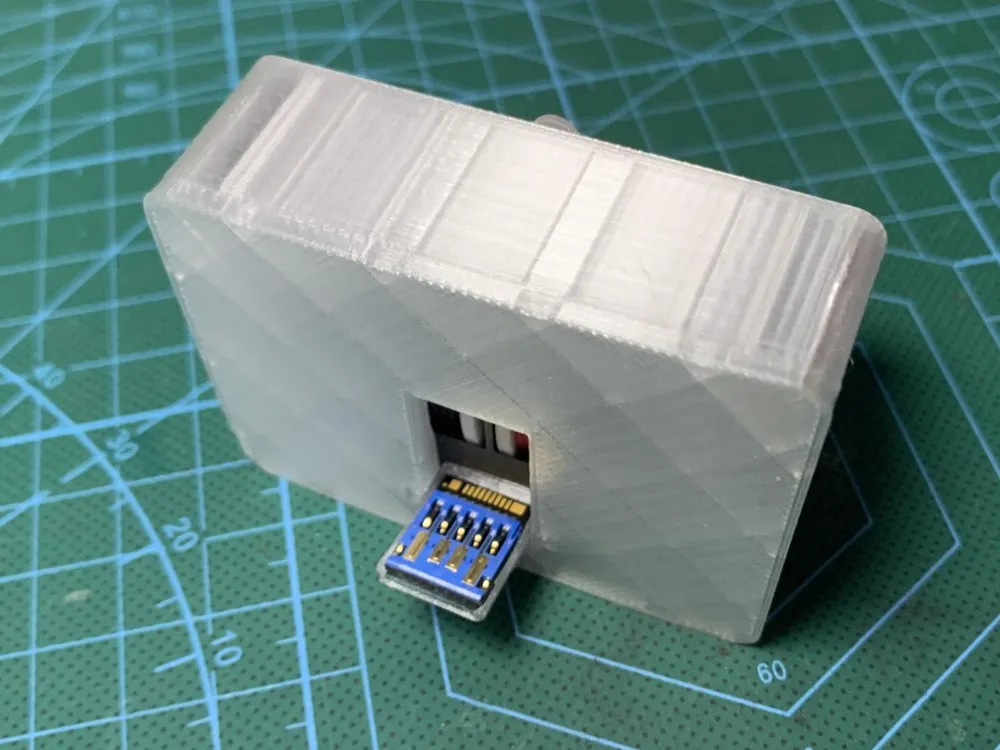
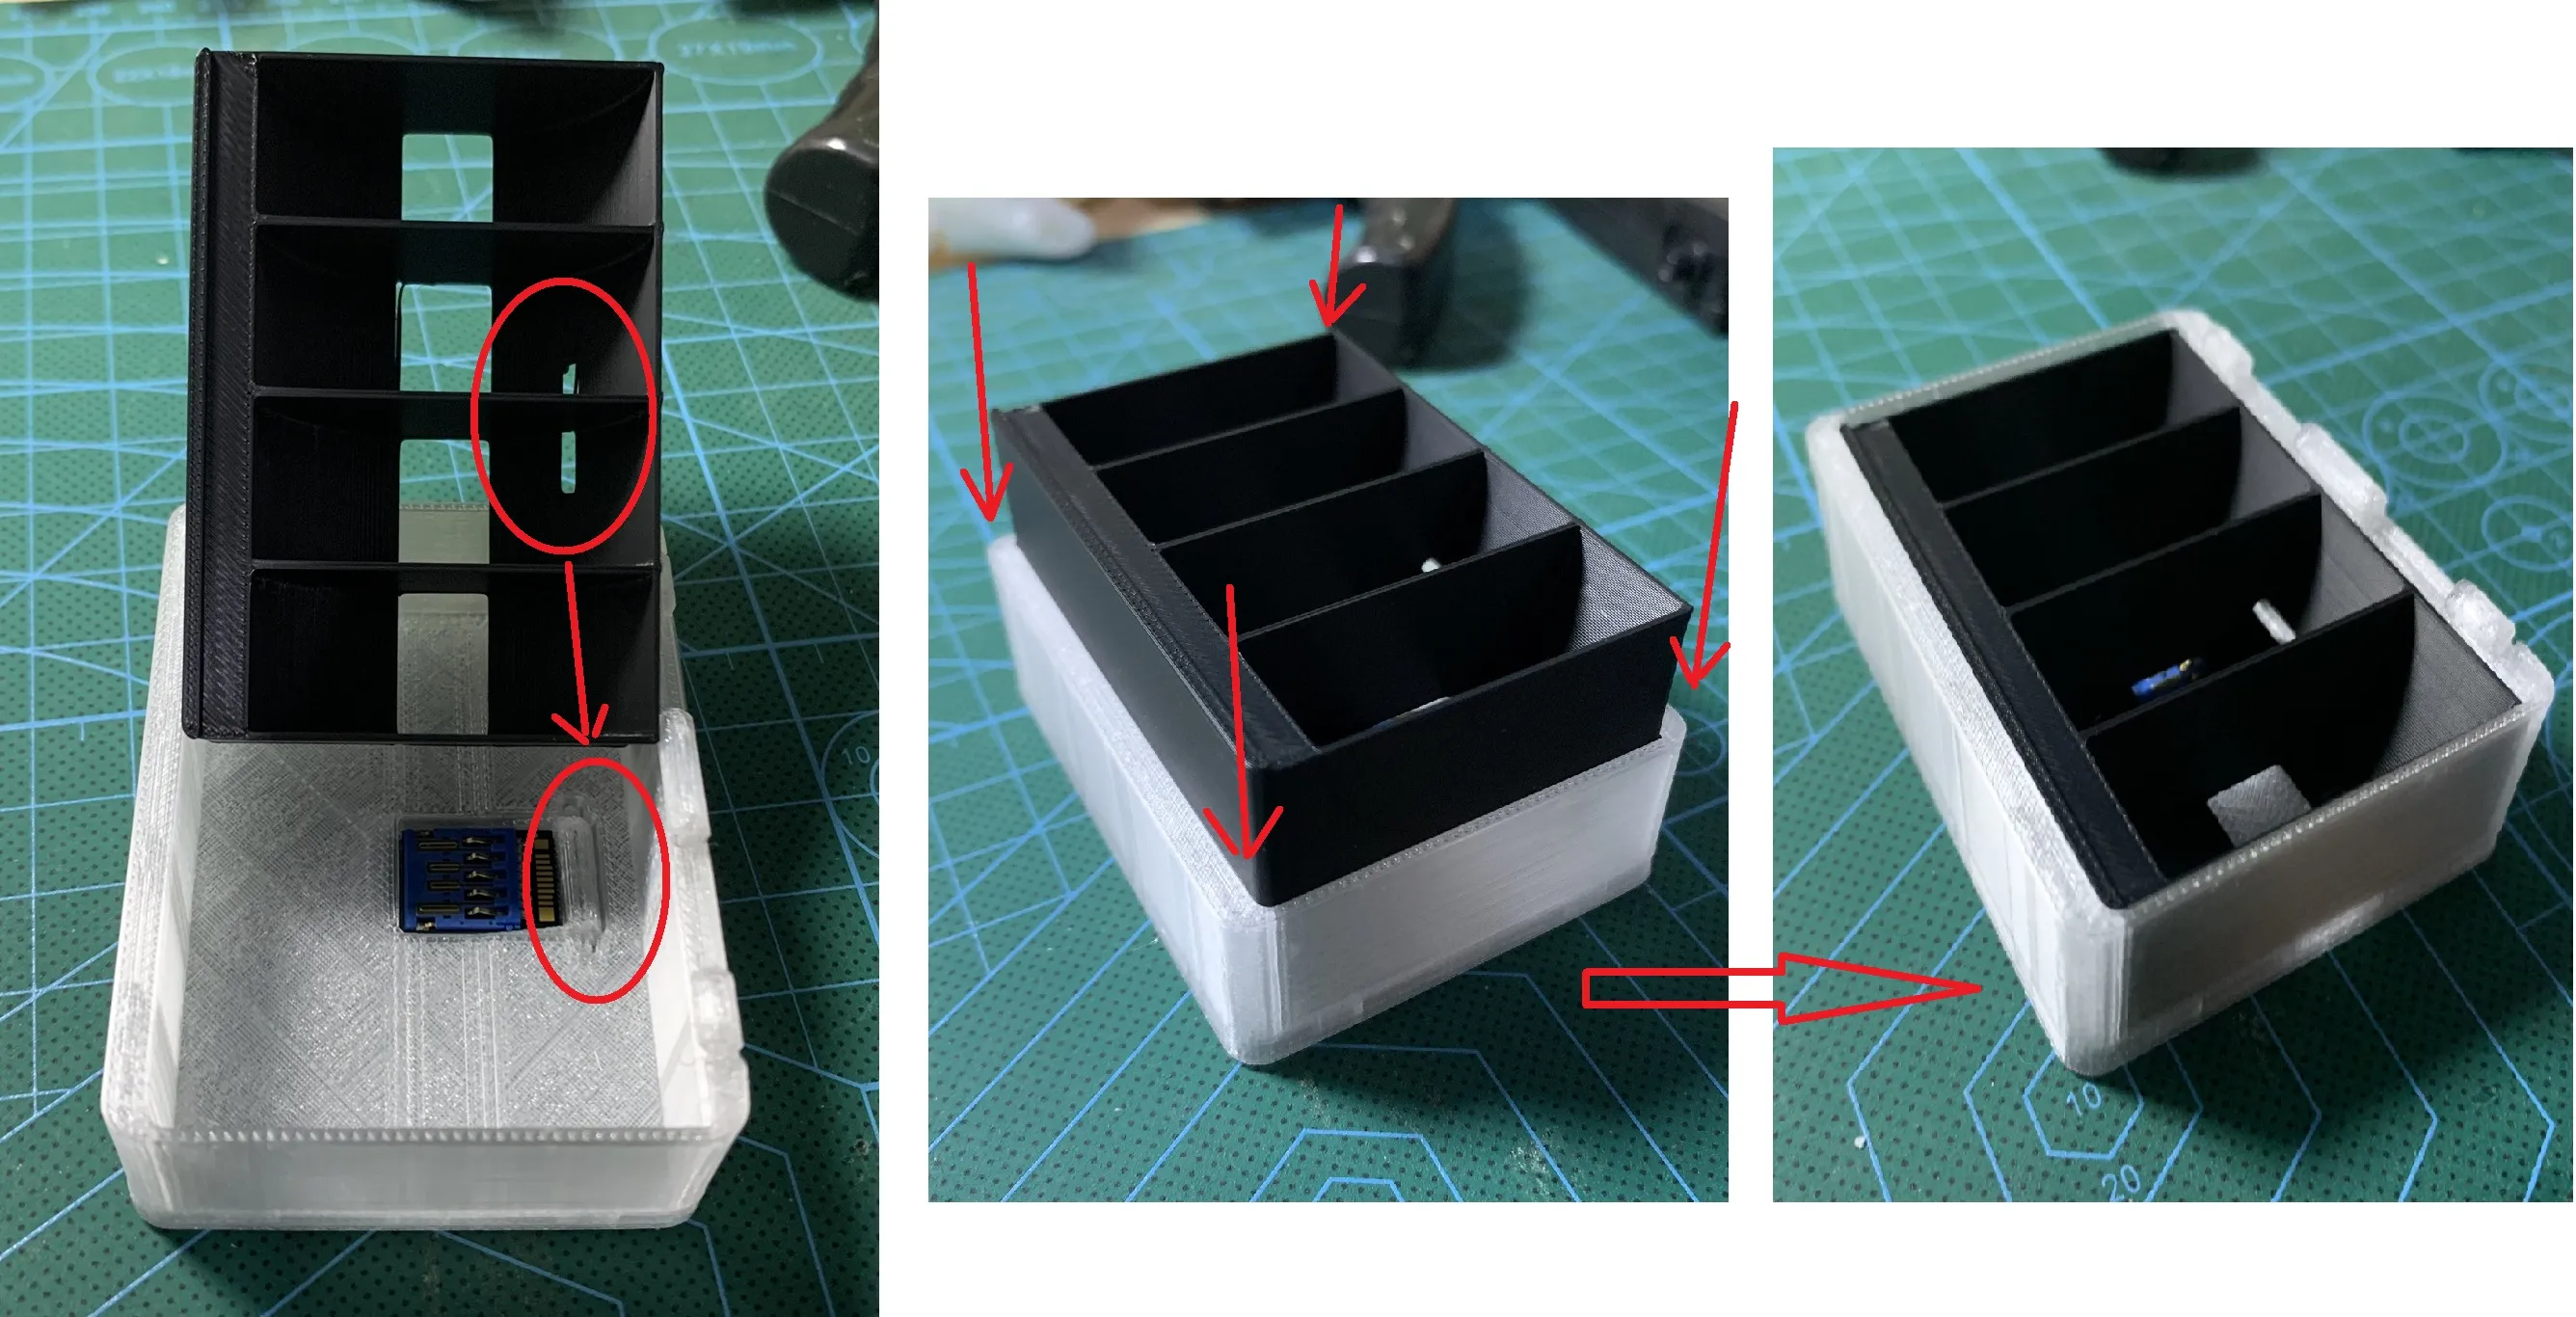
- First, insert the top of the USB chip (the end with the gold fingers) into the slot of the clamp component, then press the entire chip into the clamp.
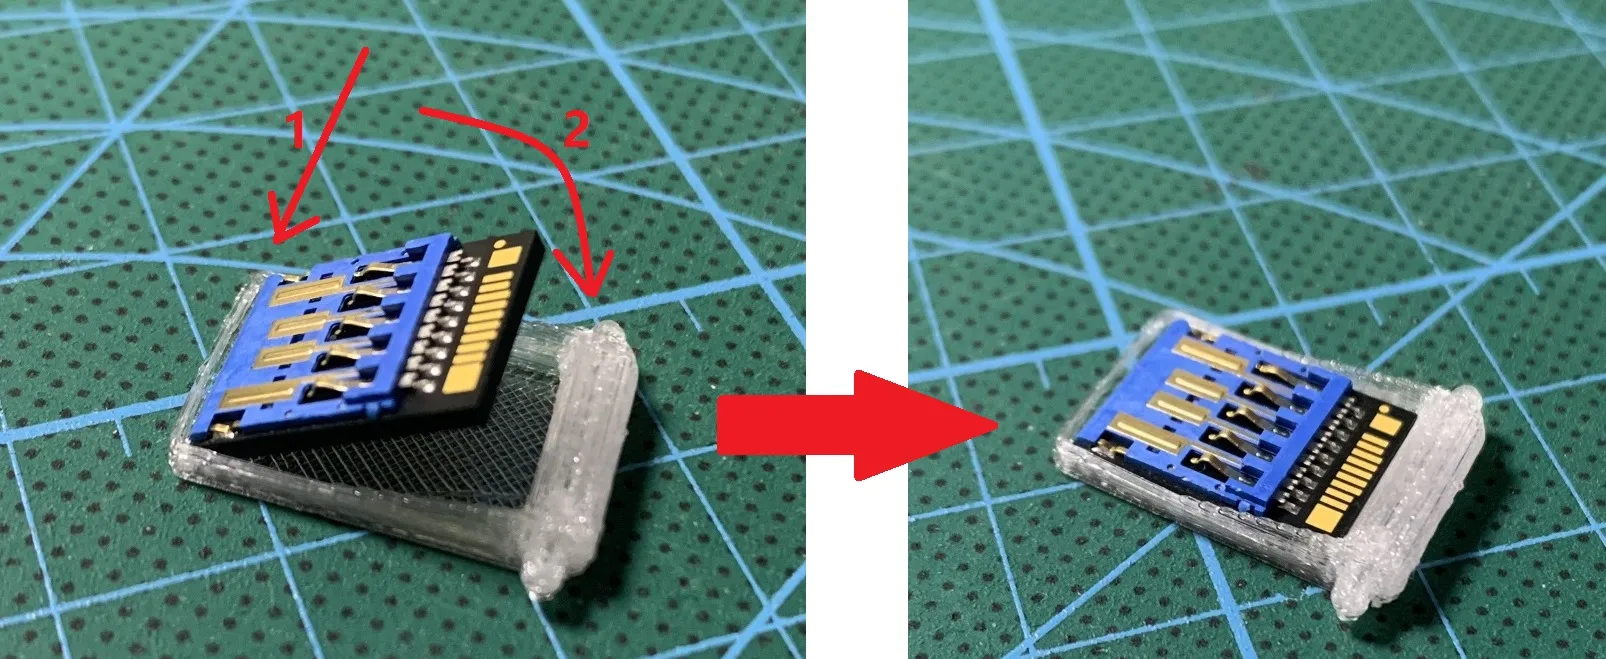
Extend the small end of the clamp component through the internal hole of the casing.
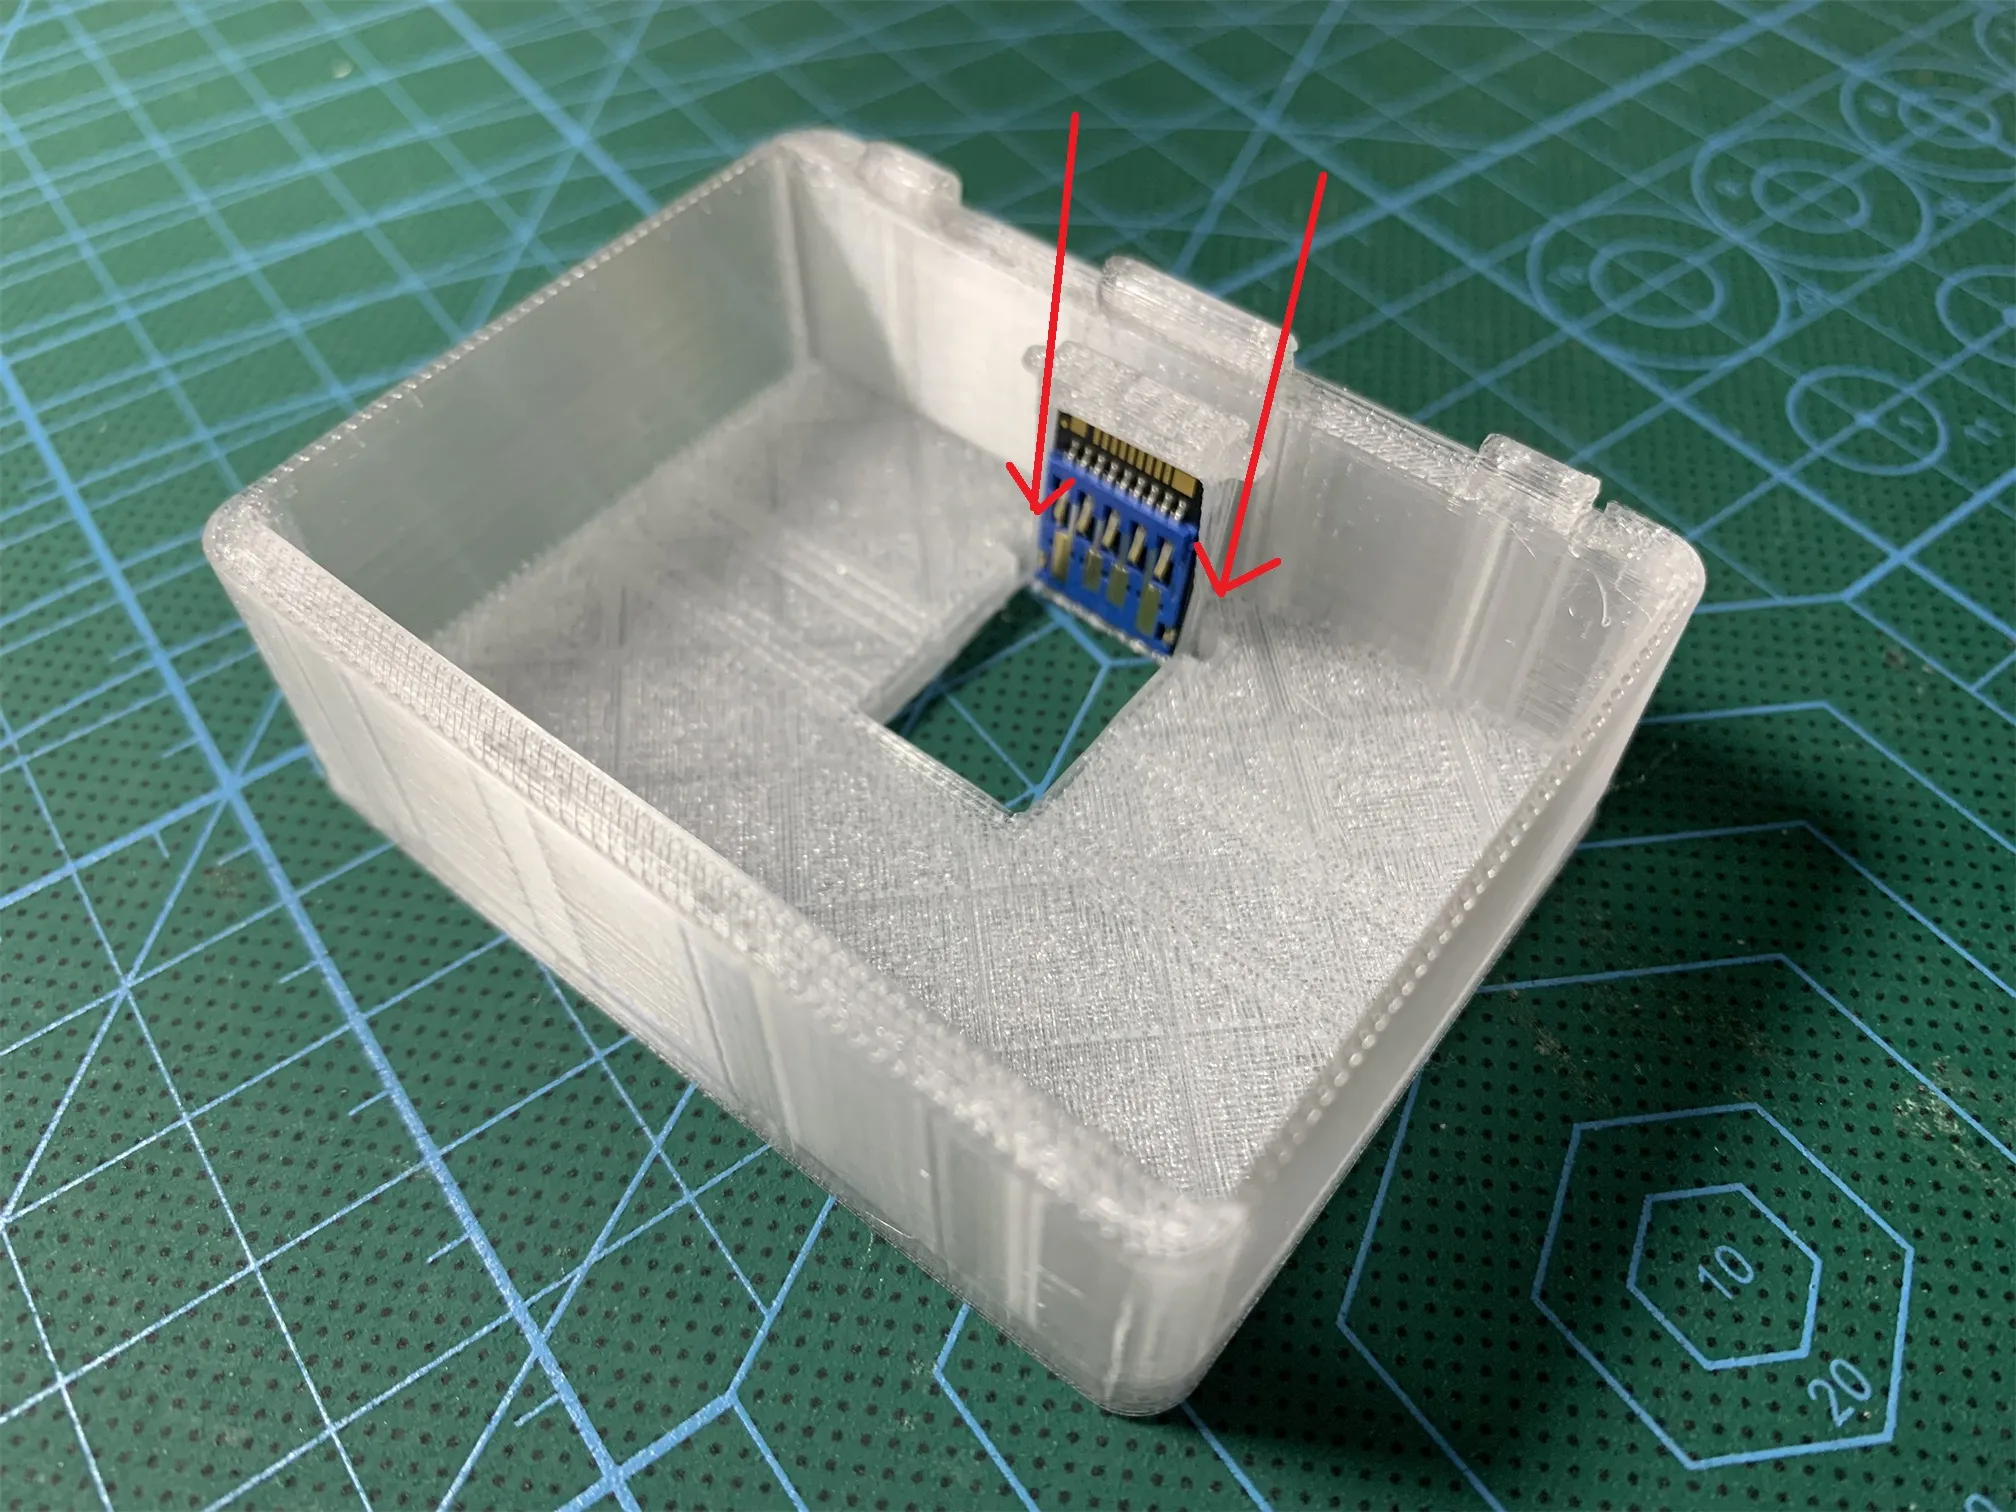
- Align the hole of the spool slot component with the large end of the clamp component and insert it into the casing component.
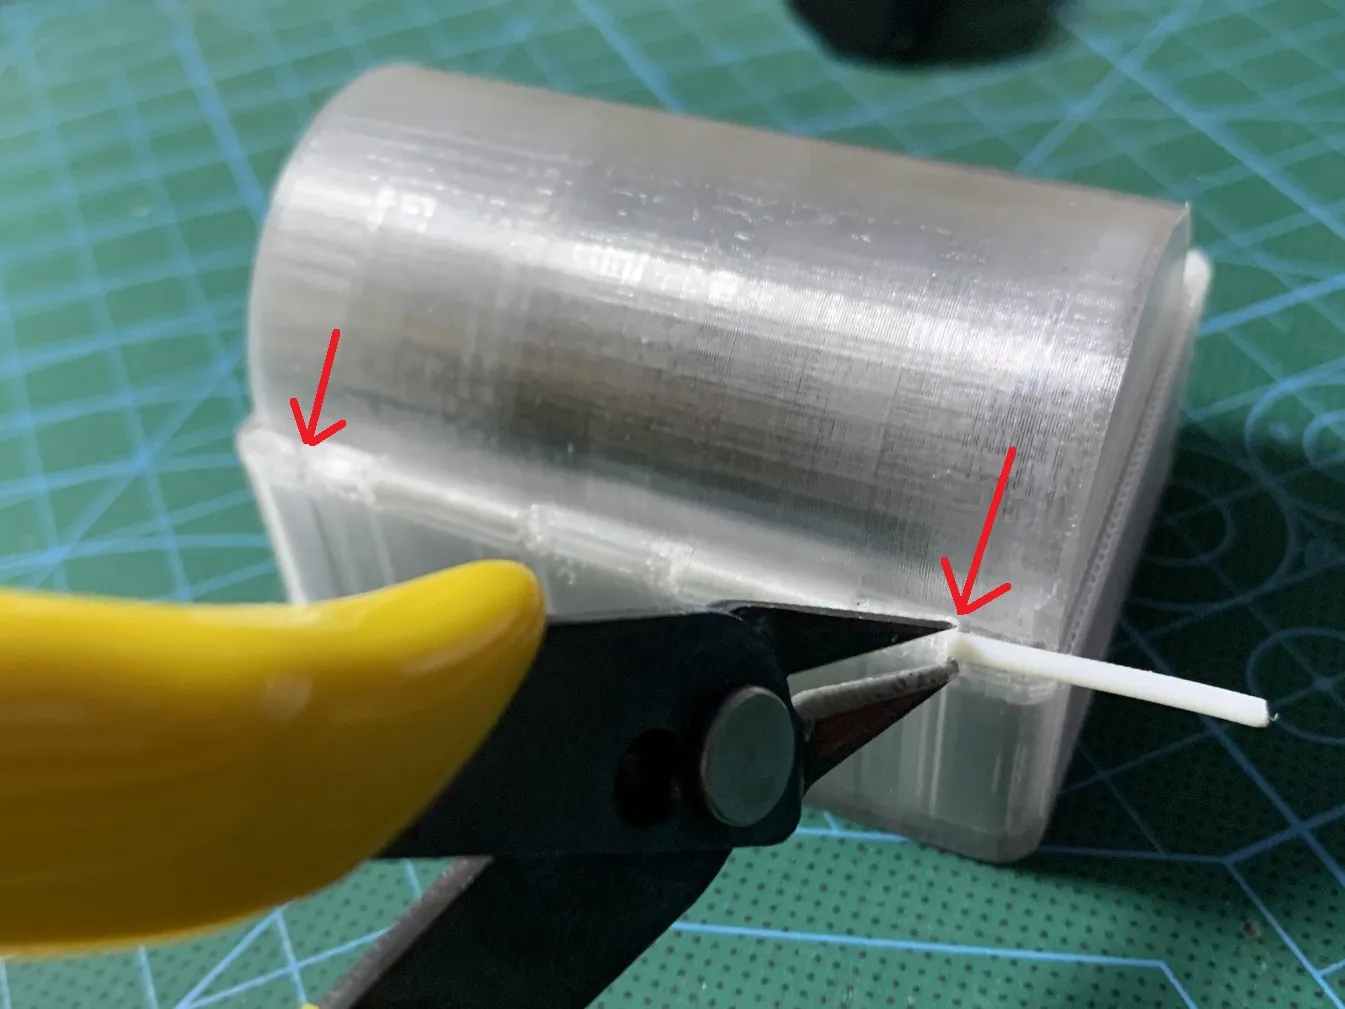
Cut a standard filament piece of 1.8mm and ≥7cm long to serve as the hinge pin.
- Individually test whether it can pass through the hinge holes of the lid component and the casing component. If there is significant resistance, use a paper clip or another tool to smooth the entrance and interior of the holes.
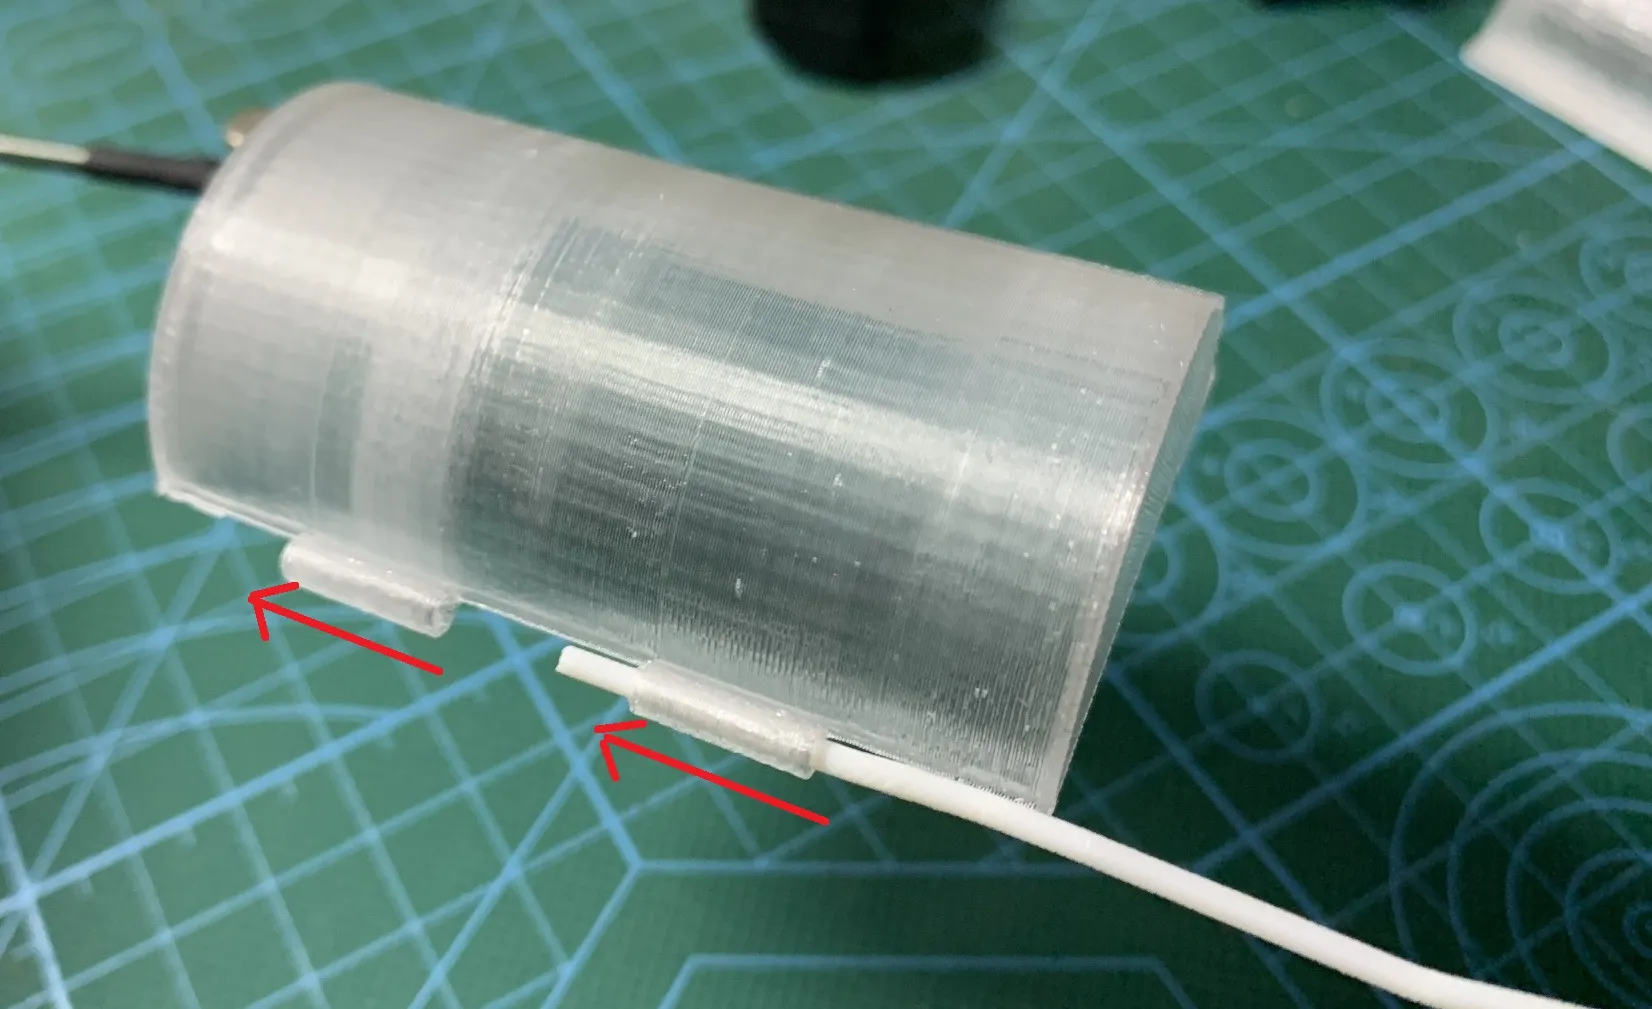
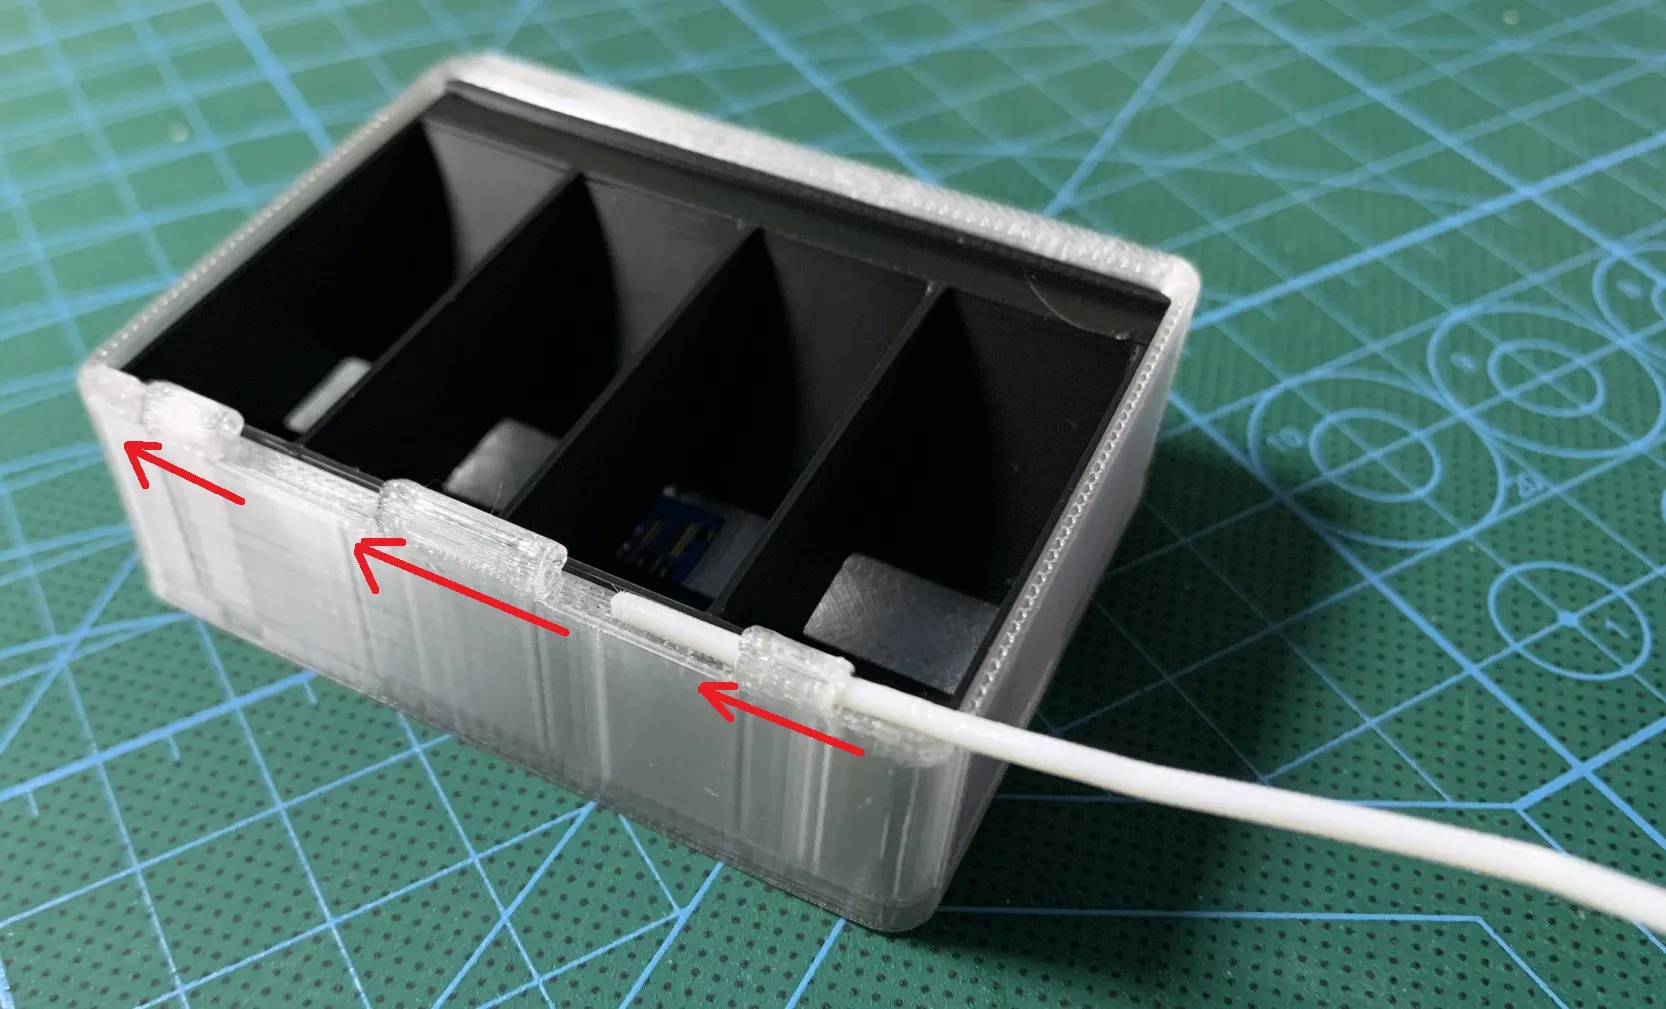
- Once the hinge holes of both the lid and casing can be smoothly passed through, combine the two components and secure them with the pin. Then, cut off any excess filament.
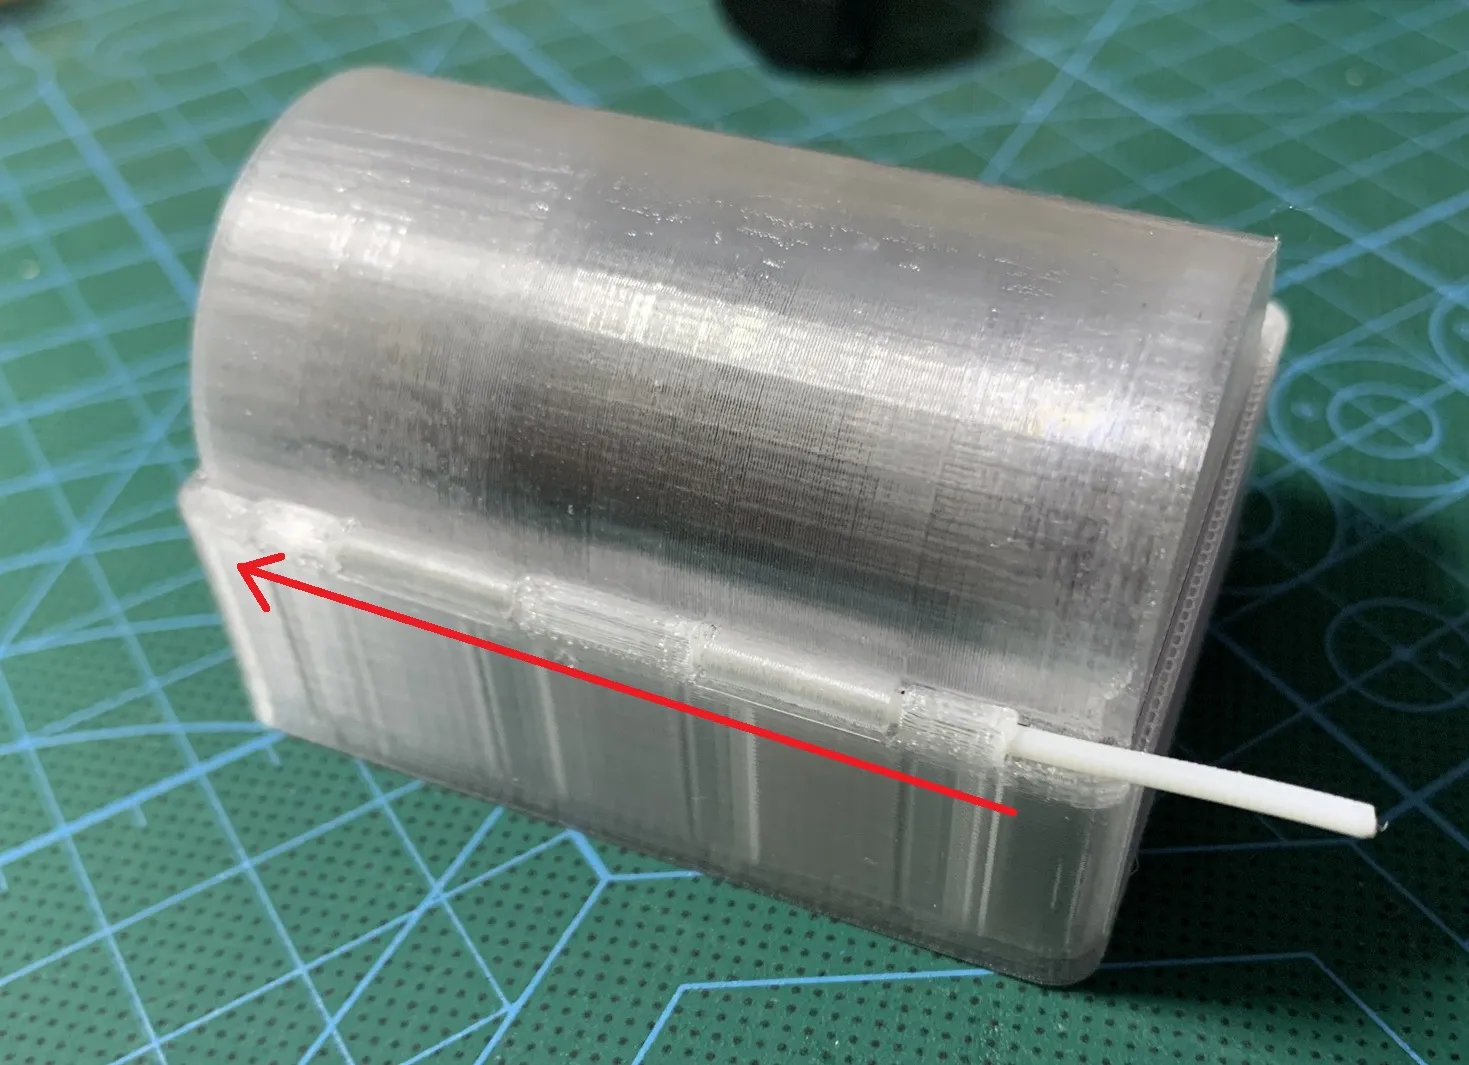
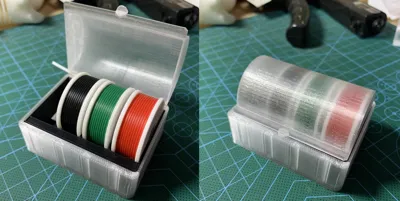
- Insert a 1:6 Bambu Lab Mini Spool by Pieter de Kunder miniature model (← Click to jump).
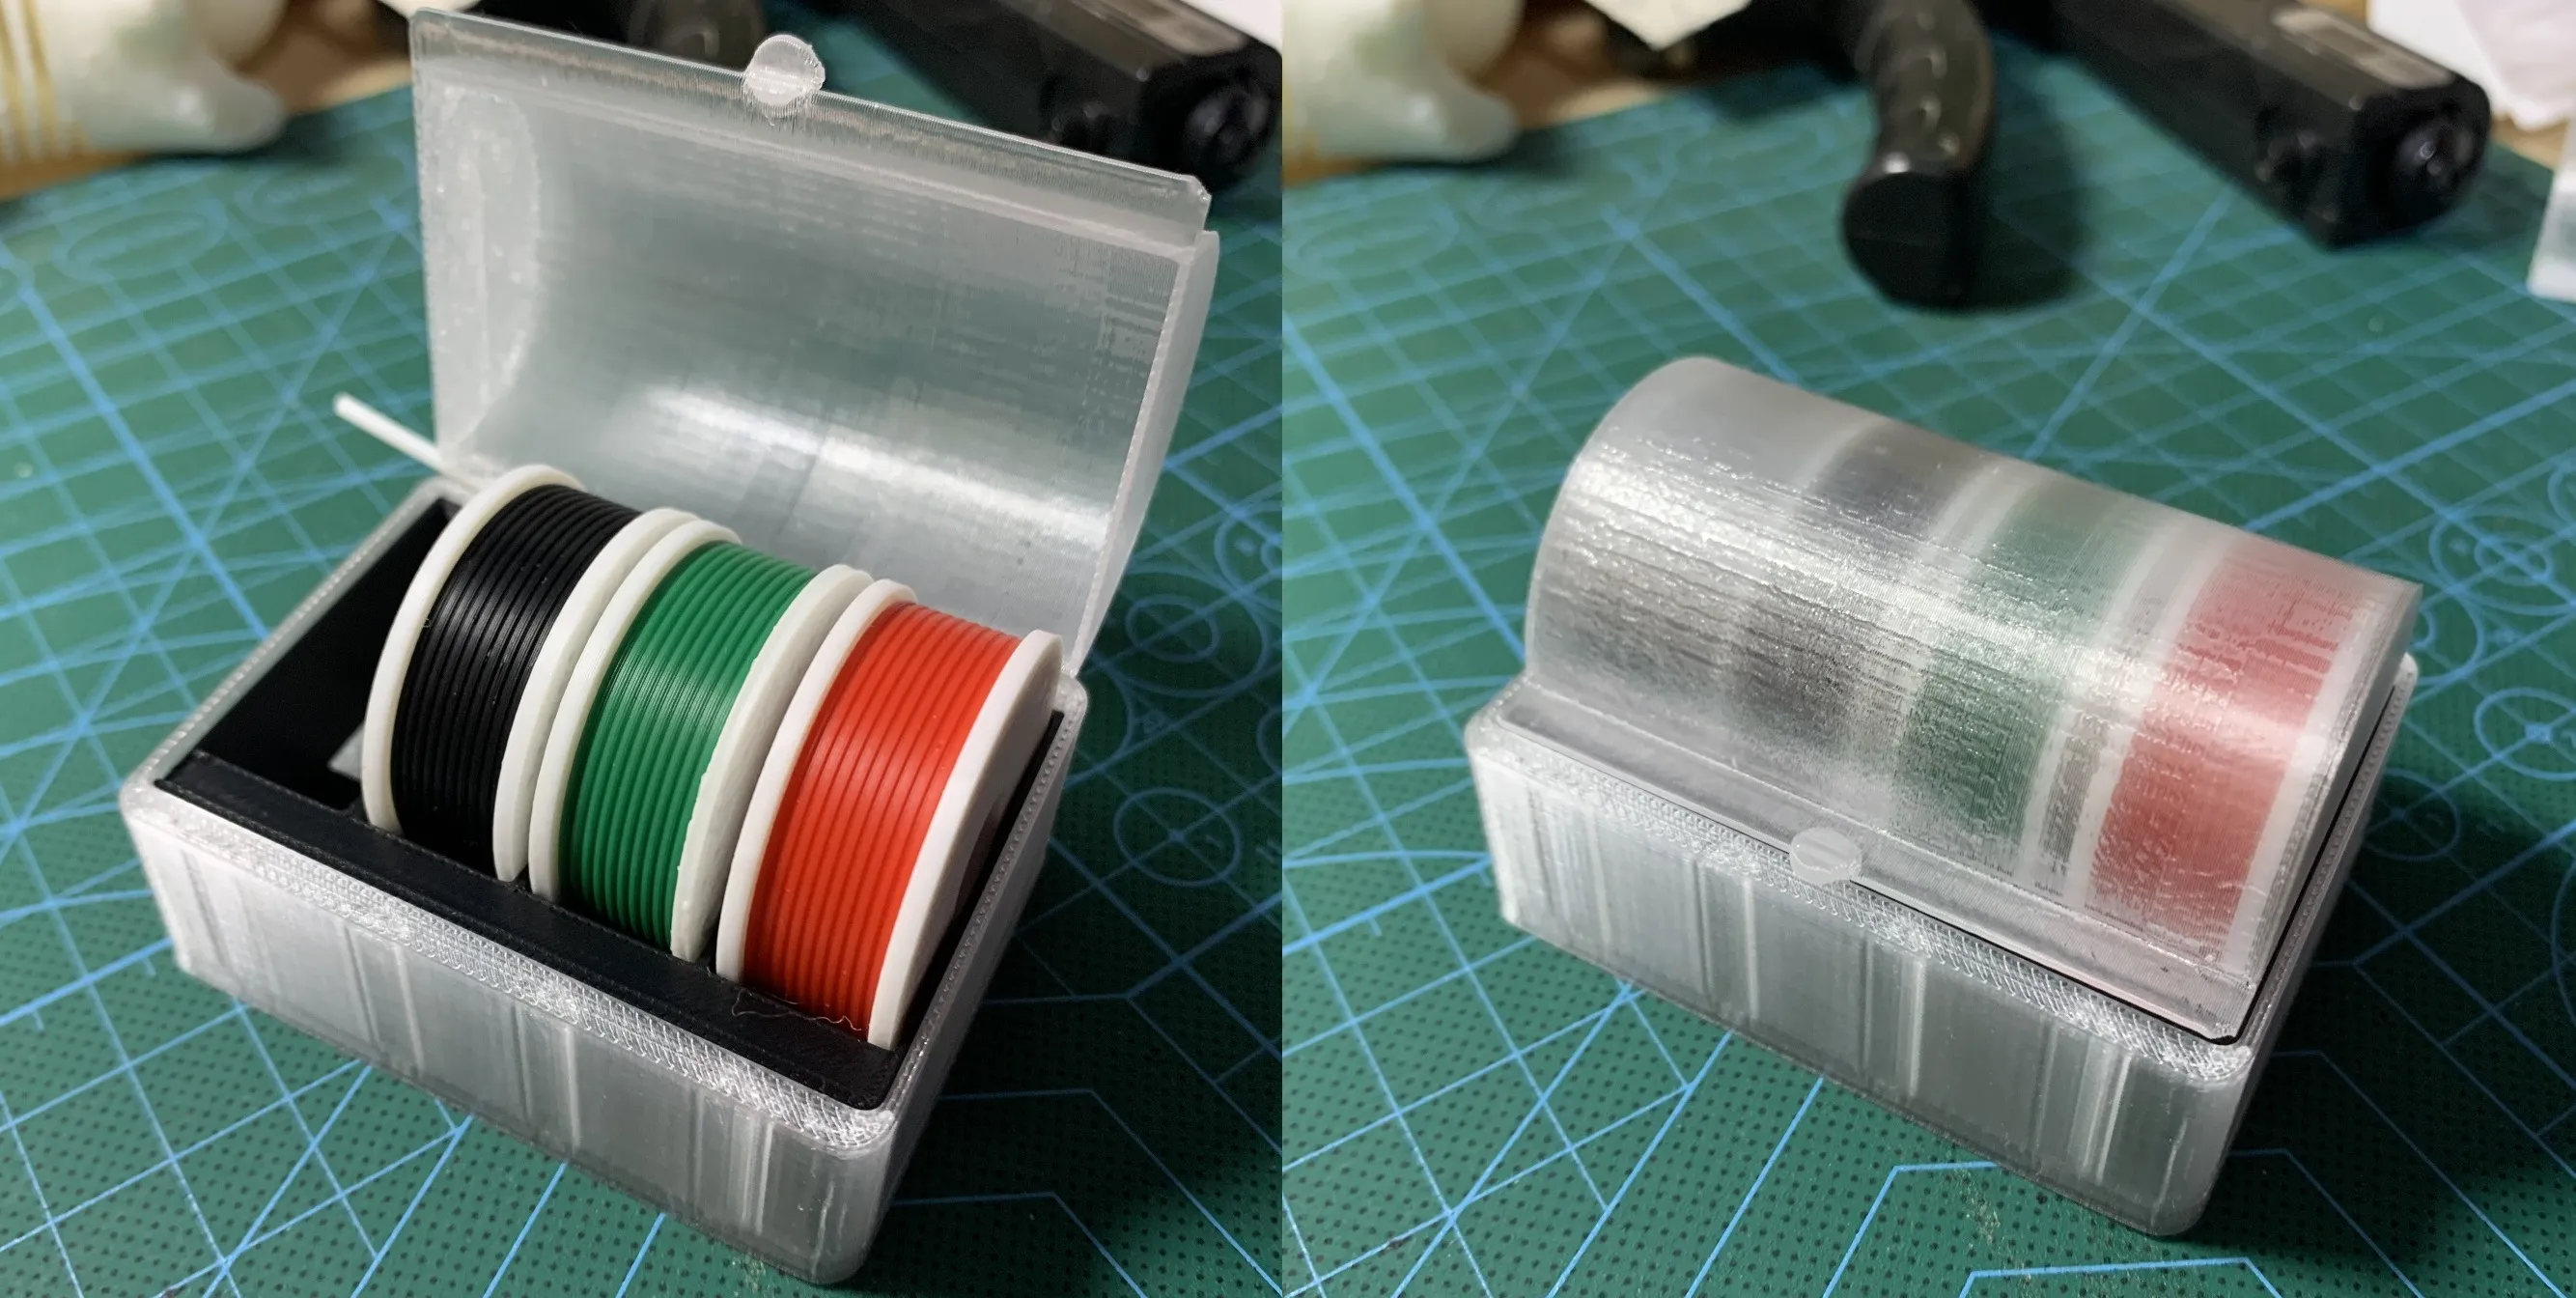
IV. USB Clamp Removal/Storage Method
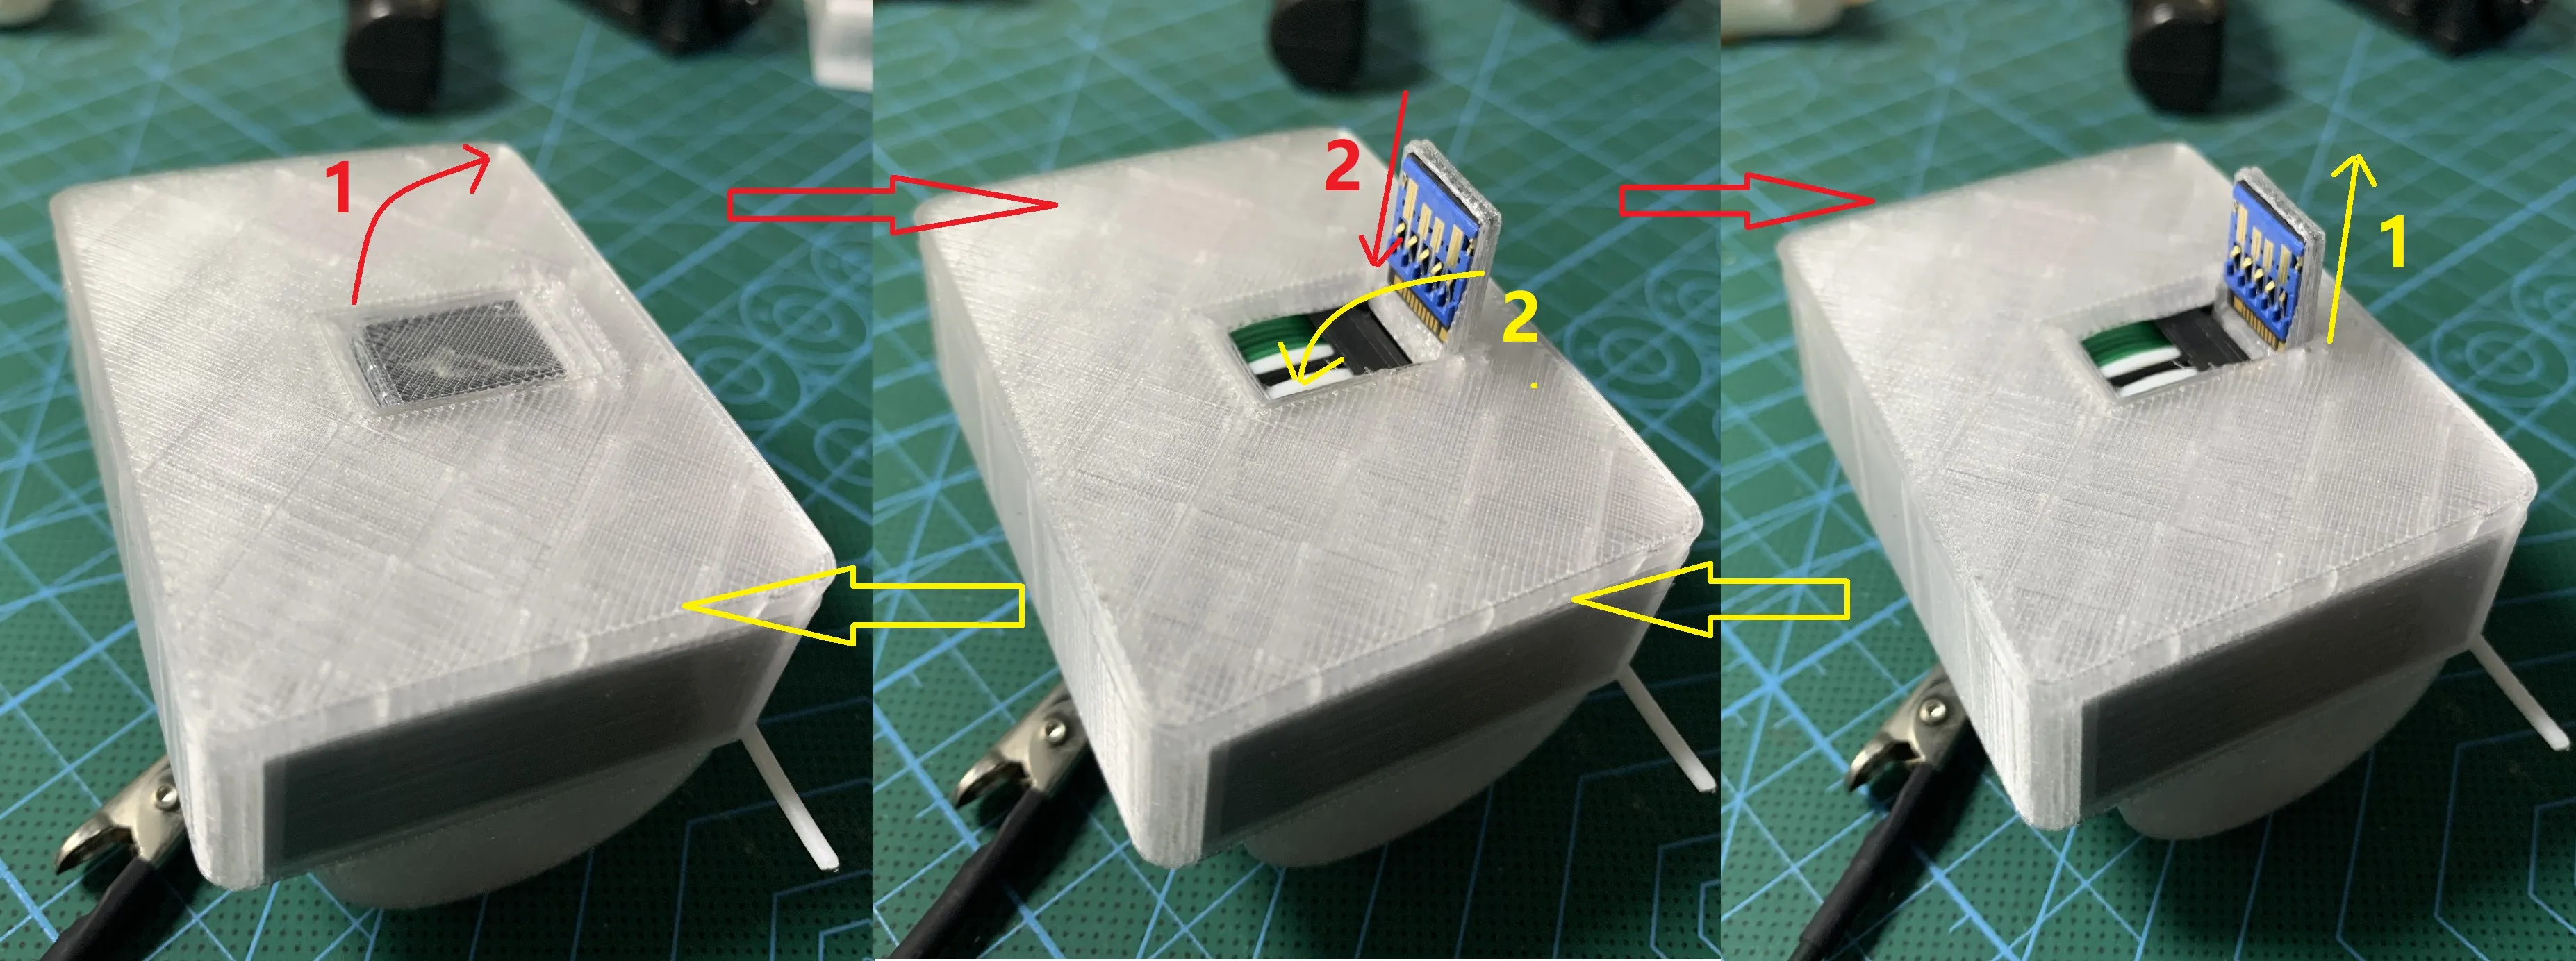
- Removal: First, flip the clamp out to 90°, then gently press it into the slot until it clicks into place.
- Storage: Gently pull out the clamp first, then close it. (Note: Always pull it out before closing. Closing it directly while it's locked will very easily break the clamp!)
V. Getting Started
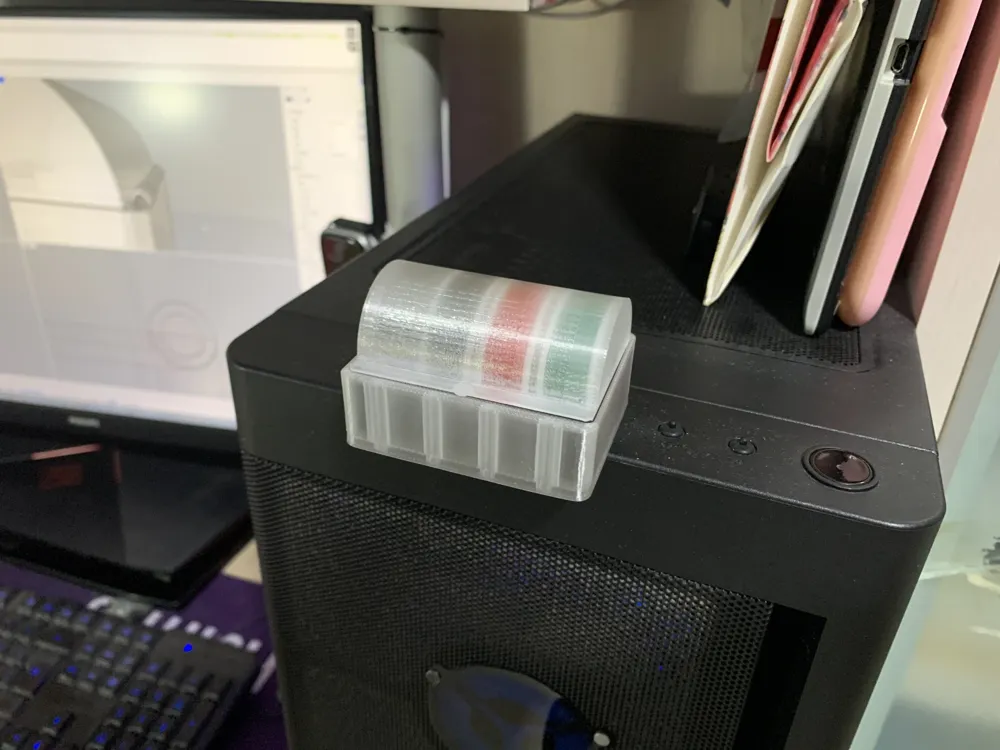
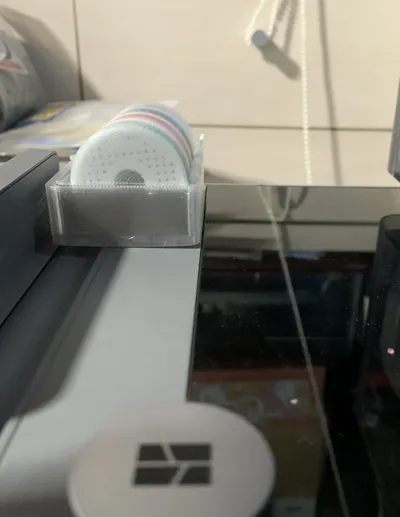
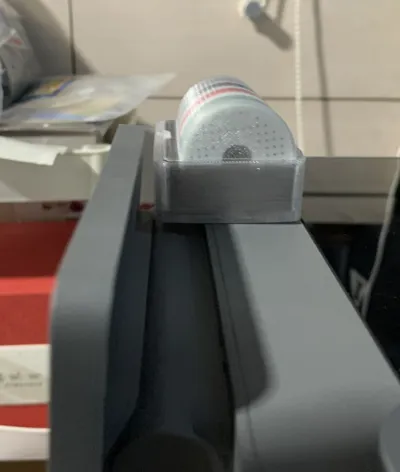
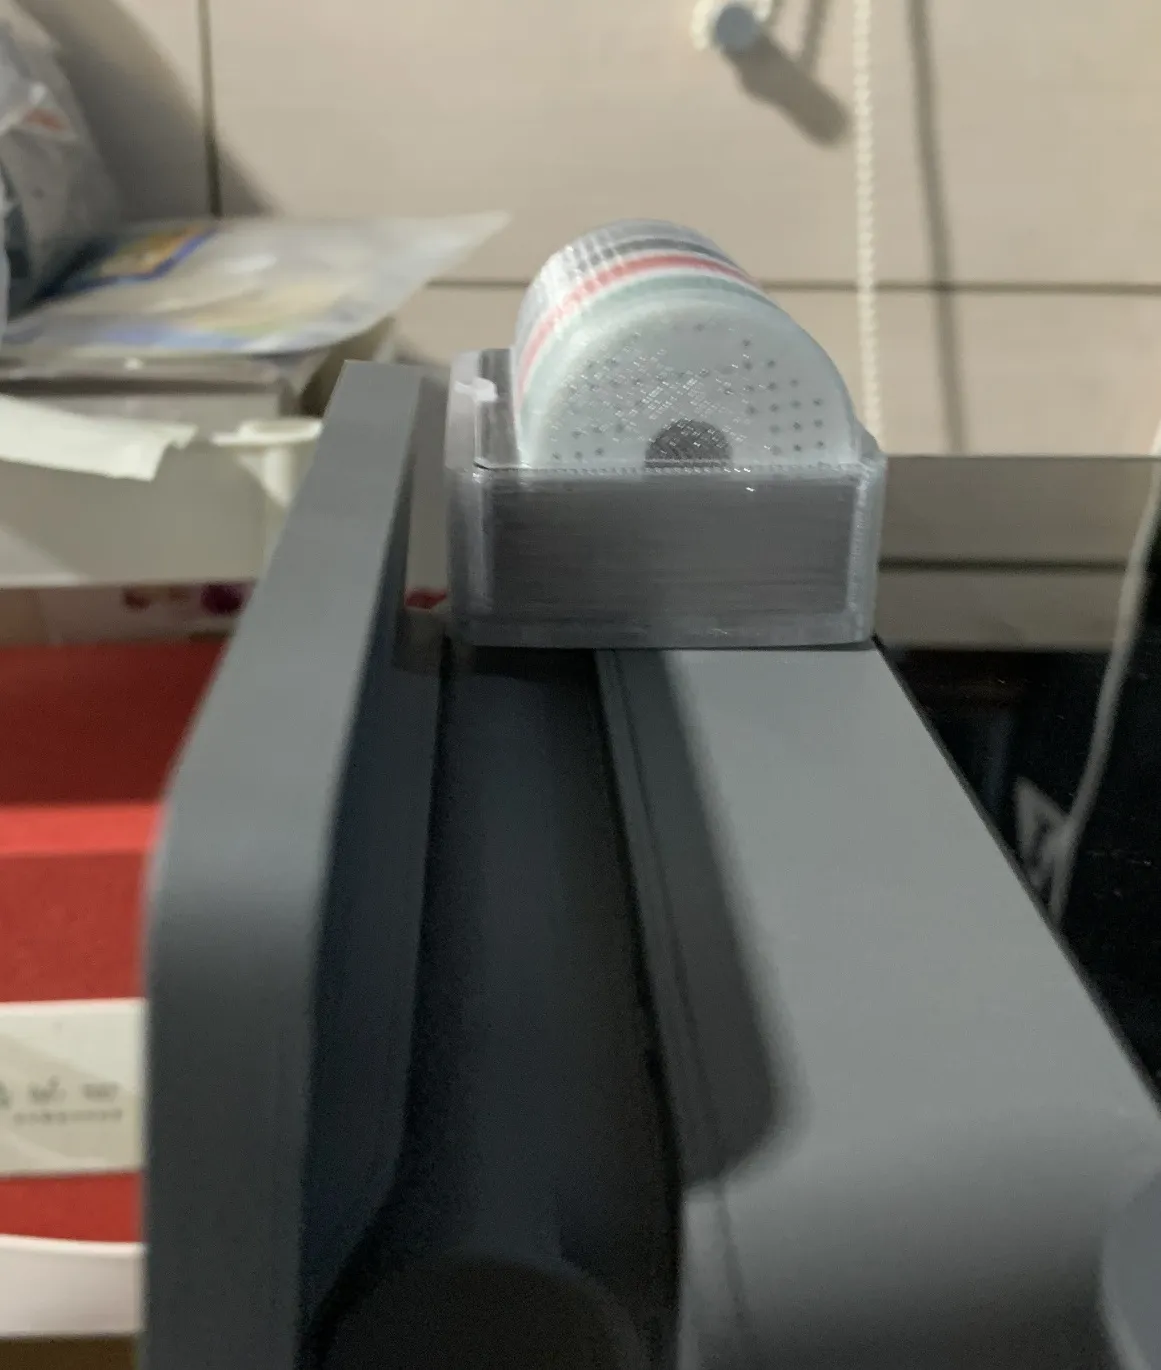
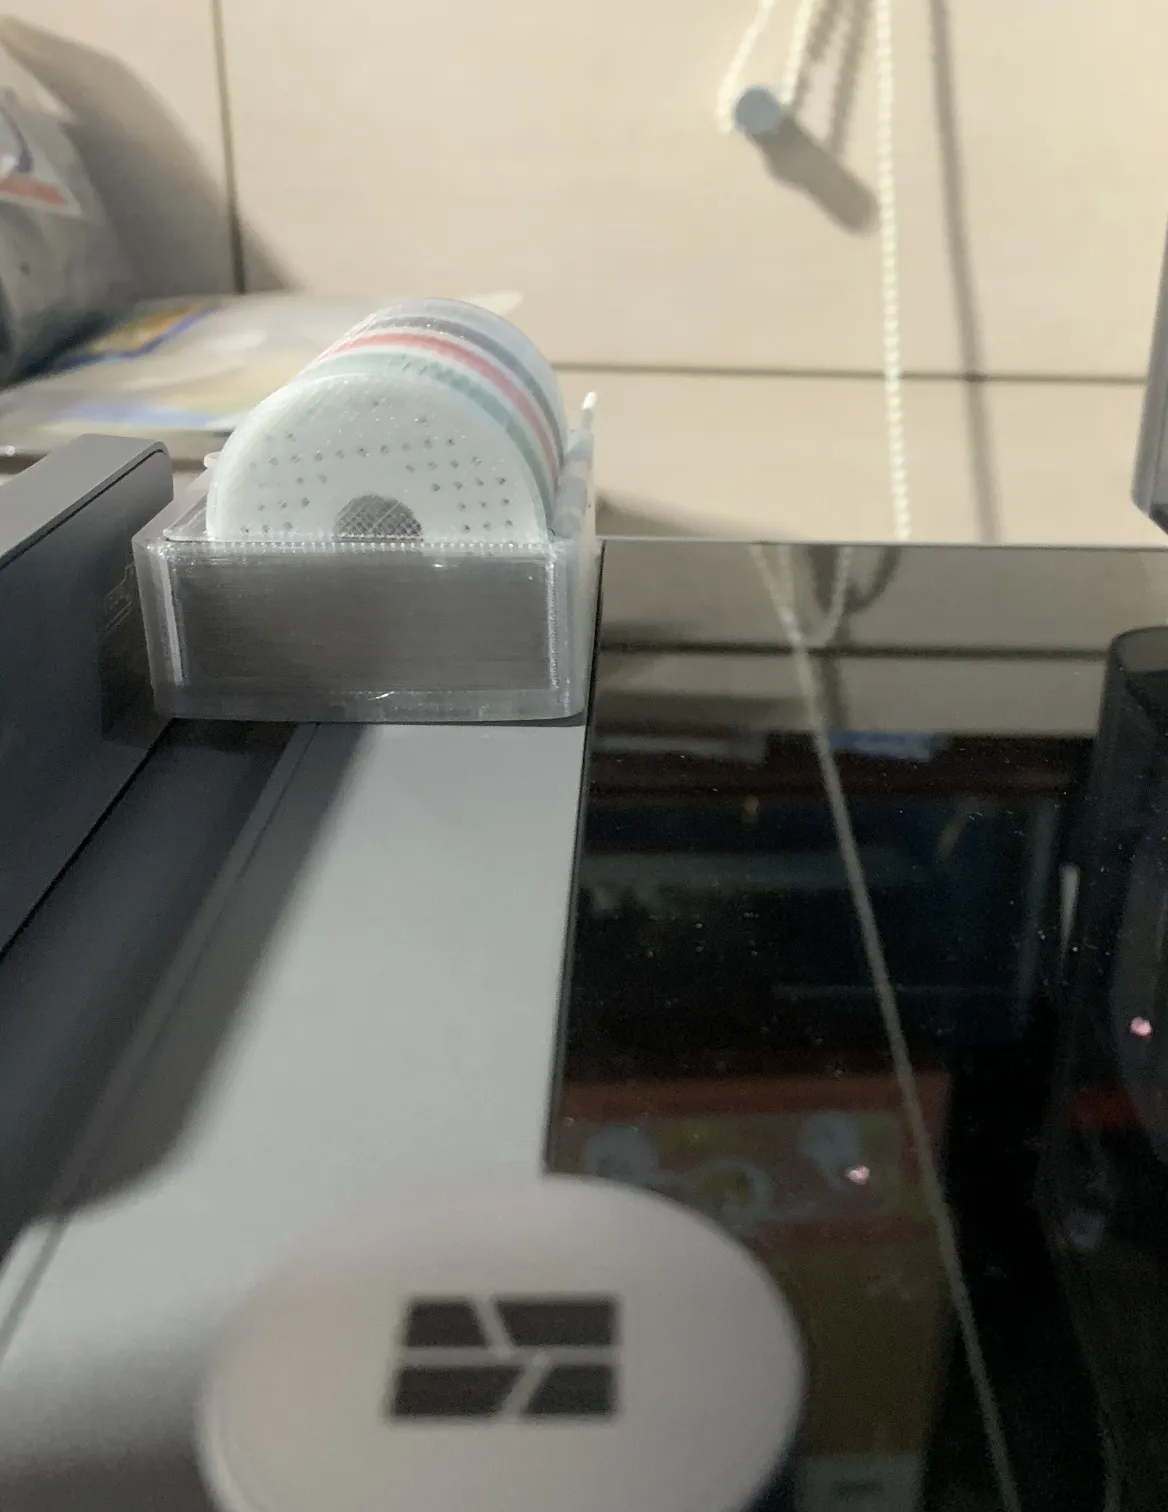
This USB drive case was originally designed for use with P2S printers, but it can also be used with other devices such as computers.
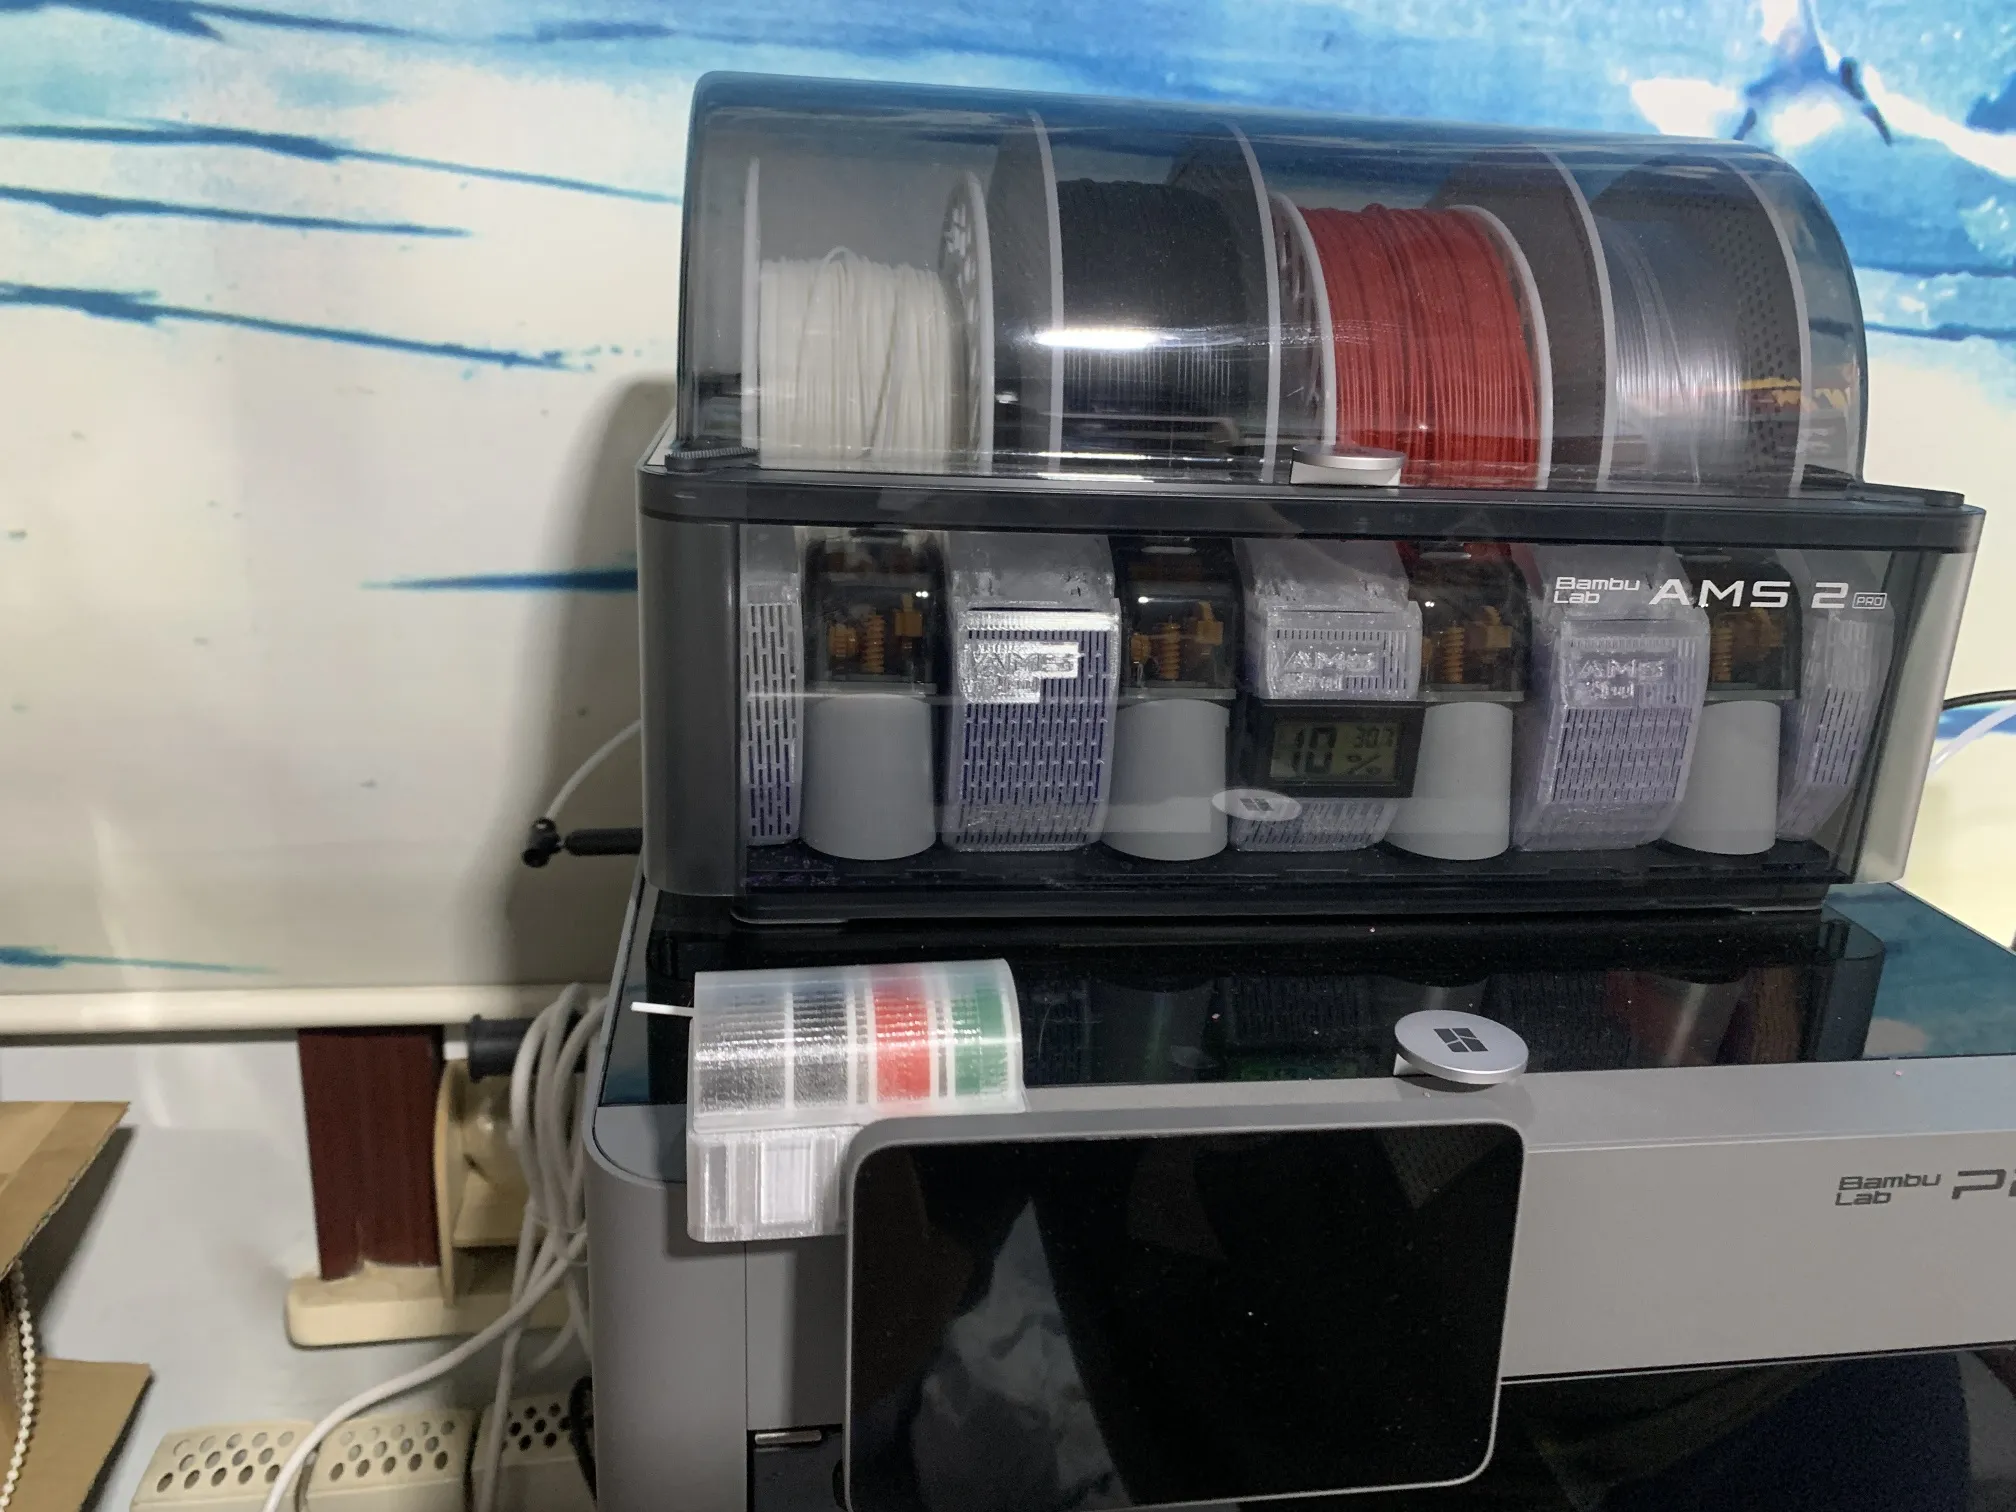
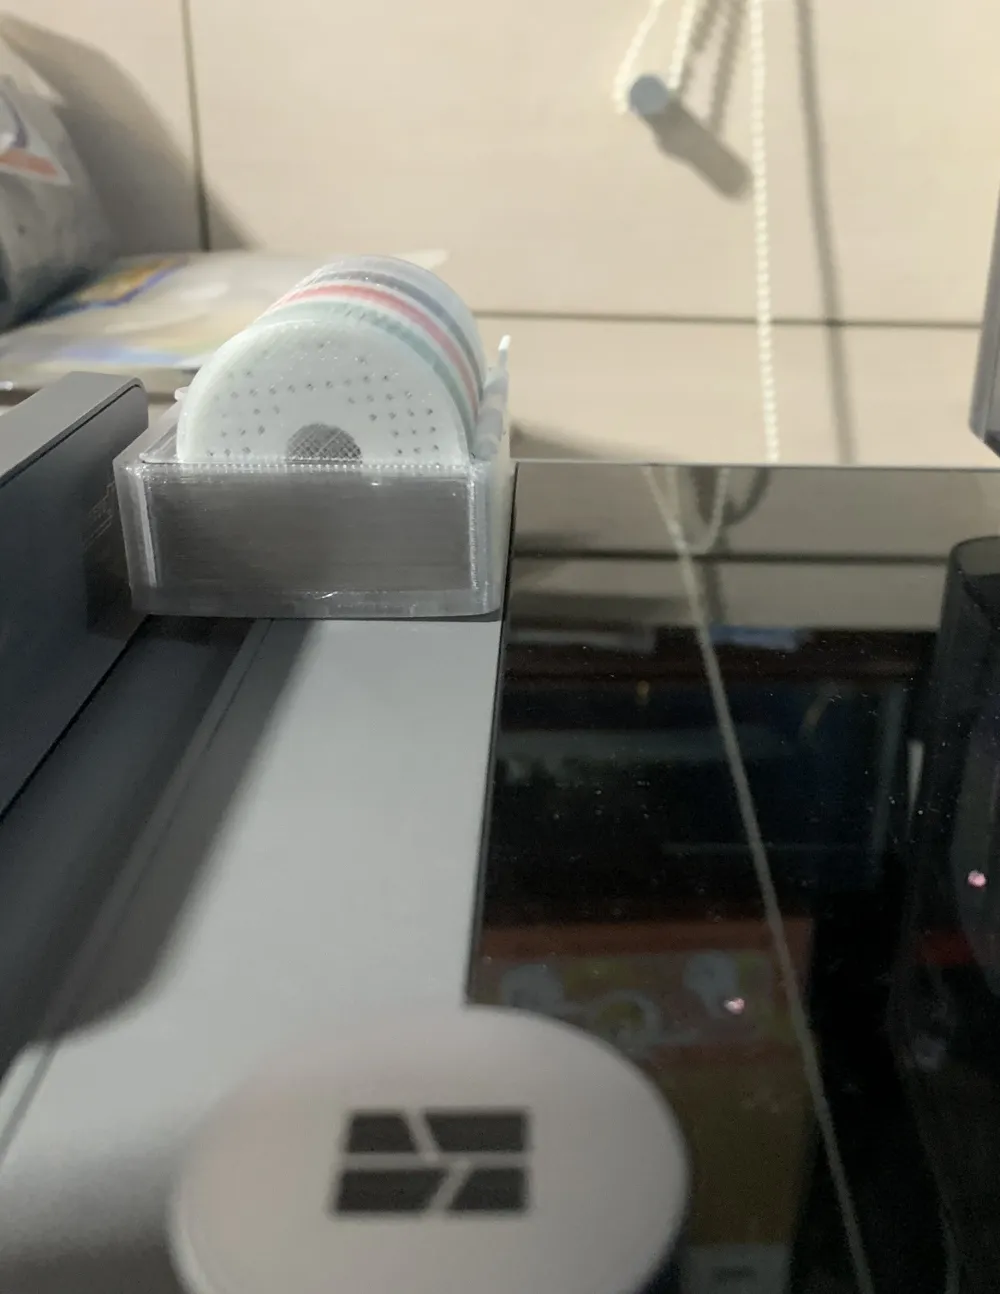
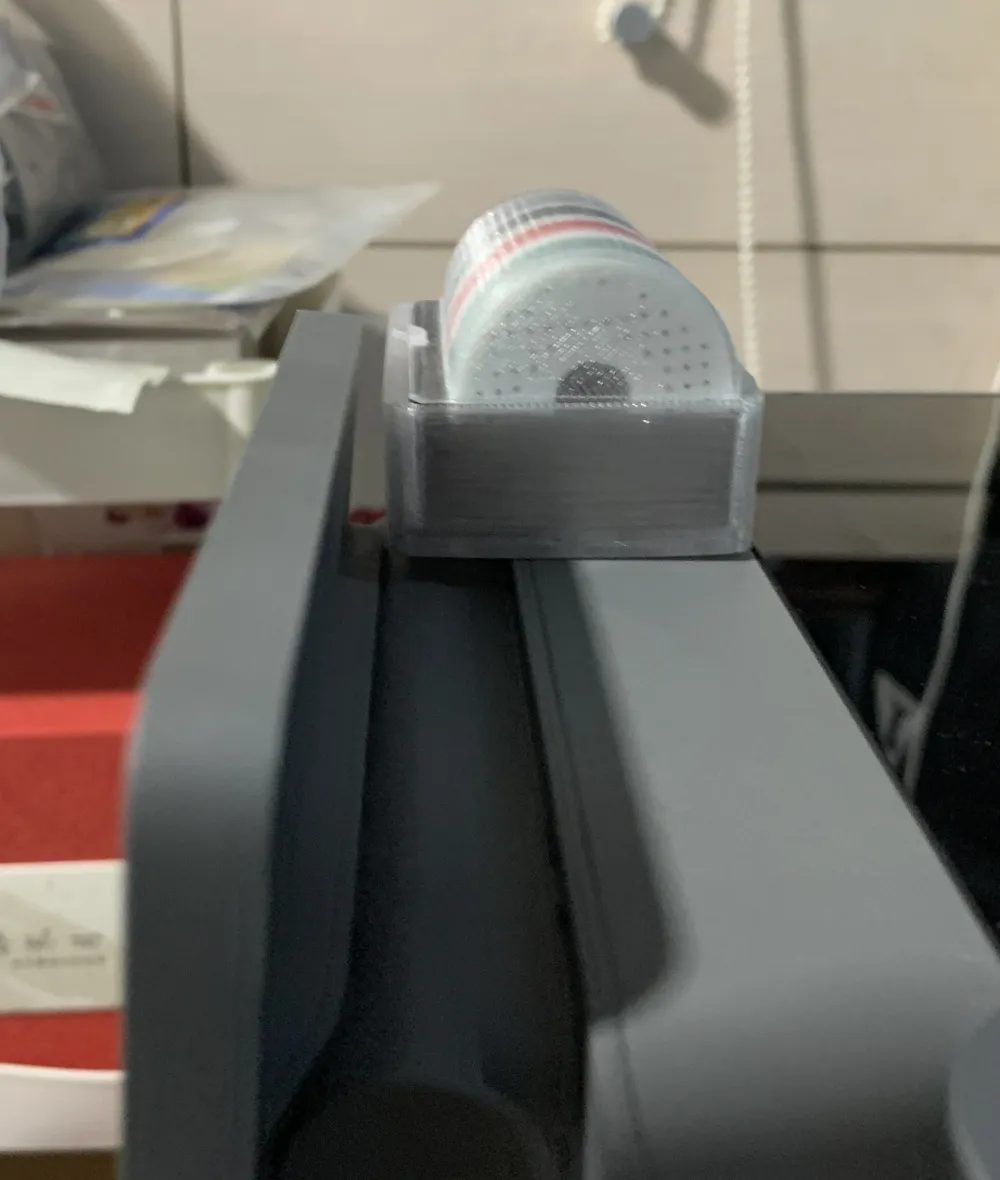
When the USB drive is inserted into the P2S, the front part will slightly obstruct the tilt angle of the touchscreen, but it will not interfere with the opening and closing of the top glass panel at the back. (To my knowledge, the Bambu Lab H series printers also use USB ports, but the port location differs slightly from the P2S. Feedback on whether it fits well on the H series is welcome.)
 |  |
License

You shall not share, sub-license, sell, rent, host, transfer, or distribute in any way the digital or 3D printed versions of this object, nor any other derivative work of this object in its digital or physical format (including - but not limited to - remixes of this object, and hosting on other digital platforms). The objects may not be used without permission in any way whatsoever in which you charge money, or collect fees.


Comment & Rating (1)