


Print Profile(2)
Description
Boost Me (for free)


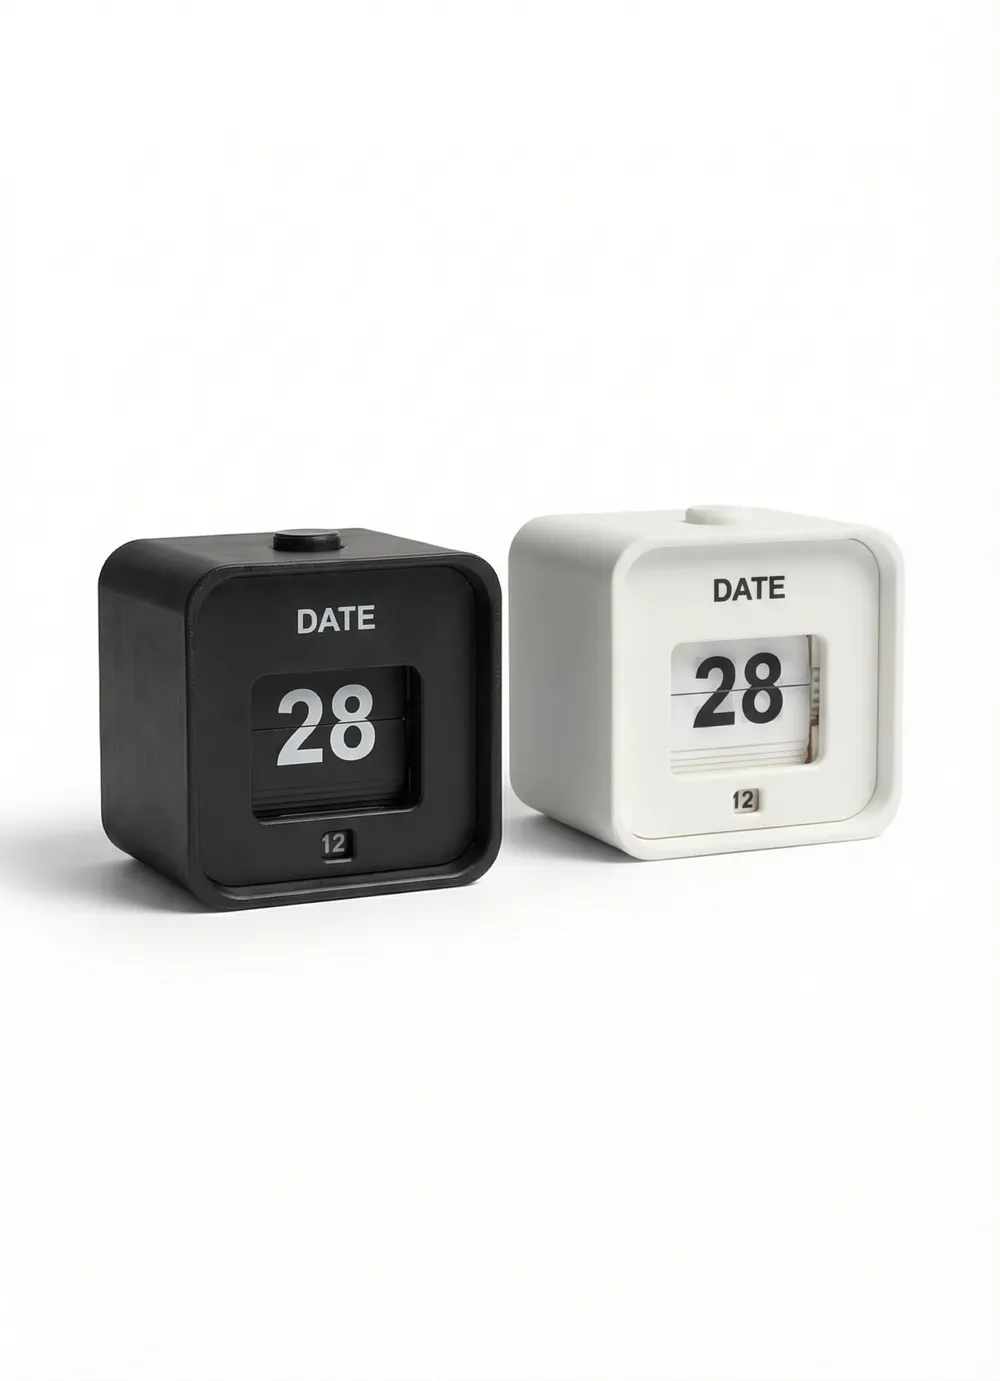
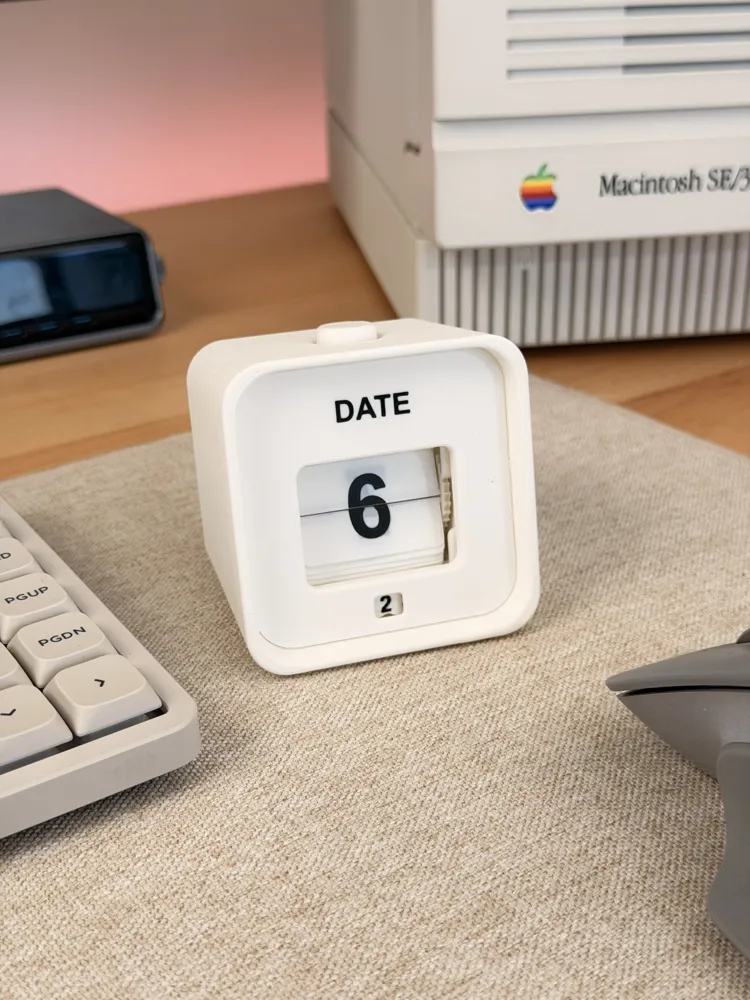
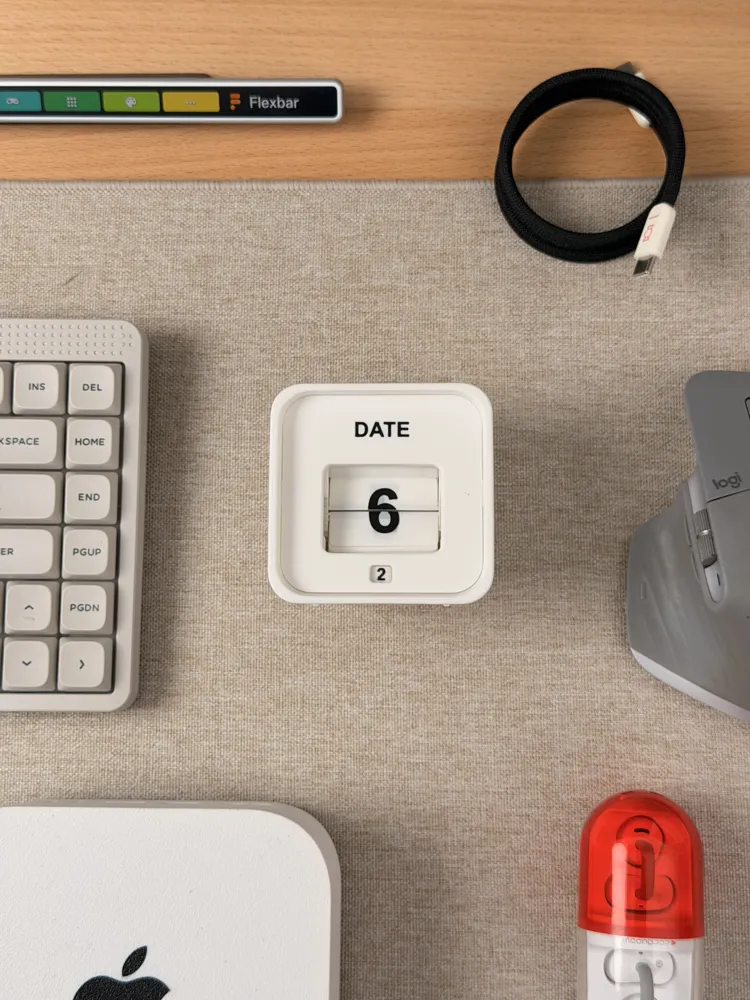
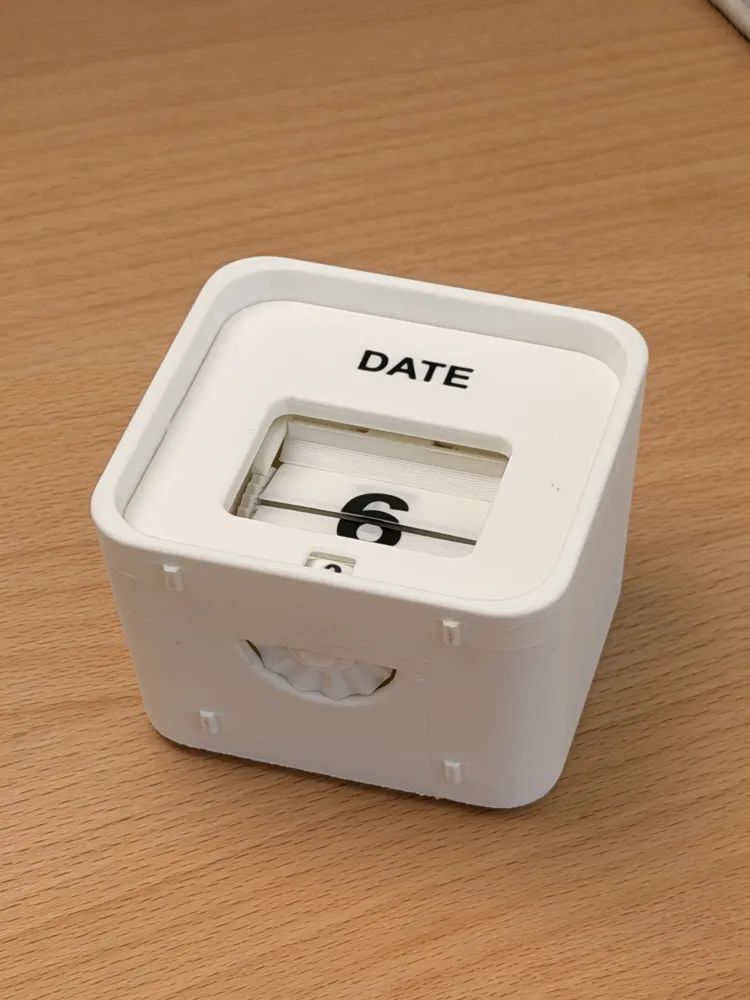
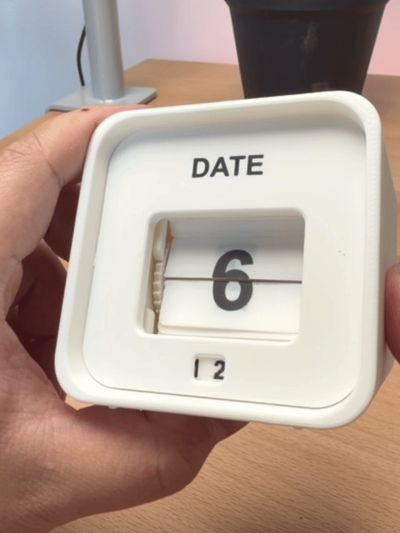
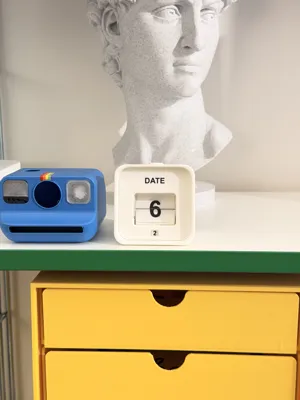
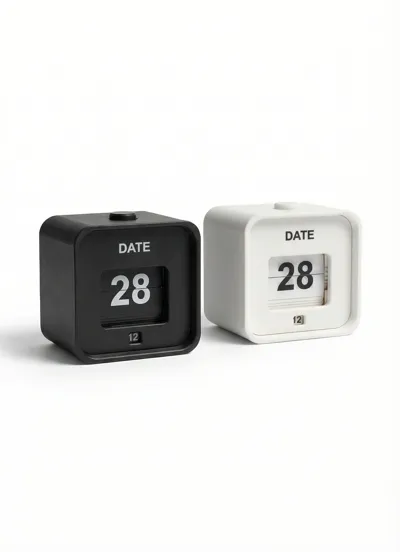
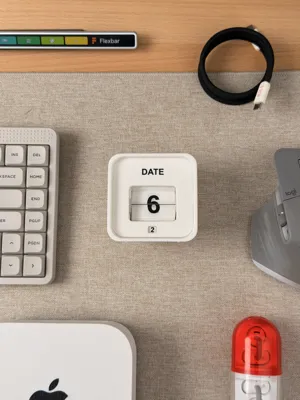
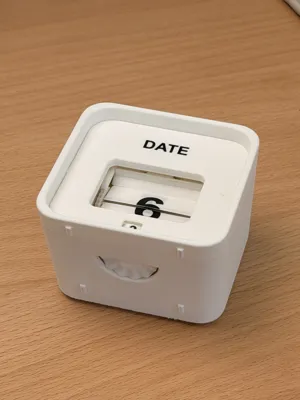
Manual Press Flip Perpetual Calendar | Desk Calendar | Calendar | Fidget Toy | Mechanical
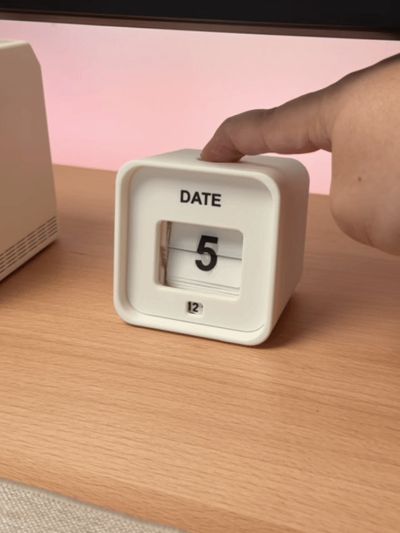
Introduction: This model references the design mechanism of Muji's flip perpetual calendar, and I spent 10 days modifying and optimizing it to create a 3D printed version The press-type flip design is easy to operate
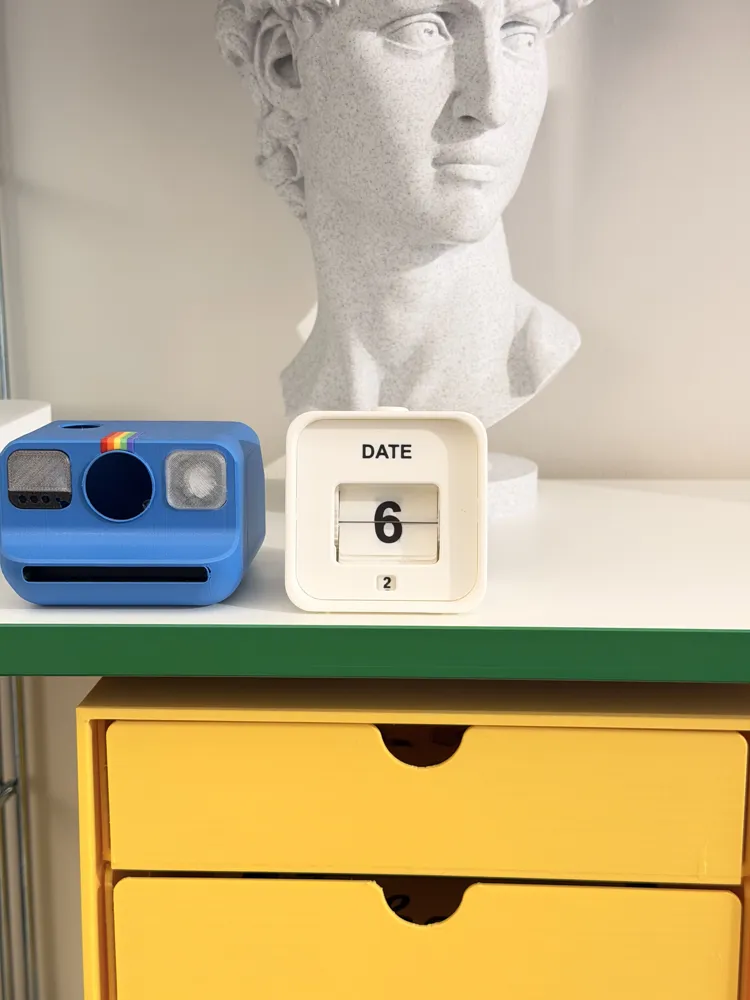
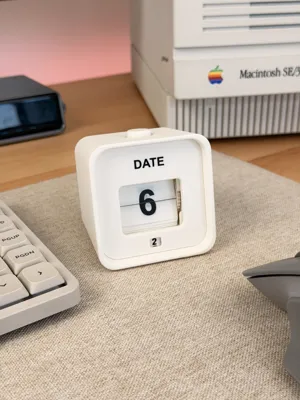
With a simple appearance, it can be a perpetual calendar for desktop display
Accessories: Requires one 0.5x5x25mm spring Link https://e.tb.cn/h.75Al9ybgZJiabTj?tk=XAEGfz40se1 CZ193 Bambu Lab 3D printing model specific standard parts compression spring
Recommended print profile: filament must use PLA Basic or ABS to maintain structural strength The front cover, blades, and gears are more delicate and require a 0.2 nozzle hotend for printing Other parts should be printed with a 0.4 nozzle hotend to maintain structural strength It is recommended to use a "smooth PEI build plate" for a better-looking front cover print
Installation Tutorial: (Installation graphic and video tutorial are currently being produced, you can refer to the installation diagrams and text tutorial below 👇 first)
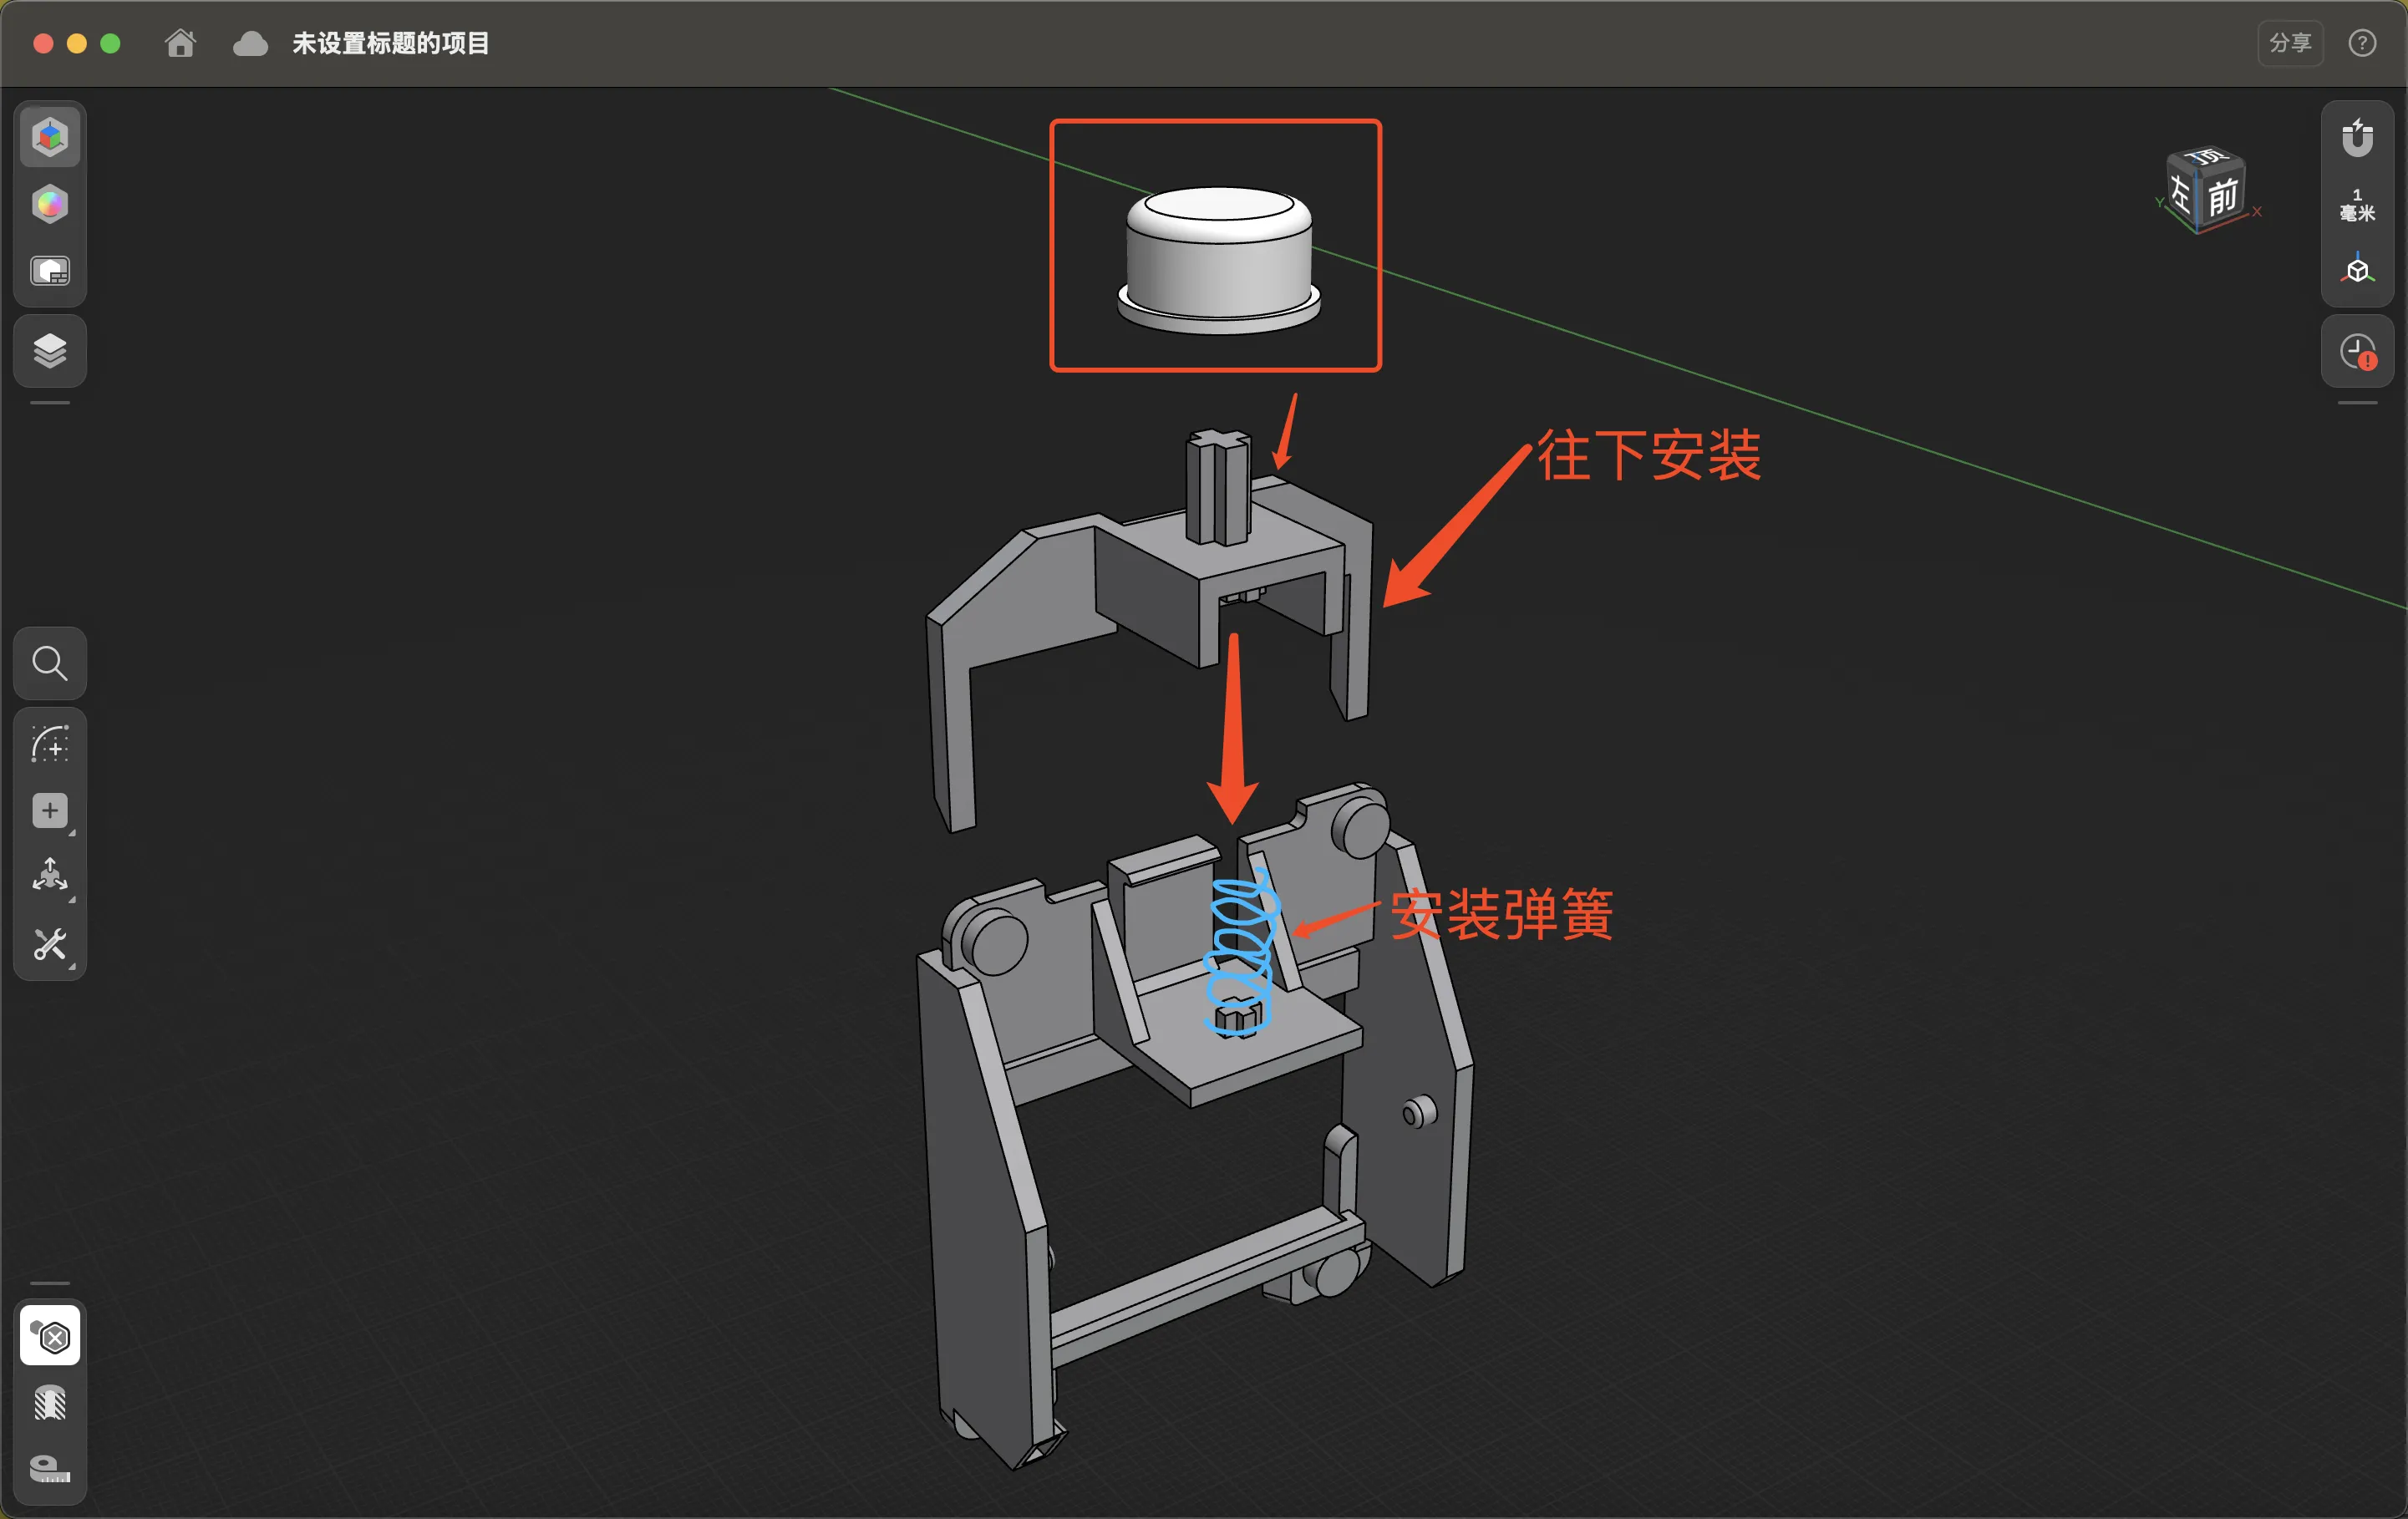
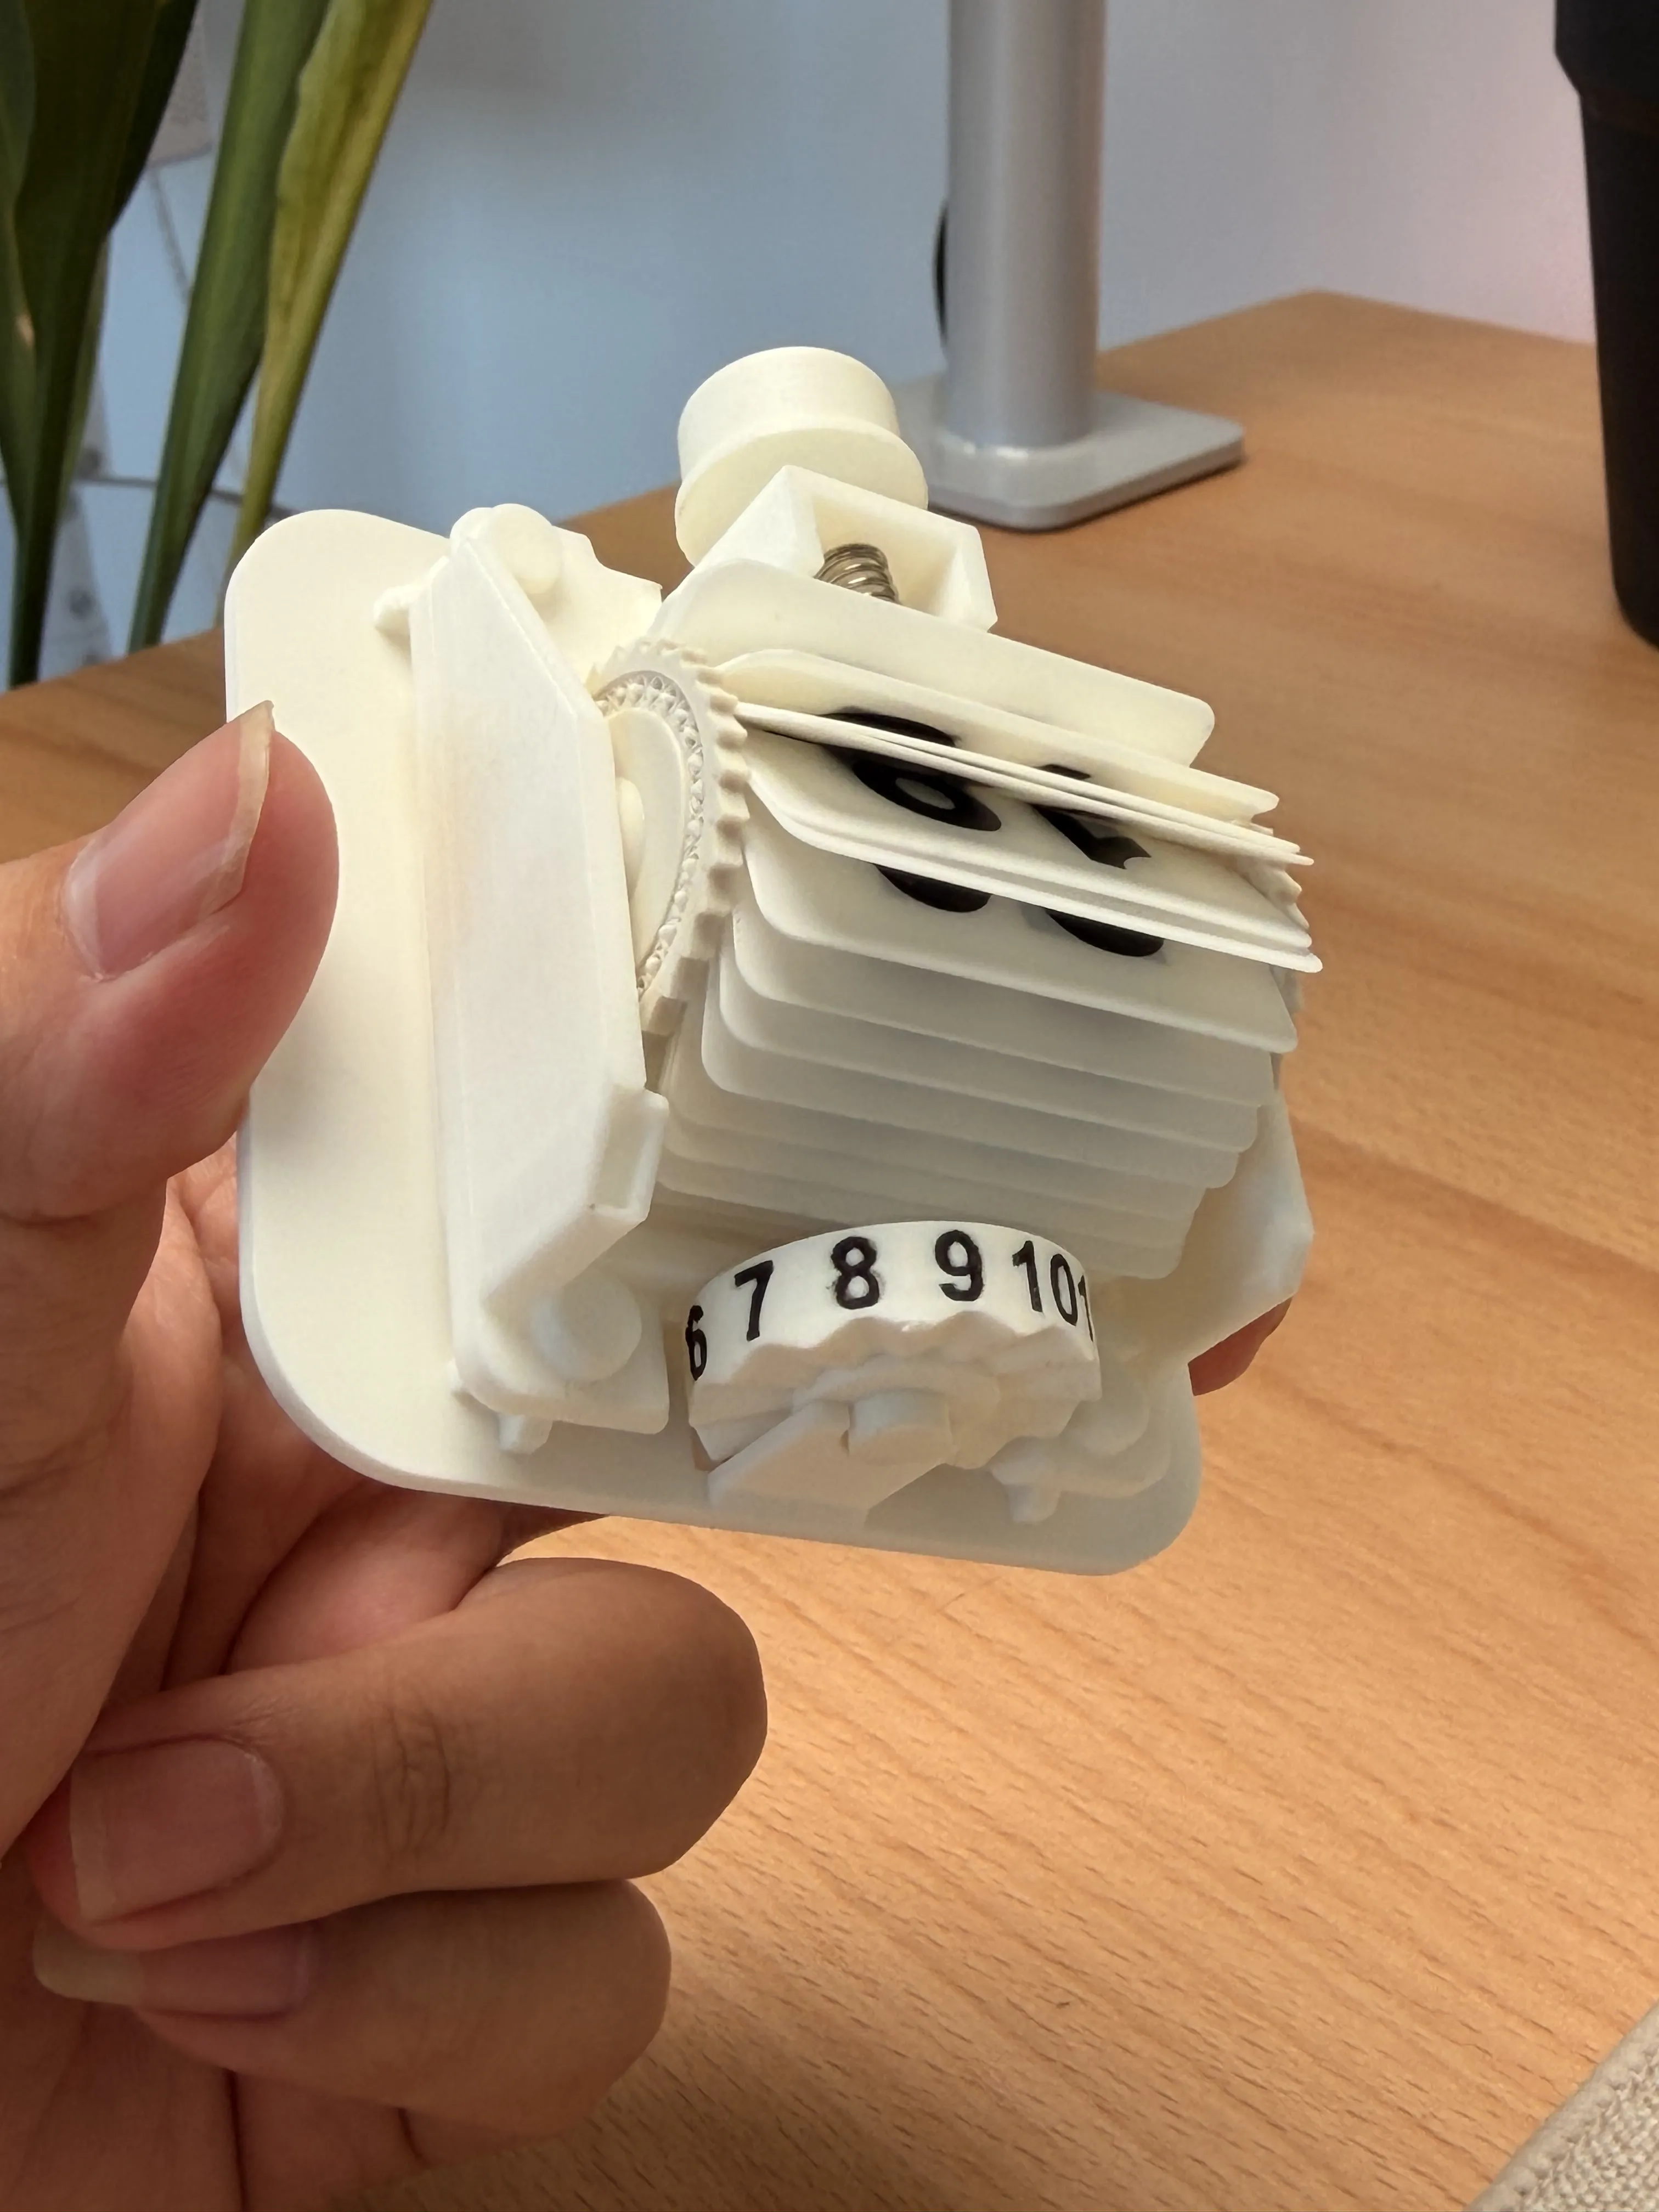
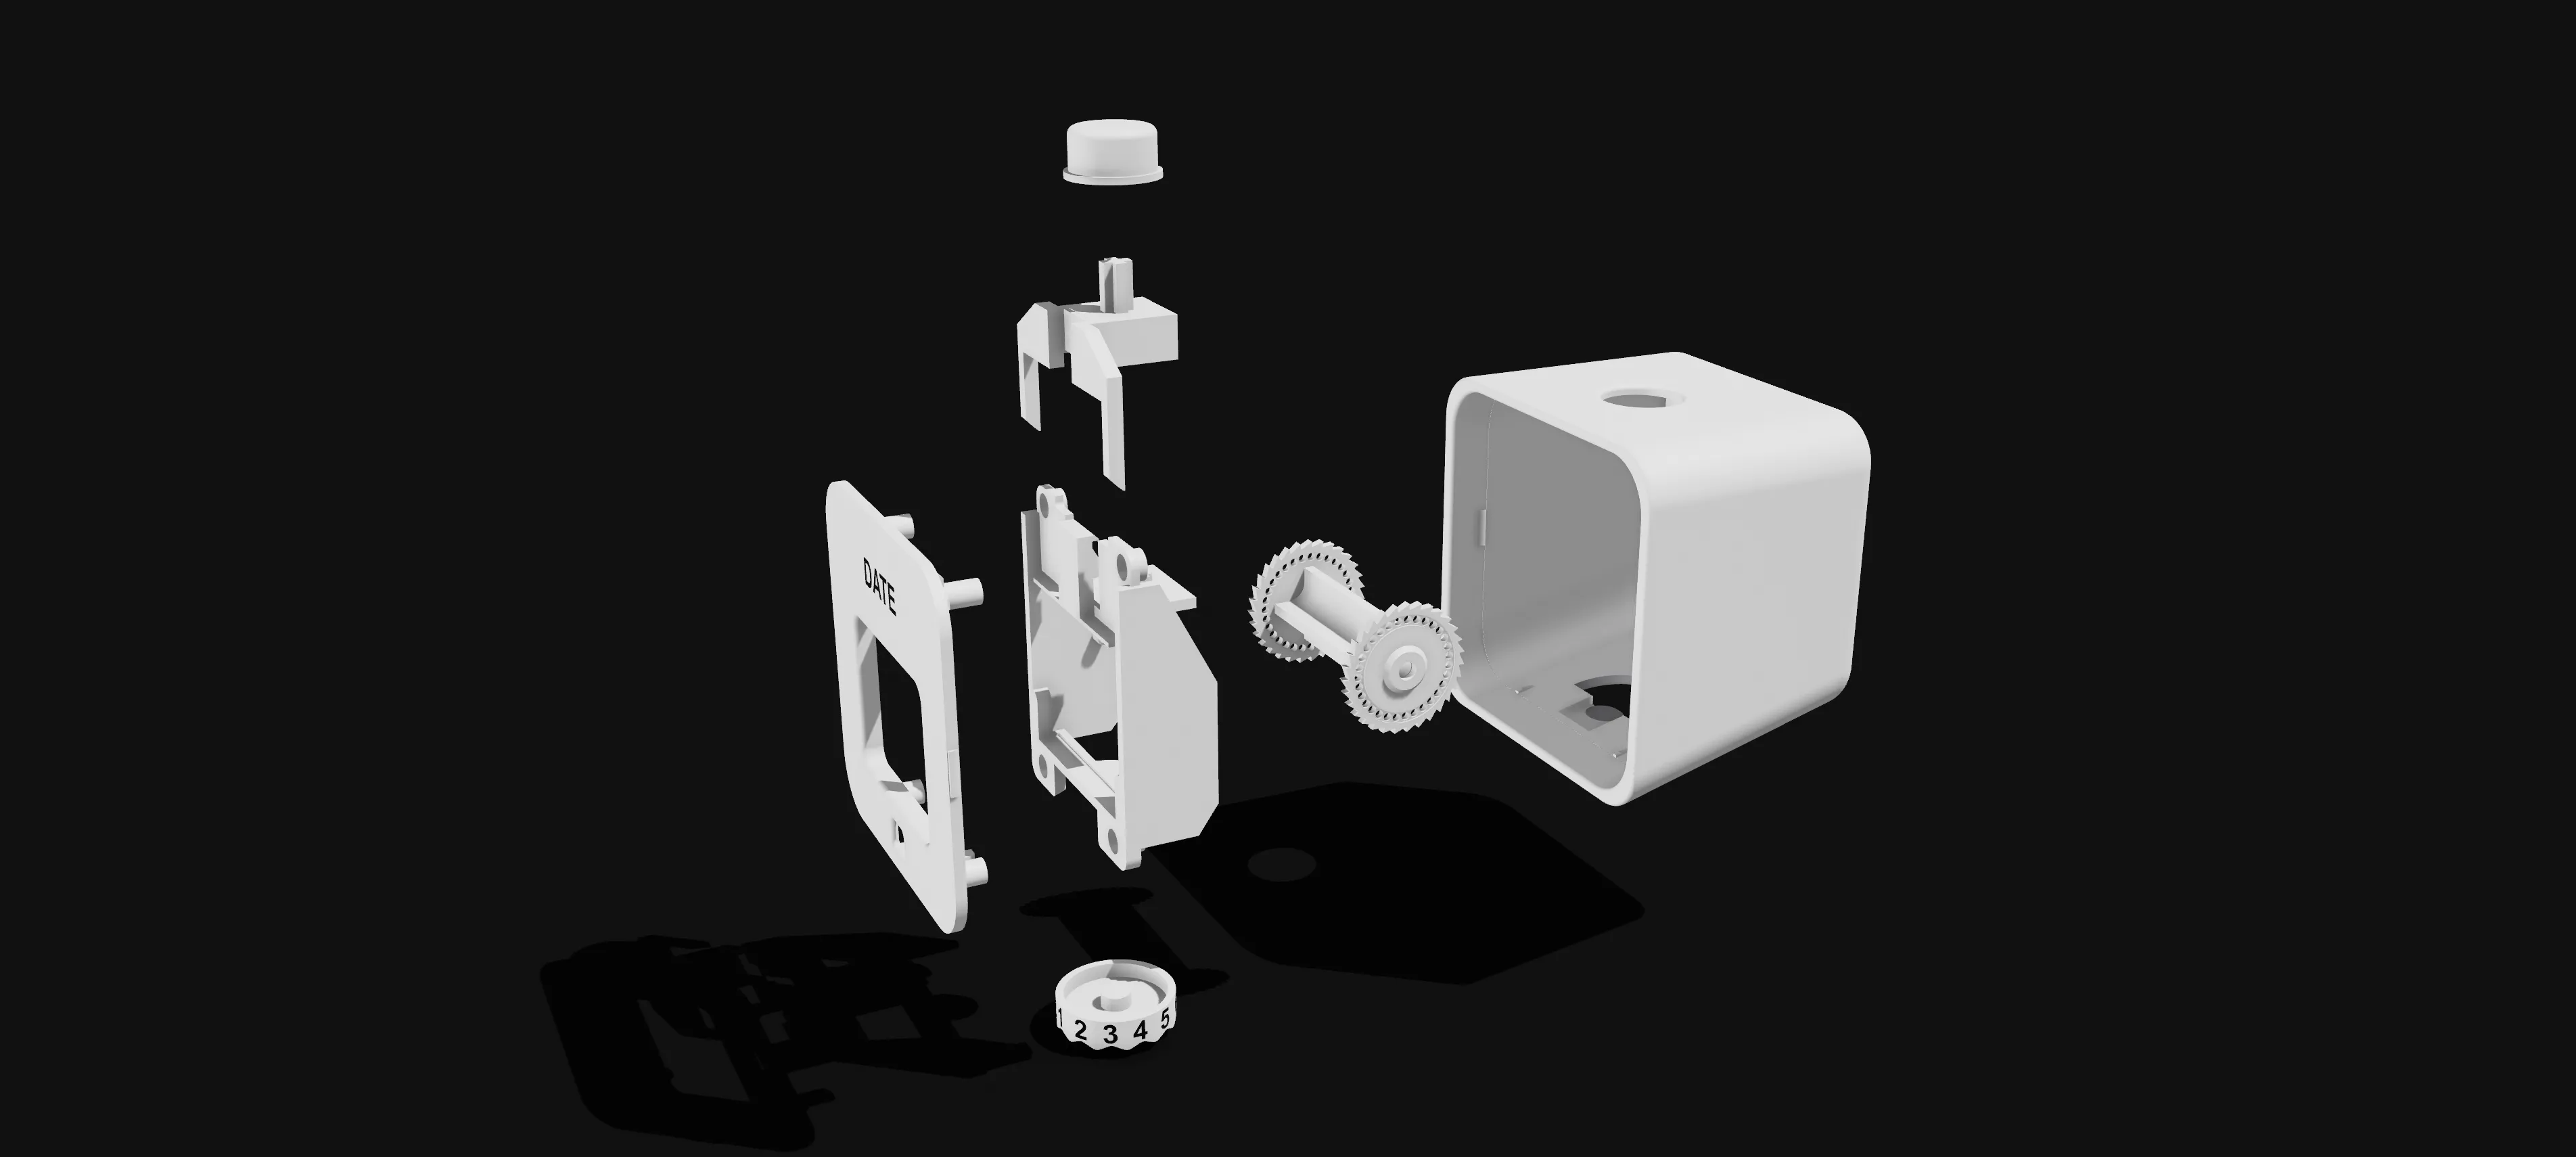
1. First, slot a spring into the position under the "press-on structure" of the main frame, then slot it into the lower frame as shown
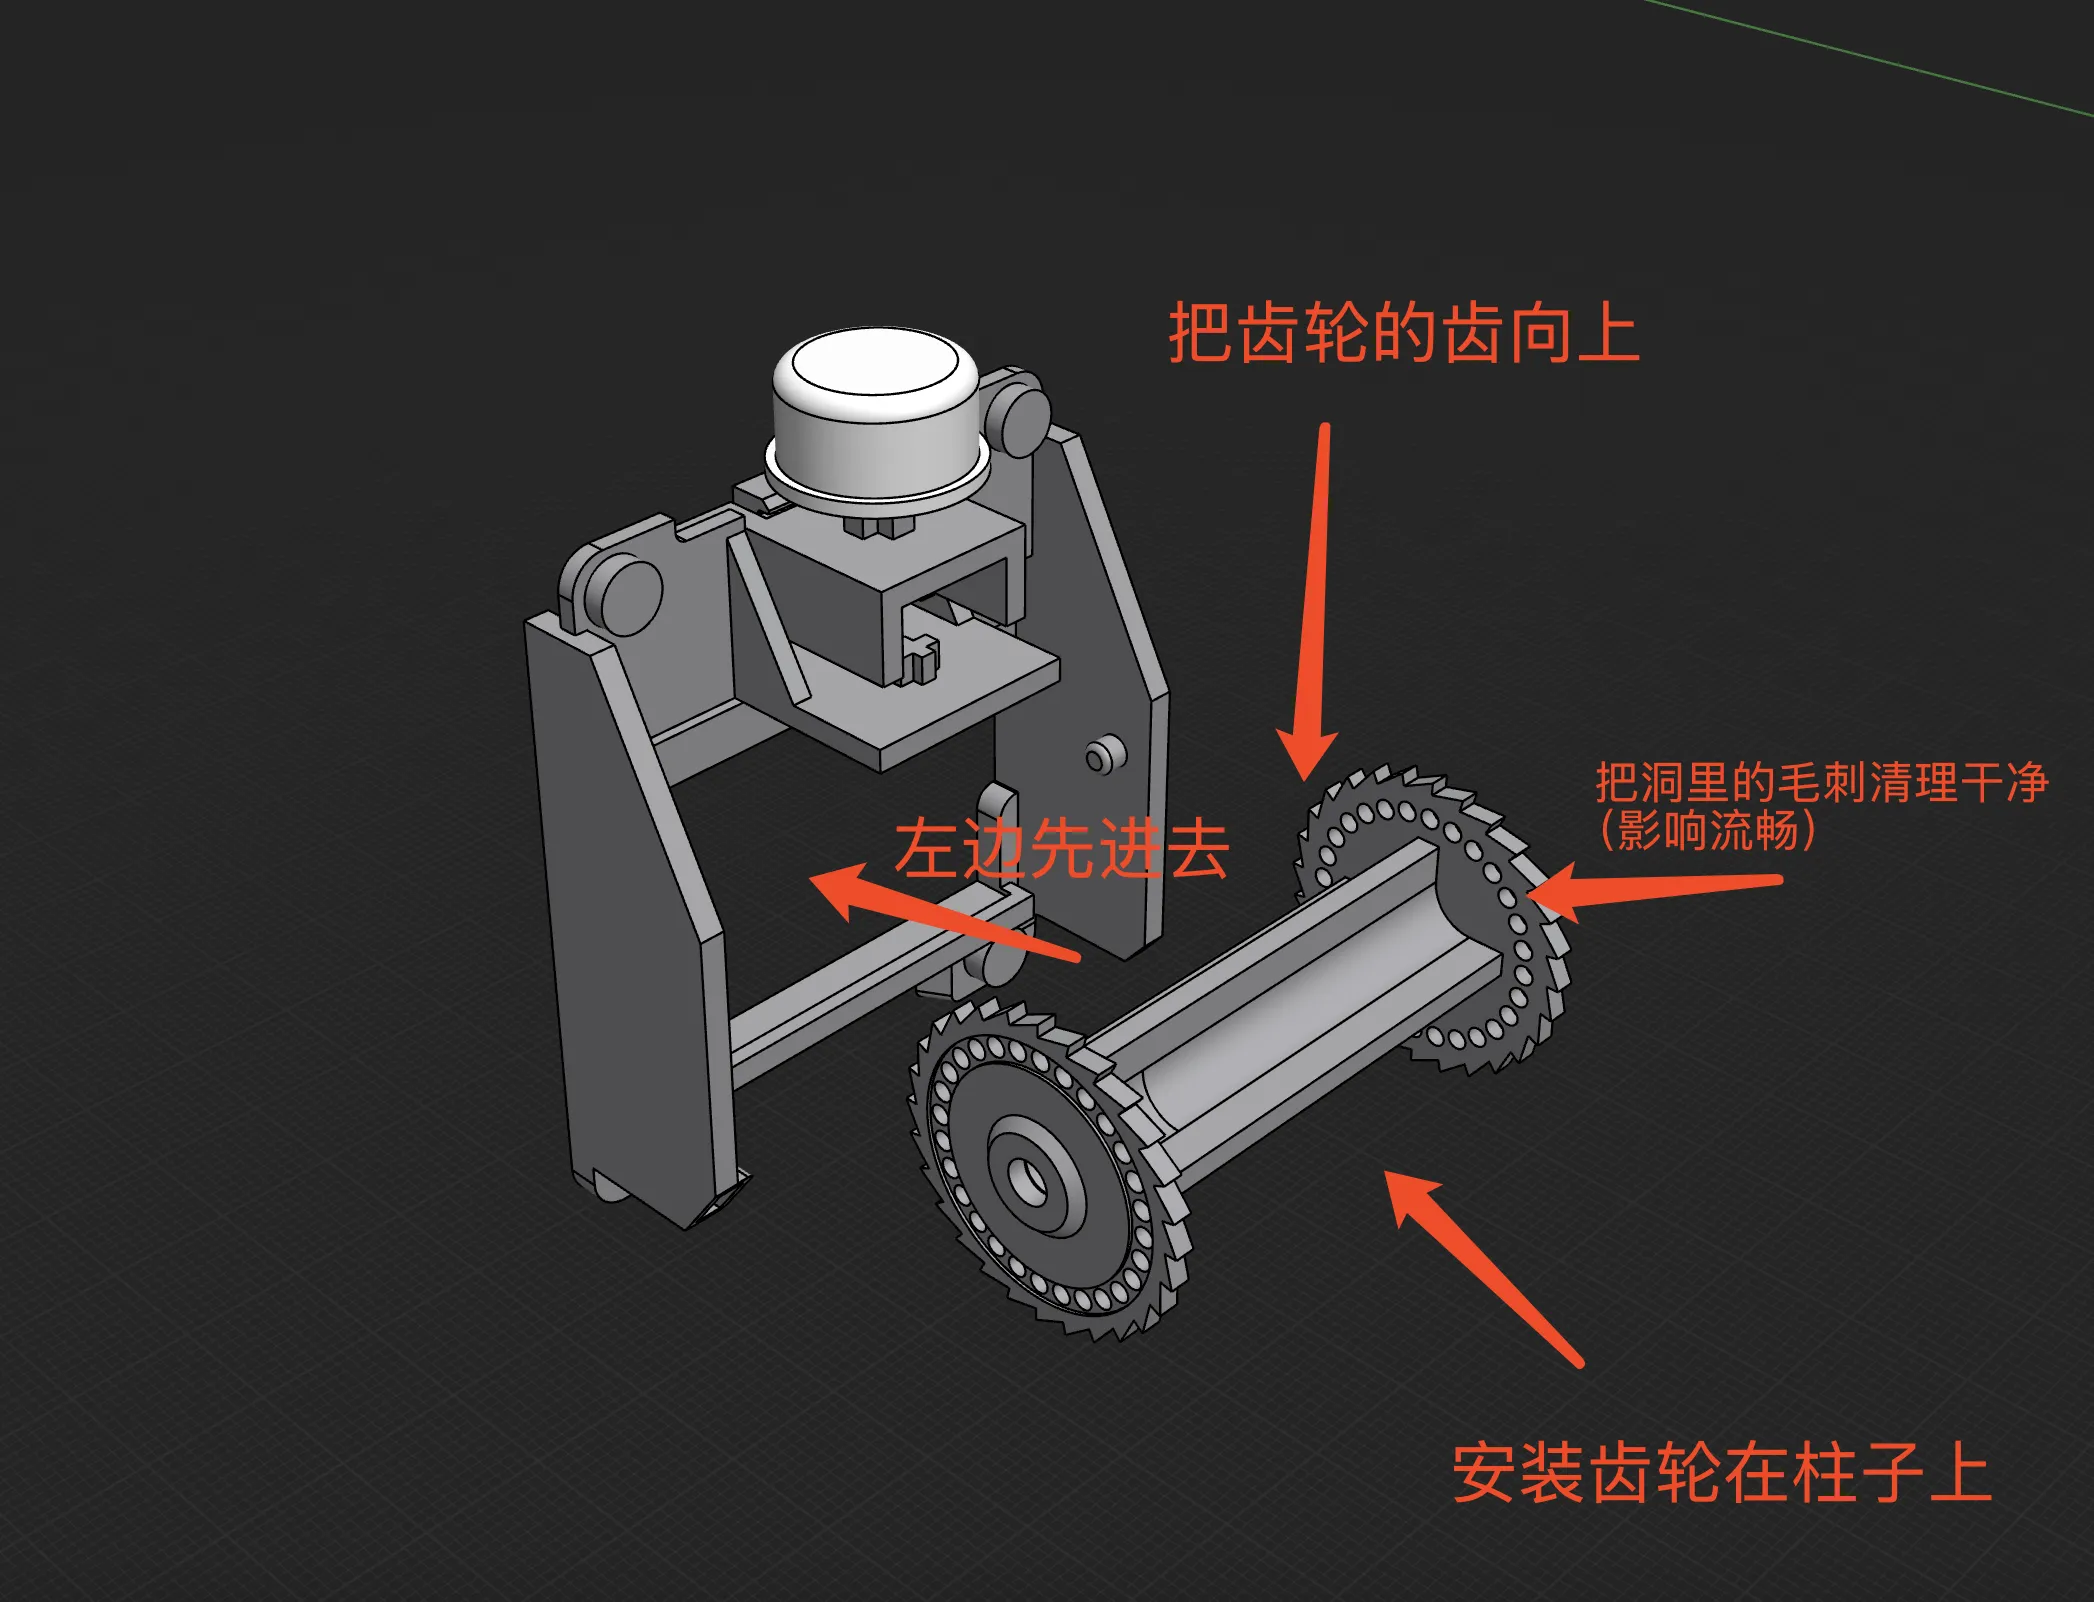
2. Next, be sure to clean out the small holes on the gear where the blades slot in, using a screwdriver to ream them out (otherwise the blades will not display smoothly) Then connect the gear to the posts on the left and right, with the gear teeth facing upwards (as shown), and slot it into the structural frame (as shown)
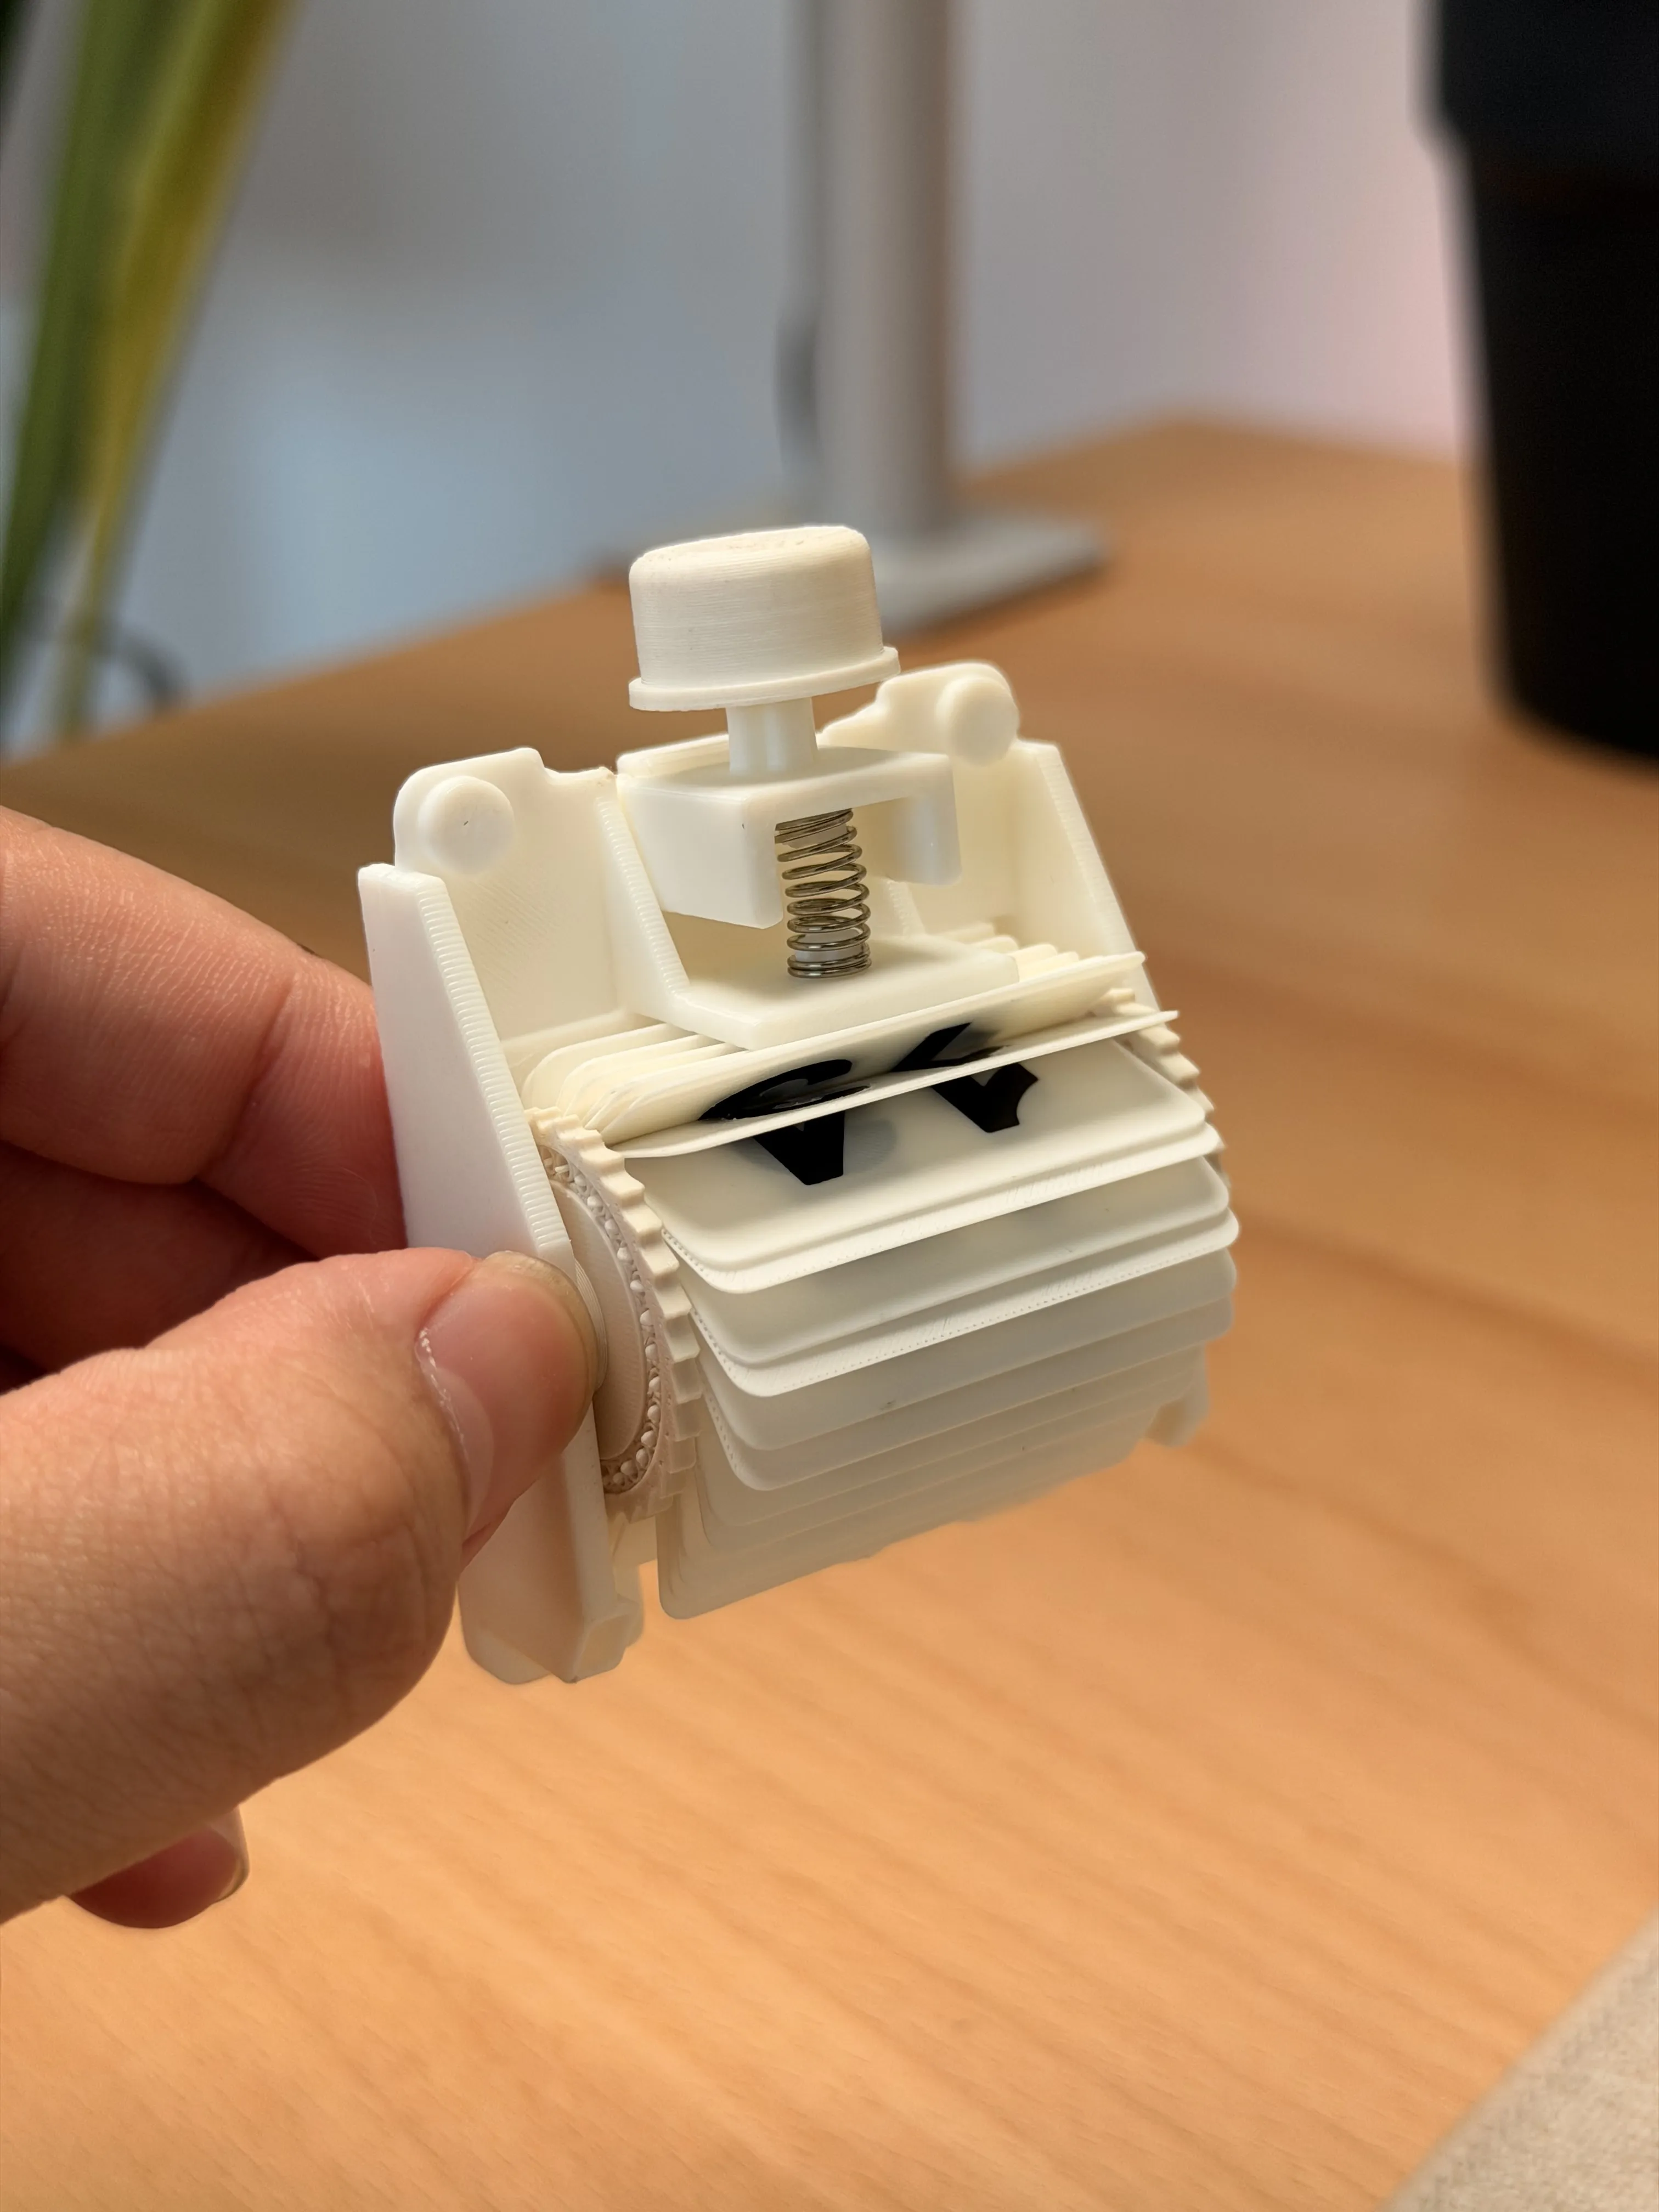
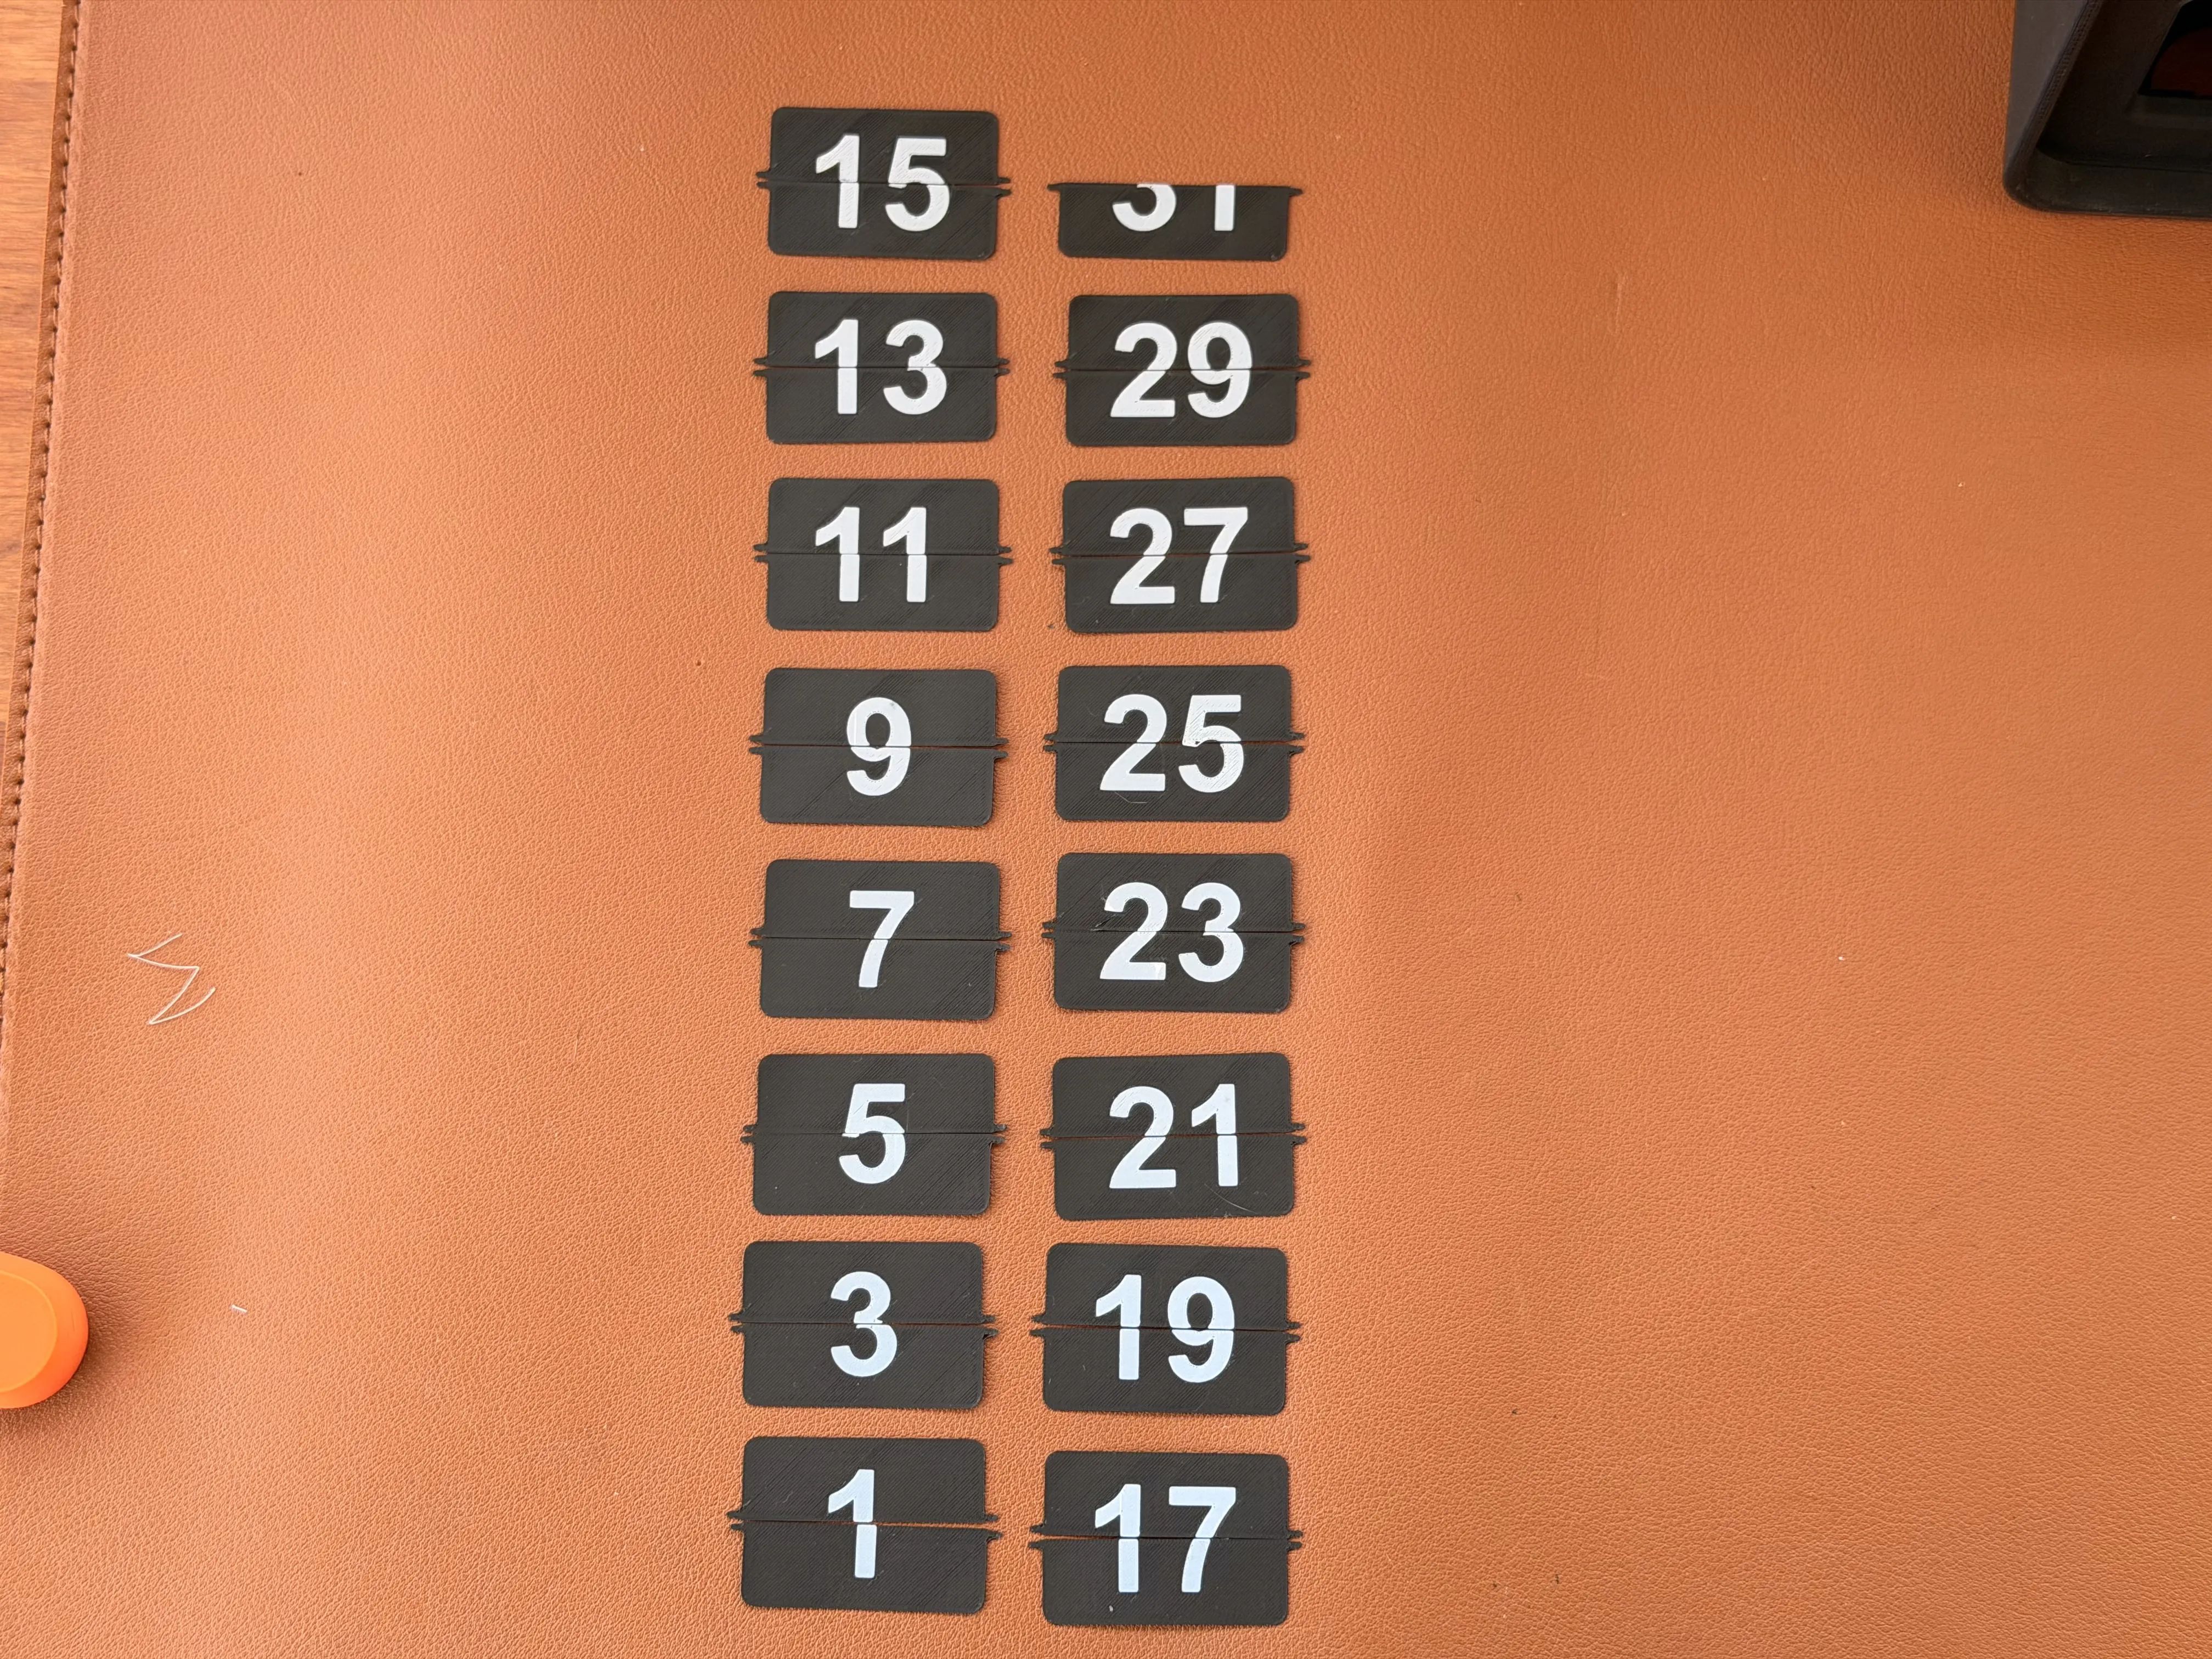
3. Note ⚠️ The small sharp edges on both sides of the blades need to be carefully cleaned of any burrs (otherwise the blades will not display smoothly) Then simply install the blades according to the order on the build plate (1, 3, 5, 7...) (as shown)
4. Then connect the entire structure with the front cover, slot in the month dial at the bottom, and also slot in the top button
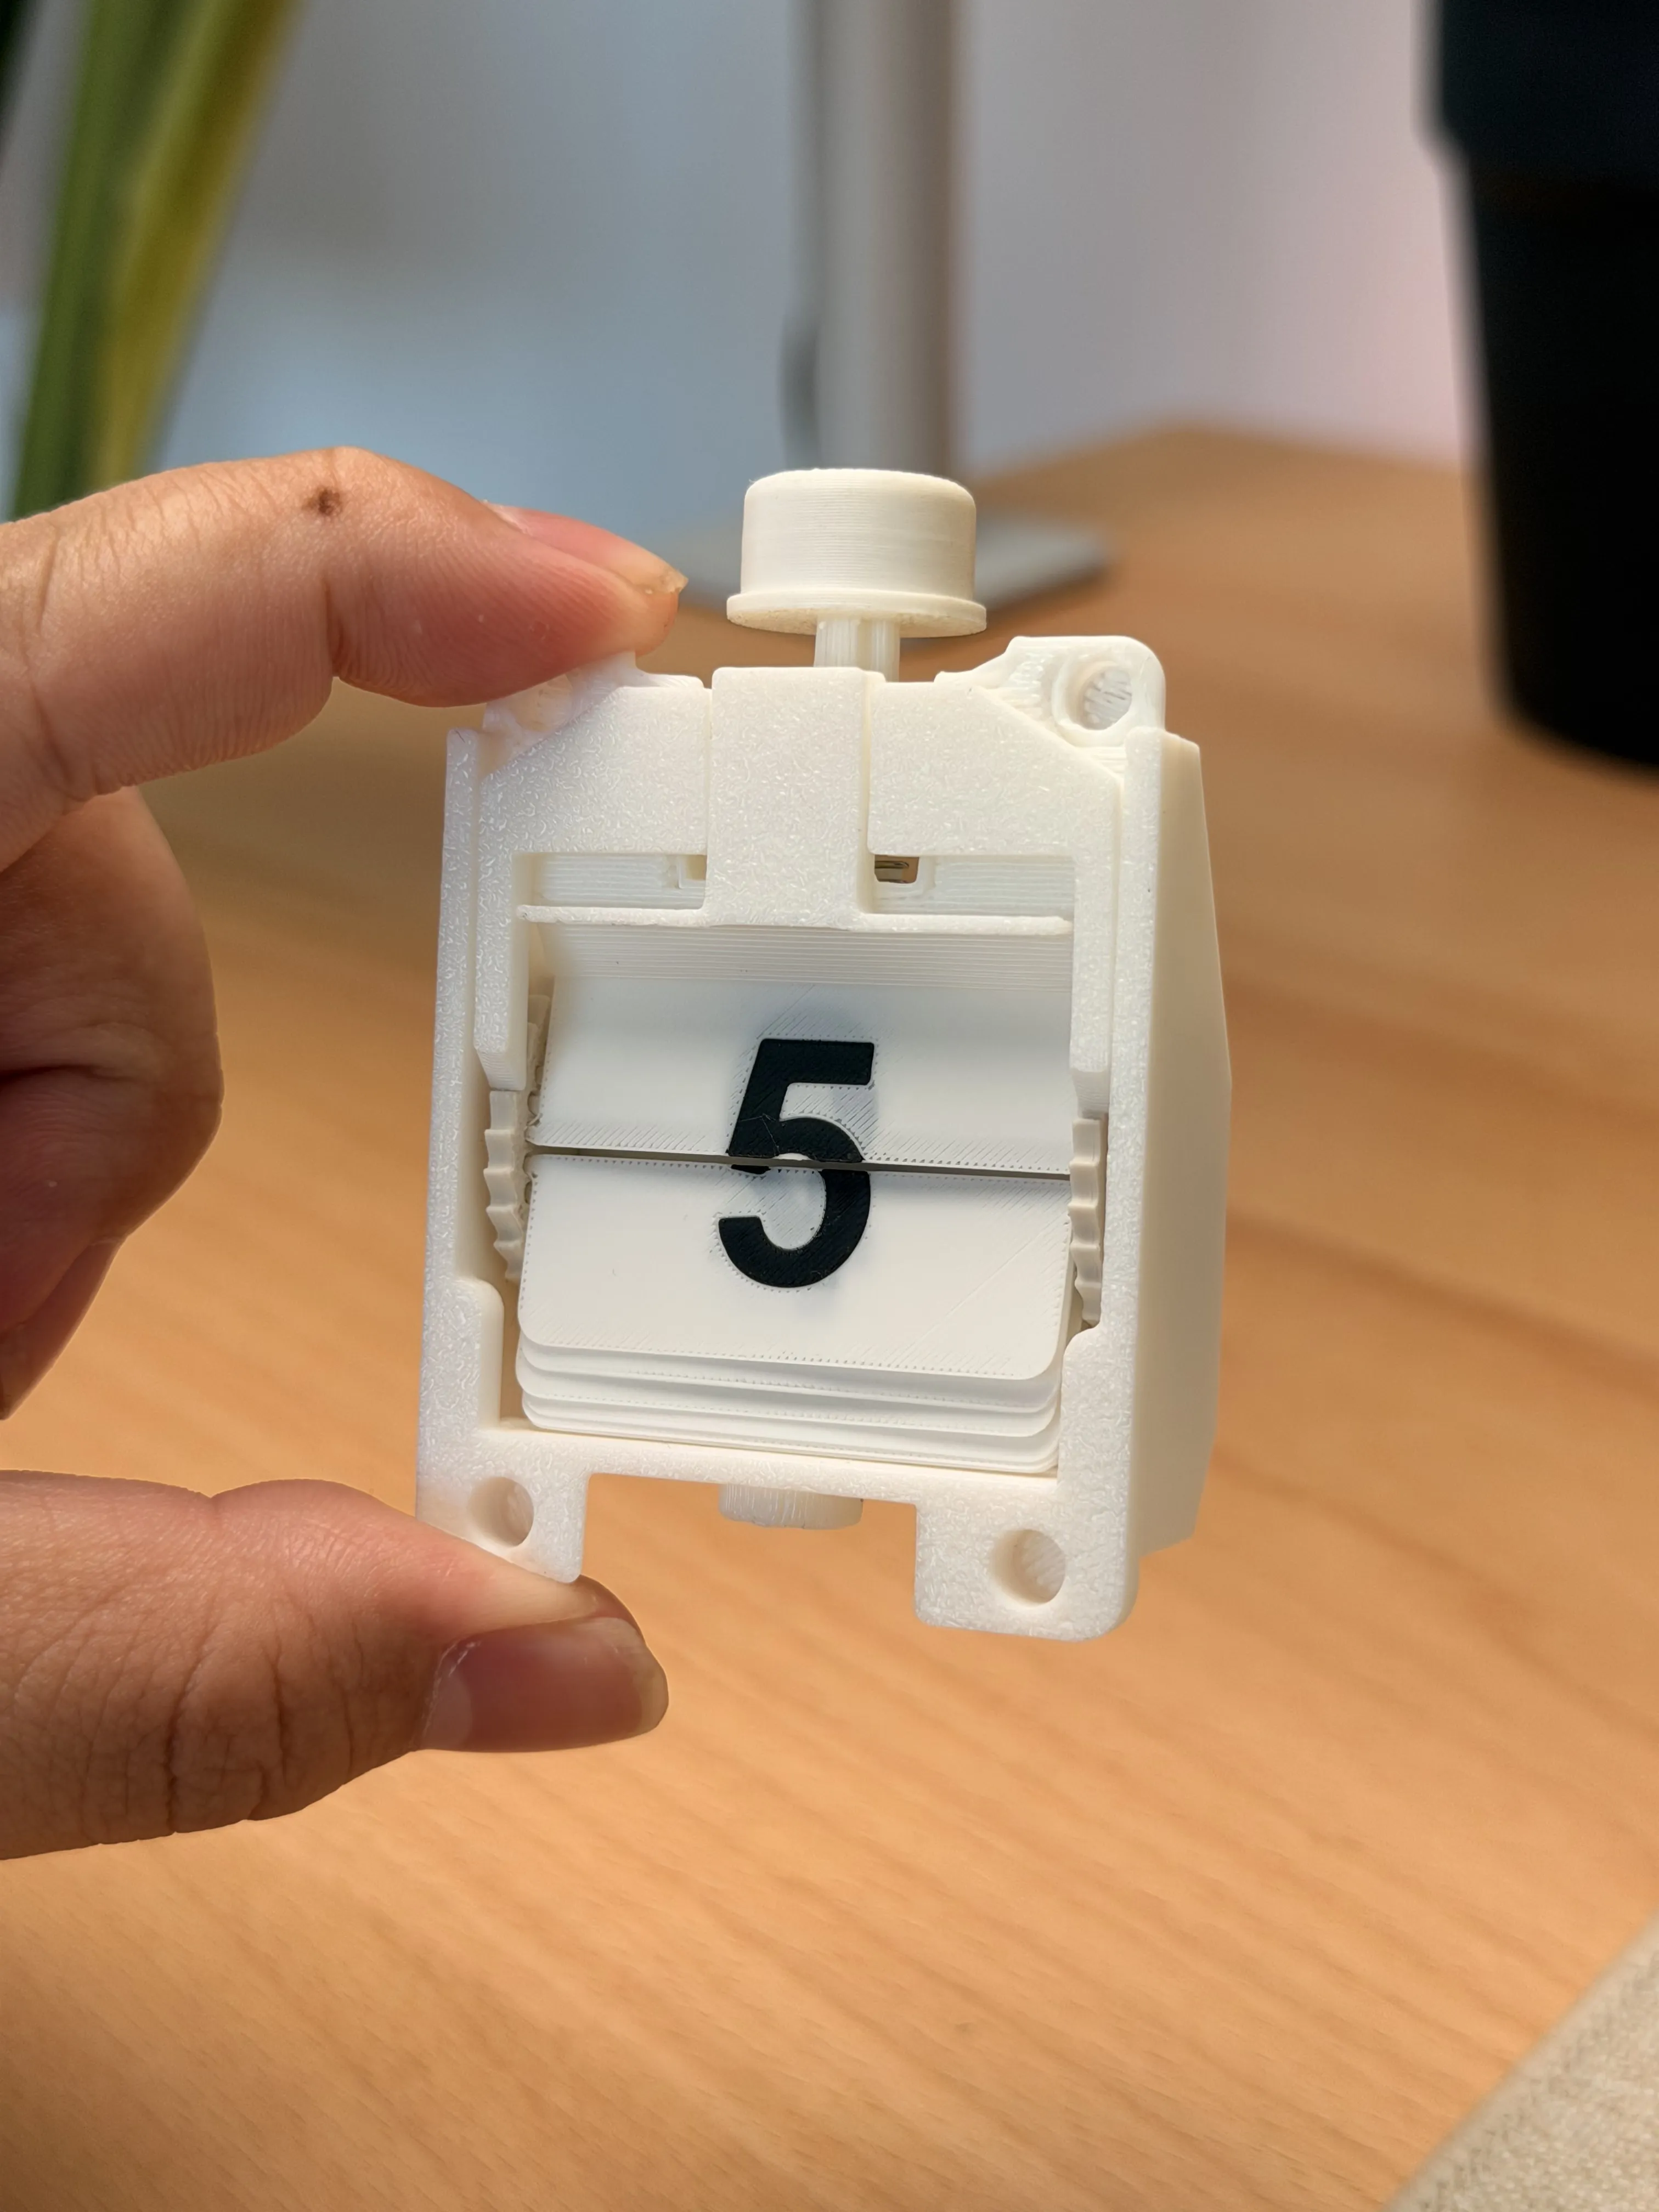
5. Finally, insert the assembled unit from the front at a 45-degree angle upwards (as shown)
License

You shall not share, sub-license, sell, rent, host, transfer, or distribute in any way the digital or 3D printed versions of this object, nor any other derivative work of this object in its digital or physical format (including - but not limited to - remixes of this object, and hosting on other digital platforms). The objects may not be used without permission in any way whatsoever in which you charge money, or collect fees.


Comment & Rating (18)