
DeskPi PDU + 12V Power Supply Add-On (1.5U)
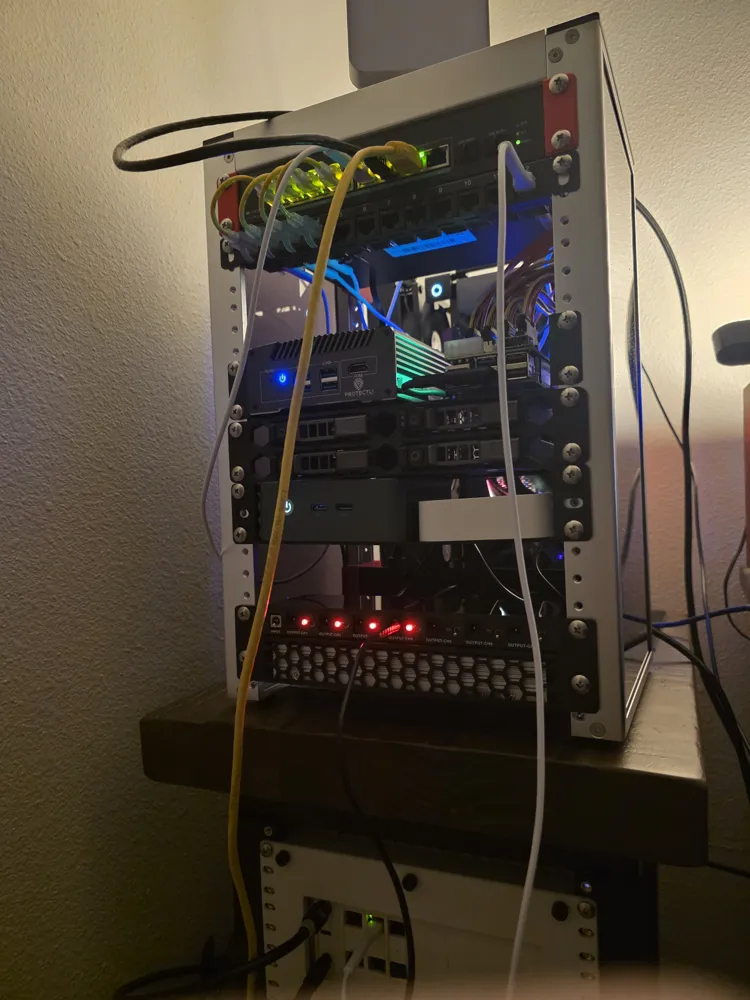
Print Profile(1)

Bill of Materials
- M3 threaded insert x 4: M3 threaded insert is for mounting the power supply. Inserts must be no longer than 4mm. For my build I used the shortest M3 threaded inserts from this kit https://www.amazon.com/dp/B0CLKDPN65?th=1
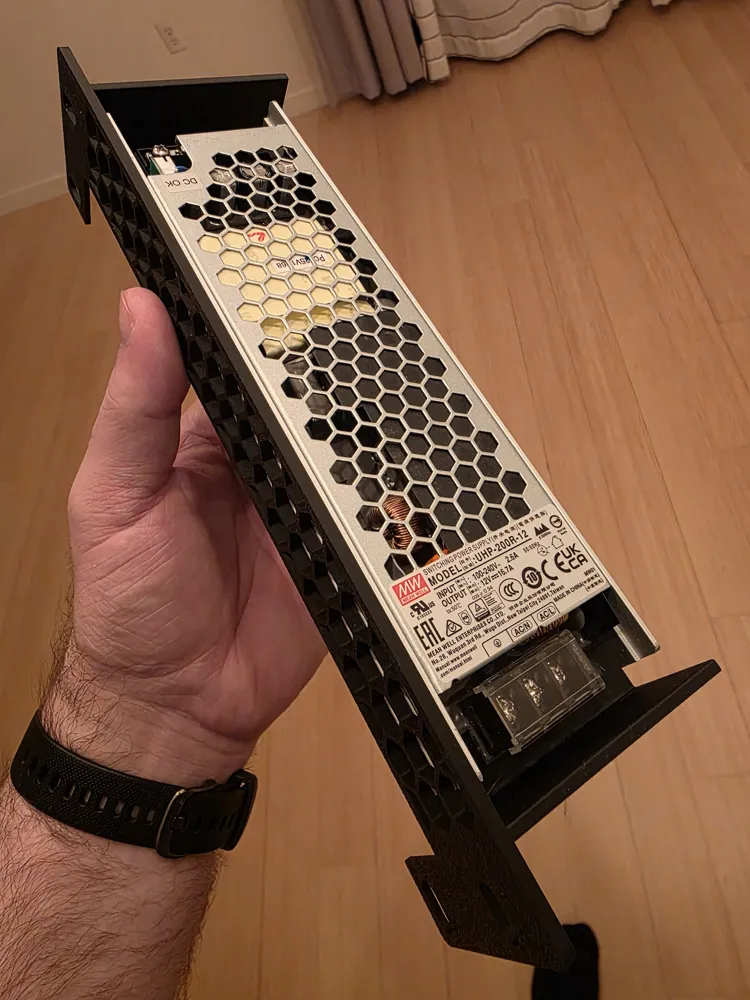
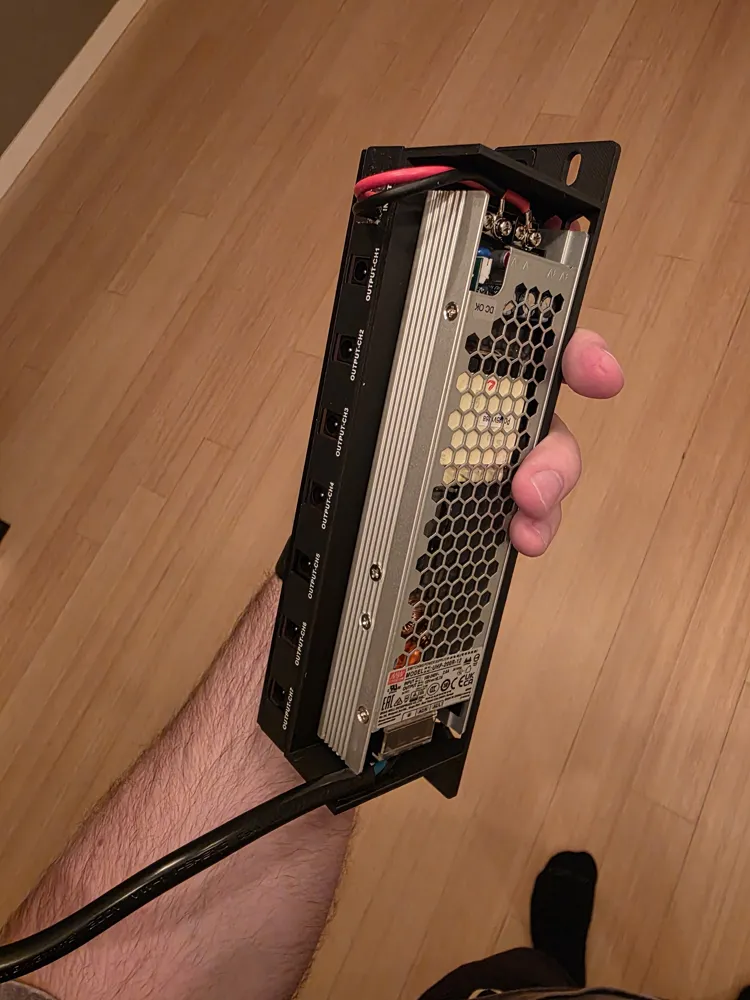
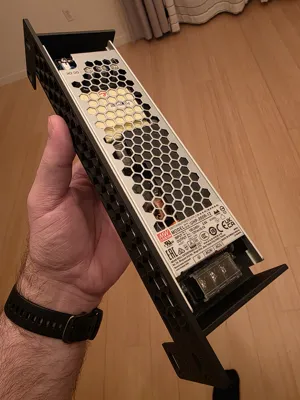
- Mean Well UHP-200R-12 Power Supply x 1: I picked this one due to its large capacity and excellent efficiency ratings https://mou.sr/3MO0FWy
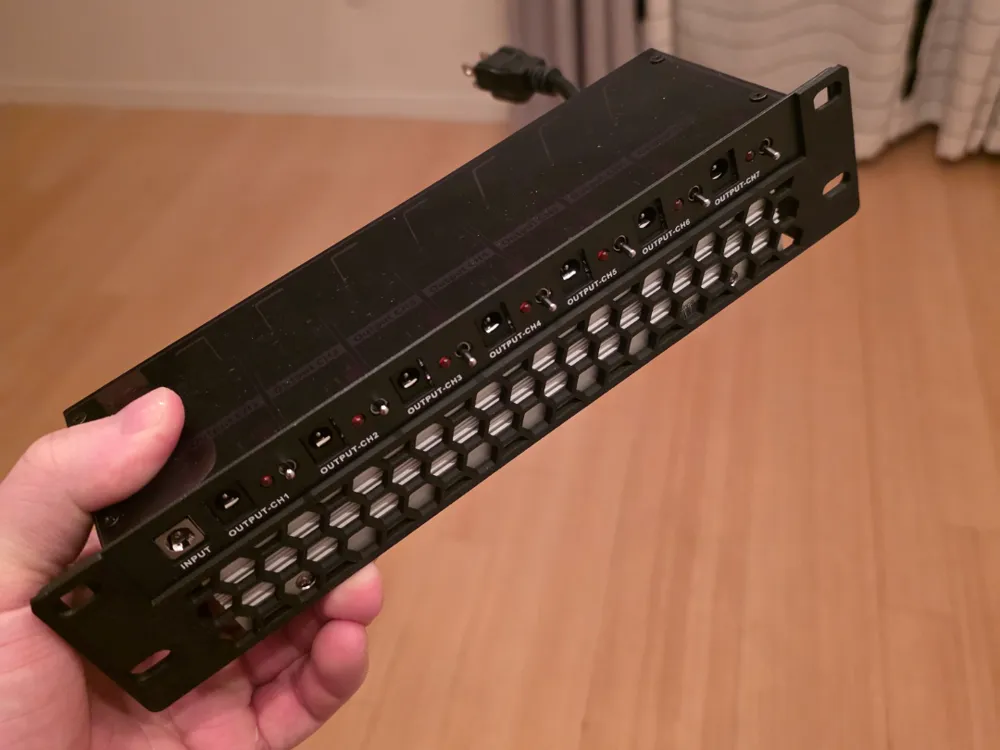
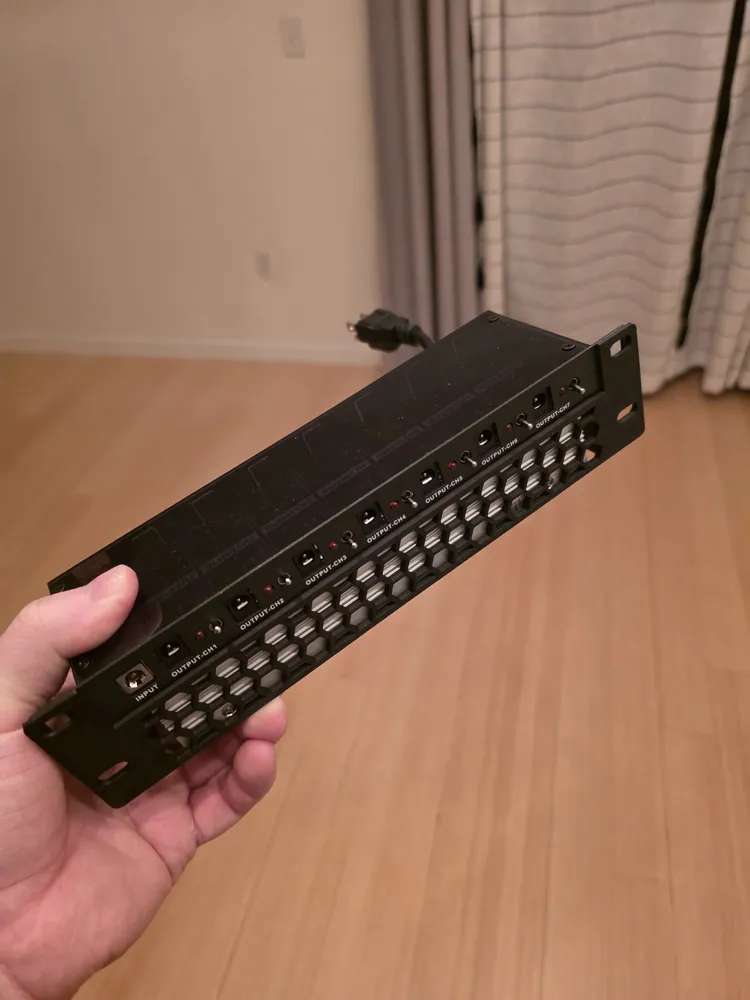
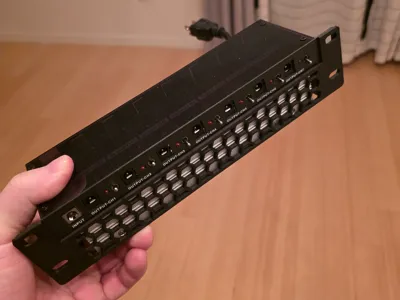
- DeskPi PDU Lite 7-CH x 1: Almost perfect PDU, I made modifications to mine to make it better; However, you could likely get by without them https://www.amazon.com/GeeekPi-Rack-Mount-Distribution-Rackmate-Cabinet/dp/B0DGFZVXF6
- 120V Power Cable x 1: Cut this to whatever length you need https://www.amazon.com/dp/B0CP7TXLJZ?th=1
- M3 bolts x 4: I used 6mm in length ones from this kit https://www.amazon.com/dp/B0CQJZCC9T?th=1
- (Optional) DC Power Pigtail Cable x 1: If you don't plan on replacing the barreljack on the DeskPi DPU you'll probably want this https://www.amazon.com/dp/B07VW5VRX7?th=1
Description
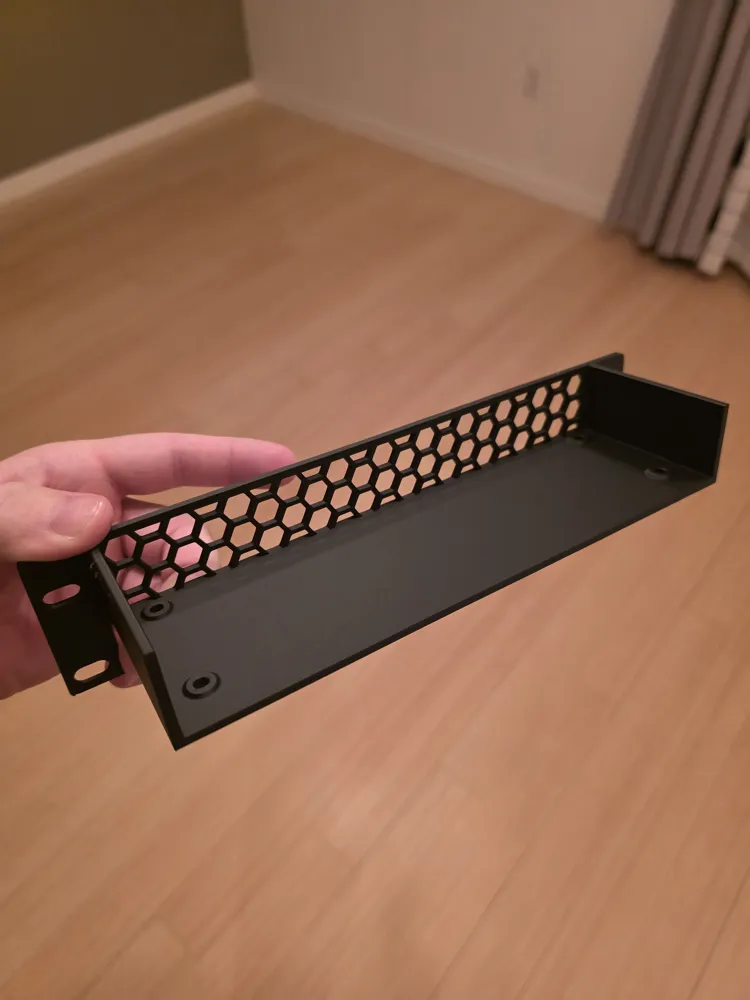
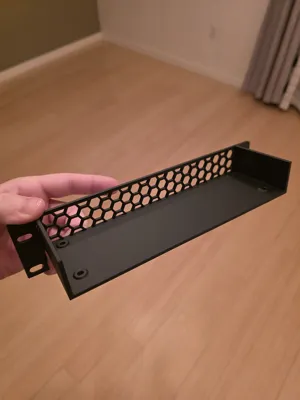
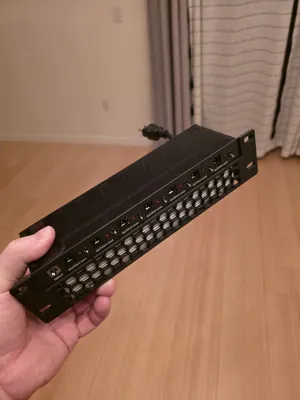
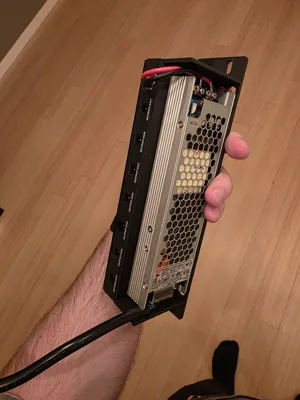
This piece allows for mounting a Mean Well `UHP-200R-12` Power Supply underneath a DeskPi PDU.
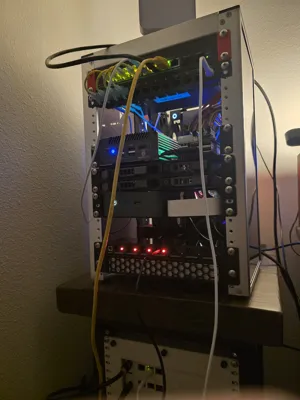
Note that this does take up more than 1U; However, if you're using the DeskPi 10-inch rack mount chasis it works out pretty well since it has extra room at the bottom if you're not using a fan.
The DeskPi PDU is ALMOST perfect; However, there are a few issues with it that I attempted to fix through some modifications (check out the amazon reviews if you want to read up on all its issues)
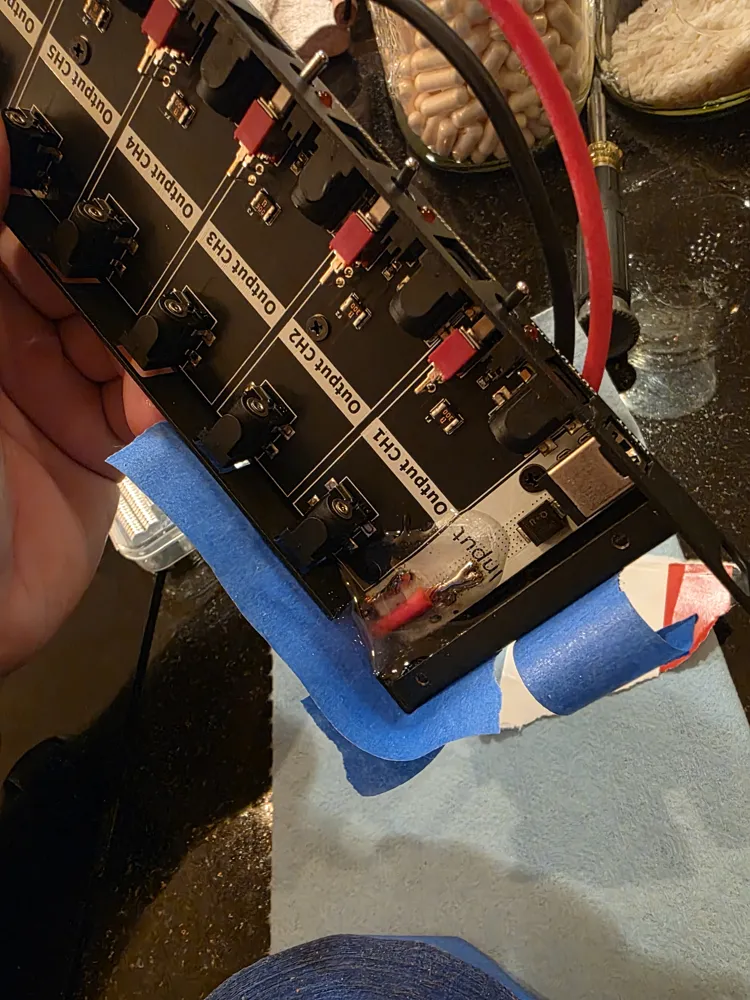
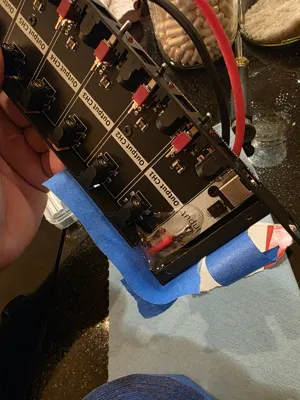
You'll see in one of the photos that I made some modifications to the DeskPi PDU, these modifications were:
- Removing the input production diode and replacing it with a short.
- This diode causes a ~0.5V drop which I didn't want and I'm also not worried about the downsides of not having it.
- Removing the input barrel-jack and replacing it with wire.
- The 5.5 x 2.1mm DC barrel jacks are only meant to handle 5A at most. This is fine for the output ports; However, I wanted a bit more headroom on the power input connection so I replaced it with wires soldered directly to the board.
- I also used J-B Weld 50112 Clear as strain relief for the wires.
NOTE: Removing the barreljack is difficult; You'll need to be VERY patient with a heatgun in order to get it off.
Again - you don't necessarily need to do these things; I just chose them for my build.
License



Comment & Rating (2)