
PVC-U Sliding Window Exhaust Baffle and Exhaust Pipe
Print Profile(1)
Description
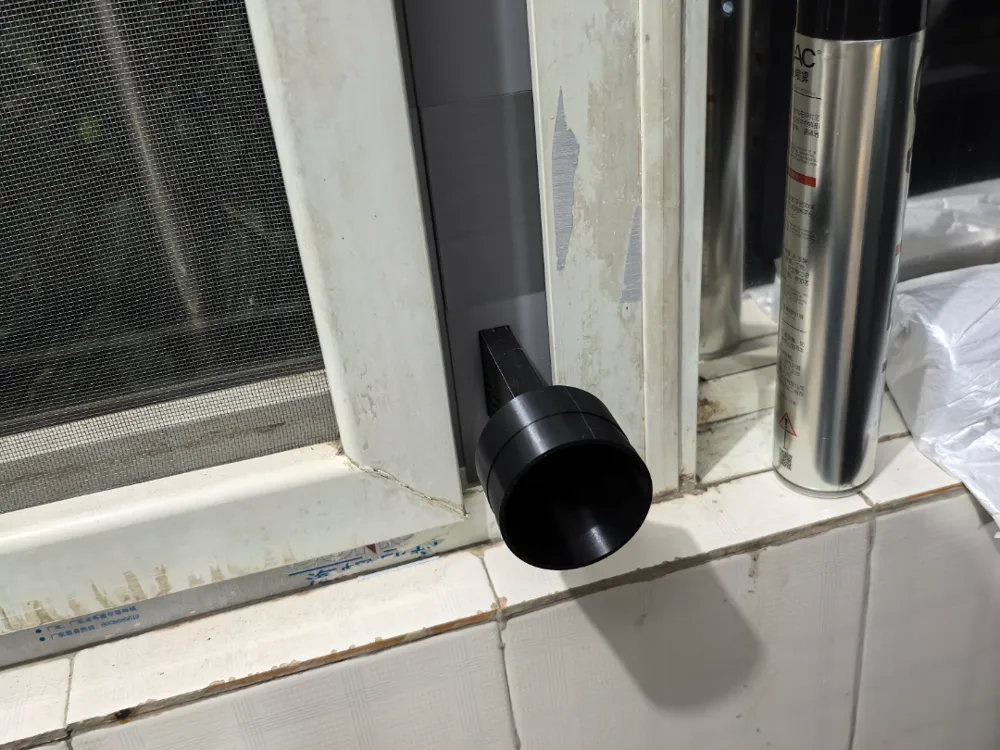
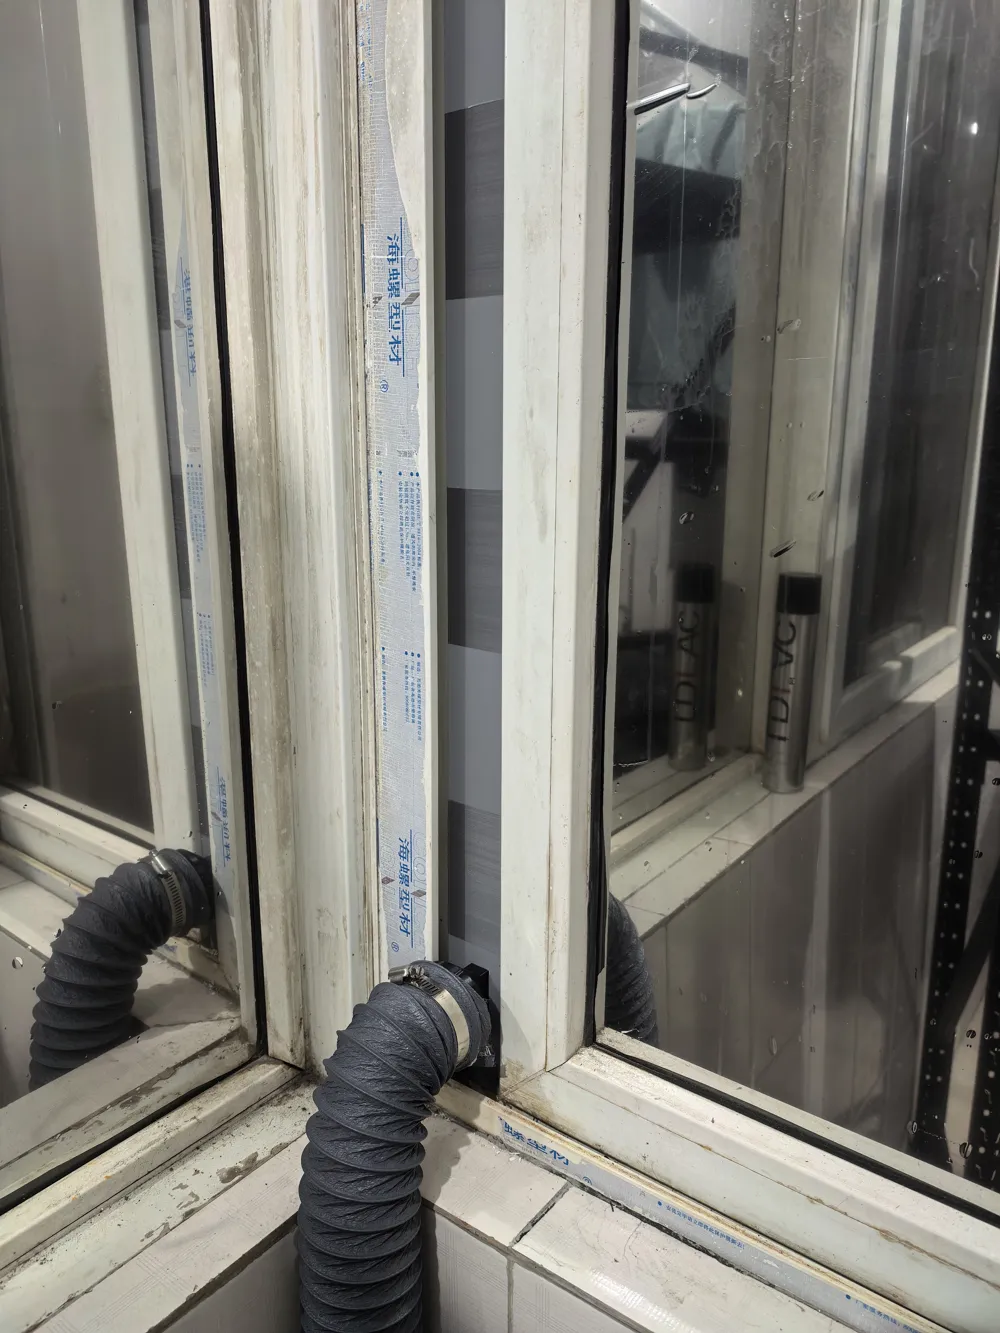
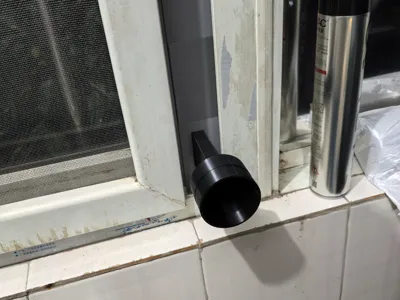
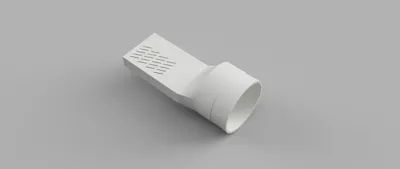
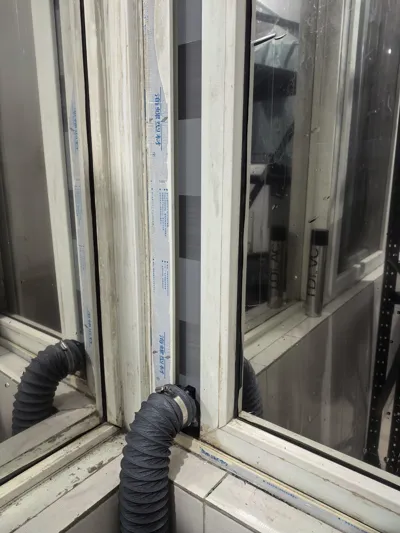
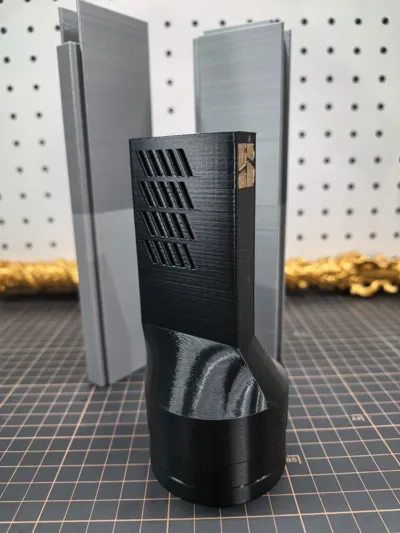
To reduce indoor pollution during printing, I created an exhaust system for my H2C printer, using a 2.5-inch exhaust pipe to vent outdoors.
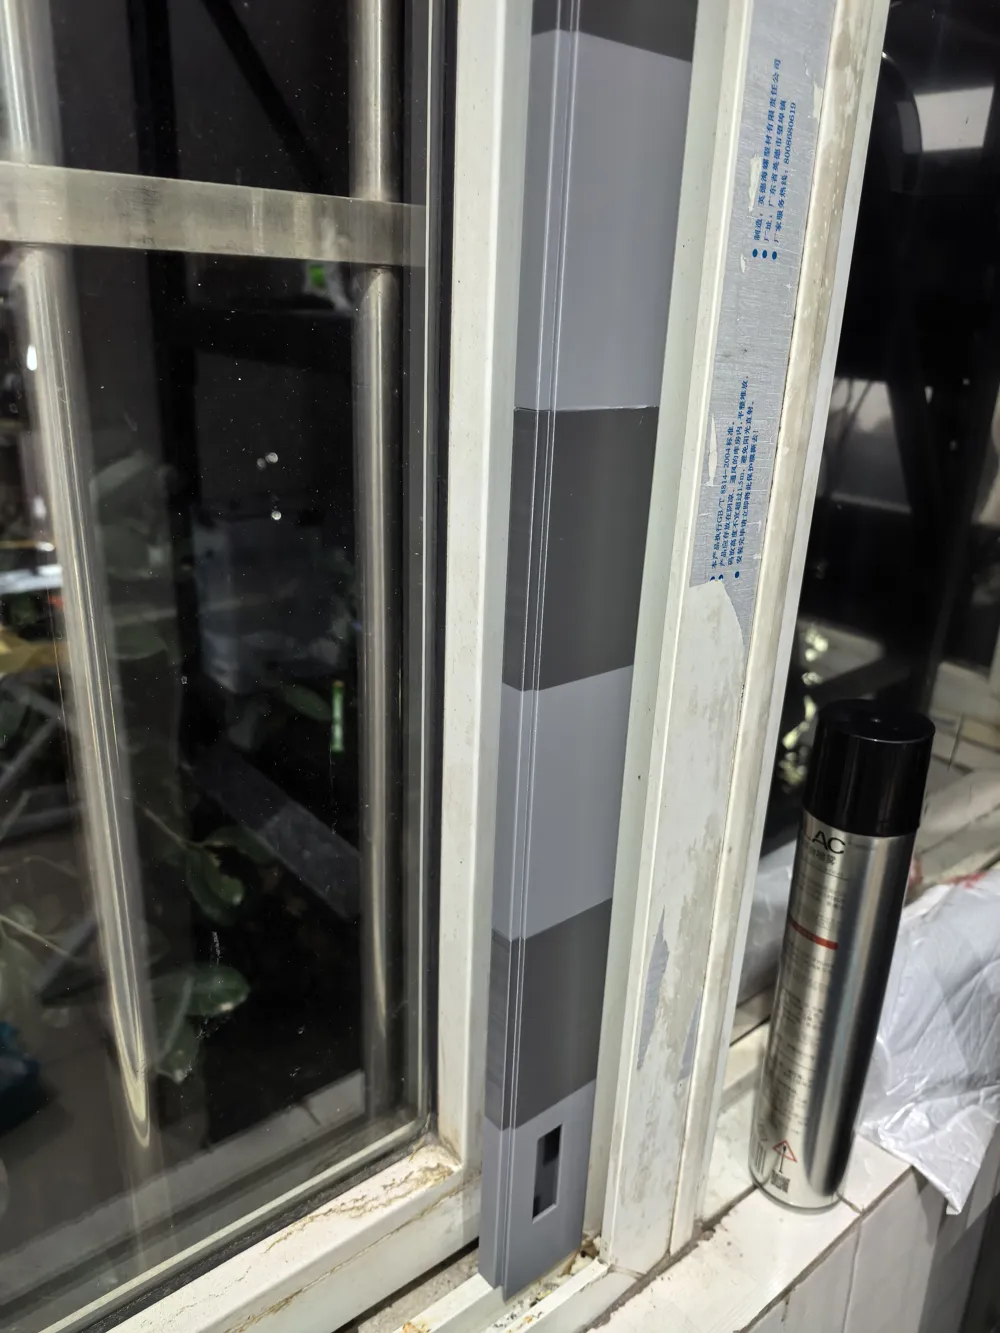
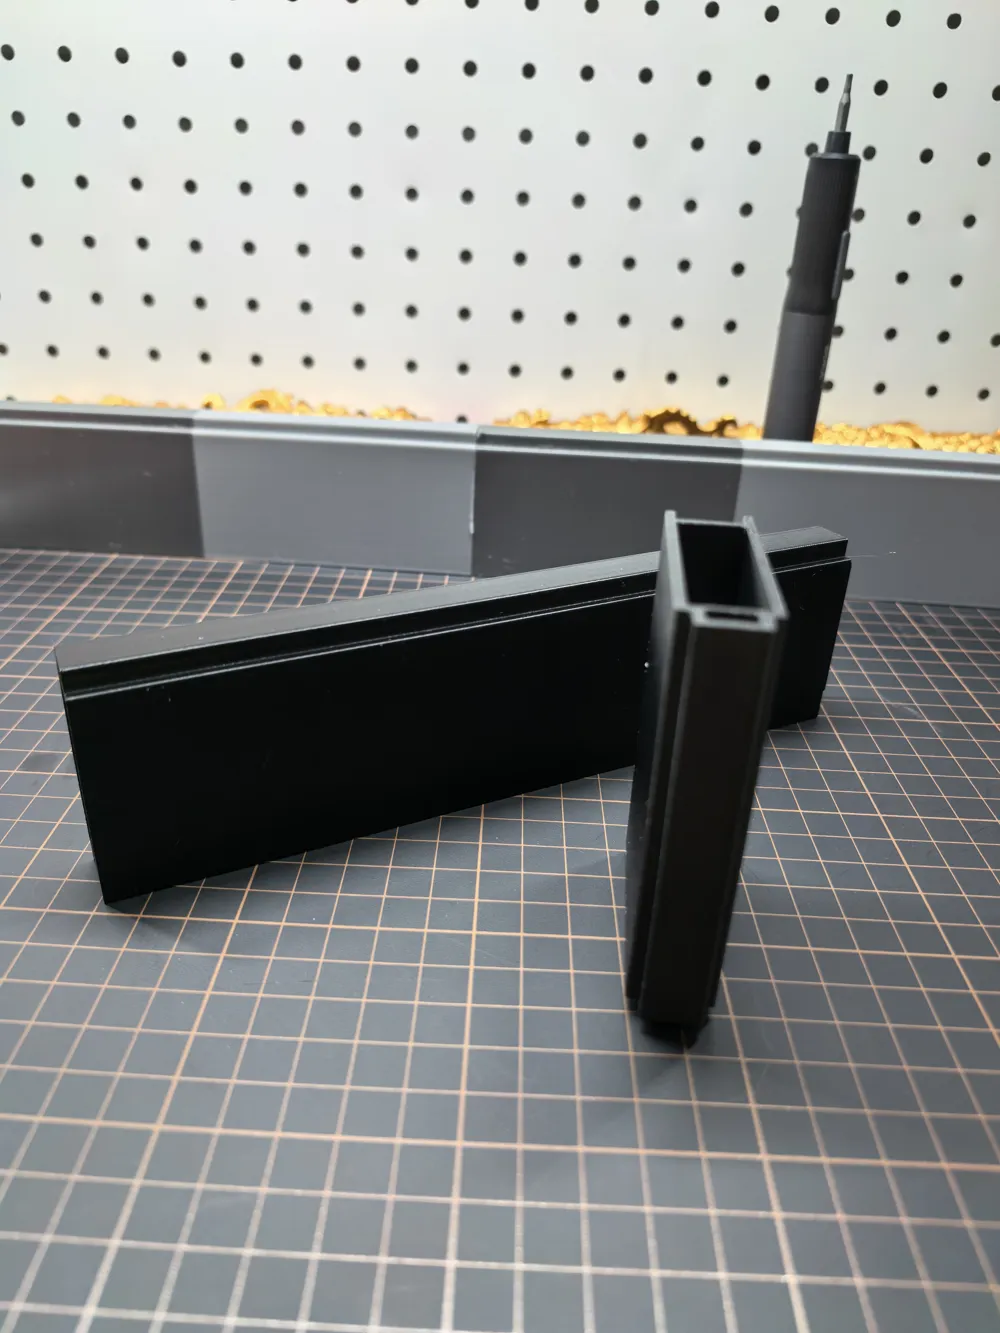
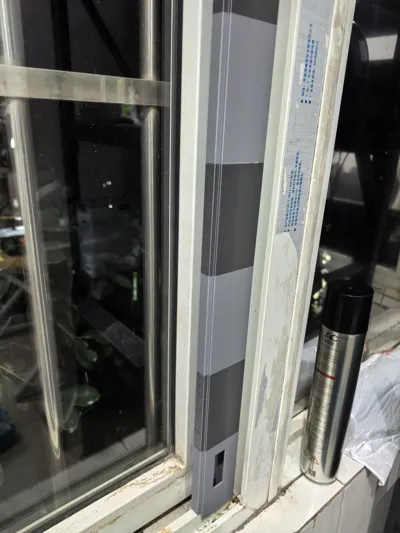
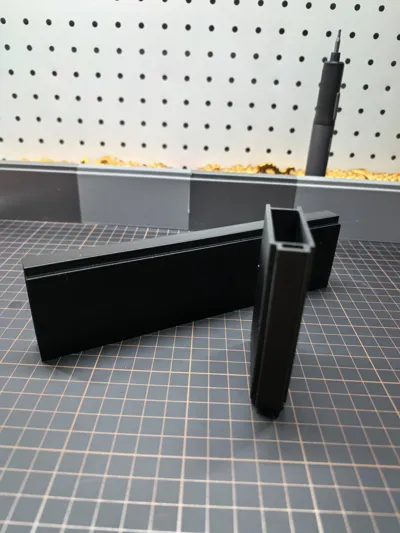
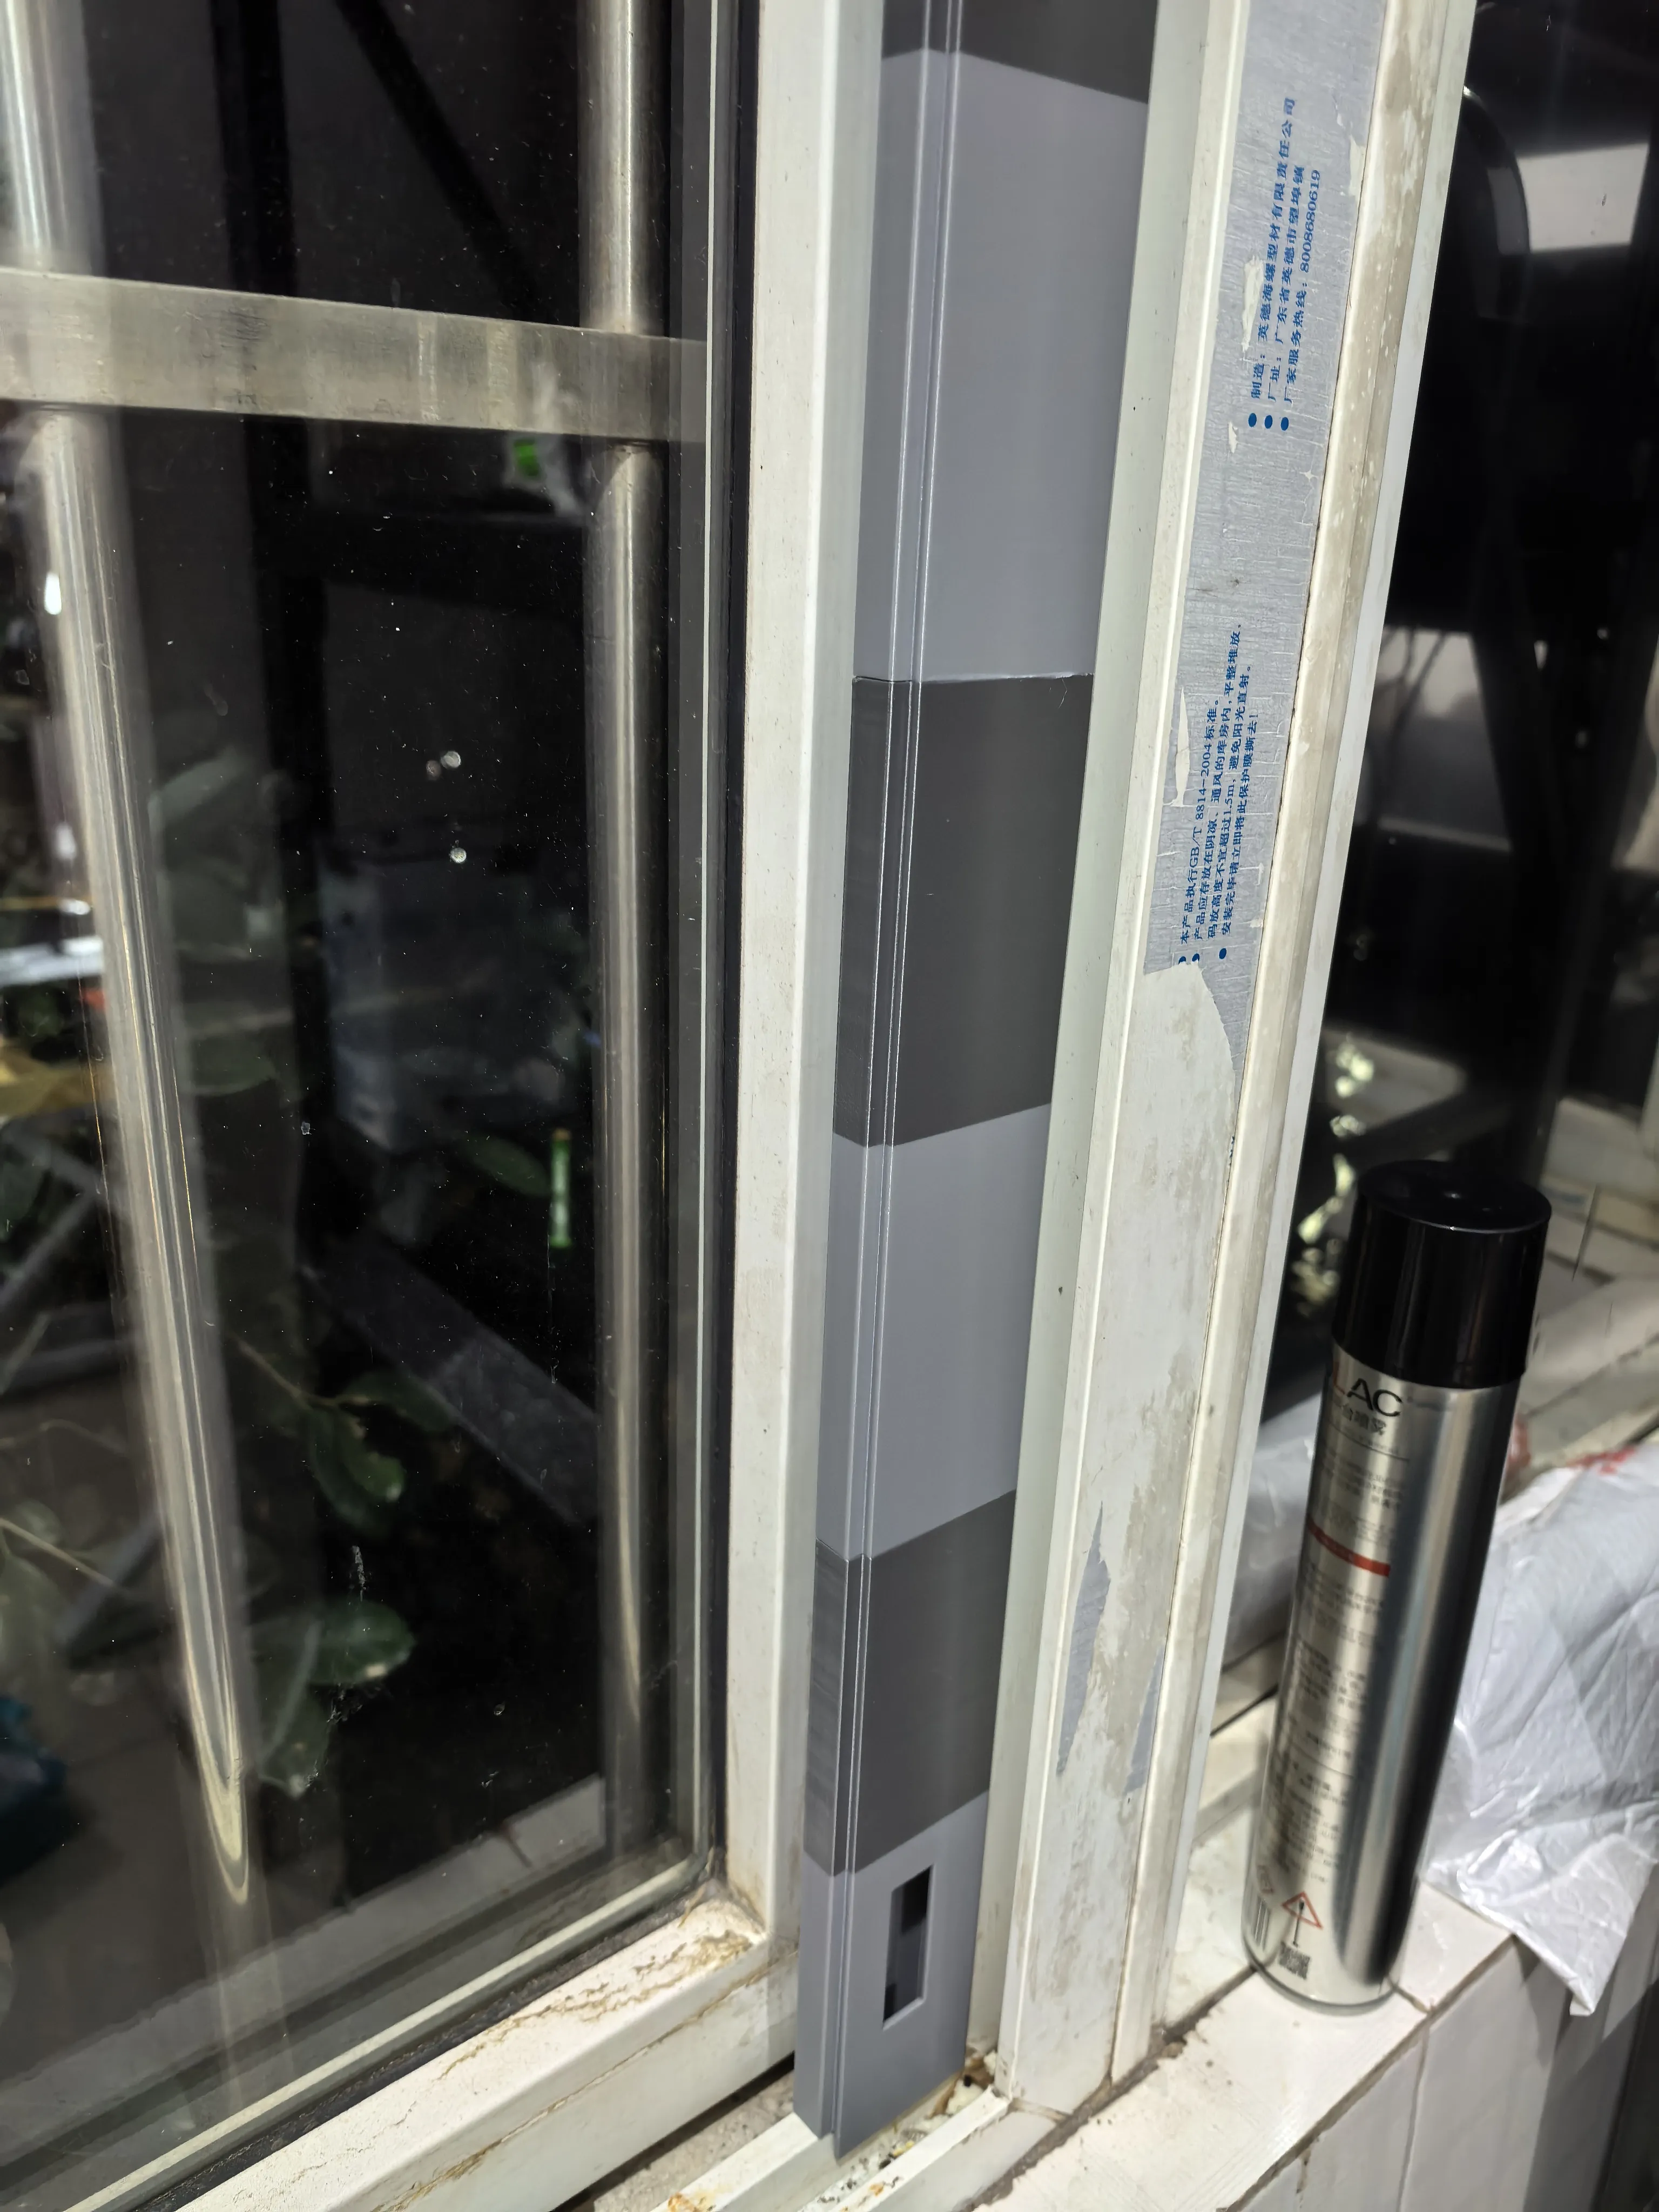
My windows are 80-series PVC-U sliding windows. I made a set of window baffles by printing strips of appropriate length to hold the window and exhaust pipe, preventing rain from entering and effectively blocking foreign objects.
I. Baffle Strips
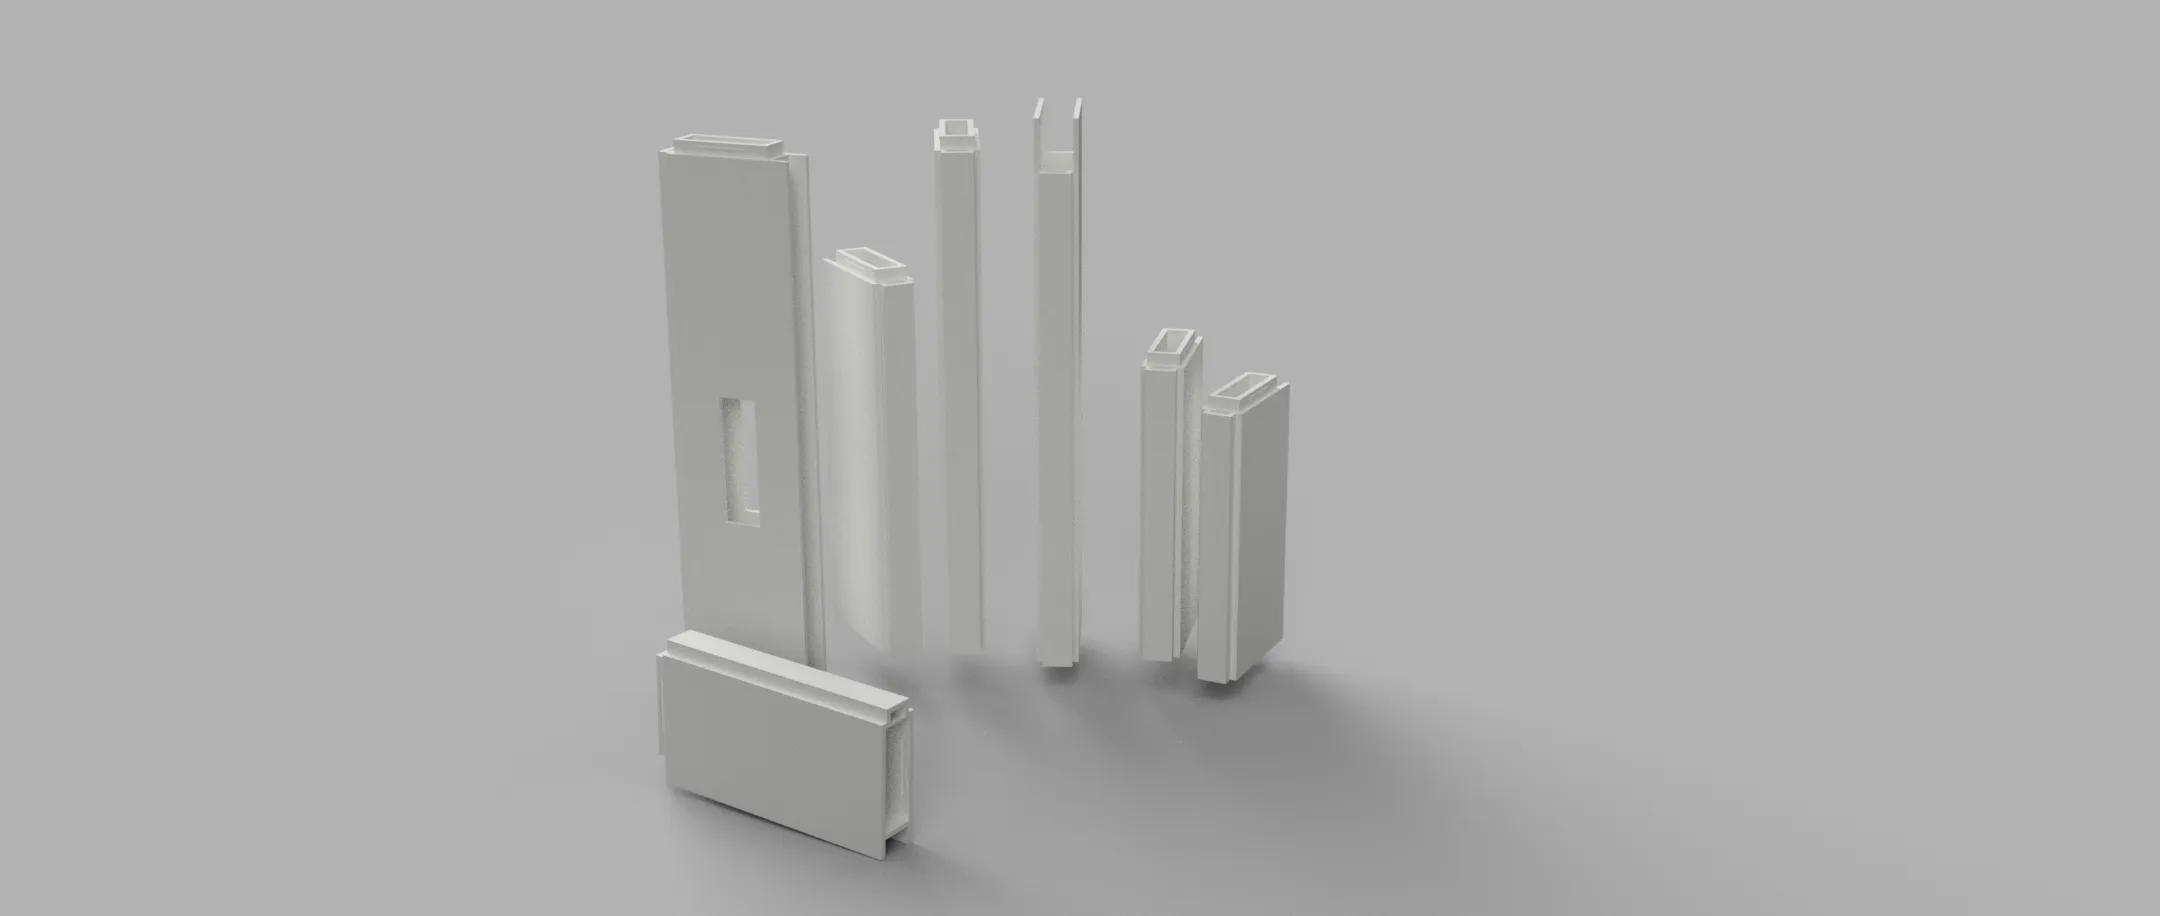
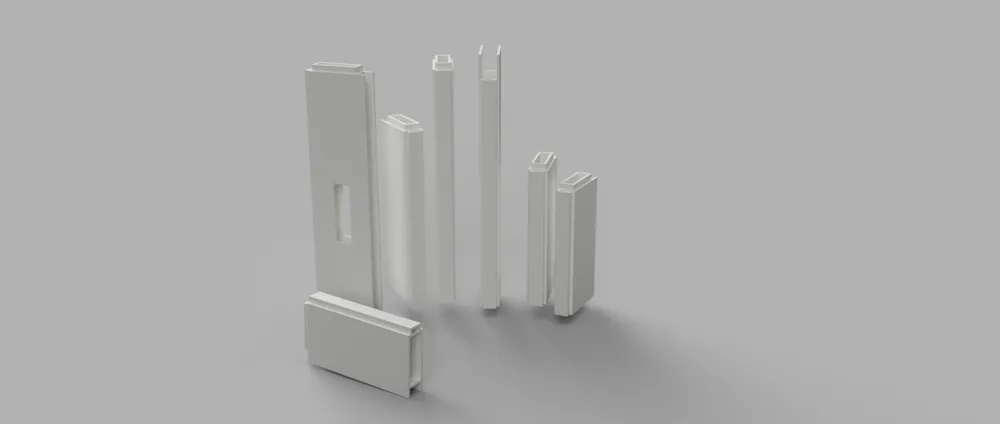
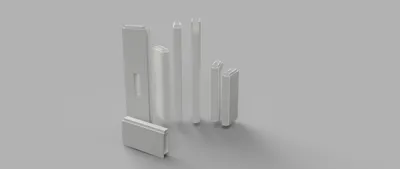
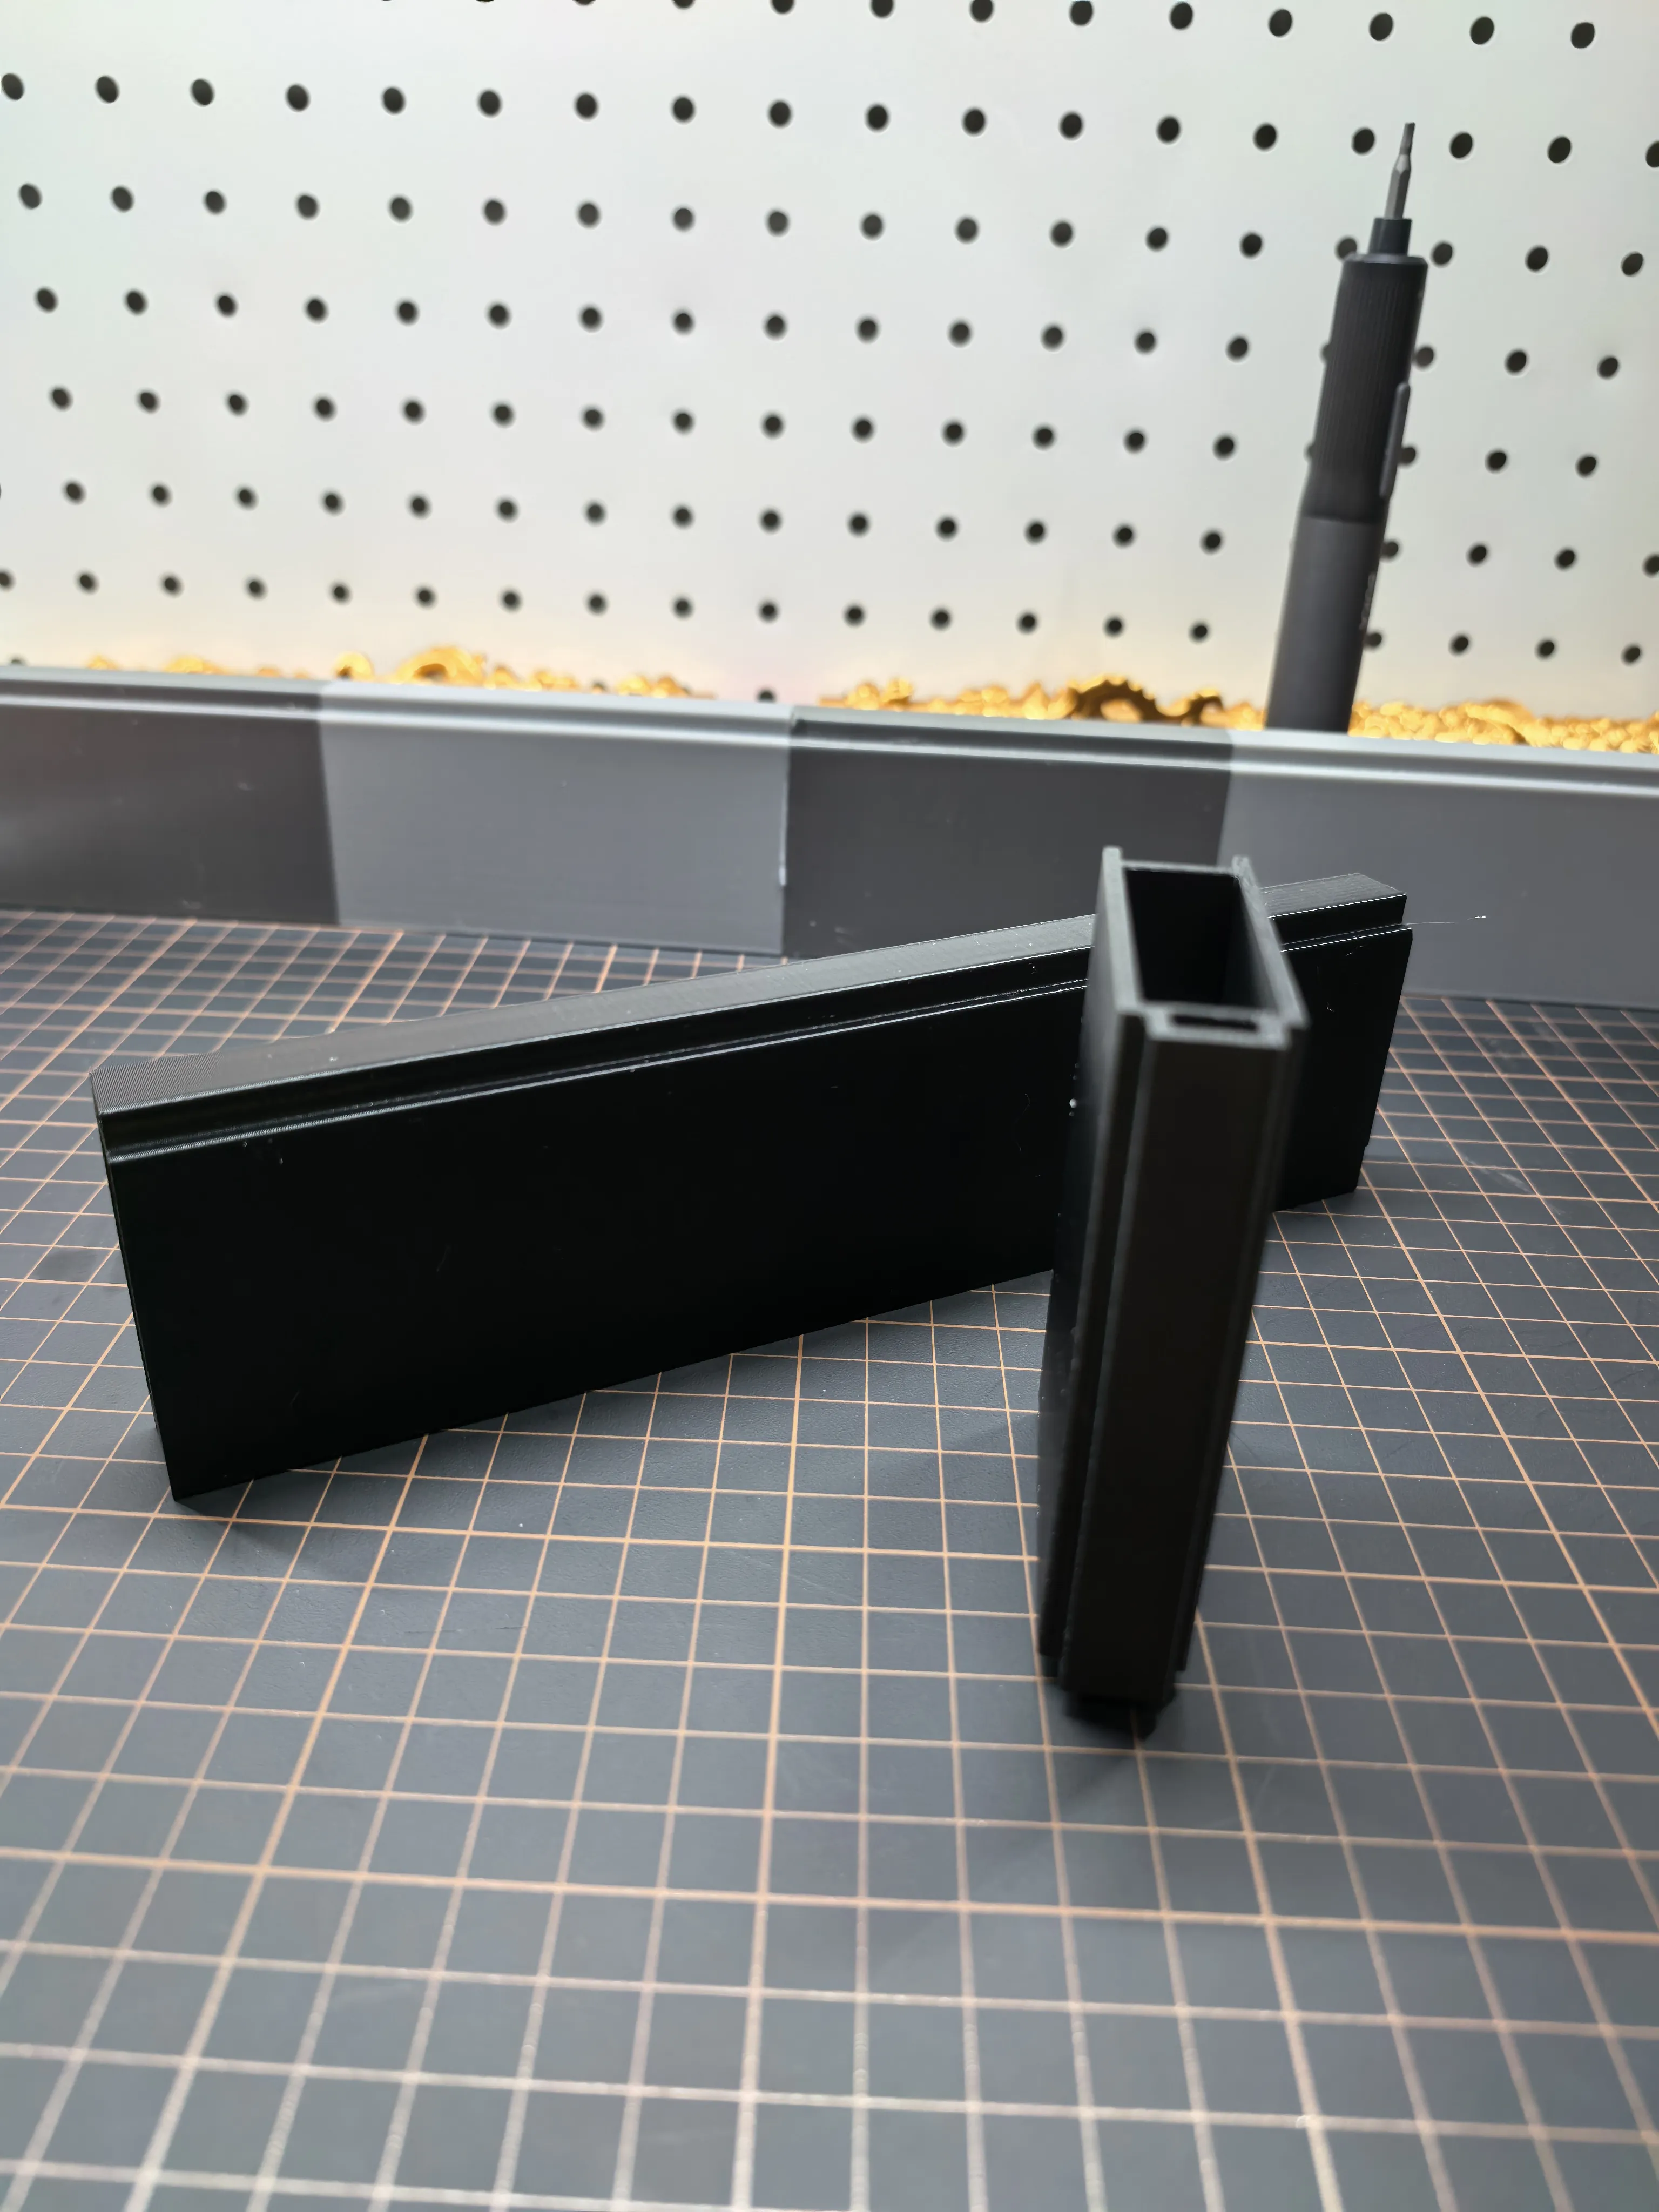
The baffle strip is divided into bottom, top, and middle blocks. The bottom block is 20cm long, and the top block is 20cm long.
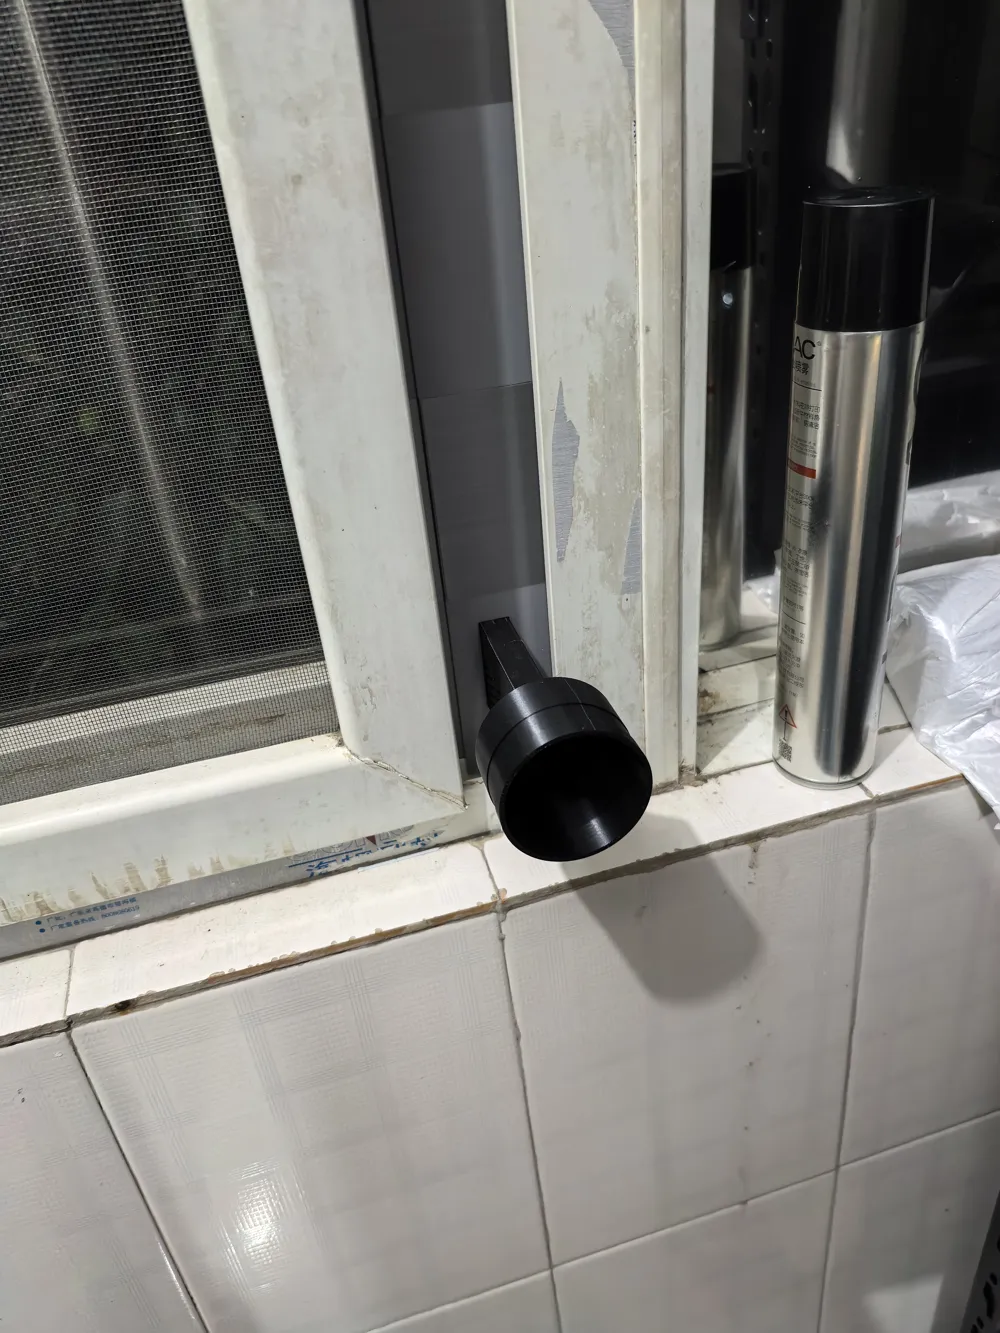
First, insert the exhaust pipe into the slot of the bottom block. Clip the bottom block into the lower track of the sliding window, then insert the middle block into the top of the bottom block. Finally, clip the top block into the upper track of the sliding window and then insert it into the top of the middle block.
The middle blocks are used to adjust the length. Different sizes of middle blocks are available, with default lengths of 20cm, 10cm, 11cm, 12cm, and 15cm. You can combine different lengths to fit windows of various heights.
For example:
If the window is 110cm high, you can use 1 top block, 1 bottom block, 3 middle blocks of 20cm, and 1 middle block of 10cm.
If the window is 97cm high, you can use 1 top block, 1 bottom block, 1 middle block of 12cm, and 3 middle blocks of 15cm.
(Window height is measured as the distance between the end faces of the two tracks, not including the recessed part of the track)
It is recommended to splice the middle blocks first and reinforce them with glue before installation.
II. Exhaust Pipe
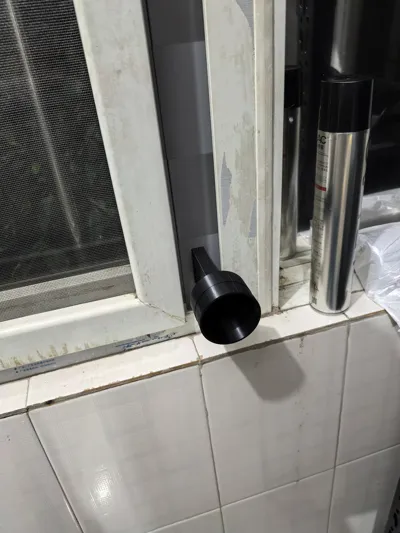
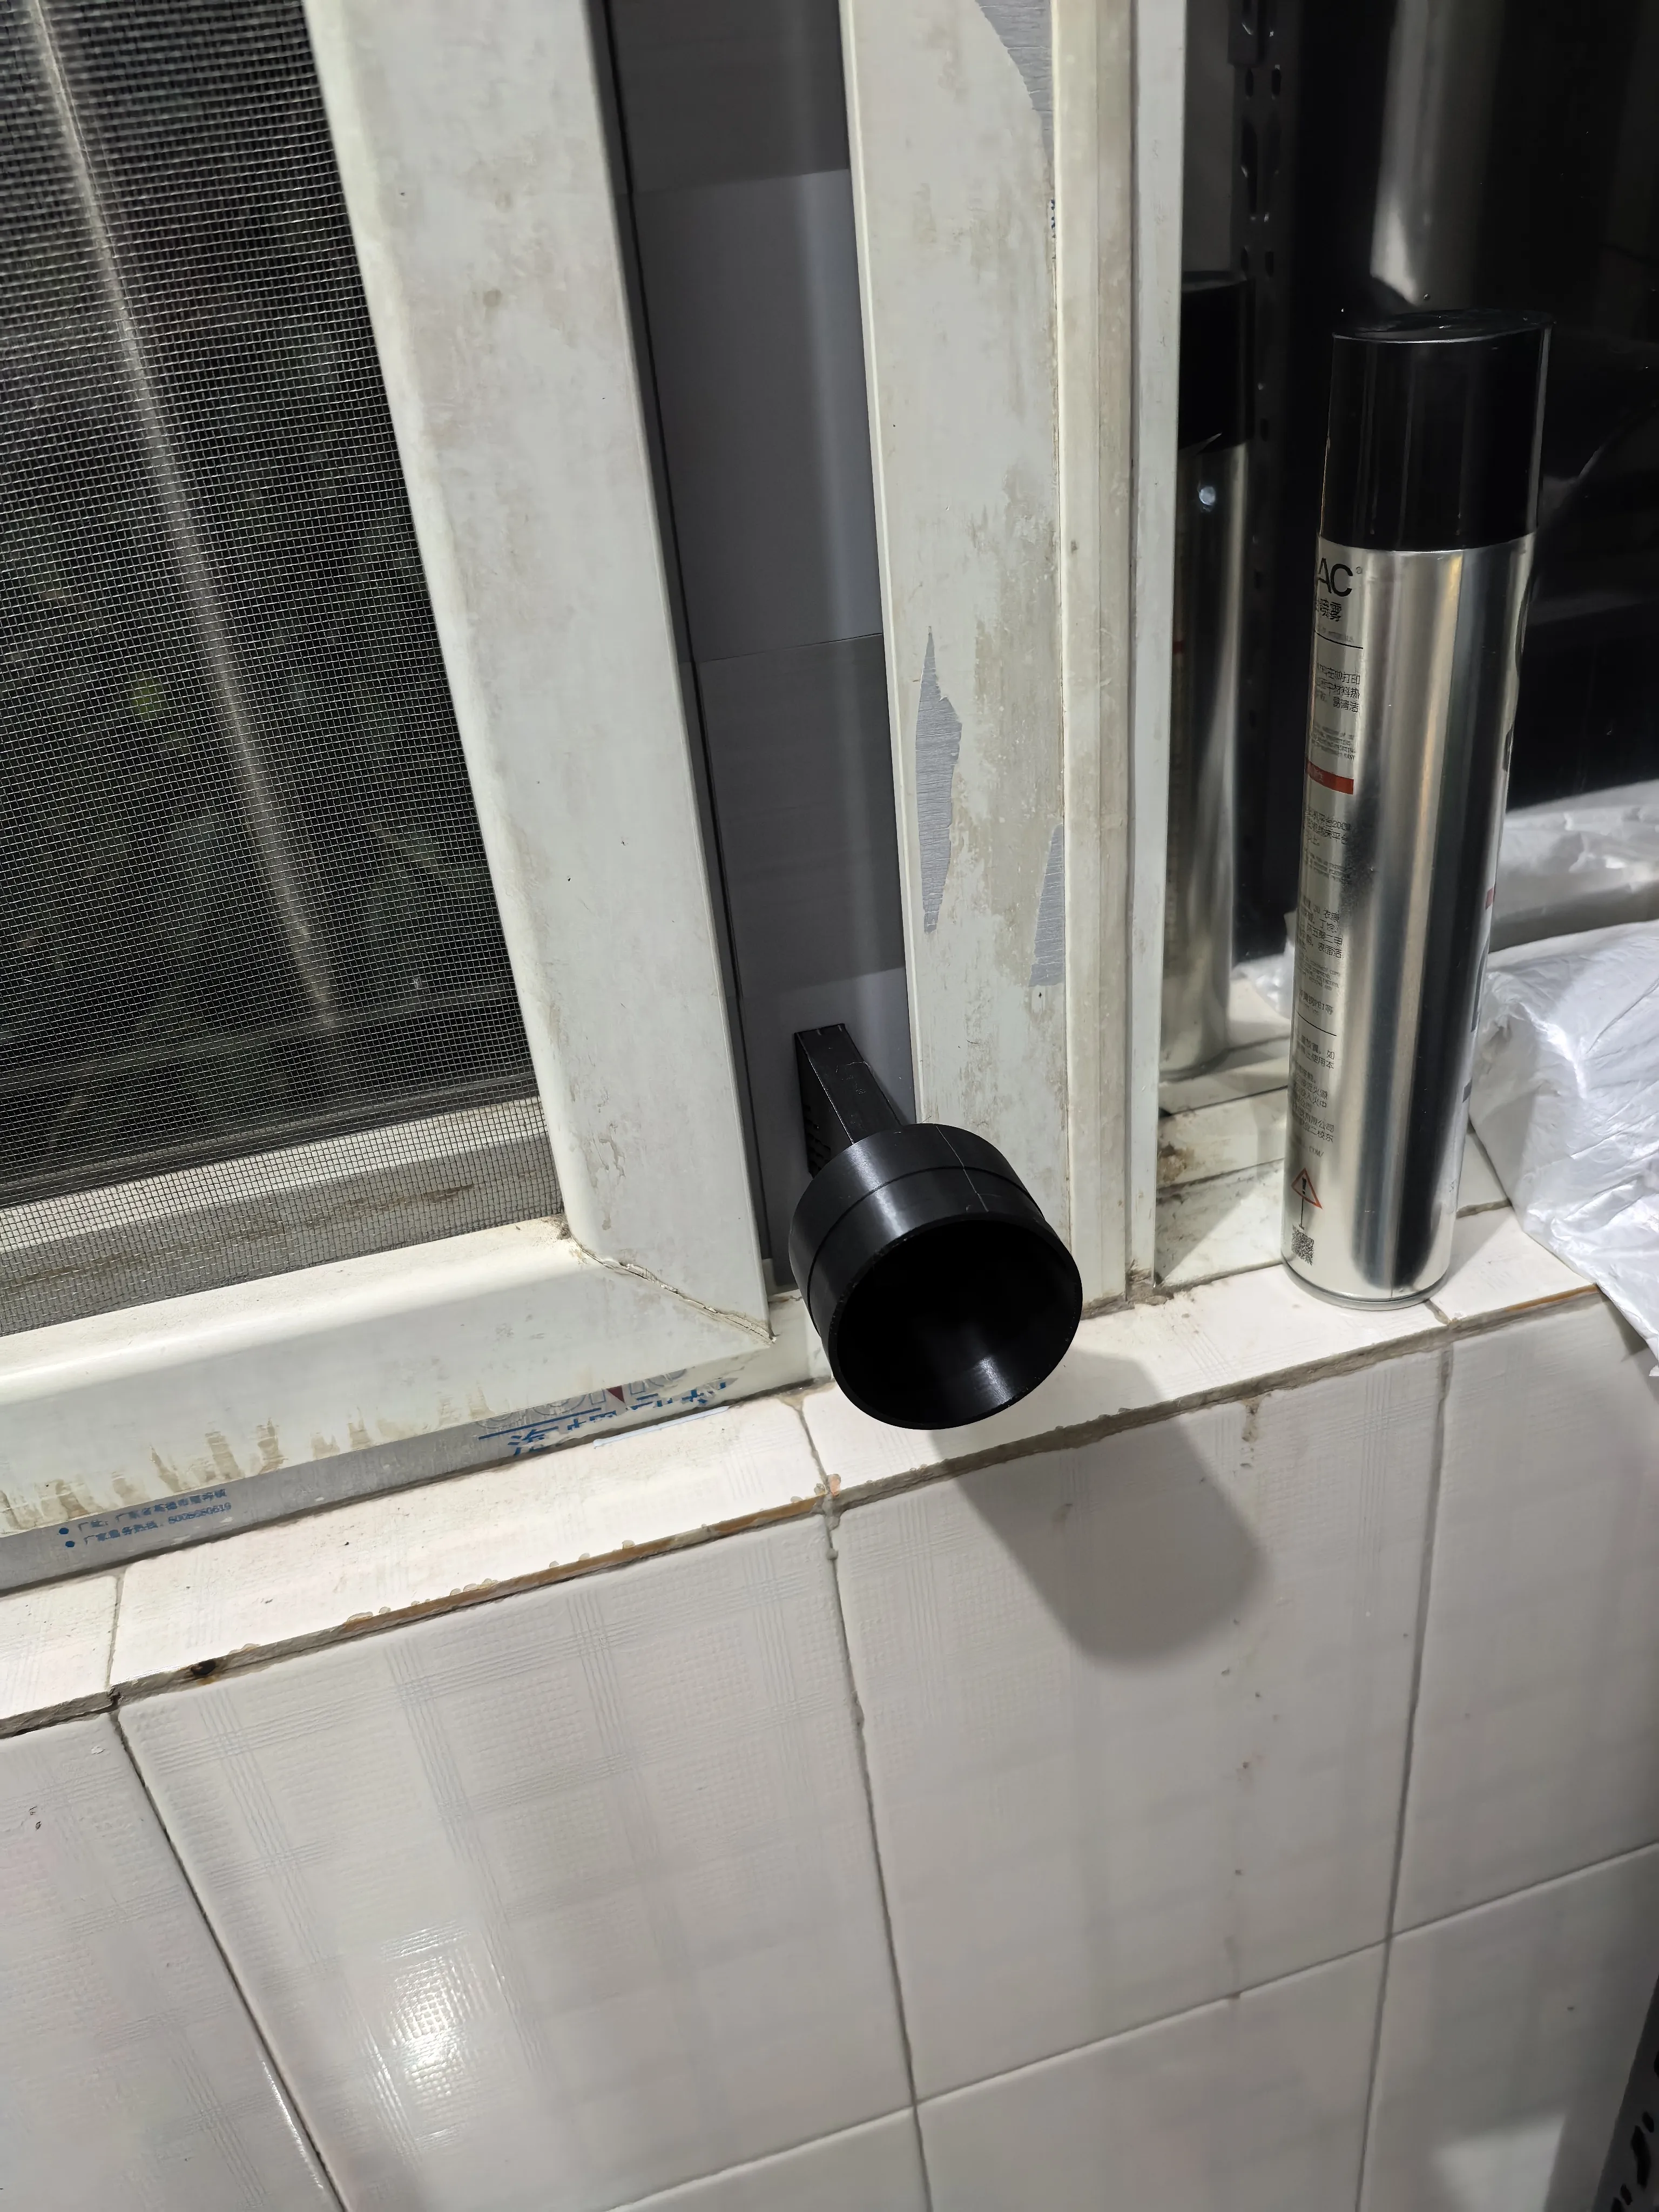
To ensure stability and sealing, the exhaust pipe is designed with a tight tolerance fit. Please assemble with force (if you dislike a tight fit, you can reduce the exhaust pipe size to 98% during printing). It is also recommended to install the exhaust hose first, then insert the exhaust pipe into the bottom block of the baffle strip before installing the window baffle strip.
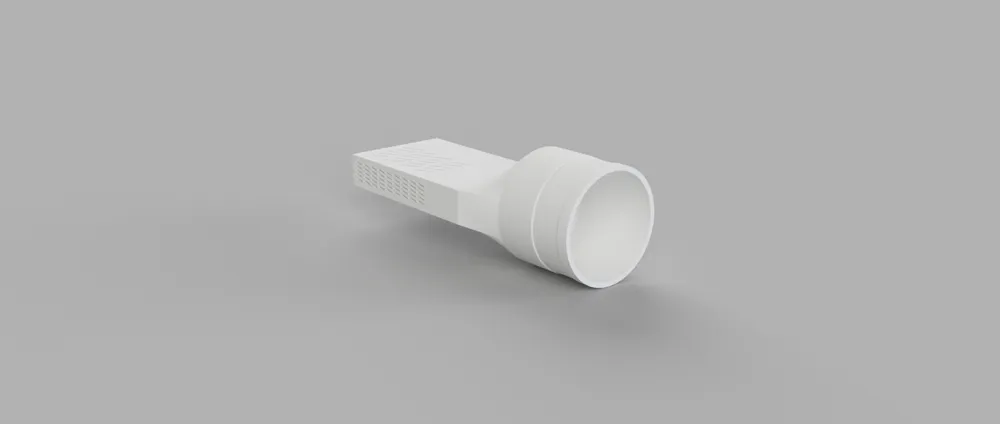
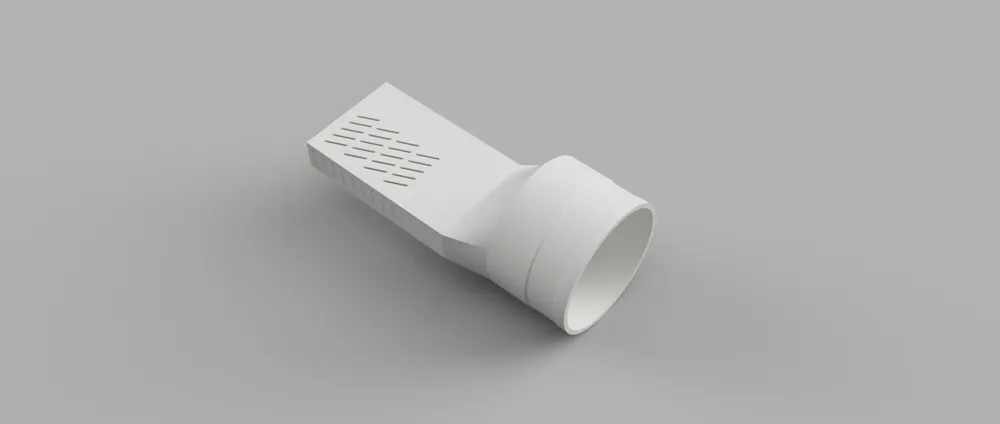
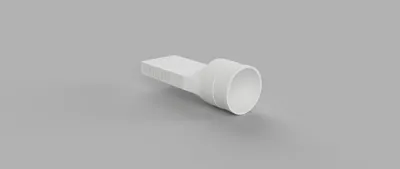
The exhaust pipe is available in two sizes: 50mm (2in) and 63mm (2.5in). Choose according to the exhaust hose you purchased.
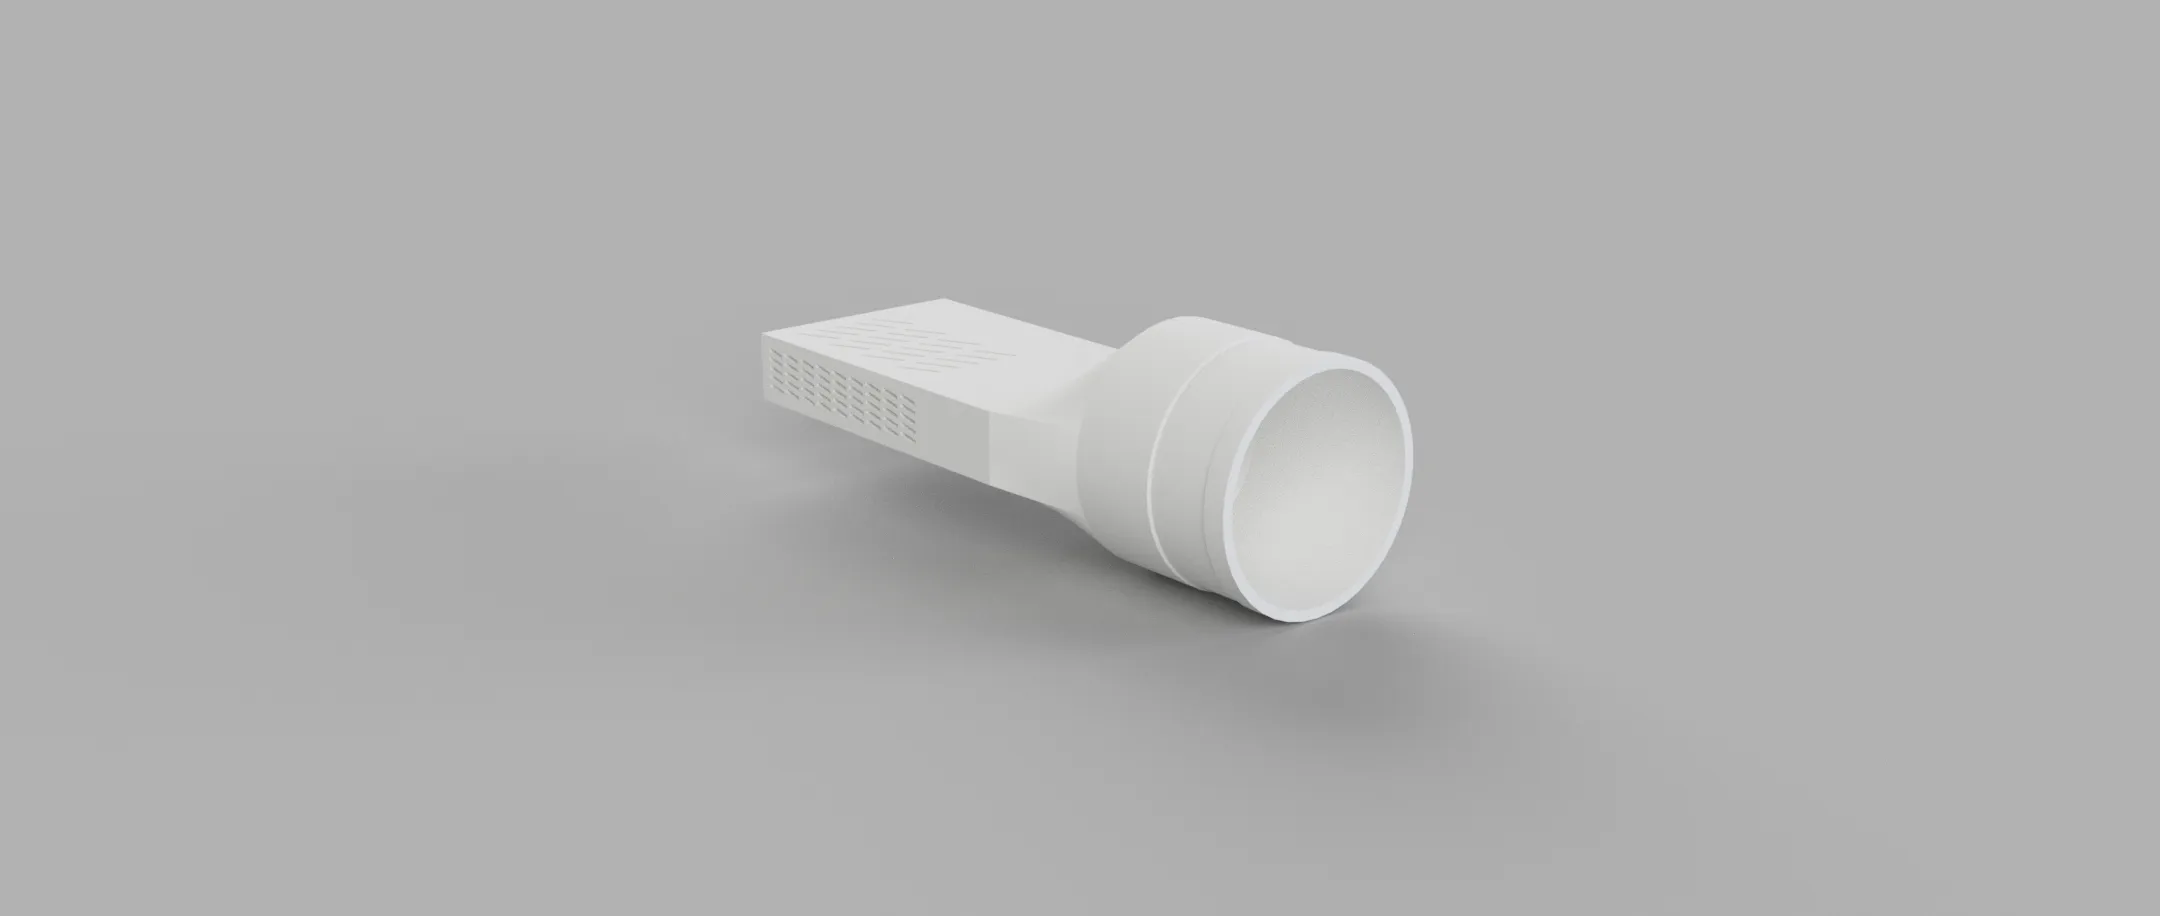
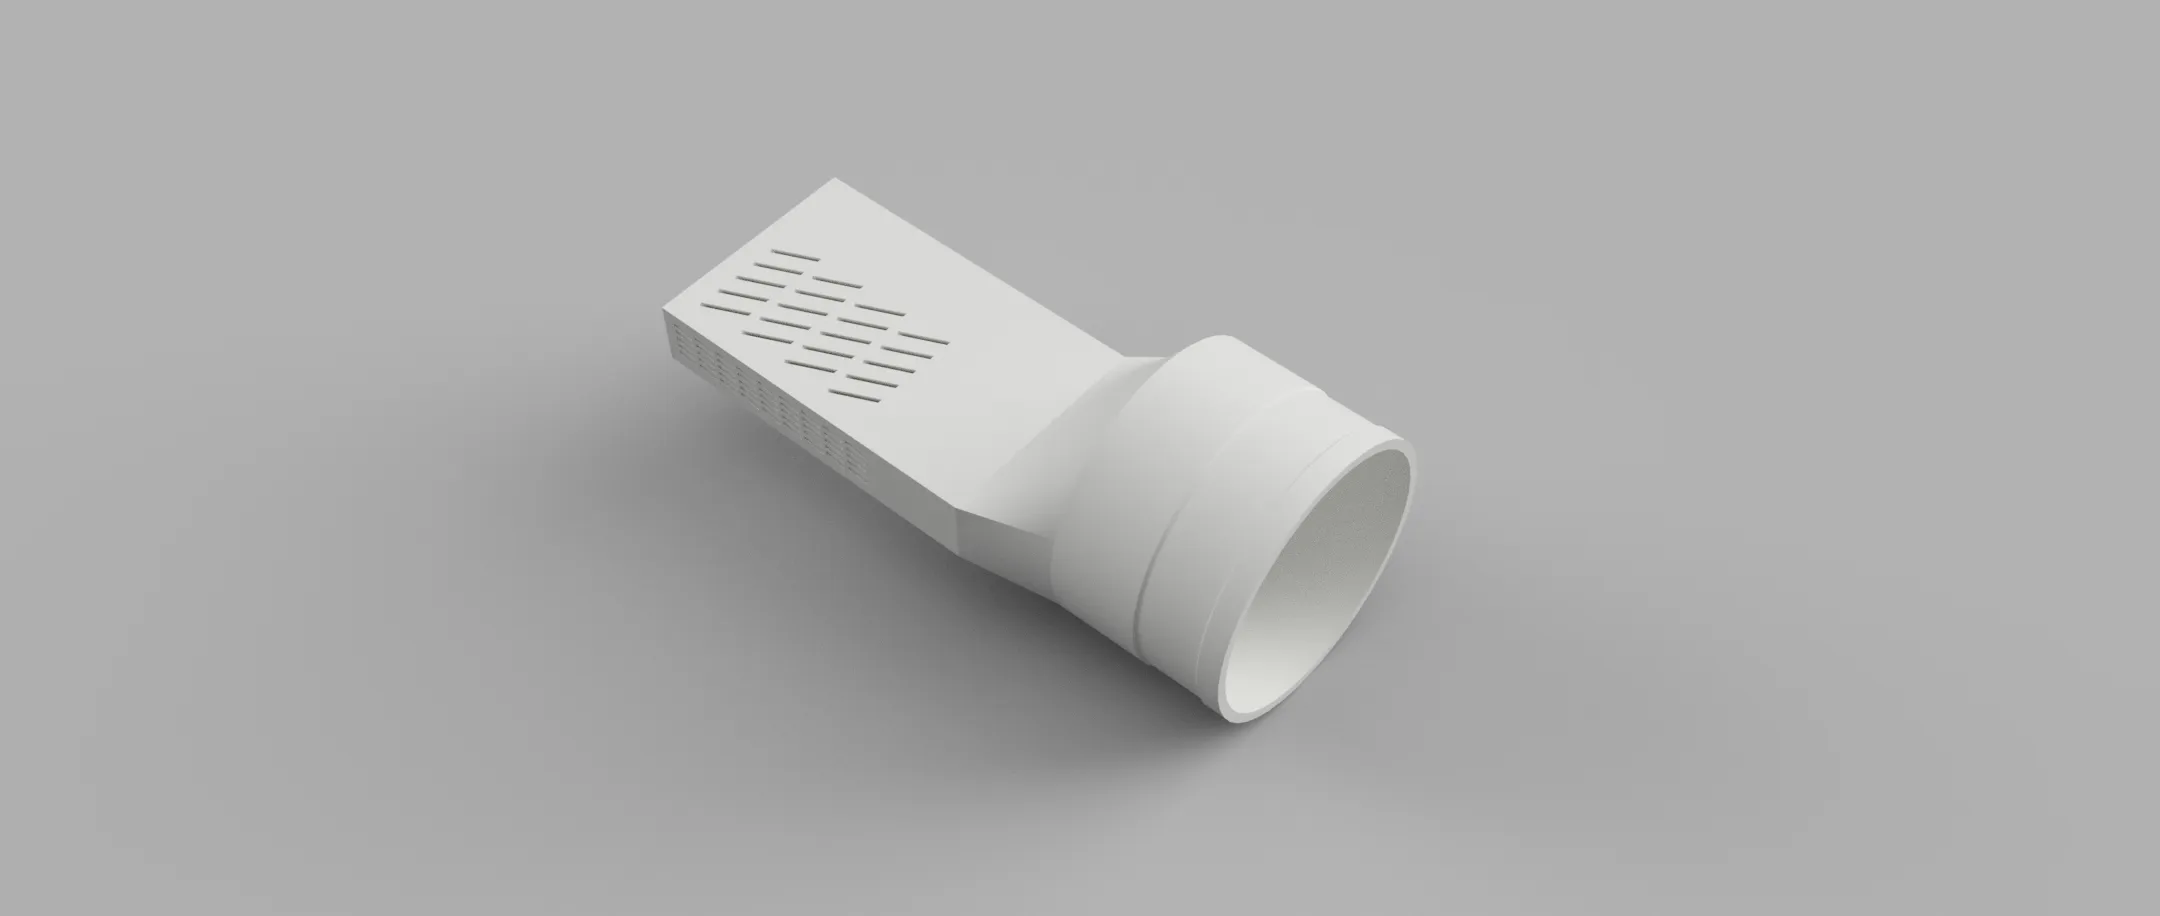
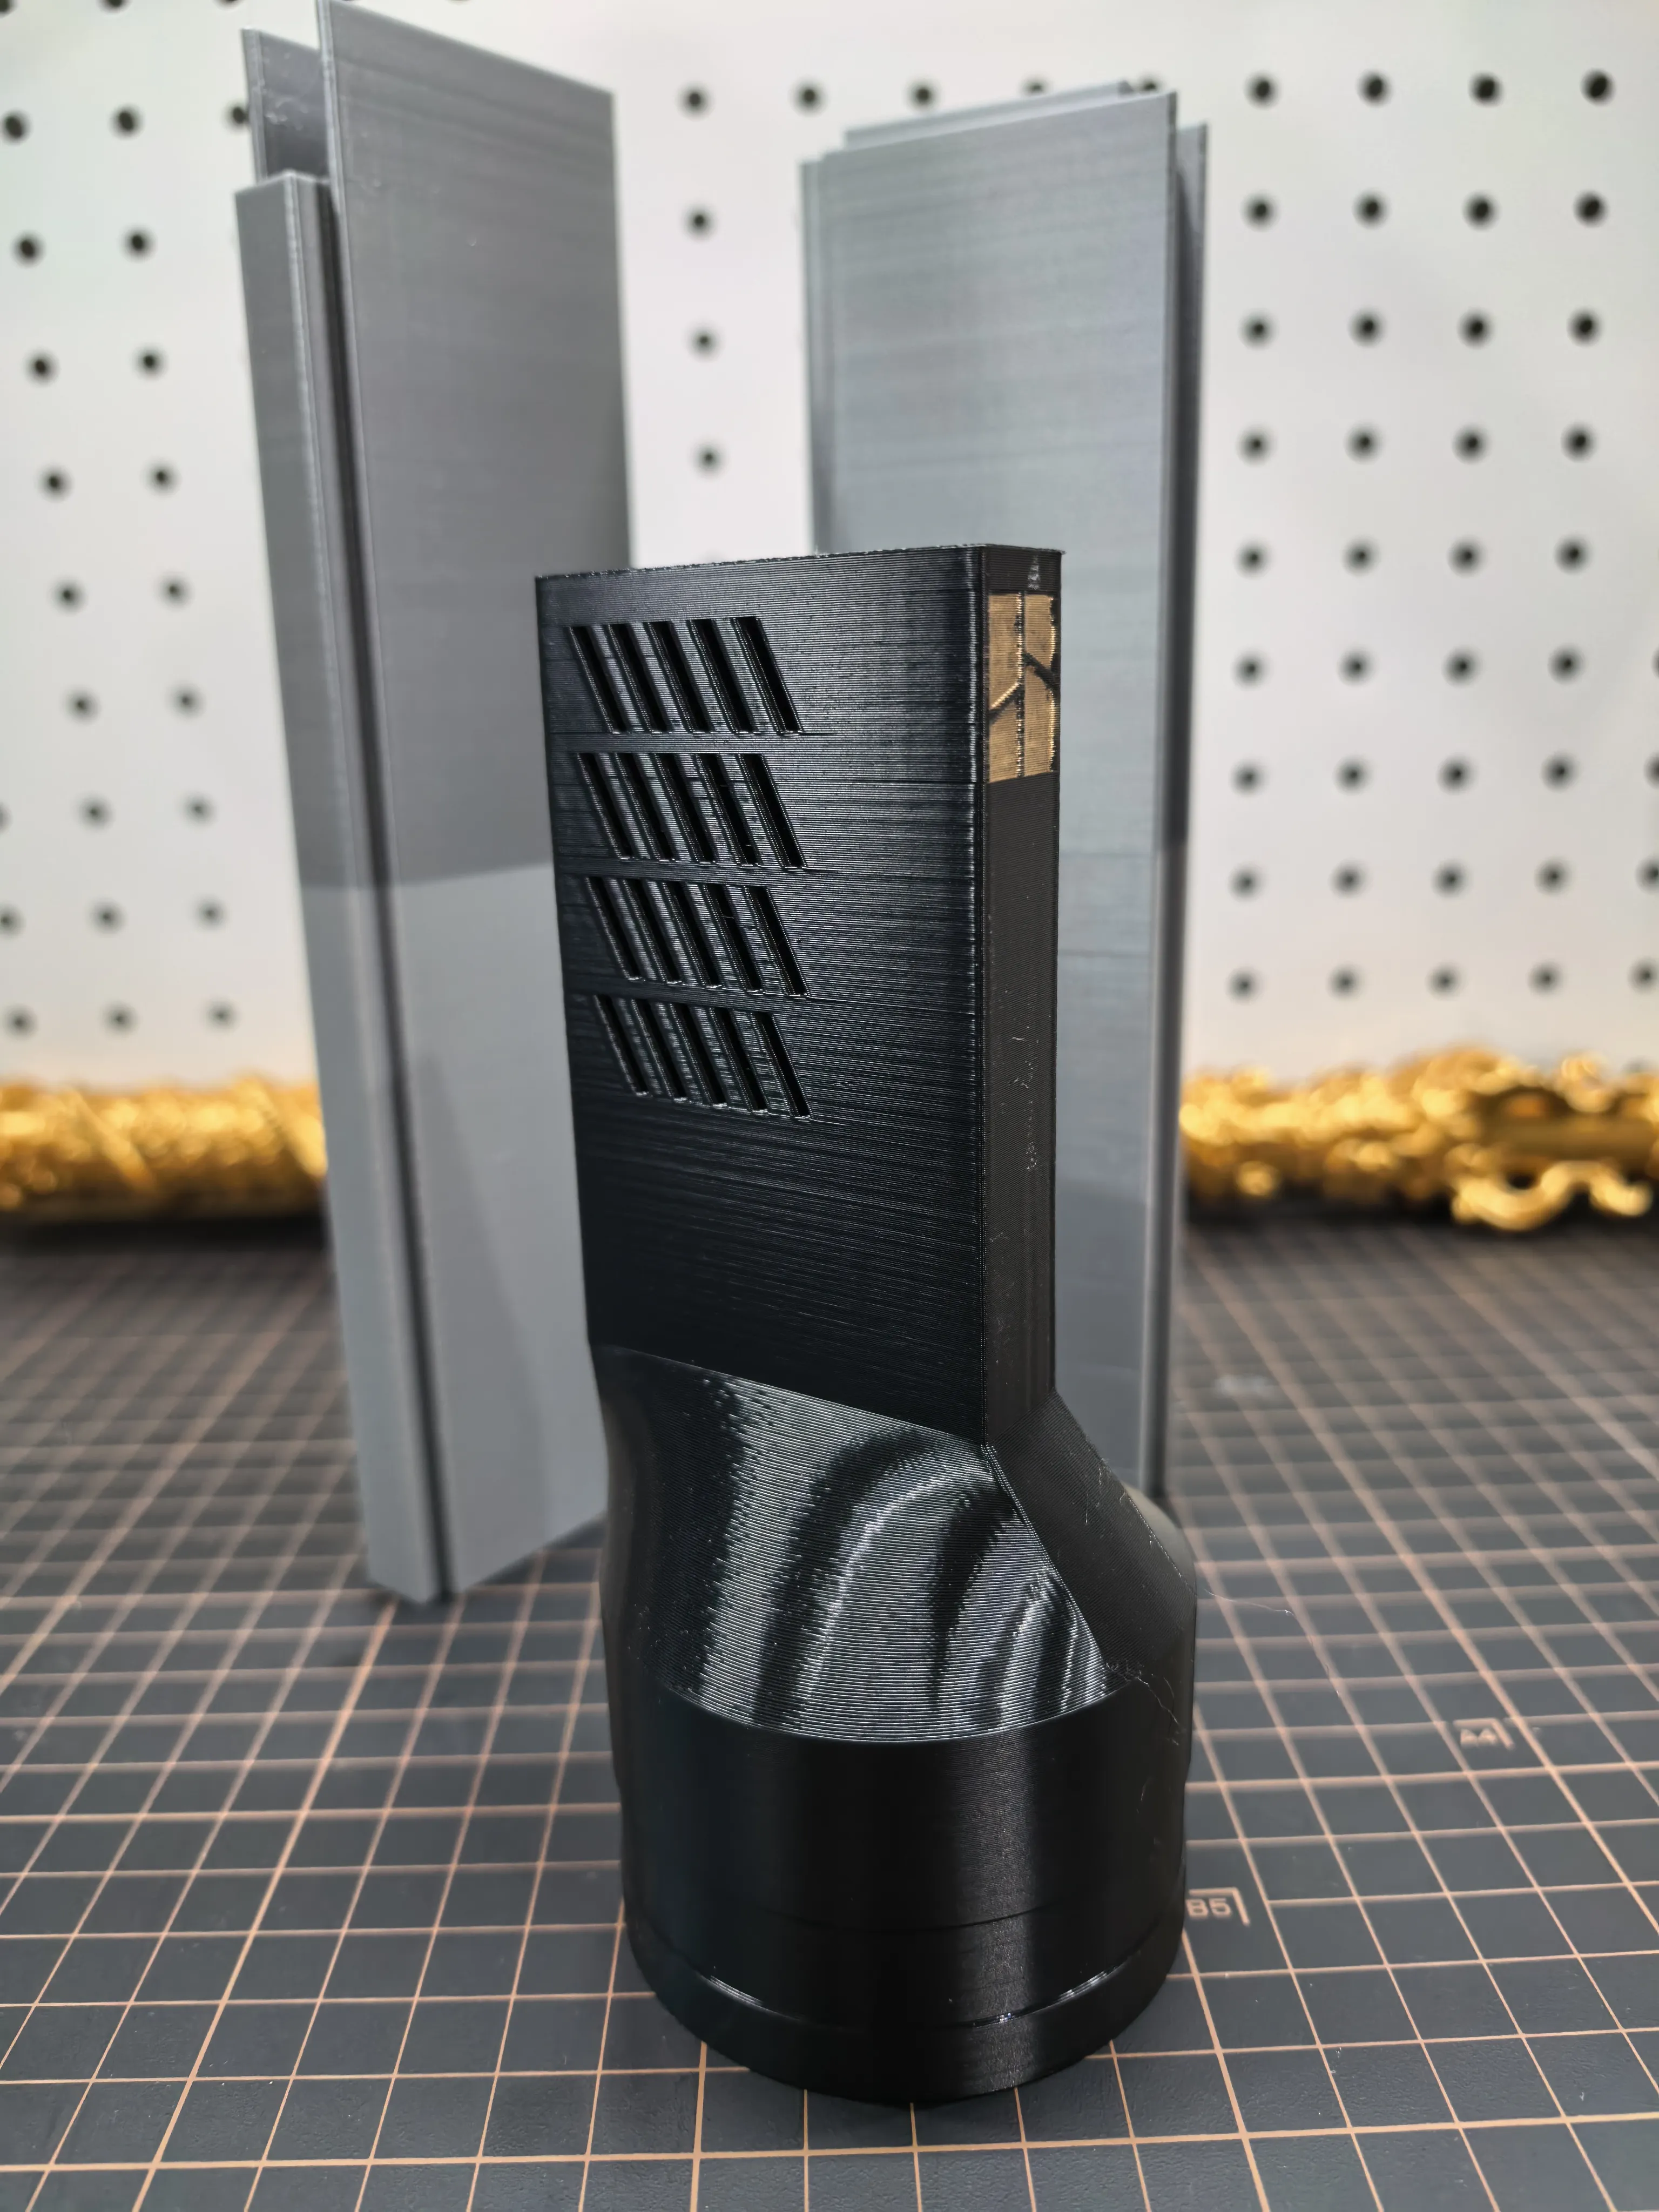
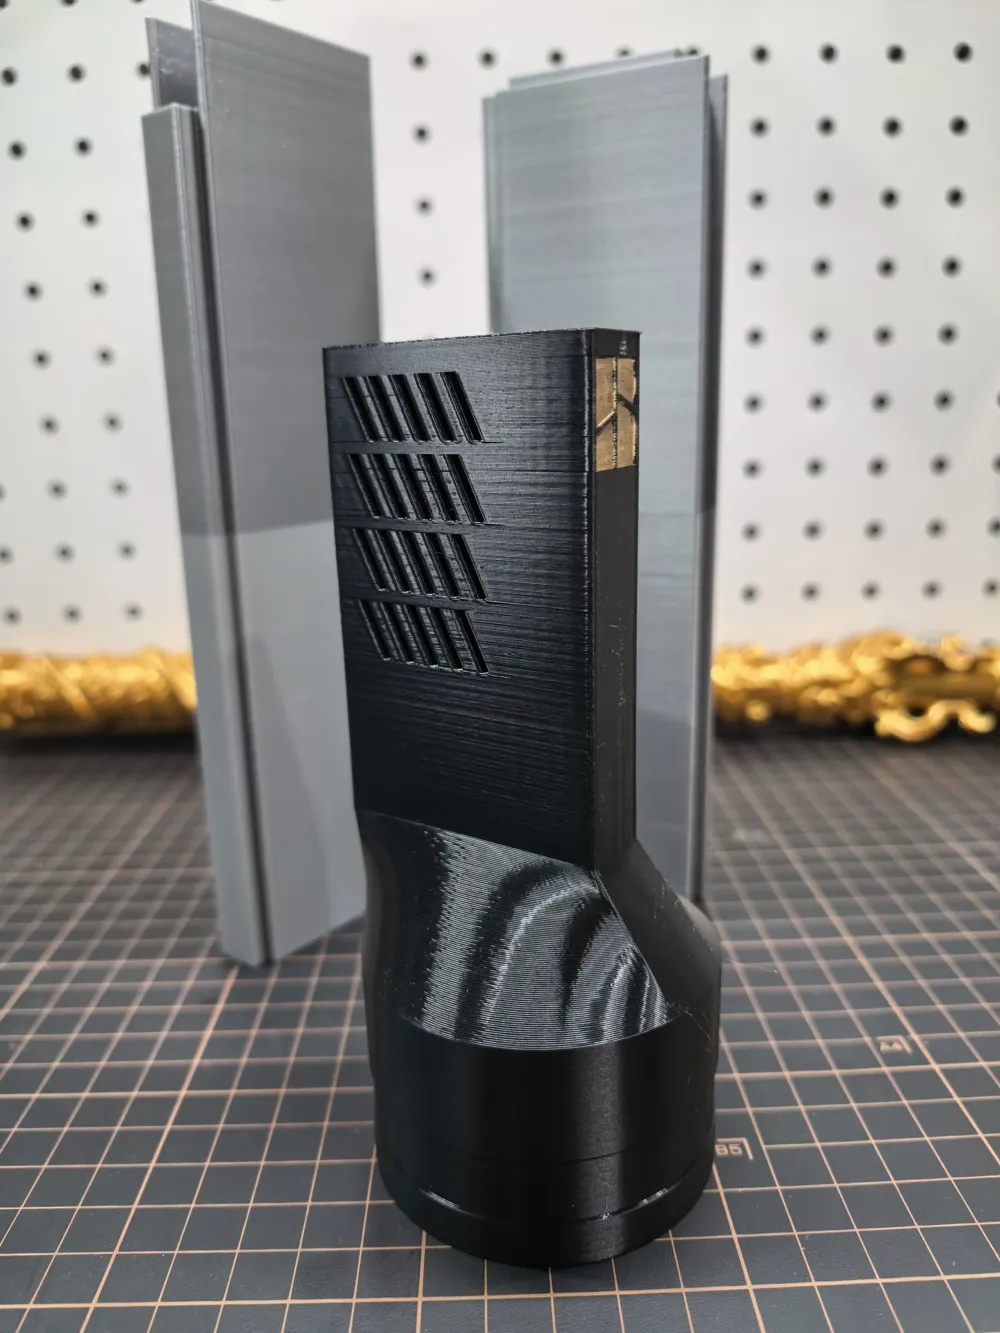
The exhaust pipe is designed with exhaust holes at the bottom and slanted holes on the sides to ensure ventilation while preventing insects and small animals from entering, and also to prevent rain and dust.
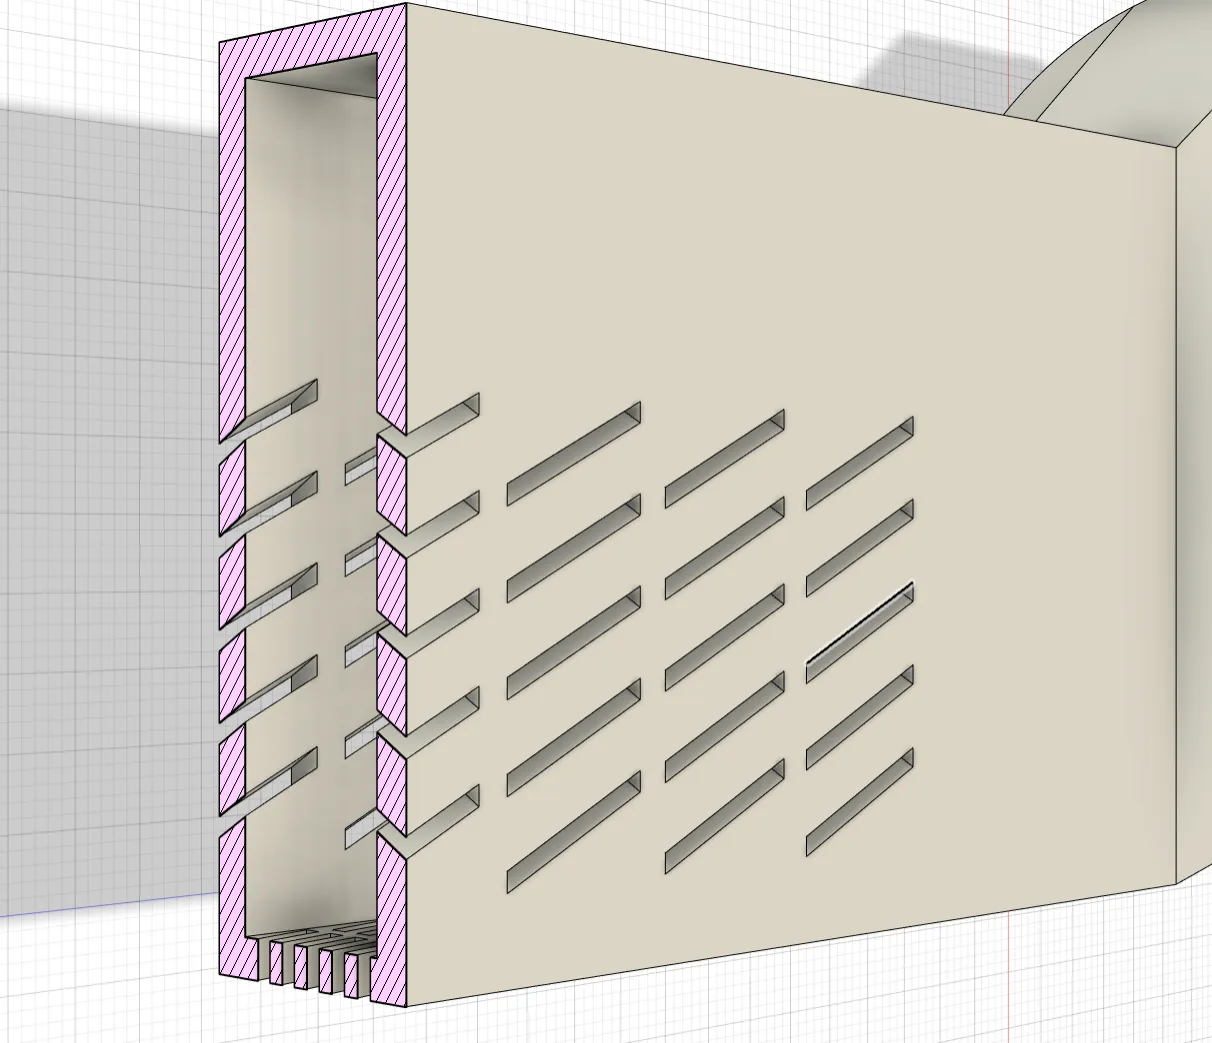
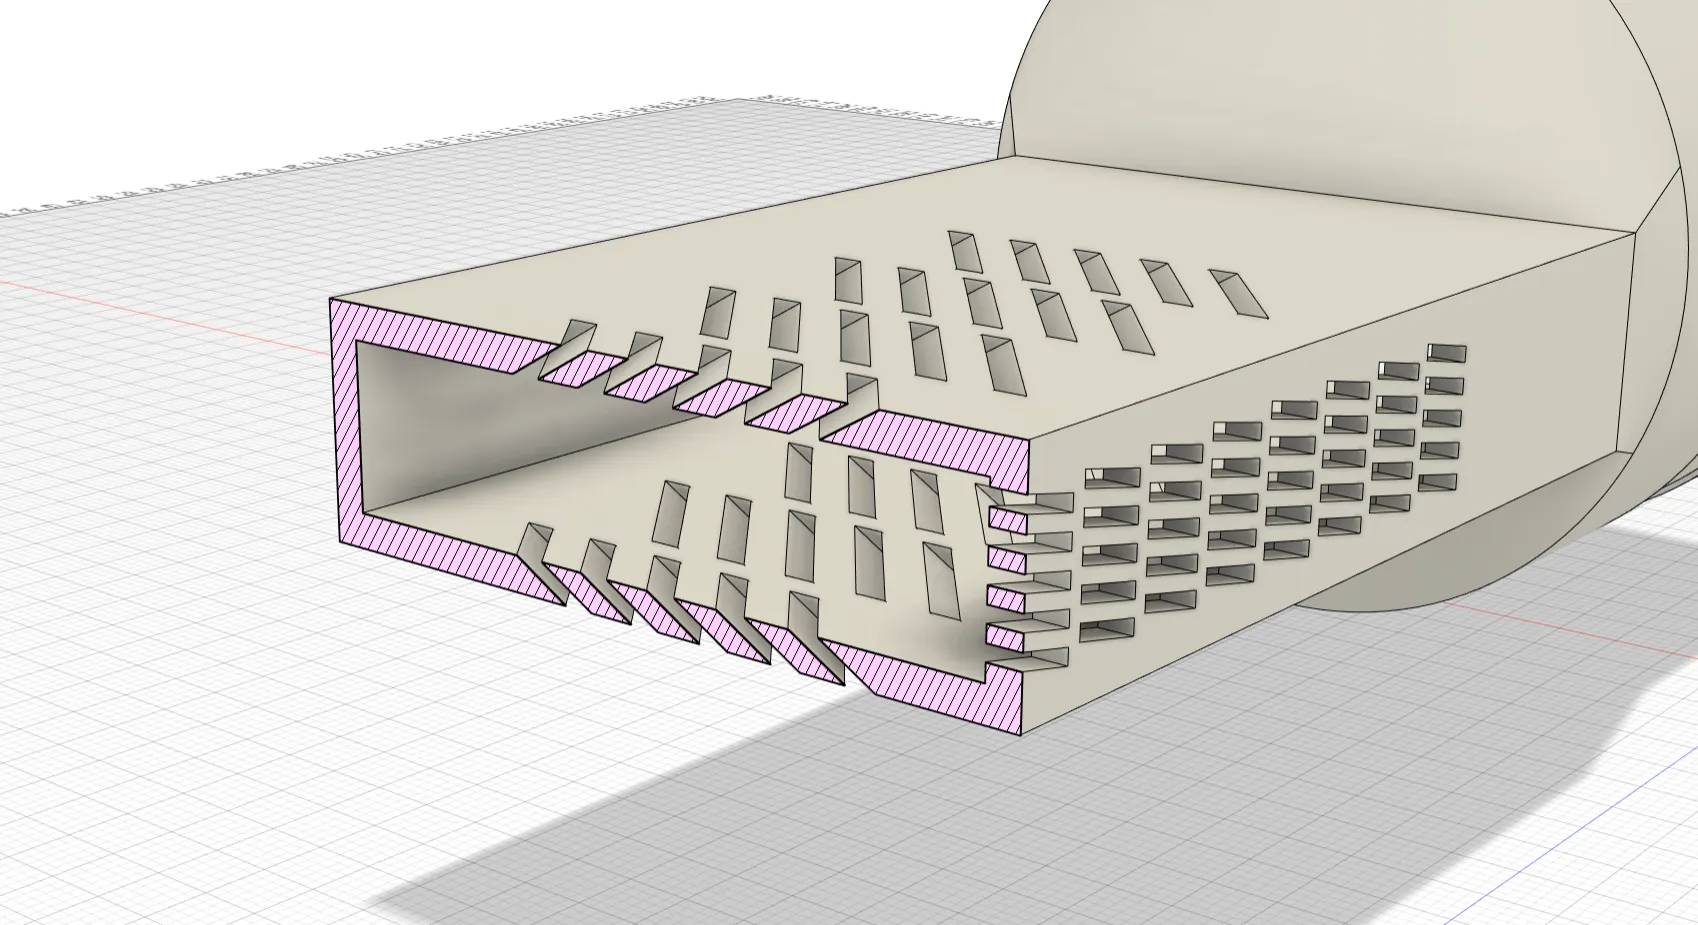
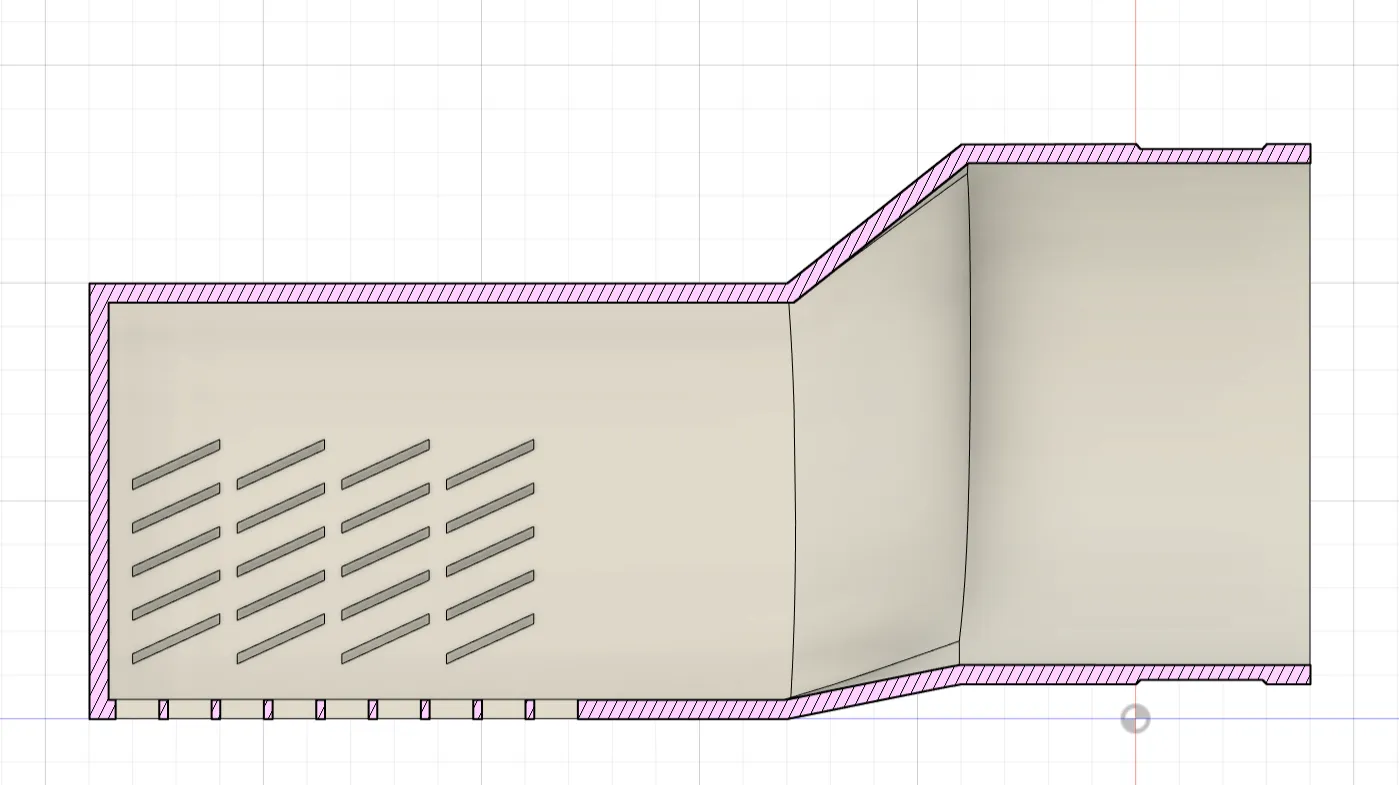
The exhaust pipe comes in short and long versions to prevent interference between the round pipe section and the window frame.
If your baffle strip is installed on the inner track, you can use the short exhaust pipe to save space and material.
If your baffle strip is installed on the outer track, you can use the long exhaust pipe for better adaptability.
============================================================================================================
Note: PETG material is recommended. If you need to use ASA/ABS, you can try, but be aware of the sinkage rate.
The bottom block defaults to supports, which are for supporting the protruding parts; no supports are needed for the rest.
The window baffle strips can be duplicated to the desired length and printed on a single plate. Exhaust pipes can also be printed together. However, it is recommended to print the exhaust pipe separately to avoid wasting too much material in case of failure.
License

You shall not share, sub-license, sell, rent, host, transfer, or distribute in any way the digital or 3D printed versions of this object, nor any other derivative work of this object in its digital or physical format (including - but not limited to - remixes of this object, and hosting on other digital platforms). The objects may not be used without permission in any way whatsoever in which you charge money, or collect fees.


Comment & Rating (2)