
Snapmaker U1 PTFE Adapter (M6, M10, ECAS04)
Print Profile(4)


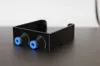
Bill of Materials



Description
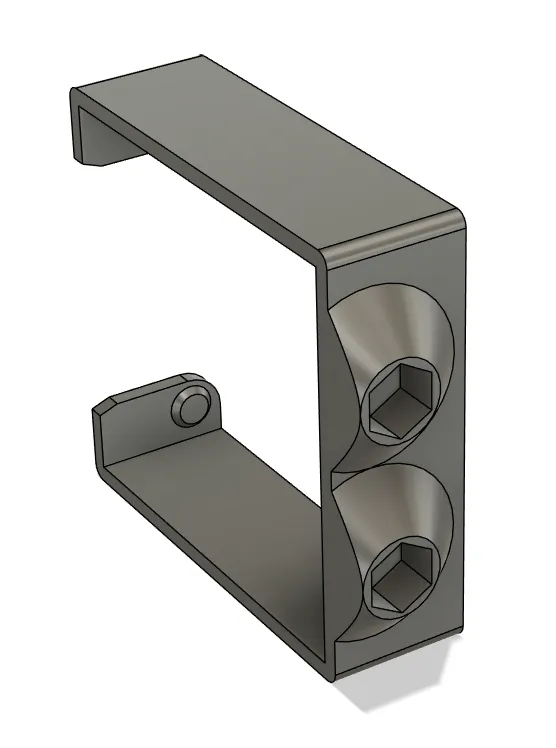
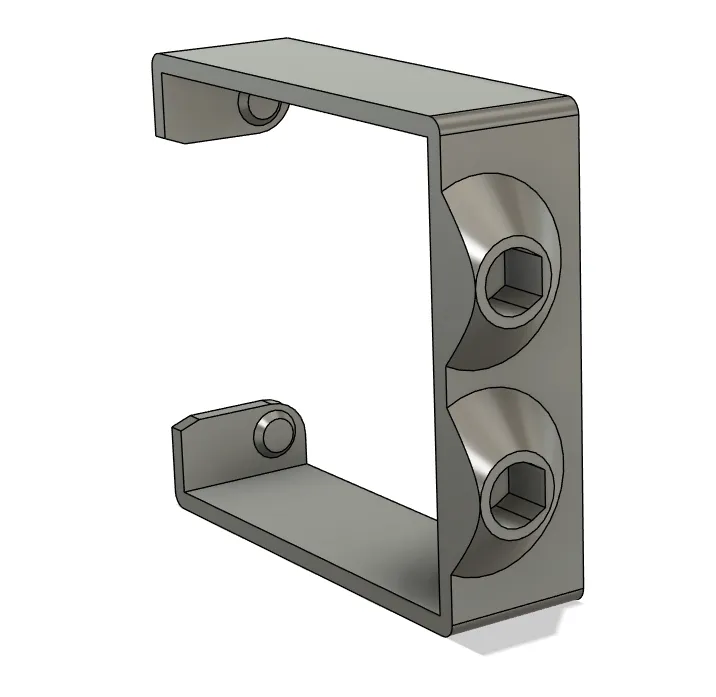
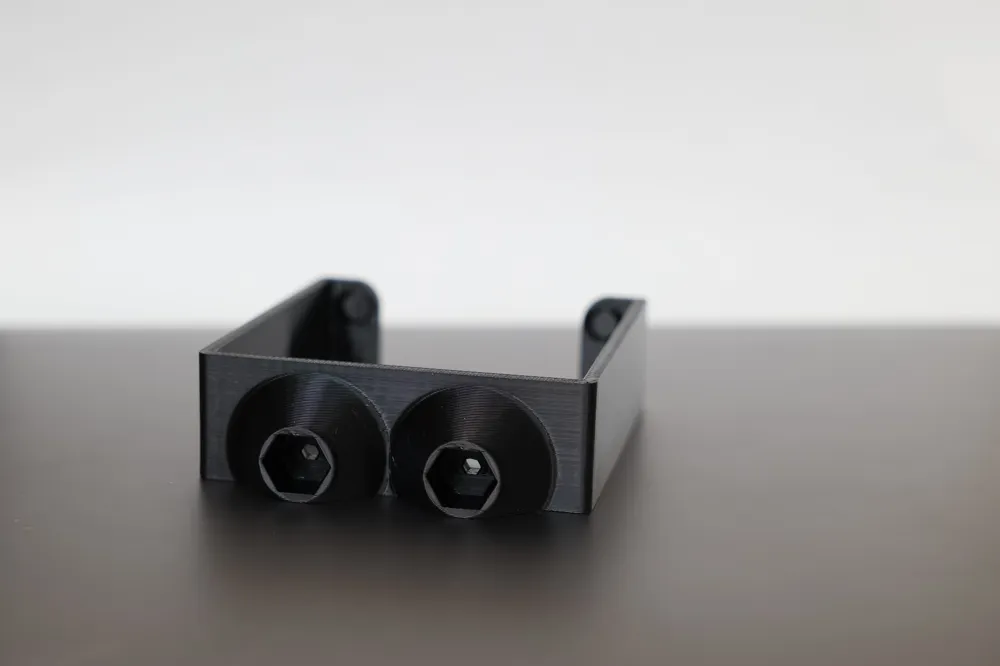
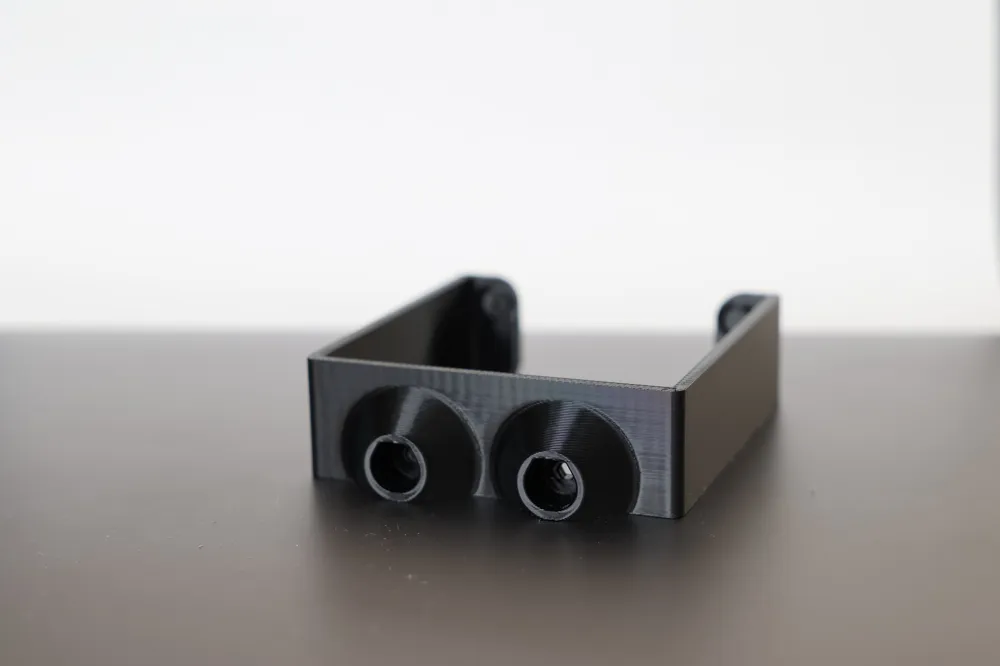
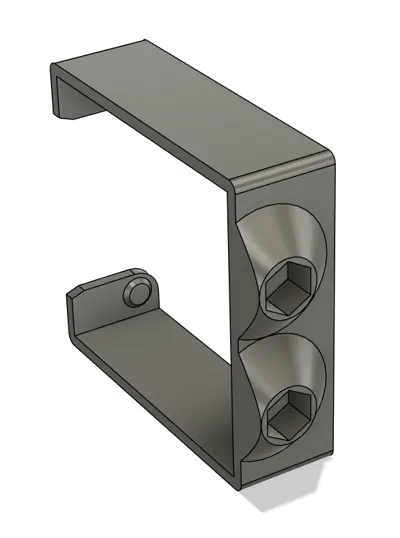
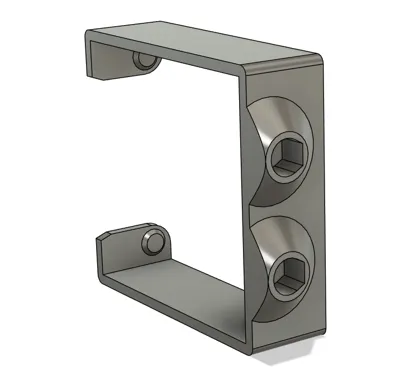
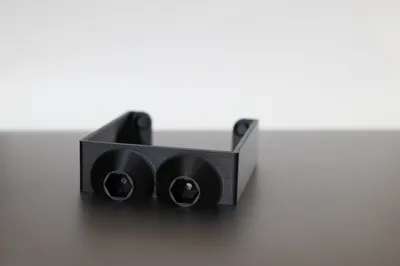
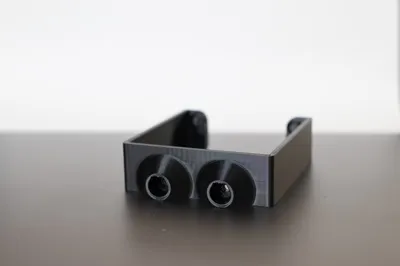
Snapmaker U1 Adapter for PTFE Tube Pneumatic Connector
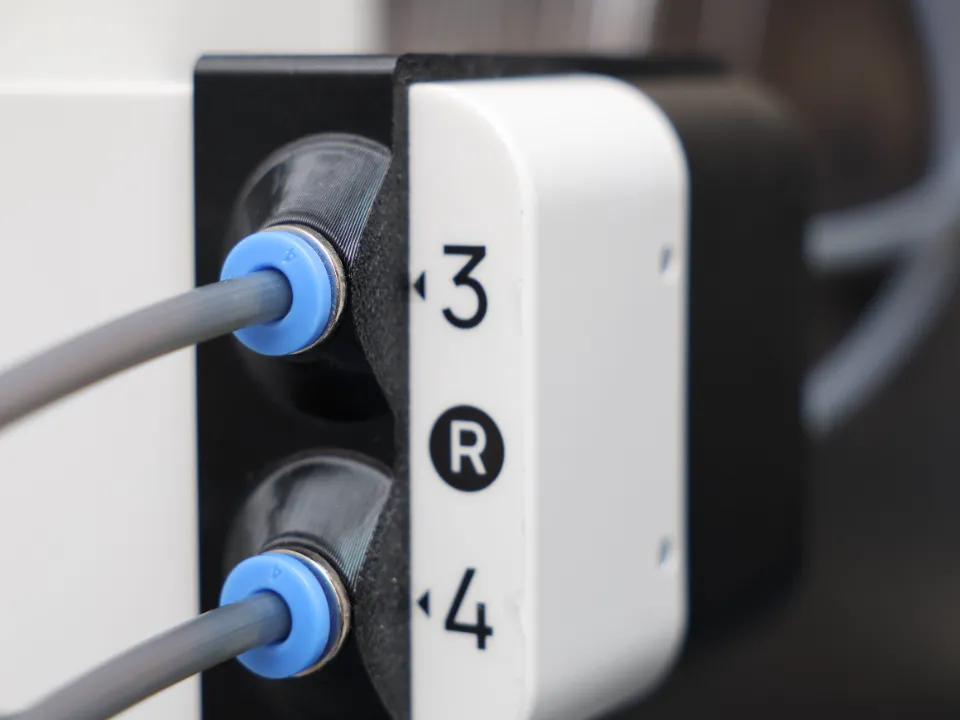
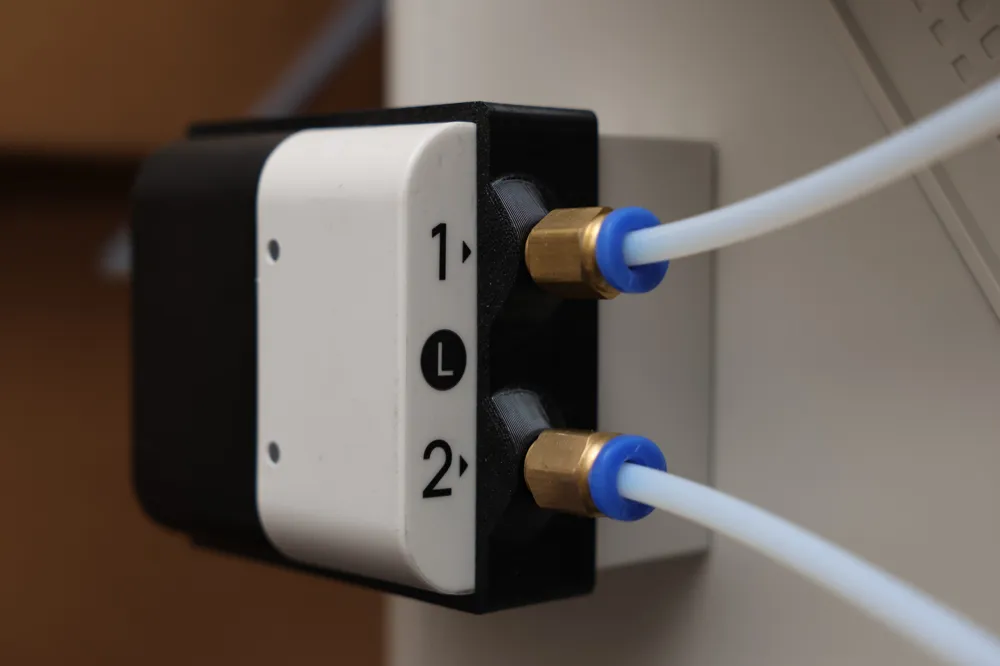
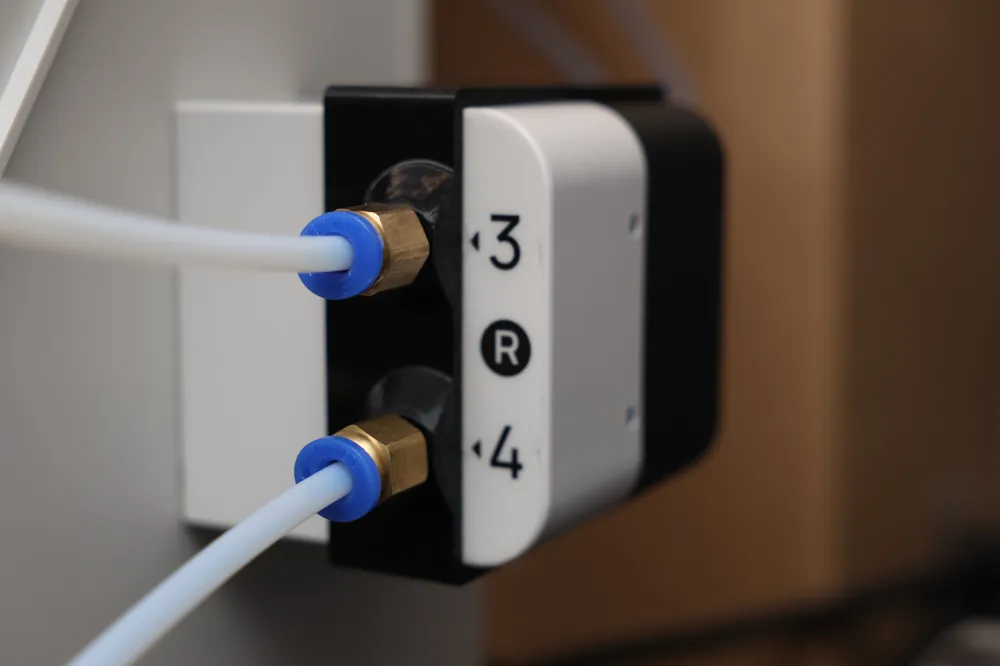
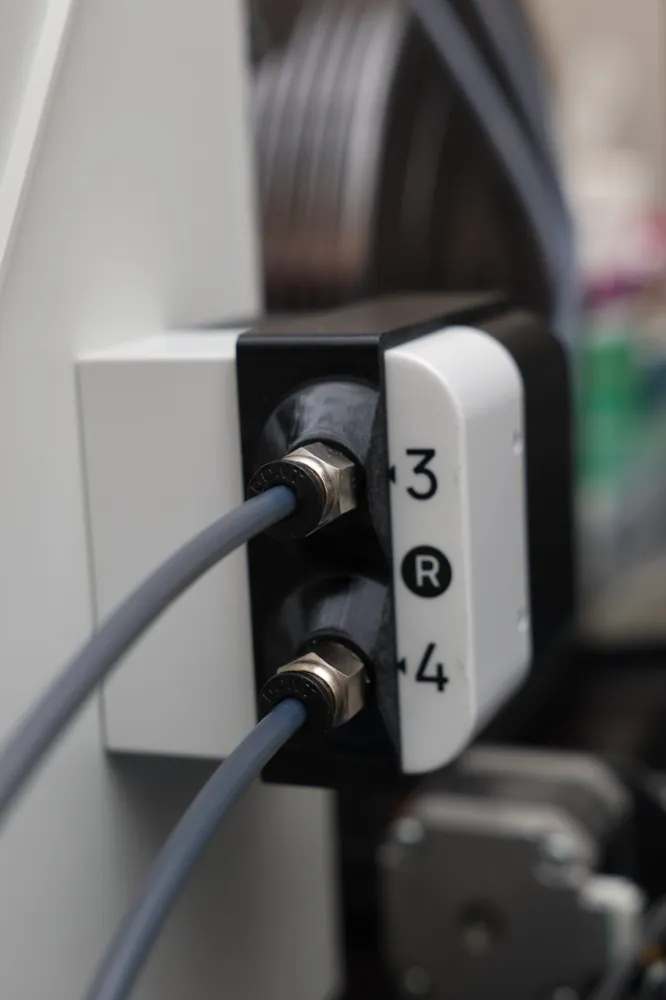
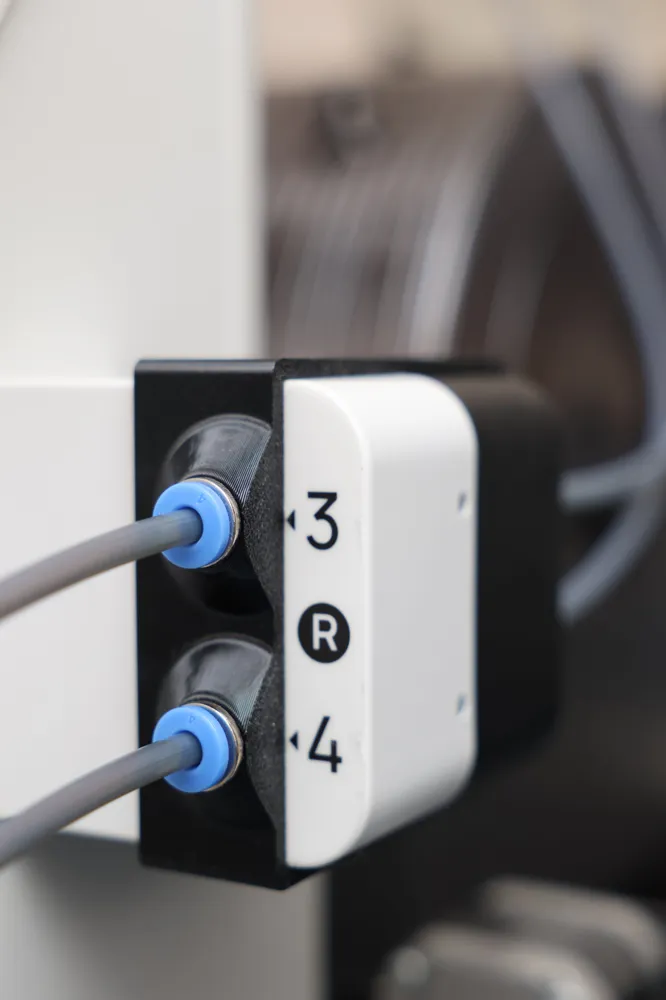
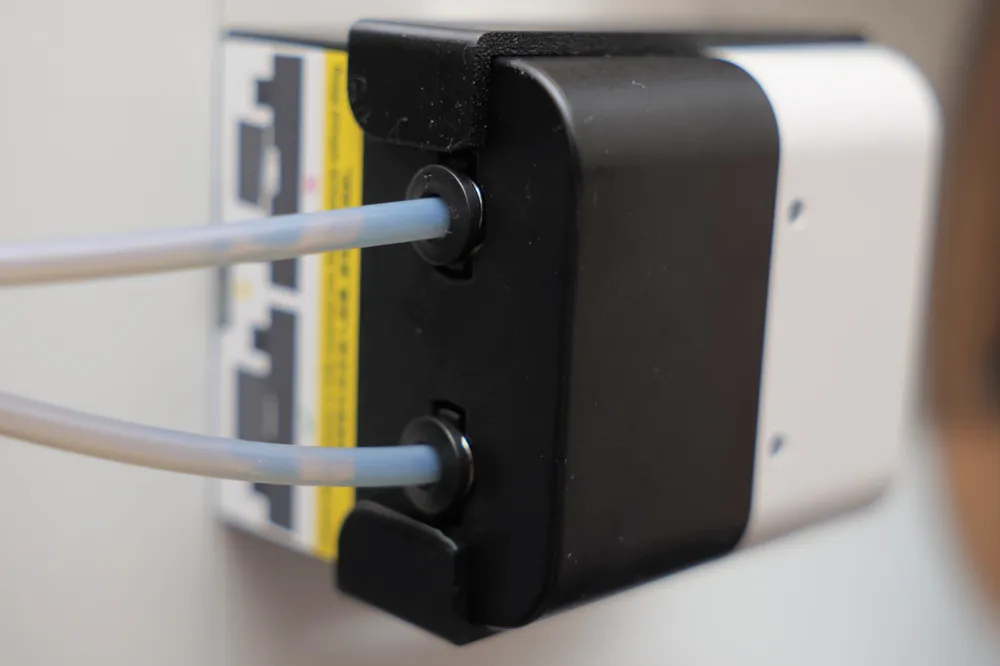
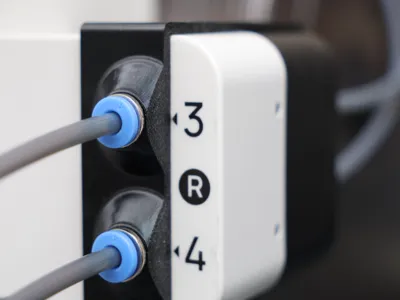
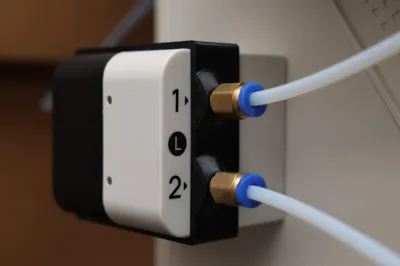
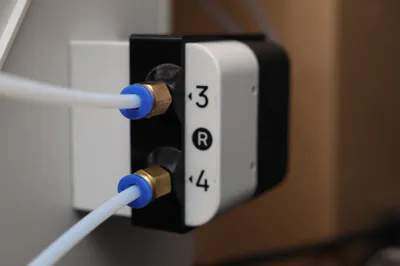
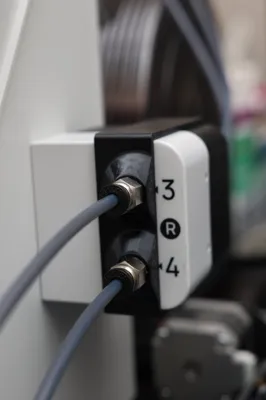
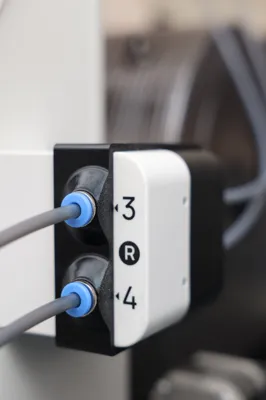
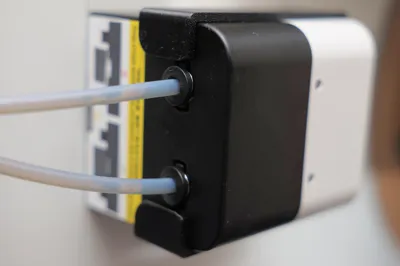
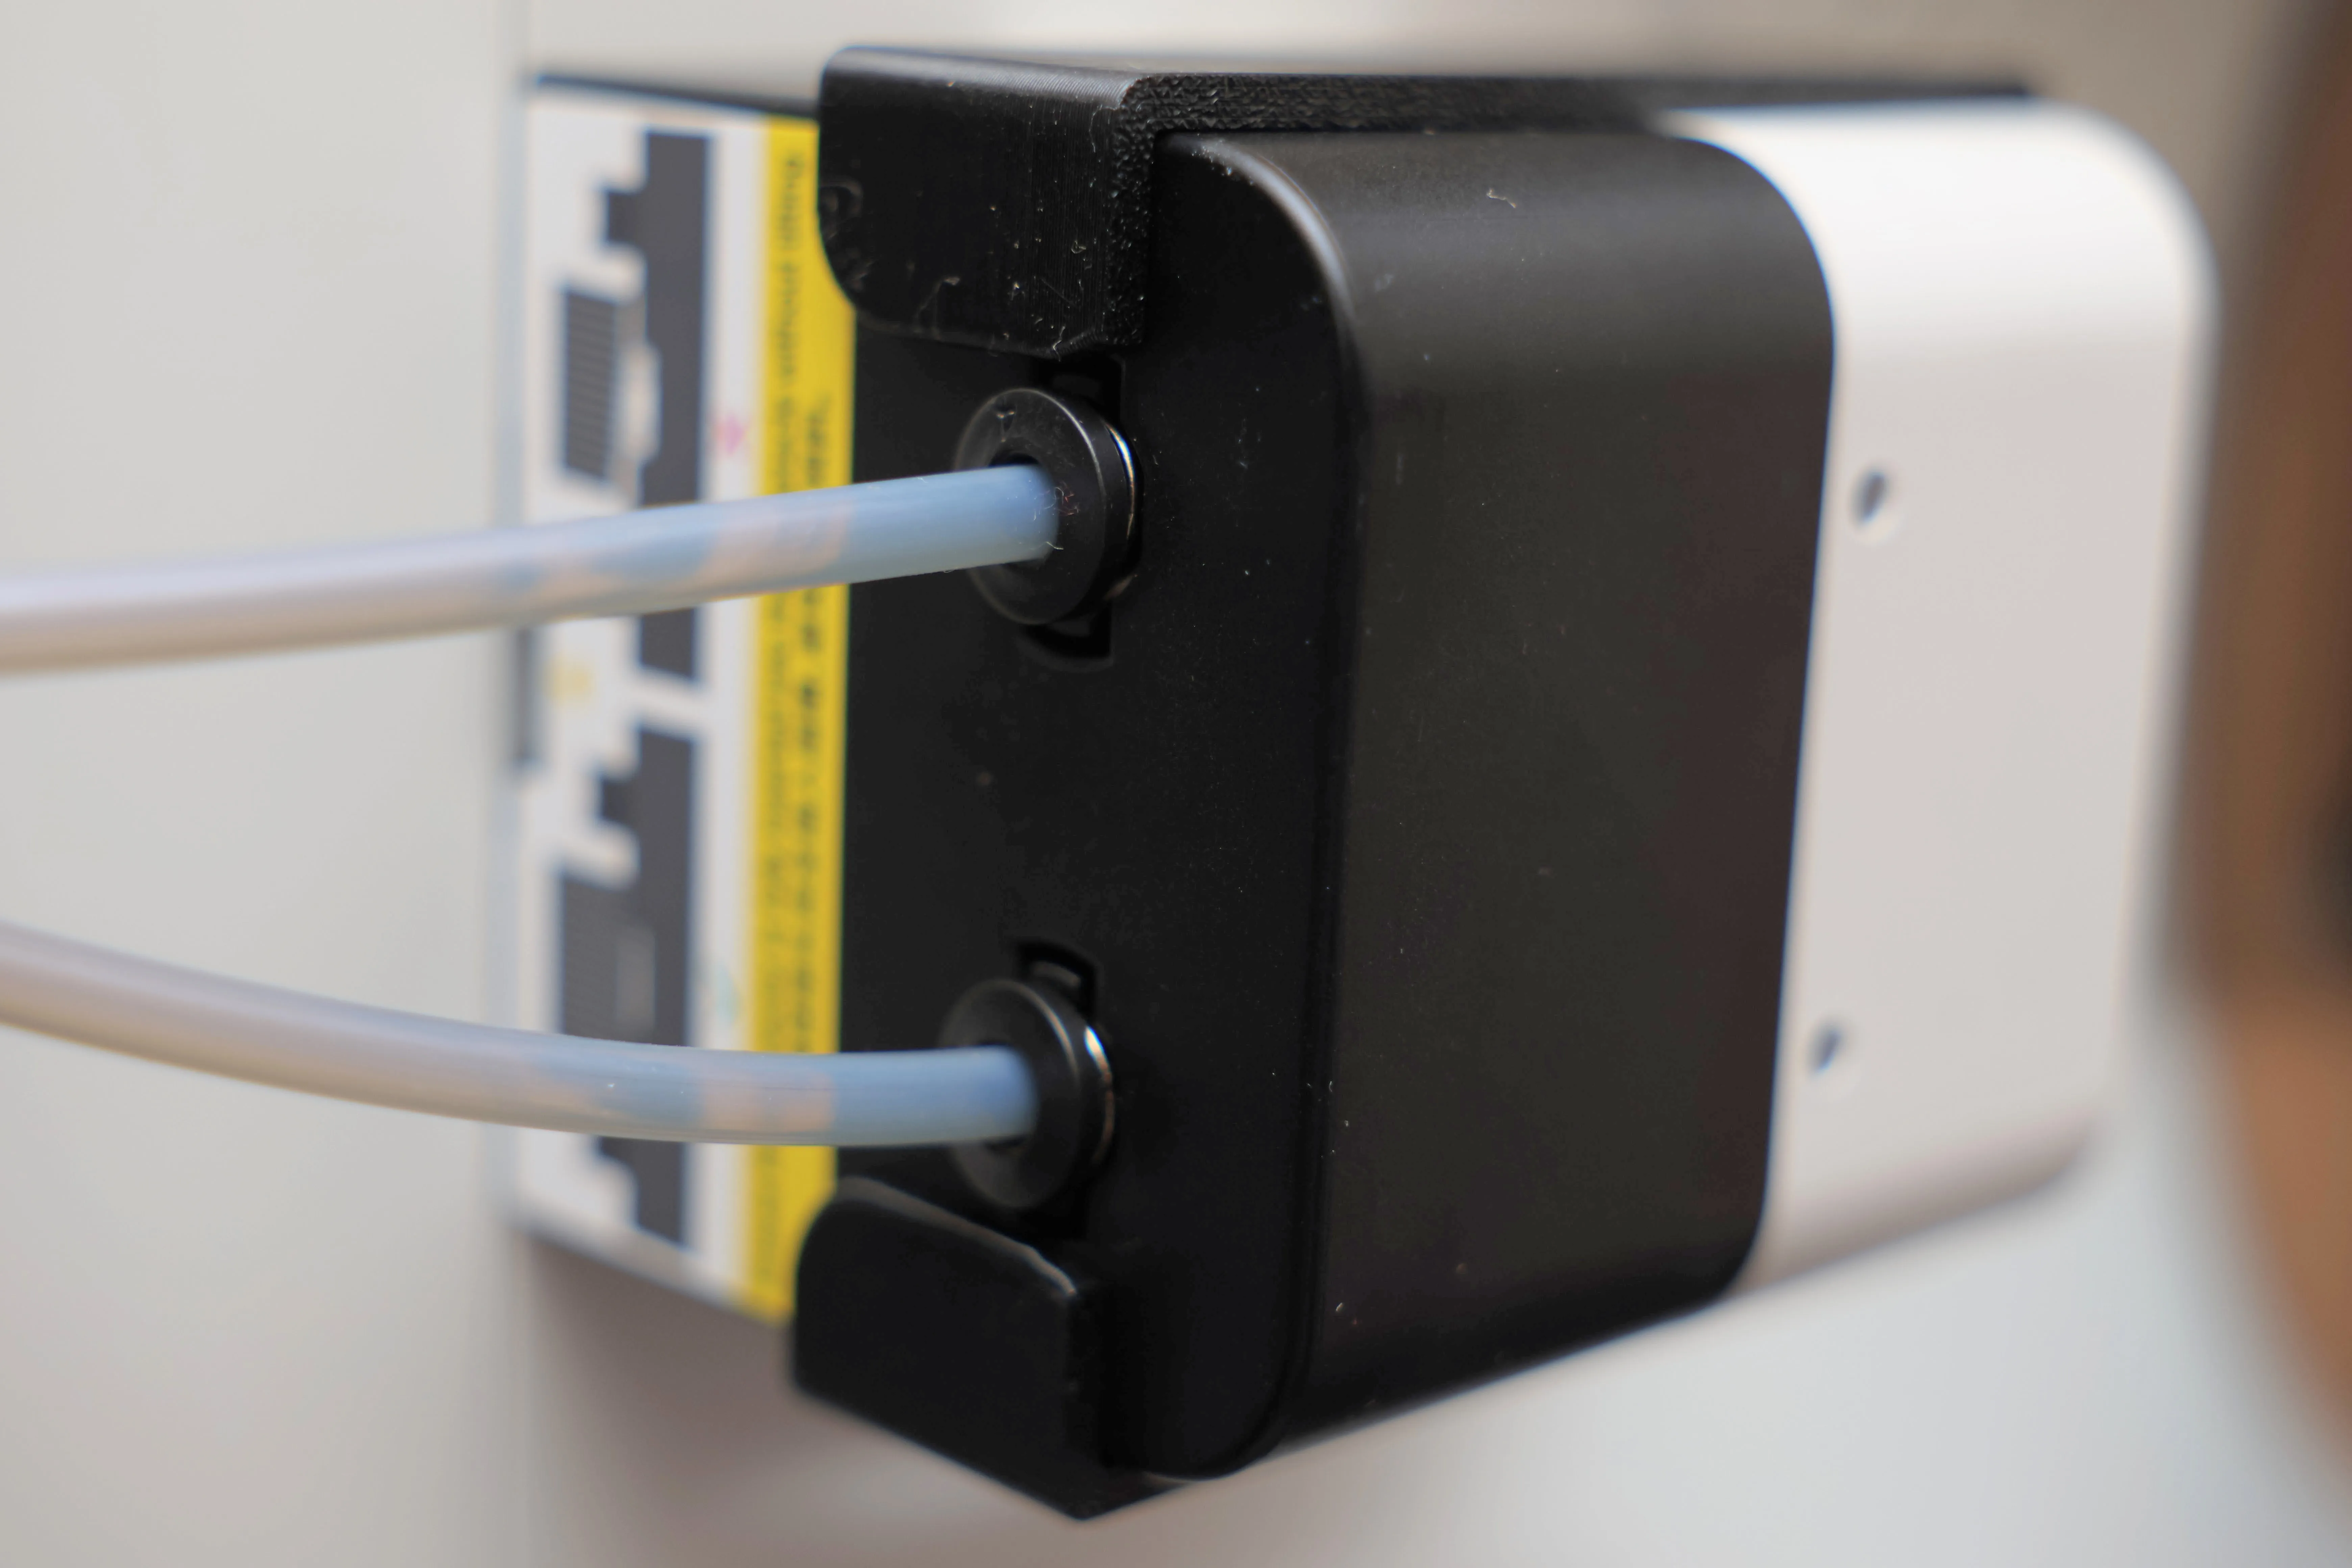
This adapter snaps onto the automatic feeders of your Snapmaker U1 and allows you to connect PTFE tubes to the feeders. Makes feeding filament from filament dryers quick, easy, and reliable! Plus, it's easily installed and removed without any mounting hardware. No modifications of your printer hardware!
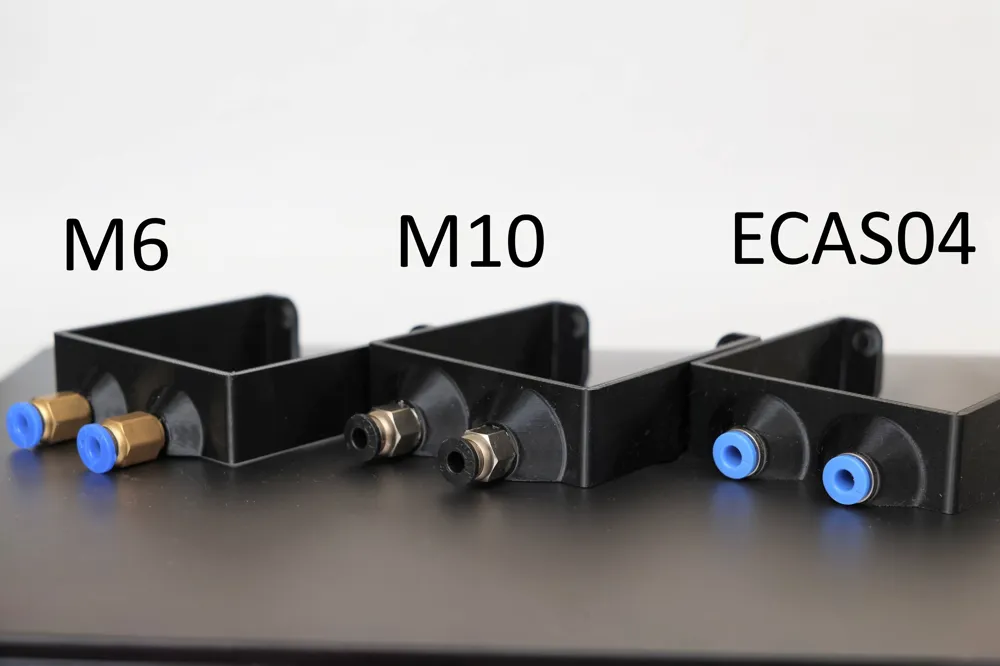
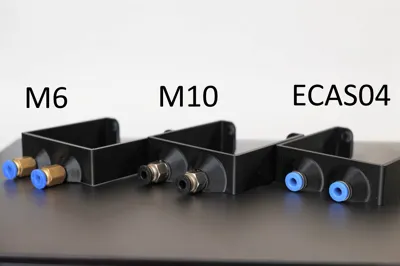
Note: M6 vs M10 vs ECAS04
Pneumatic Connectors are required. I recommend either the ECAS04 for the lowest profile or the common PC4-M6 to pair with the corresponding model/profile.
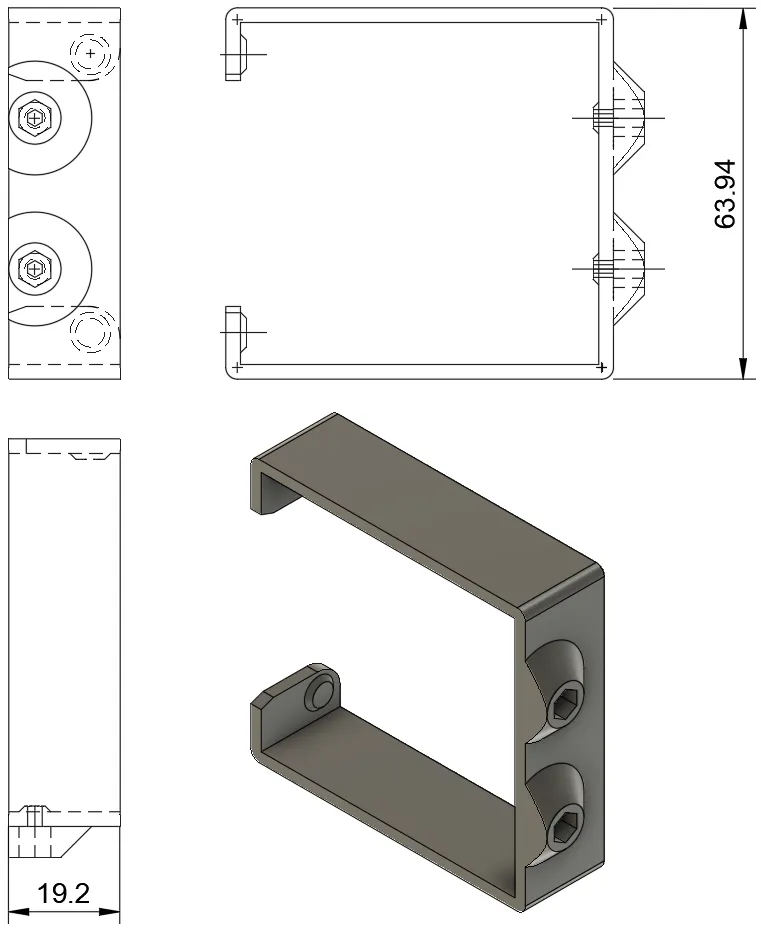
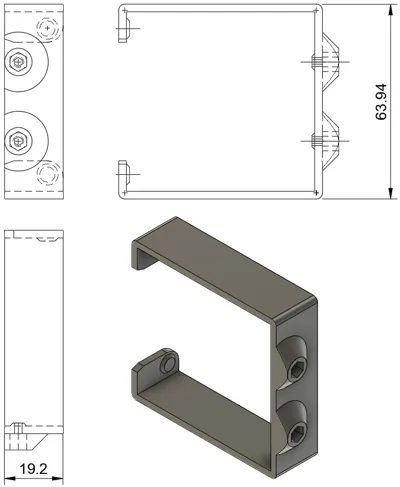
ECAS04 design accommodates connectors 8mm in diameter and a depth of 7.3mm
Buy from common vendor below or anywhere else you would get similar items.
ECAS04: Buy from Amazon or eBay or AliExpress
PC4-M6: Buy from Bambu Lab's Maker's Supply Store or Amazon or eBay or AliExpress or Microcenter
Key Highlights:
- Uses pneumatic connectors to securely hold your PTFE tubes.
- Same design works for both left (1 & 2) and right (3 & 4) automatic feeders.
- Doesn't obstruct the toolhead numbers or the status LEDs.
- Printing is quick and easy: ~35 minutes for 2 copies. No supports.
- Installation is quick, easy, & secure: No mounting hardware required.
- Removal is quick & easy.
Directions:
- Print one adapter for each feeder. The included profile already has 2 copies for your convenience. PETG recommended (some material flex required for installation and removal).
- Thread in an appropriate Pneumatic Connector (e.g. PC4-M6 or PC4-M10) or press-in the ECAS04 connector into each opening. You may need to use a pair of pliers or clamp to full seat them.
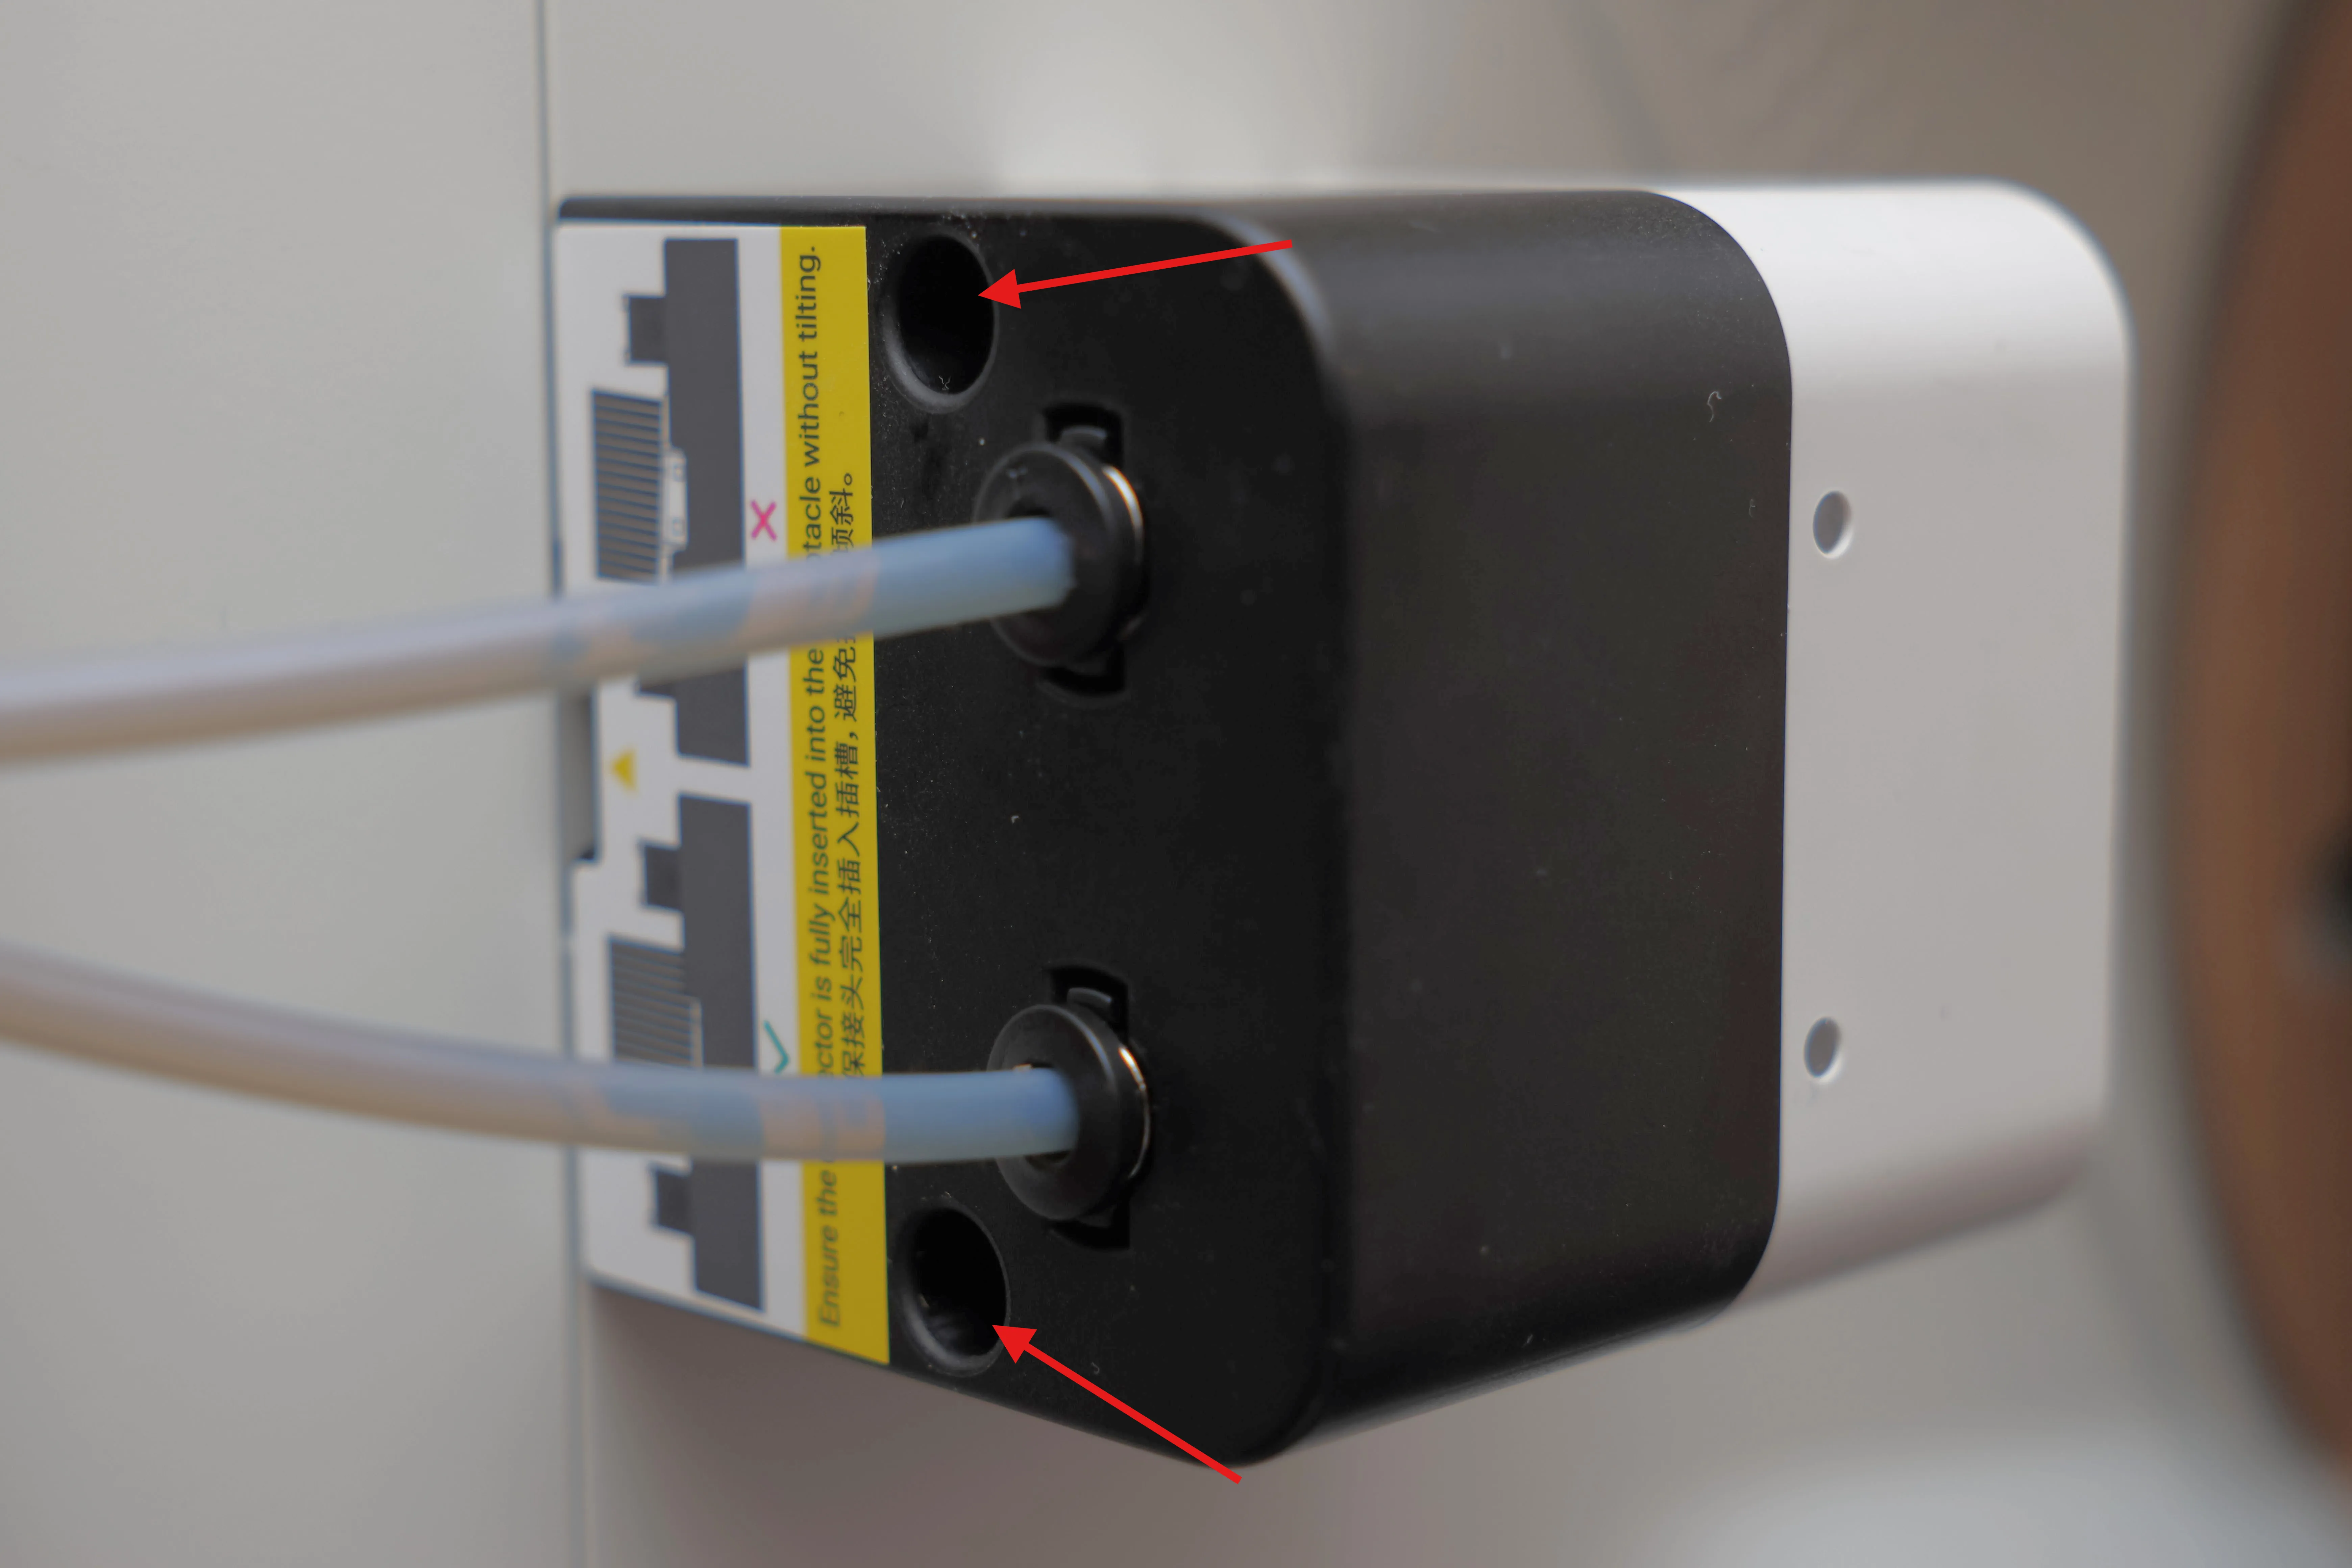
- Slide the adapter over the feeder from the front, align the front and then snap the rear tabs into the corresponding holes of the feeder.
License

You may create derivative works based on this object, provided that all such derivative works are published exclusively on the MakerWorld platform and include proper attribution to the original creator. You may not share, upload, host, distribute, or publish this object—or any derivative work of this object—on any other digital platform, marketplace, or distribution channel. Commercial use of this object and any derivative works is strictly prohibited. This includes, but is not limited to, selling, renting, sublicensing, or using the object in any context in which you receive monetary compensation or other financial benefits.


Comment & Rating (164)