
Print Profile(1)

Bill of Materials

Description
📐 Design by Inzi
Welcome to another design from my workshop
I create functional and aesthetic 3D prints that are optimised for quality, ease of printing, and real-world usability. Each model I share is carefully designed, tested, and refined to ensure you get excellent results straight from your printer.
✨ What Makes This Design Special
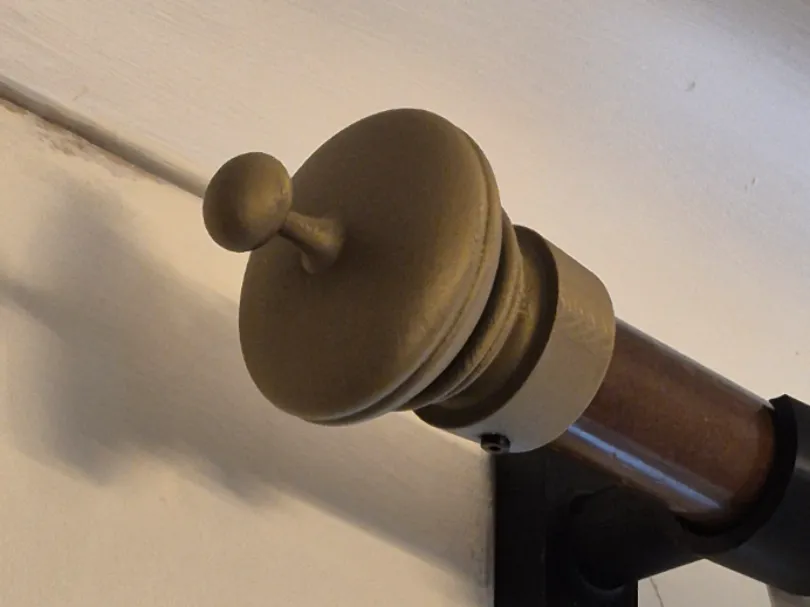
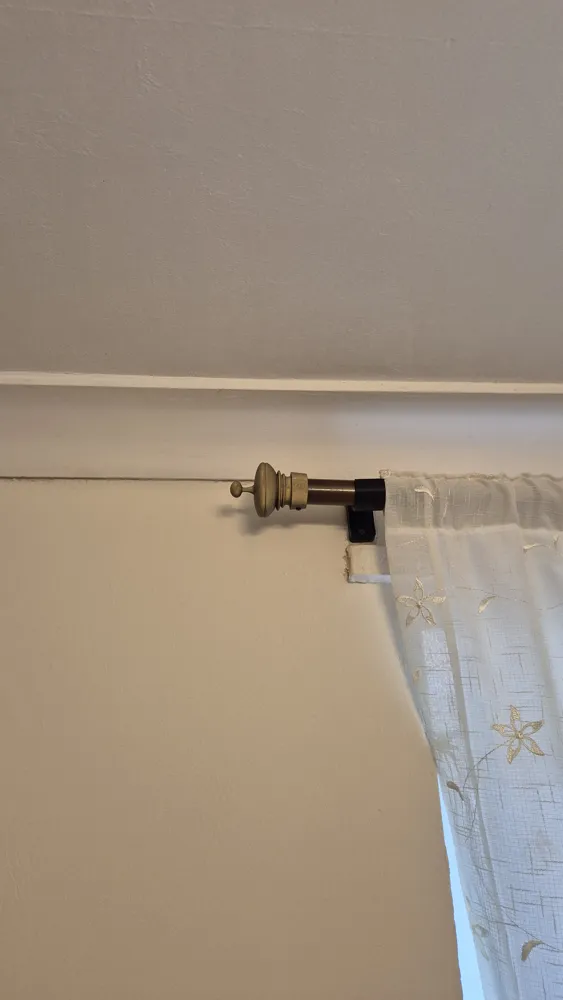
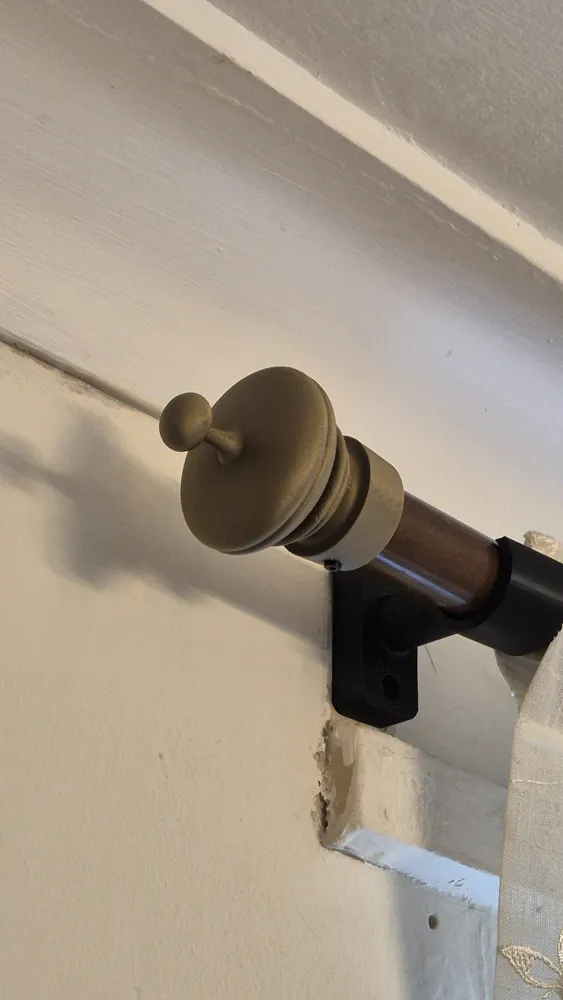
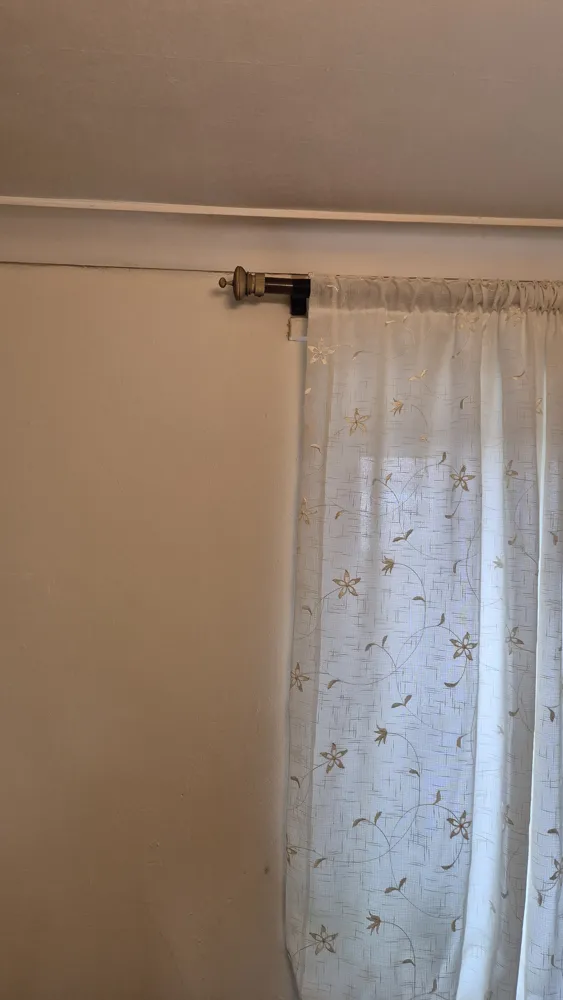
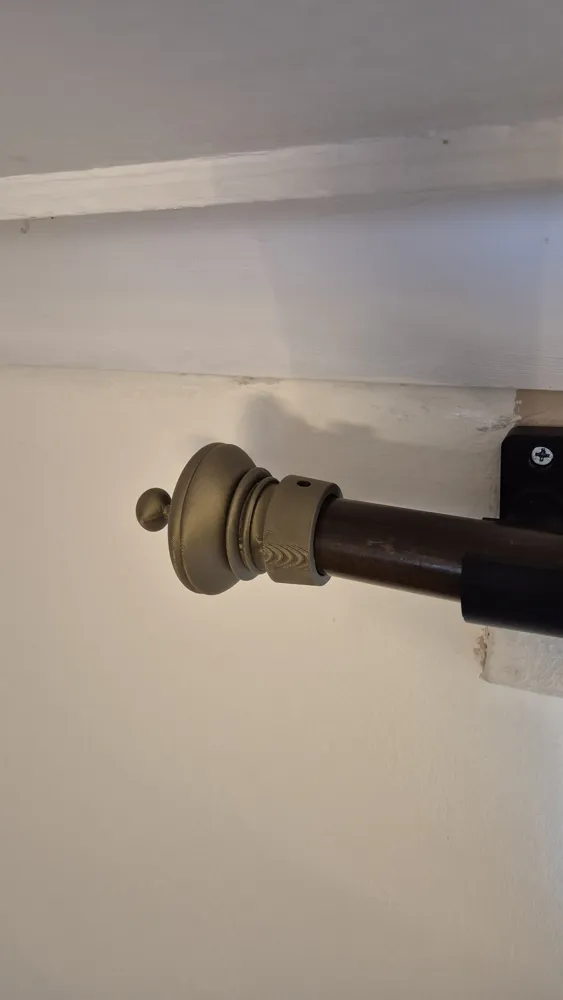
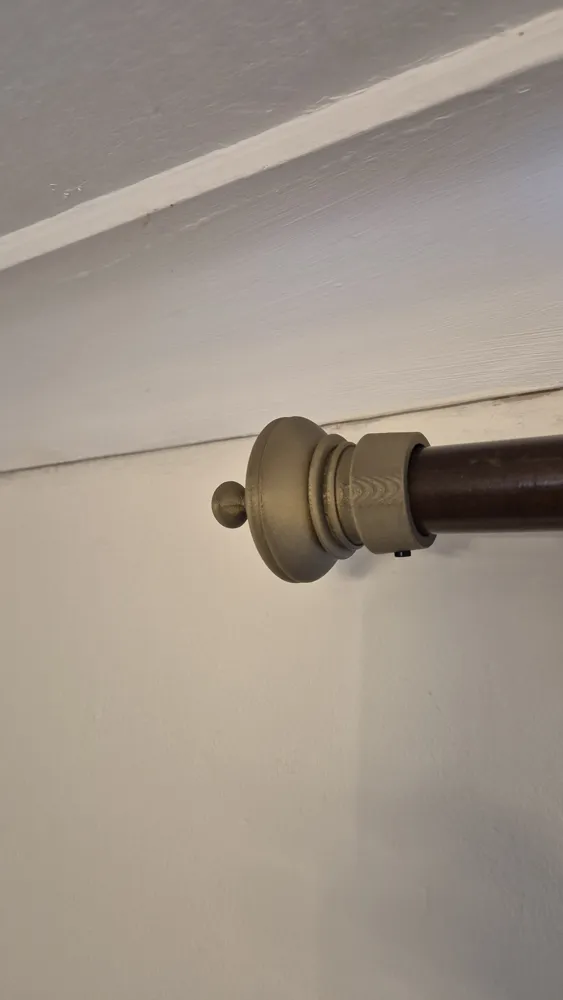
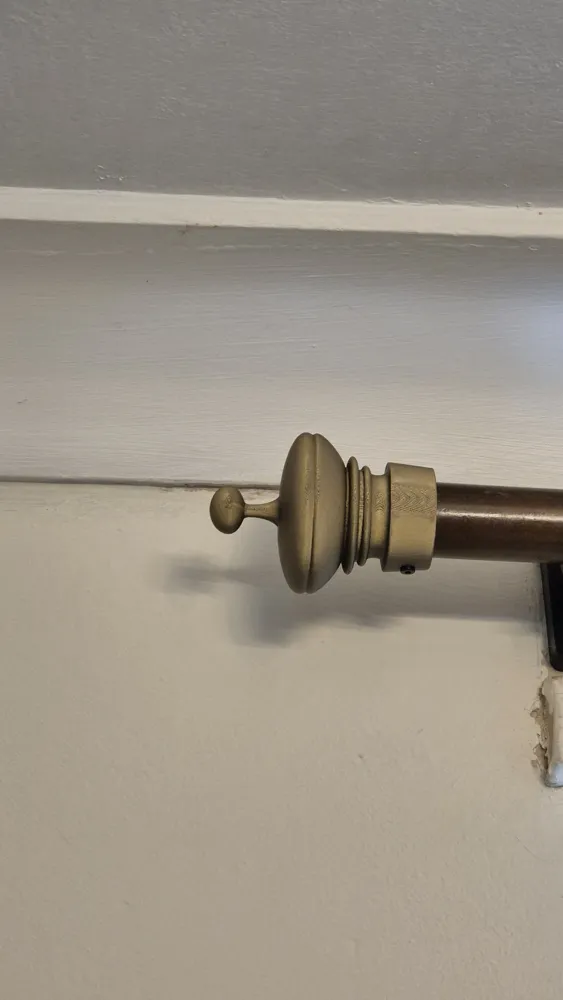
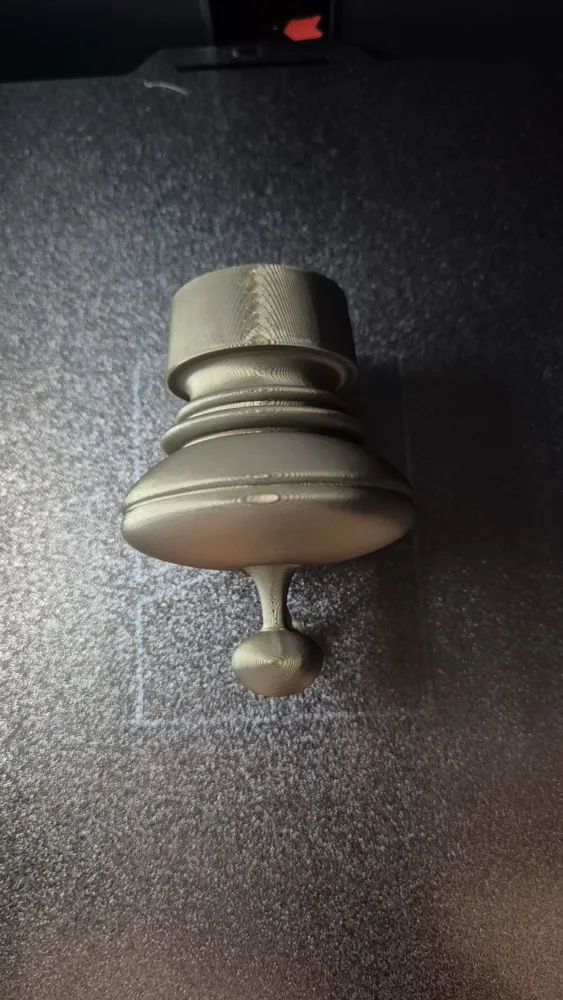
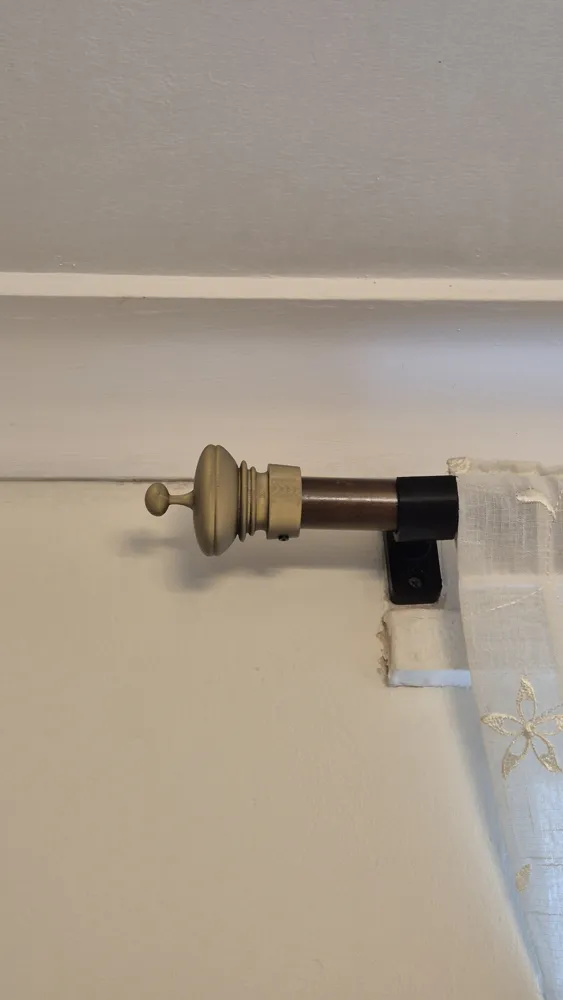
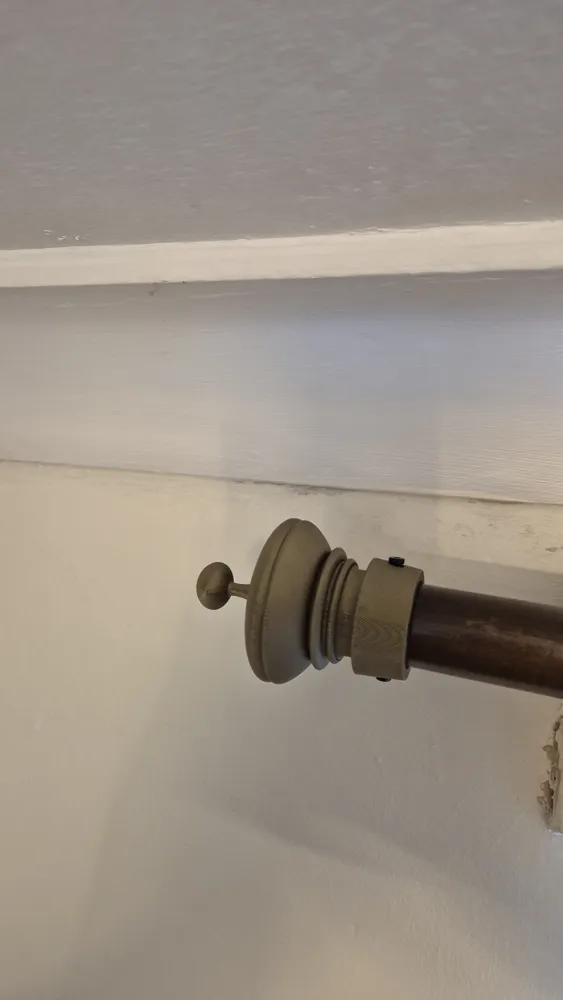
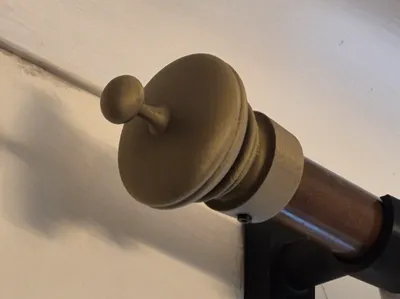
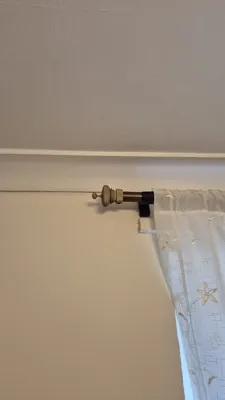
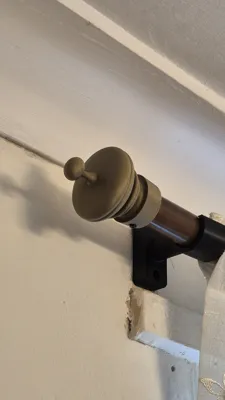
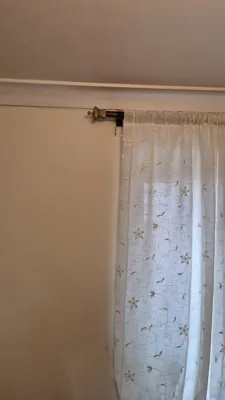
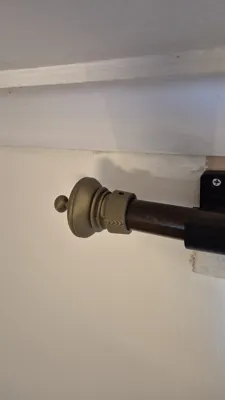
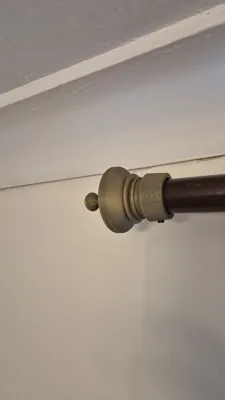
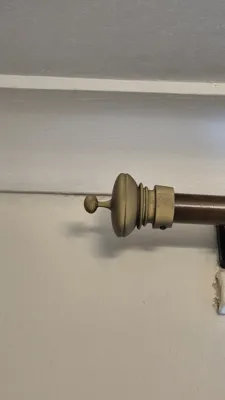
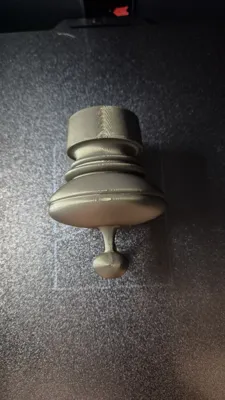
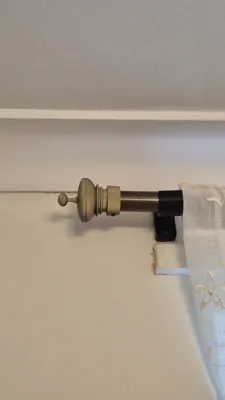
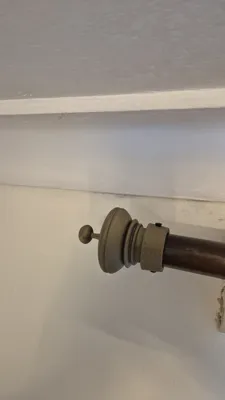
This ornamental curtain finial brings classical elegance to your window treatments with detailed sculptural elements. The design creates a polished finishing touch at each end of your curtain pole while serving the essential purpose of keeping curtain rings securely in place. The layered, decorative profile adds visual interest and works beautifully with both traditional and contemporary décor.
⚠️ Important Printing Note (READ BEFORE PRINTING!)
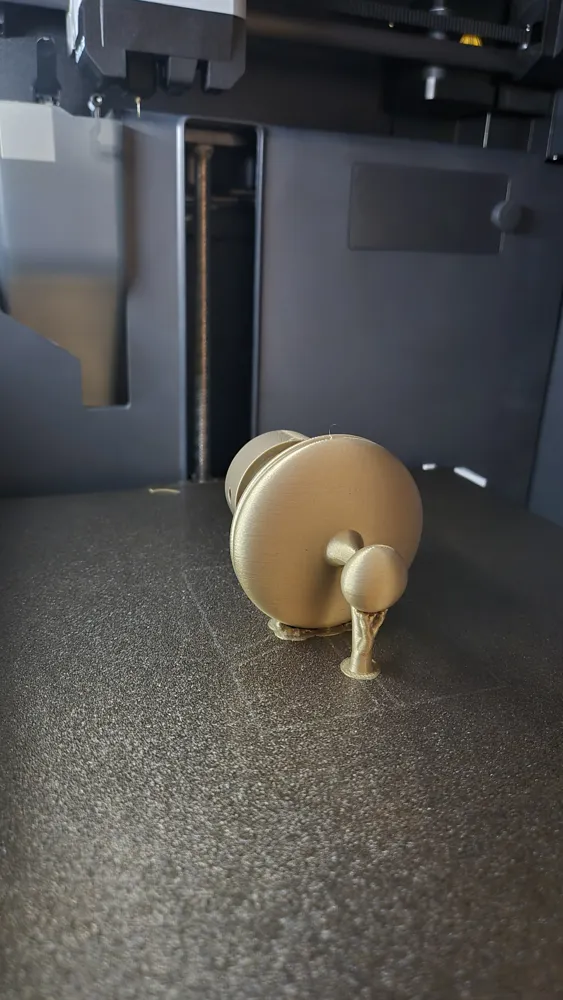
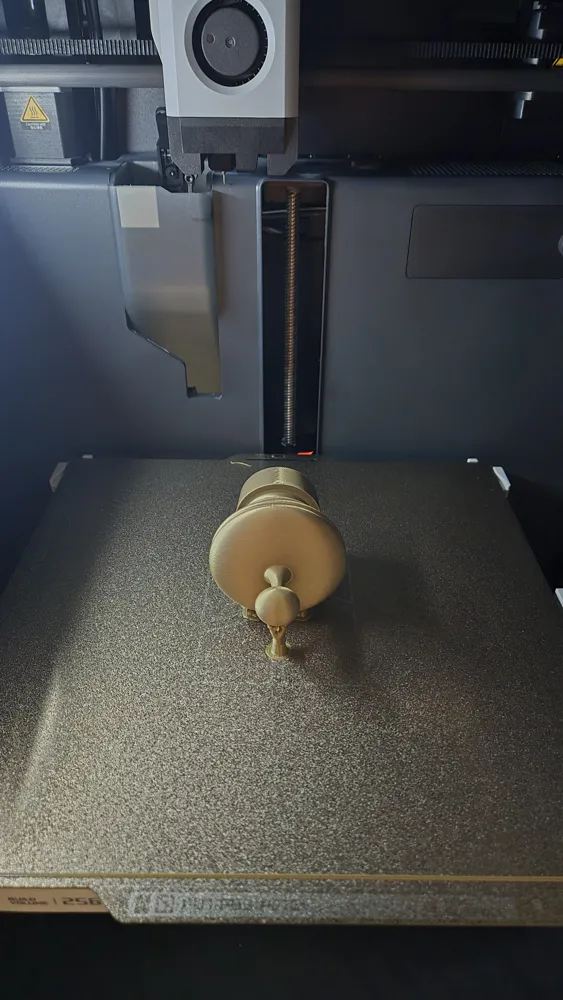
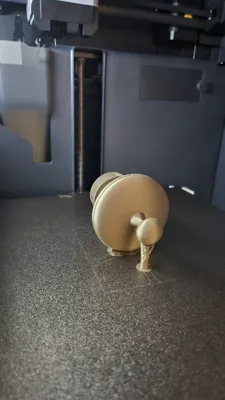
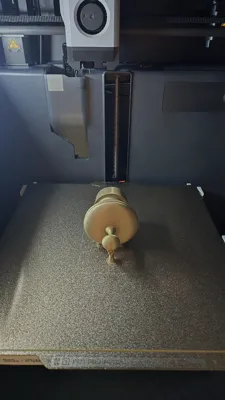
This model requires support during printing due to its ornamental design, which means one side of the finial will have visible layer lines and a rougher surface finish. This is completely normal!
Here's the reality:
- The “wall-facing side” (where support was attached) will show layer texture and may not be perfectly smooth.
- The "Front-Facing Side" (facing the room) will look gorgeous and fully polished.
If you're like Inzi and don't mind the "hidden side" because it faces the wall 24/7, then you're good to print straight away! The finial will look absolutely stunning from the front, and nobody will ever see the back.
If you want a perfect finish on all sides, here are some options:
- Post-Process: Light sanding, primer, and paint can make the supported side look seamless.
- Resin Coating: A clear epoxy or resin coat can smooth over imperfections.
- Two-Print Solution: Print two finials and glue the best sides together (experimental but effective for perfectionists!).
- Support-Free Orientation: Rotate the model in your slicer to minimize the area needing support.
Bottom line: This model is designed to be printed as-is and looks stunning. The "imperfect" side is just part of the 3D printing process, and it's completely hidden in real-world use.
📸 Share Your Make!
I'd love to see how your print turns out! Upload photos of your finished print to help other makers in the community. Your feedback helps me improve future designs.
💙 Support My Work
If this model prints well for you and serves its purpose, please consider:
- ⭐ Giving this model a boost:
Boost Me (for free)
It helps others discover useful designs and supports my work!
- 📷 Posting a photo of your finished print
- 💬 Leaving feedback to help me improve
- 🔔 Following my profile @inzamam001 for more quality designs
Your support motivates me to keep creating and sharing functional designs with the community. Every boost, comment, and make truly makes a difference!
License

You may create derivative works based on this object, provided that all such derivative works are published exclusively on the MakerWorld platform and include proper attribution to the original creator. You may not share, upload, host, distribute, or publish this object—or any derivative work of this object—on any other digital platform, marketplace, or distribution channel. Commercial use of this object and any derivative works is strictly prohibited. This includes, but is not limited to, selling, renting, sublicensing, or using the object in any context in which you receive monetary compensation or other financial benefits.


Comment & Rating (6)