
Pika Duck crashing into Tarkov (No AMS required)
Print Profile(2)


Description
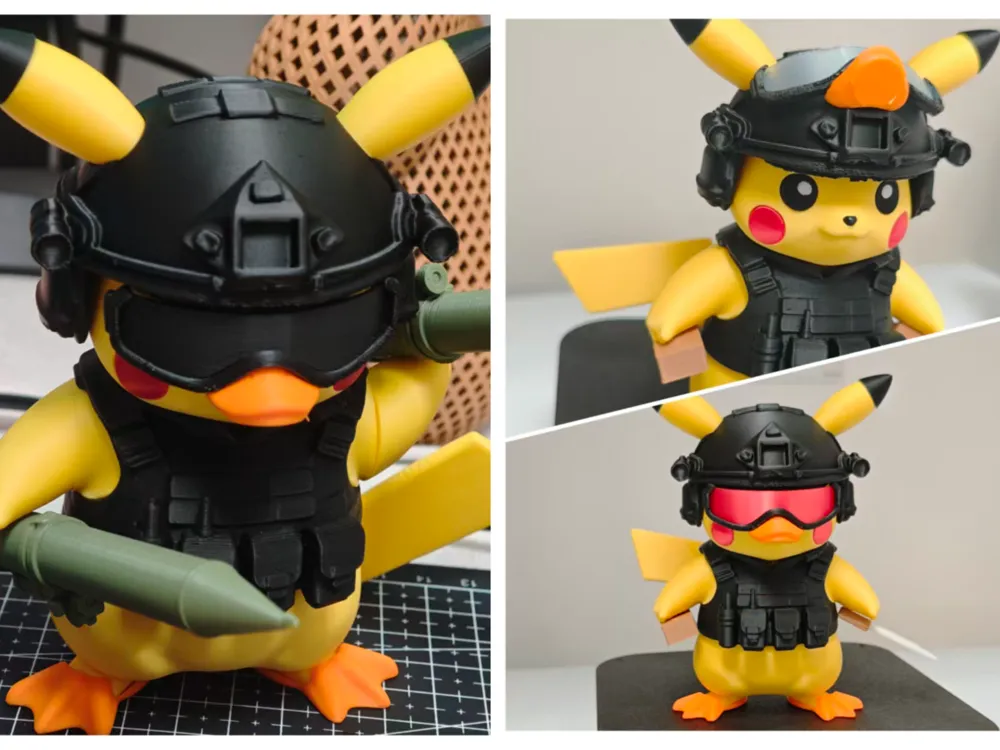
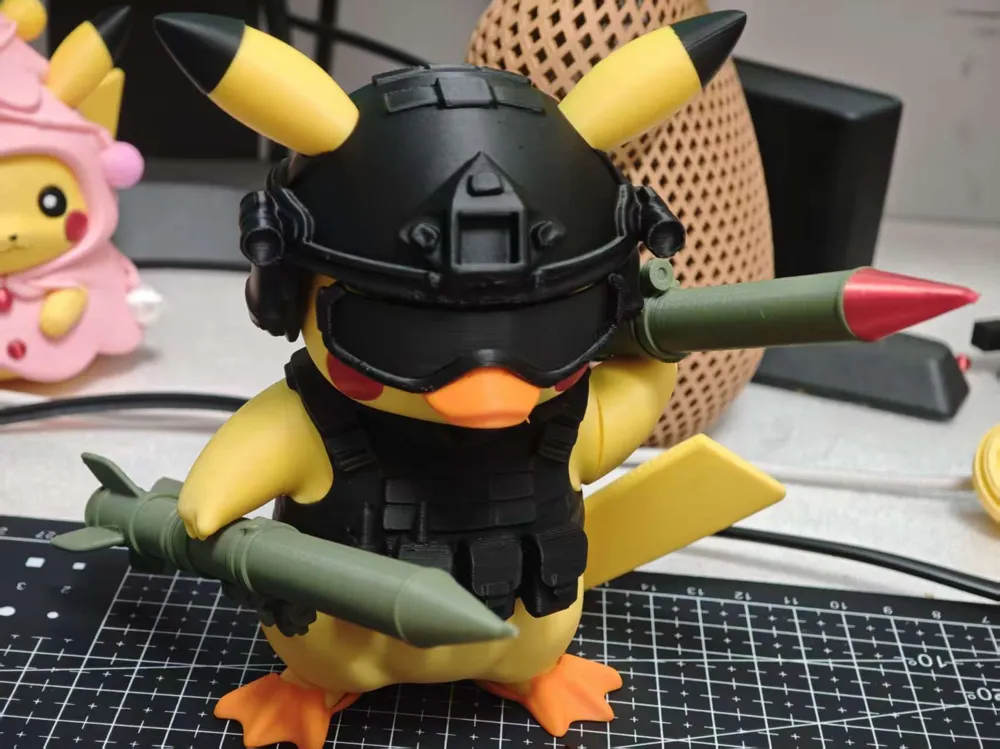
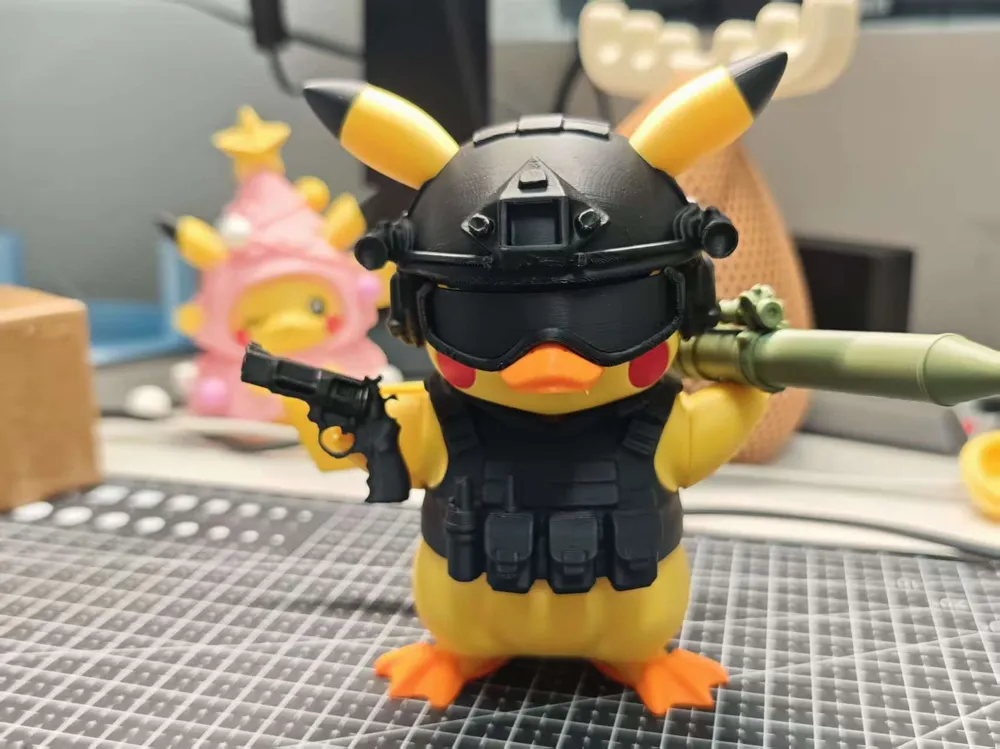
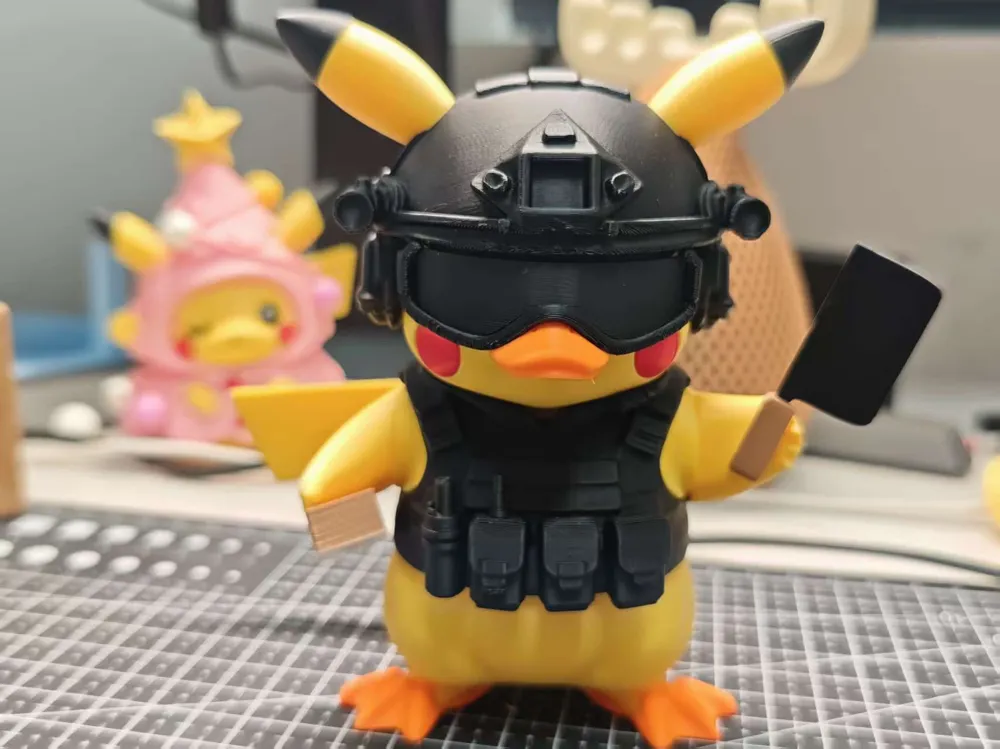
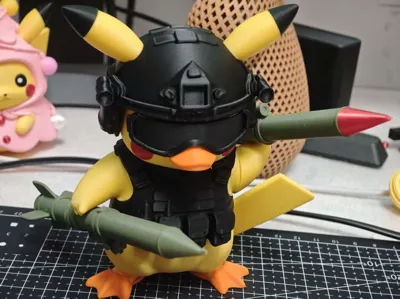
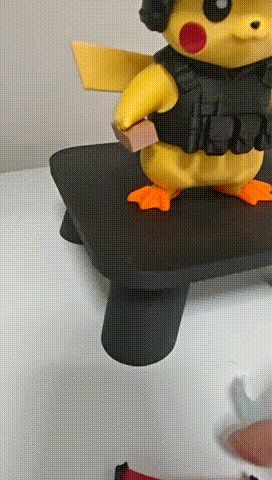
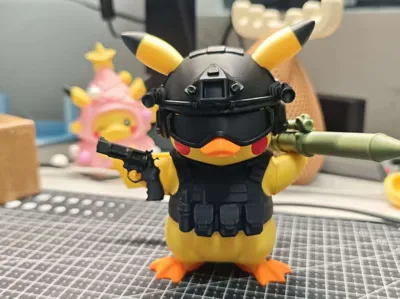
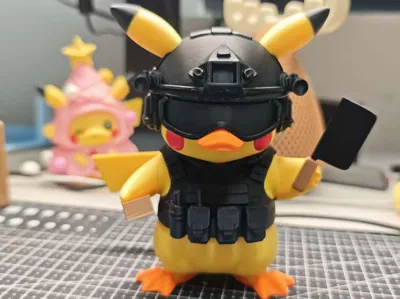
This is the "Pikachu Edition Escape from Tarkov" - when Pikachu puts on tactical gear, dons a duckbill, and directly transforms into a brick-wielding maniac to infiltrate the battlefield!
Helmet + tactical vest fully create a battlefield atmosphere, instantly giving off a cute bandit vibe~
Updated arms
For installation video, click the link below
3D printing http://xhslink.com/o/8w0kA0kLBoy Copy and open [Xiaohongshu] to view the notes!
【Pikachu Battlefield Set】 https://www.bilibili.com/video/BV1yLitBkEAw/?share_source=copy_web&vd_source=d013f688d63c4e58088f685bb5760d17
Boost Me (for free)
I. Part Specifications and Magnet Configuration (Core Update!)
Installation Location
| Magnet Type
| Quantity
| Remarks (Focus on Suction Optimization)
|
Head Pause Layer
| Diameter 6mm× thickness 2mm round magnet
| 1 piece
| Designed to enhance fixing force, replacing the original 4mm specification
|
Helmet
| Diameter 6mm× thickness 2mm round magnet
| 1 piece
| Embedded in the helmet's reserved groove to improve helmet fixing stability
|
Duckbill
| Diameter 6mm× thickness 2mm round magnet
| 1 piece
| Magnetic adsorption fixes the duckbill part to prevent loosening
|
Hand assembly (1 for each left and right)
| Diameter 6mm× thickness 2mm round magnet
| 2 pieces
| Hole size approx. 10mm×5mm, compatible with larger magnets (try for better suction yourself)
|
Other assembly locations
Added small pistol and rocket launcher | Diameter 4mm× thickness 2mm round magnet
Diameter 6mm× thickness 2mm round magnet | 2 pieces
2 pieces | Basic fixing to ensure overall structural stability
|
Note: The total magnet configuration has been adjusted to "6mm×2mm (7 pieces) + 4mm×2mm (2 pieces)", as the original all 4mm solution was optimized due to insufficient suction
II. Key Assembly Steps and Points
- Symmetrical part installation (face / ears, etc.)
All left-right symmetrical parts only need to distinguish between front and back directions: the side with a pattern / raised mark is the outside, and the flat side is the inside to fit the main body, align and gently press in, the symmetrical design does not require repeated comparisons
- Magnet Installation Guide
- Only the head has a pause layer, embedding a 6mm magnet
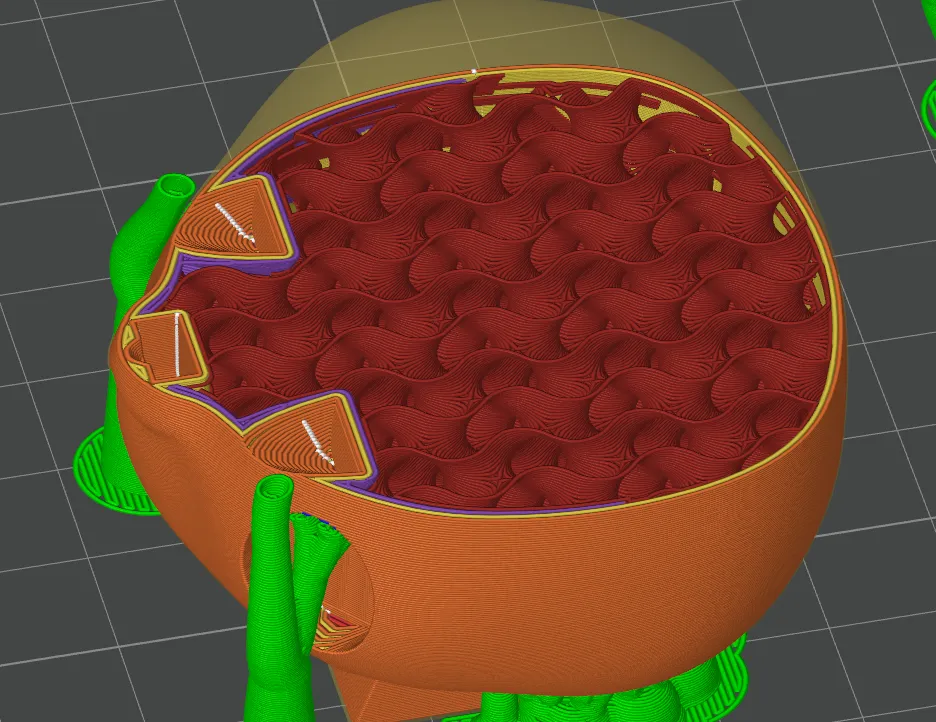
- Helmet: The inside of the helmet has a circular embedded groove, place 1 6mm magnet into the groove, which can adsorb glasses
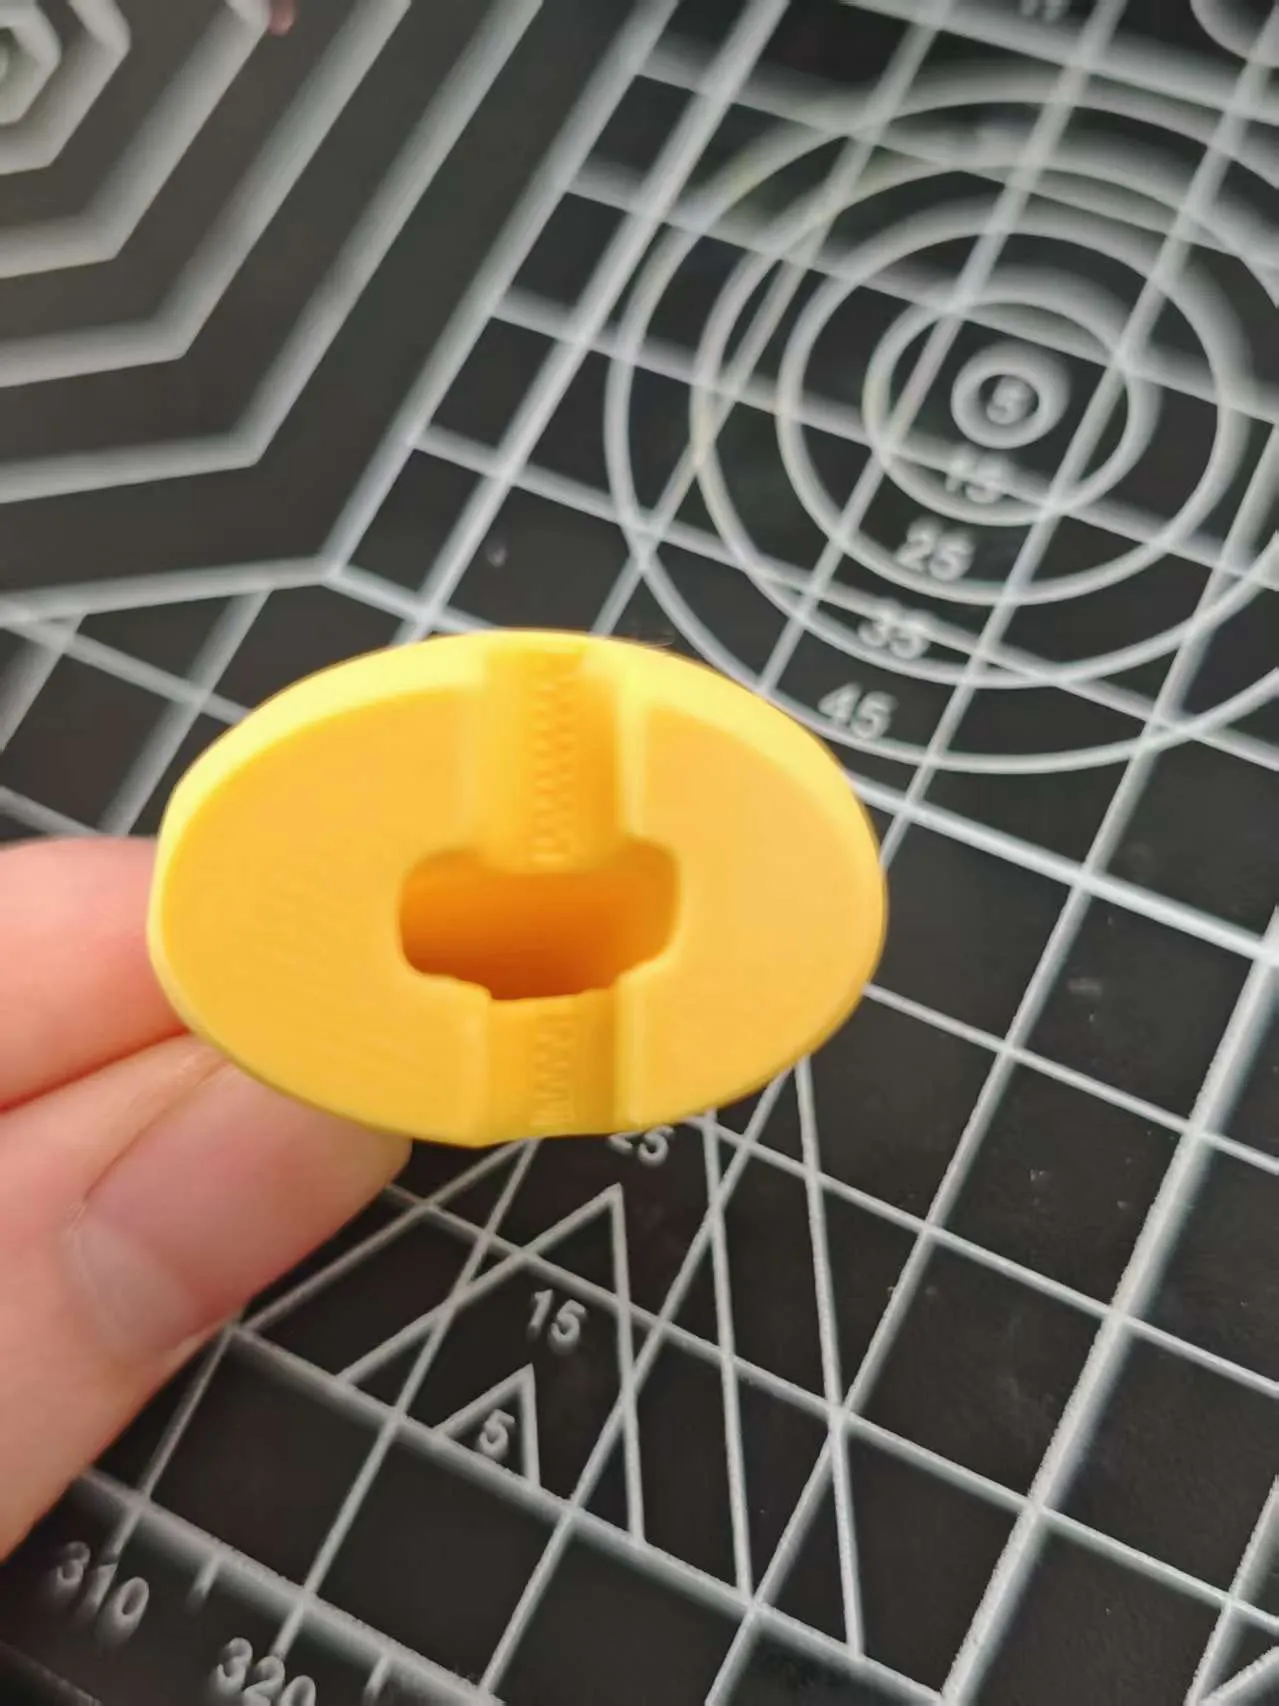
- Duckbill: The back of the duckbill part has a reserved magnet groove, after embedding 1 6mm magnet, lightly attach it to the mouth area of the face, it can be fixed by magnetic adsorption, when disassembling, pinch both ends of the duckbill and gently lift it
Hand assembly: The left and right hands each have 1 reserved 10mm×5mm hole, place 1 6mm magnet in each, the magnets will naturally adsorb and position, if you want to enhance the suction, you can directly replace it with a larger magnet of the same hole size
- Equipment (brick and kitchen knife): 2 4mm magnets are embedded into the corresponding small grooves (the kitchen knife is less effective due to the direction of force)
- Duck foot wearing instructions
The duck foot slippers are designed for movable wearing, align them with the feet, gently push from the outside to the inside, when you hear a "click" sound, it is installed in place, wearing them does not affect the overall standing posture; when disassembling, hold the heel of the duck foot and gently pull it out in the direction to avoid breaking it
III. Structure Description and Tips

- Arm function: Originally planned to design a left and right rotating structure, which was not realized due to limited initial production experience, but currently uses "direct splicing + snap-fit fixing", which can be formed without glue,Note: Install the magnets first, pay attention to the magnet direction, some force is needed during installation, if it cannot be installed, you can modify the X-Y inner contour size compensation by -0.1 or -0.2
Precautions: ① Magnets are small parts, children need adult supervision during assembly, do not swallow; ② Gently press and push during assembly, avoid forceful pressing which may cause buckle breakage or part deformation; ③ Magnets have positive and negative poles, if the adsorption is not firm, you can fine-tune the magnet direction to ensure magnetic fit
I will release a complete assembly video when I have time
Practical printing tips
1. When printing complex models, it is recommended to turn off time-lapse mode, which can effectively reduce the probability of printing failures
2. Calibrate the printer in advance, clean the build plate, and pair it with dry, stable filament for even better printing results
3. When cleaning printing residue, using needle-nose pliers with a Bambu scraper can make the operation much easier
License

You shall not share, sub-license, sell, rent, host, transfer, or distribute in any way the digital or 3D printed versions of this object, nor any other derivative work of this object in its digital or physical format (including - but not limited to - remixes of this object, and hosting on other digital platforms). The objects may not be used without permission in any way whatsoever in which you charge money, or collect fees.


Comment & Rating (0)