


Print Profile(23)


Description
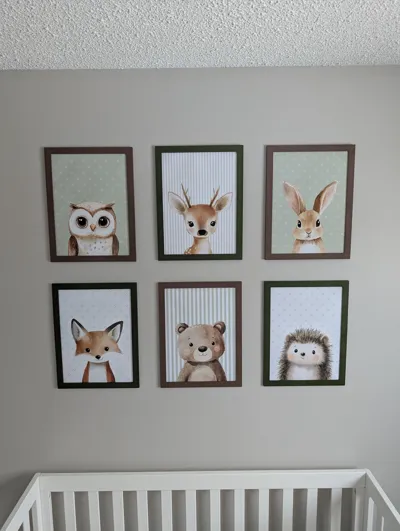
I designed these frames because my wife purchased some 12x16 inch pictures for our baby room. There are good offerings on amazon to accommodate these sizes but I decided to search for some different options on MakerWorld. Eventually I came to the conclusion that most oversized 3d printed frames had glaring joints that would not pass inspection from my wife. So I have come up with a solution with minimal joint visibility. It also passes inspection from my boss!
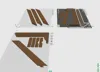
I put together the option to print off a few common sizes:
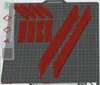
NOTE: 16x20 6mm Wider has extra seems. A few of them will require superglue. This frame may benefit from adding a small amount of glue in each seem since there are more of them on this frame.
256x256 Build Plates:
16x20 3mm Depth 6mm Wider
16x20 5mm Depth
16x20 3mm Depth
16x16 3mm Depth
13x19 3mm Depth
12x18 3mm Depth
12x16 3mm Depth
11x17 5mm Depth
11x17 3mm Depth
11x16 3mm Depth
11x14 3mm Depth
11x14 5mm Depth
9x12 3mm Depth
8x12 3mm Depth
8x10 3mm Depth
6x8 3mm Depth
5x7 3mm Depth
A1 Mini Build Plate:
8x12 3mm Depth
8x10 3mm Depth
6x8 3mm Depth
5x7 3mm Depth
NOTE: BED ADHEASION IS CRUTIAL. PLEASE MONITOR YOUR FIRST LAYER!!!
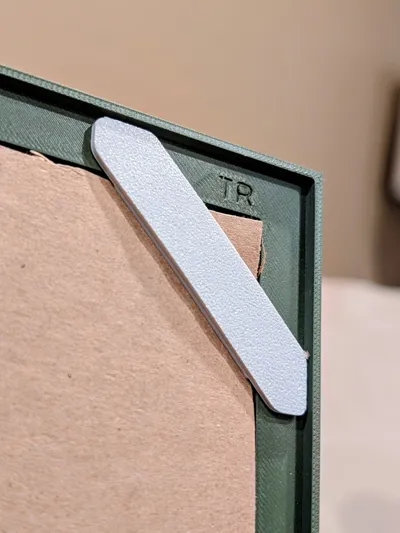
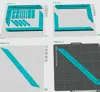
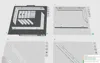
Each piece slides into the next with a snug friction fit. Once your picture is in place and your cardboard is backing the picture, you use the corner and side/top clips to secure the picture in place. The clips also keep all the joints tight after firmly pressing them into place.
Before pressing the frame together make sure to clean THIS surface from support material. I use a flat blade screw driver.

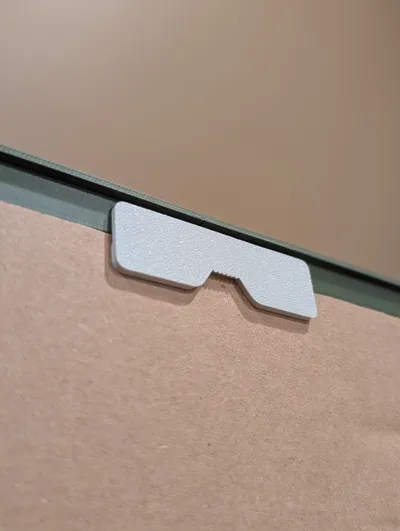
They are hung using the shapes cut out from the side/top clips. There are two options: V cut and Saw Tooth. In my example photos I used the V cut. Once they were all hung I used a small piece of double sided tape at the bottom of each frame to ensure they were level and straight. The hanging clips can be used on the top or side for Landscape or Portrait orientation.
The standard clips leave a gap of 2.5mm. Most standard cardboard is about 3mm. When the clips are pressed into place they squeeze the cardboard against the picture and frame to secure the picture in place.
Boost Me (for free)
Enjoy the print! I hope it ends up pleasing you! Cheers!
License
You may create derivative works based on this object, provided that all such derivative works are published exclusively on the MakerWorld platform and include proper attribution to the original creator. You may not share, upload, host, distribute, or publish this object—or any derivative work of this object—on any other digital platform, marketplace, or distribution channel. Commercial use of this object and any derivative works is strictly prohibited. This includes, but is not limited to, selling, renting, sublicensing, or using the object in any context in which you receive monetary compensation or other financial benefits.
Comment & Rating (165)