Search models, users, collections, and posts

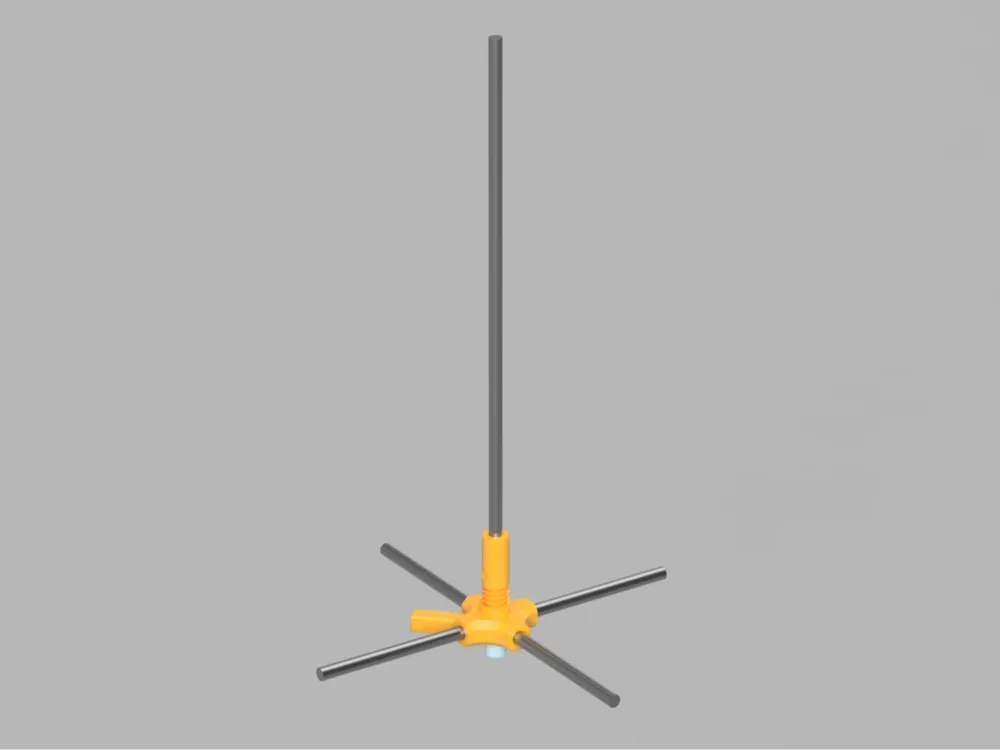
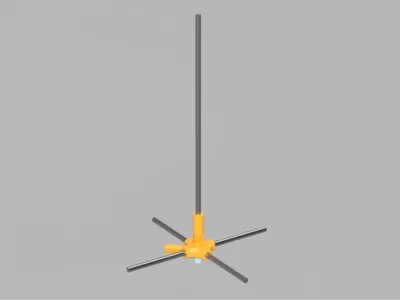
433MHz 5/8 Wavelength Antenna
IP Report
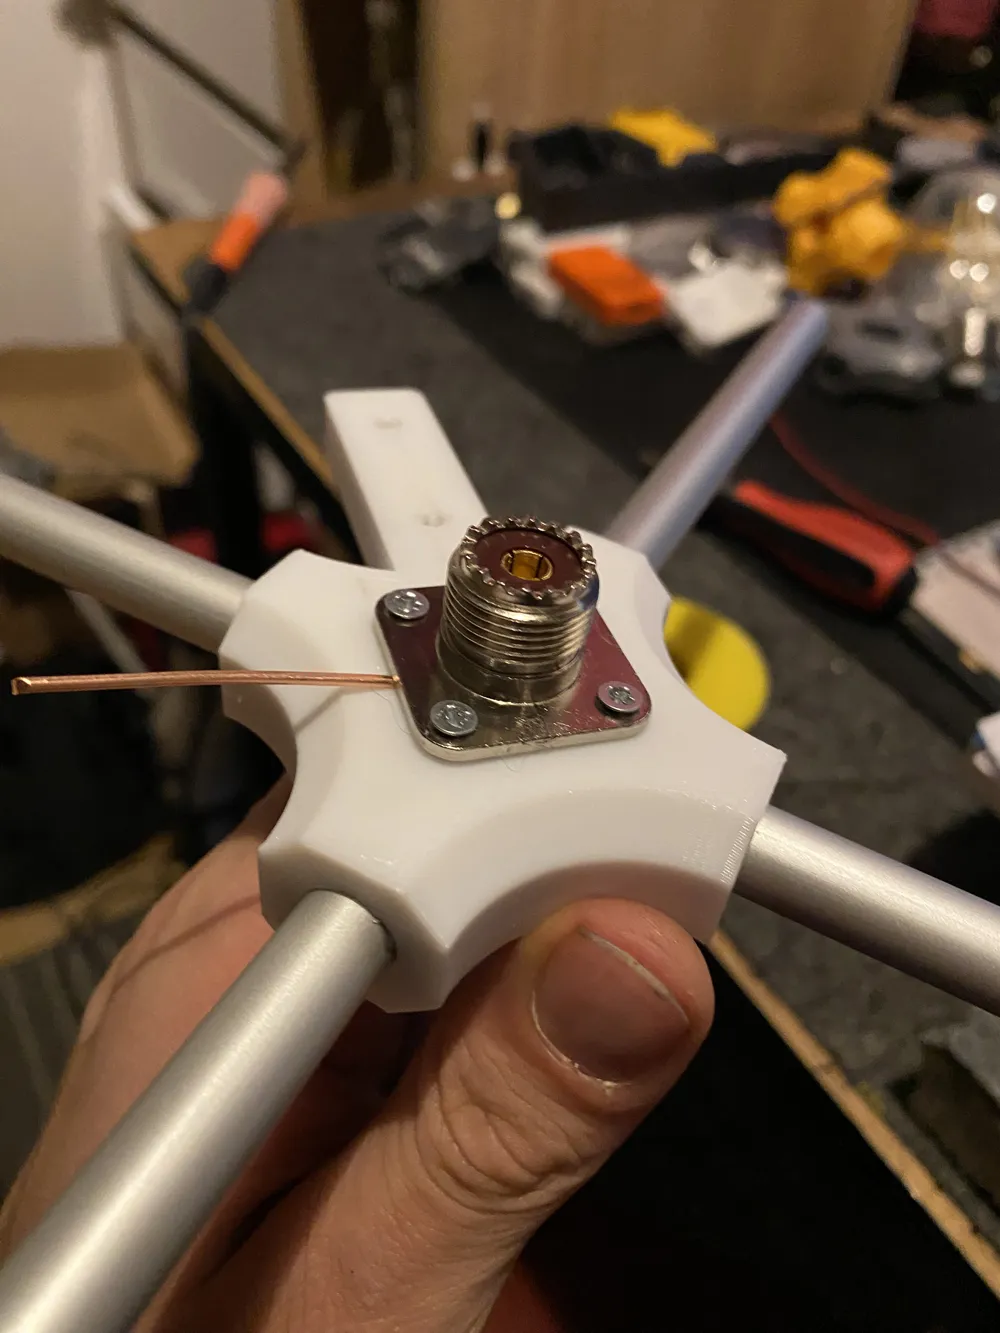
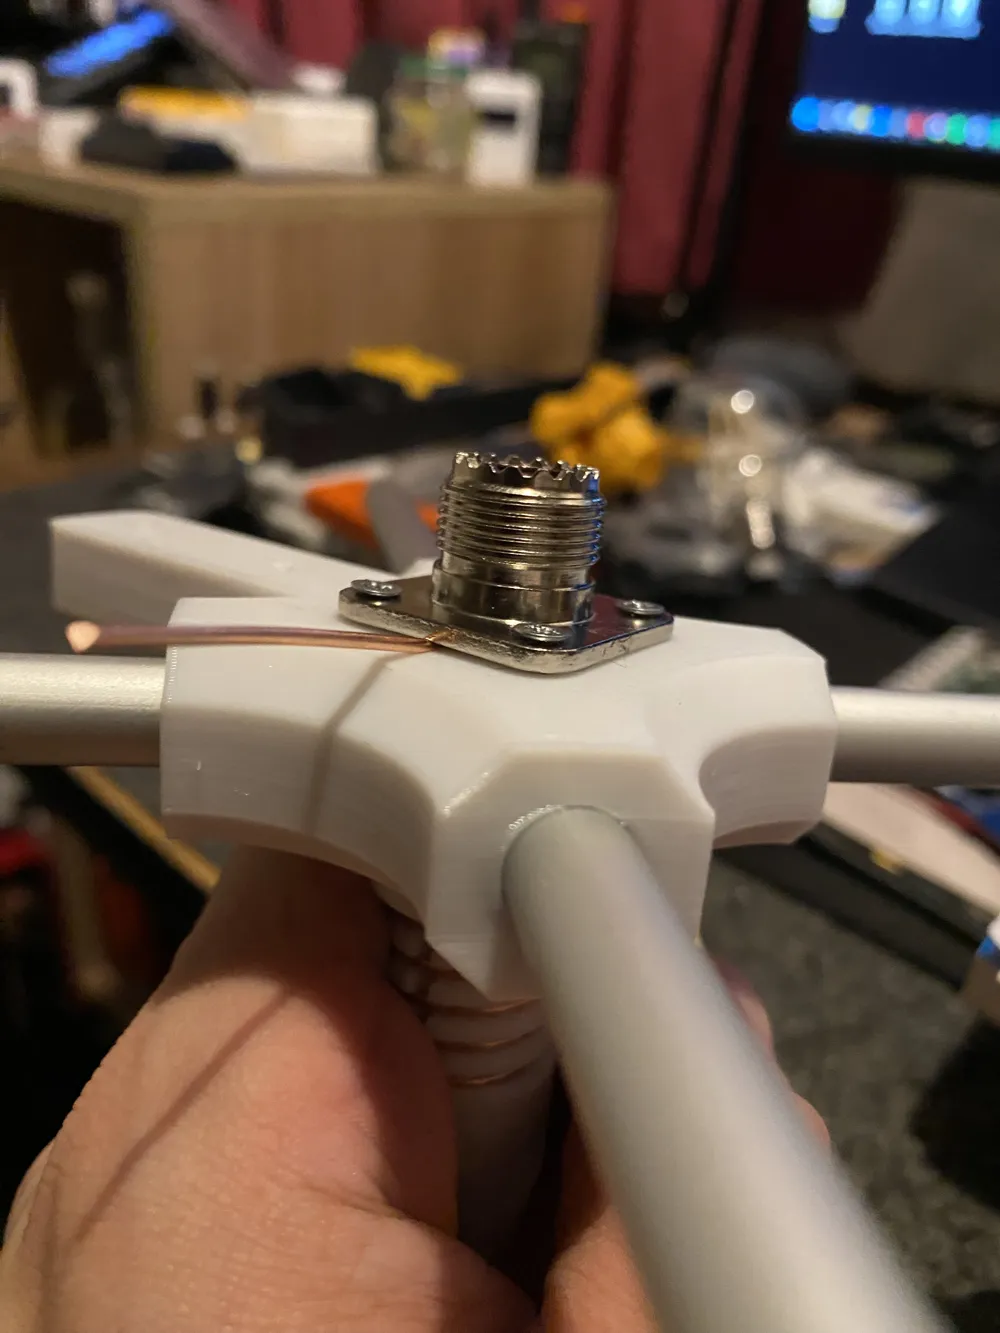
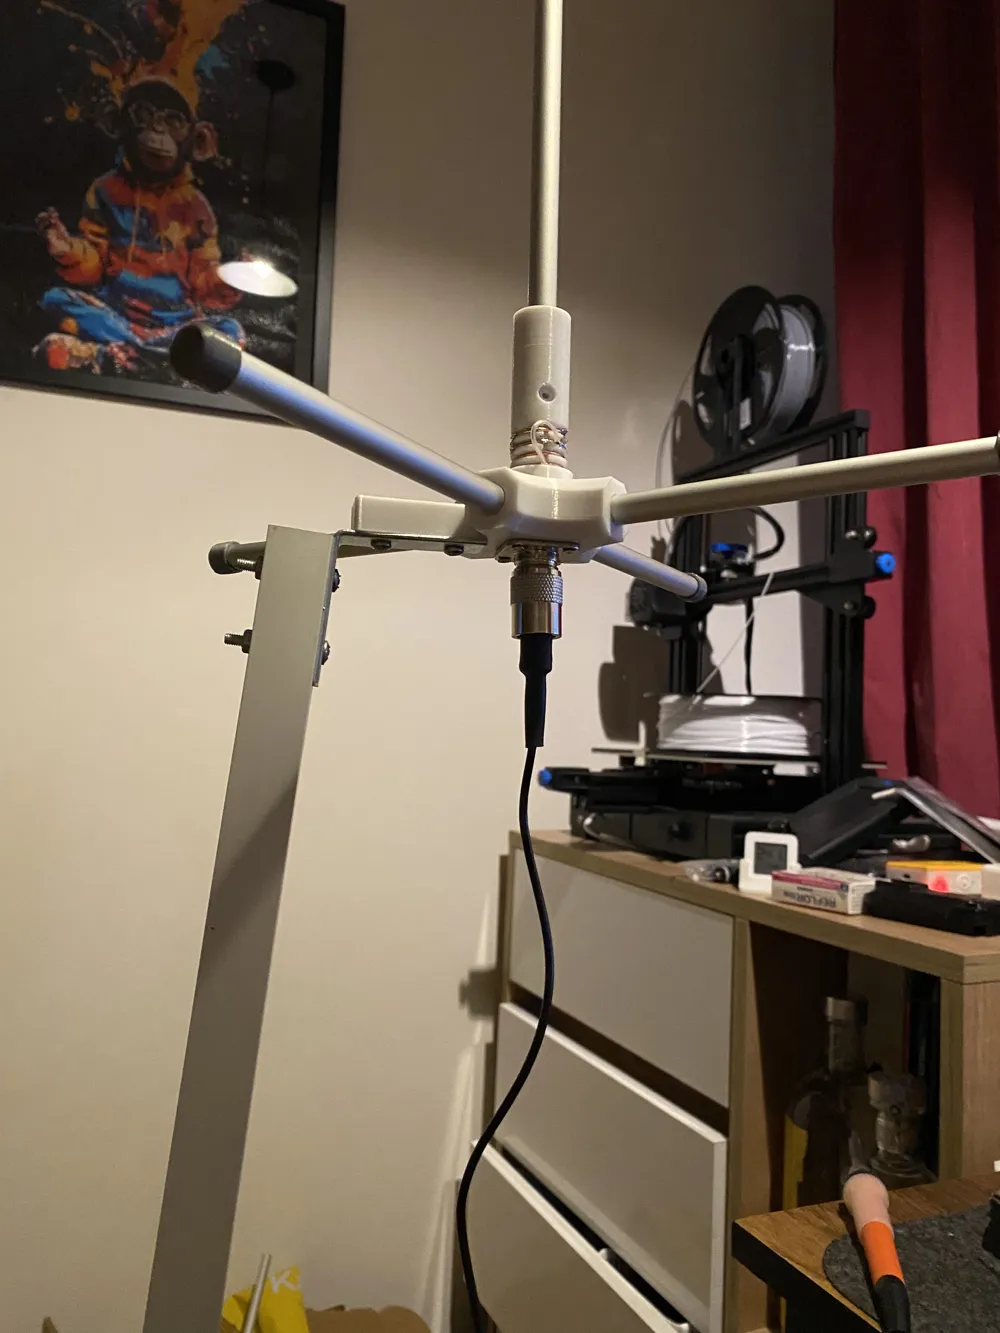
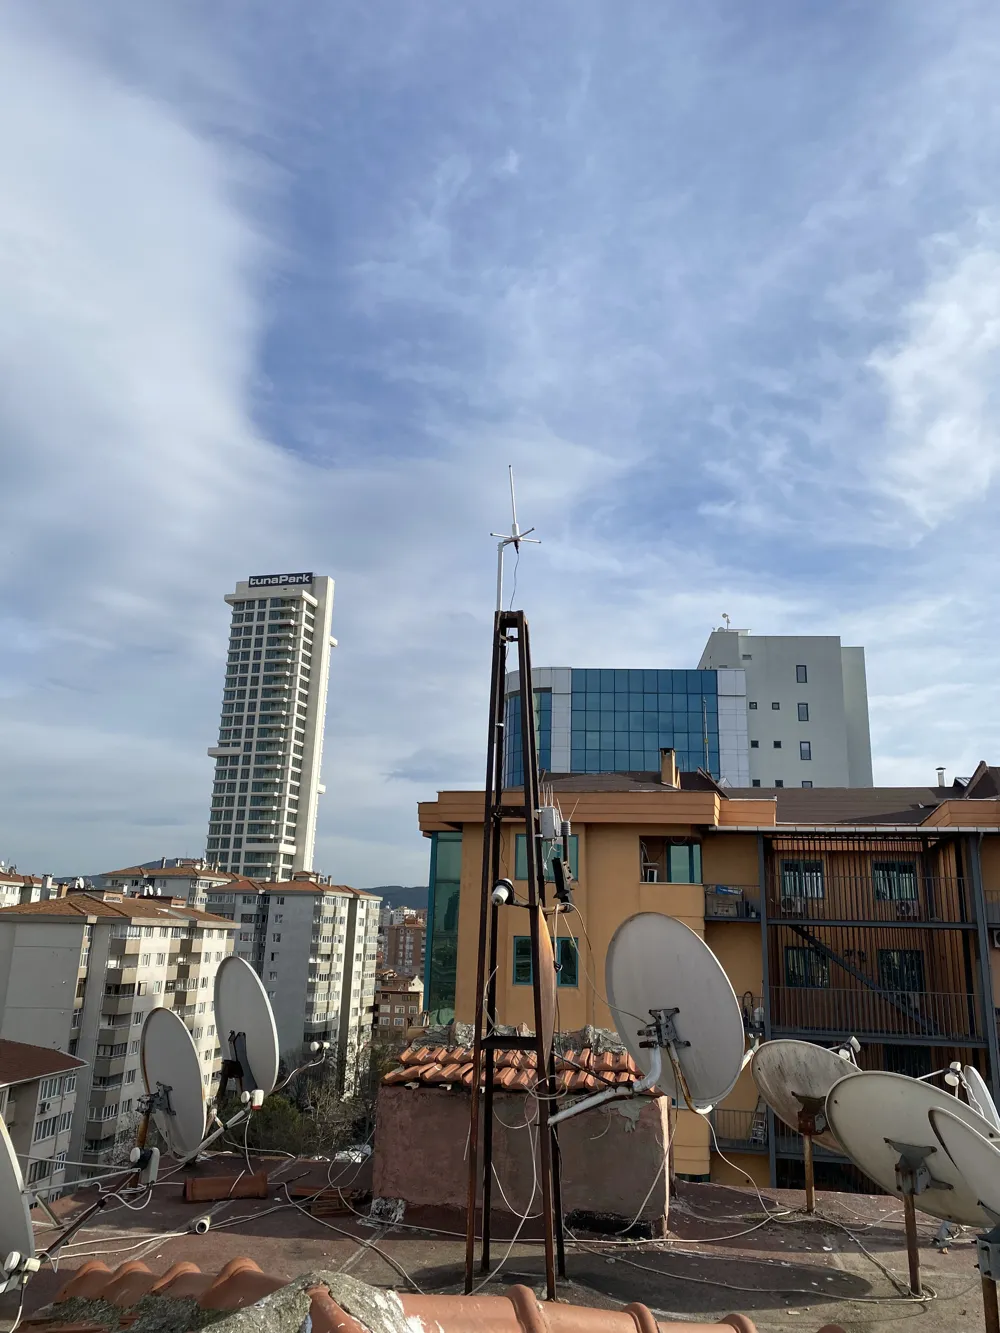
Print Profile(0)
Add the first print profile to earn points
Boost
28
56
0
0
40
8
Released
Description
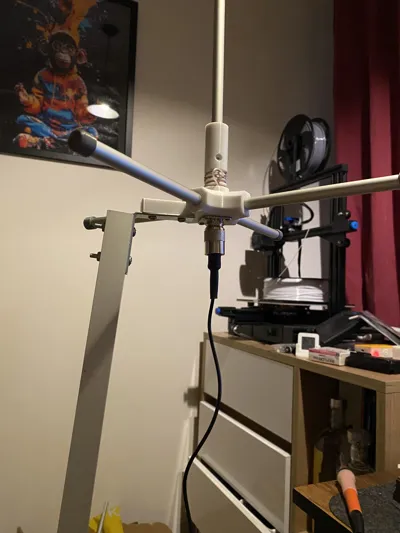
🛠 Bill of Materials (BOM)
Durability is the priority in this project.
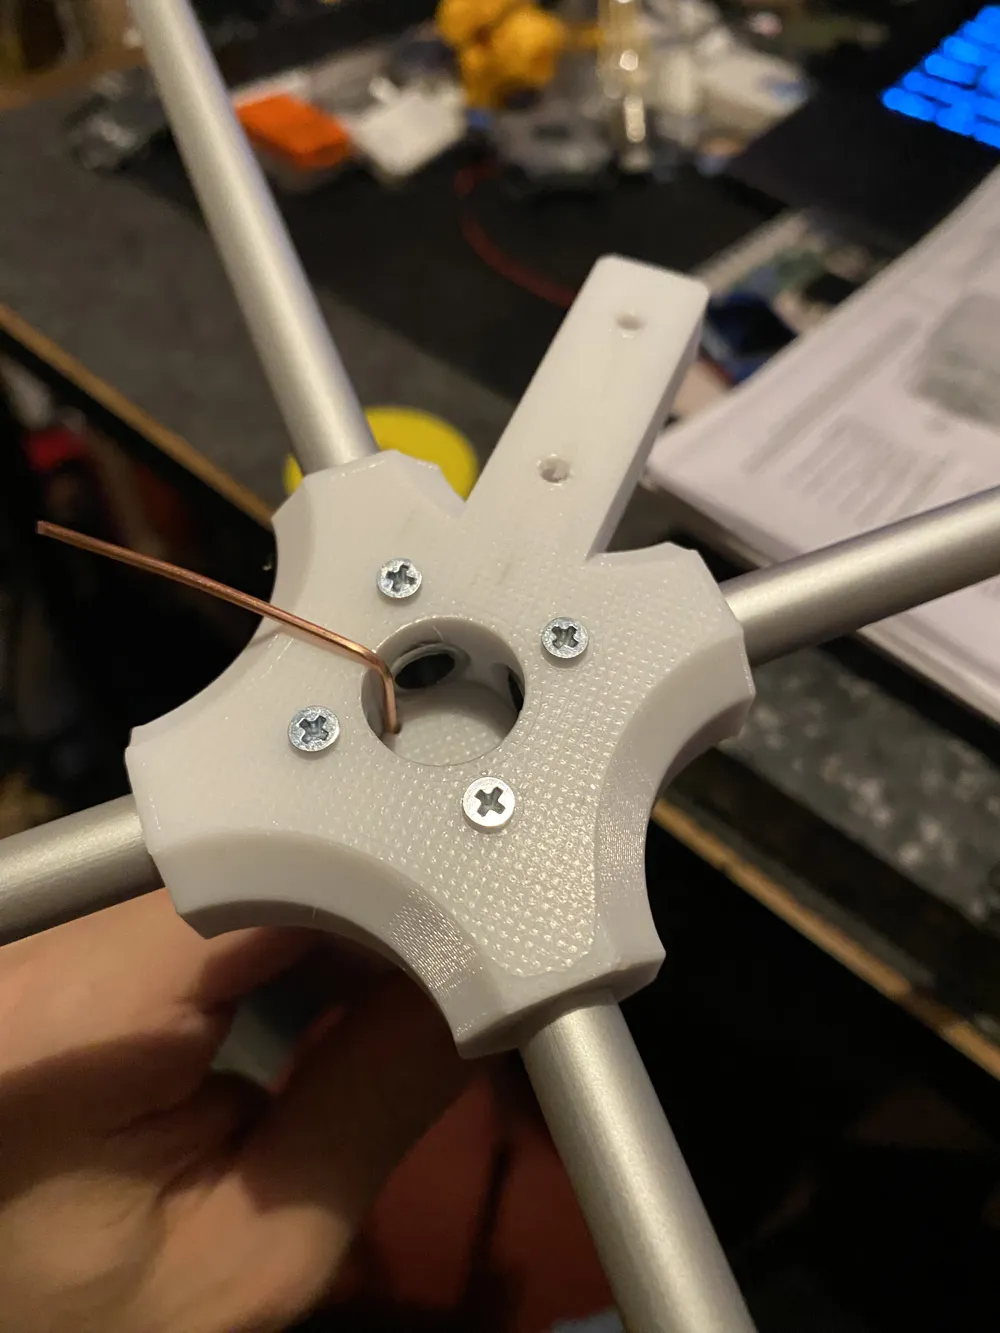
- Antenna Elements: 10mm Diameter Aluminum Pipe (Standard hardware store tubing).
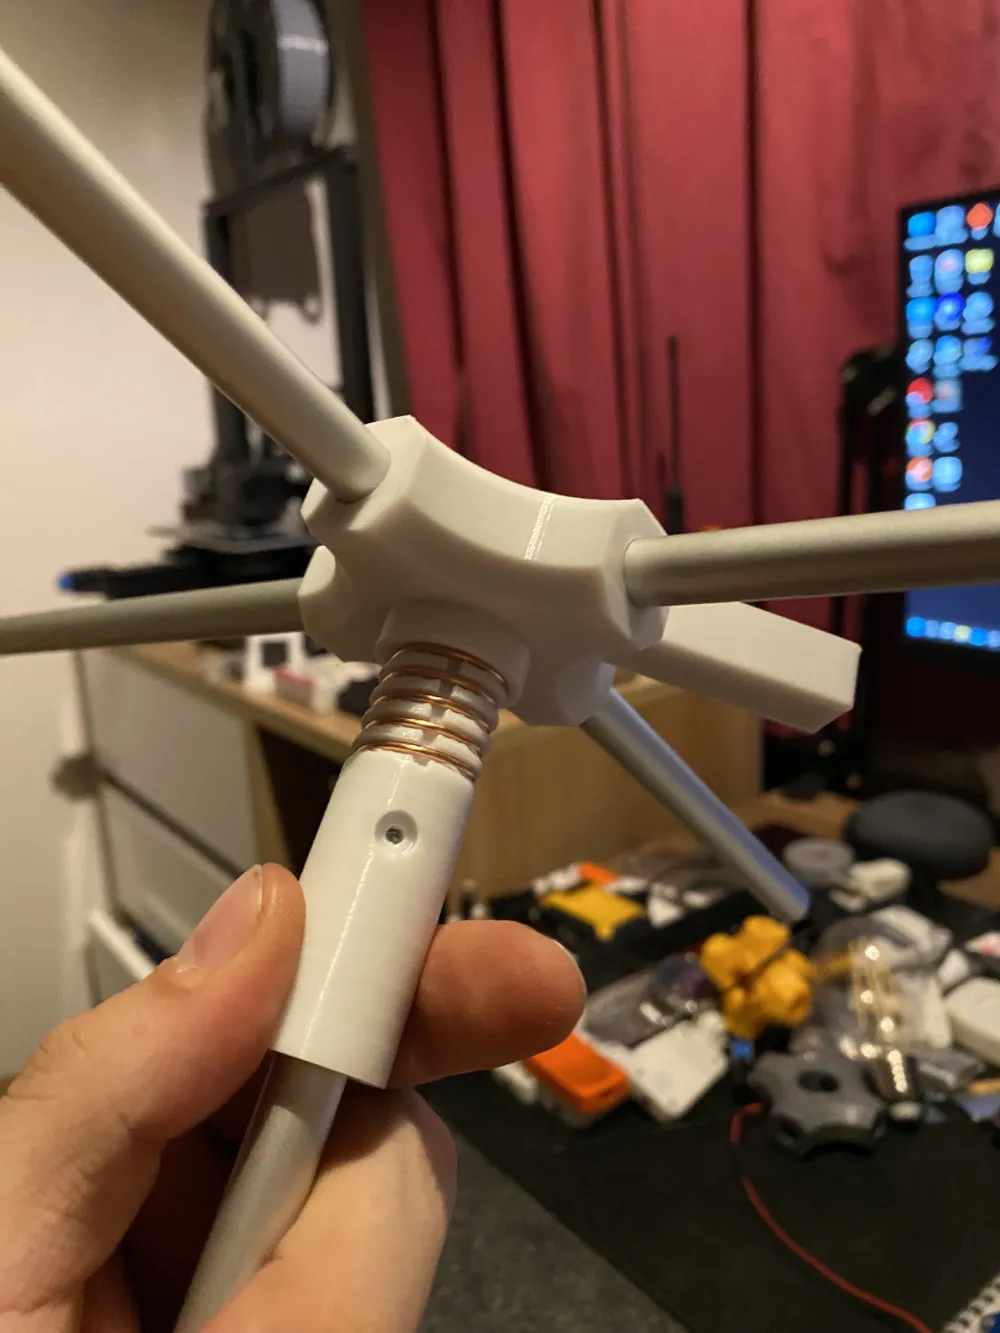
- Coil Wire: 1.5mm thick solid core copper wire (NYA).
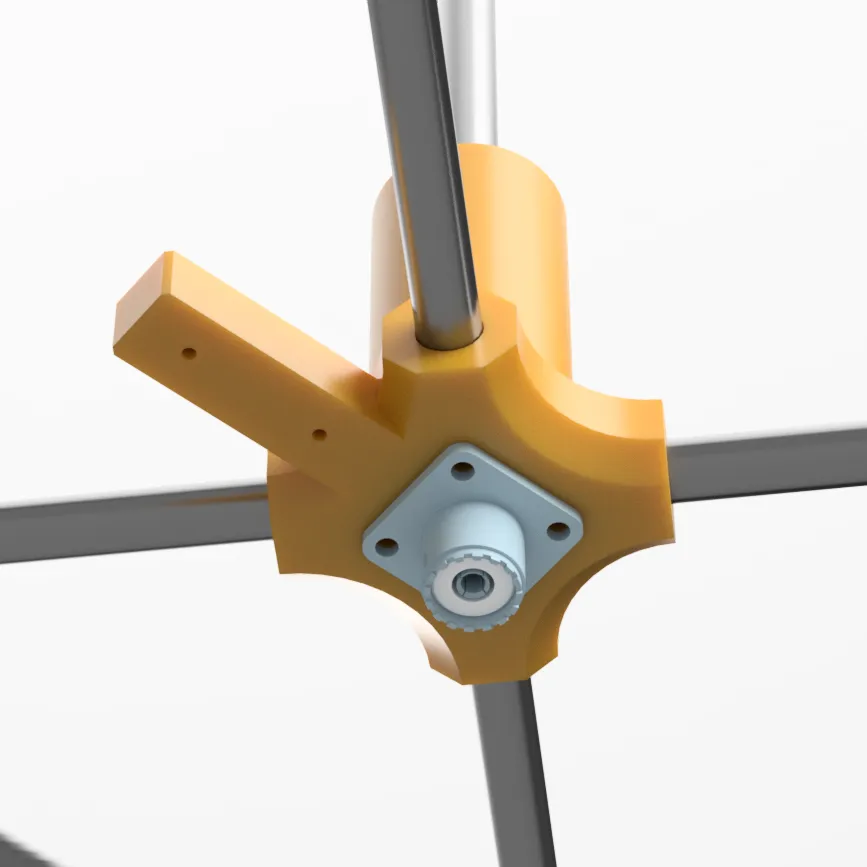
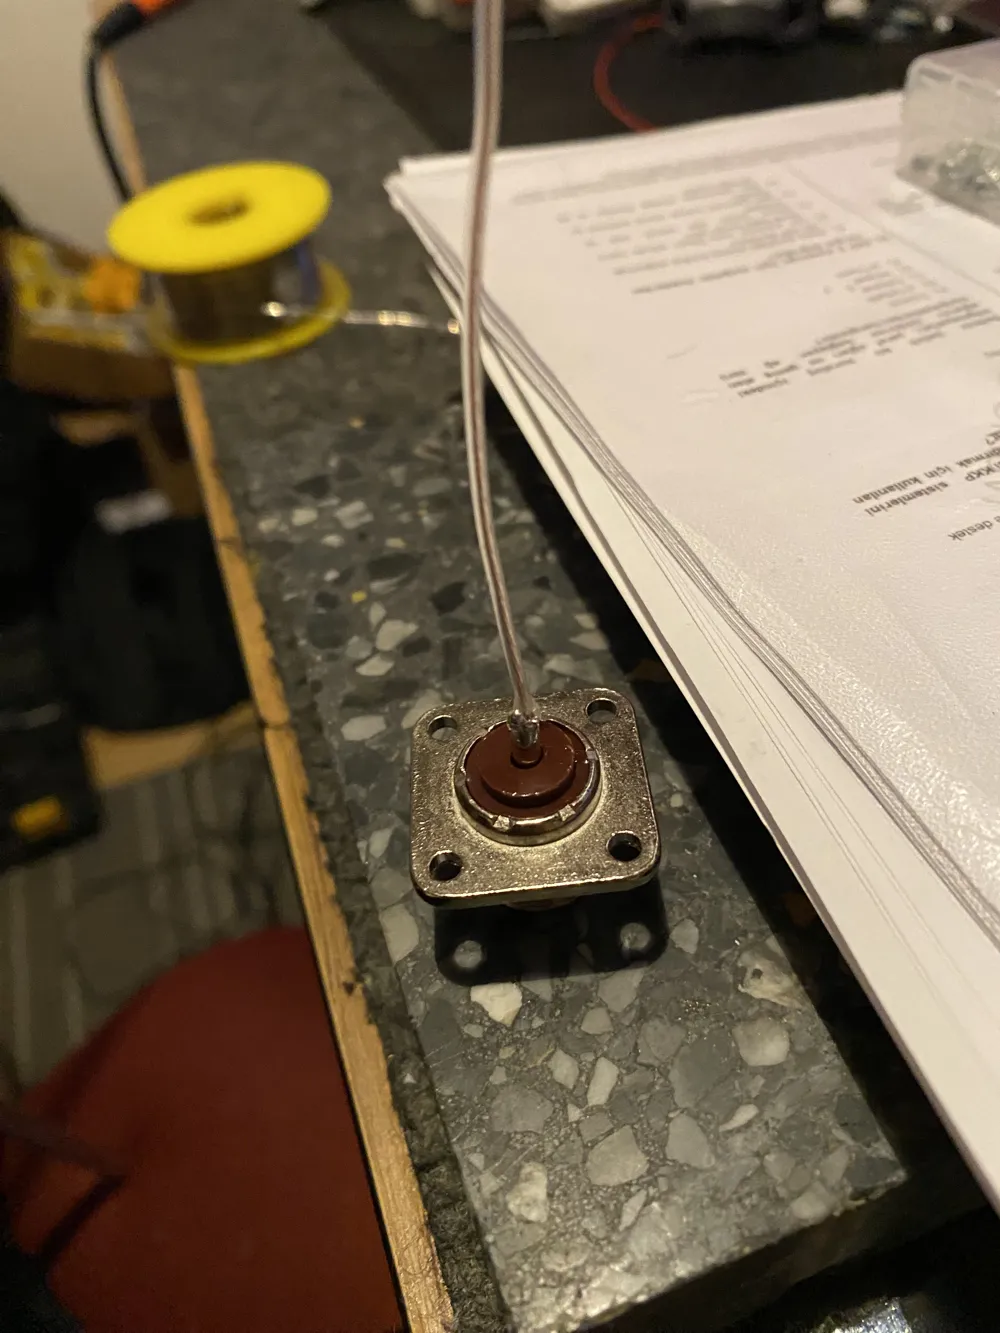
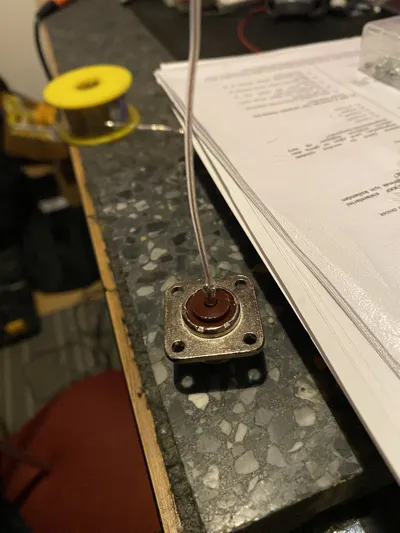
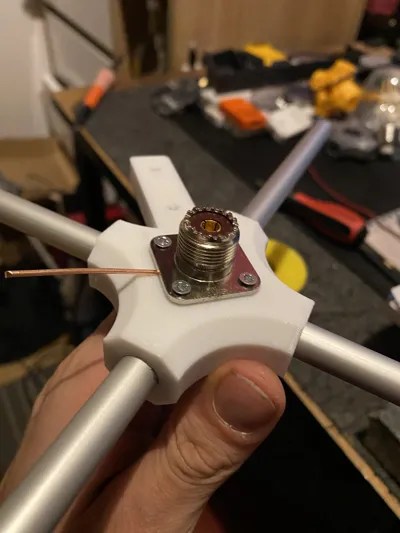
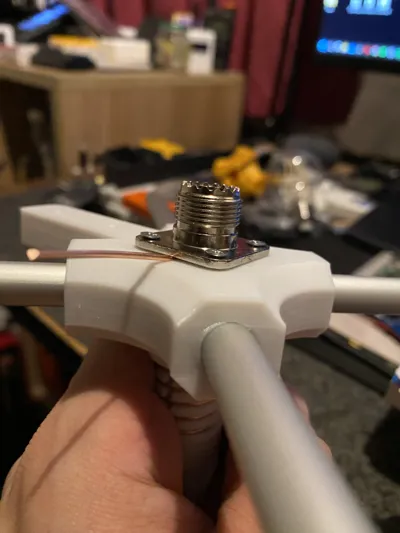
- Connector: SO239 Chassis Mount Connector + a piece of RG174 Coax.
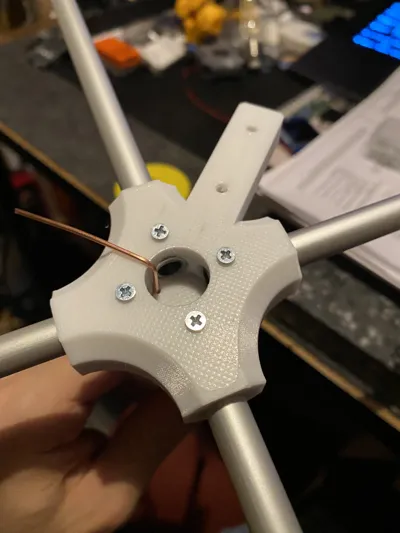
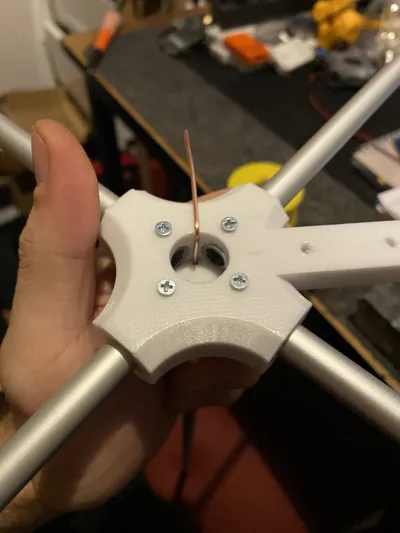
- Screws: M2.5 Screws (For assembly).
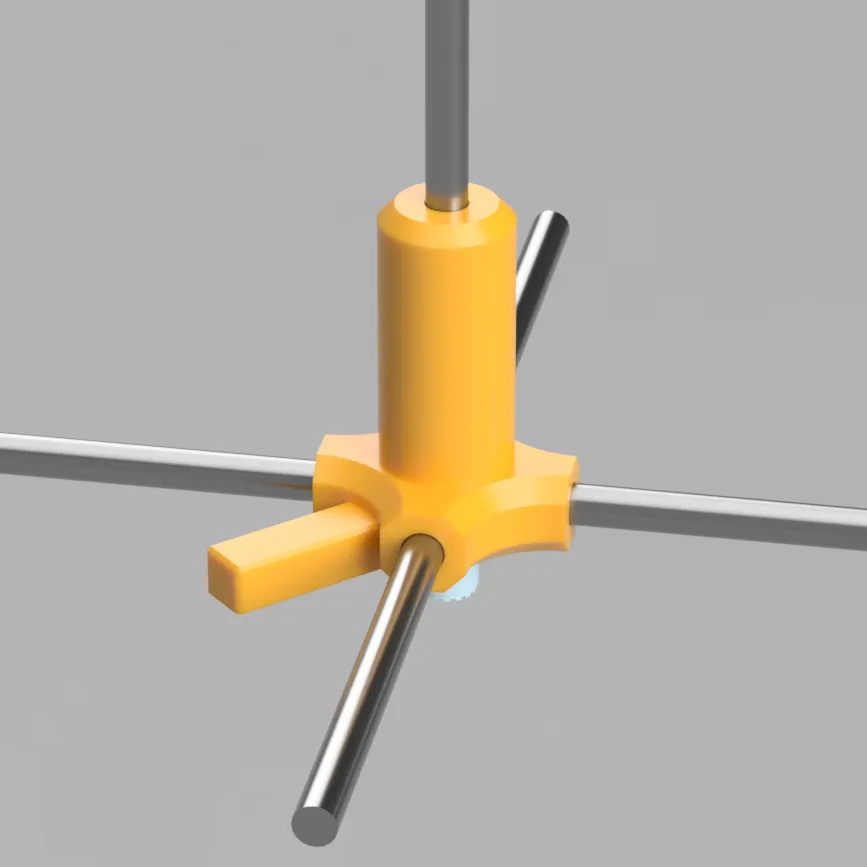
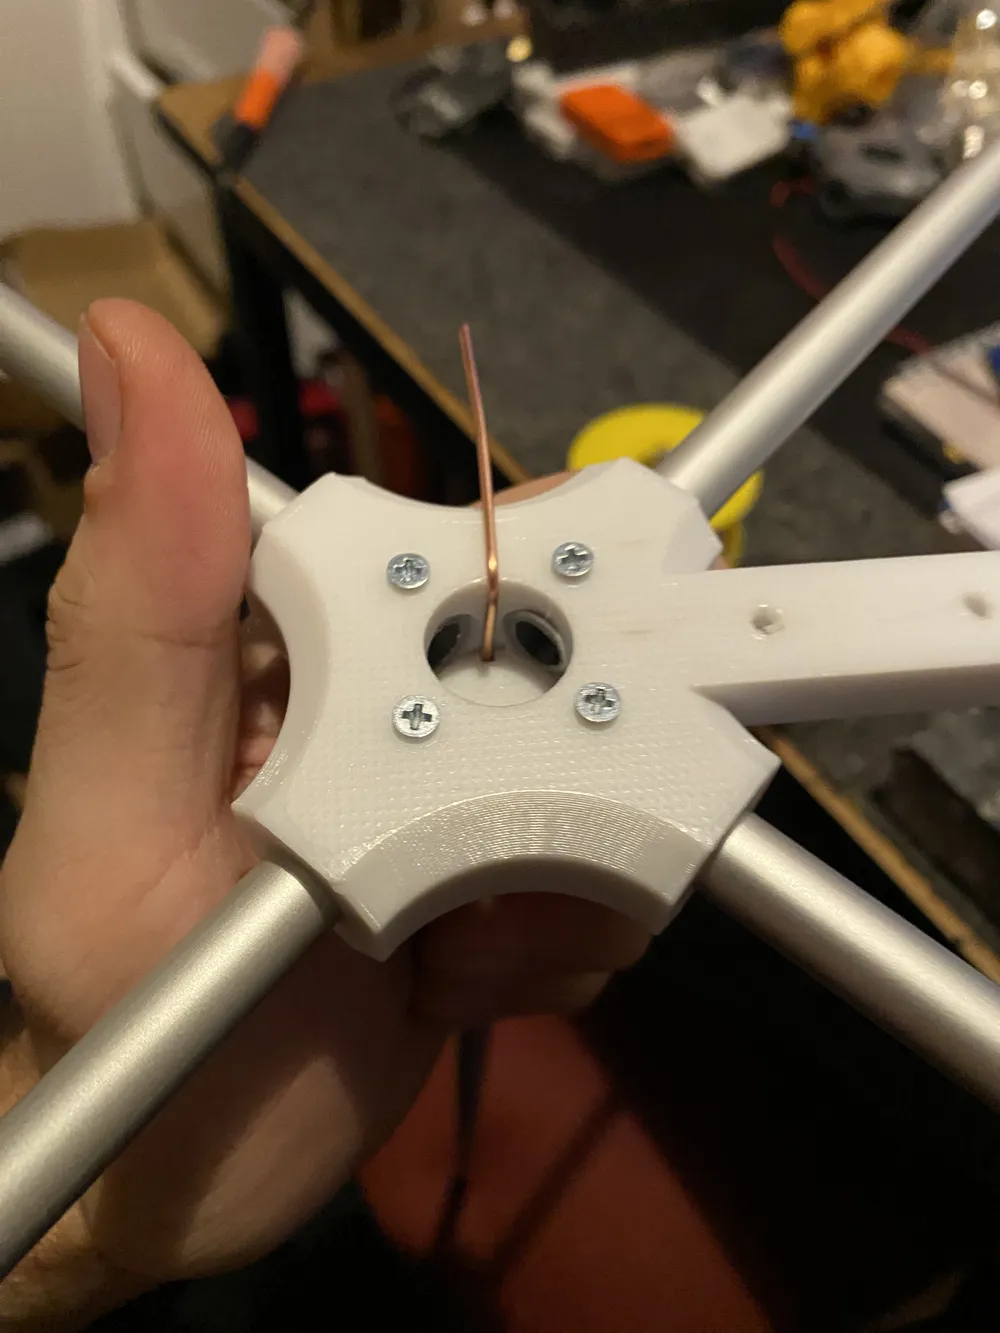
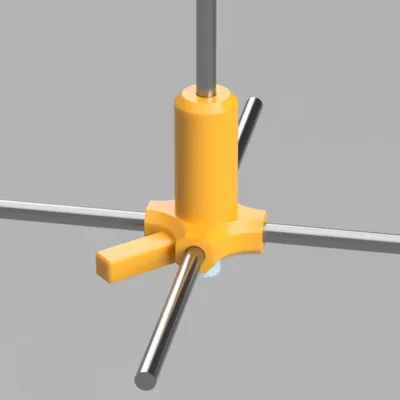
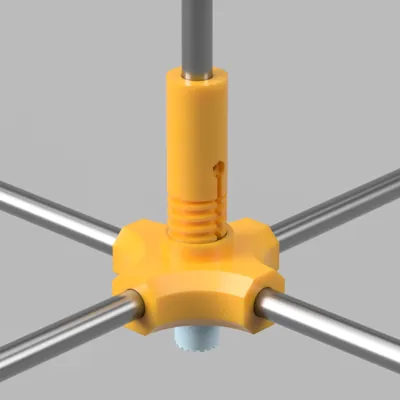
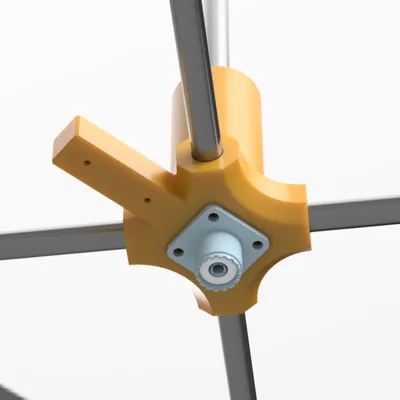
- 3D Printed Parts: 5x Pipe Caps and the Main Body.
- Insulation: Liquid Gasket and Self-Amalgamating Tape.
📏 Critical Dimensions (The Golden Ratios)
These measurements are our starting point for resonance.
- Radials (GND Rods): 4 pieces x 142 mm. (These are fixed, do not cut them).
- Active Radiator (Top Element): Start with 430 mm. (Will be trimmed during tuning).
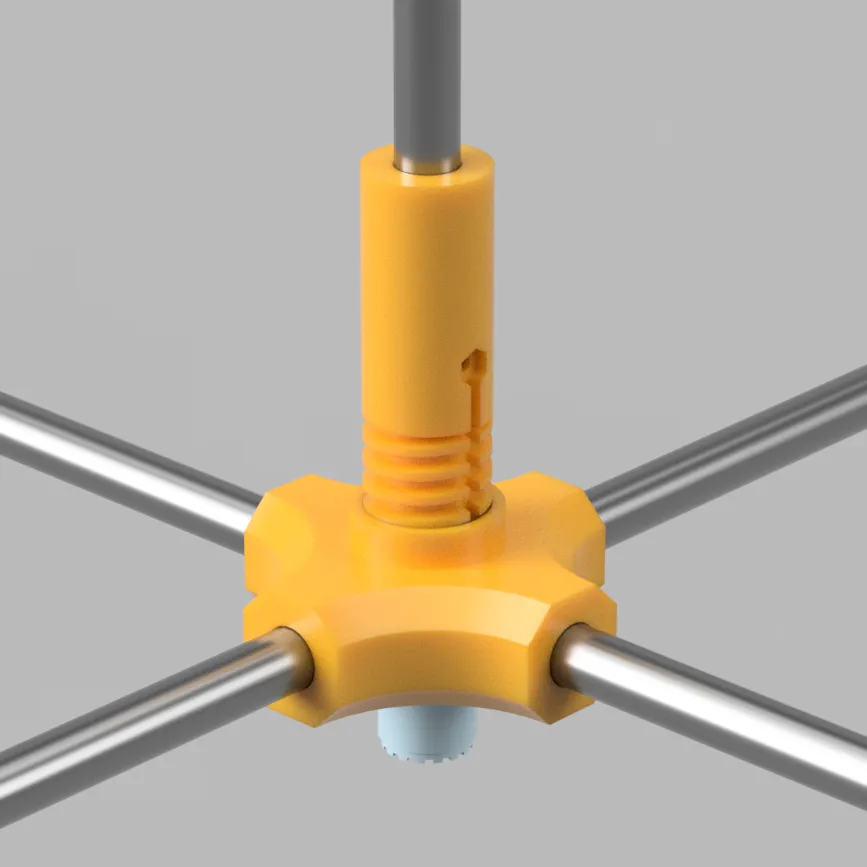
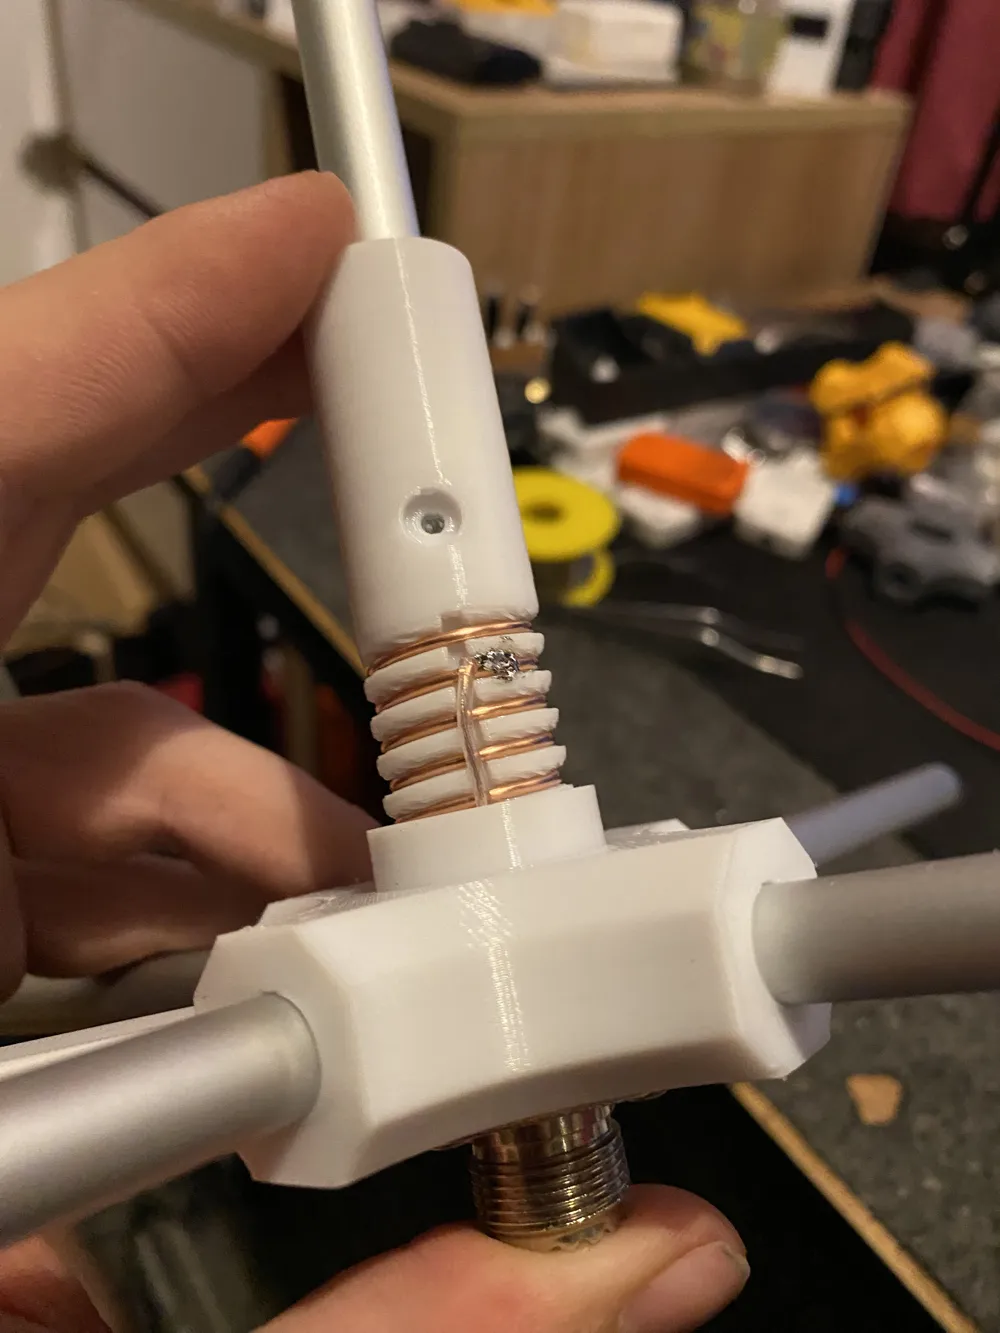
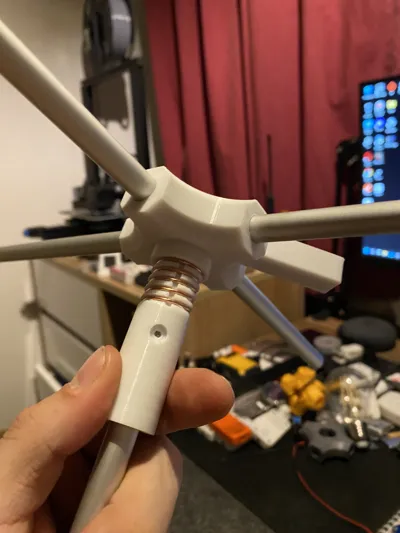
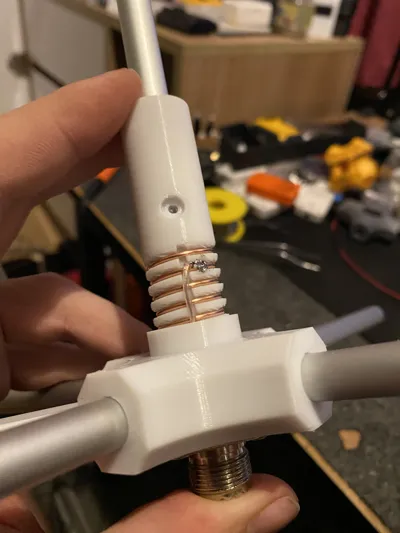
- Coil: 4 Turns total on an 18mm diameter form.
⚙️ Step-by-Step Assembly & Coil Logic
The heart of this antenna is the coil connection. We will use the "Tapped Coil" method to match the impedance to 50 Ohms.
- Mechanical Assembly:
- Insert the aluminum pipes into the 3D printed parts.
- Drill pilot holes using a 2mm drill bit to secure them.
- Since aluminum is soft, drive the M2.5 screws directly into these holes to cut their own threads. This ensures a rock-solid mechanical connection.
- Coil & Connections (The Trick):
- Wind 4 full turns of the 1.5mm solid wire.
- Ground Connection: The bottom end of the coil must connect to the 4 radials (GND).
- Live Tip Connection (Tap Point): Solder the center core of the RG174 cable exactly to the 1.5th turn counting from the bottom. (The remaining 2.5 turns continue upwards to the active radiator).
🎯 Tuning (SWR Adjustment)
When you first assemble the antenna, the frequency will likely be around 420 MHz (too low).
- Connect your NanoVNA.
- Start trimming the Active Radiator (the 430mm pipe) millimeter by millimeter or use a file/sandpaper.
- Stop immediately when you see the SWR "dip" point sitting perfectly at 433 MHz.
💧 Final Touches (Waterproofing)
- Seal all joints, screw heads, and gaps on the antenna body with Liquid Gasket.
- Wrap the coaxial connector connection with Self-Amalgamating Tape (Self-fusing tape) for a watertight seal.
73, TA2DMX cc: deeplabstudio.com
License

This user content is licensed under a
Creative Commons Attribution-Noncommercial-Share Alike


Comment & Rating (0)