Event Horizon: Black Hole Marble Run


Print Profile(3)


Bill of Materials


Description
Capture the Invisible
🆕 NEW: Want a mini version? Check out the new Singularity Kit Card!
https://makerworld.com/cs/models/2320012-event-horizon-singularity-kit-card
Gravity is the sculptor of the universe. This model allows you to freeze a fleeting cosmic moment—a star collapsing into a singularity—and place it on your desk. It is not just a kinetic toy; it is a piece of interactive art that visualizes the terrifying elegance of an event horizon.
Whether you are a space enthusiast, a physics teacher, or a maker who appreciates smart engineering, this model transforms abstract astrophysical concepts into a tangible, mesmerizing experience.
Watch the marble orbit, accelerate, and vanish into the void. Total runtime is aproximately 14 seconds (yes, that GIF is not slowed down).

The Concept & Mechanics
The design captures the geometry of spacetime distortion. The gold line tracing the spiral represents the stream of matter being stripped away from the star, while the marbles add kinetic energy to the scene.
The entire structure relies on tension and friction. It is designed to be printed flat and then assembled into a complex 3D gravity well without using any hardware. Check the photo where Through the magic of printing two of them, you can see the principle.

Born from weeks of prototyping and testing (and kilos of filament), this model was designed entirely from scratch. My goal was to challenge the limits of FDM printing—turning a simple flat print into a complex, functional gravity well.

Design & Visual Features
- Gravitational Lensing: The accretion disks are printed flat and then bent during assembly. This tension creates the specific curvature that mimics the light-bending effect seen around massive black holes.
- Cosmic Texture: The print profile uses "Fuzzy Skin" on the gold spiral and the star to simulate cosmic dust. This matches the texture of the accretion disks, which pick up the grain from the Textured PEI Plate.
- The Void: Looking from above, the bottom of the track has no top or bottom shells. This reveals the internal "Octagram Spiral" infill pattern, creating a geometric web that flows visually into the dark center.
Flat-Pack Engineering: The spiral is suspended only from the top supports. It hangs freely, shaped by gravity, support rods and its own tension.

Print Info & Profiles
- Time: Approx. 4h 17m.
- No Supports: The model is optimized to print without supports. There are few mouse ears brims, please remove after printing.
- Marbles: There are marbles in the print profile, or you can use 8mm marbles you already own.
- Material:
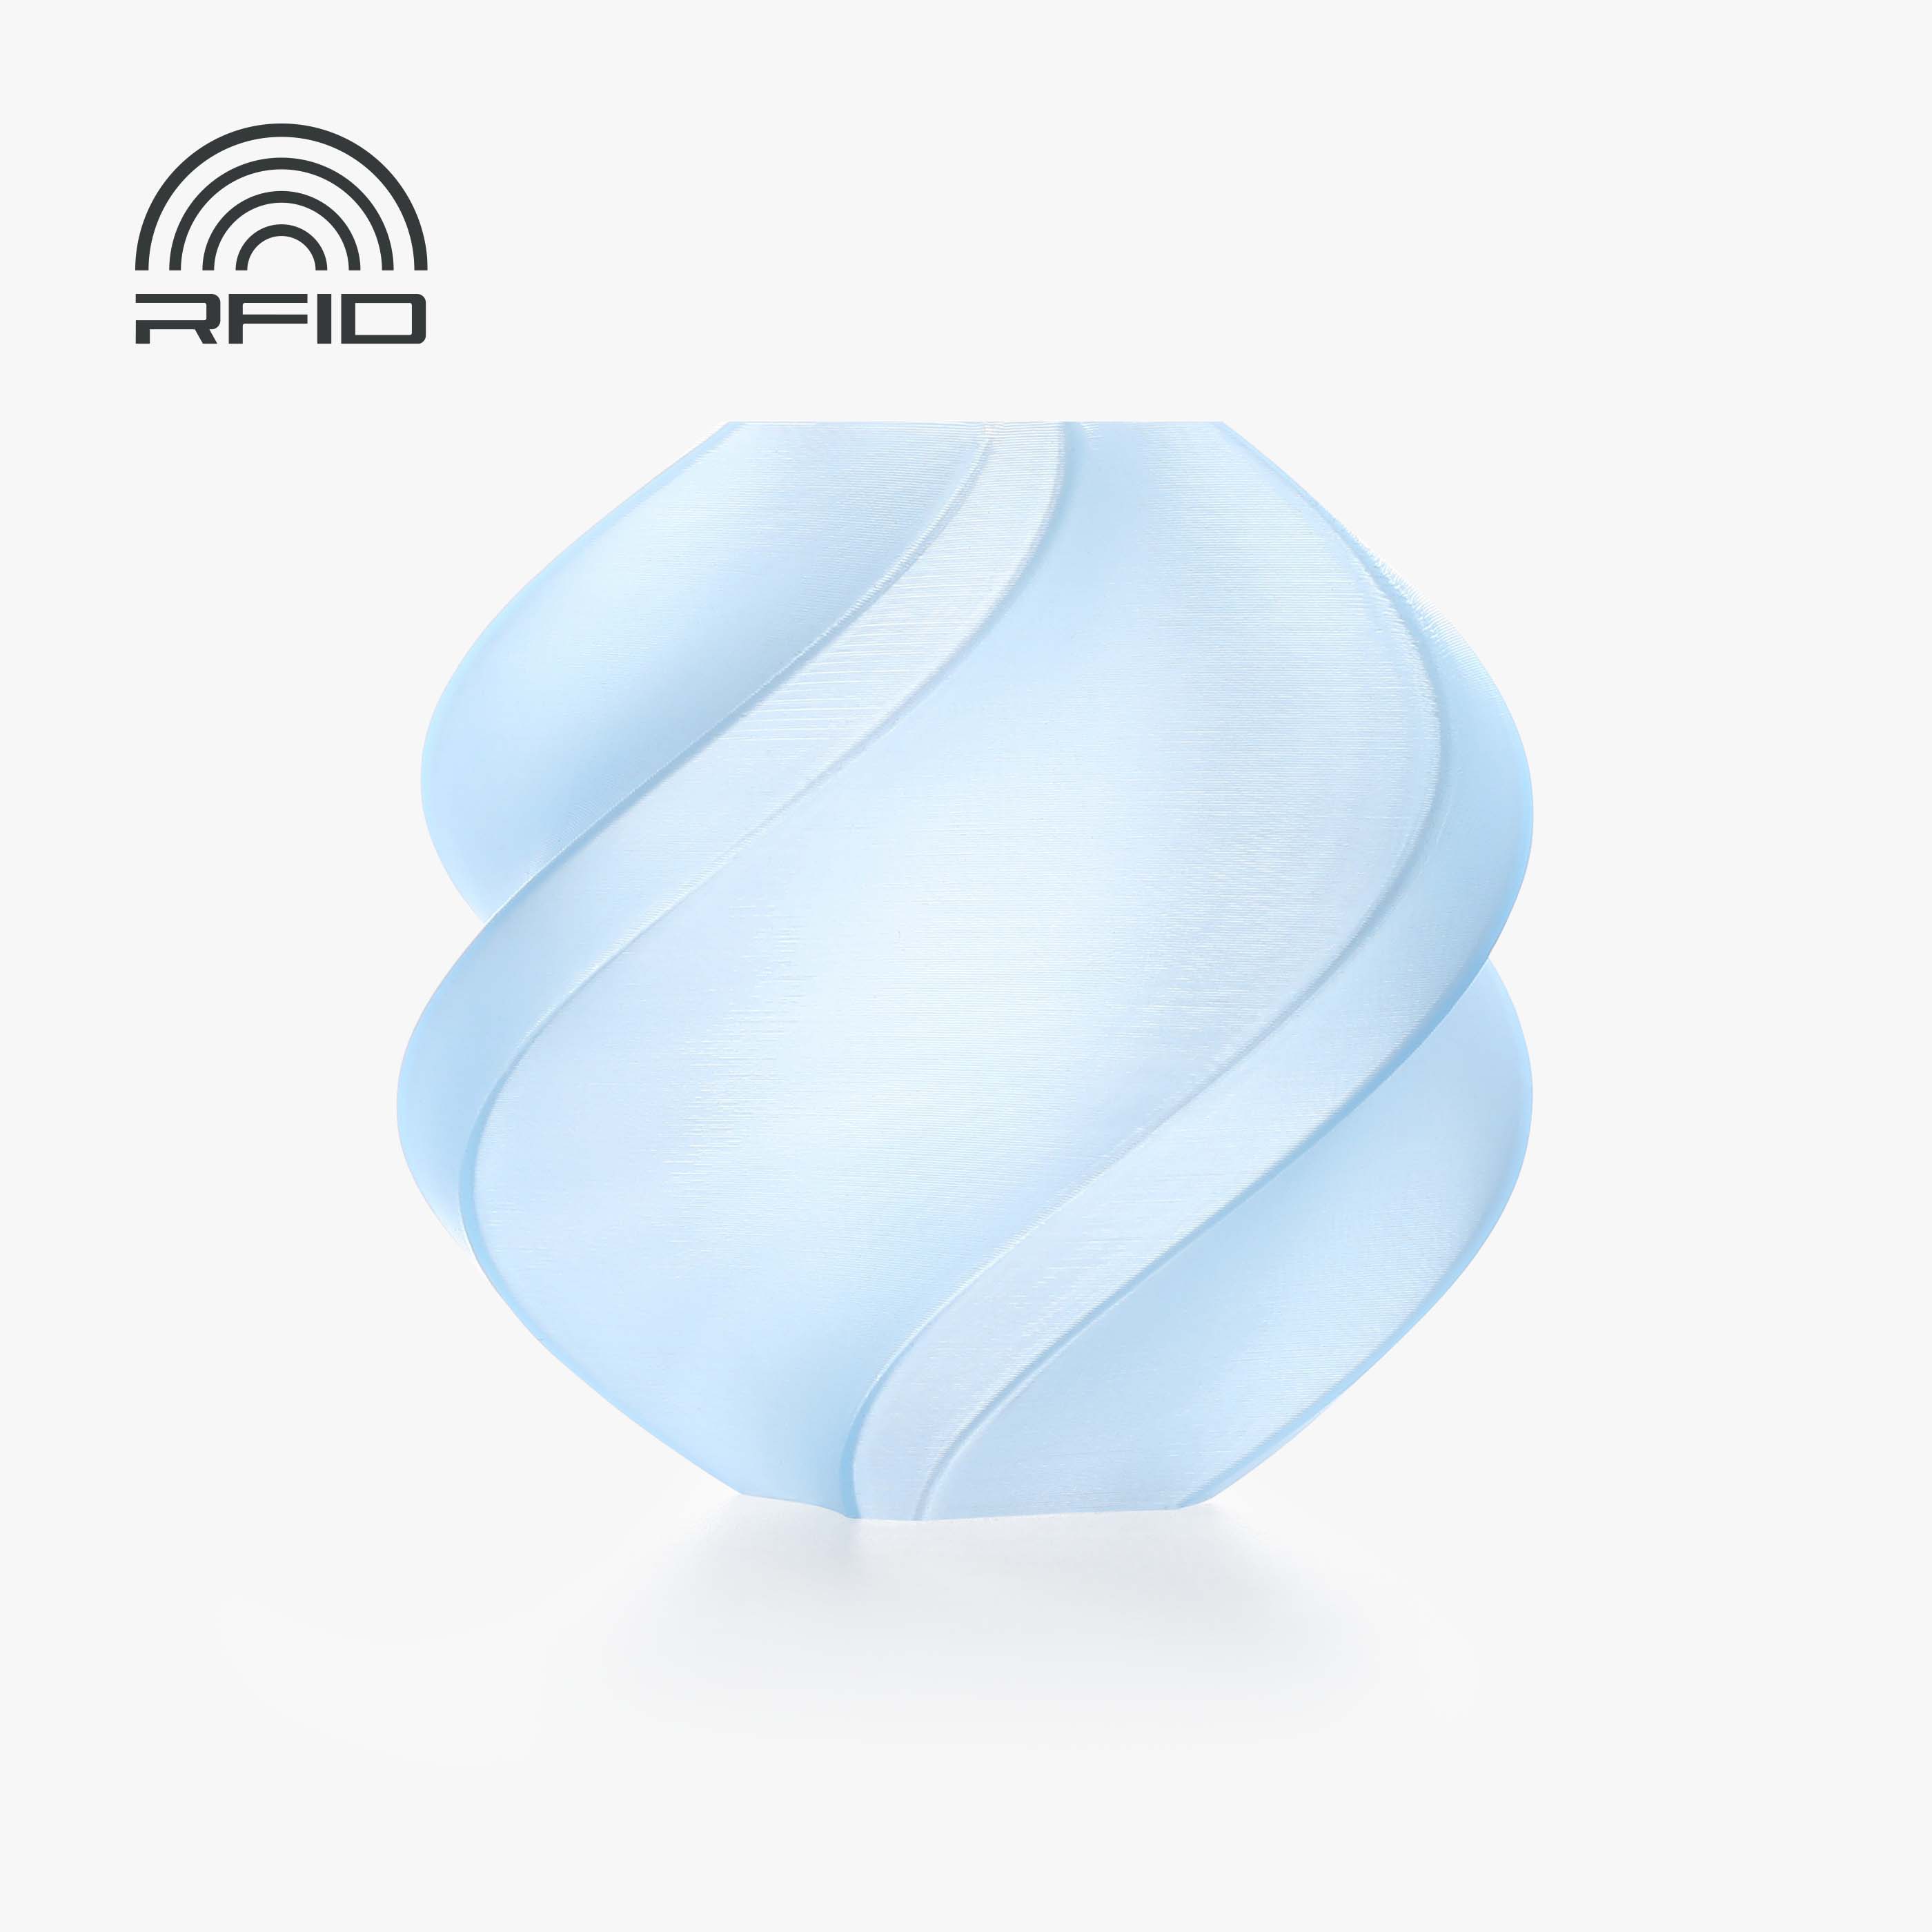
- My Print: I used Bambu PLA-CF Black (structure), Bambu PLA Silk+ Gold (spiral/disks/marbles), and Bambu PLA Translucent Icy Blue (photon beam).
- Alternatives: I tested also Standard PLA Basic and works perfectly fine too.
Included Print Profiles: I have organized the files into two main profiles based on your printer size:
- 🖥️ Standard Printers (A1/P1/X1): Full set on 4 Plates.
- 🐣 A1 Mini: Full set optimized for the smaller bed on 5 Plates.
⚠️ Important - Choose the right Spiral Plate: Inside each profile, ensure you print only the spiral version that matches your setup:
- Plate 2 (Spiral AMS): Use this if you have an AMS. It prints the gold line automatically.
- Plate "Spiral NO AMS" (Plate 4 or 5): Use this plate if you don't have AMS. It contains a pre-set PAUSE. The printer will pause at the horizon line layer so you can manually swap from Black to Gold filament.
Important Settings: Please keep the custom modifiers (infill, fuzzy skin, walls) in the profiles. Resetting to defaults will ruin the visual effects.
- Plate: A Textured PEI Plate is highly recommended for the correct surface finish on the disks.
Assembly Guide
📺 Watch the Build Video: I have uploaded a full step-by-step video guide showing the real-world assembly. I highly recommend watching it to see the exact technique for locking the spiral.
1. Base & Core
- Take the Stand. Orient it so the inner spiral end faces Back and the outer end faces Left.
- Insert the Shorter Beam into the Stand.
2. Building the Bottom Stack
- Slide the Slide/Chute onto the beam (ensure it sits correctly on the hexagon).
- Slide on the Disk Holder.
- Slide on the Black Hole Bottom Half.
- Critical Check: Look inside the central hole. The transition from the Black Hole bottom to the Slide below must be smooth.
- Insert the Centering Pin.
3. Accretion Disks
- Place the Bottom Disk and then the Top Disk onto the stack.
- Ensure the textured side faces UP and the marble path is clear.
4. Top Assembly (Prepare Separately)
- Take the Black Hole Top Half and insert the 3 Spiral Supports into their slots.
- Orientation (All Supports): The small stop/notch for the spiral at the top must face OUTWARDS.
- Groove Side: Insert the support with the friction tab (tab faces INWARDS).
- Rear: Insert the support with the hook (hook faces BACKWARDS).
- Left: Insert the plain support.
- Slide this top assembly onto the main Beam and snap it together with the Bottom Half.
5. Installing the Spiral
- Clip the top of the flat spiral onto the three support ends. The start of the track (the longest end) must be on the Right.
- Gently stretch the spiral downwards.
- Locking: Slightly LIFT the right support (the one with the friction tab), push the spiral end into the groove, and push the support back DOWN to lock it.
- Secure Fit: The spiral is designed to snap in. However, if it feels loose or pops out due to print tolerances, simply apply a tiny drop of superglue to the connection point to secure it permanently.
- Troubleshooting: If the marble jumps at the transition into the hole, check if the spiral end is fully seated and aligned.
6. Finalizing
- Clip the Collapsing Star onto the extended end of the Right support.
- Insert the Top Beam into the center (decorative).
- Pop-Up Shape: Bend the rear disk UP to engage the hook. Bend the bottom disk DOWN to engage its stop.
7. The Marble
- The marbles are printed as two hemispheres.
- Insert a piece of raw 1.75mm filament into one hemisphere, press the other hemisphere onto it tightly, and snip the excess filament flush with side cutters.
- Pro Tip (Fit): If the filament feels too loose inside the hole, use pliers to slightly crimp the filament surface. If it still doesn't hold, add a tiny drop of superglue to the filament piece before connecting the halves.
- Launch: Drop the marble into the Collapsing Star at the top and enjoy the event horizon.
💡 Note on Assembly & Tolerances: The model is designed for a friction fit to avoid the need for glue. However, tolerances can vary depending on your printer calibration and filament brand (especially Silk PLAs).
- Loose Fit? If the parts (spiral lock or marble halves) feel too loose, feel free to use a small drop of superglue on the joints for a permanent, rock-solid assembly.
🚀 Share Your Event Horizon I love seeing your results! If the print went well, please upload a photo. And if you really enjoyed the model, please consider clicking the Boost button below. It supports my work and helps me design more physics toys.
Boost Me (for free)
🚀 Escape the Void! Don't let this model get lost in the MakerWorld void! If you find the experience interesting, please consider giving it a Boost. It helps the model stay visible and motivates me to design more complex kinetic toys. Thank you!
💼 Commercial Licensing: Want to sell physical prints of this model? Please send me a private message for license details.
License
You shall not share, sub-license, sell, rent, host, transfer, or distribute in any way the digital or 3D printed versions of this object, nor any other derivative work of this object in its digital or physical format (including - but not limited to - remixes of this object, and hosting on other digital platforms). The objects may not be used without permission in any way whatsoever in which you charge money, or collect fees.
Comment & Rating (92)