
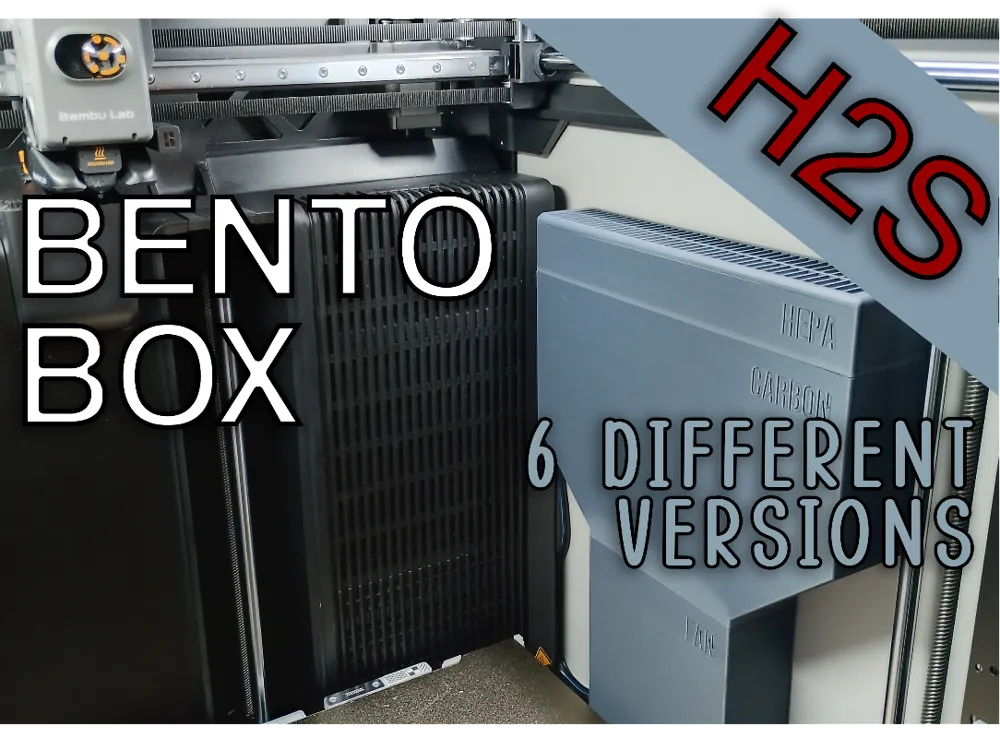
H2S Bento Box
Print Profile(1)

Bill of Materials




Description
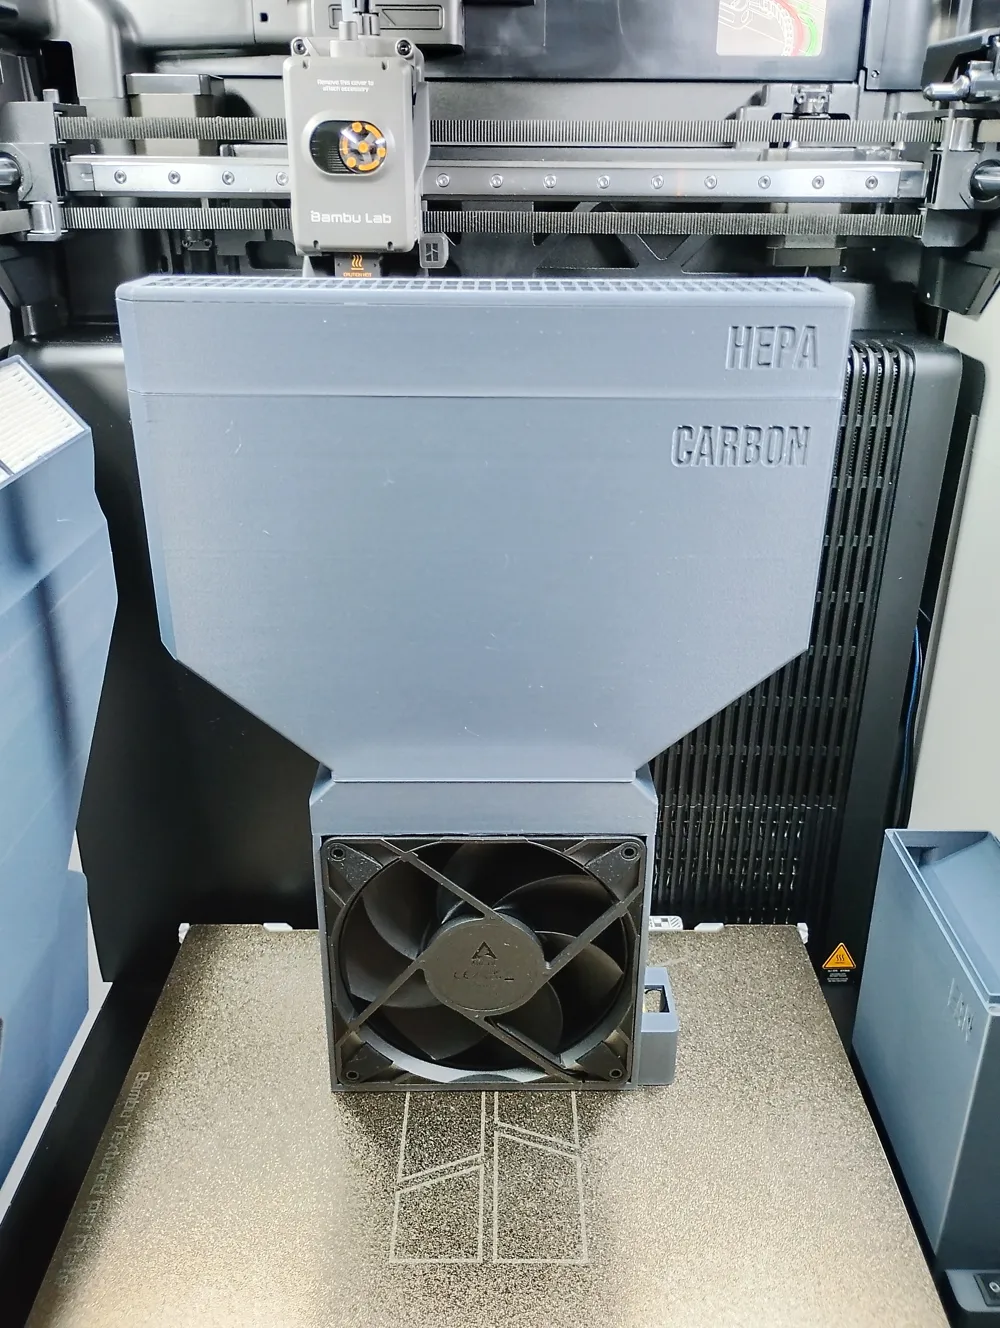
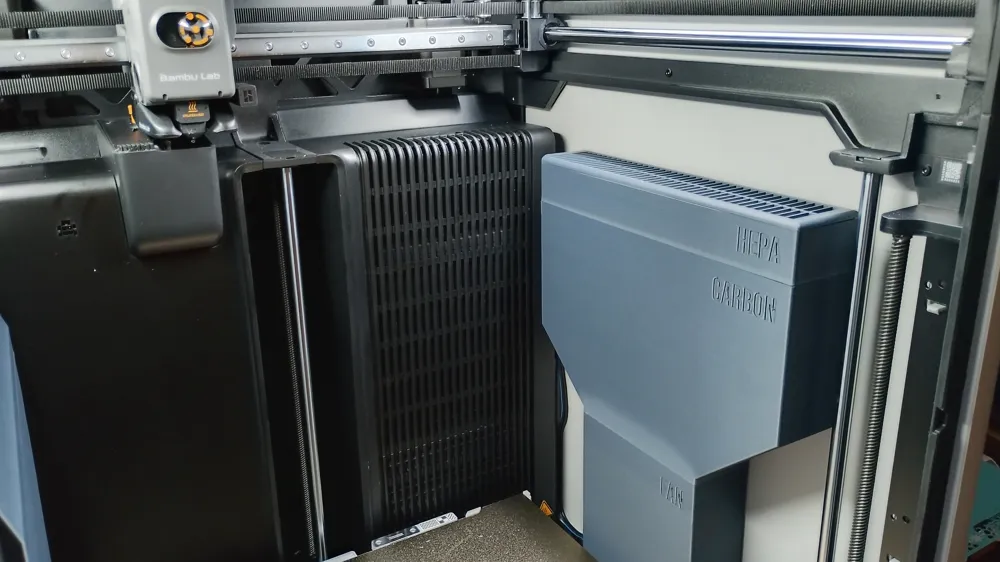
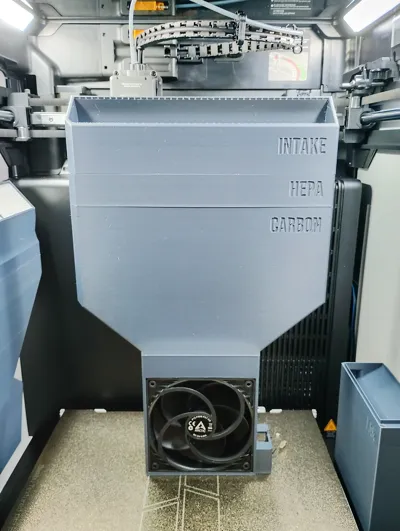
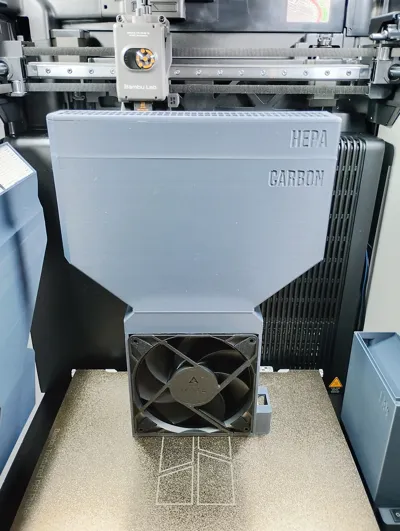
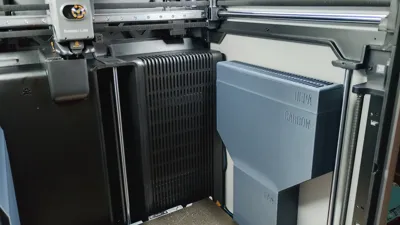
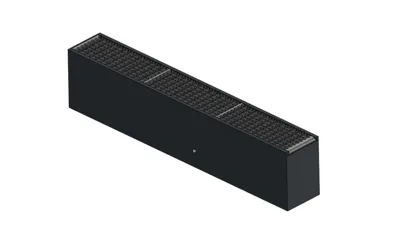
As there is no Bento Box for the H2S i came up with one.
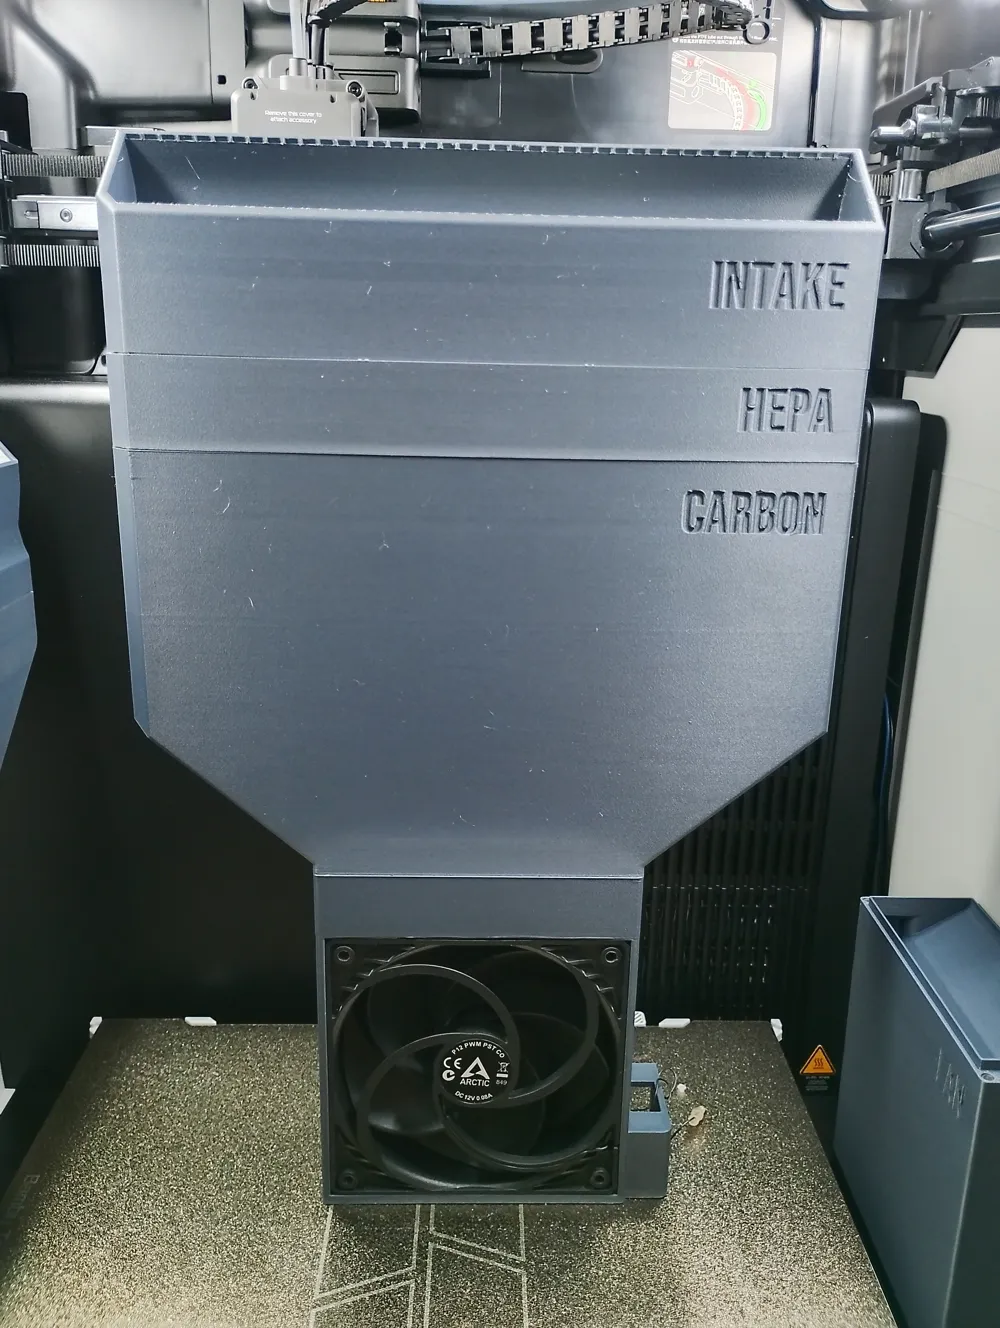
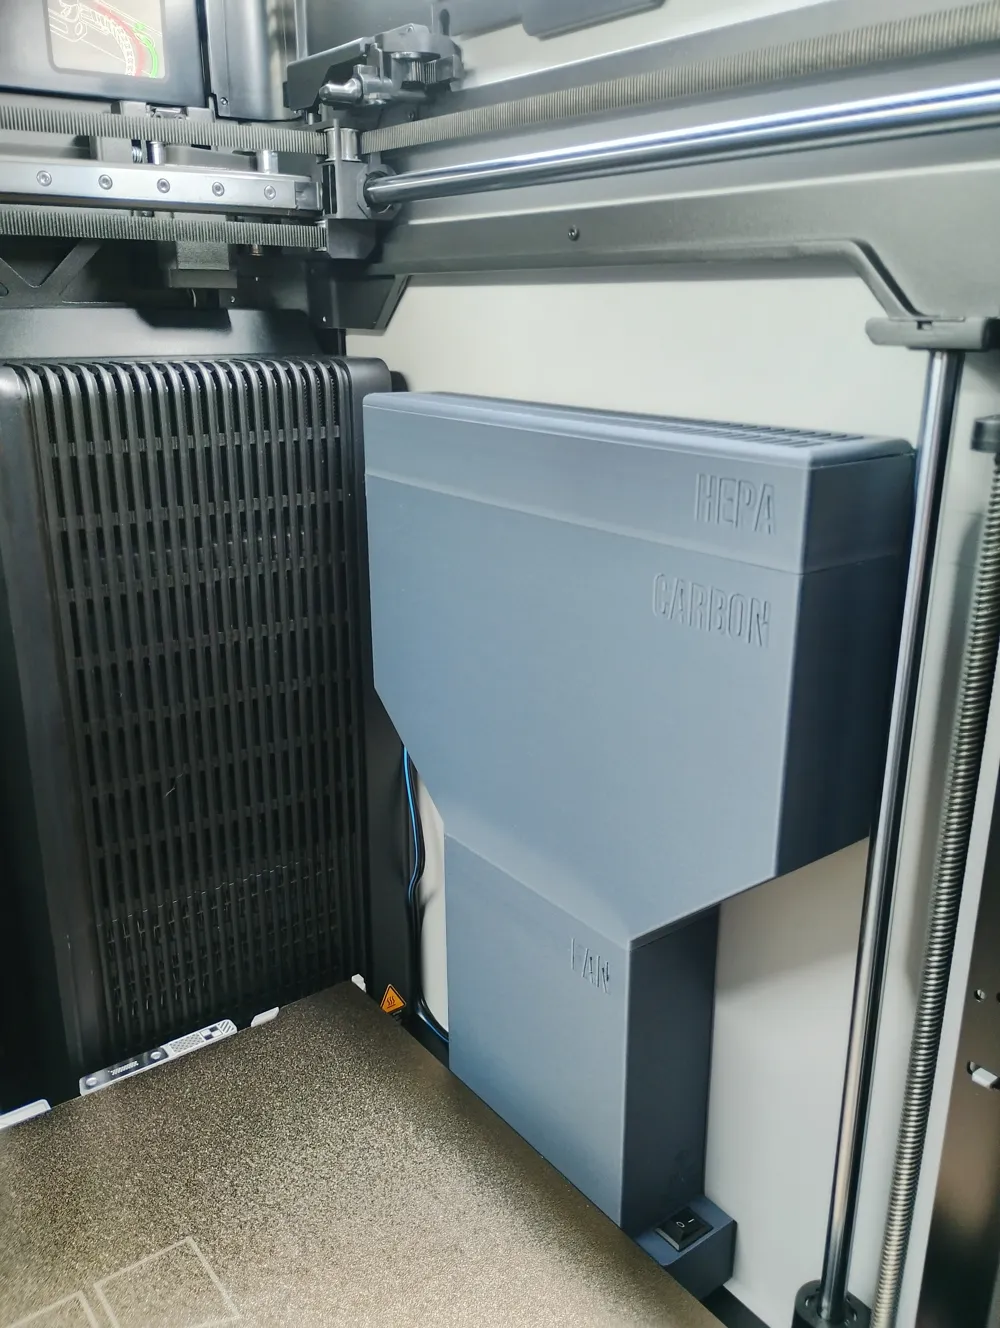
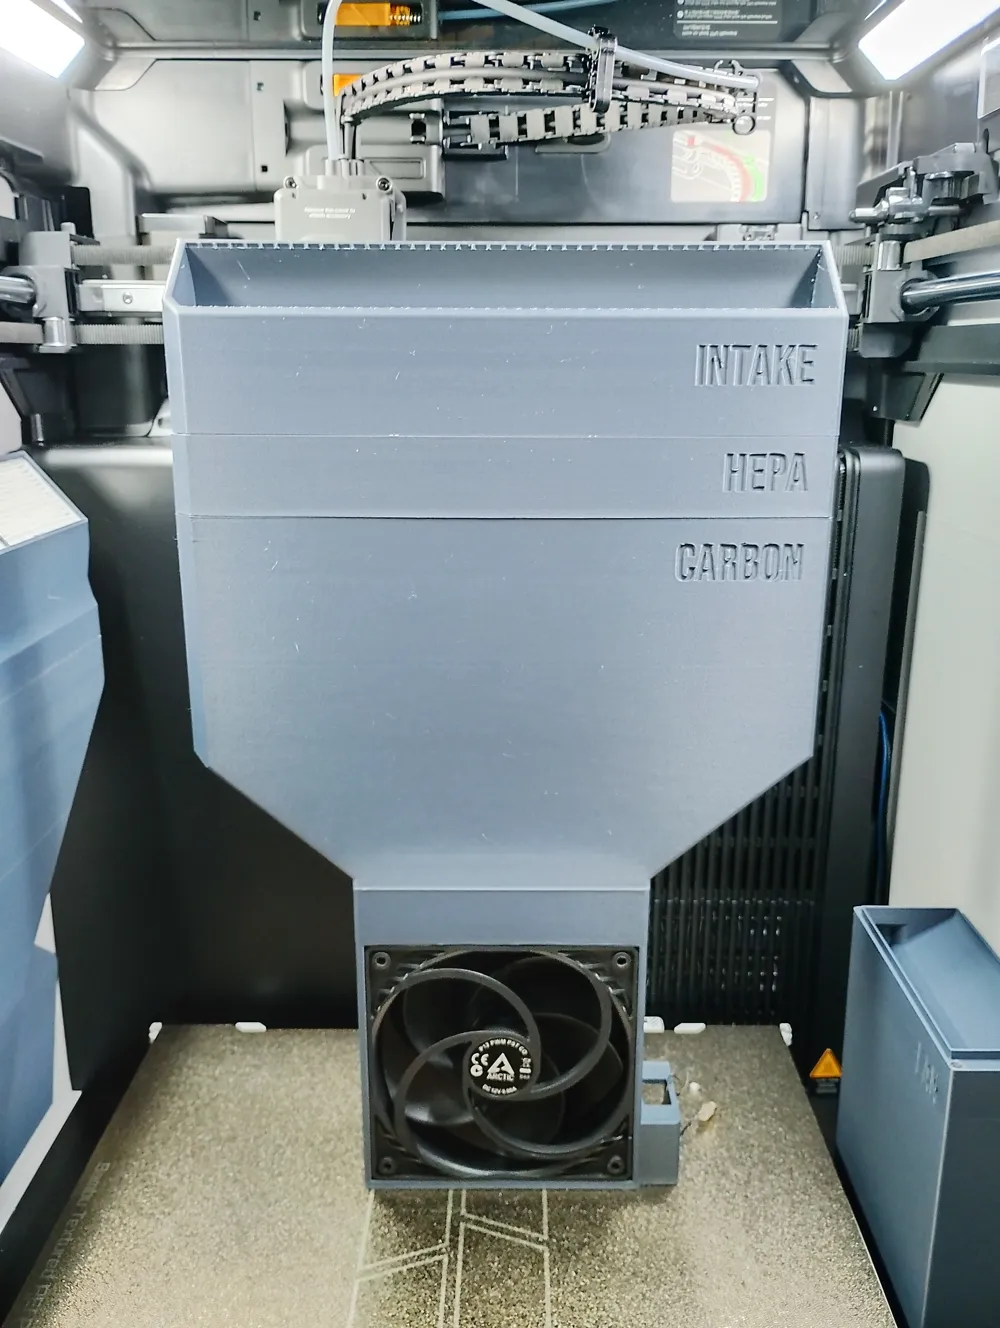
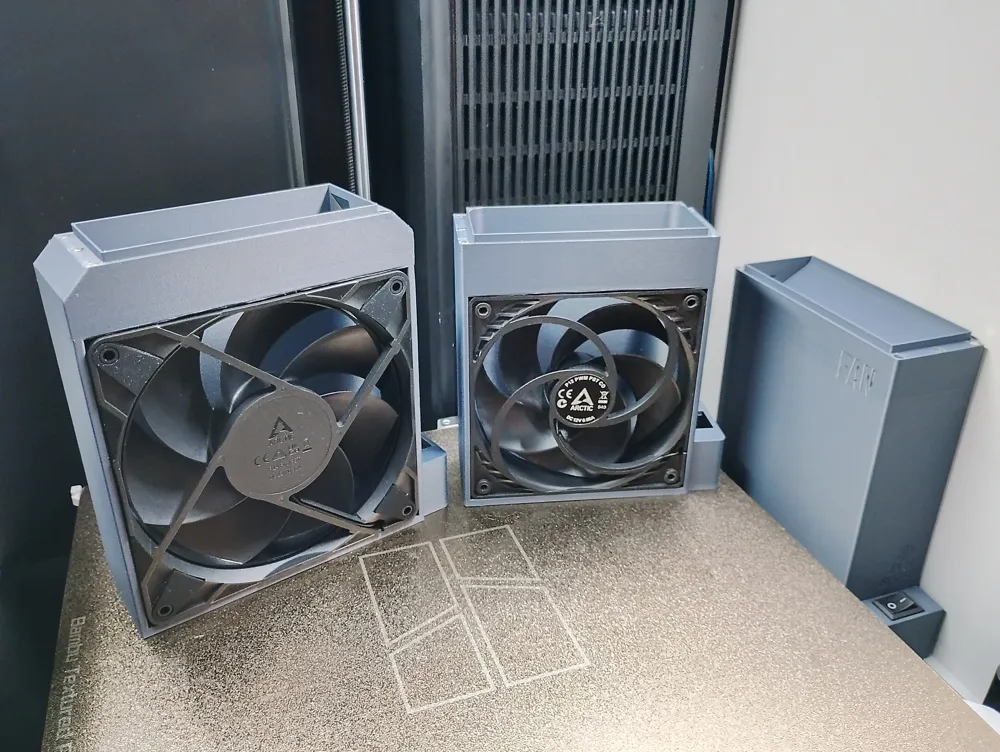
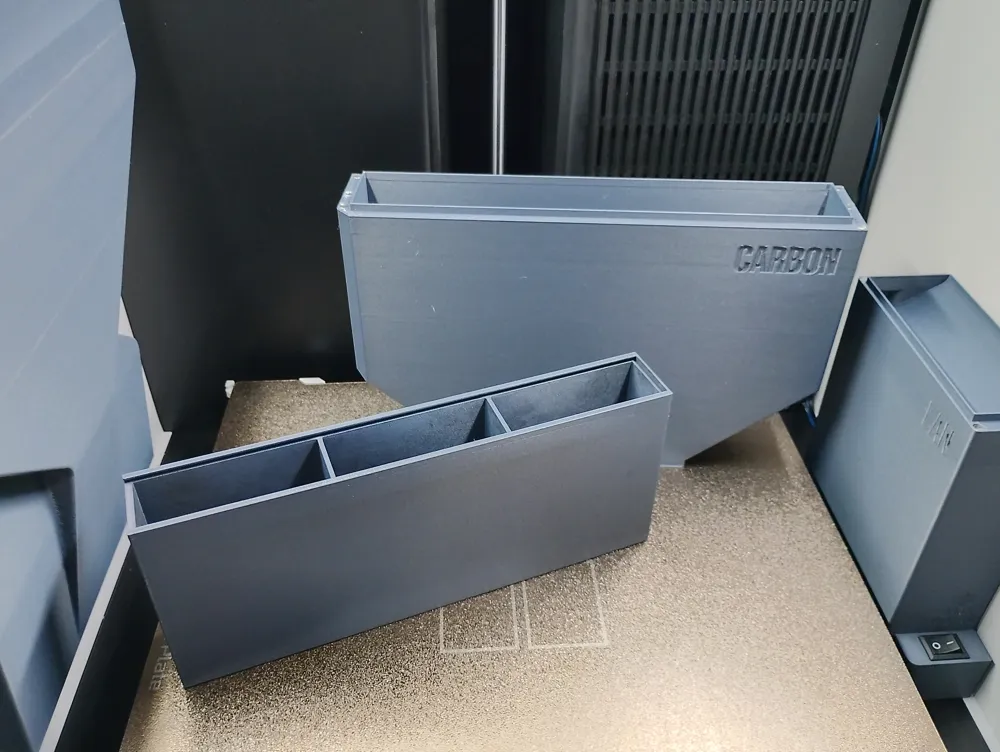
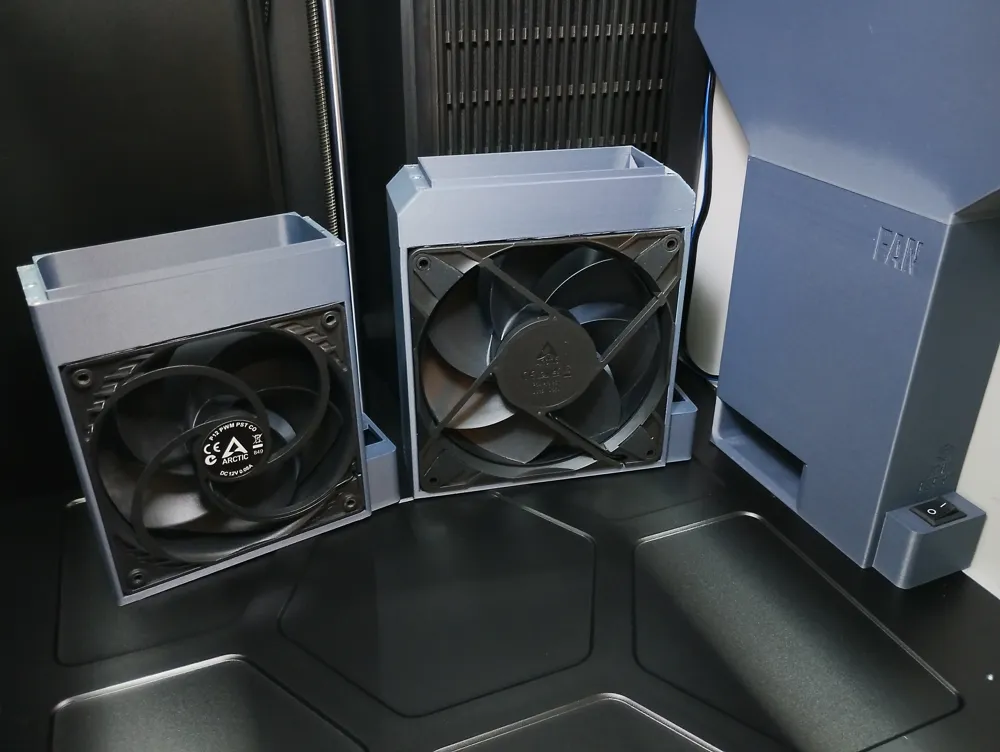
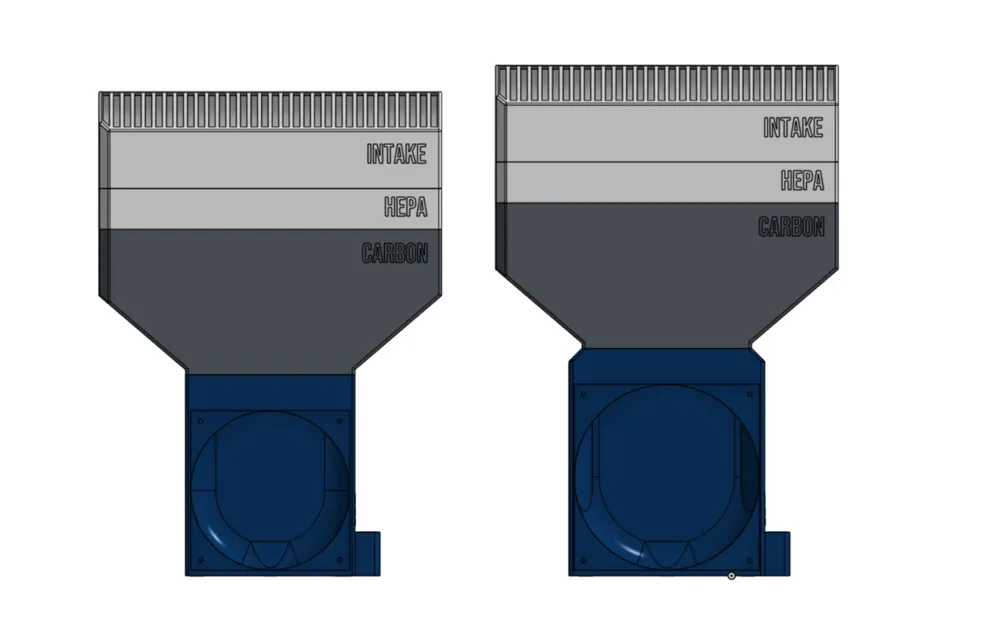
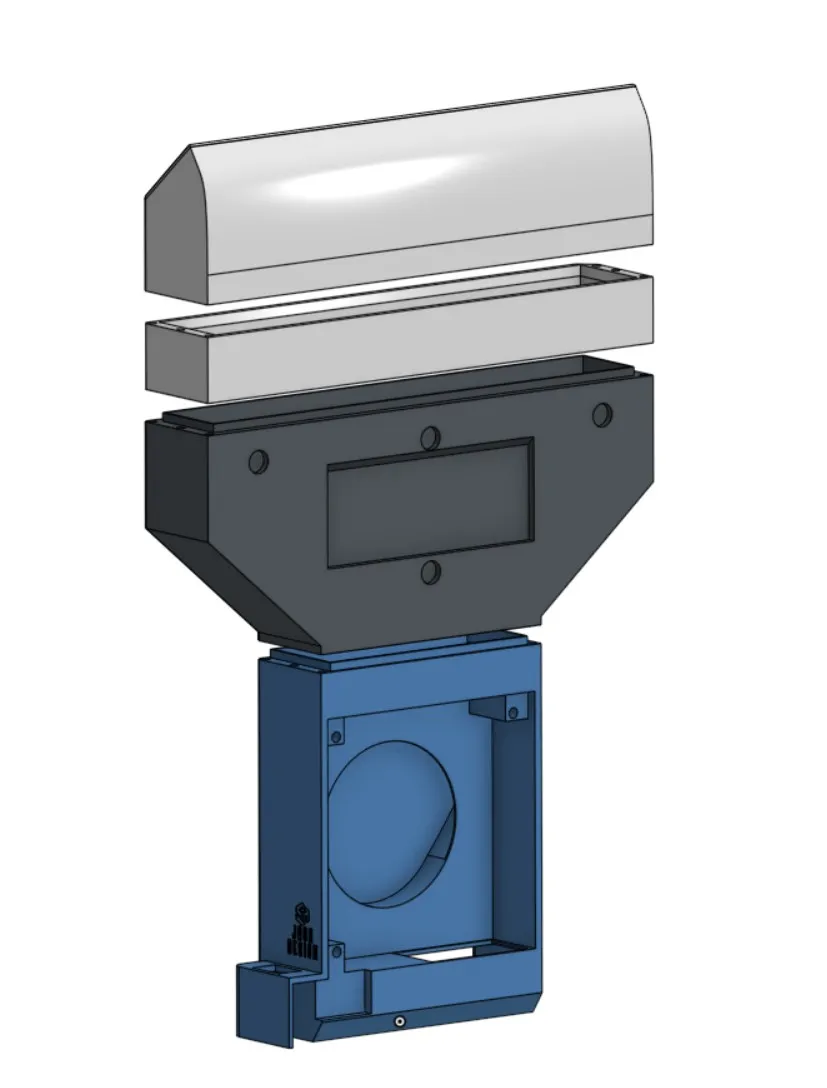
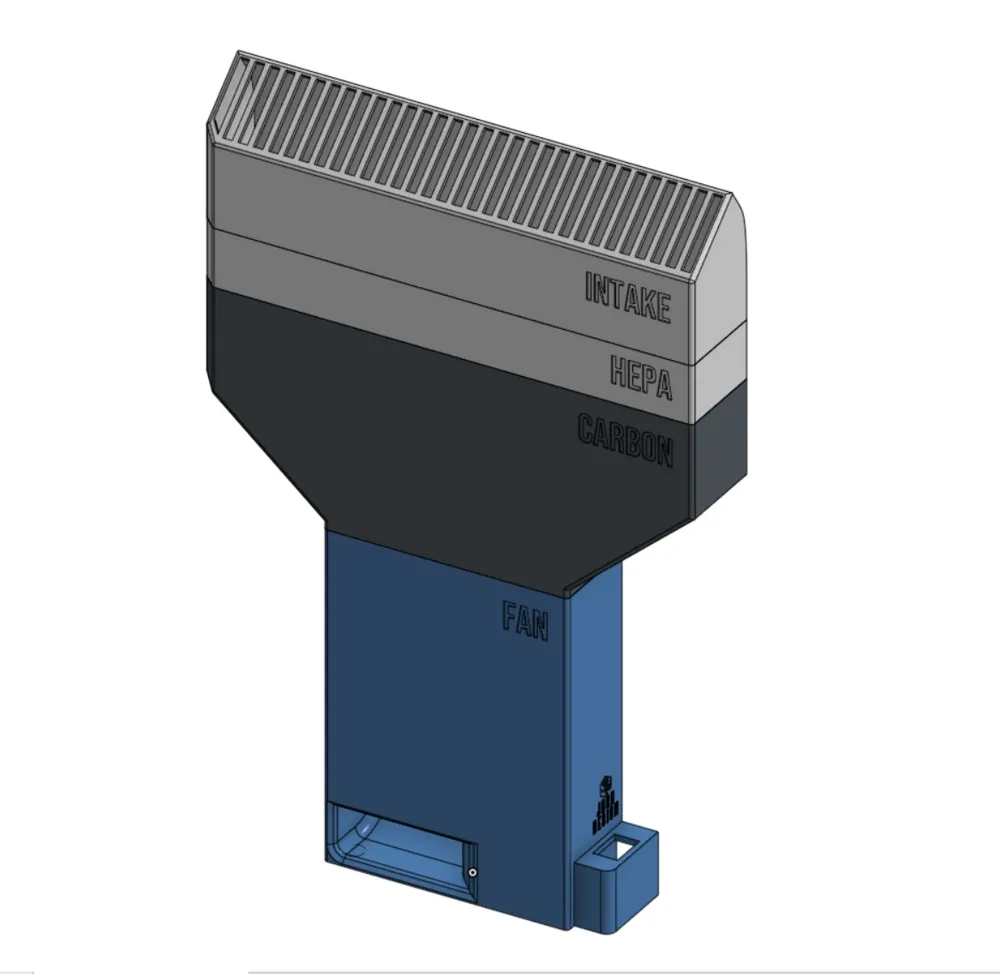
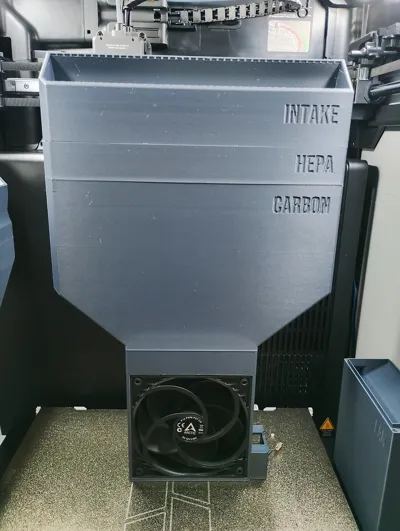
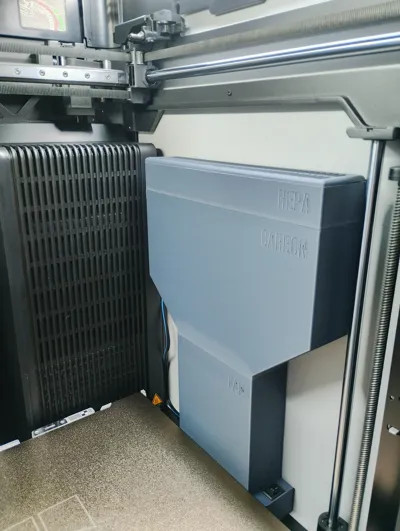
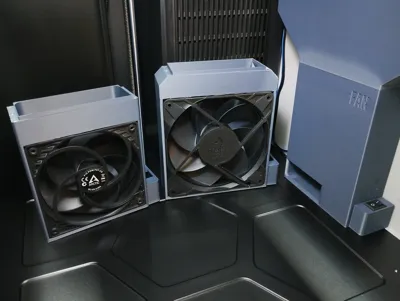
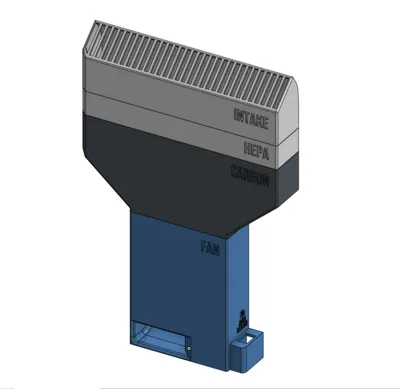
There are many differten Versions, in many different combinations. There is just one combination that does not work as it is to high.
Radial Fan Bottom + Extended Mag + HEPA + Cover High. It does work with the Cover flat however (see pictures)
Concerning the rest, you are free to combine each individual part:
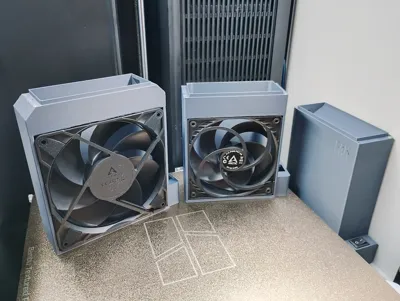
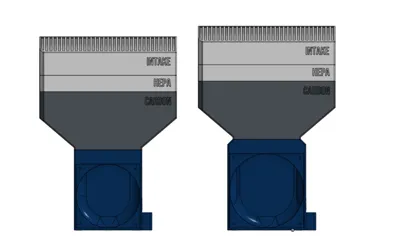
120mm fan + short Carbon + HEPA +Cover High
140mm fan + extended Carbon + HEPA + Cover Flat
Radial fan + short Carbon + Cofer High
…
…
…
and so on….
you get the idea.
The 120mm and 140mm bottom use a standard PC fan which you can buy everwyhere. Most of them come as 12V versions. The power supply from the H2 however is 24V. In that case you need a stepdown converter (same as with every other Bento Box). It requires removing of the backpanel to get the power from the power supply of the H2.
If you go for the radial fan option (which ich highly recommend), just search for a 24V 120mm radial fan. The original Bambu Aux fan should fit as well.
You can either hook it up to the Aux fan and get them both controlled, or use a secondary switch and get power directly from the power supply of the printer.
The switch in my model is one of those everywhere available cheap electrical switches (size 21mm x 15mm).
Why do I recommend the radial fan. I tested all 3 fans, all of them with a high CFM.
I used a smoke generator to see the actual airflow passing through the Box.
The radial fan has by far the best airflow!!!
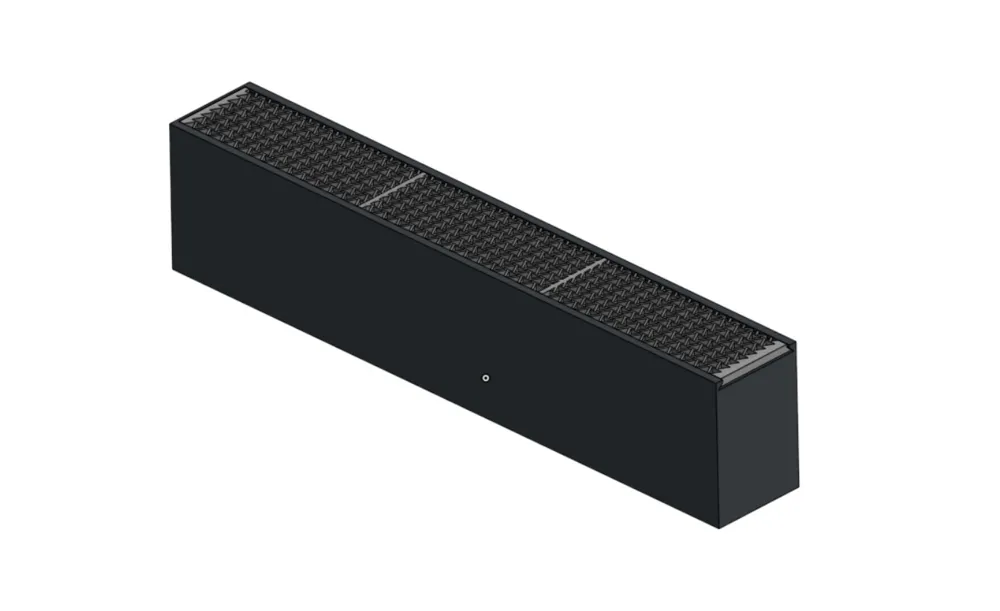
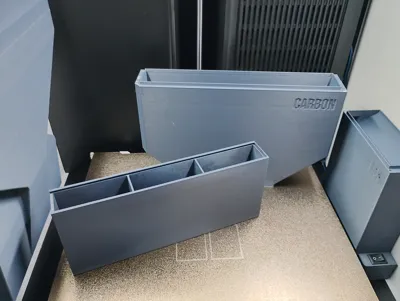
Furthermore i recommend the short Carbon Box and not the extended version, as the extended one is reducing the airflow even more.
DO NOT USE THE EXTENDED CARBON WITH THE 120MM or a 140MM FAN VERSION. You wont have any airflow!
If you want to use the Extended version to gain some height. You can do it but only fill it to the half with carbon.
You will need three HEPA filter as well. It is the same used by every other Bento Box and used by all those little robot vacuum cleaner.
Installing:
For the bottom part, you will need up to 5 Magnets (10x3mm). That will hold the whole bento Box in place. In addition, there is a small hole that aligns with the pin you will find at the bottom of your printer.
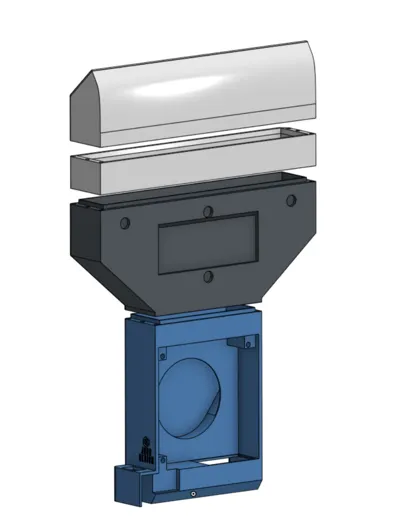
Each element is secured by 4x2mm Magnets (36 in total).
If you are super scared the box might hit your build plate, there are slots for Magnets at the Carbon part as well. As your Sidewall is made out of plastic you have to use Magnets from the outside of your printer to get it stuck to the wall. But i do not use that function.
A possibility for velcro tape is there as well. See pictures of the 3D Cad File.
Power cable goes through the right side of your printer (between the ventilation and the wall). There is a tiny gap which wil end up right by your power supply.
License

You shall not share, sub-license, sell, rent, host, transfer, or distribute in any way the digital or 3D printed versions of this object, nor any other derivative work of this object in its digital or physical format (including - but not limited to - remixes of this object, and hosting on other digital platforms). The objects may not be used without permission in any way whatsoever in which you charge money, or collect fees.


Comment & Rating (7)