
Ender3v2 Linear Rod Y-Axis

Print Profile(1)

Bill of Materials


Description
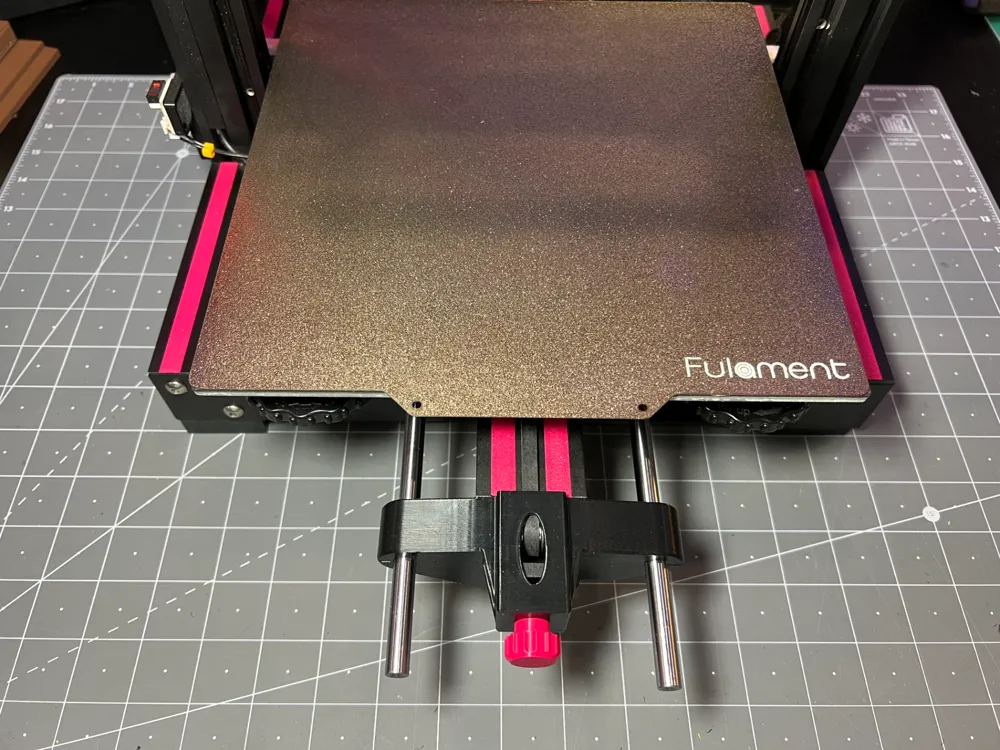
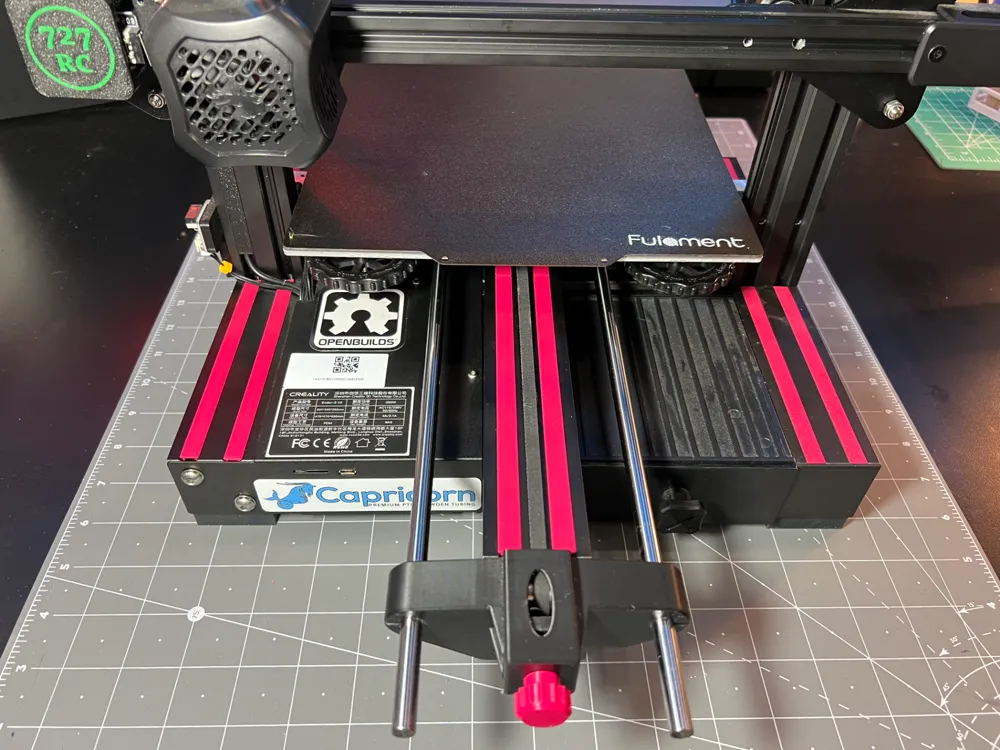
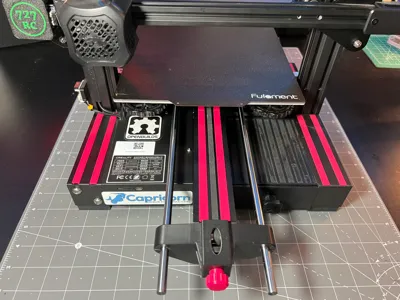
Convert your Ender 3v2 Y-axis to linear rods!
Enjoy smoother motion and a more consistent bed level on your Ender3v2
FAST assembly, under 15 minutes!
Minimal hardware is required:
- (4) M5x12 cap head screws
- (4) M5 Hex nuts
- (2) M4x12 cap head screws
- (2) M4 T-slot nuts
- (4) LM8UU Linear bearings
- (2) 8x400 Linear rods
(All hardware can be easily found on Amazon)
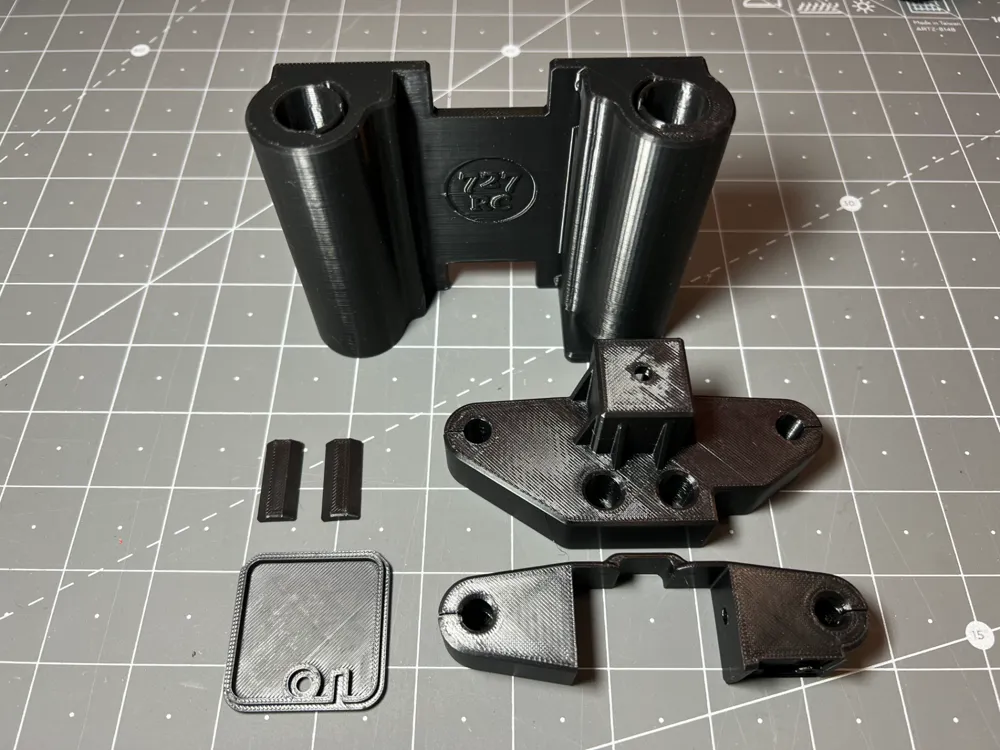
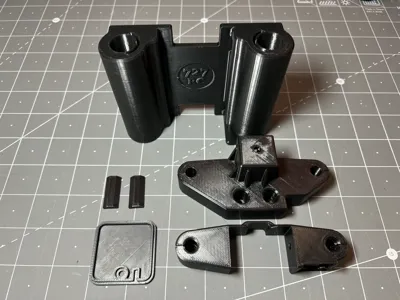
*NOTE: ABS, ASA or PETG is highly recommended for front and back brackets.
PLA is fine for bed carriage, cover and stabilizers.
Please boost 🚀 & rate⭐⭐⭐⭐⭐ if you like it!
Assembly Instructions:
Remove front tensioner.
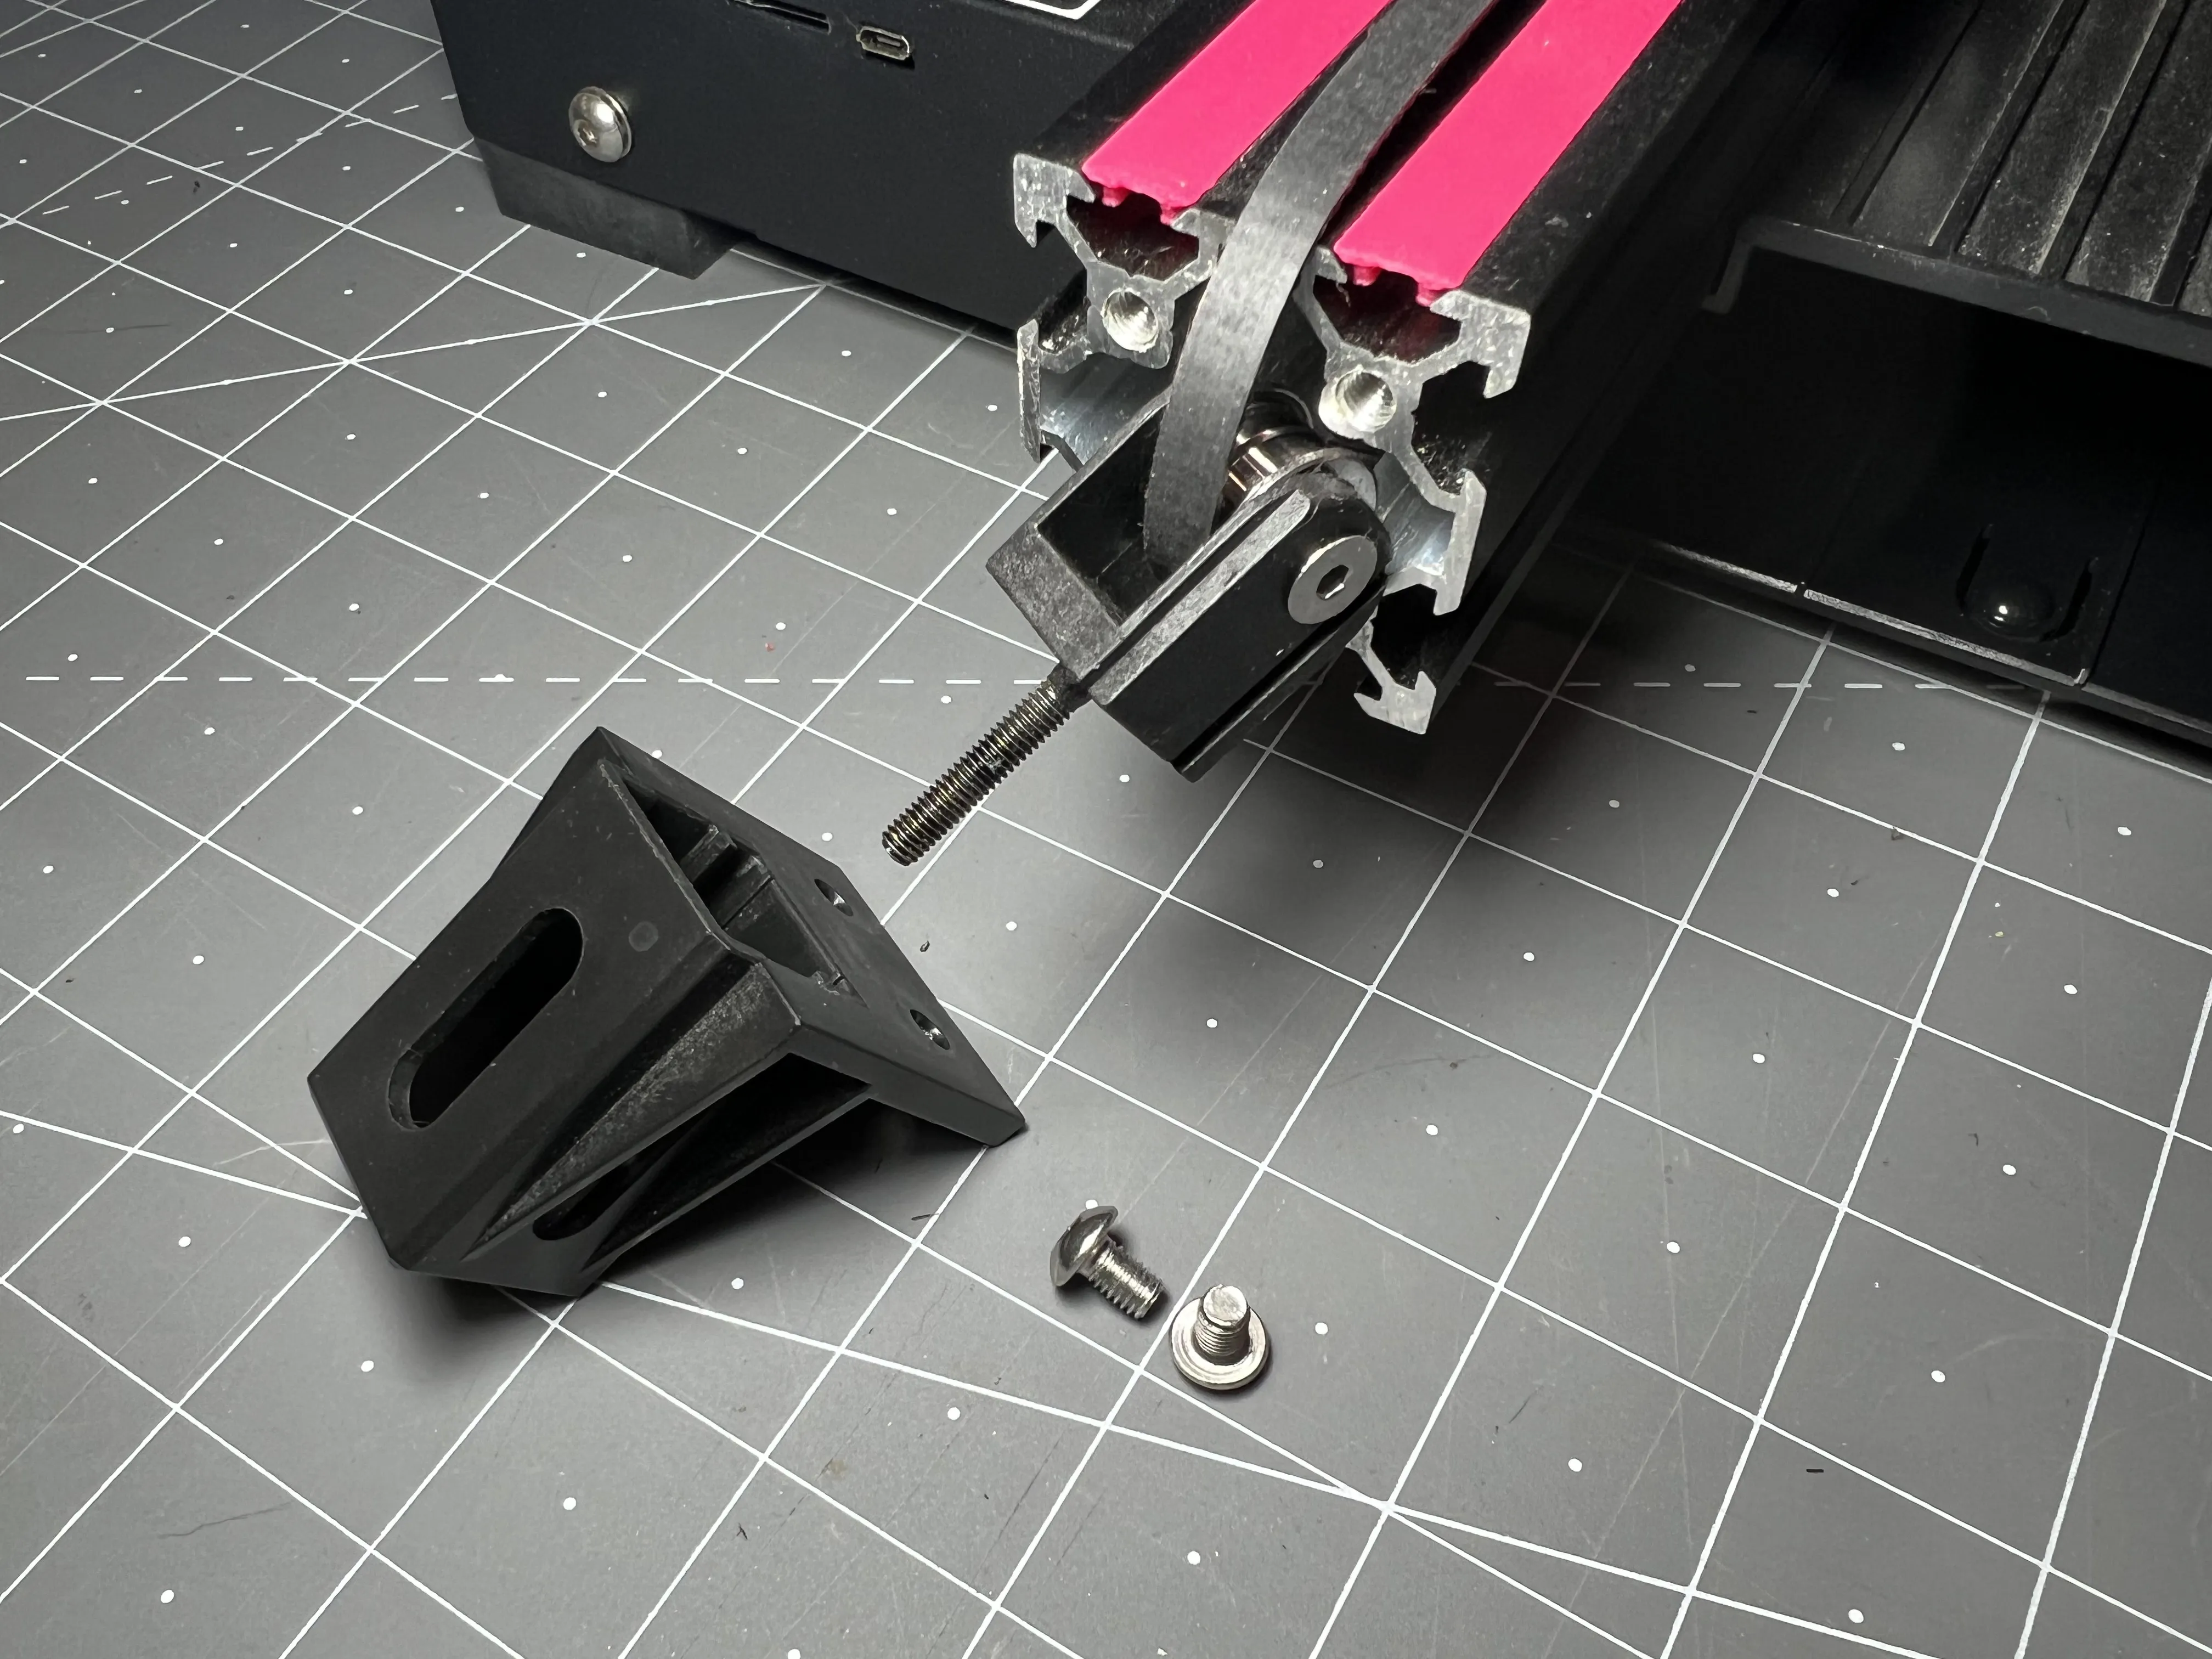
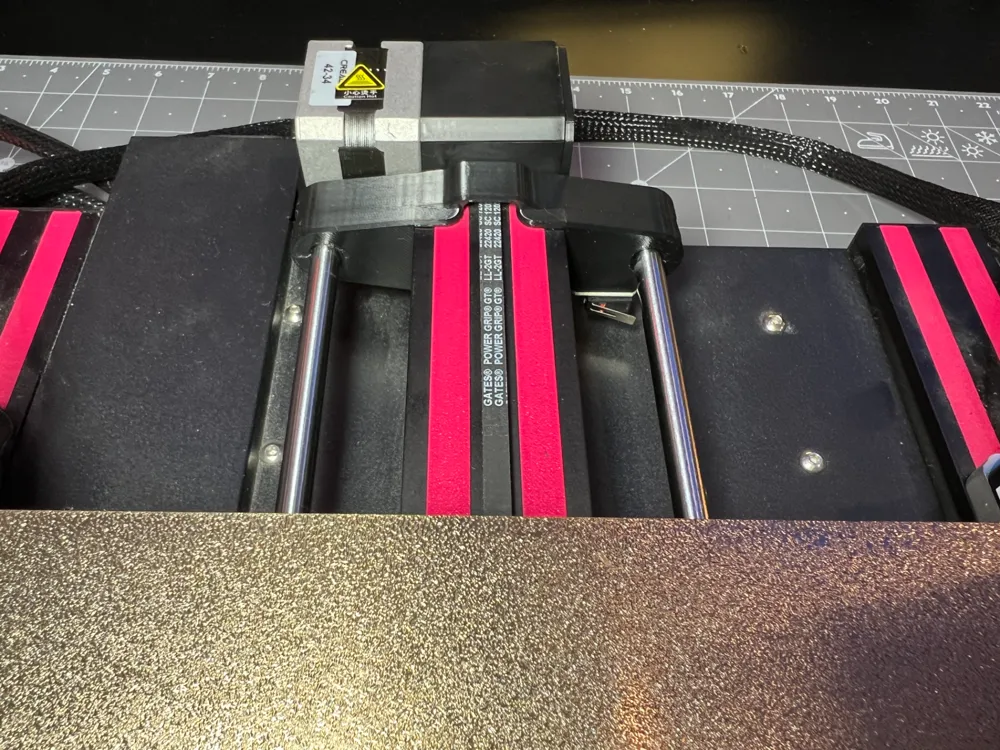
Remove the Y motor cover and end stop switch. Install the new Y motor cover using existing screw.
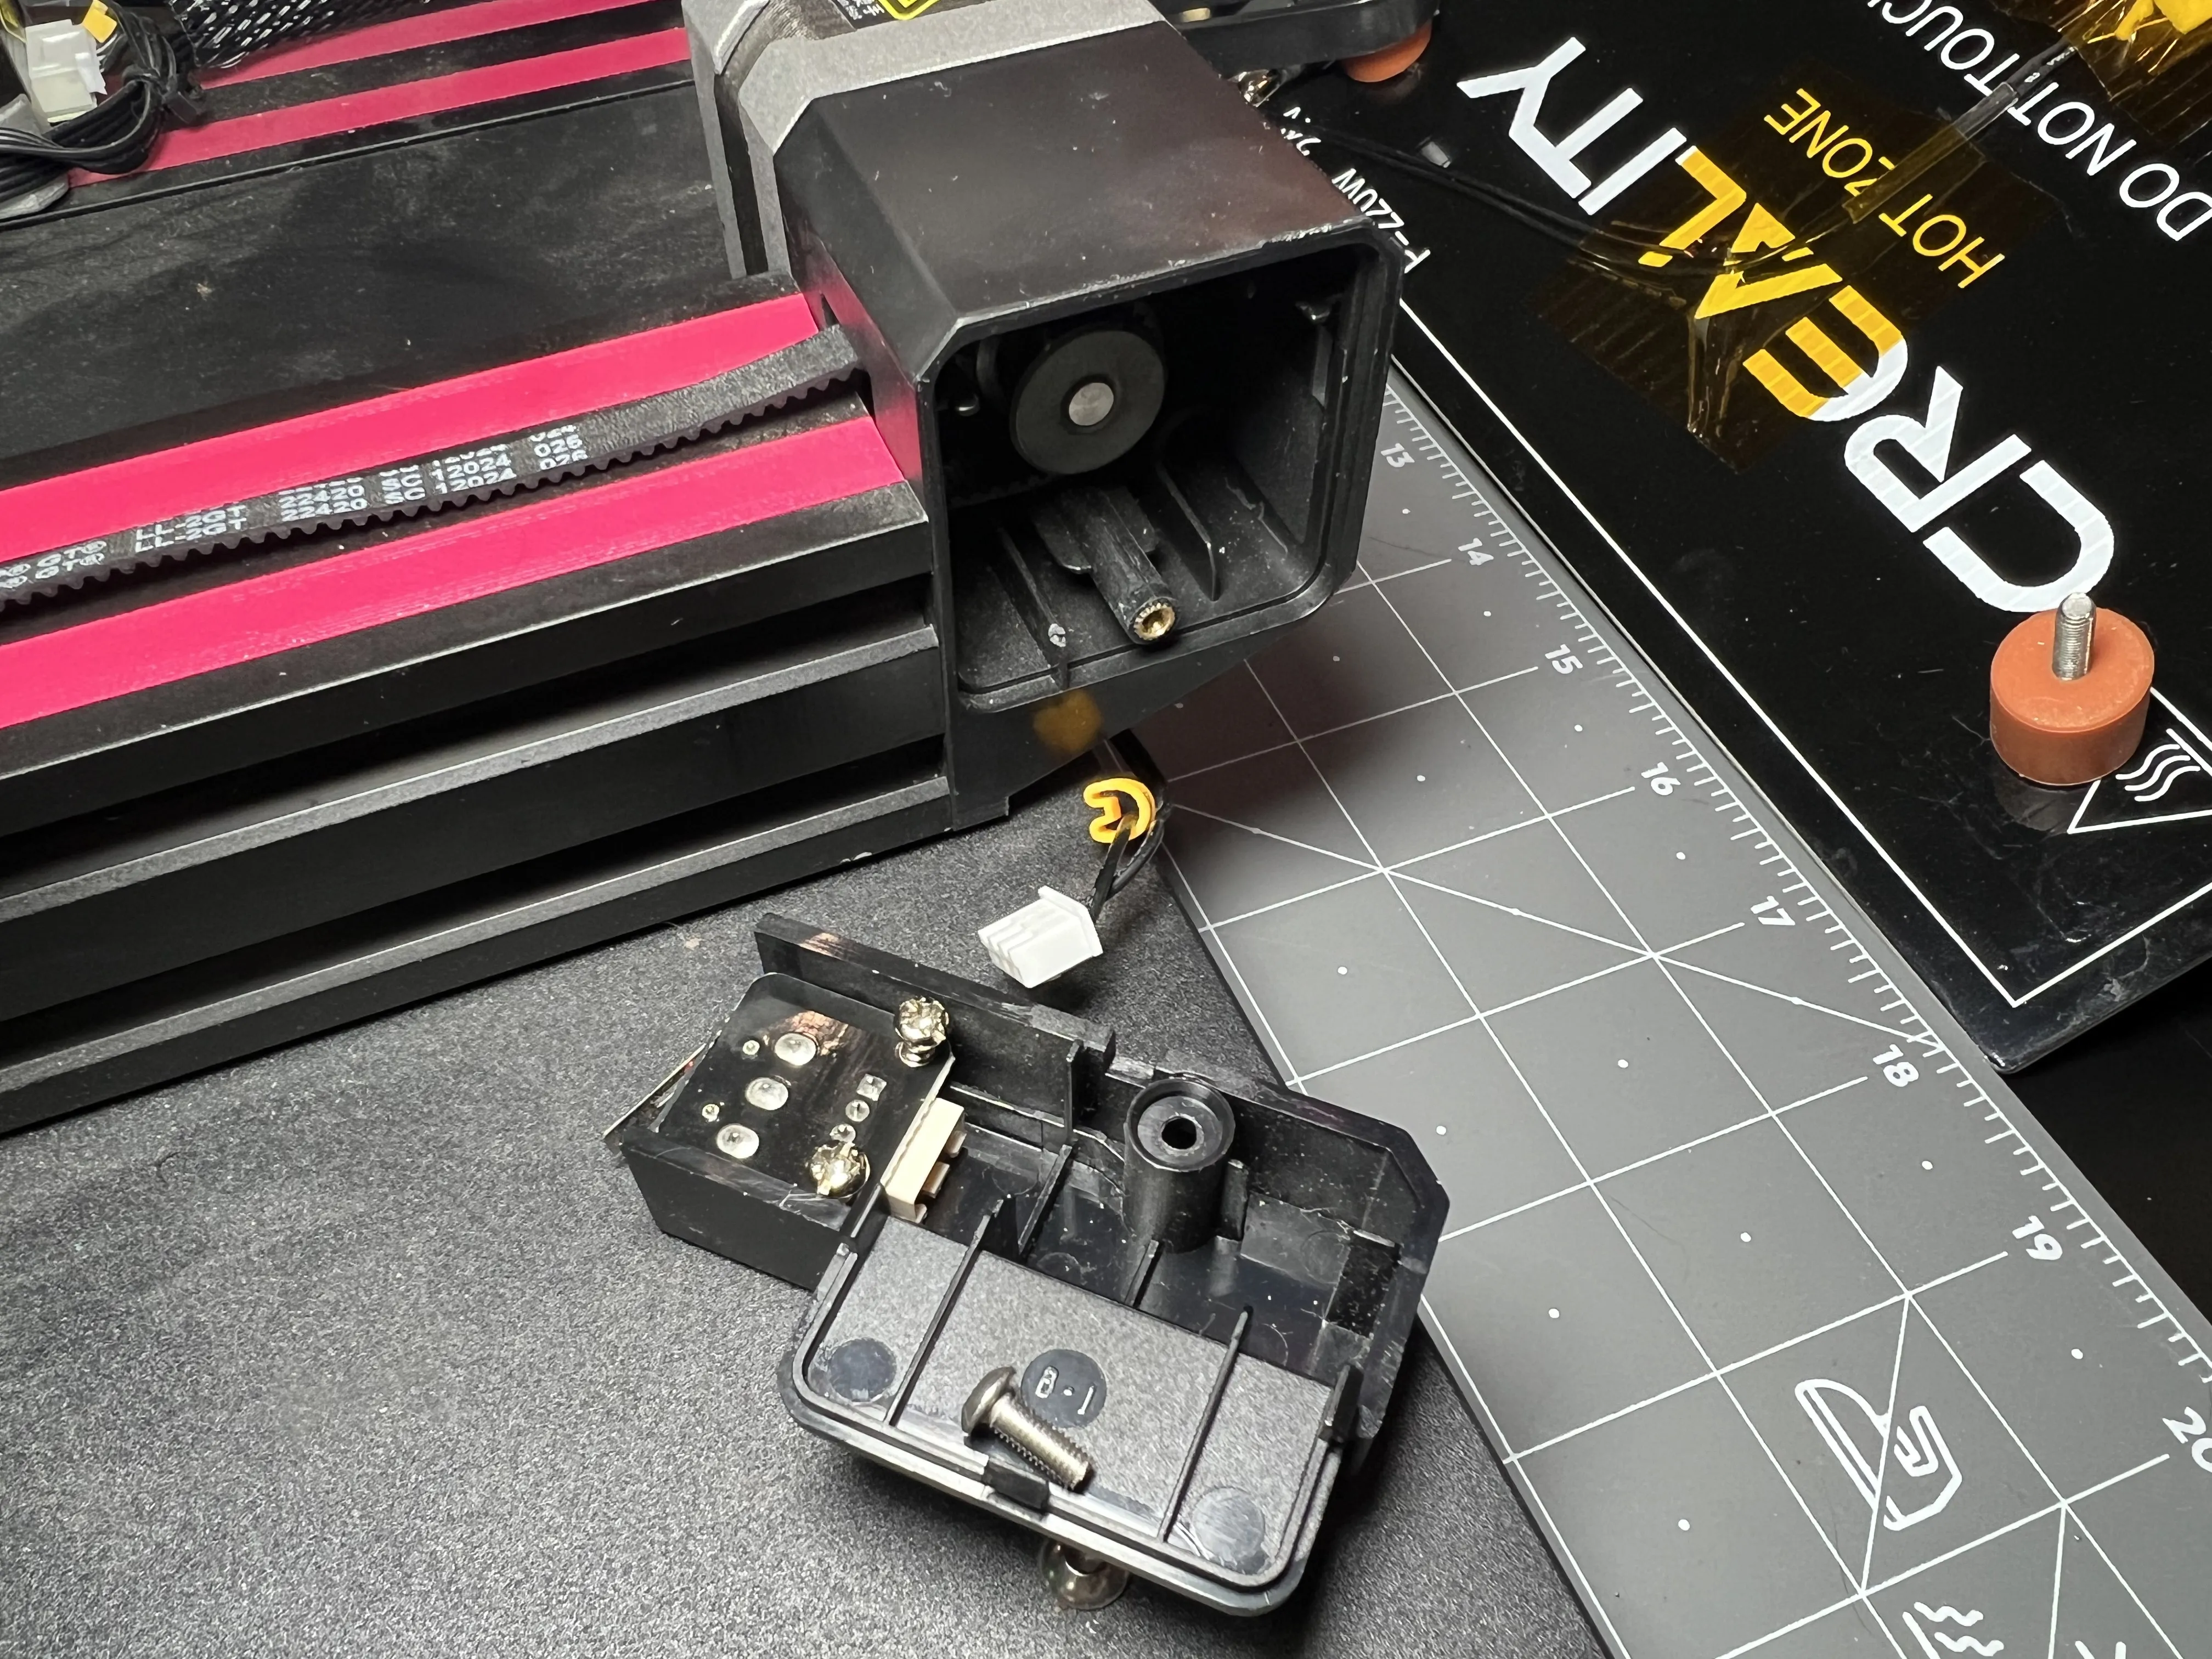
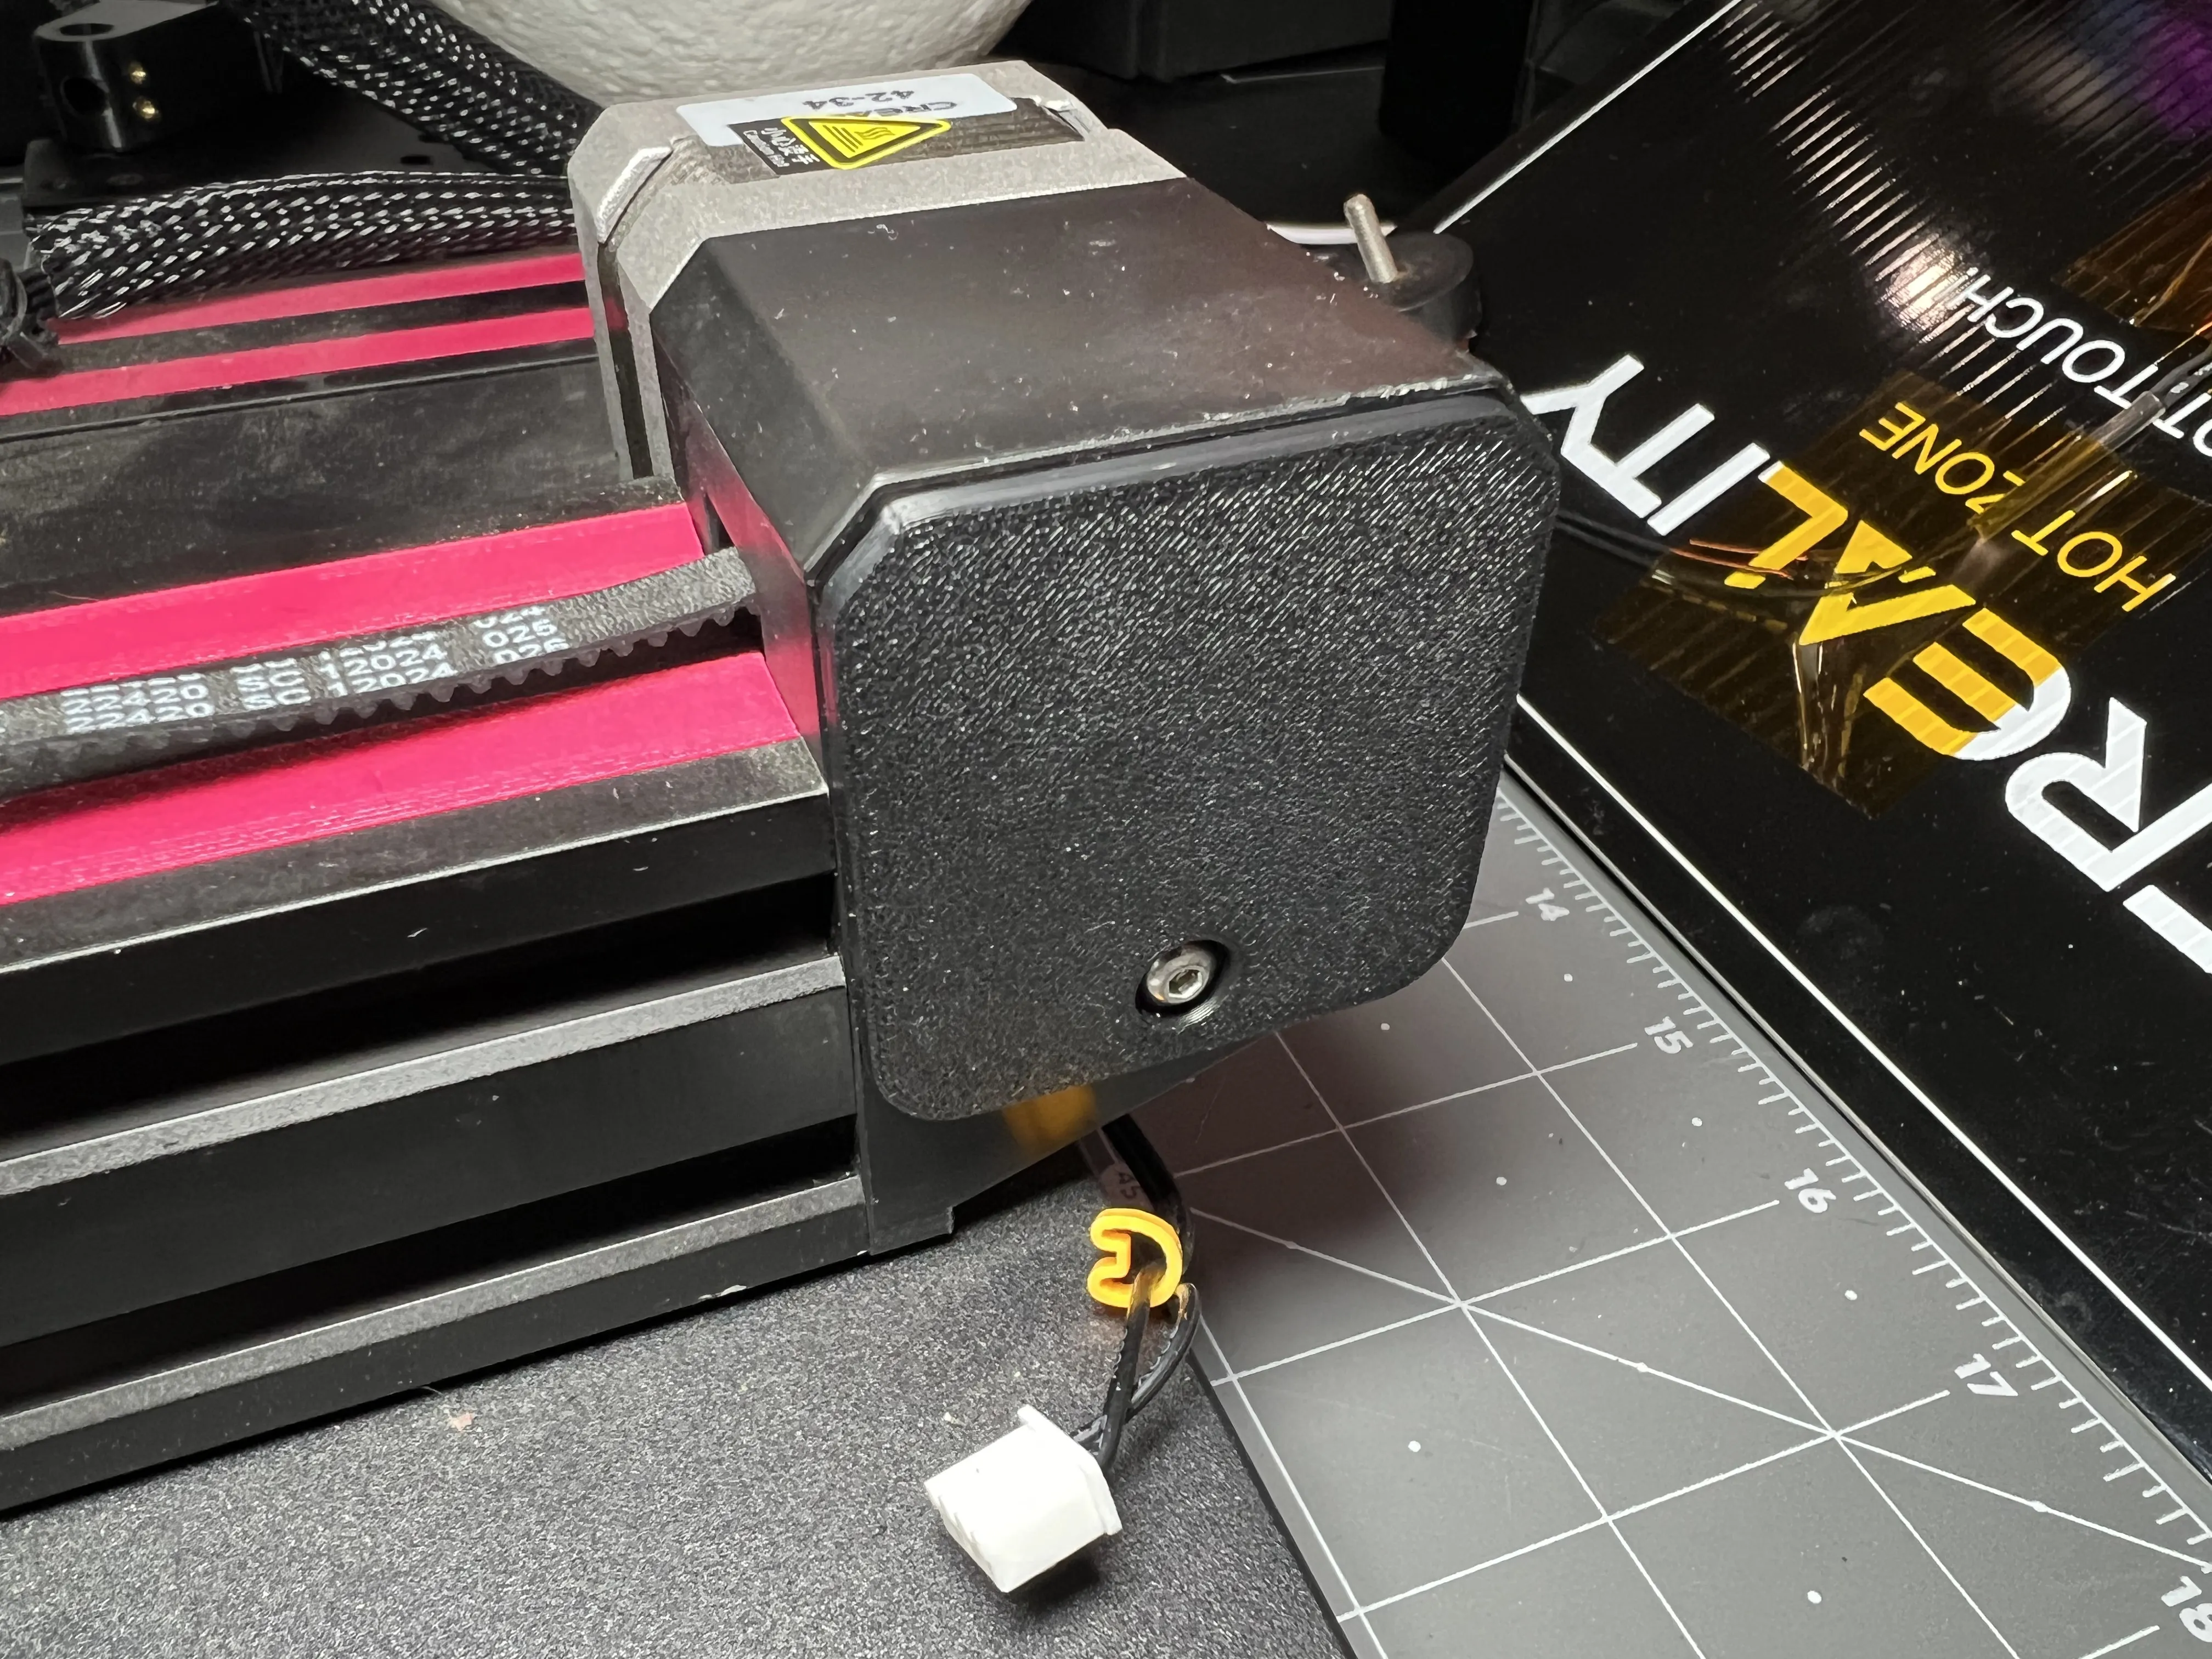
Attach end stop switch to rear bracket as shown using existing screws. Install the (2) M4 screws and (2) T-slot nuts.
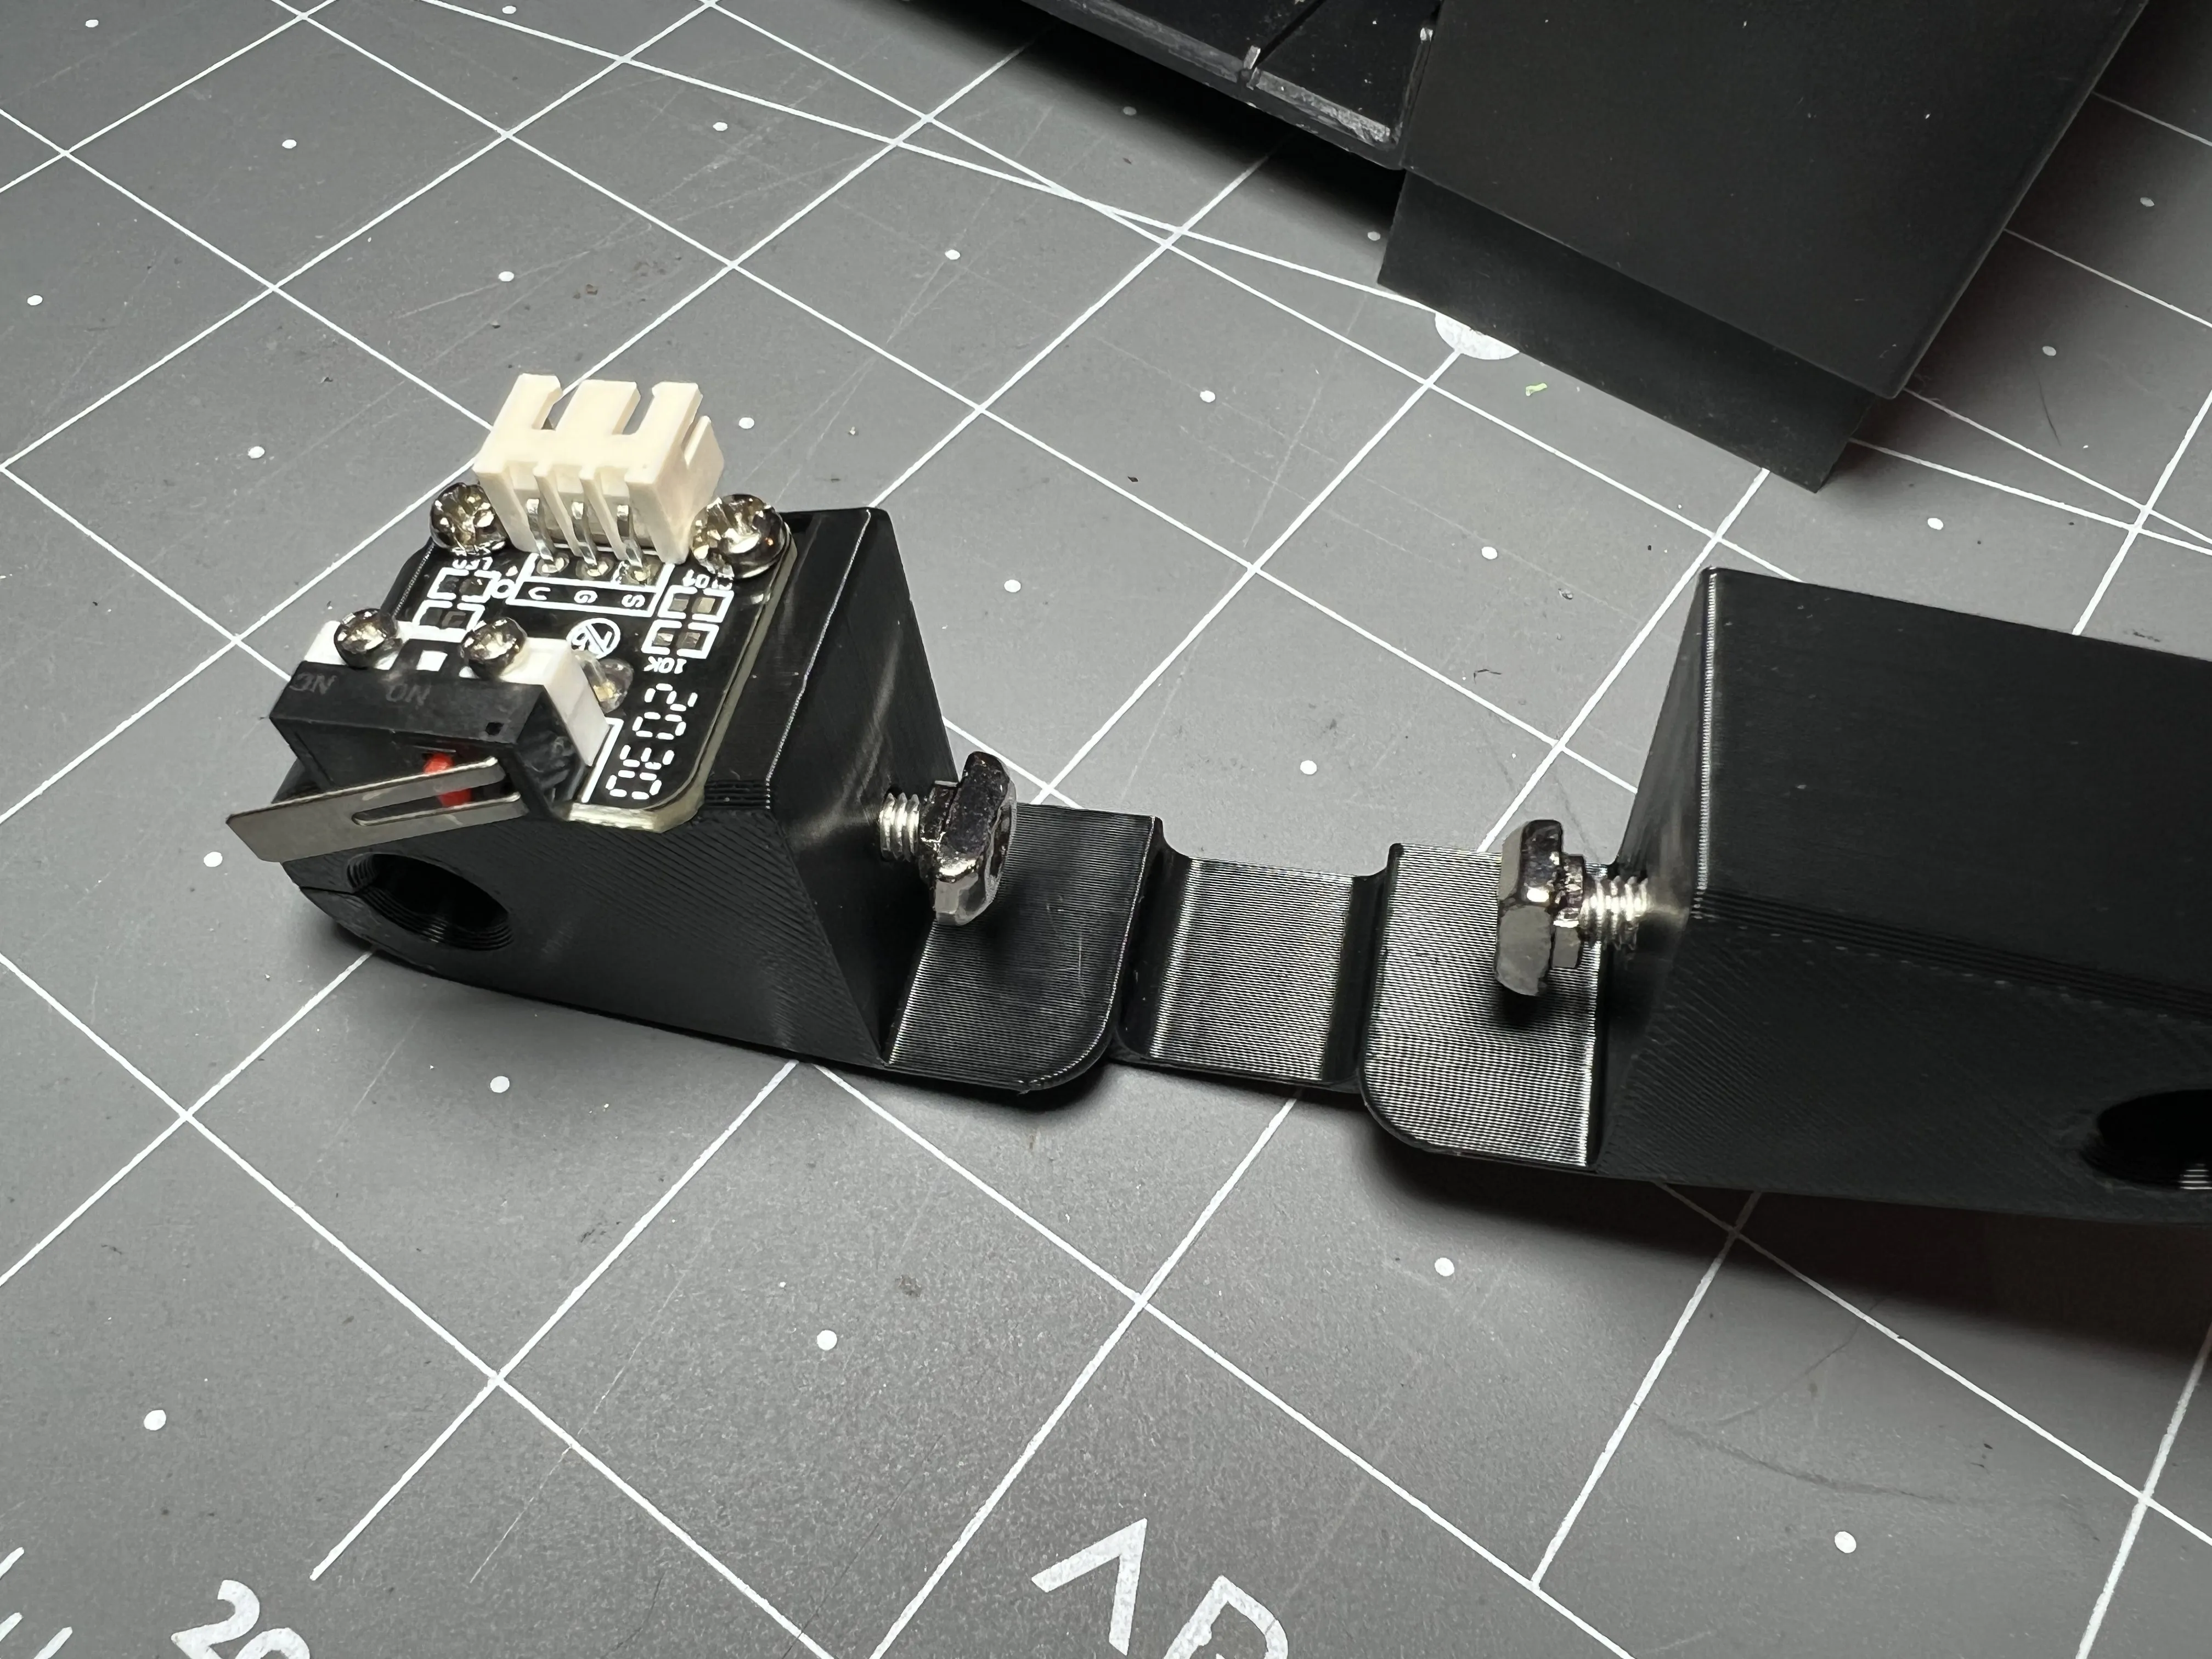
Attach rear bracket to center extrusion and tighten screws, then press linear rods (2) into the bracket all the way.
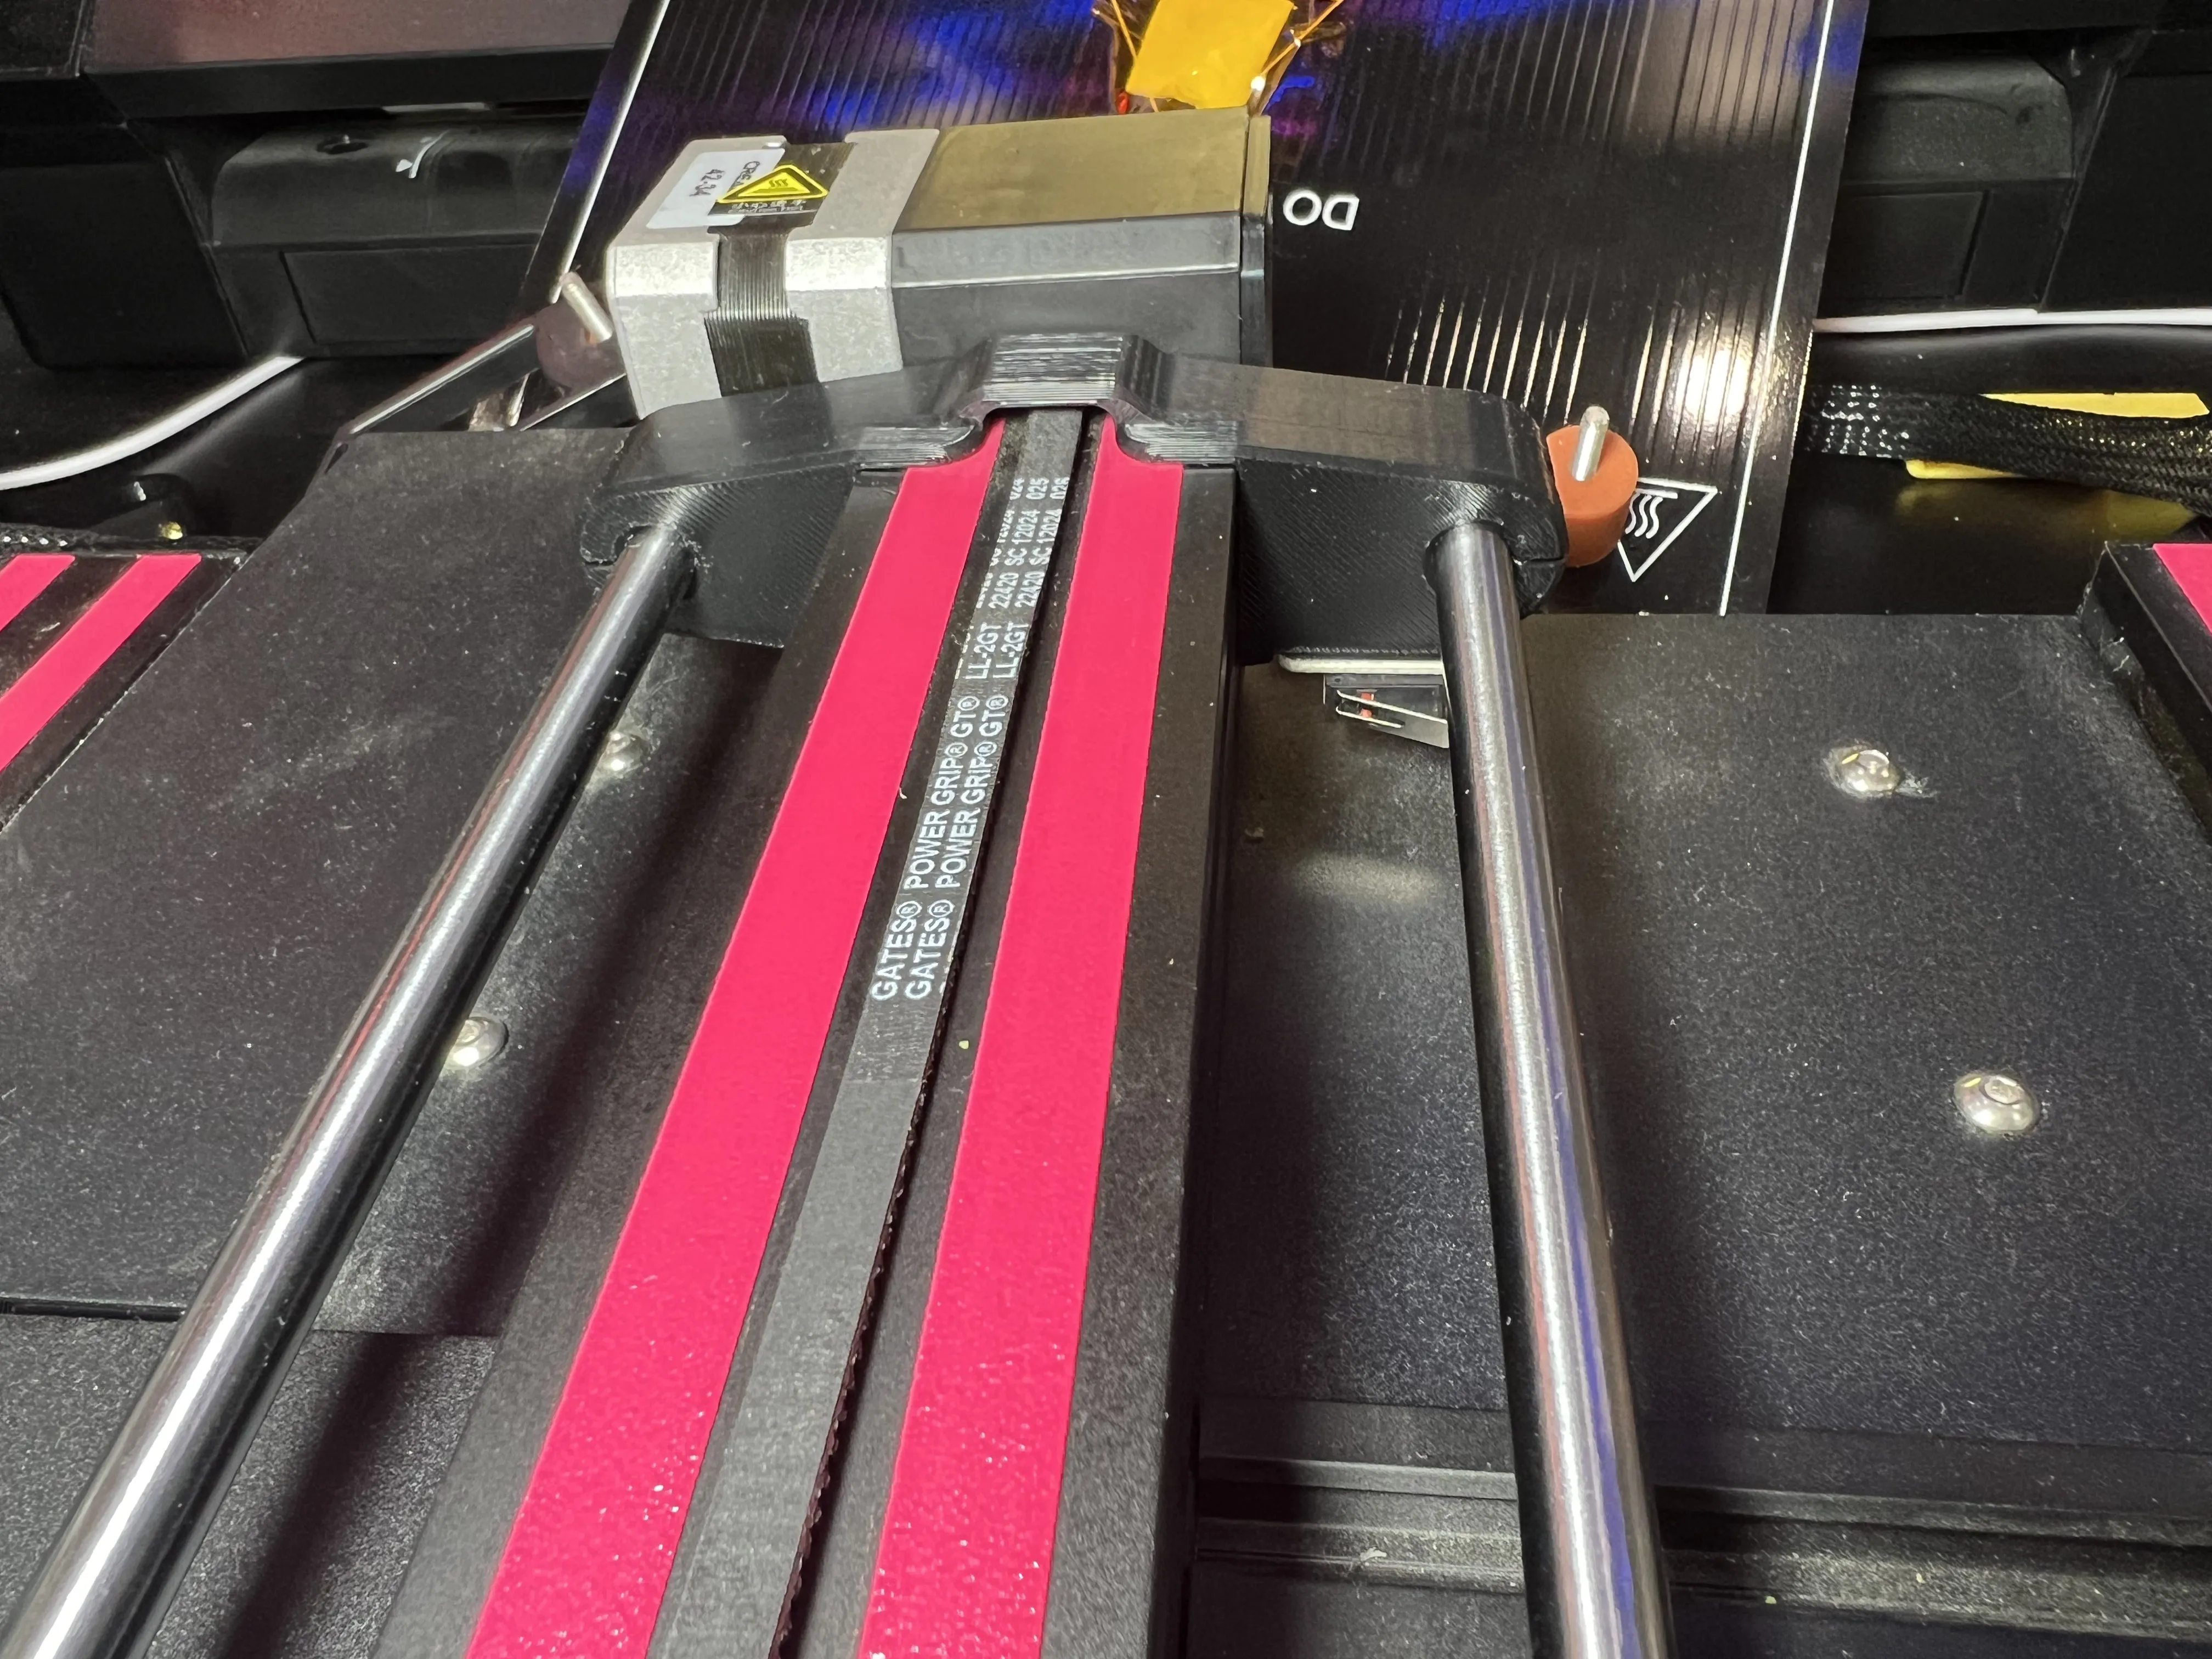
Press stabilizers (2) into front bracket.
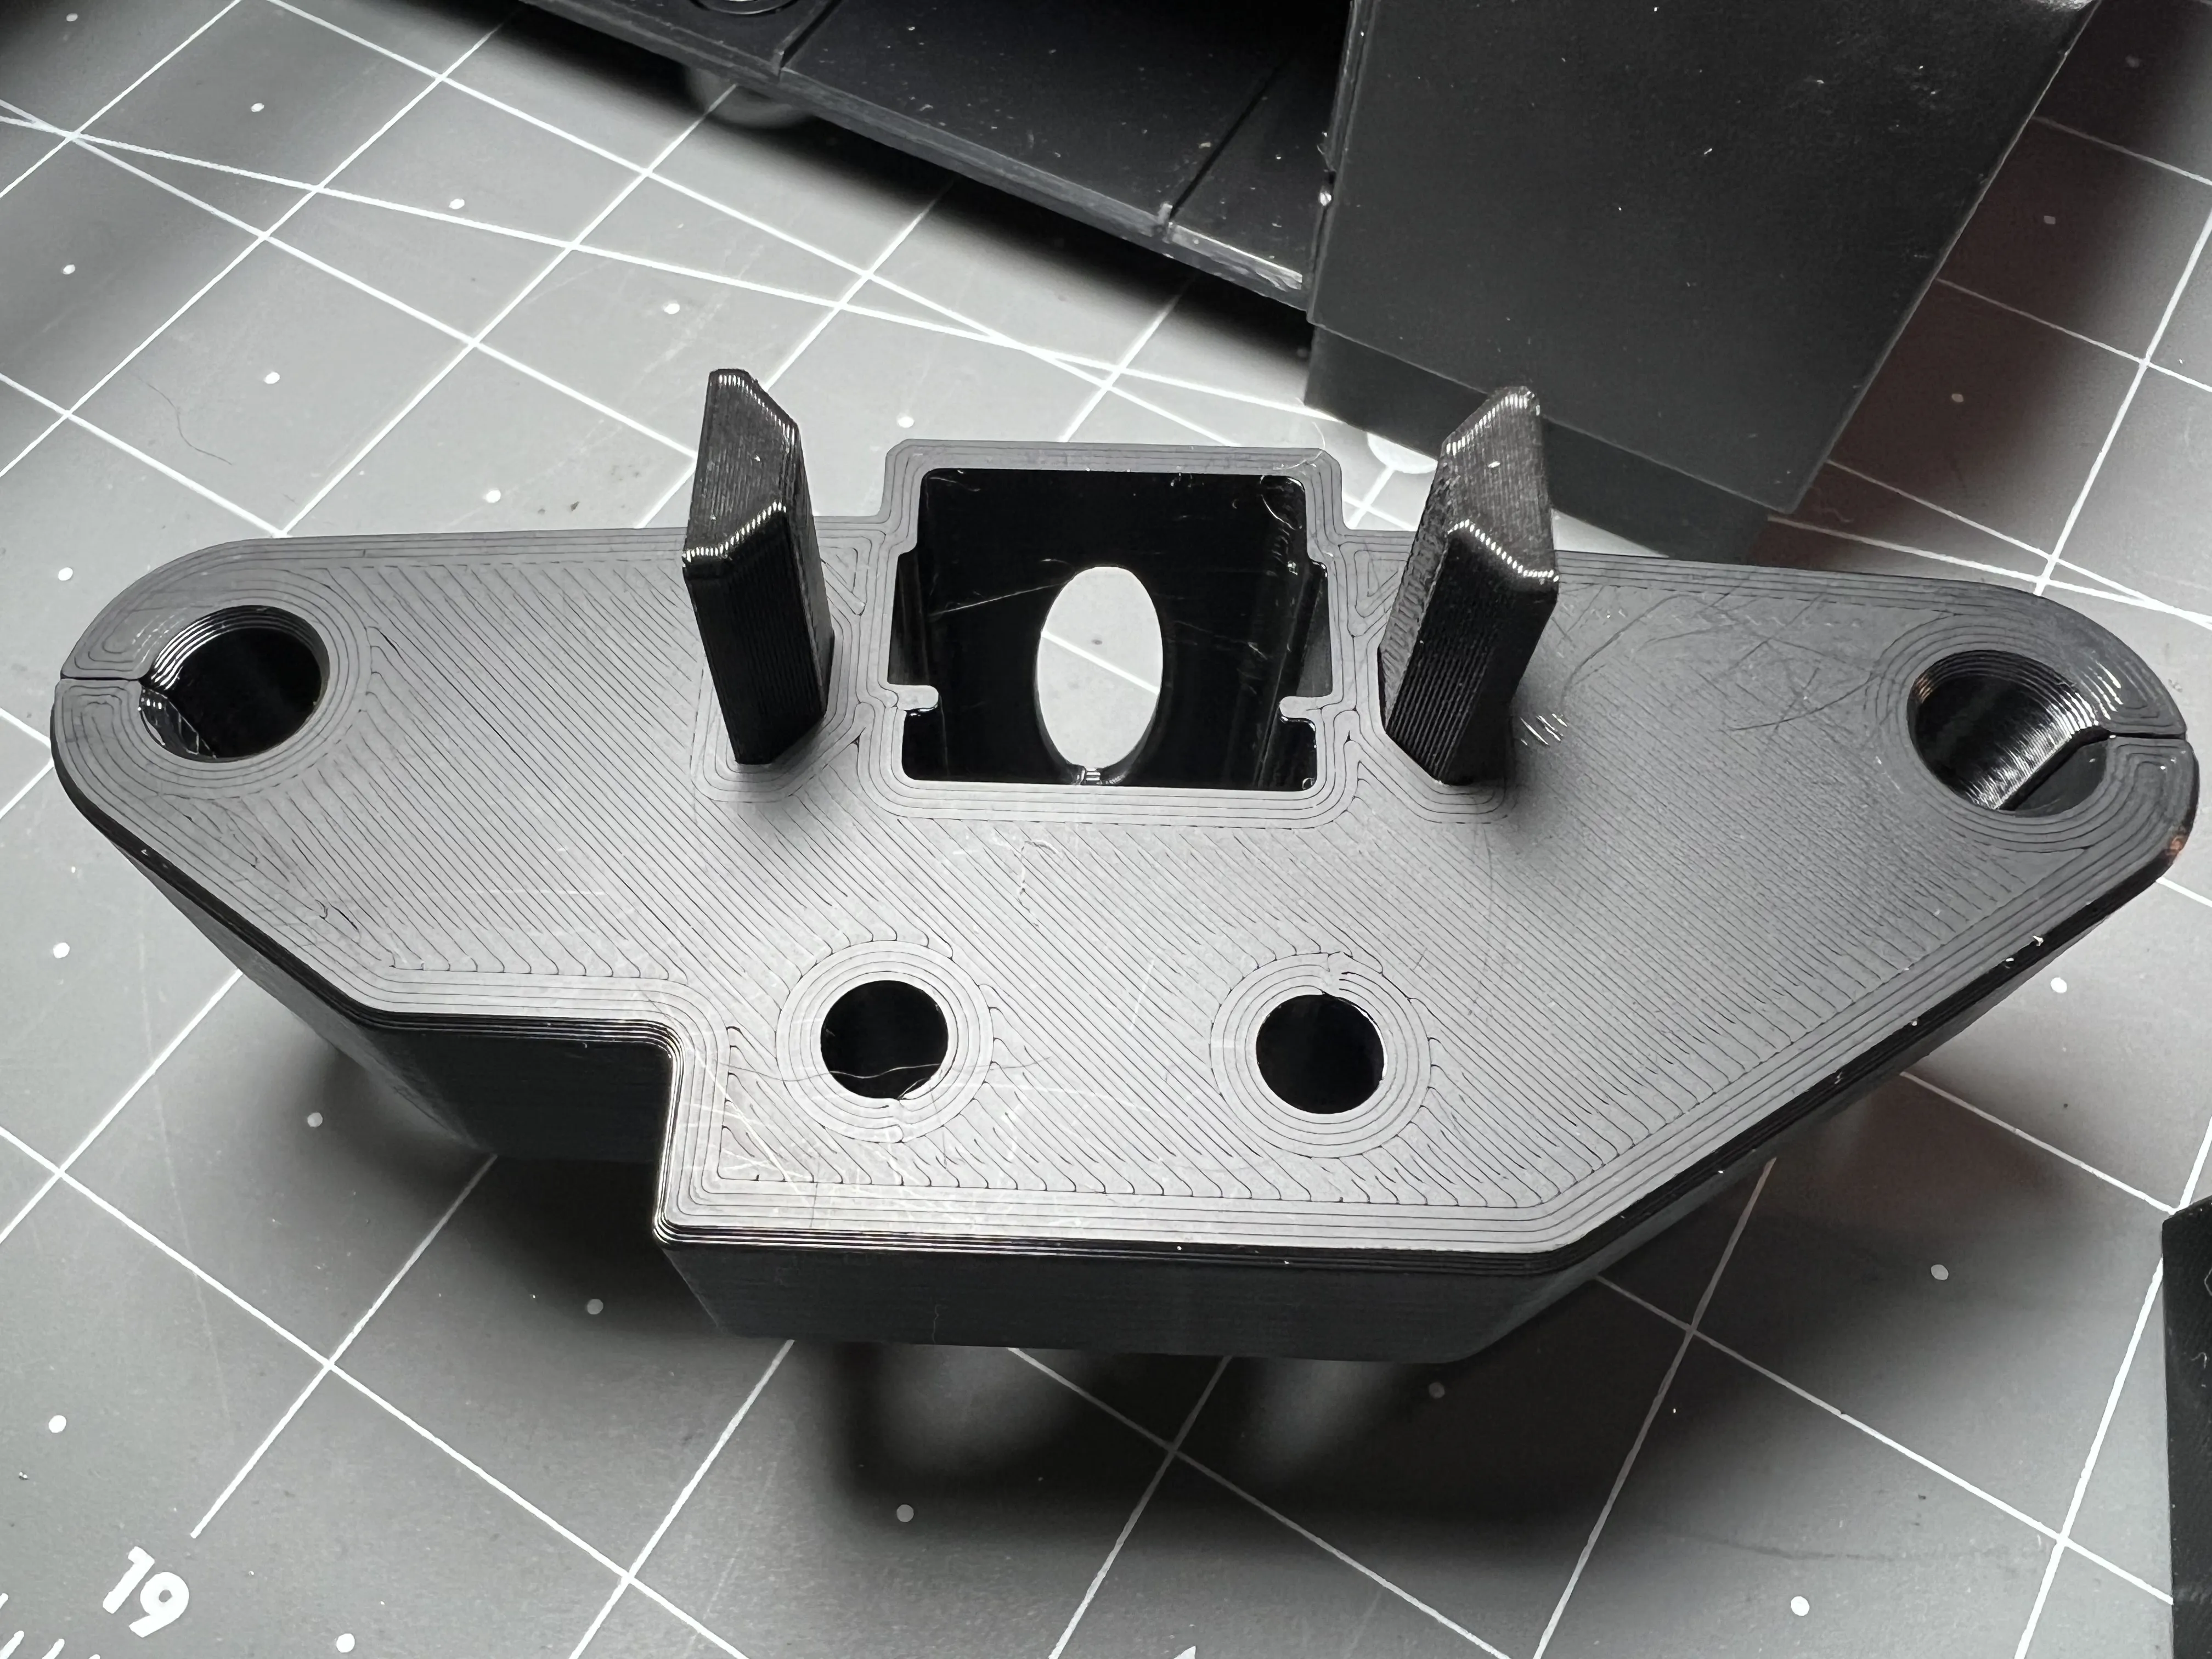
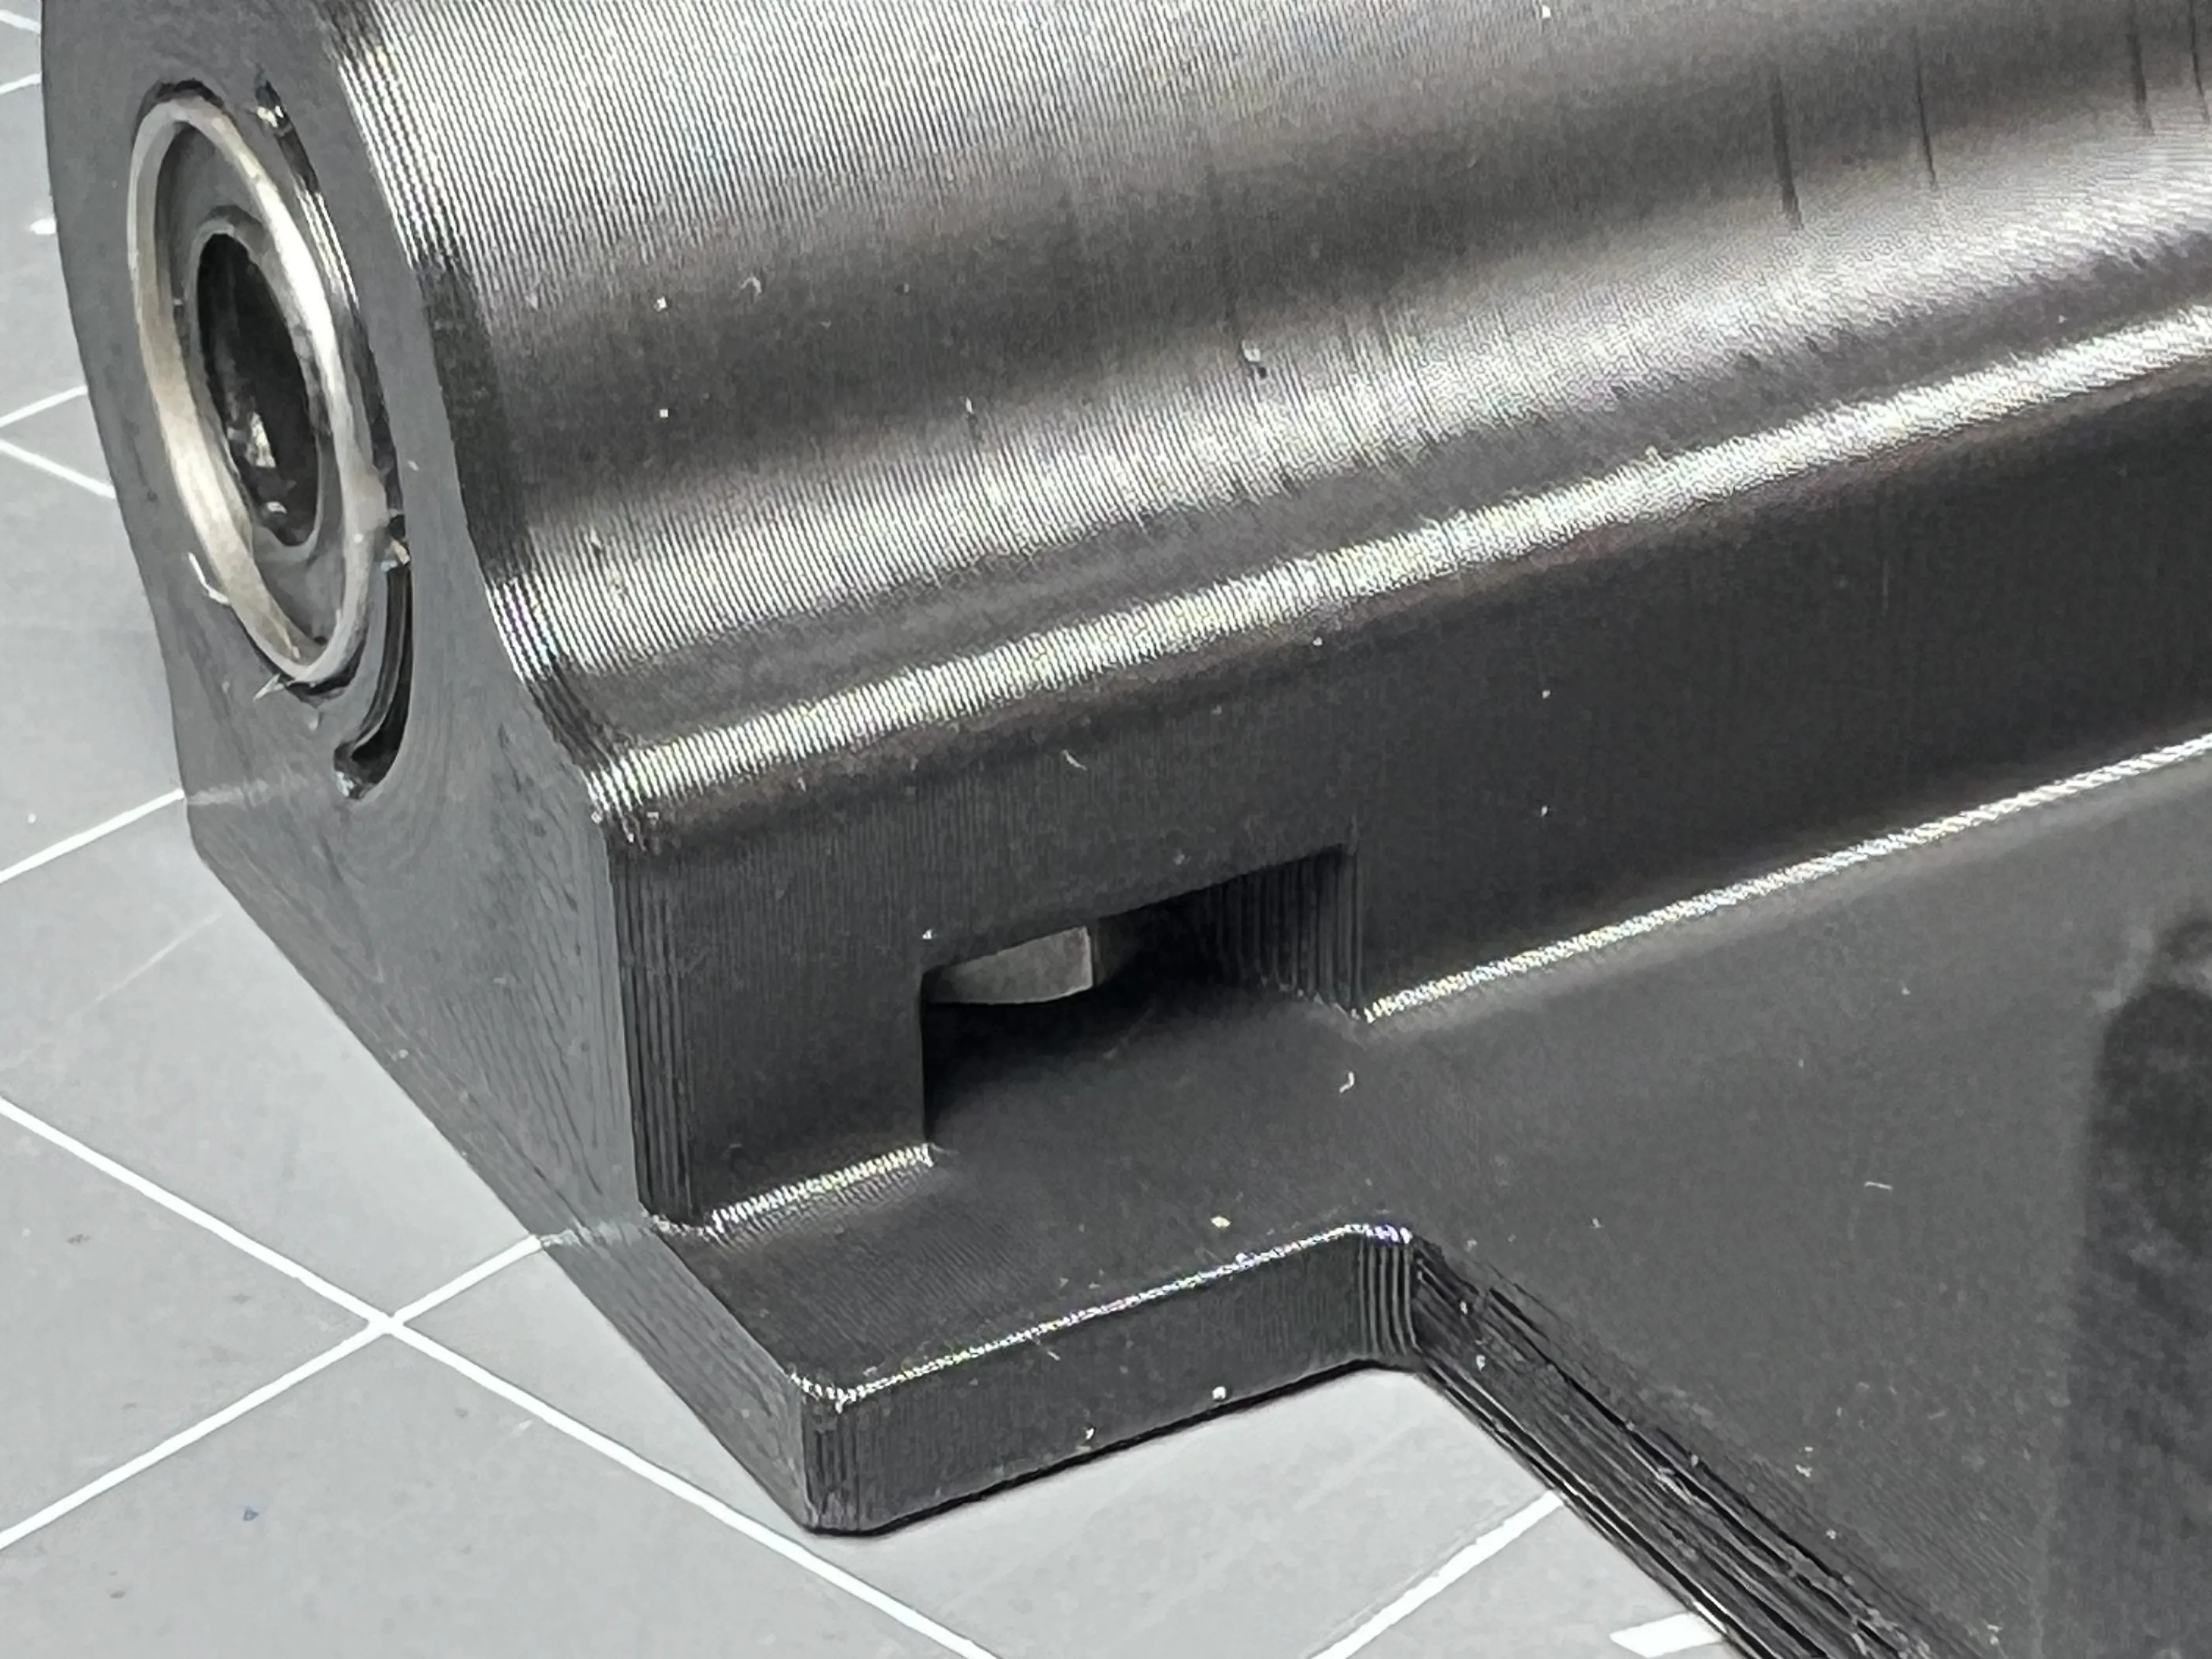
Insert bearings (4) into bed carriage, pressing until they snap into place.
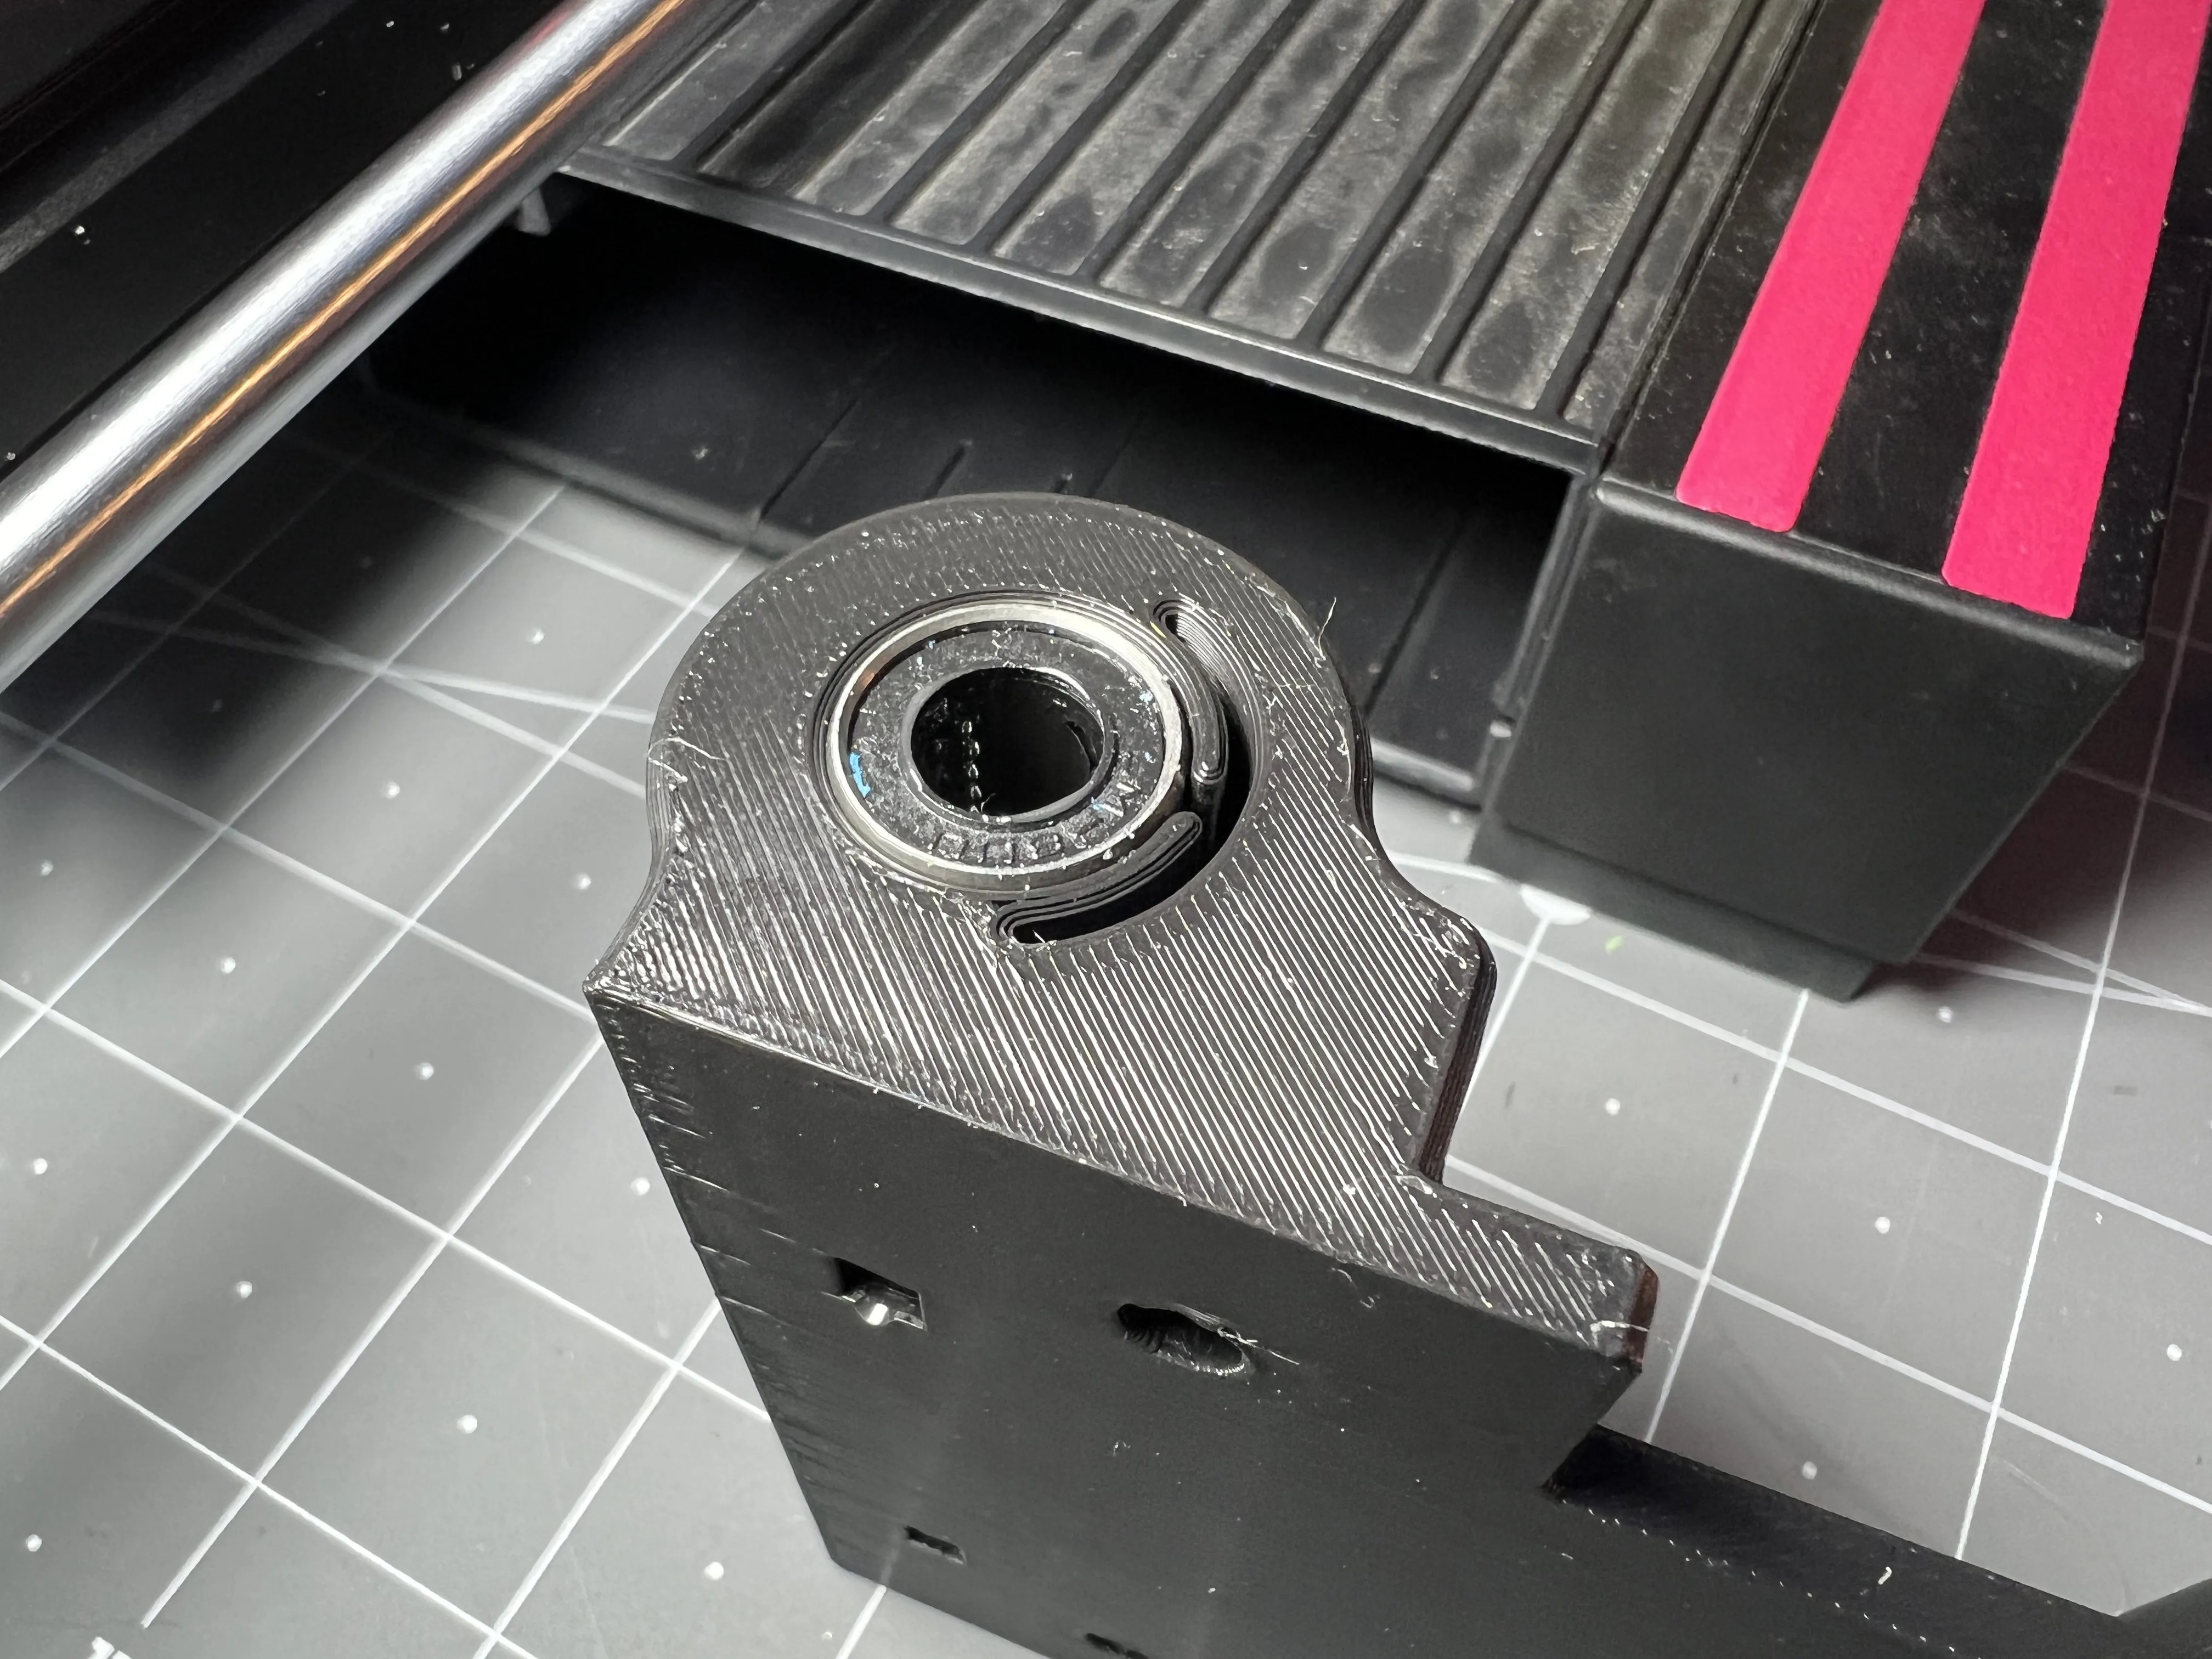
Note: There are slots underneath to ease bearing removal if necessary.
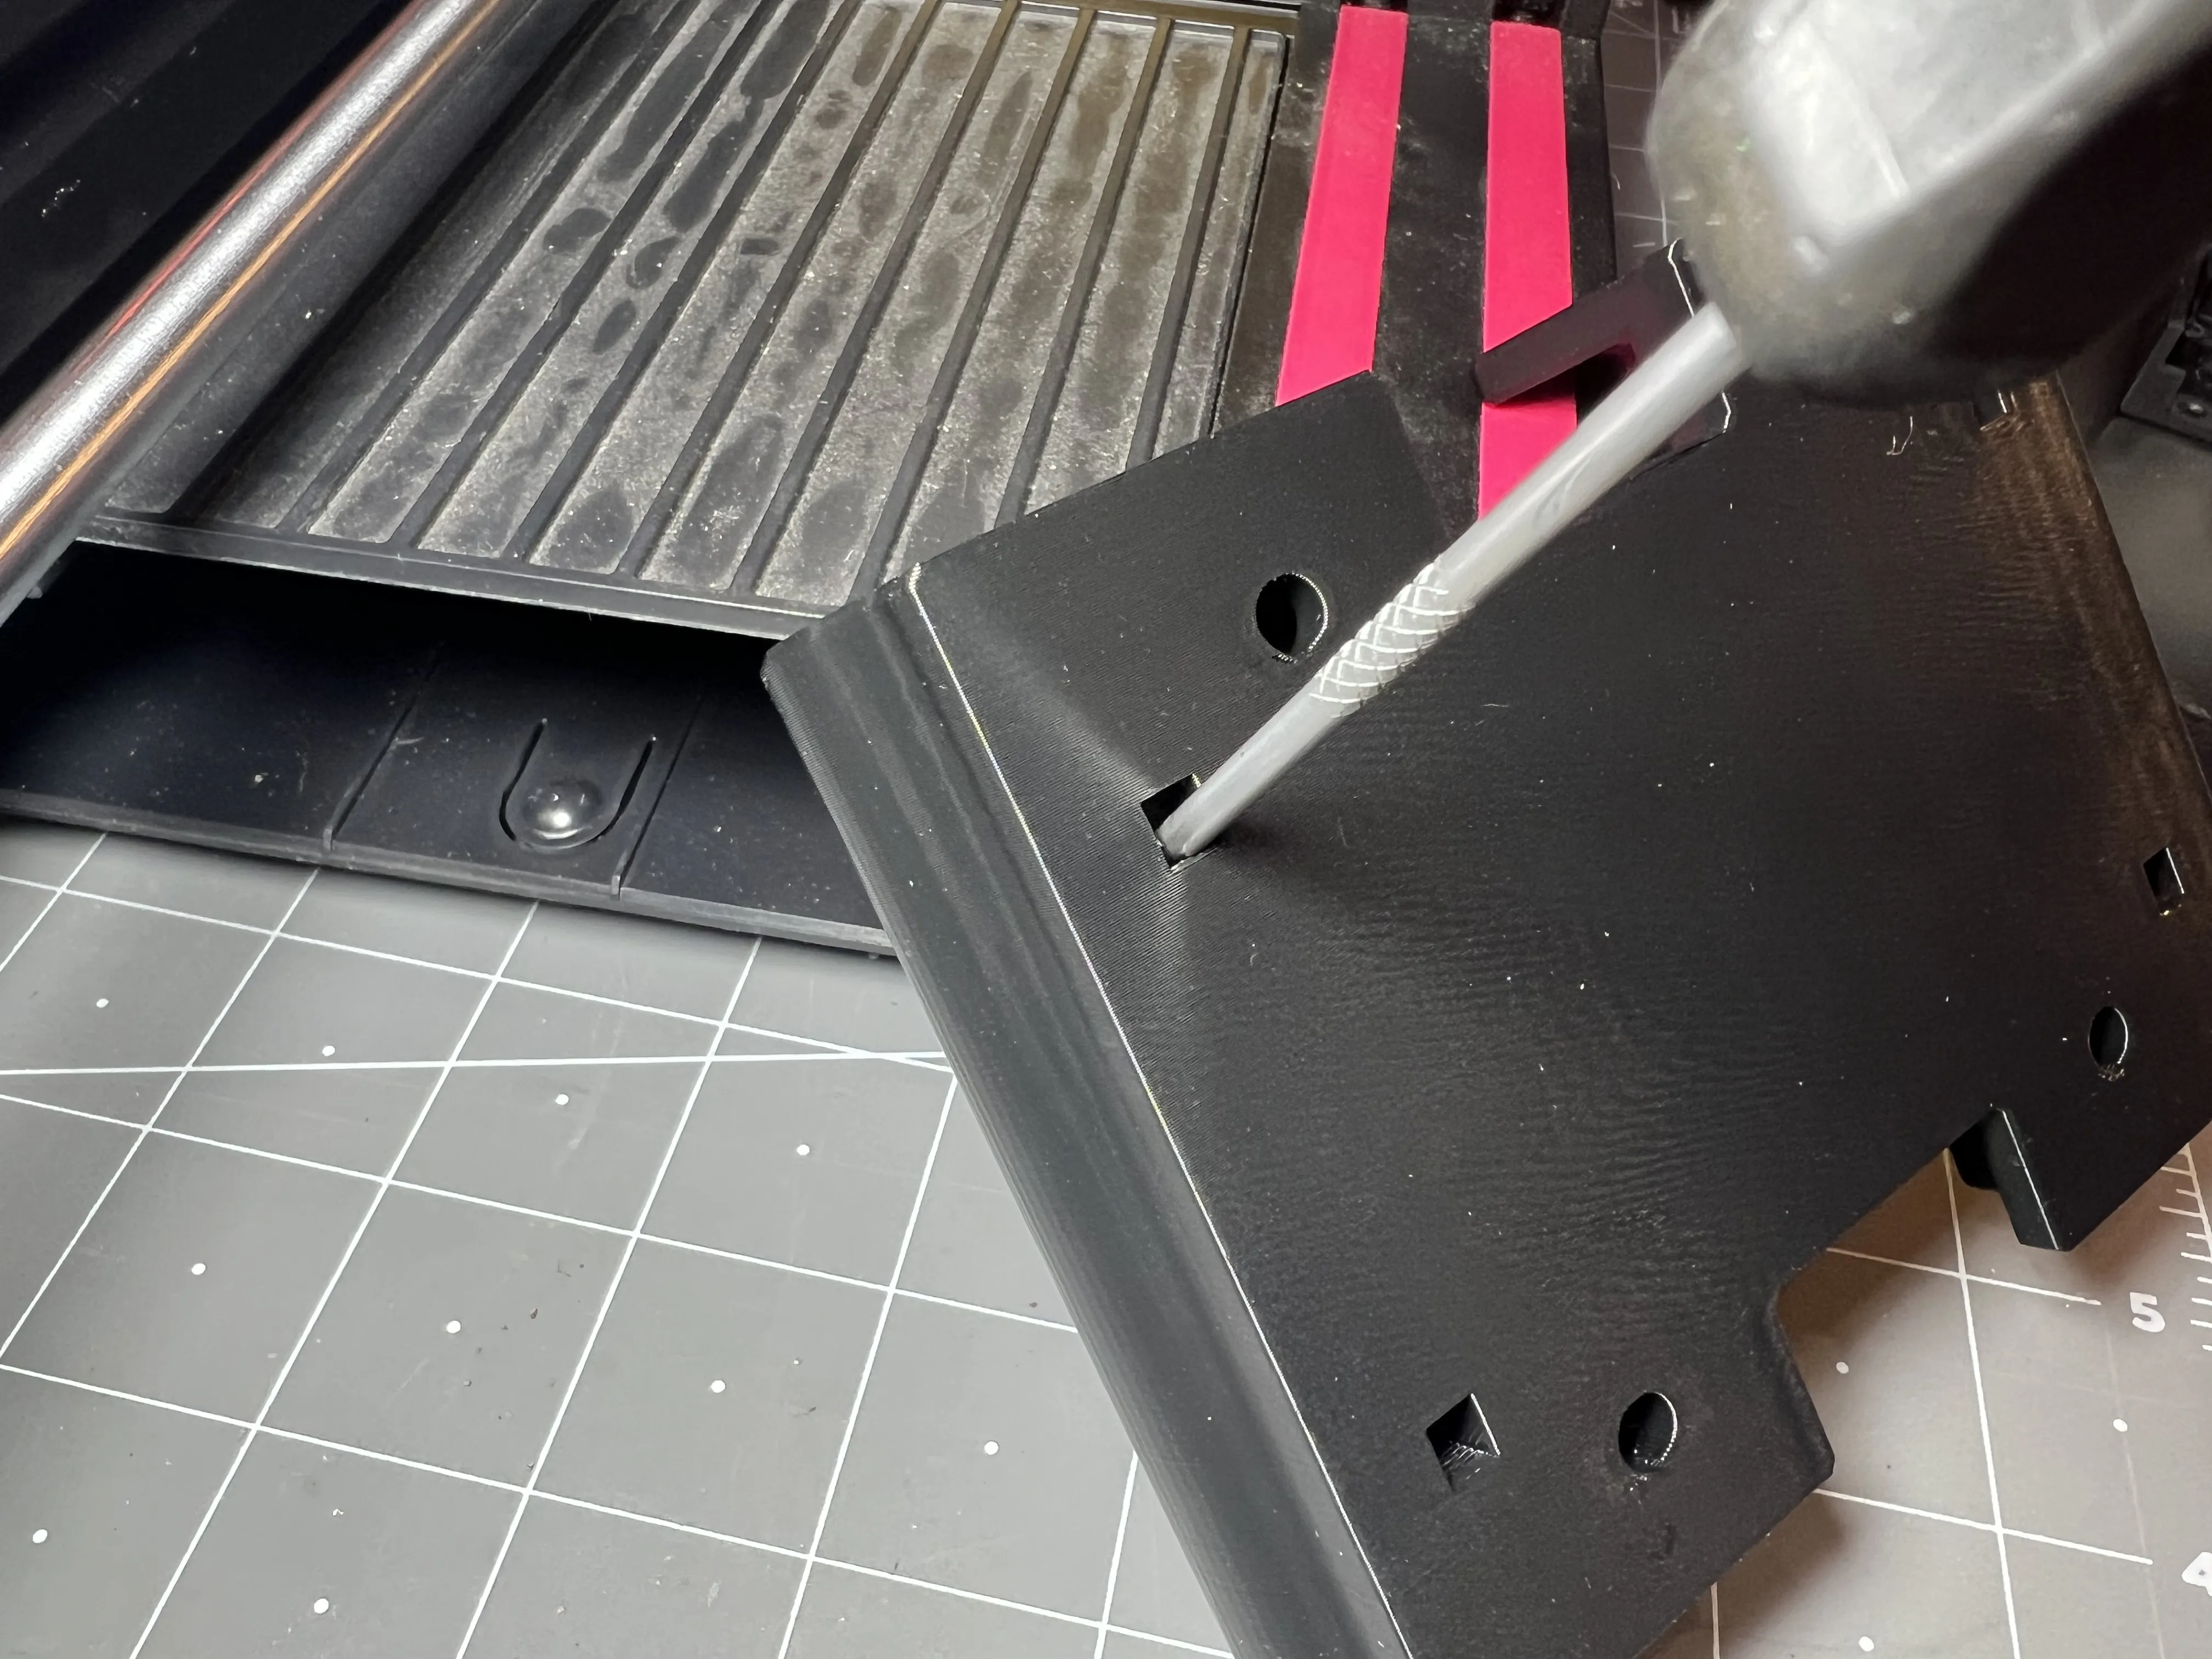
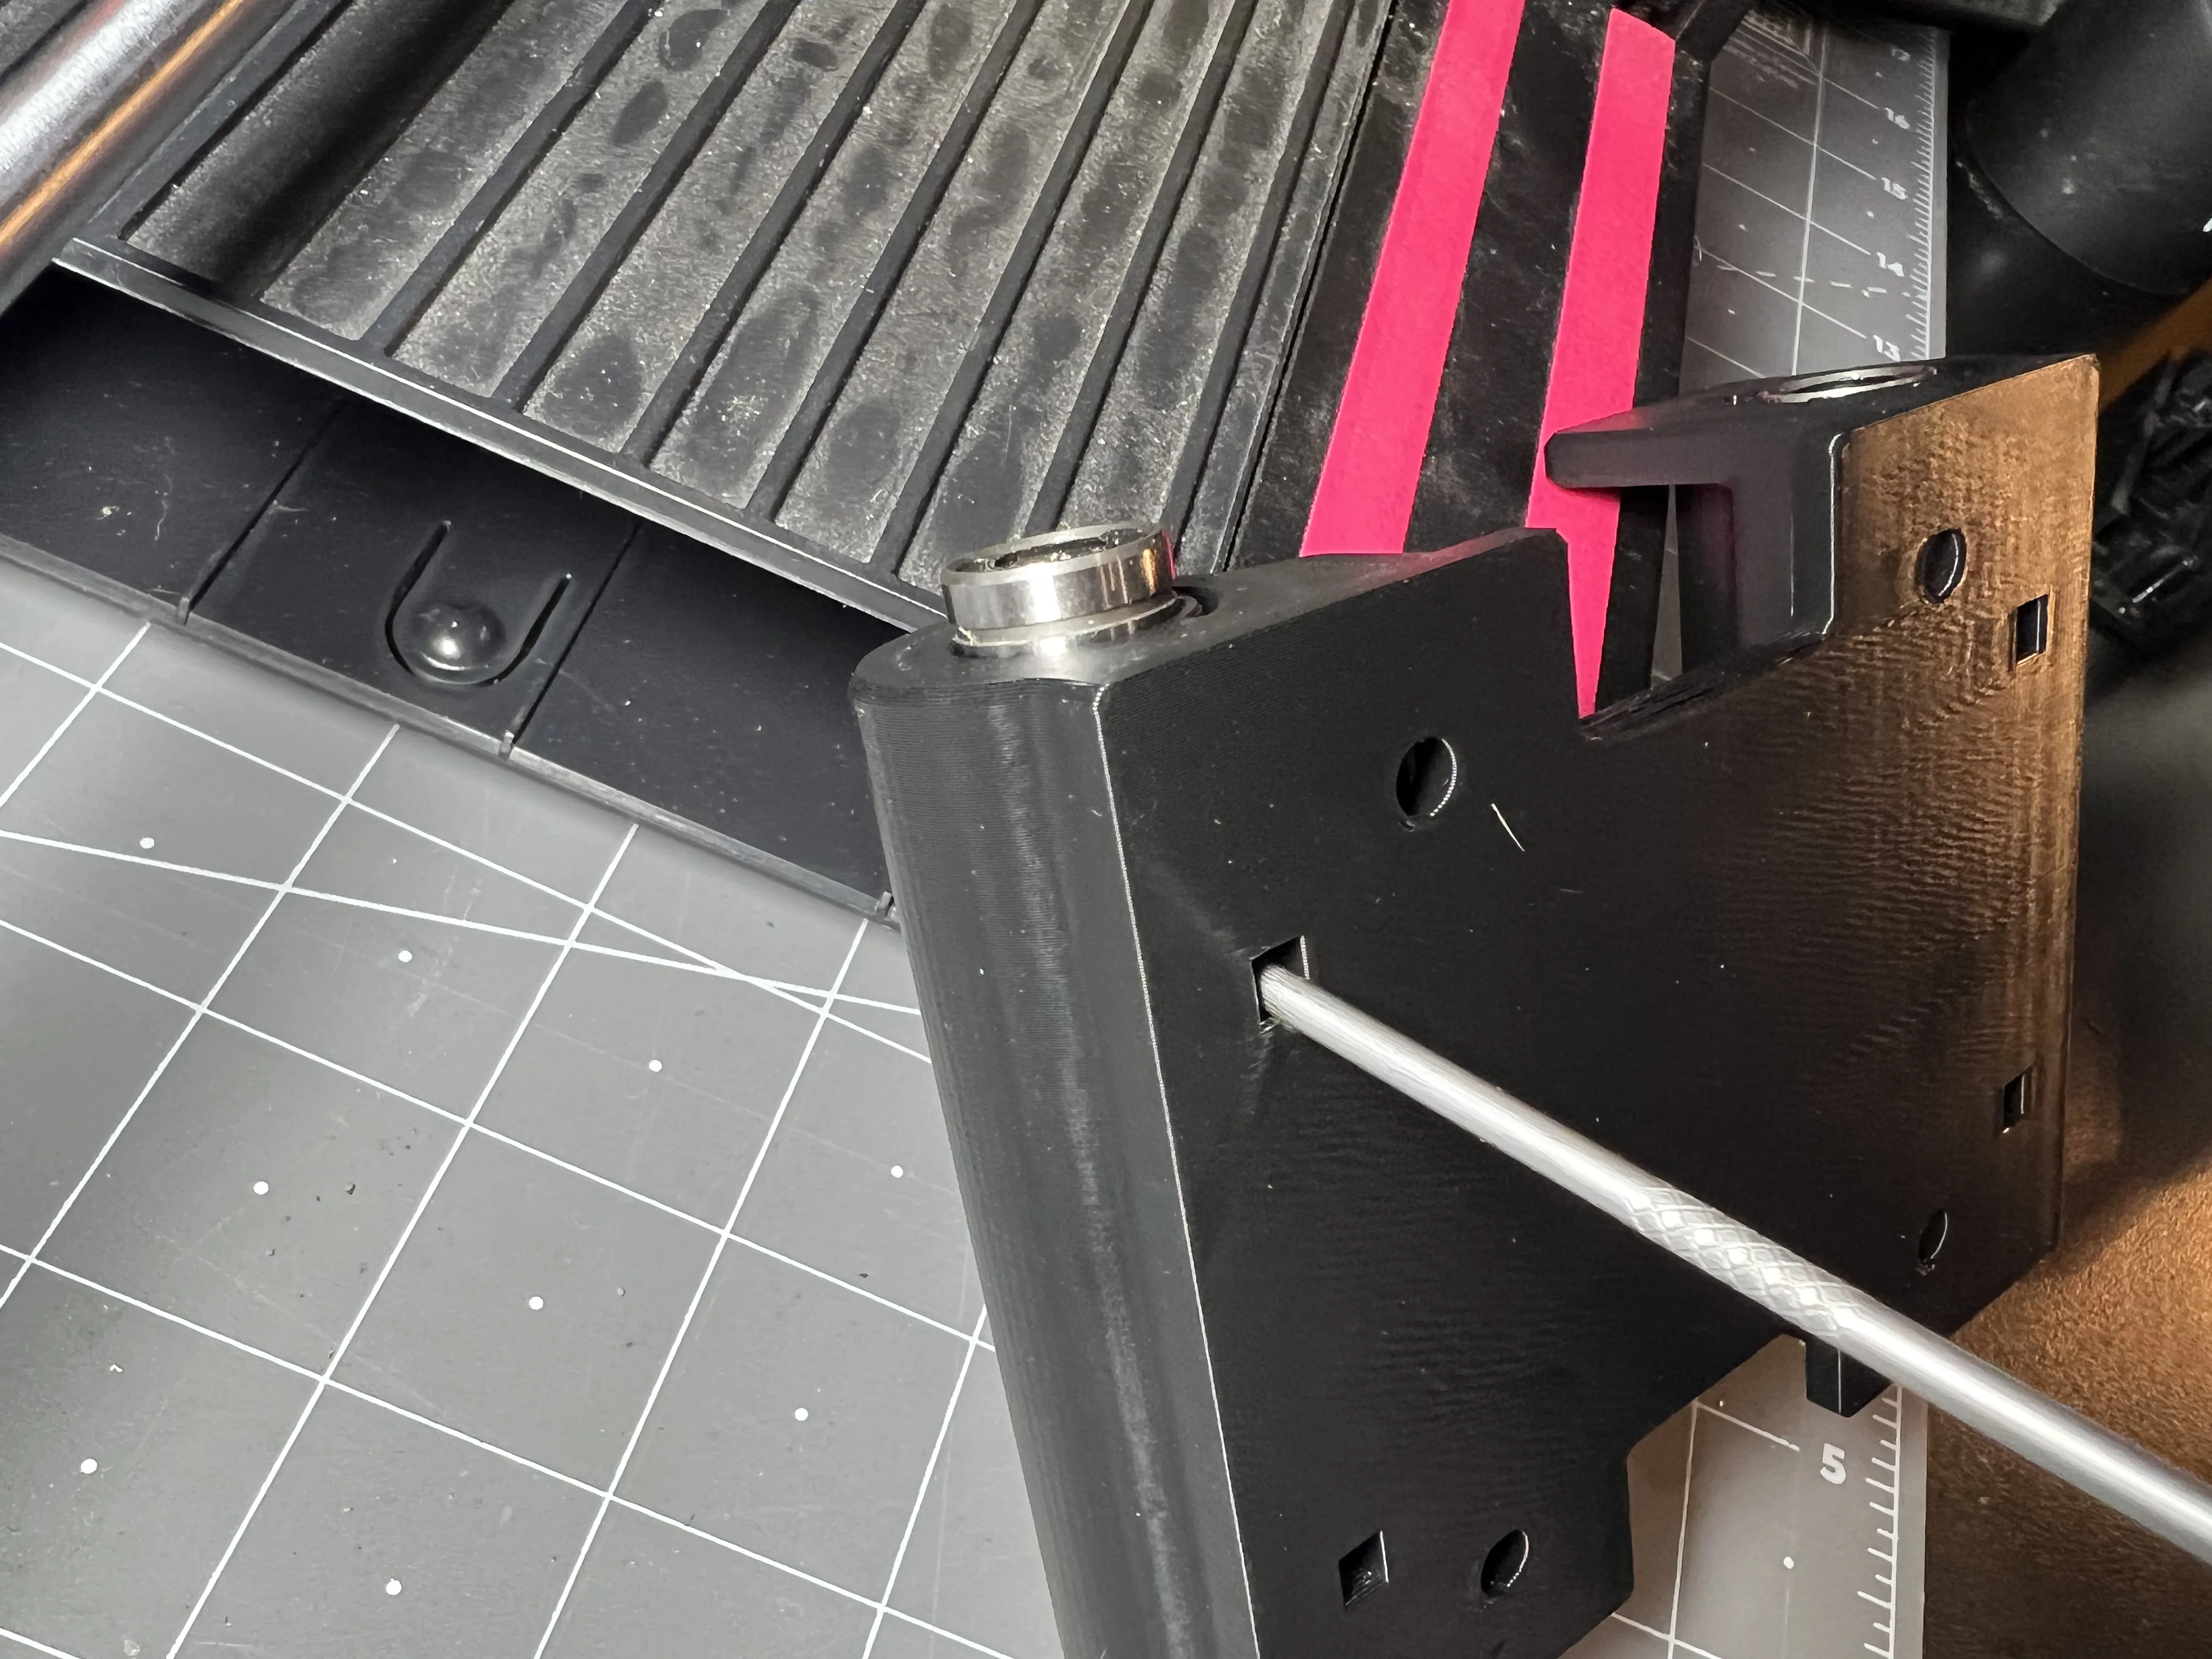
Insert M5 nuts (4) into bed carriage.
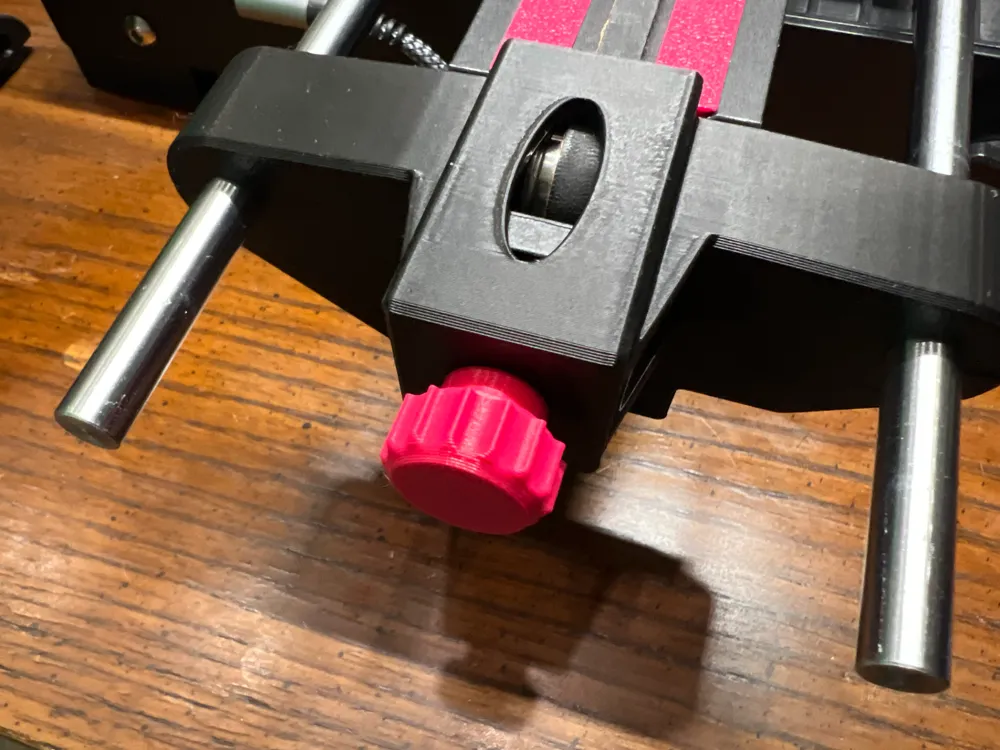
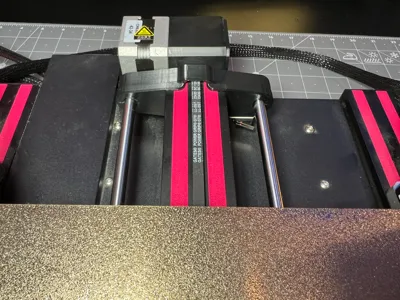
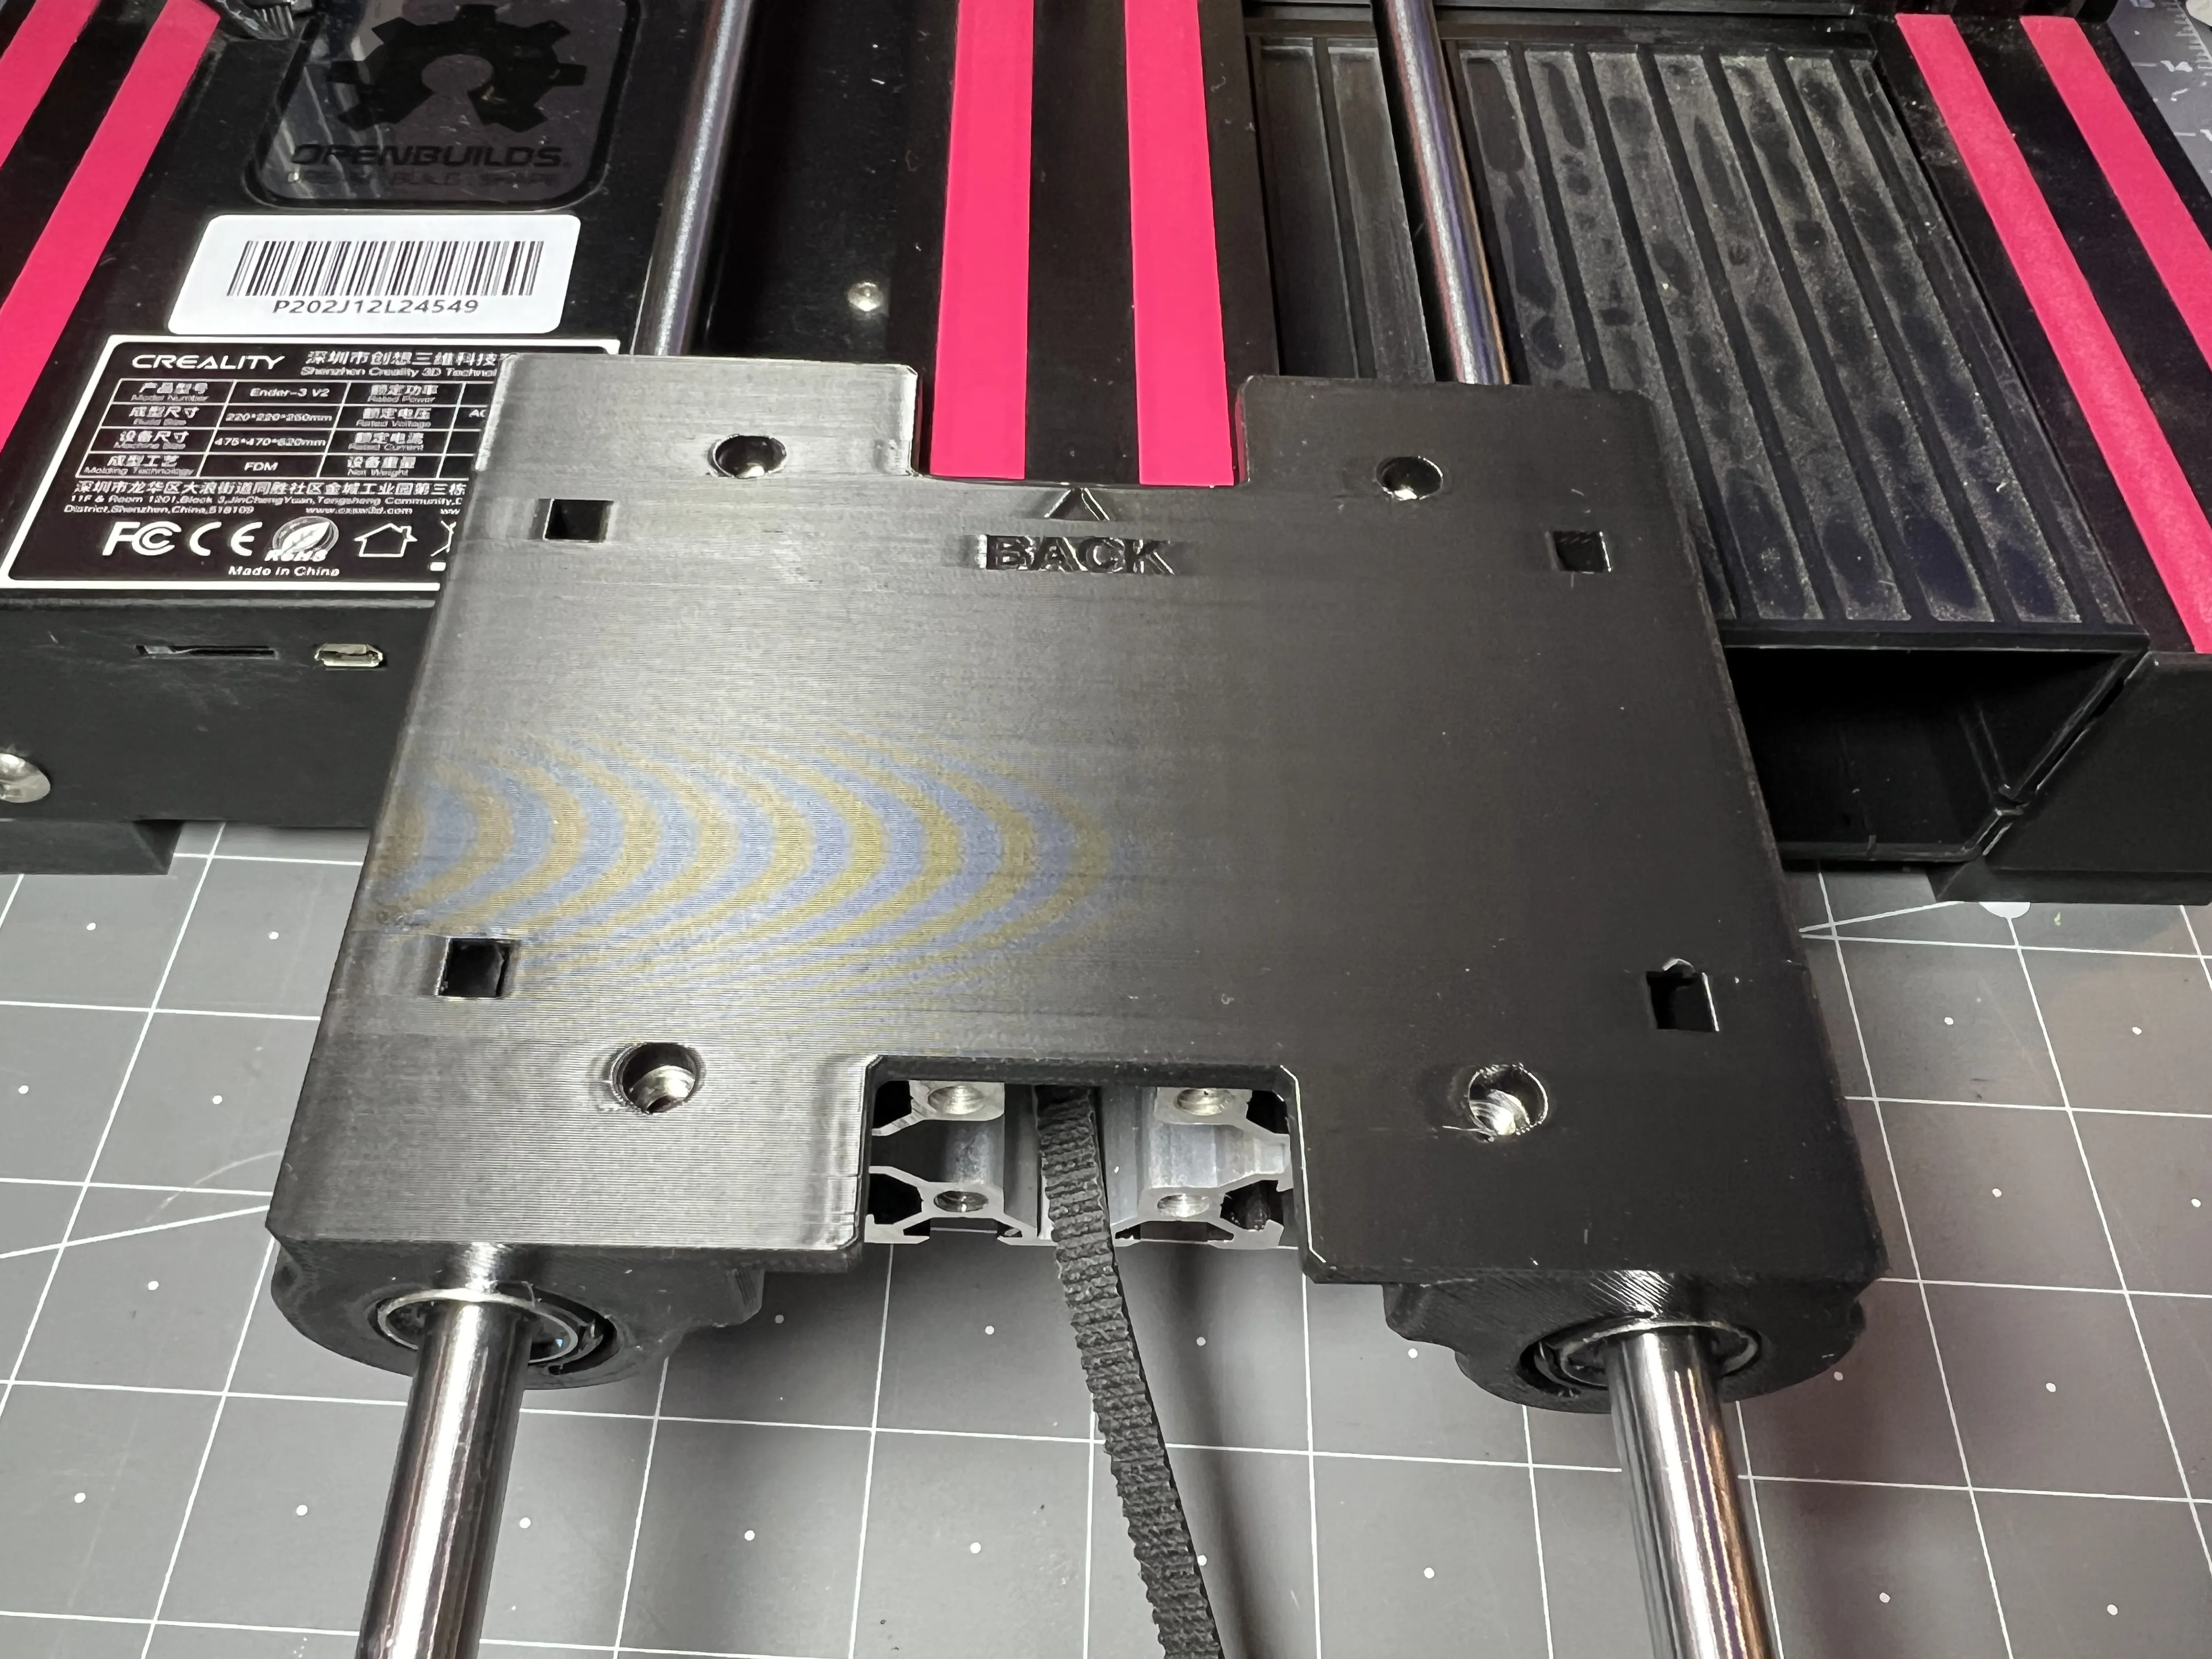
Install the carriage and use M5 (4) bolts to attach bed plate. Be sure to the install bed plate correctly for proper motor clearance.
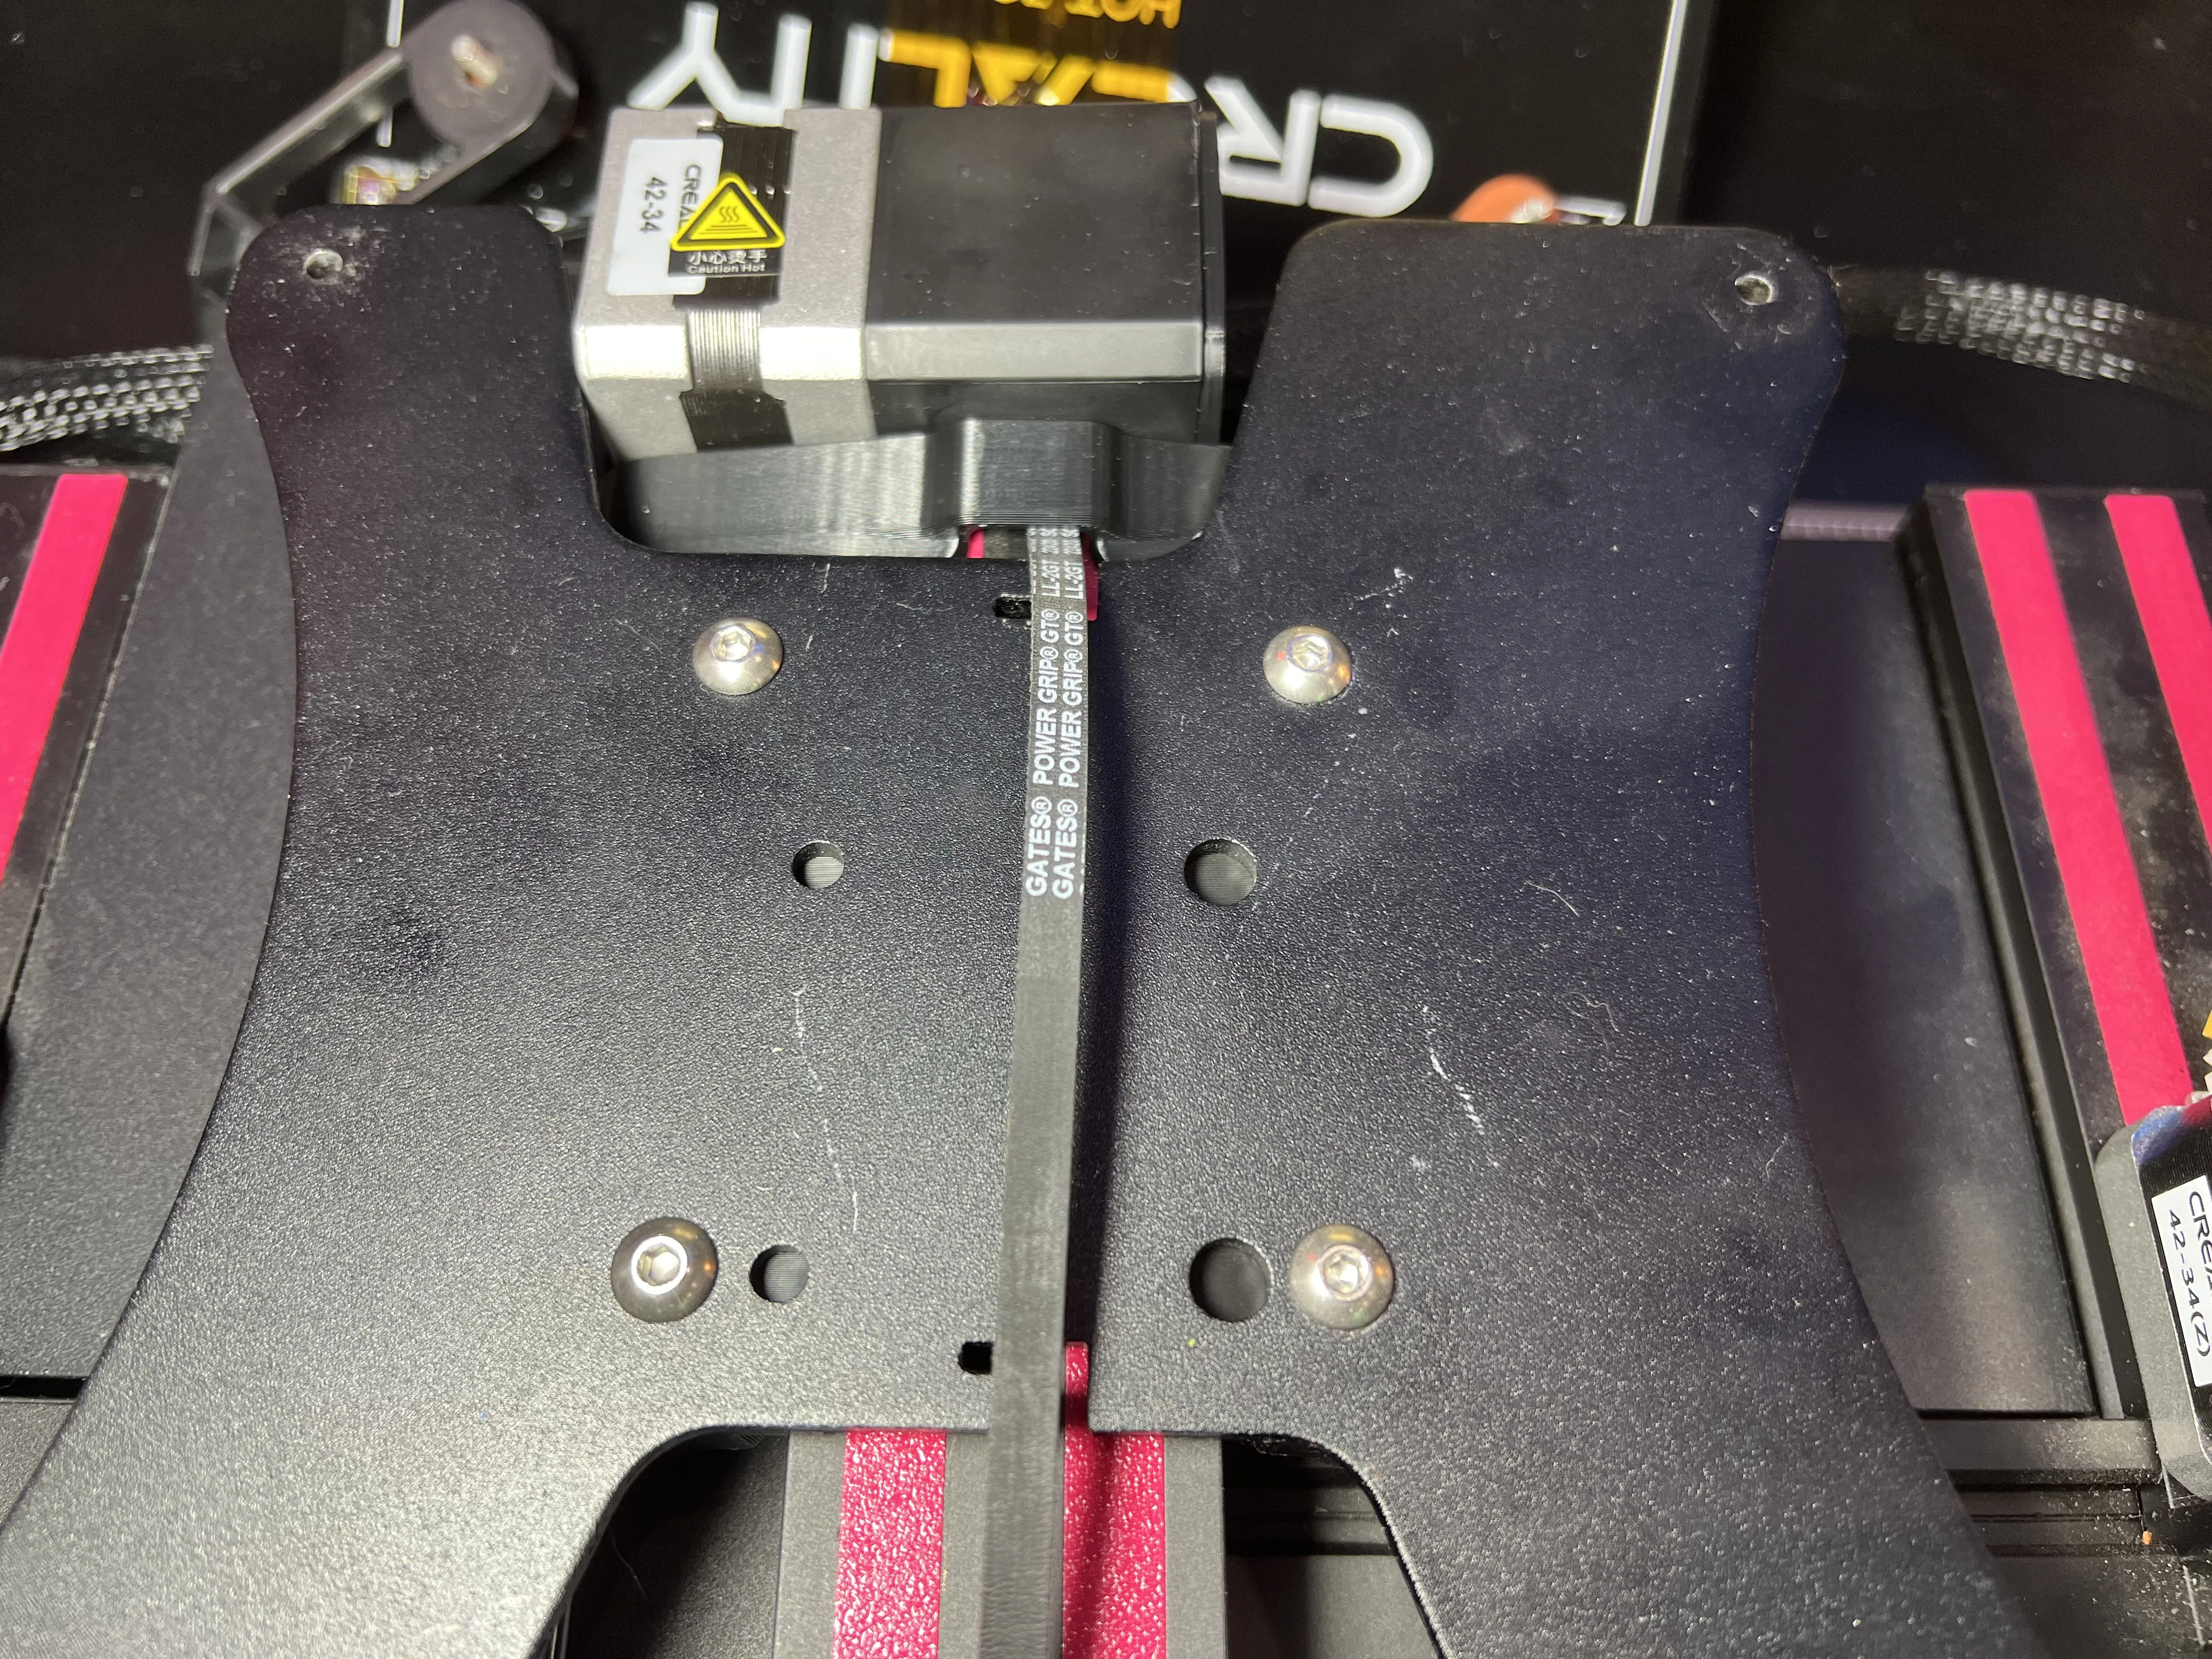
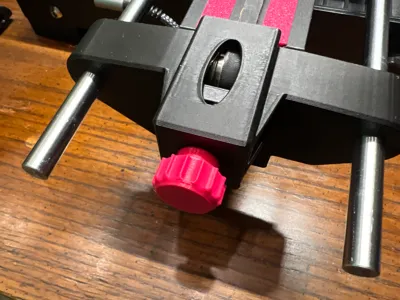
Place belt tensioner inside front bracket. Press front bracket on, aligning stabilizers in front extrusion.
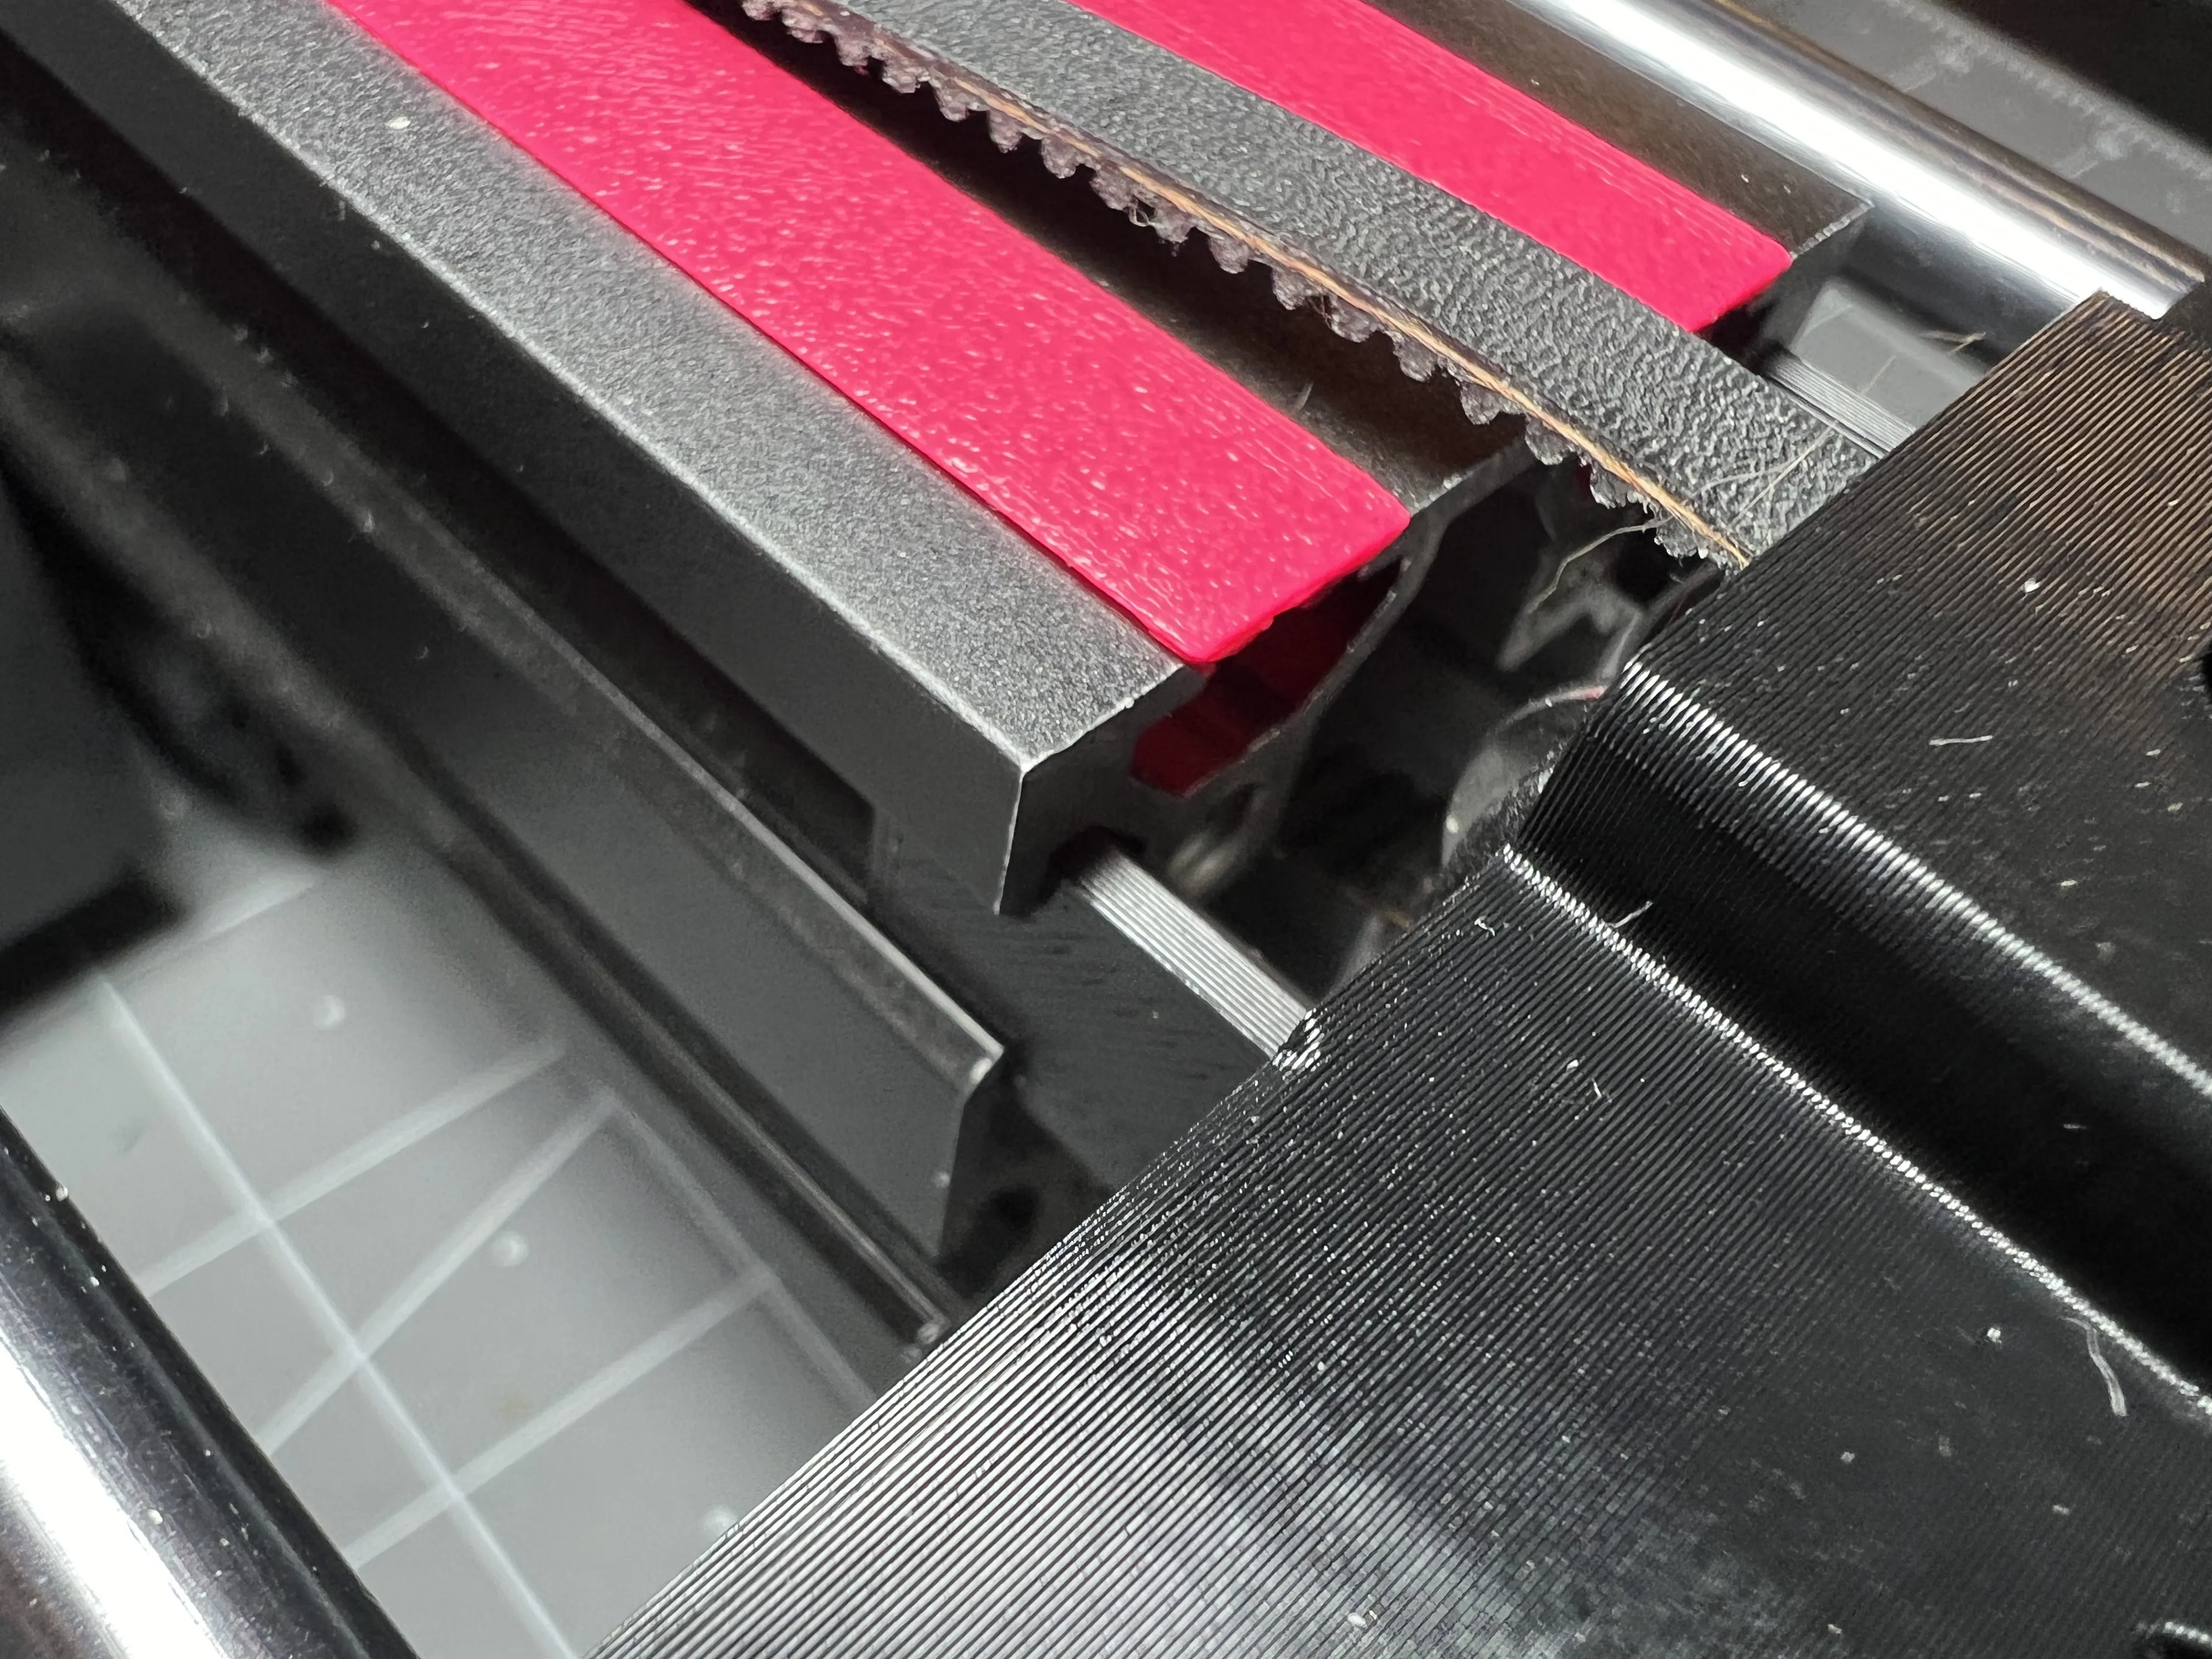
Reinstall original front screws.
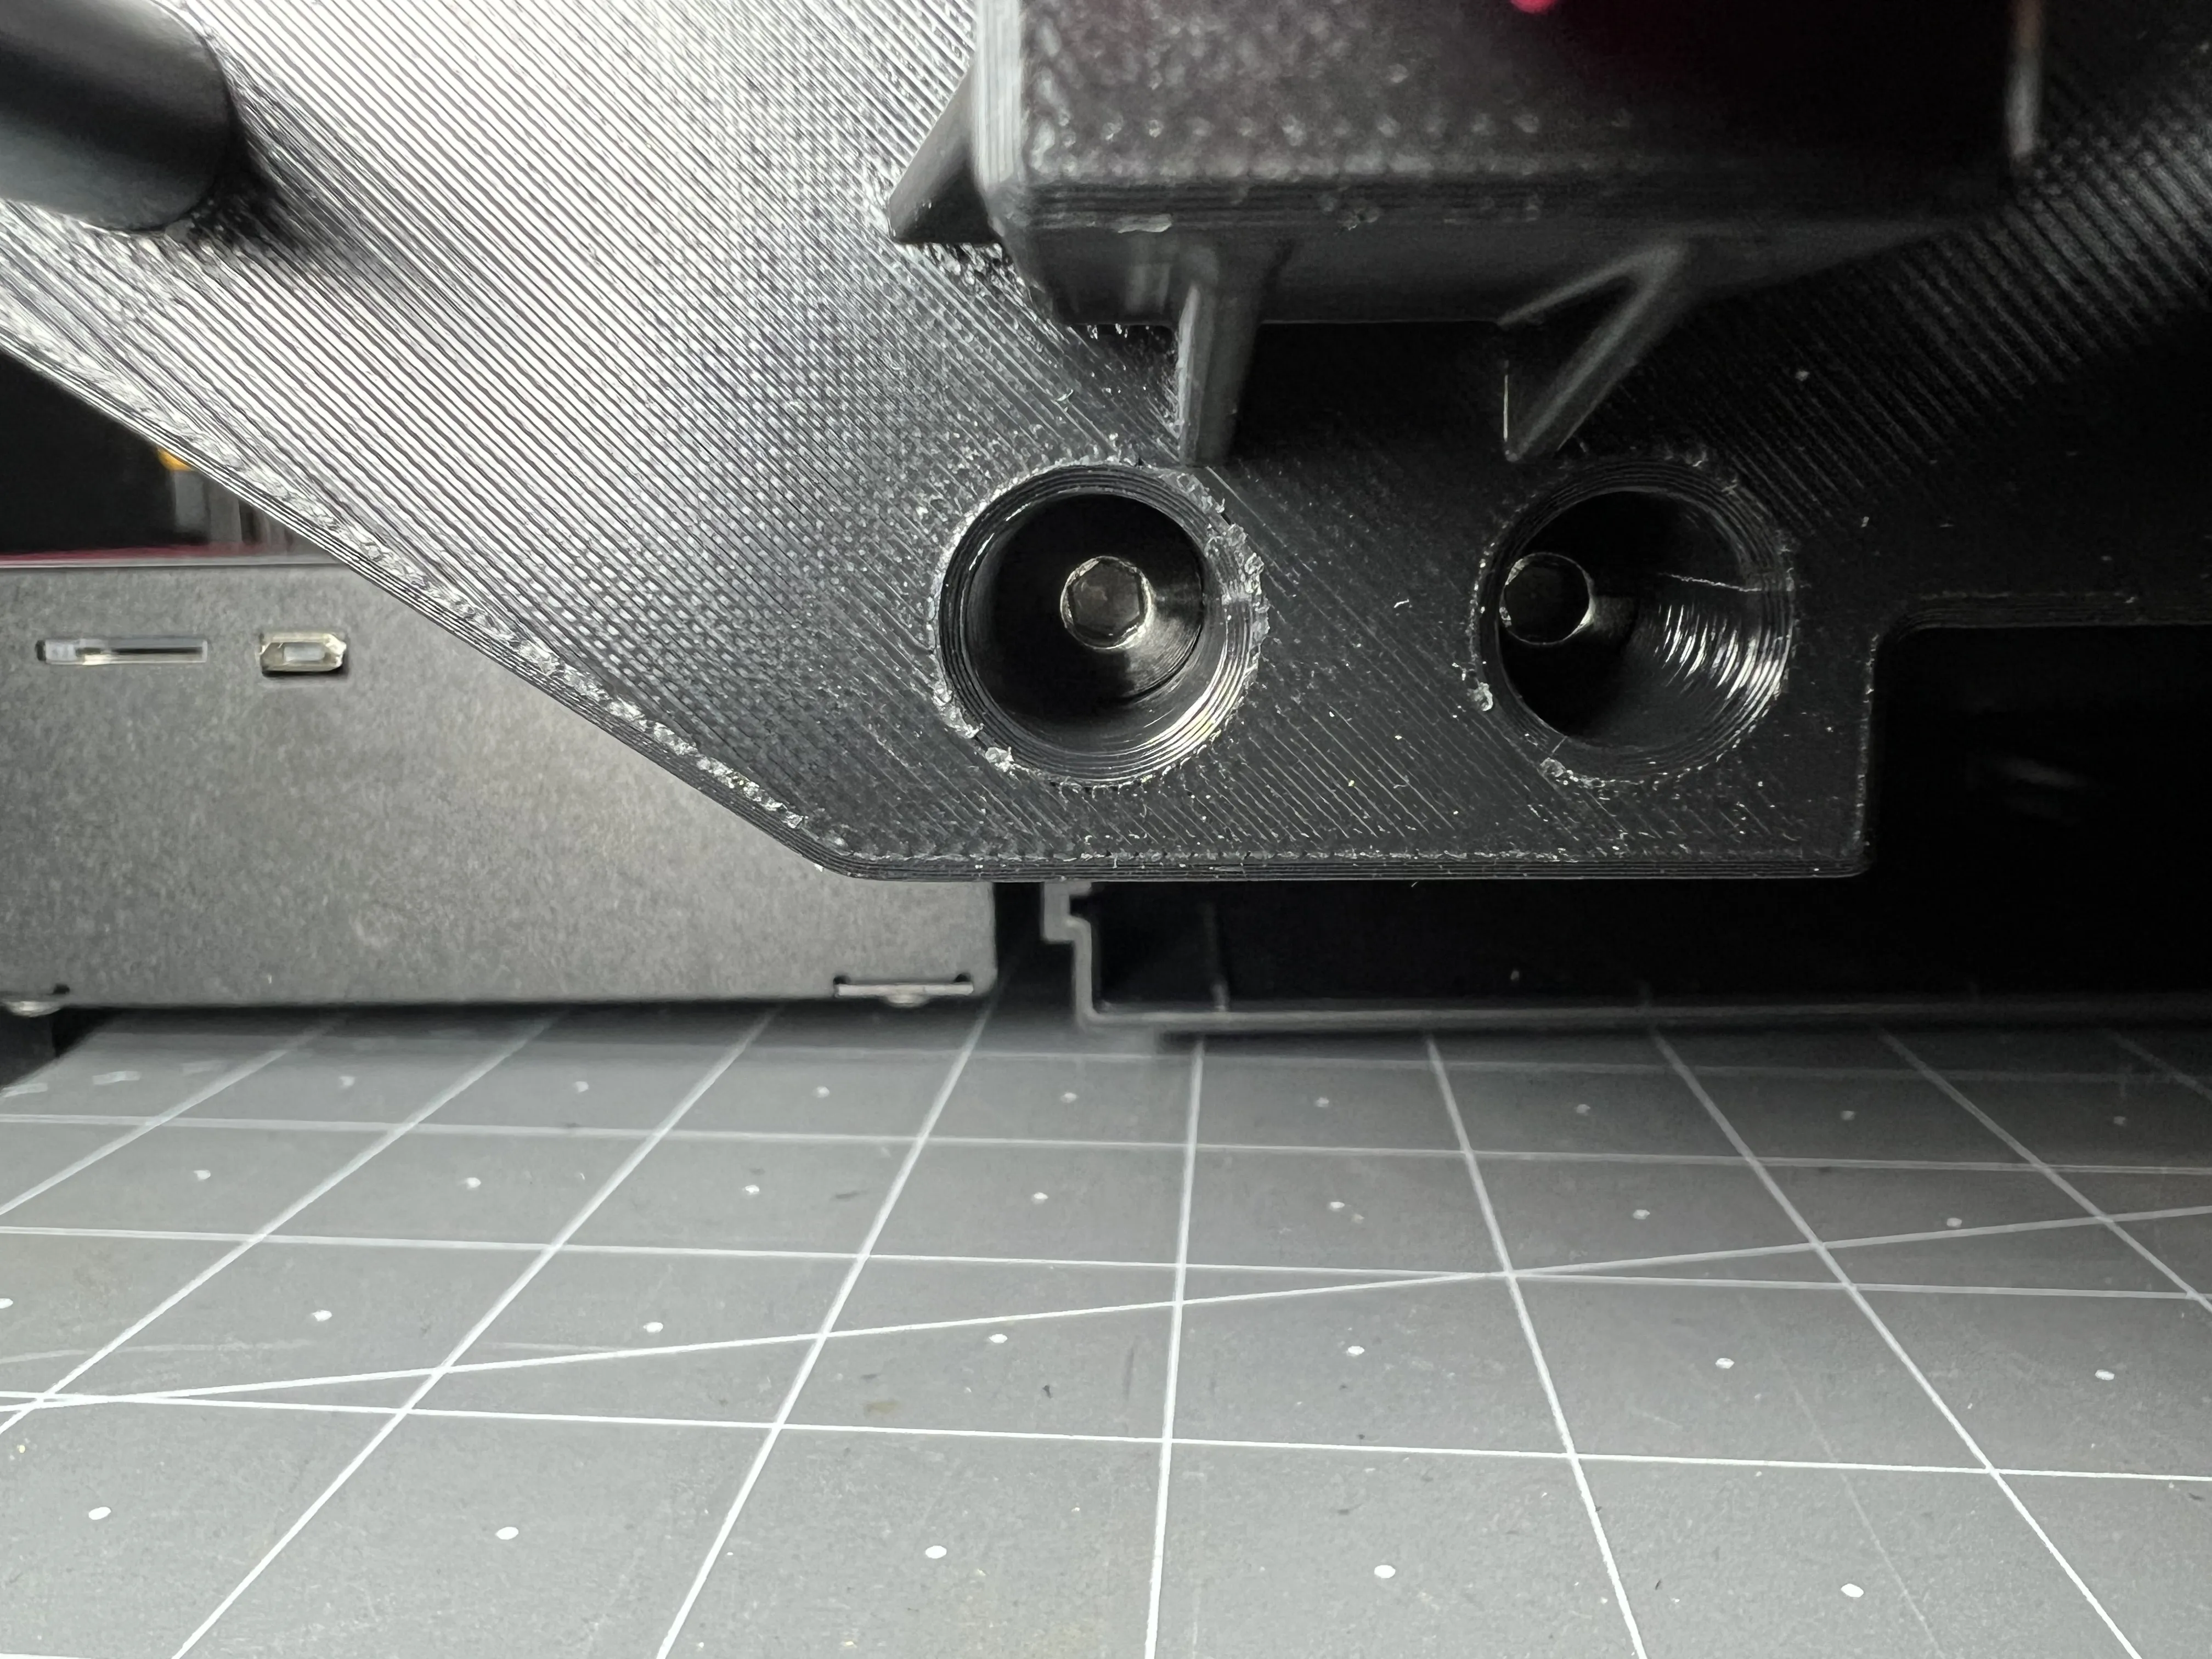
Attach the belt to plate and tension.
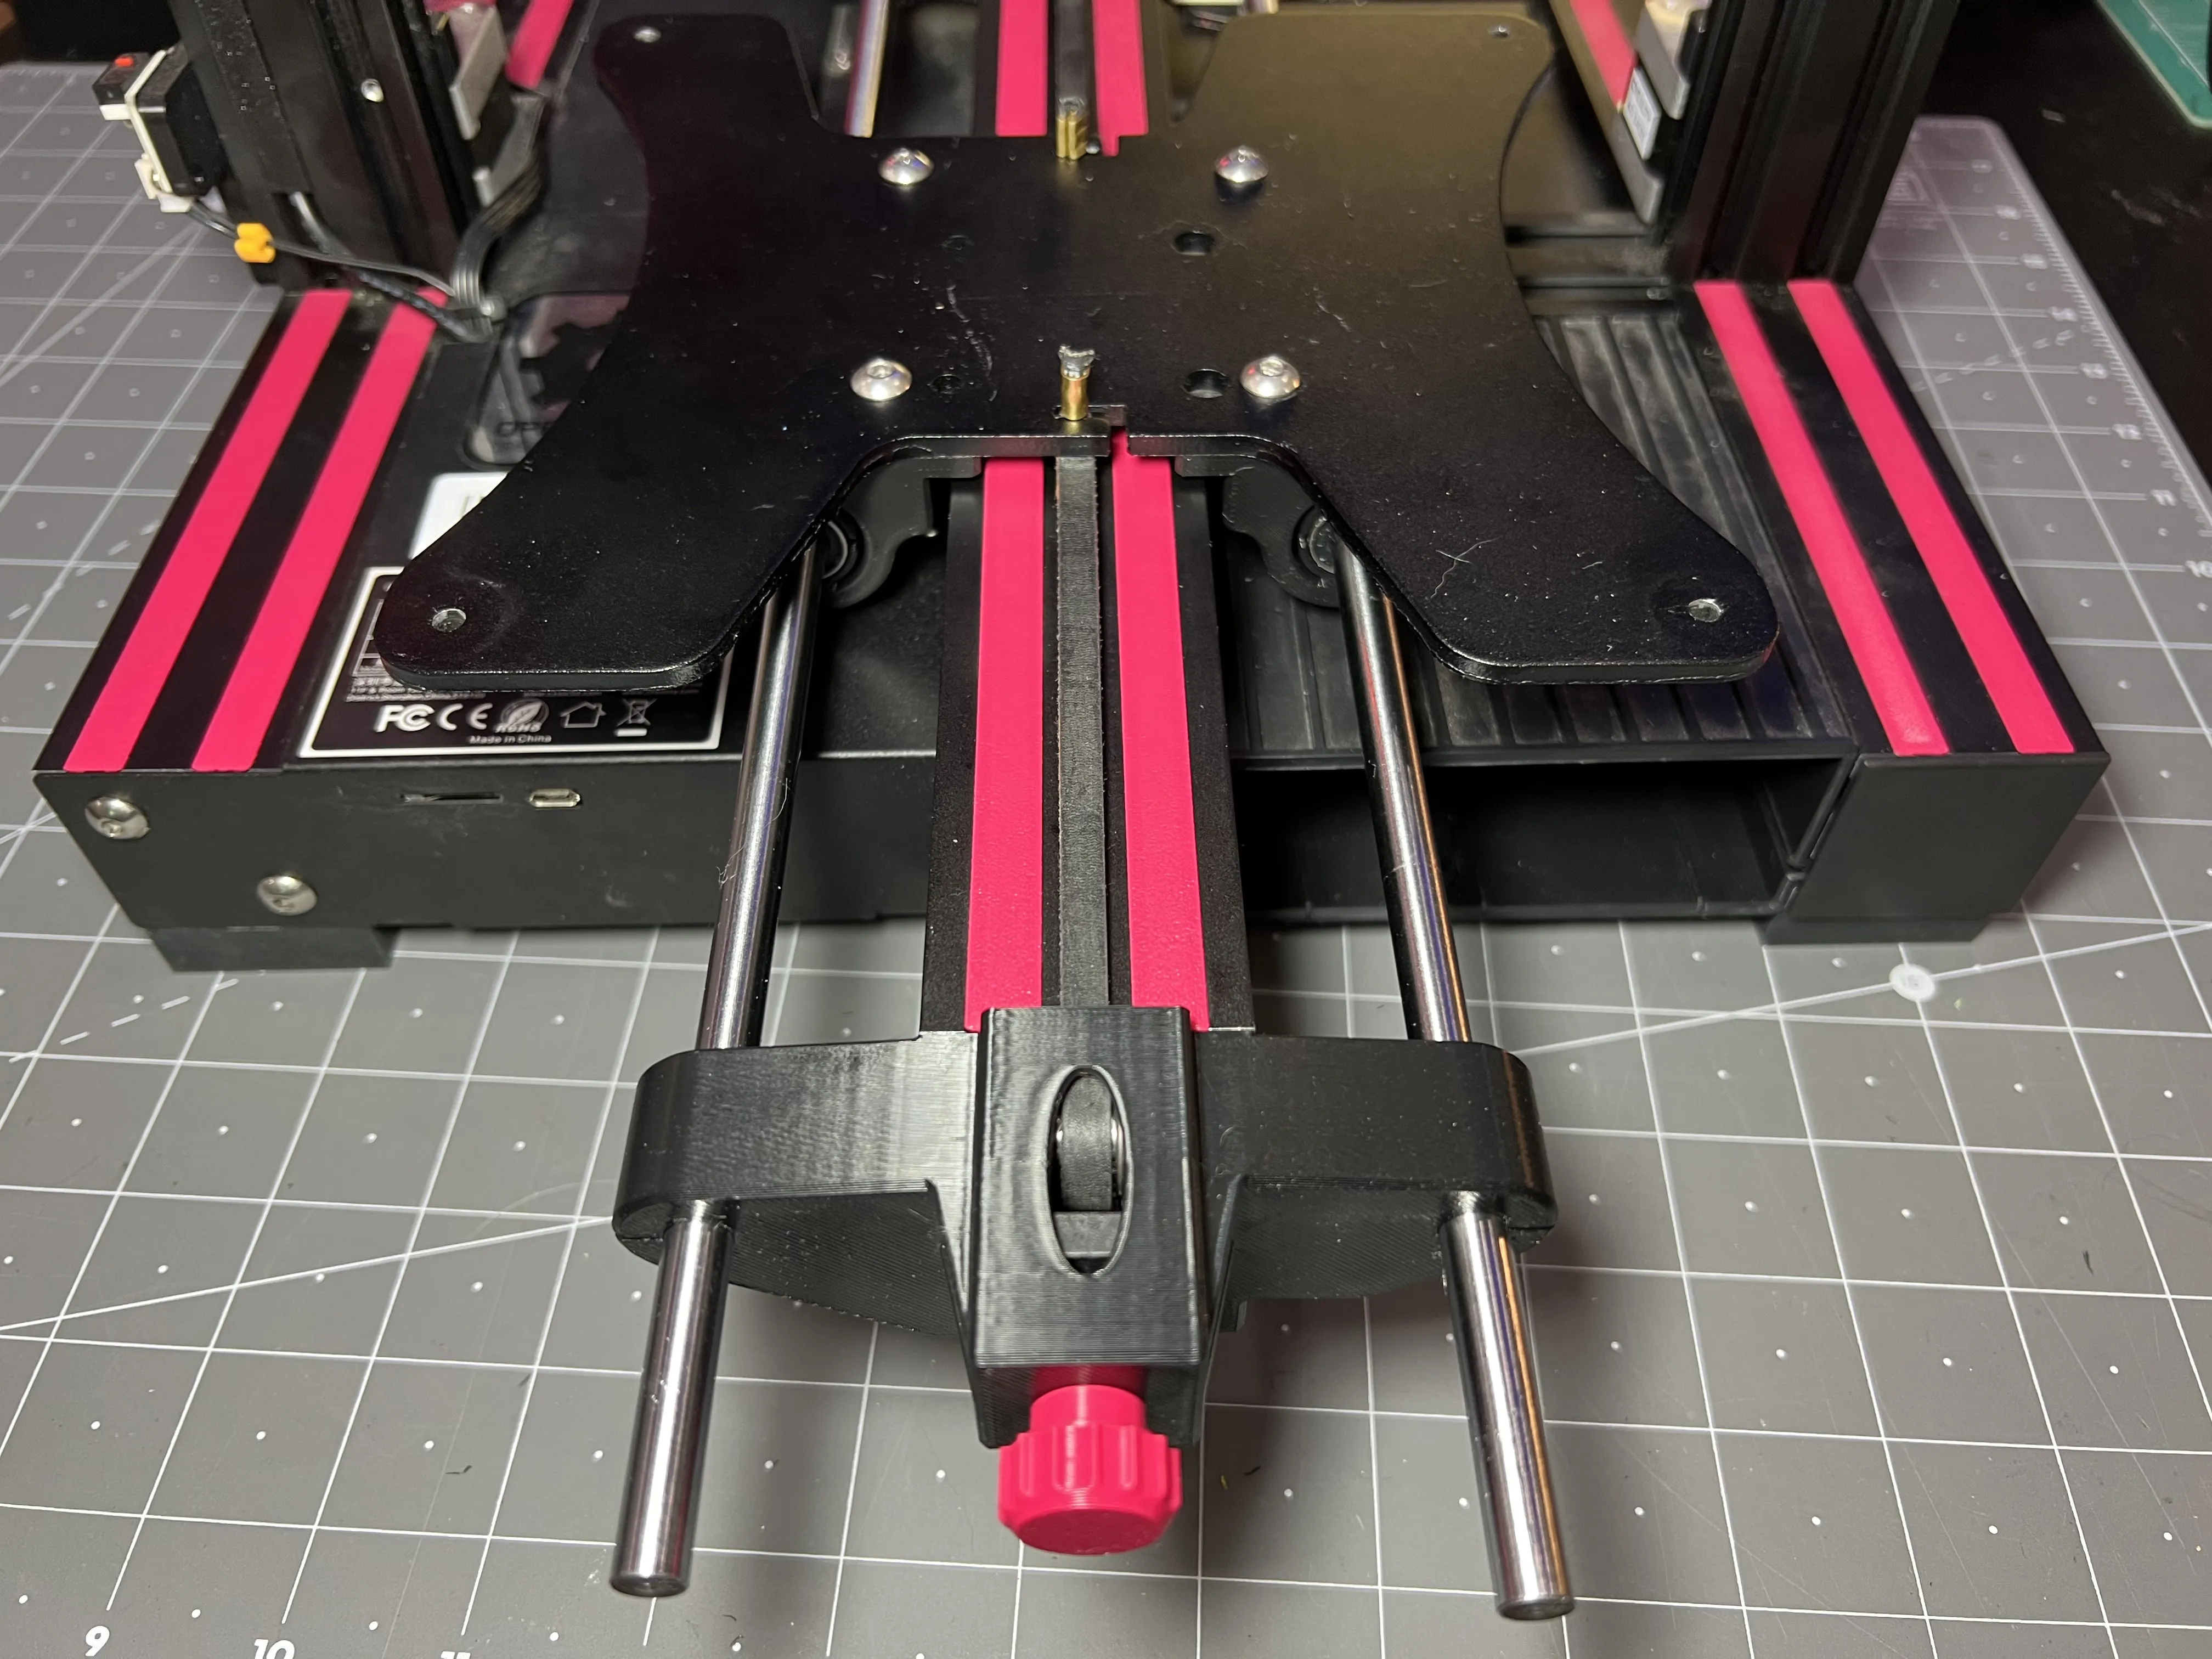
Attach bed and level.
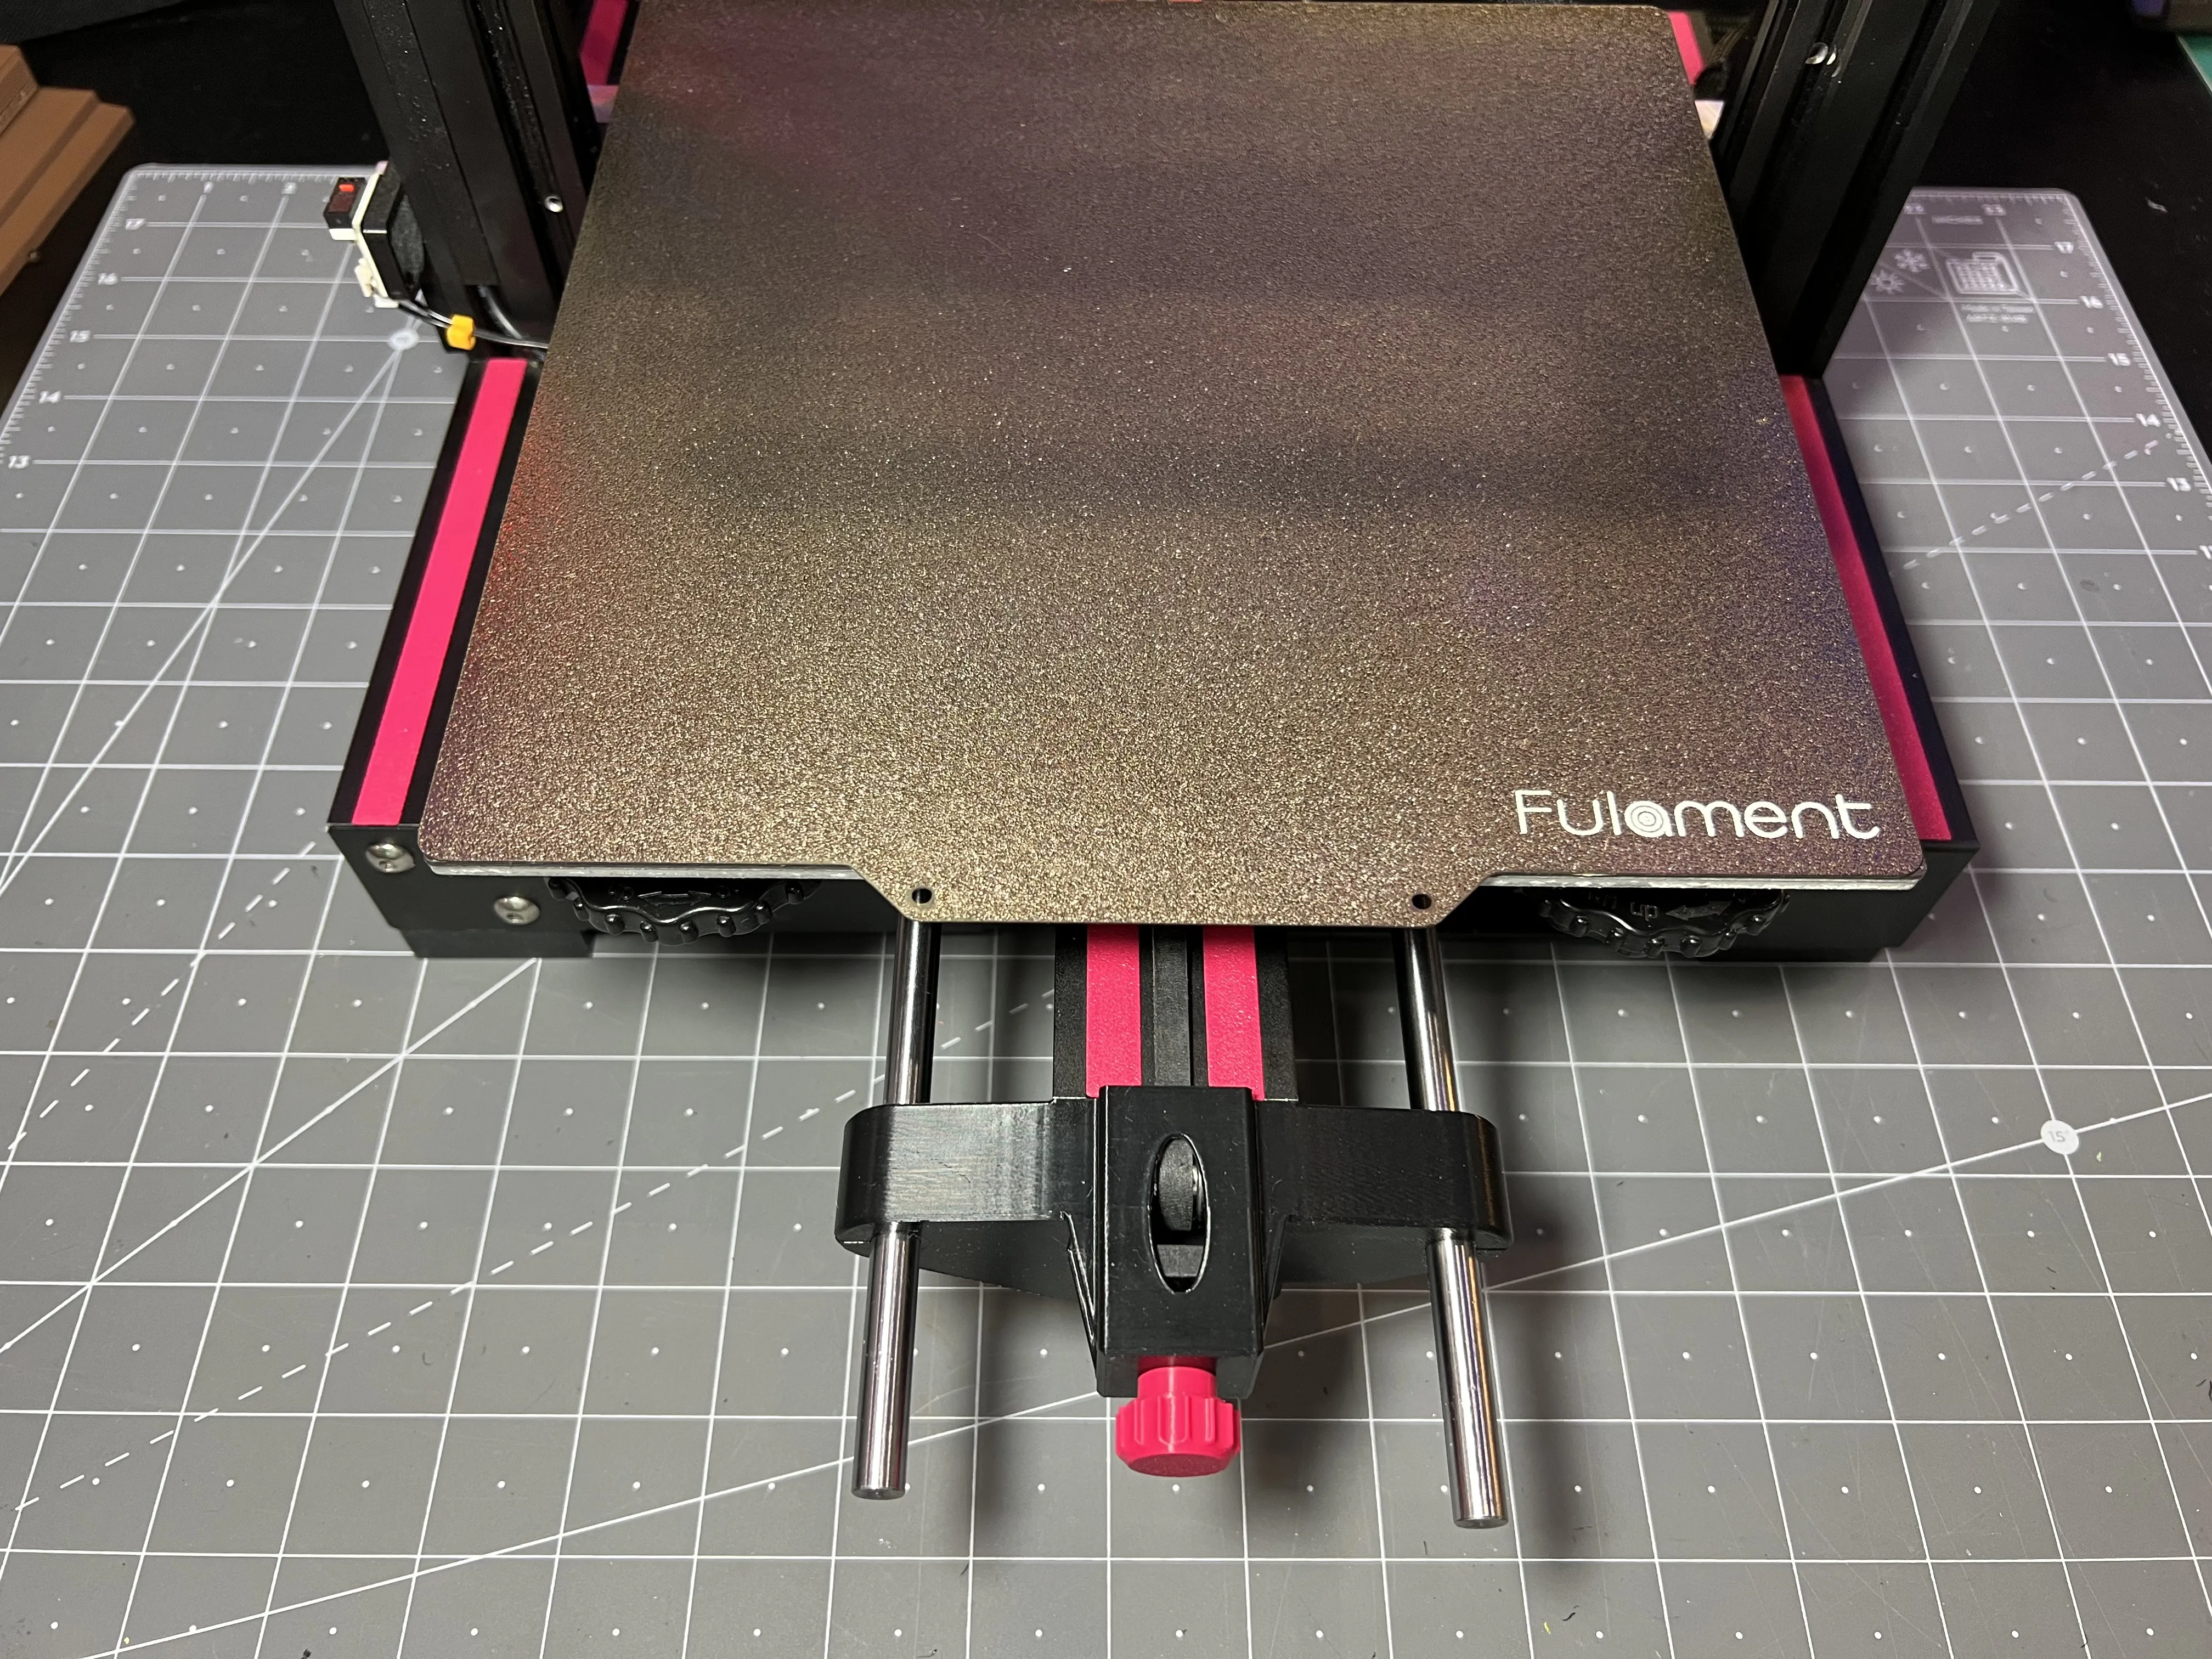
That's it, you're done! Goes together quickly with little tools or hardware required.
Please boost 🚀 & rate⭐⭐⭐⭐⭐ if you like it!
Thank You!
Inspiration was borrowed from this model and they have a few similarities.
License

You shall not share, sub-license, sell, rent, host, transfer, or distribute in any way the digital or 3D printed versions of this object, nor any other derivative work of this object in its digital or physical format (including - but not limited to - remixes of this object, and hosting on other digital platforms). The objects may not be used without permission in any way whatsoever in which you charge money, or collect fees.


Comment & Rating (9)