
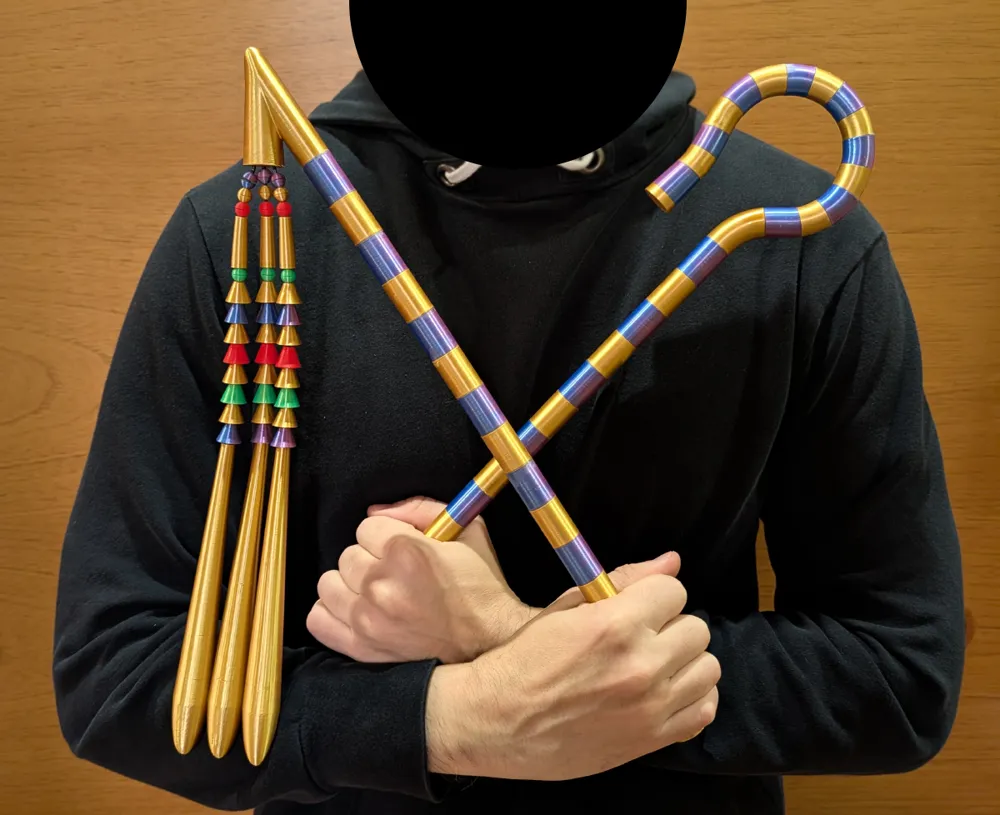
King Tutankhamun’s Scepters: The Crook and Flail
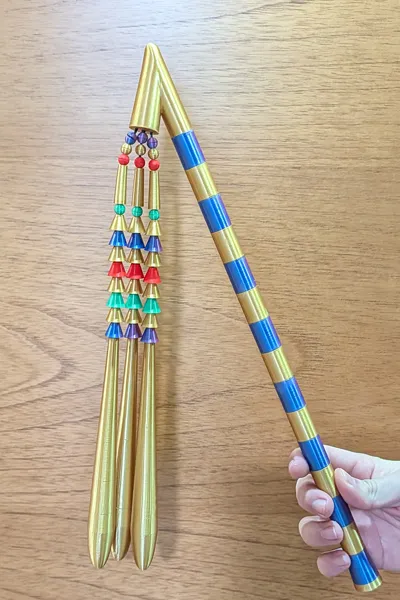
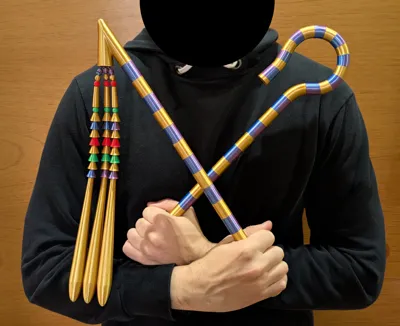
Print Profile(3)


Bill of Materials







Description
Boost Me (for free)
Love this design? Boost it! ⚡ Designing and testing these models takes hours of work. If you find value in my designs, a Boost is the best way to say thanks! It directly supports my goal of upgrading my printer to bring you even better and more creative models. Happy printing! 😎
🏺 Symbols of Pharaonic Power
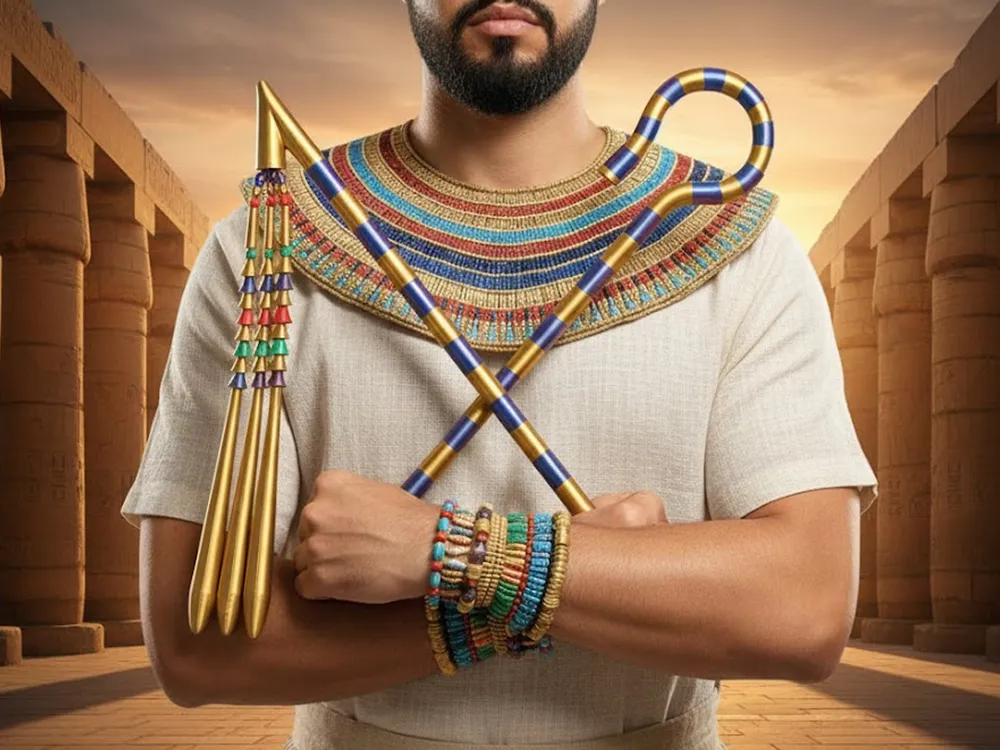
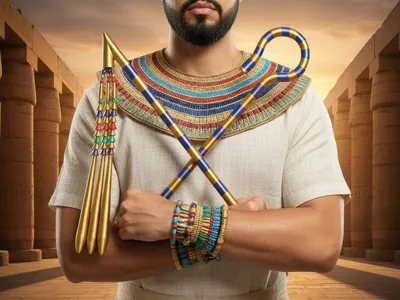
Relive the majesty of Ancient Egypt with this faithful 1:1 scale reproduction of the royal insignia found in the tomb of Tutankhamun (KV62).
This set includes the two pillars of royal command:
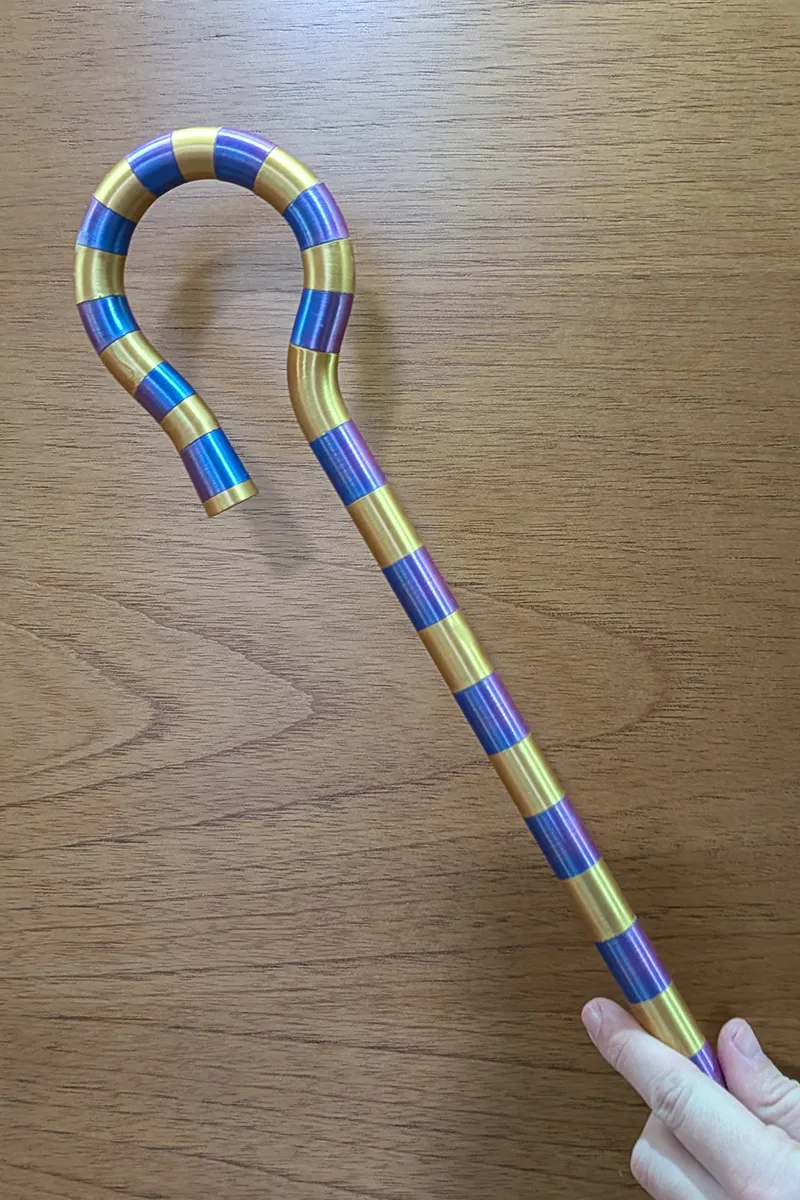
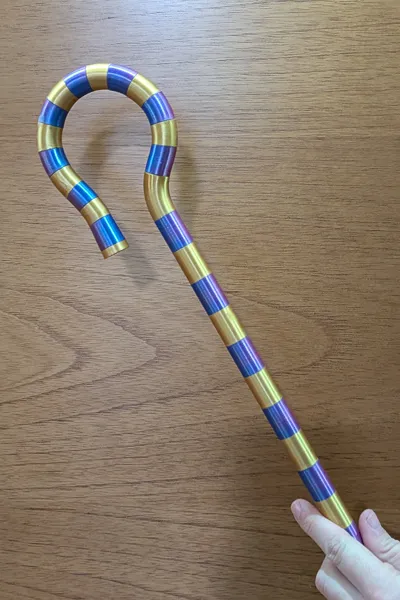
- The Crook (Heqa): Symbol of the Pharaoh as the shepherd and guide of his people.
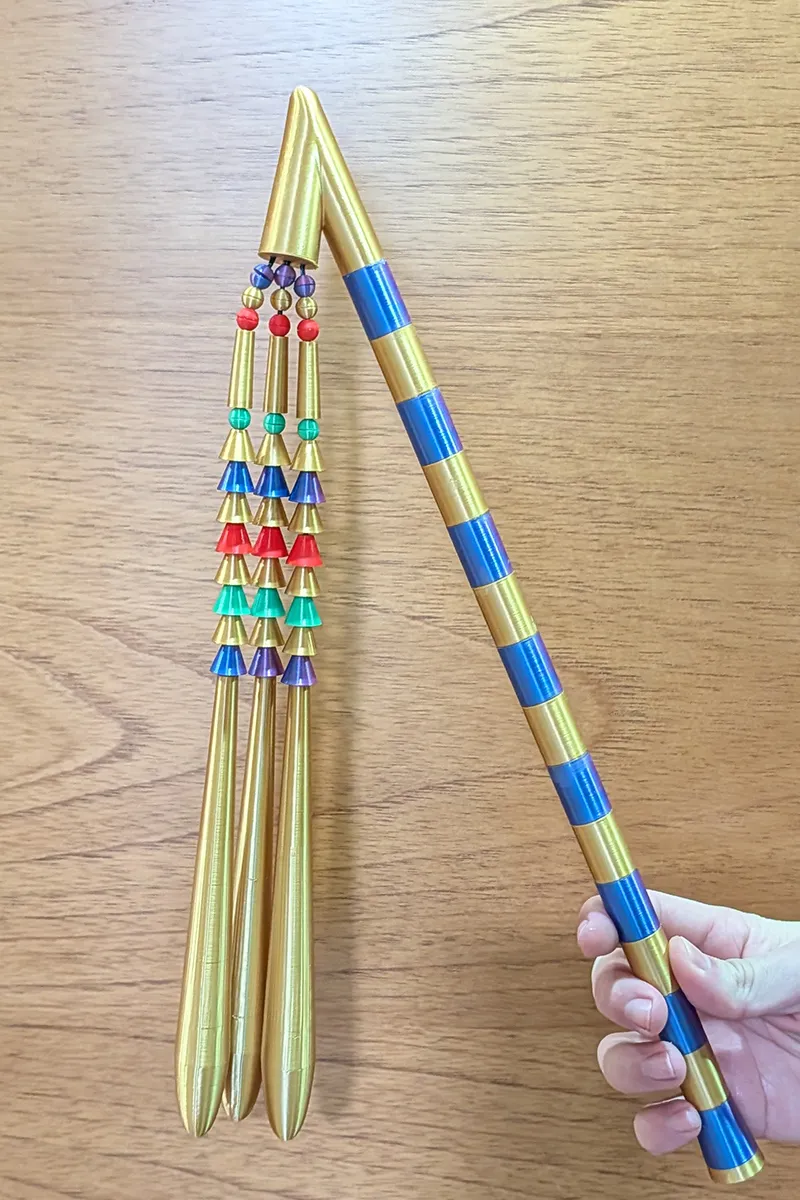
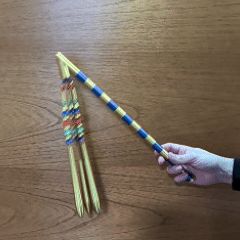
- The Flail (Nekhakha): Representation of the fertility of the land and absolute authority.
The design has been crafted with meticulous attention, recreating the iconic alternating bands of gold and lapis lazuli (blue glass paste) characteristic of 18th Dynasty treasures.
✨ Design Features
- Based on the original artifacts exhibited at the Grand Egyptian Museum.
- Optimized for everyone: Segmented design. No AMS required; even with an A1 mini, you can achieve a professional finish.
- Life-Size: Designed at scale, though it is fully scalable for decorative purposes.
🎨 Assembly and Post-processing
- Printing: The model is divided into individual pieces for easier handling and color combining.
- Museum Finish: For a spectacular result, I recommend applying a gloss varnish over the gold sections. This will simulate the shine of the original polished metal.
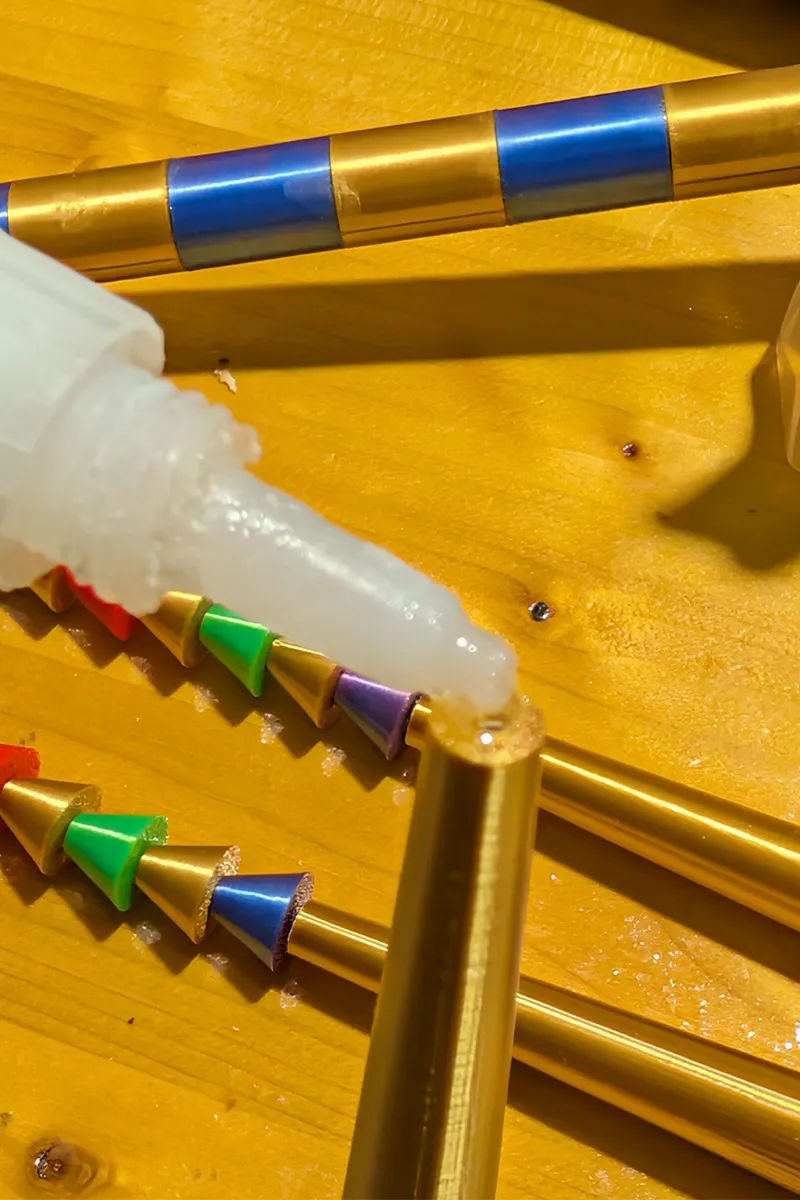
- Precision Fit: The pieces feature integrated tolerances for a perfect fit. Using a small amount of cyanoacrylate (Super Glue) is recommended to secure the final bond.
🛠️ Step-by-Step Assembly Guide
- Segment Order: Both scepters share a base and a wider blue segment. The rest of the rings are interchangeable.
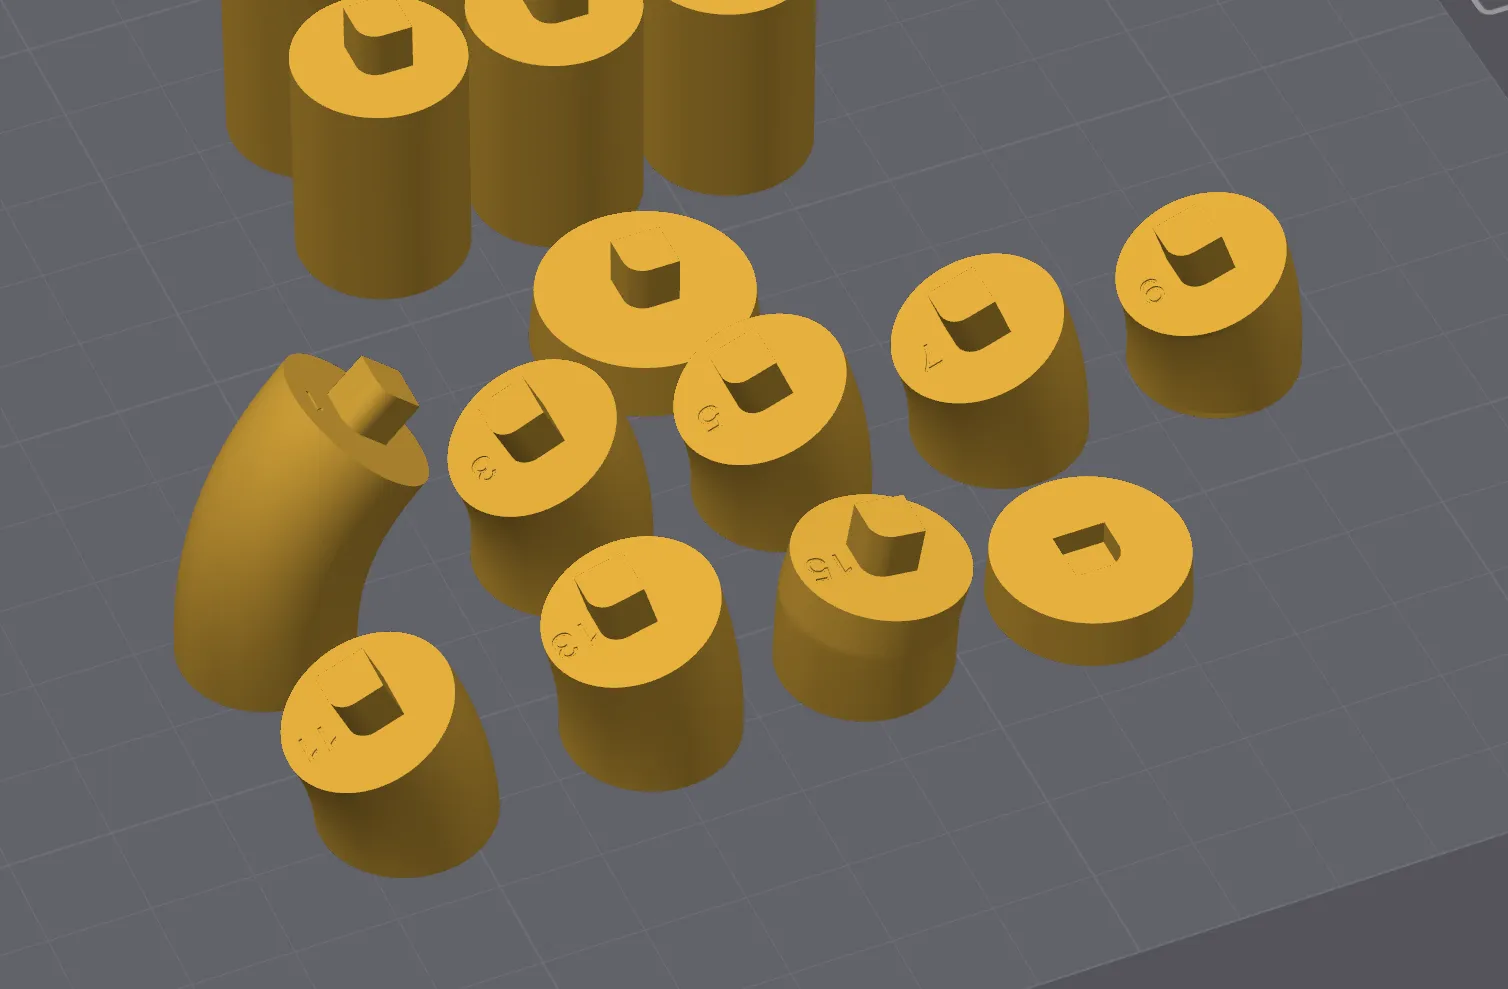
- The Crook (Heqa): To facilitate the curve, the segments are numbered at the joint areas. Follow the numerical order to complete the organic shape of the scepter.

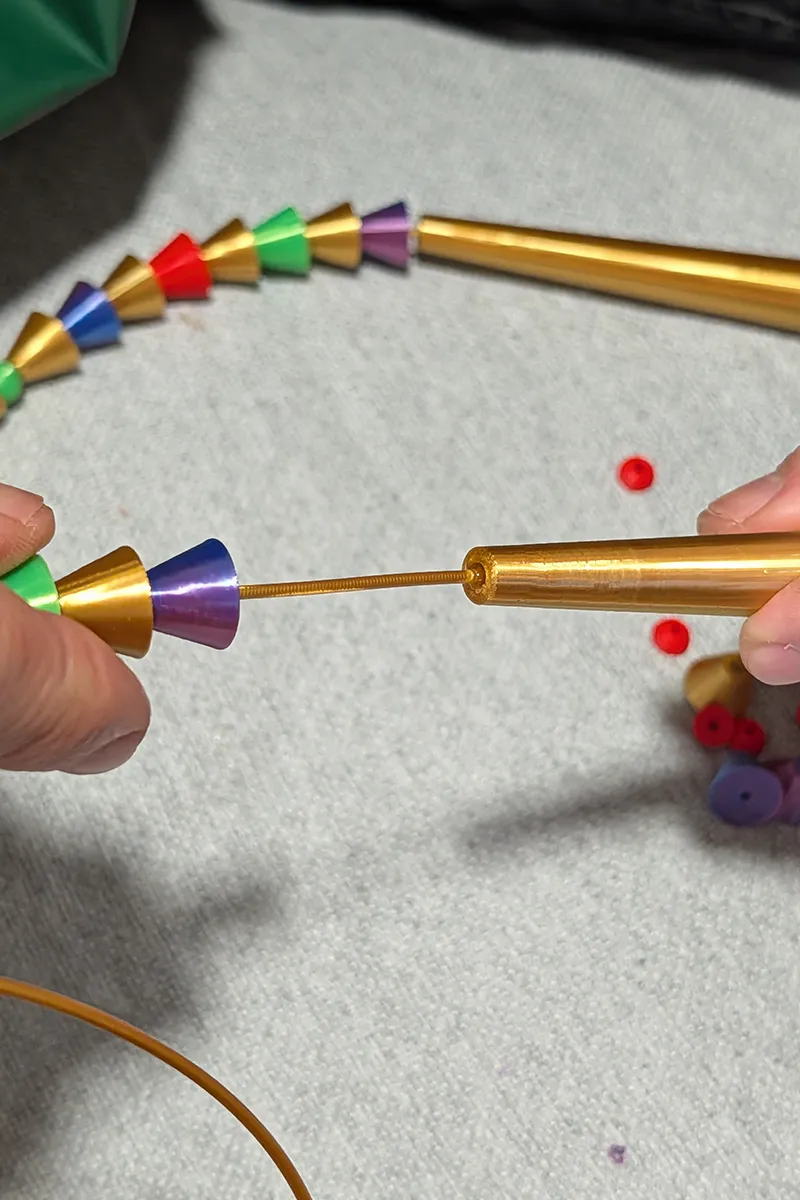
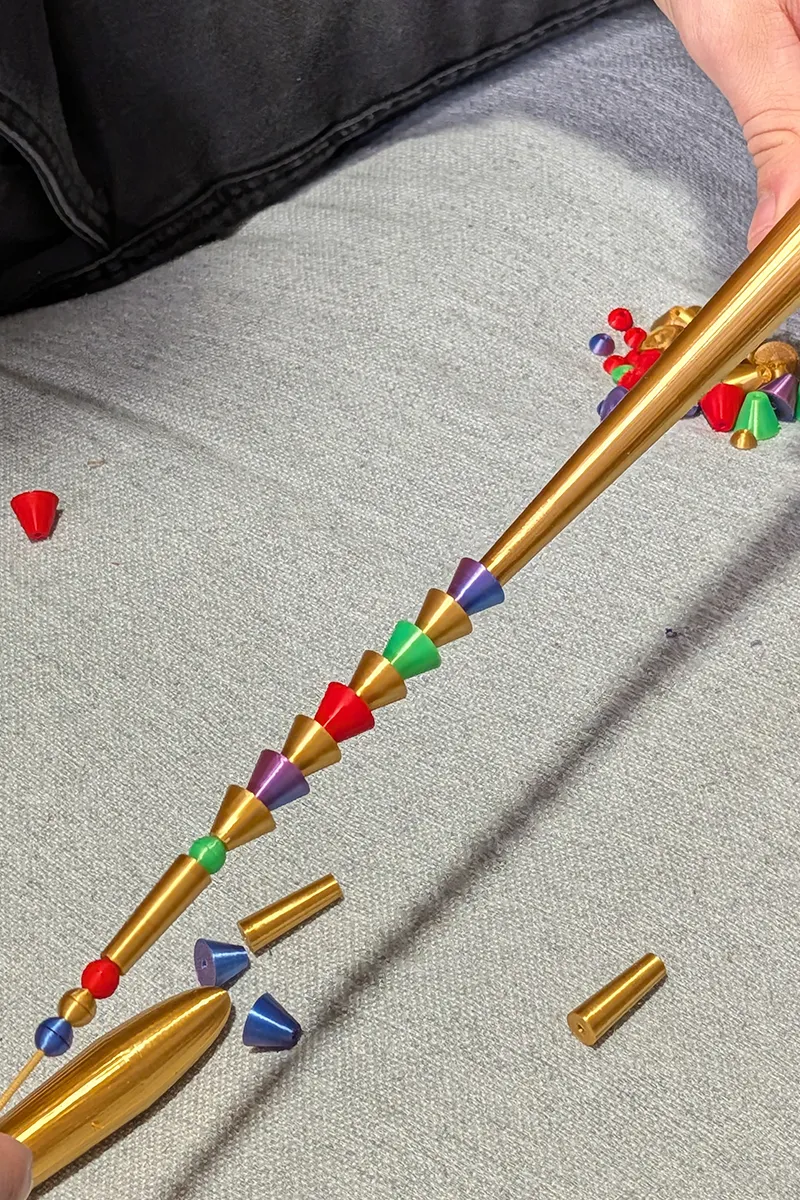
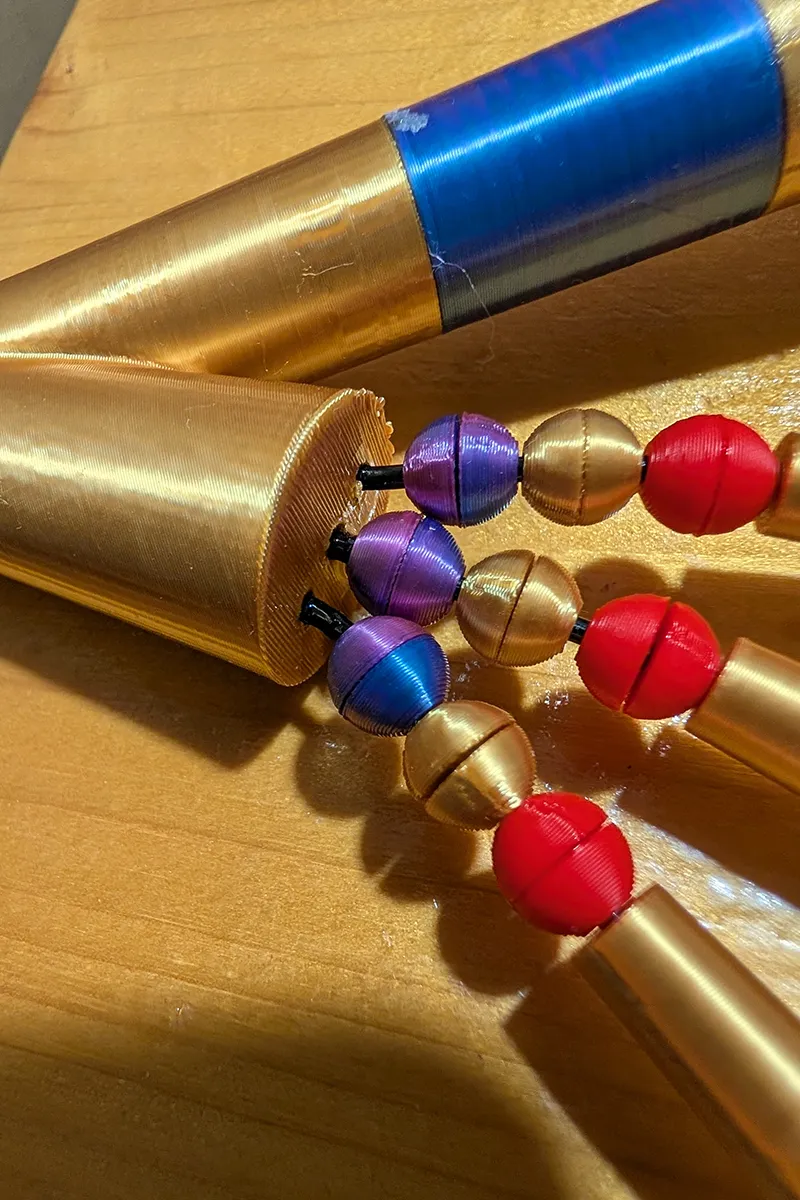
- The Flail (Nekhakha): Follow the visual order of the photos for the main body. The spheres of the flail are split in half to ensure a clean print without supports.
- 💡 The Flexibility Trick: How to get the flail to move naturally? The solution is simple: use a piece of filament as the central axis.
- No strings or external materials needed.
- You can use any filament, though I recommend TPU for its durability and natural drape.
🎞️ Assembly Gallery
The Crook numbered assembly joints
Boost Me (for free)
License

You shall not share, sub-license, sell, rent, host, transfer, or distribute in any way the digital or 3D printed versions of this object, nor any other derivative work of this object in its digital or physical format (including - but not limited to - remixes of this object, and hosting on other digital platforms). The objects may not be used without permission in any way whatsoever in which you charge money, or collect fees.


Comment & Rating (7)