
Print Profile(5)


Description
Boost Me (for free)
🚀 Support the Project
If you like this design and find it useful, please consider giving it a Boost! Your support helps me create more free projects for the 3D printing community. Don't forget to share your makes!
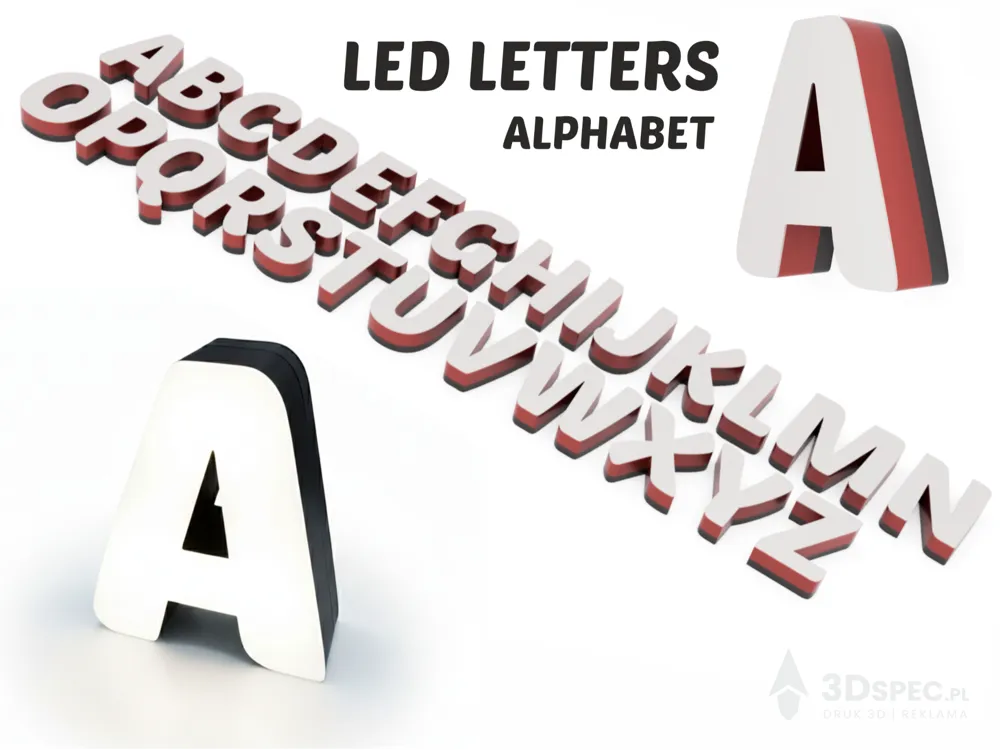
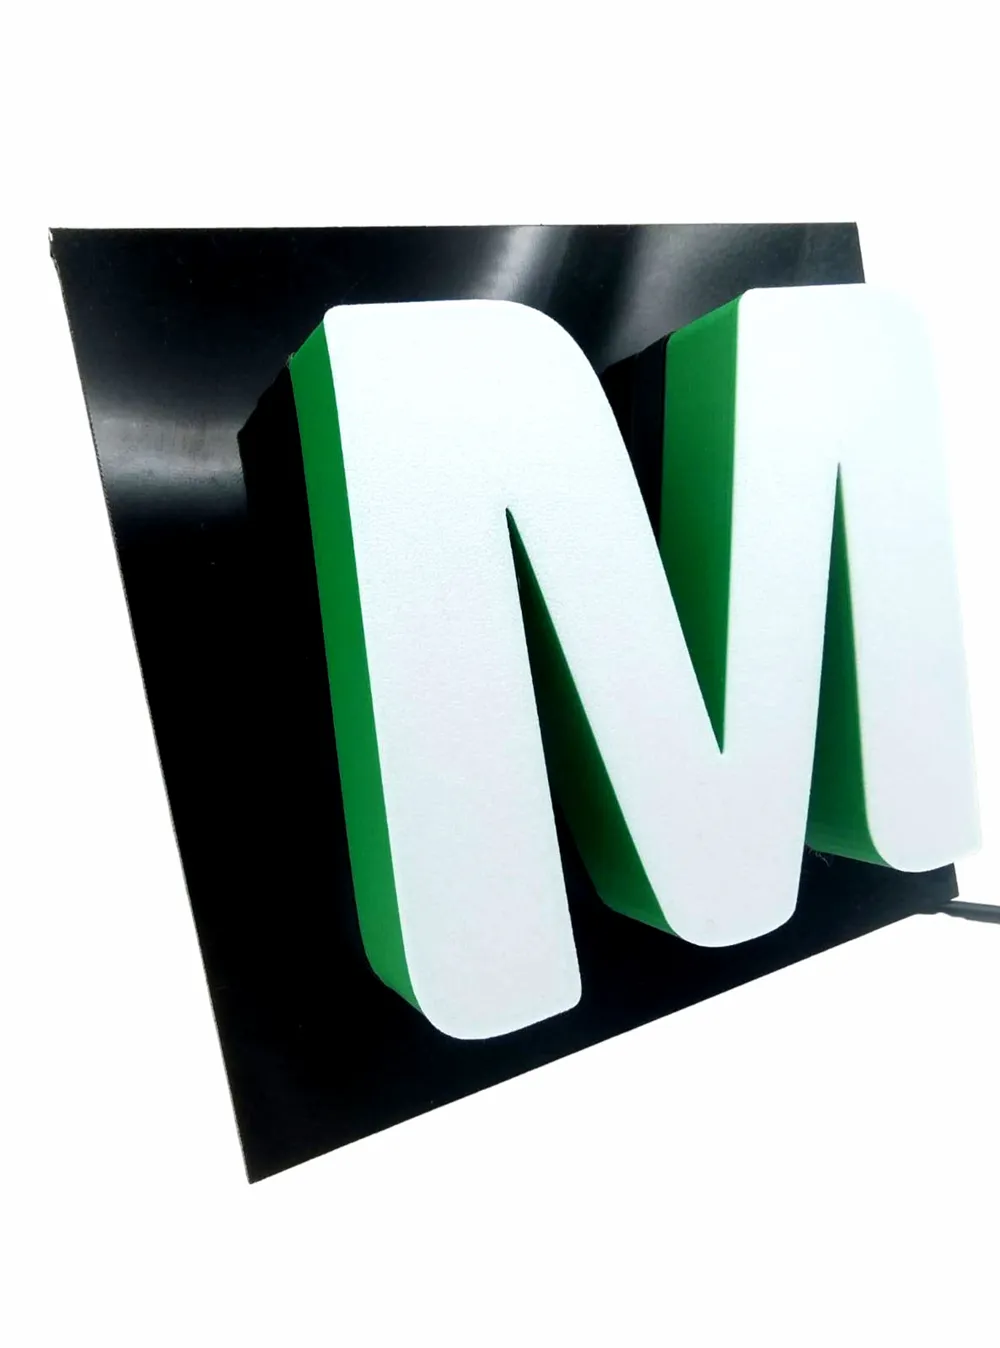
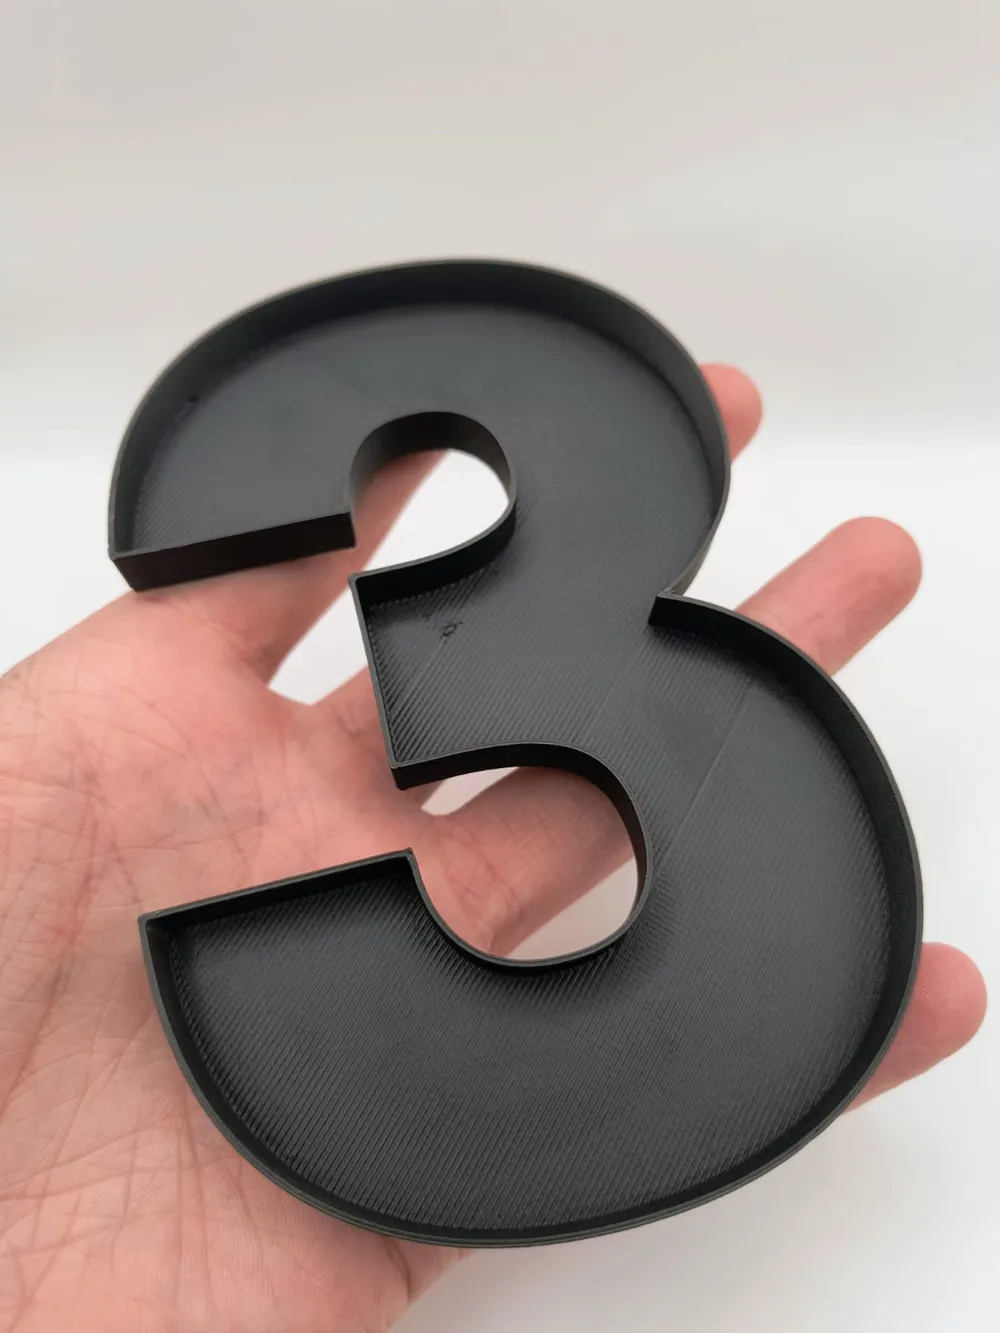
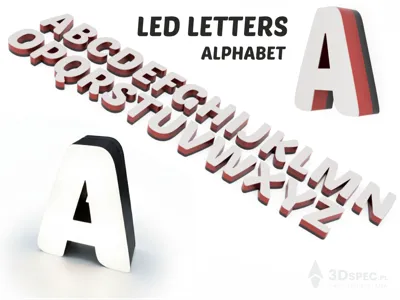
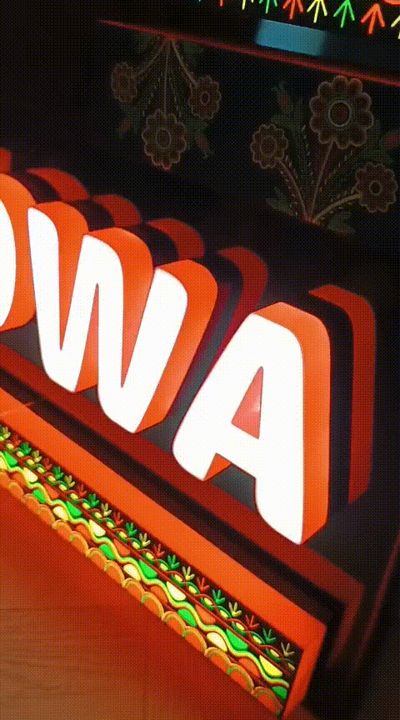
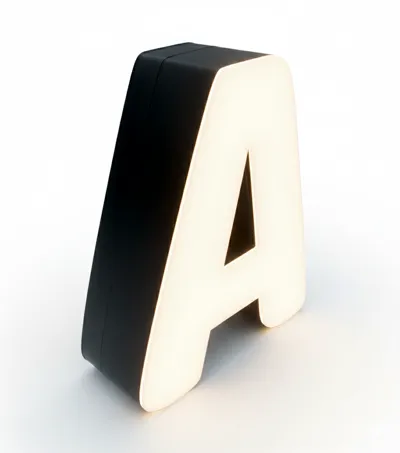
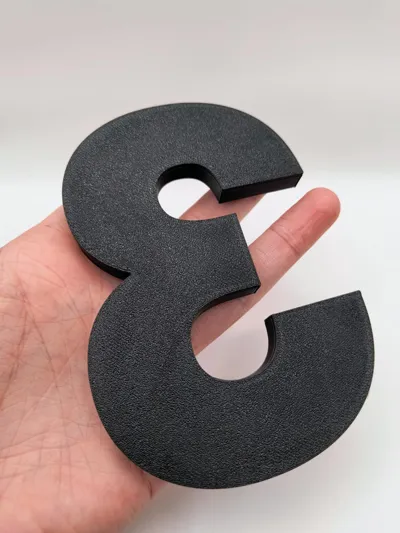
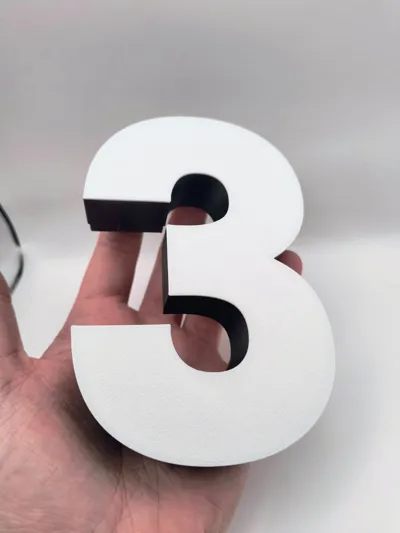
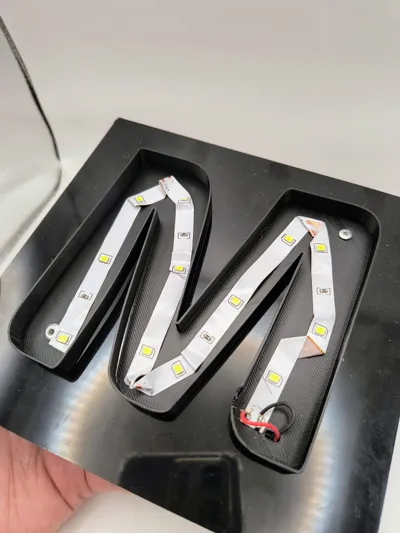
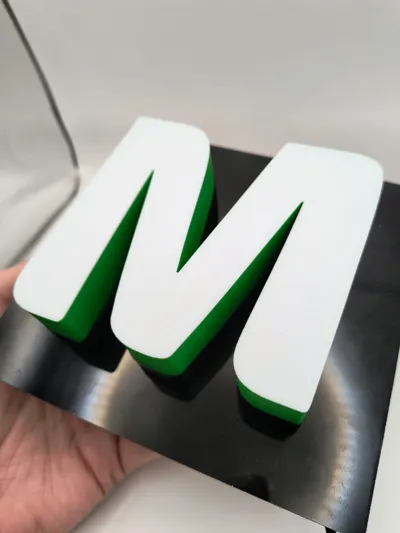
A complete set of alphabet letters (A-Z) designed for stunning LED illumination. This project is optimized for easy printing and assembly, delivering a professional look without the need for advanced multi-material equipment.
📋 Project Specifications:
- Dimensions: Height approx. 10 cm, Depth 3 cm.
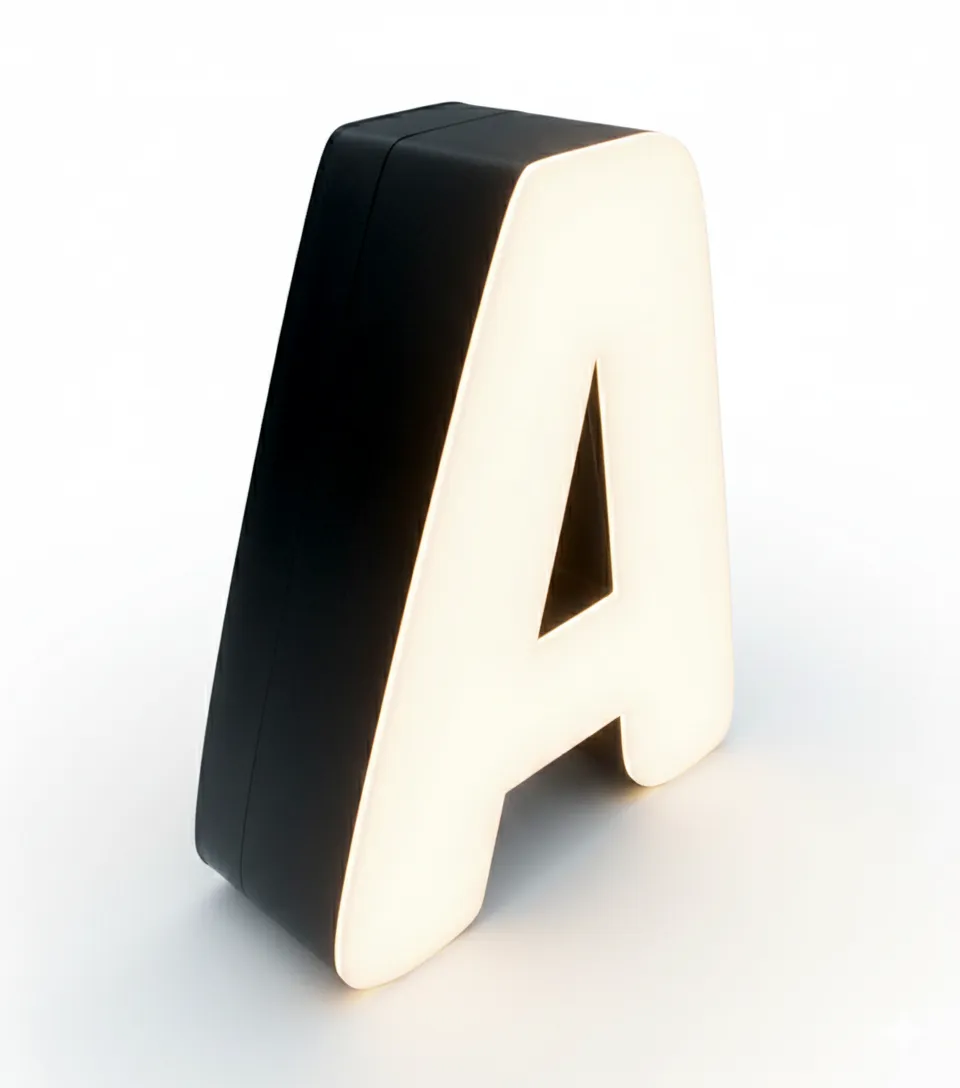
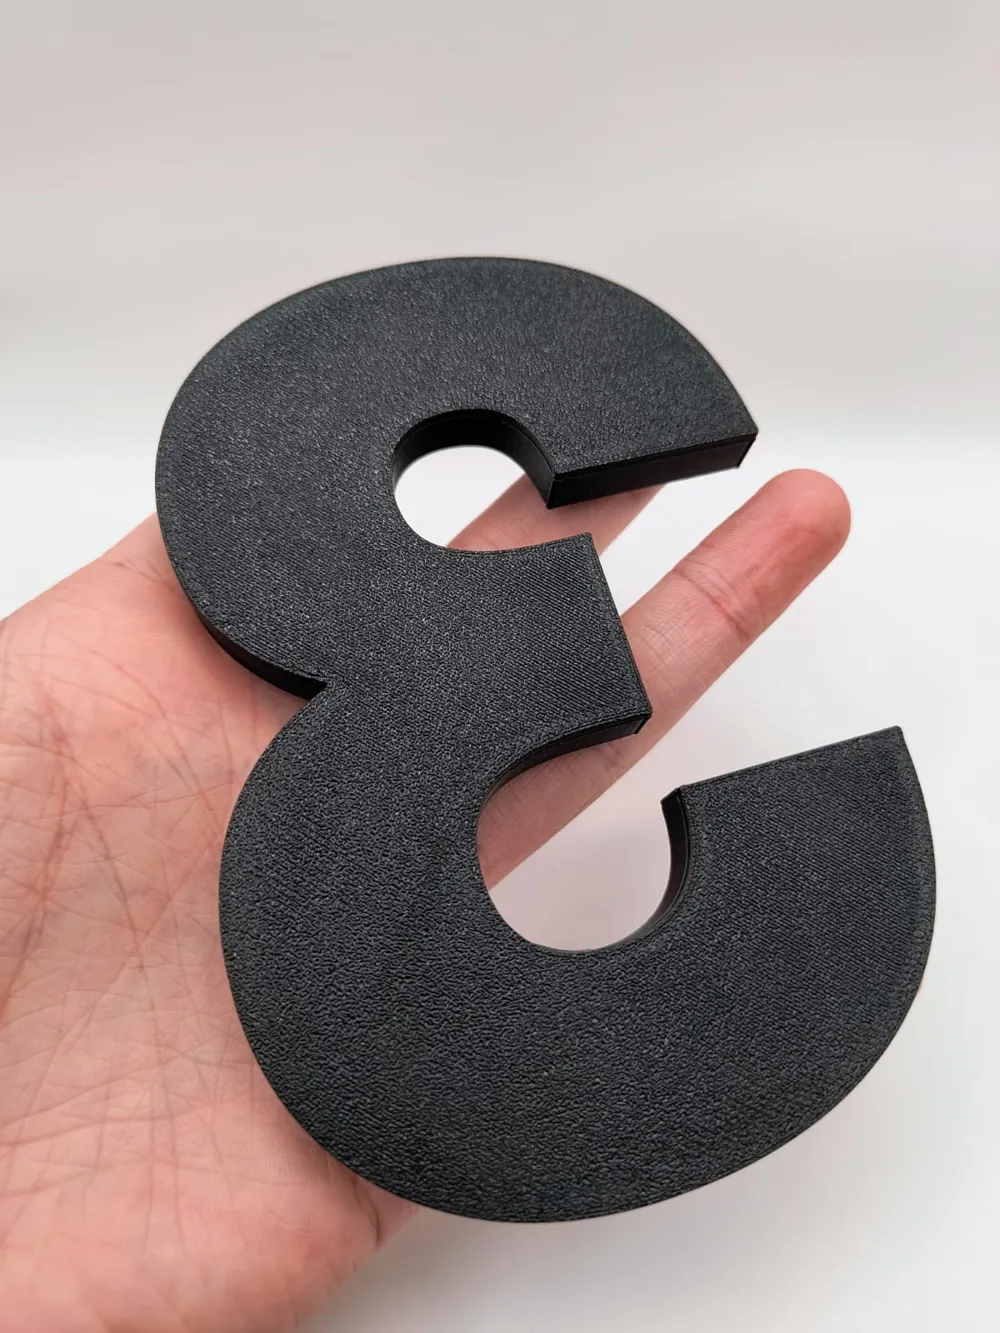
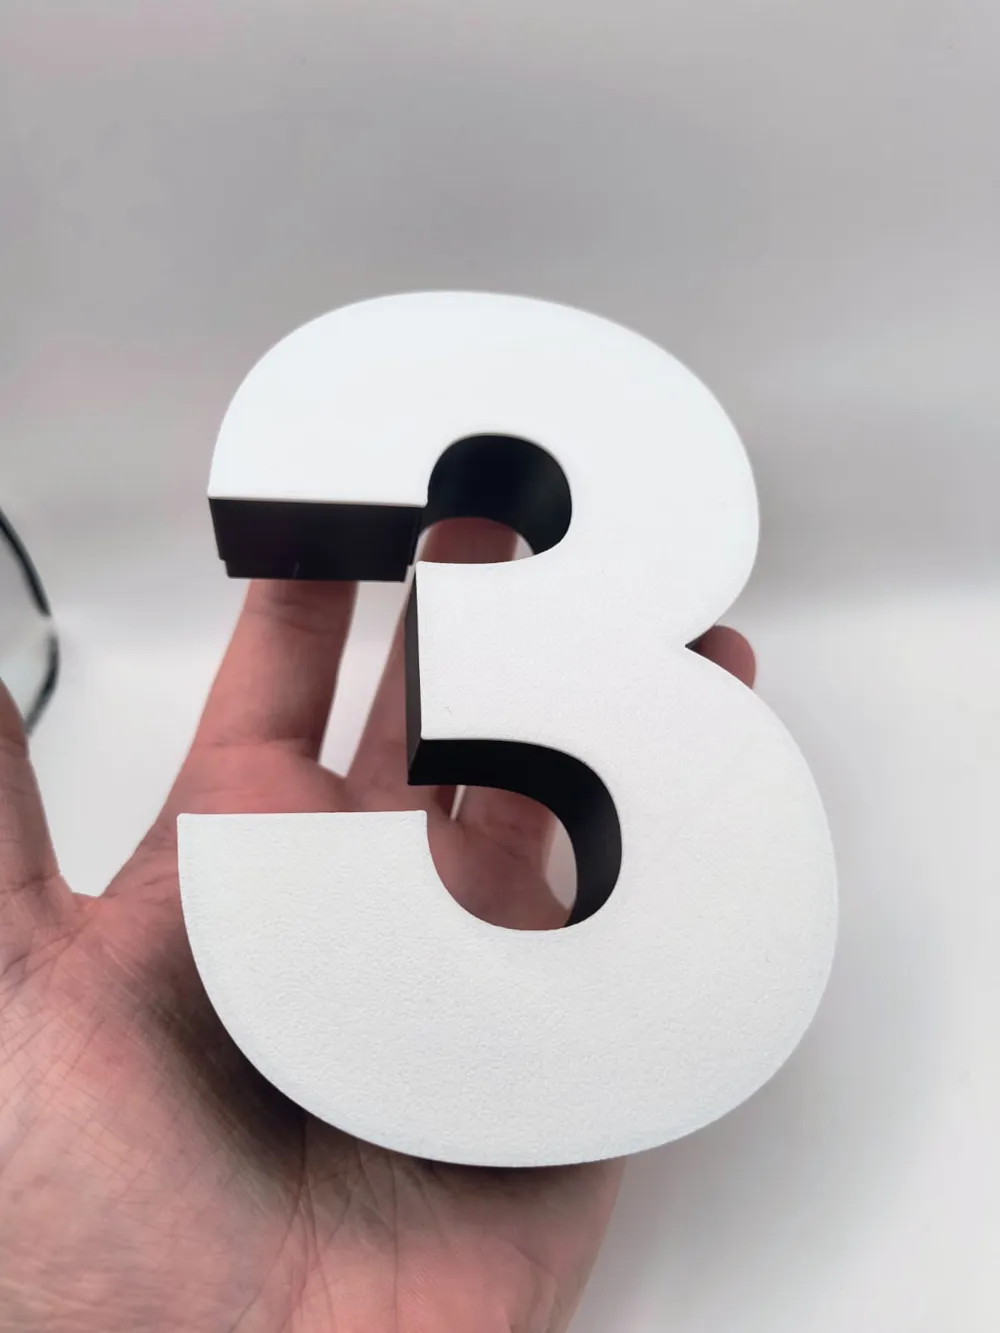
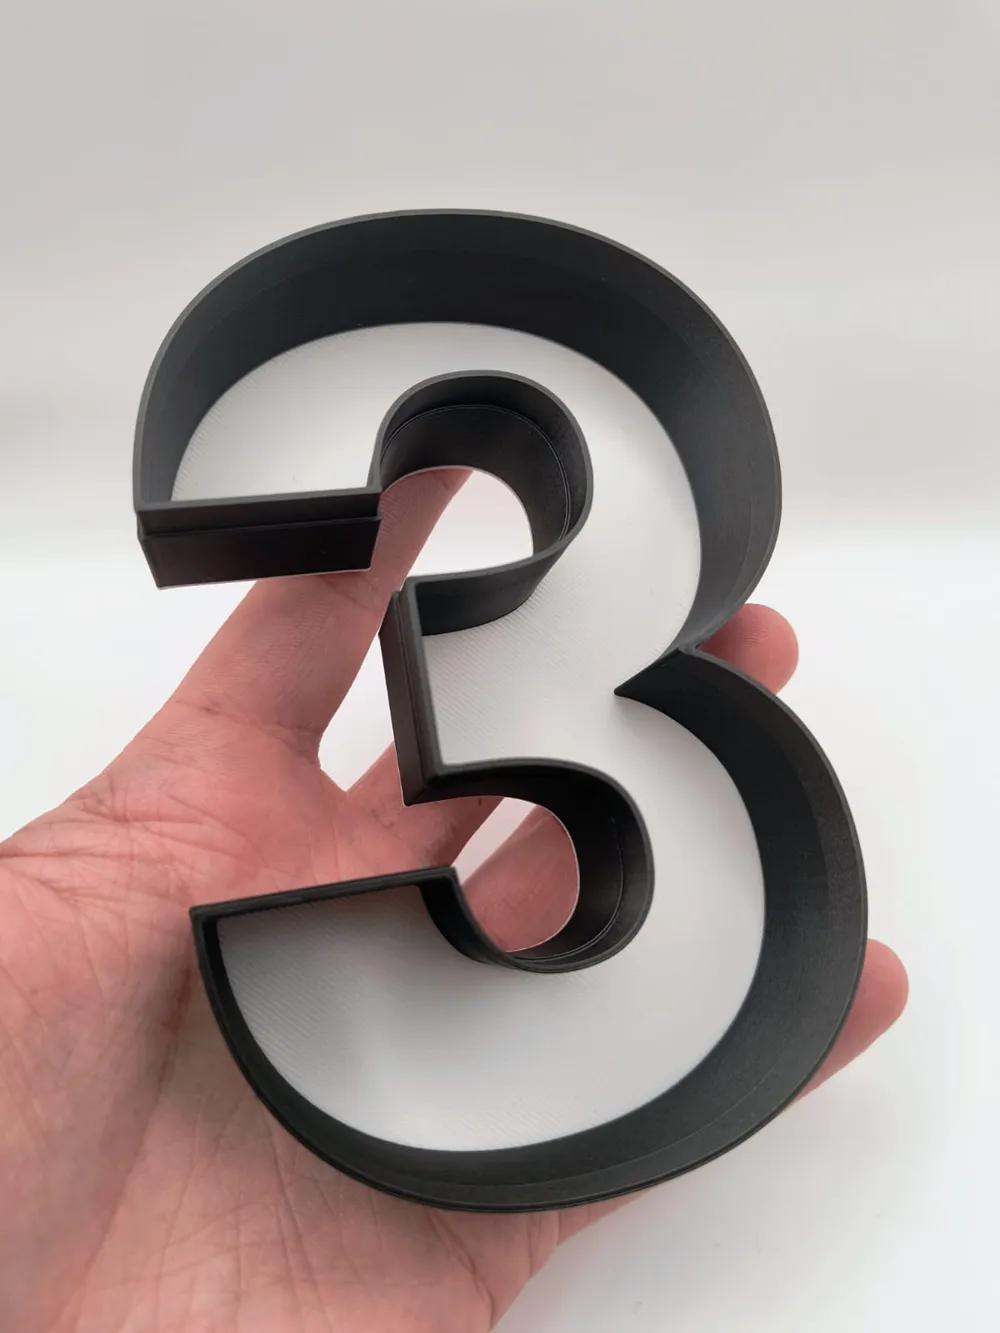
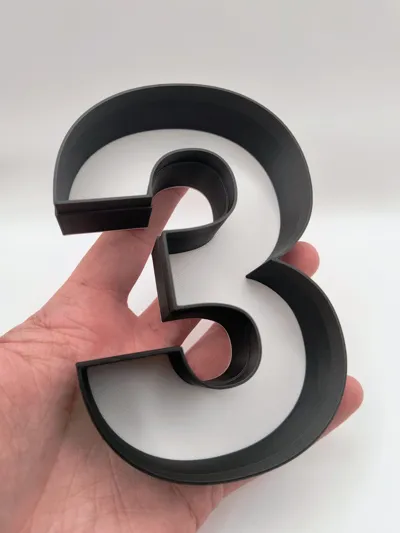
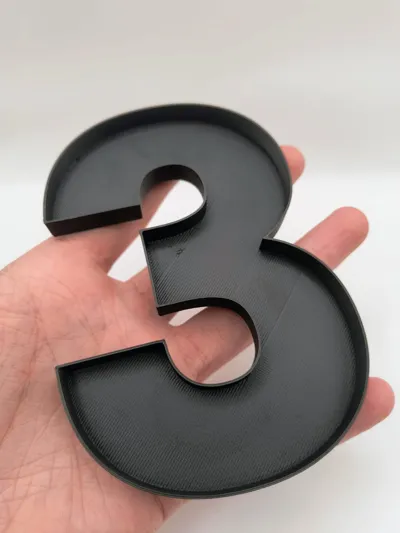
- Construction: Two-part design (Back + Front).
- Assembly: Press-fit parts (glue can be used for extra durability).
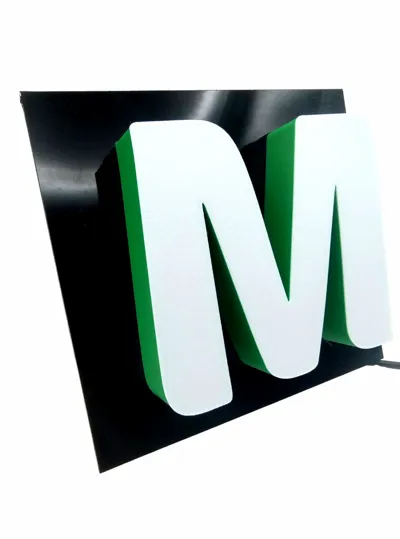
- Printing: No AMS/MMU system required – simply add a pause at the desired layer to change filament.
🛠 Assembly and Printing Instructions
1. Printing and Material Selection
- PLA: The ideal choice for indoor use.
- PETG: Choose this material if you plan to install the letters outdoors (better resistance to weather and UV).
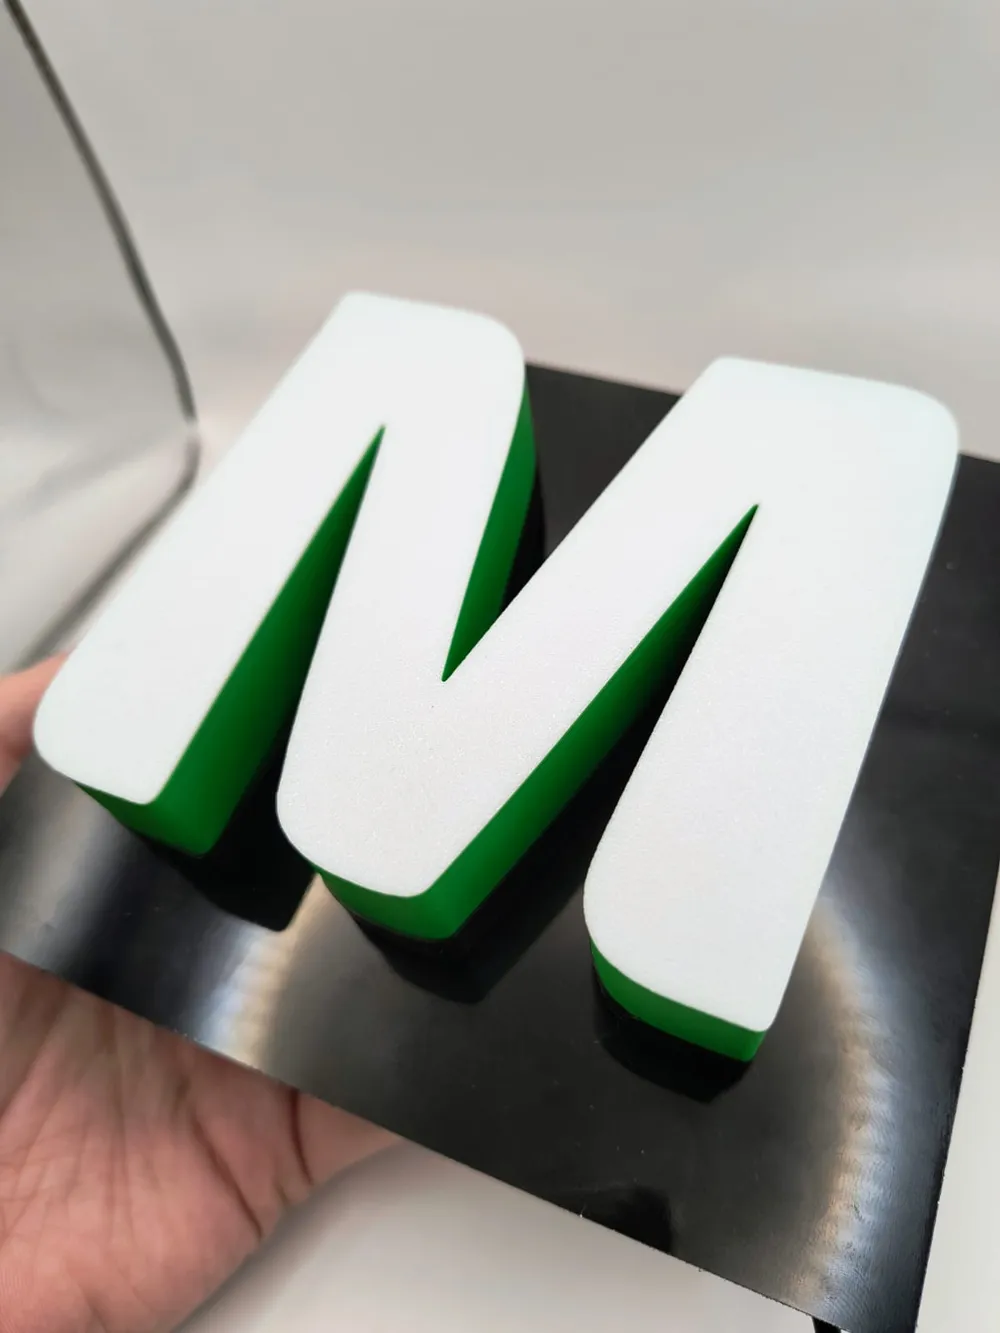
- Color Change: To achieve specific lighting effects on certain surfaces, add a pause in your slicer at the appropriate height and switch to a different filament color (e.g., from an opaque color to white).
2. LED Installation and Lighting Variants
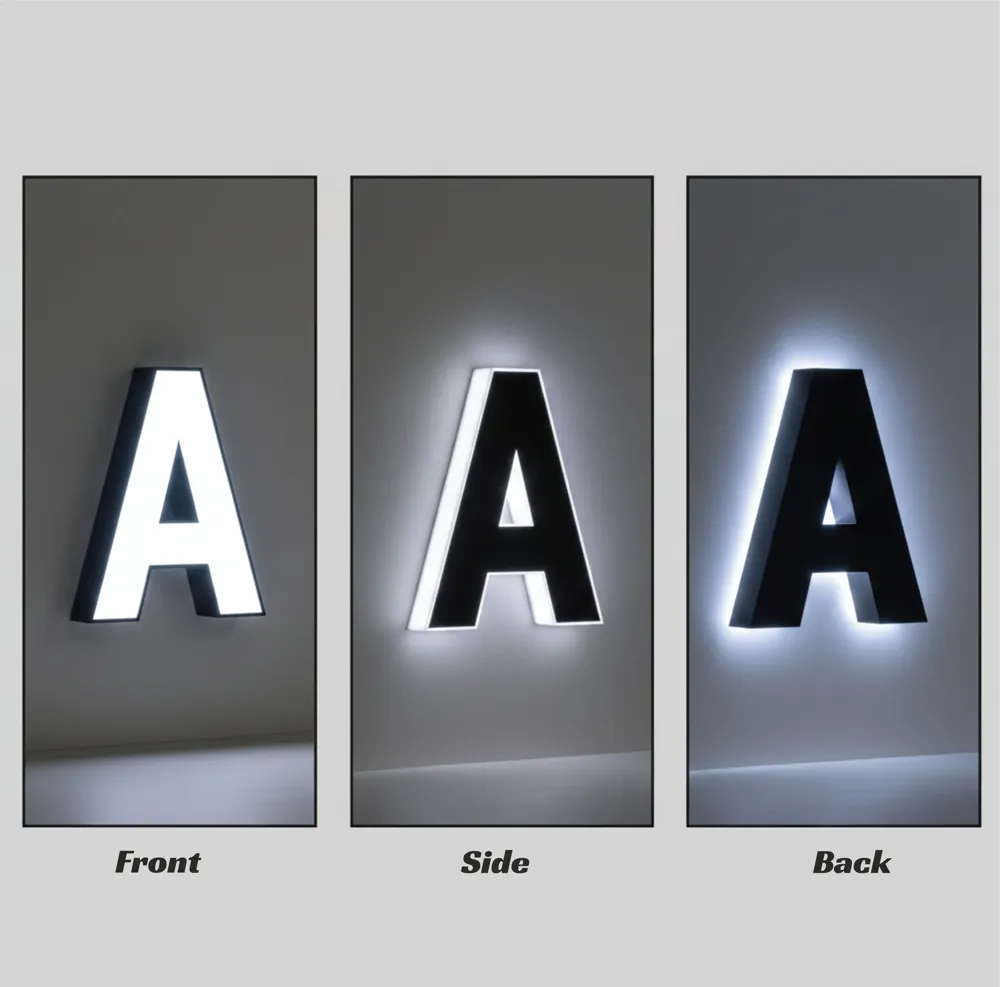
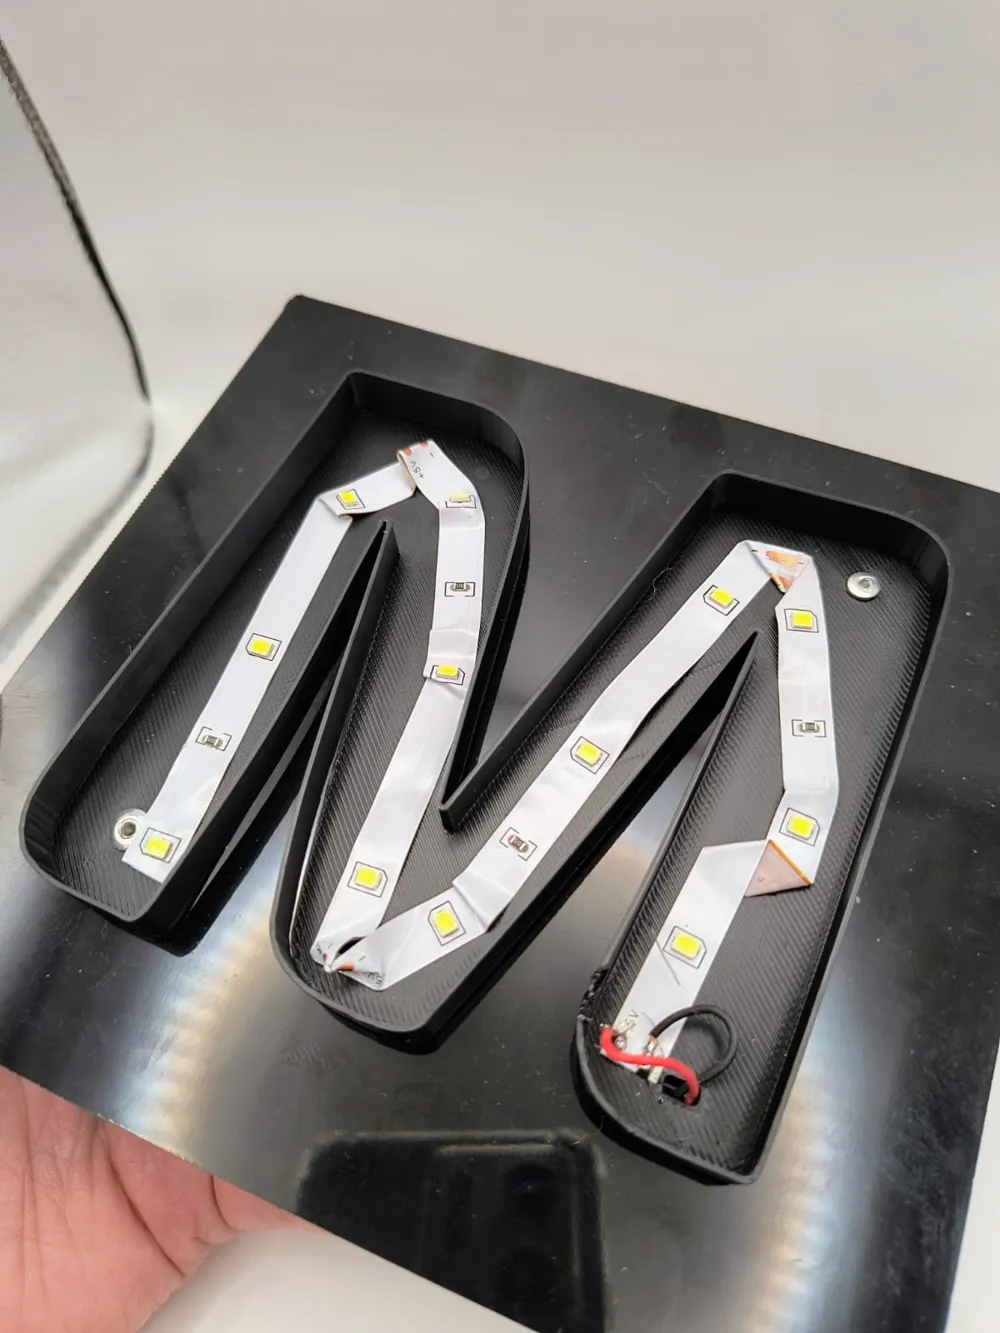
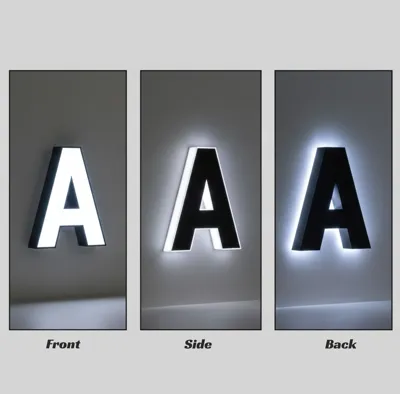
The LED strip can be mounted on the backplate or the internal walls, allowing for various effects:
- Front/Side Lighting: Stick the LED strip to the backplate (facing forward) or along the internal side walls.
- Backlit (Halo Effect): To create a glow on the wall behind the letter, the LED strip should be mounted inside on the side wall or directly on the inner side of the front face (facing backward).
- Important: For the backlit "Halo" variant, you will need spacers when mounting the letter to the wall to create a gap for the light to disperse.
3. Assembly
- Press the front part of the letter into the back element.
- Both parts are designed for a "press-fit" connection. If you want the construction to be permanent, you can use a few drops of glue (e.g., CA glue) on the connecting edges.
💡 User Tips:

- This project is highly versatile – it allows for front-lit, side-lit, backlit, or fully illuminated letters depending on LED placement and filament color choice.
- Perfect for personalized signs, business logos, or decorative desk lighting.
Boost Me (for free)
🚀 Support the Project
If you like this design and find it useful, please consider giving it a Boost! Your support helps me create more free projects for the 3D printing community. Don't forget to share your makes!
License

You shall not share, sub-license, sell, rent, host, transfer, or distribute in any way the digital or 3D printed versions of this object, nor any other derivative work of this object in its digital or physical format (including - but not limited to - remixes of this object, and hosting on other digital platforms). The objects may not be used without permission in any way whatsoever in which you charge money, or collect fees.


Comment & Rating (22)