FILAMENT LABELS SAMPLES


Print Profile(1)

Description
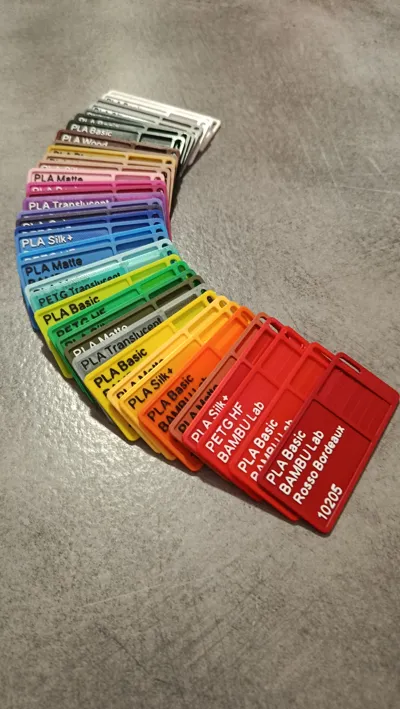
I created these filament samples for personal use and decided to share them because they are very easy to print they use 5 gr of filament and do not function as a benchmark unlike many I found online
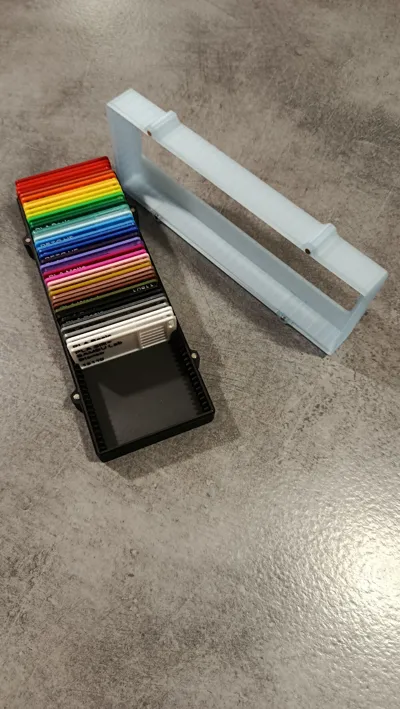
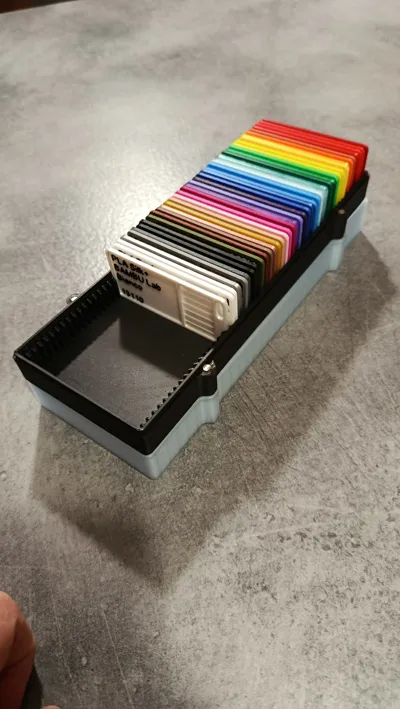
If you are looking for the box for my filament labels you can find it here
FILAMENT LABEL SAMPLES BOX G-ODA - Free 3D Printed Model - MakerWorld
The samples I created have editable texts in the Slicer paying attention to some settings that I will show you further down in the description
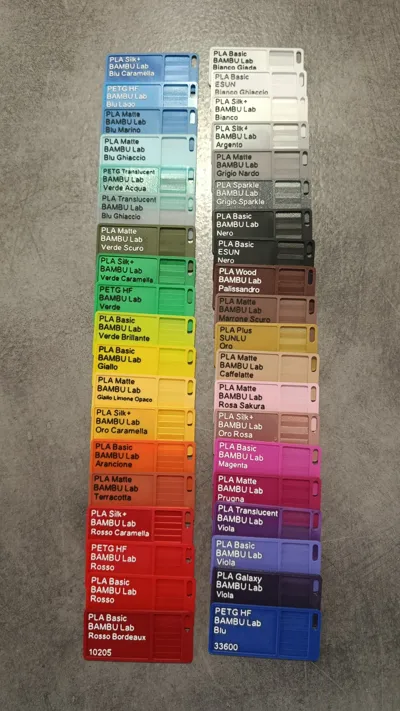
Each label has its text integrated into the profile and on the shared file you will find almost all types of filament available from the Bambu Lab catalog
In case you don't find what you're looking for it's quick to create it yourself
The areas to the right of the sample are to simulate various thicknesses and check TRANSPARENCIES
- 0.2 MM the first layer
- 0.4 MM
- 0.6 MM
- 0.8 MM
- 1 MM
- 1.2 MM
- 1.4 MM the last layer
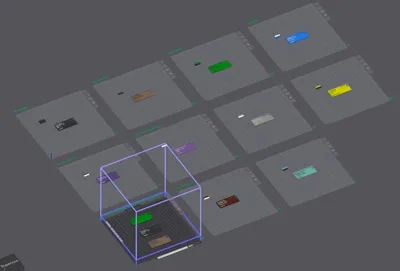
In the 3mf file I also created a plate with labels positioned that allows you to print 3 parts simultaneously the print is set to “OBJECT”
Speed parameters adjusted to not strain the printer and to have good quality samples IT IS NOT A BENCHMARK
Guide on changing text and paying particular attention to the “Z” AXIS POSITIONING dimensions
Modify the text and reposition (by dragging the yellow cube) according to the Length trying to keep the text within the designated space otherwise set the text to 5.5 or 5

Then correctly reposition the text by vertically aligning it with the lower writings when performing this movement the “Z” dimension in the OBJECT COORDINATES changes to 0.39 I don't know why in the next step reset the value to 0.40mm

The correct “Z” dimension in the OBJECT COORDINATES must always be 0.40mm for all texts

Then check that in the GLOBAL COORDINATES of the text the “Z” value is always 1.4

This is the optimal slicer result in practice these dimensions serve to make the text independent from the last colored layer of the label in the image below is the result you should obtain

YOU SHOULD NEVER GET THIS RESULT VISIBLE IN THE IMAGE BELOW, for text 33601 as you can see the text is inside the last layer and visually it is not a good result

That should be all if you need advice or further explanations do not hesitate to contact me
Thank you and as always print……print…..print…..!!!!!!!!
License
You shall not share, sub-license, sell, rent, host, transfer, or distribute in any way the digital or 3D printed versions of this object, nor any other derivative work of this object in its digital or physical format (including - but not limited to - remixes of this object, and hosting on other digital platforms). The objects may not be used without permission in any way whatsoever in which you charge money, or collect fees.
Comment & Rating (26)