
Bullseye Lantern Oldschool Runescape Tealight Prop
Print Profile(4)


Description
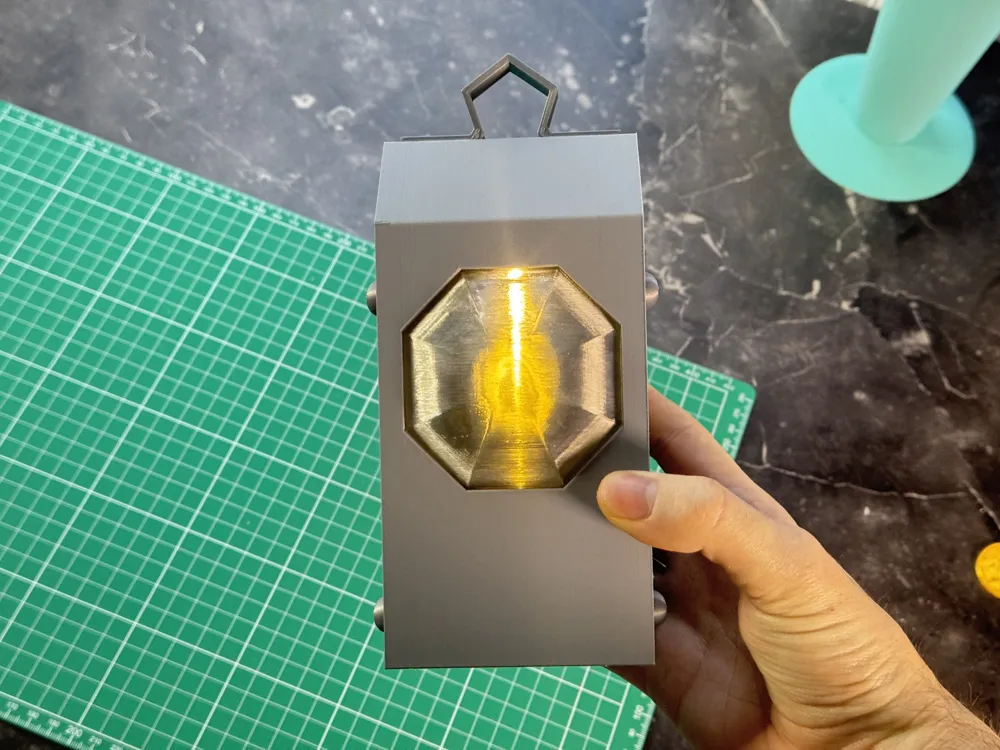
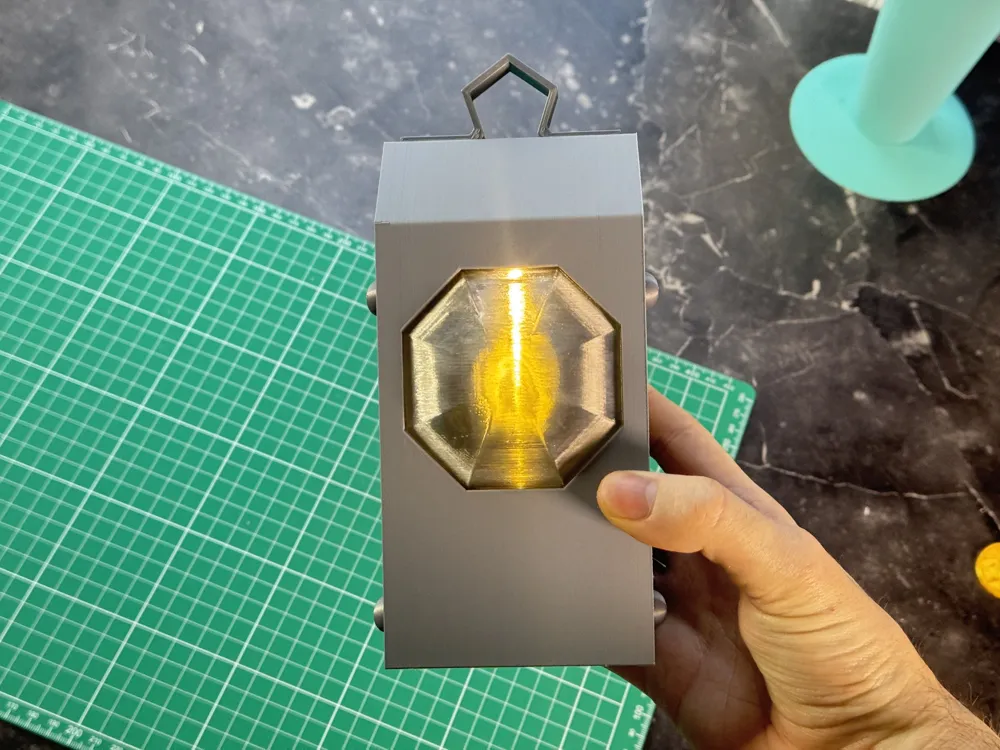
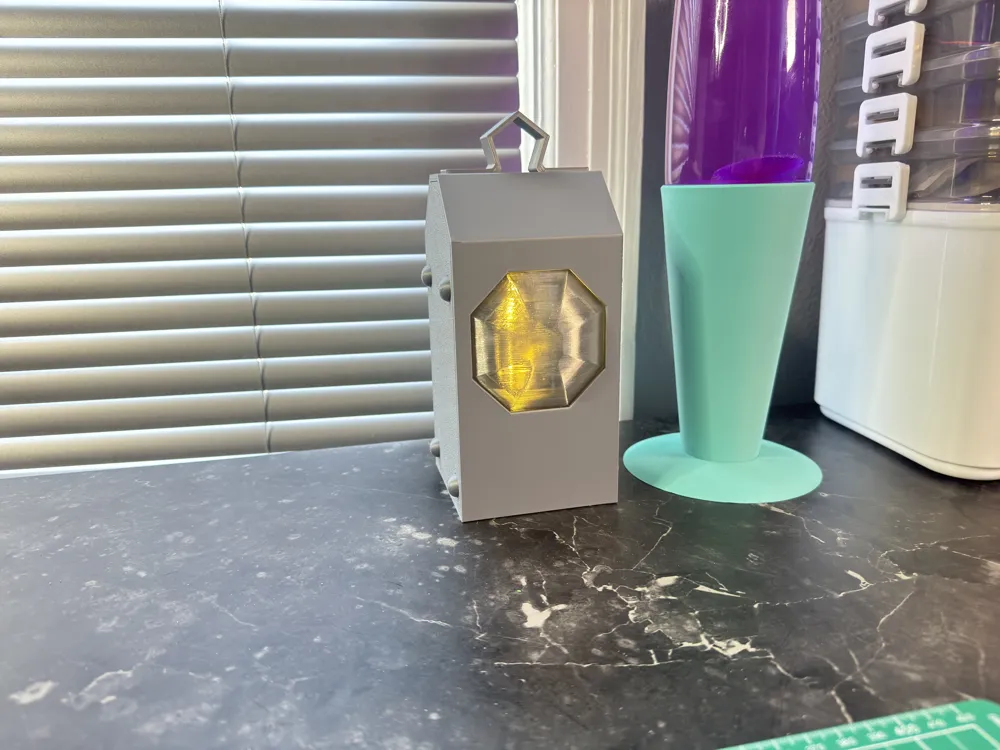
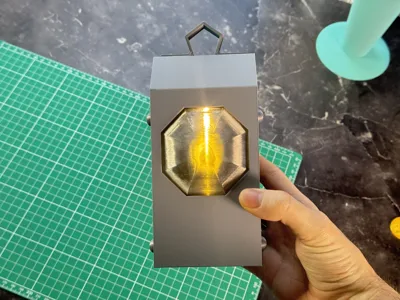
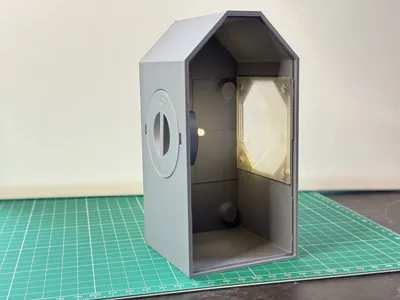
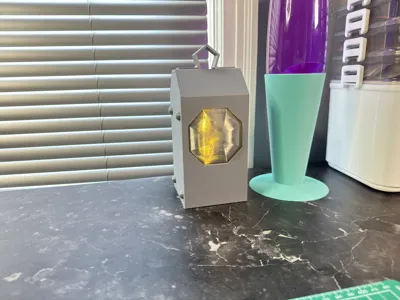
Stop worrying about extinguishing your light source in the middle of a Slayer task. This Bullseye Lantern replica brings an iconic Old School RuneScape prop to your desk, providing the perfect warm glow for your late-night XP grinds.
Designed with simplicity in mind, just use glue. It is made to fit a standard LED tealight when the top lid is removed. Simply print the parts, glue them together, and you are ready to venture into the dark (or just look cool on a shelf).
Print Settings:
Body
PLA works perfectly since the LED tealight doesn't get hot.
- Layer Height: 0.2mm
- Walls: 3
- Top/Bottom: 5 layers
- Infill: 20%
- Supports: Enabled. Please use Organic (Tree) supports
Lens
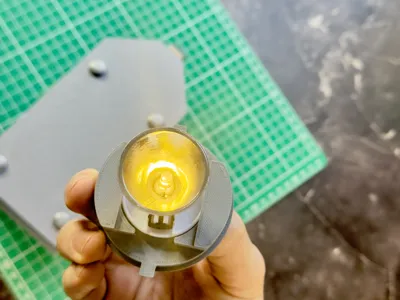
Clear PLA, color is your choice.
- Speed: 25mms
- Supports: Enabled. Please use Organic (Tree) Supports
- Raft: 3 layers, 0.1mm gap
Assembly Instructions
Level 49 Crafting (and Super Glue) is required to put this together. Follow this order for the best results:
- Prep the Light: Remove the plastic top housing/flame cover from your LED tealight so the bare LED is exposed.
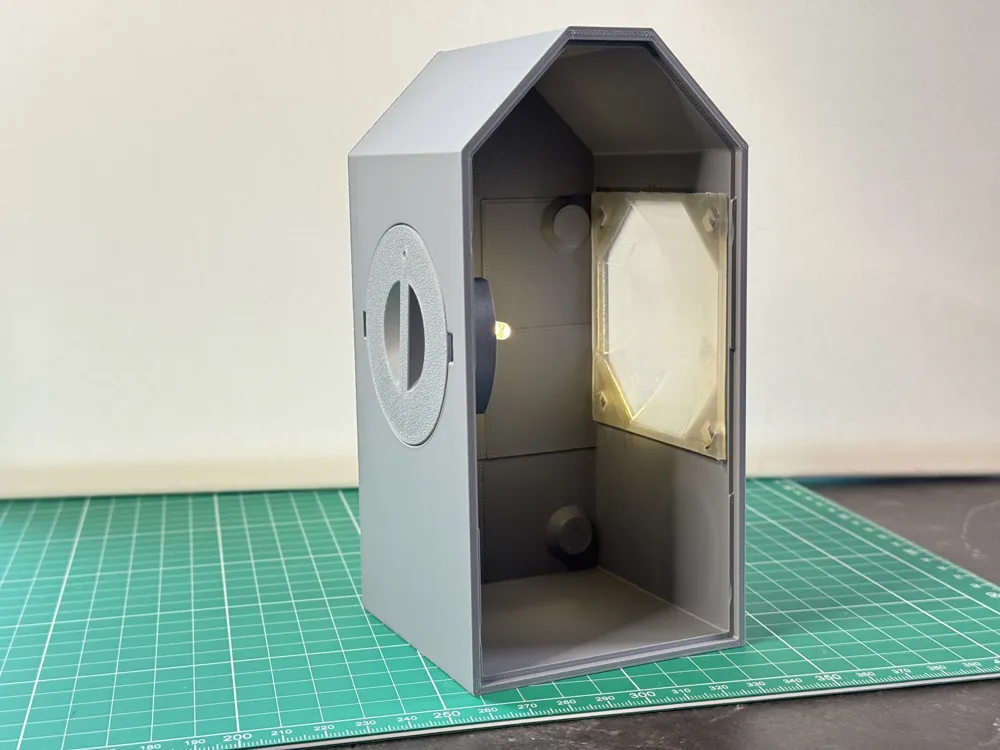
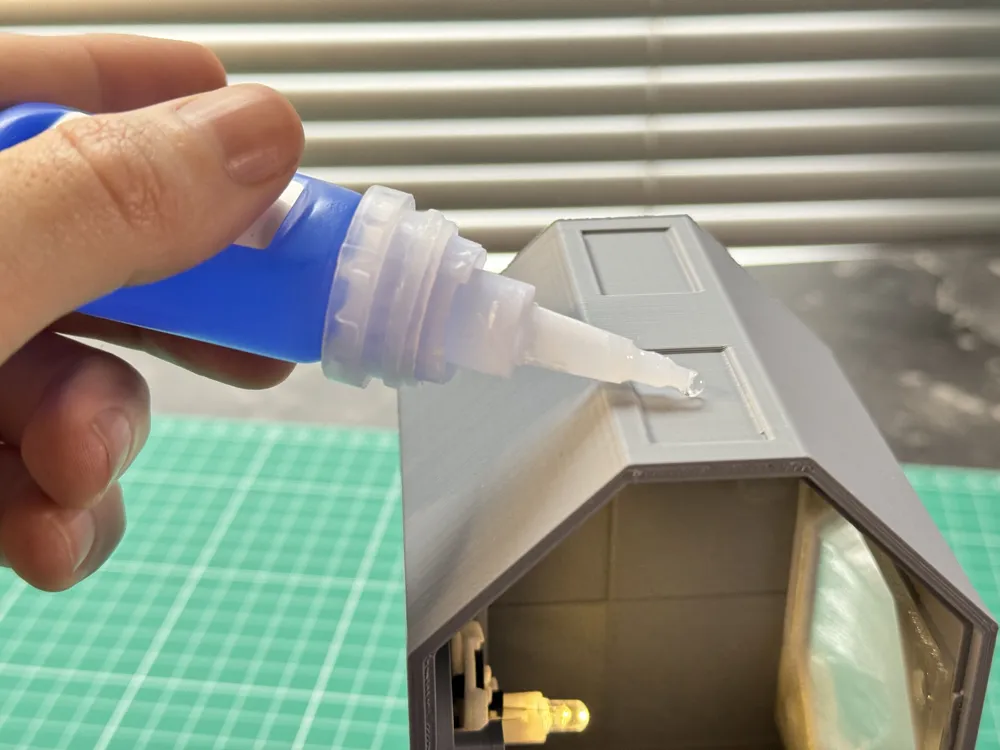
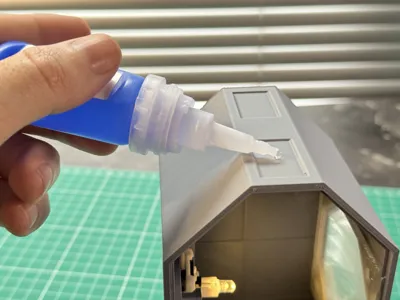
- Lens & Housing: Glue the clear lens into the main housing first.
- Seal the Lantern: Glue the top lid onto the housing to enclose the body.
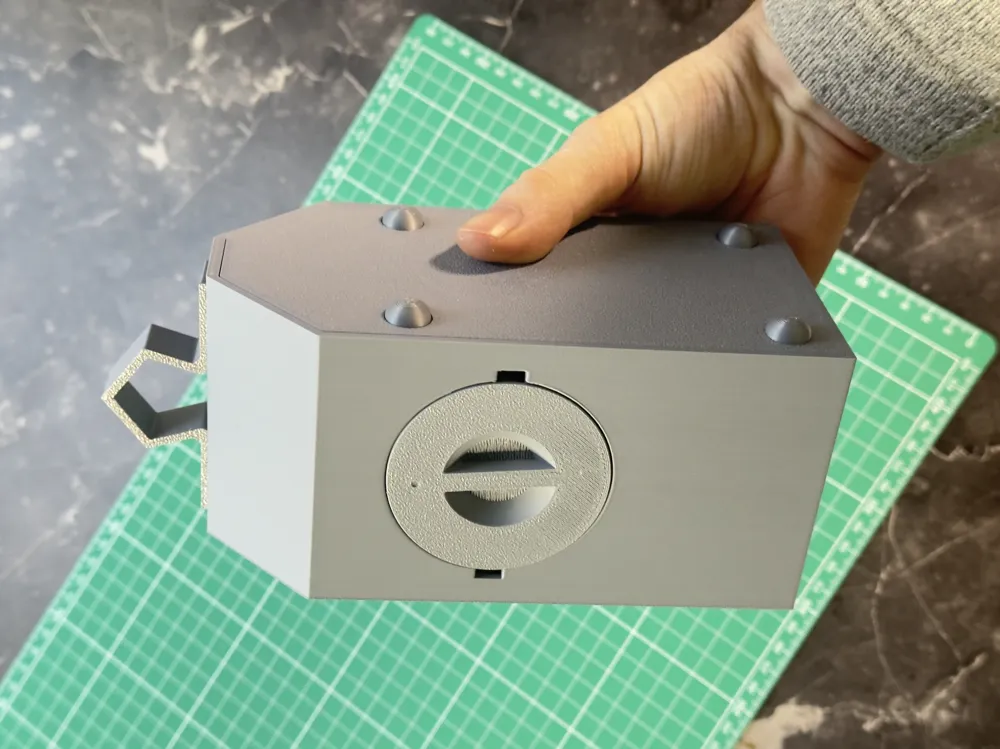
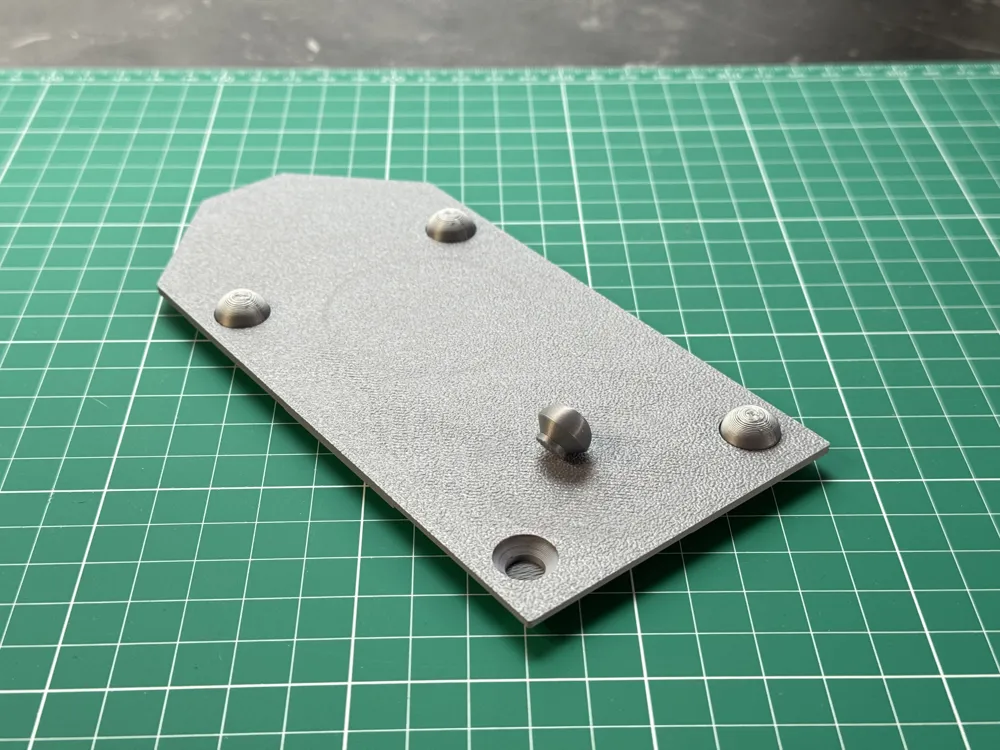
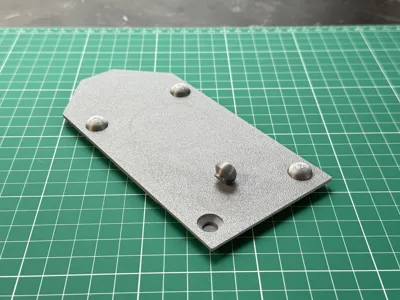
- Add Details: Glue the handle to the top and attach the eight decorative screw heads to their spots on the frame.
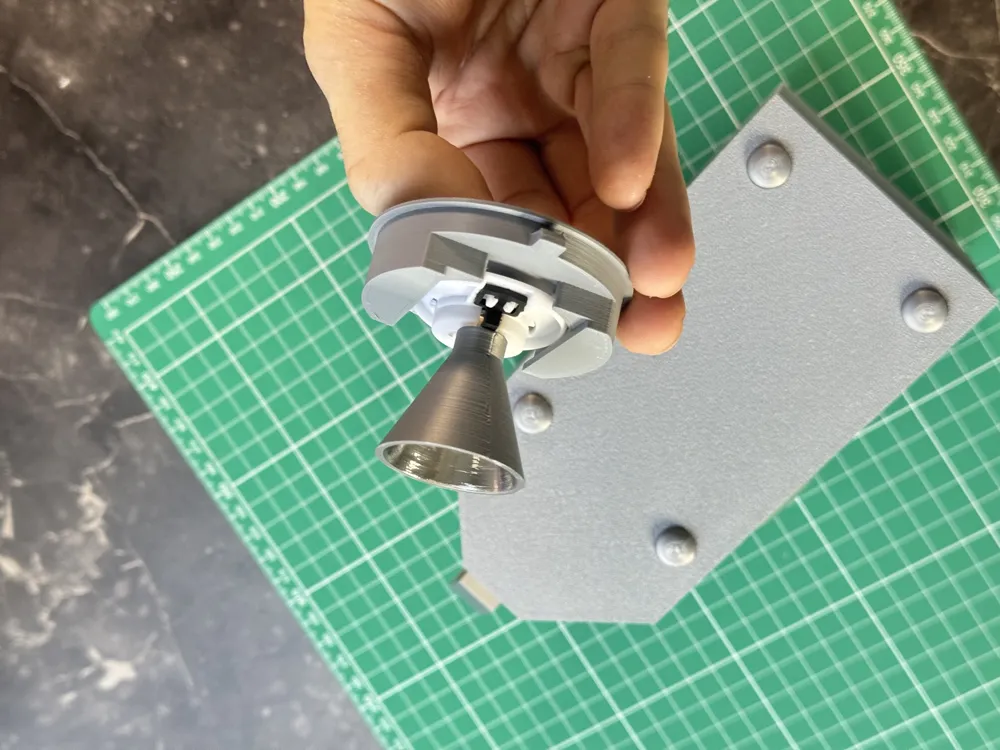
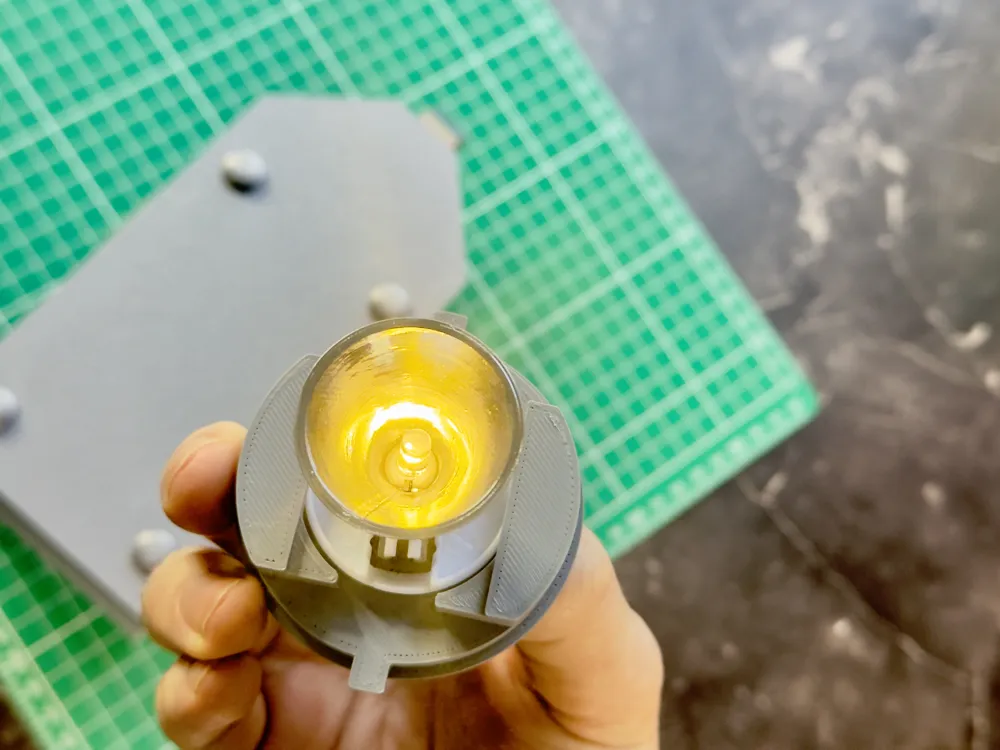
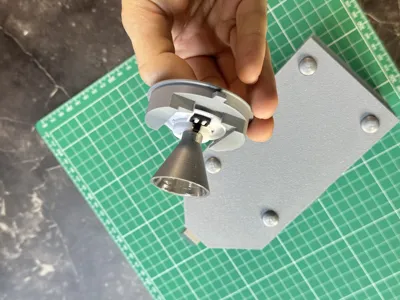
- Prepare the Core: Slide the modified tealight into the printed Tealight Holder, then attach the Light Shroud to the tealight. Color the inside with a chrome marker, or print in white.
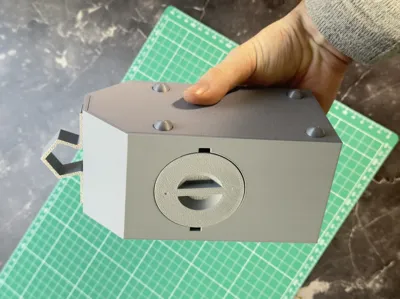
- Final Step: Insert the completed light assembly into the back of the Bullseye Lantern. The dot should be at the top.
License

You shall not share, sub-license, sell, rent, host, transfer, or distribute in any way the digital or 3D printed versions of this object, nor any other derivative work of this object in its digital or physical format (including - but not limited to - remixes of this object, and hosting on other digital platforms). The objects may not be used without permission in any way whatsoever in which you charge money, or collect fees.


Comment & Rating (0)