
Kitchen Paper Towel Holder with Anti-Spin Lock
Print Profile(5)


Description

UPDATE
Two versions of the roll holder are now available, with the following sizes:
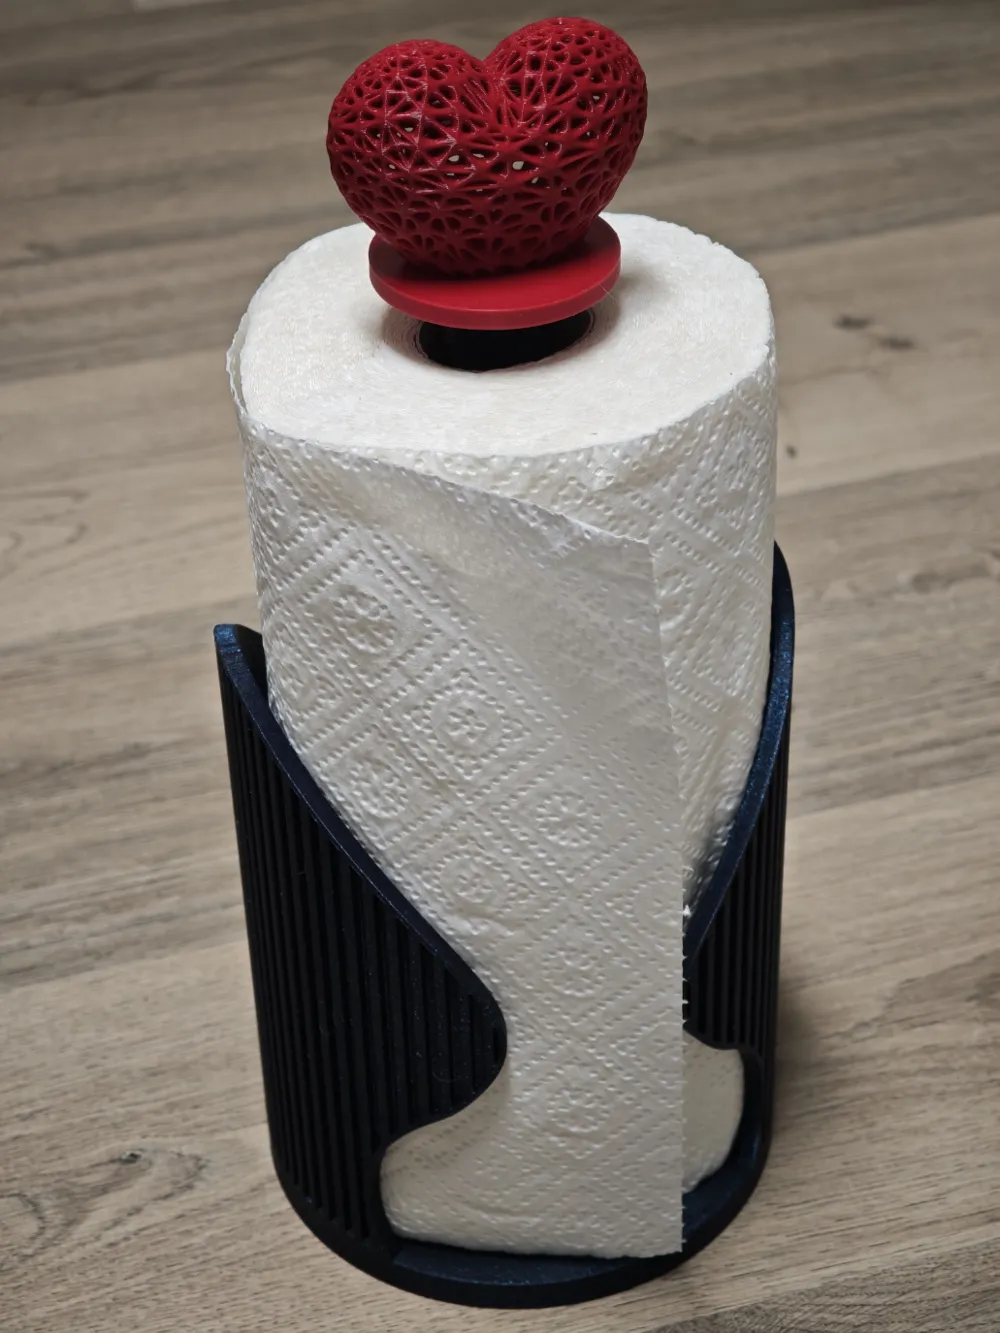
the standard has a maximum capacity of 139x260mm for the roll size.
The second (BIGGER) has a maximum capacity of 159x290mm
UPDATE
NEW PRINT PROFILE FOR A1 MINI IS AVIABLE. THE MODEL IS ADAPTED TO BE PRINTABLE WITH THE A1 MINI. THE SIZE IS THE SAME FOR THE STANDARD VERSION! THE BIGGER FORMAT IS NOT SUPPORTED FOR THE A1 MINI.


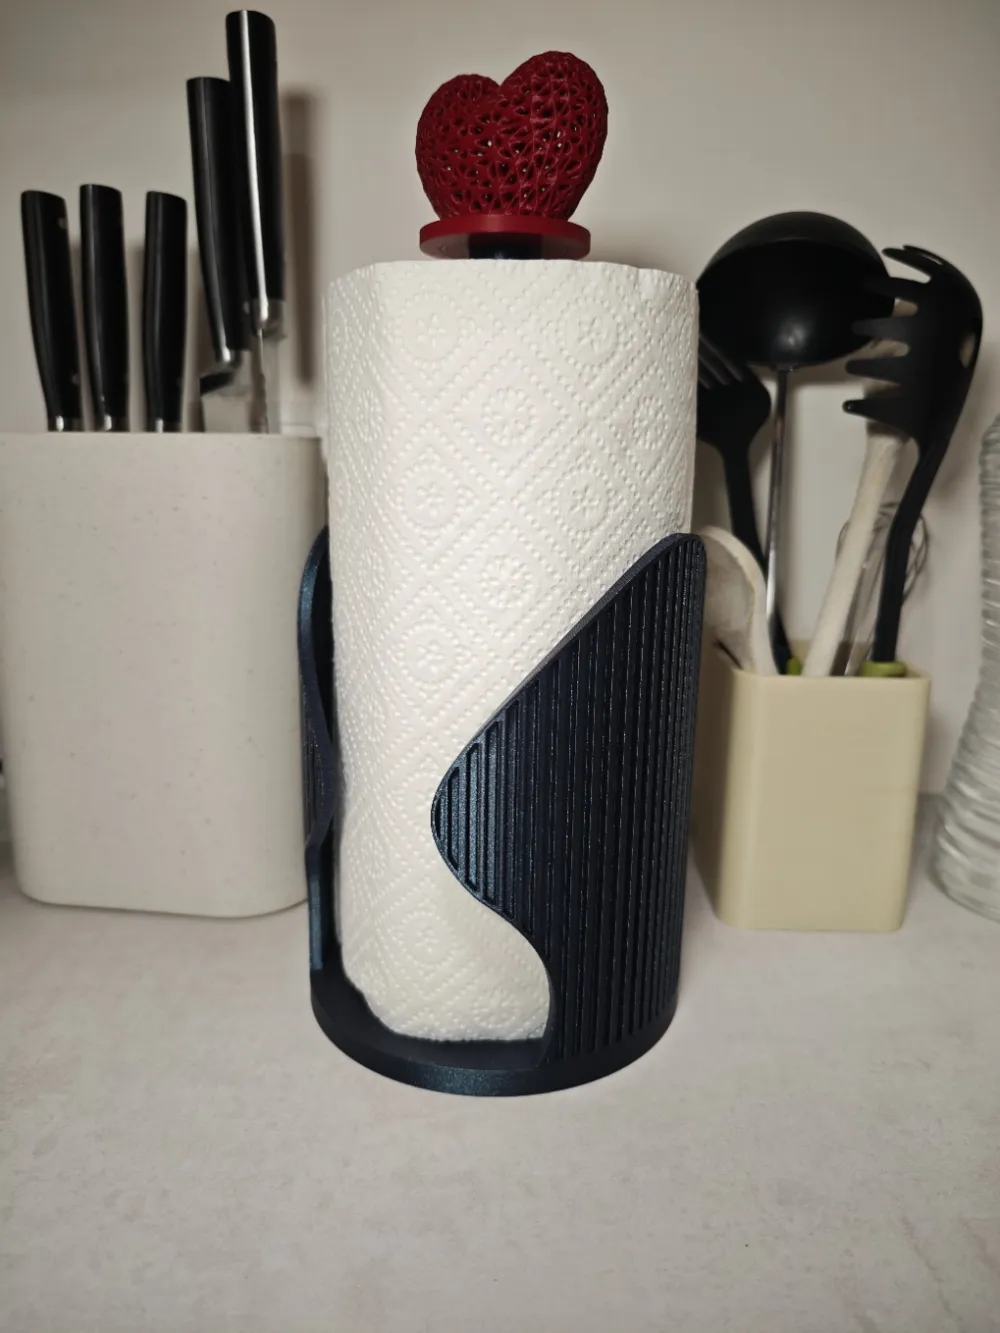
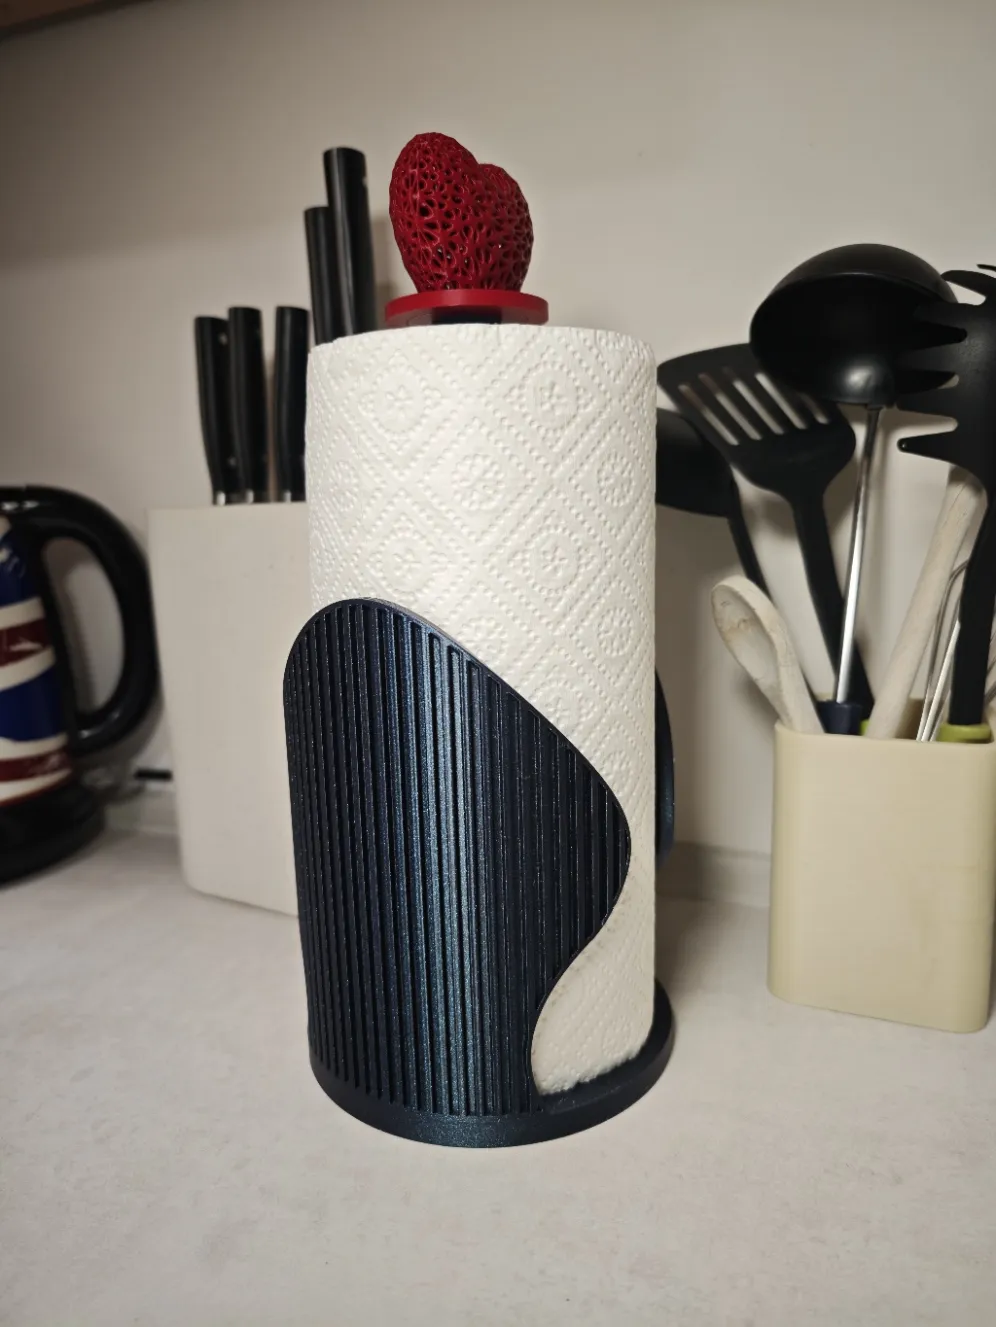

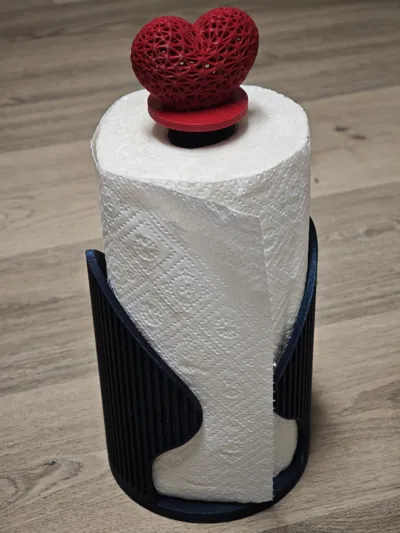
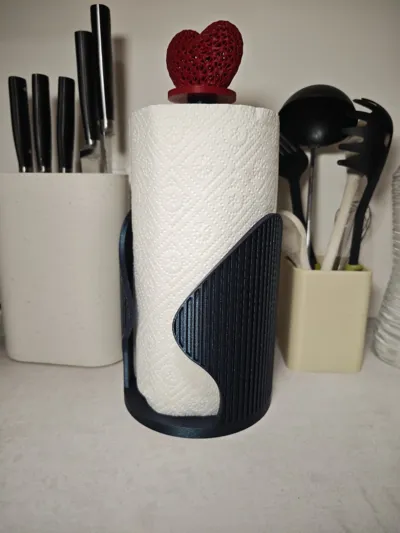
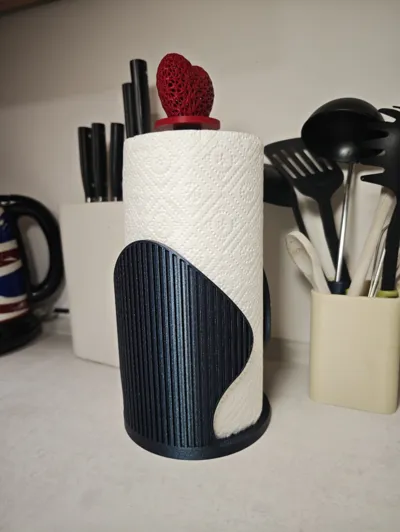
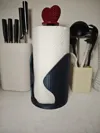
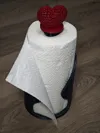
This kitchen paper towel holder is designed to solve the classic problem: when you tear a sheet, the roll spins and slips around.
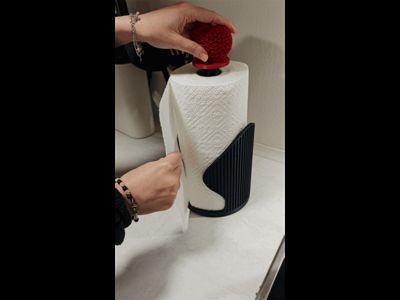
Thanks to an integrated locking/tension mechanism, the roll stays steady while tearing, but still rotates smoothly while pulling.
✅ 100% 3D printed – no extra parts to buy (no screws, no metal spring, no accessories)
🧩 Serviceable design – the locking clips are not meant to be glued, so you can disassemble it and replace the spring if needed
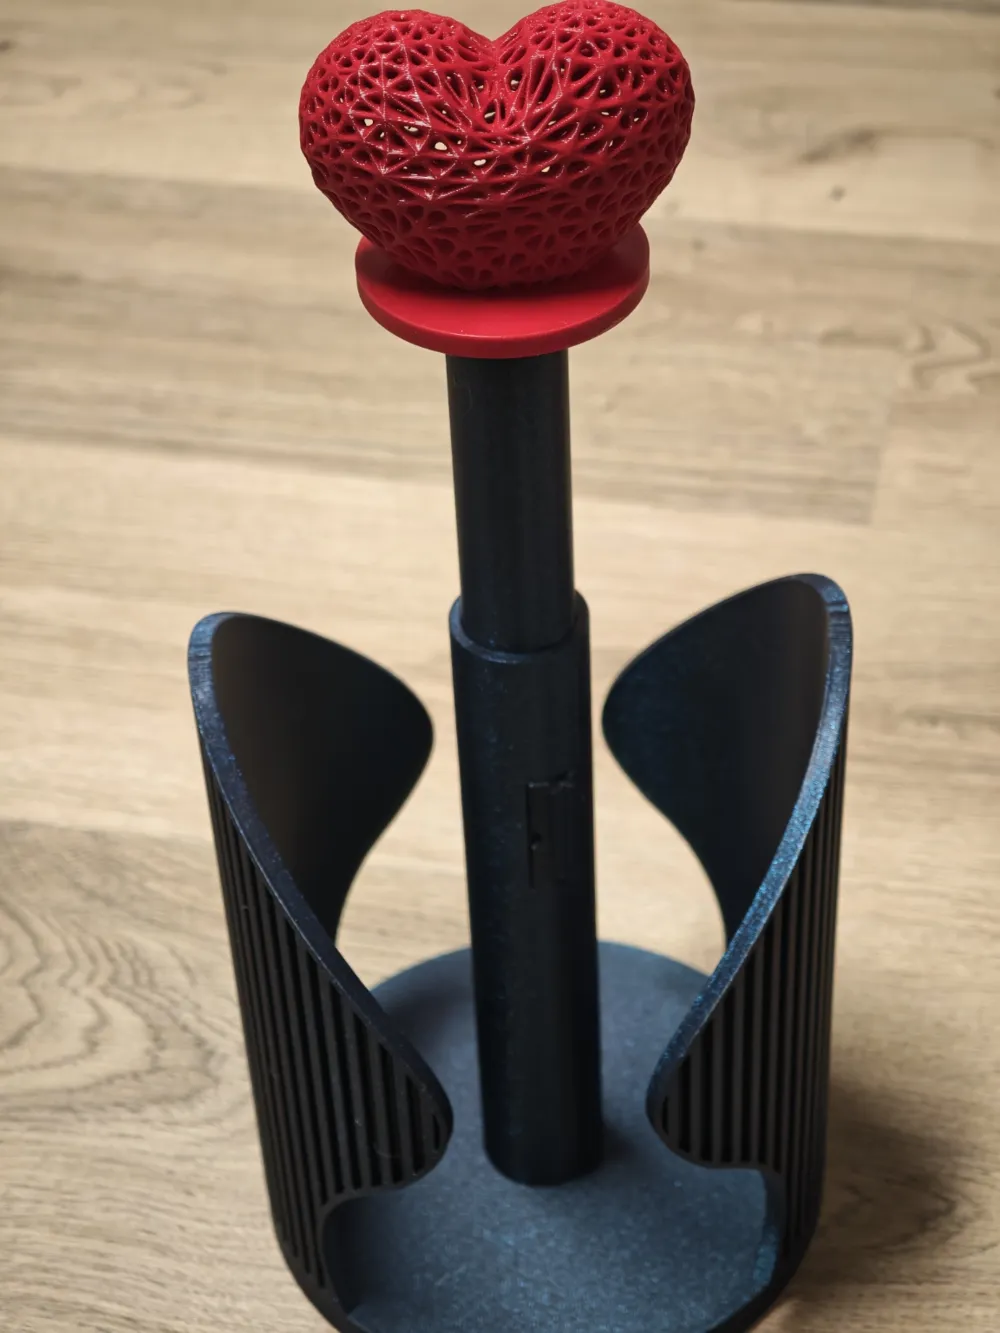
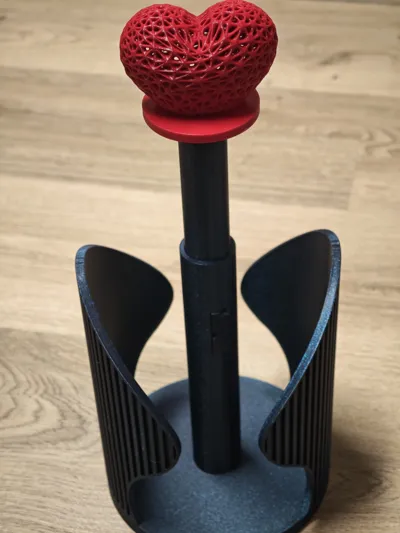
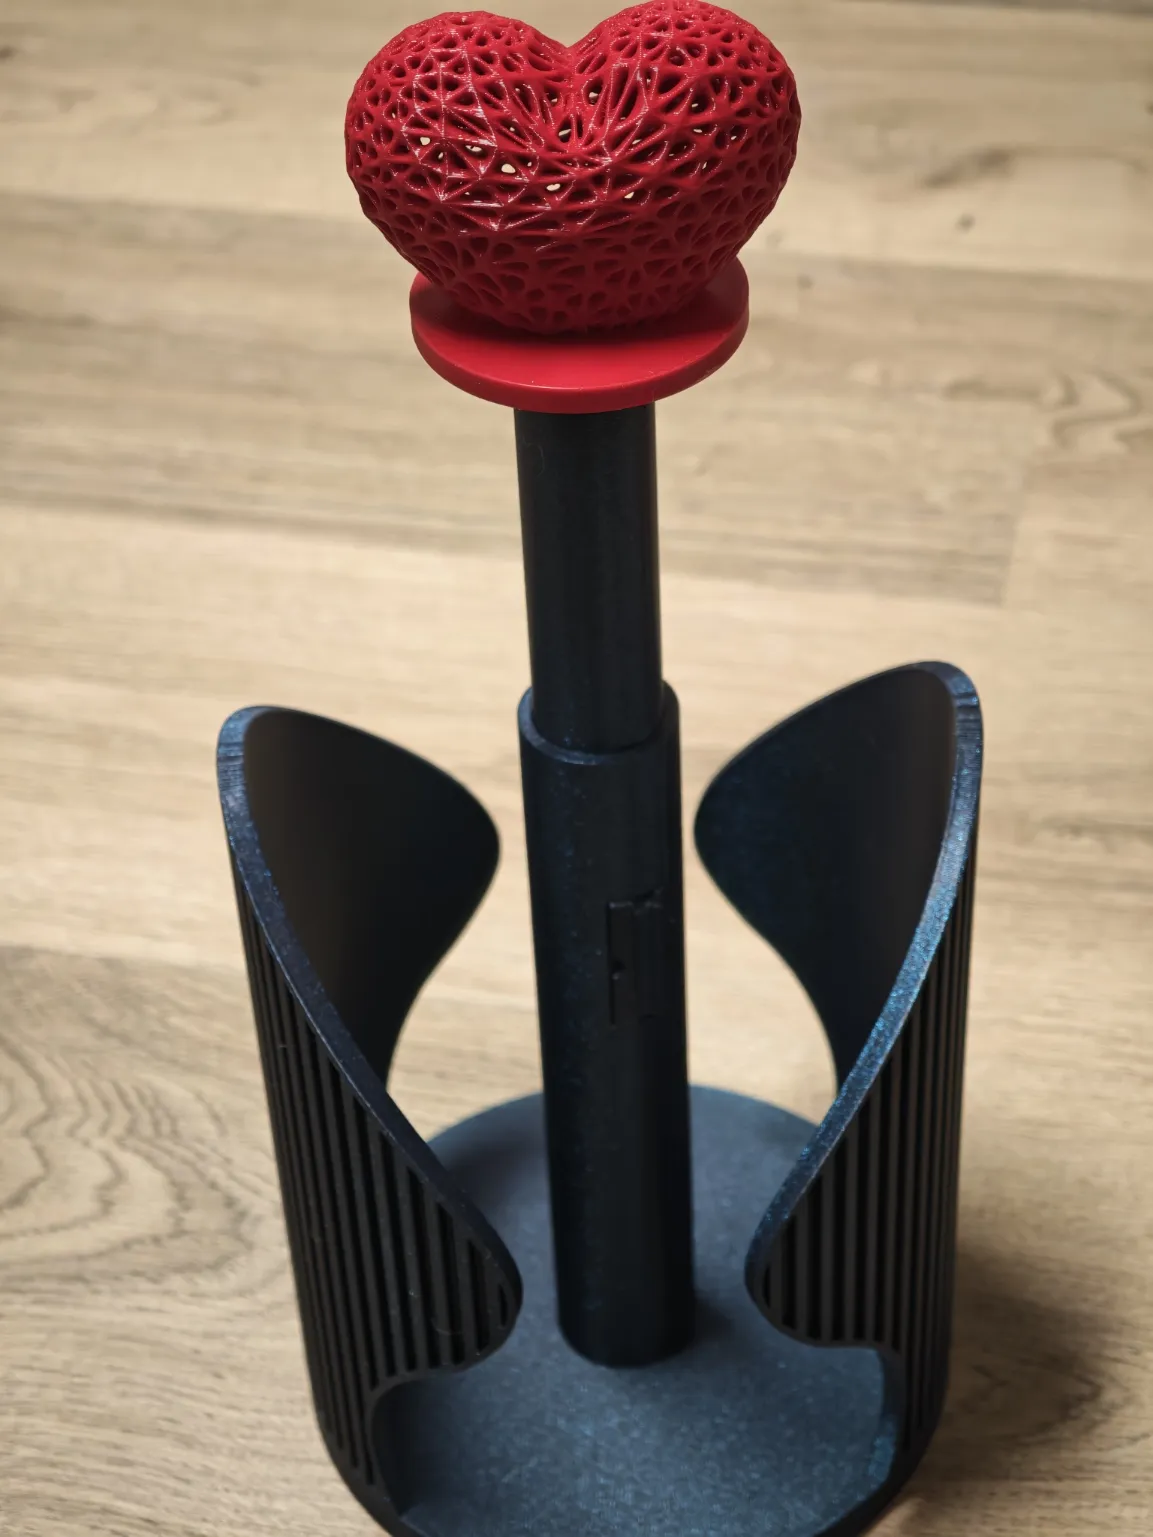
🎨 Customizable top (knob/topper) – the file includes a heart topper like in the photos, plus a version/profile with only the base so users can add their own favorite topper
🔩 Top in two parts – a “screw” piece + the custom topper (the topper is simply glued onto the screw)
Included in the project:
- Full version (with the heart topper shown in the photos)
- Base-only version/profile (for your own topper)
Printing Notes
- A ready-to-print profile is included. For the most reliable result, print using the profile as provided, without changing settings.
- All parts are designed to be printed without additional hardware.
Spring tip (material recommendation)
- PETG is recommended for the spring because it’s more flexible and handles repeated bending better, reducing the risk of cracking or fatigue over time.
- PLA also works, but it’s stiffer and may wear out sooner if the spring is stressed frequently (strong tearing, heavy daily use).
Assembly Instructions (step-by-step)
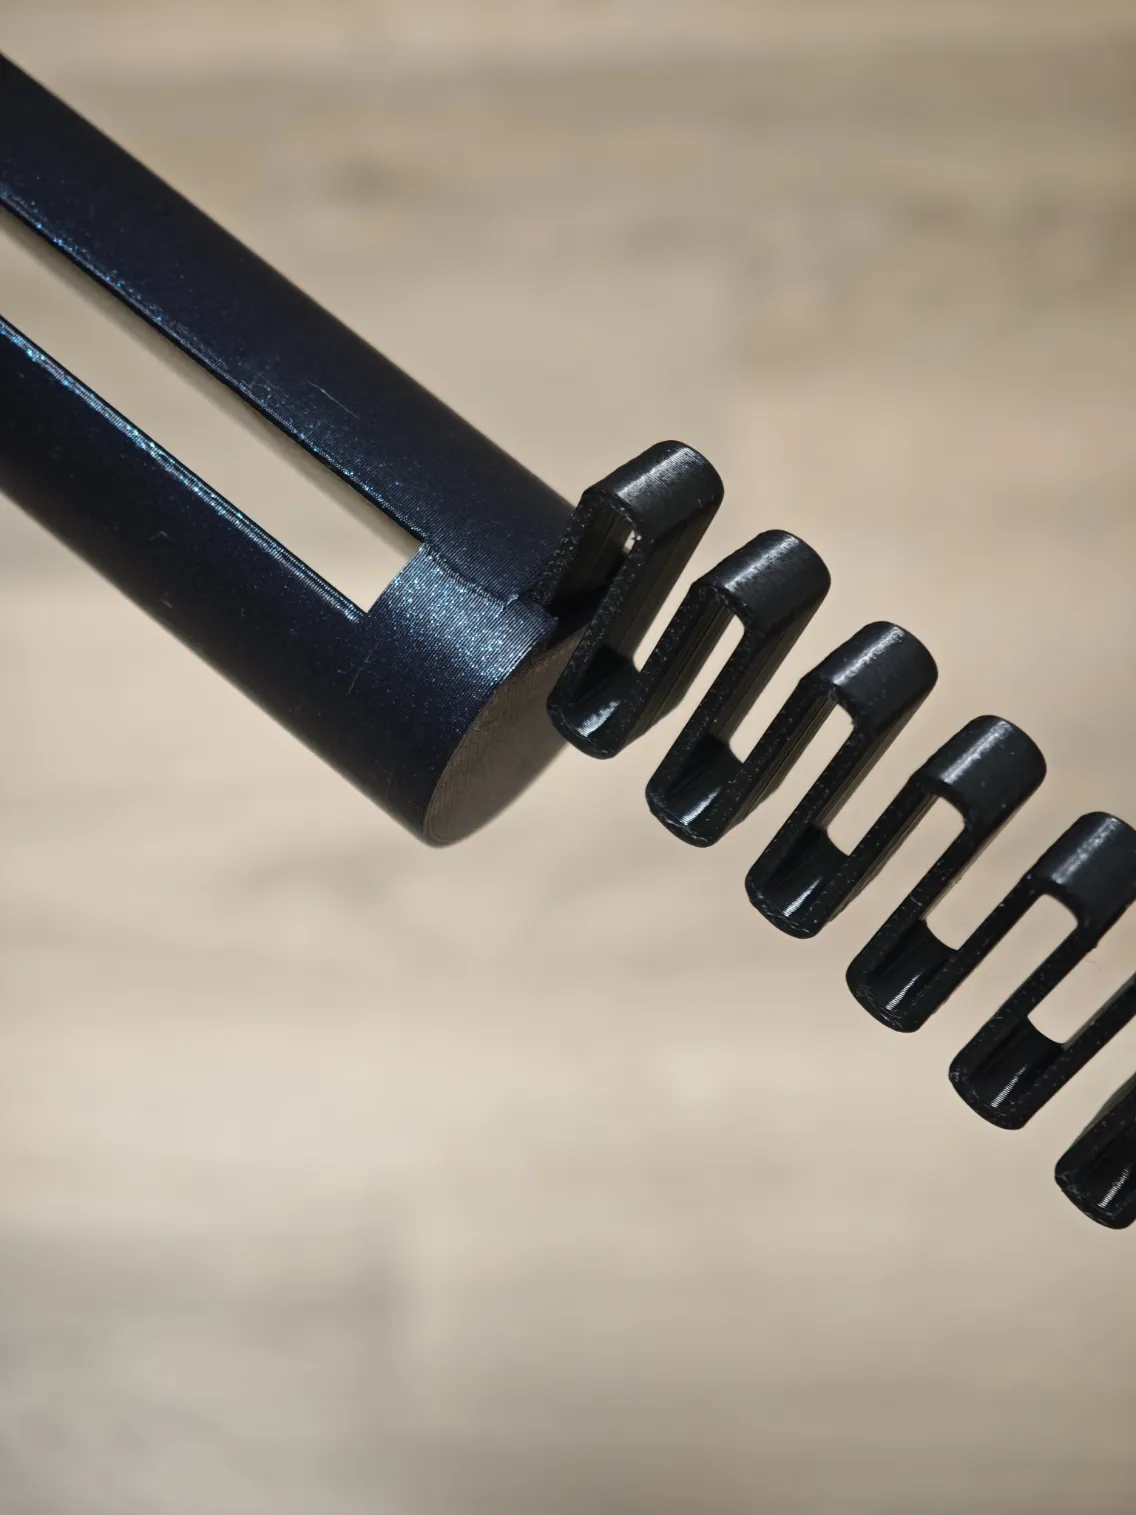
1) Insert the spring into the separate center piece
- Take the printed spring and insert it into the separate center component (the one not attached to the main body), as shown in the photos.
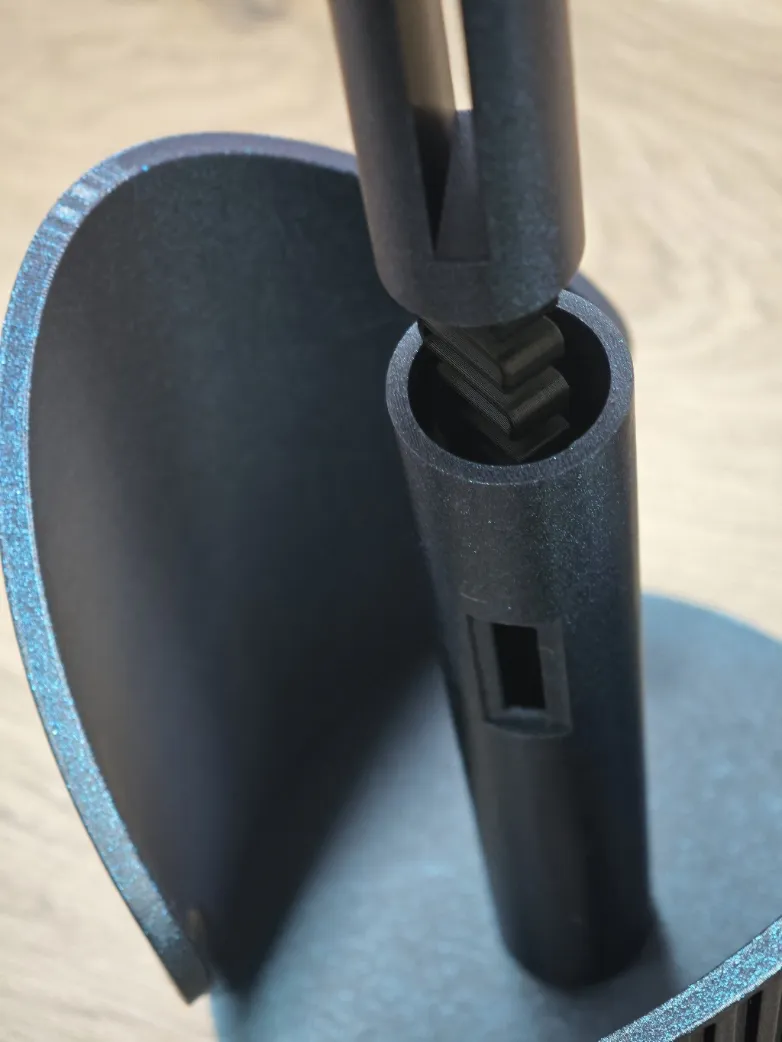
2) Insert the full center assembly into the main body
- Insert the center piece + spring assembly into the main body (as shown in the photos), aligning it with its slot.
3) Install the two locking clips
- Insert the two retaining clips that hold everything together.
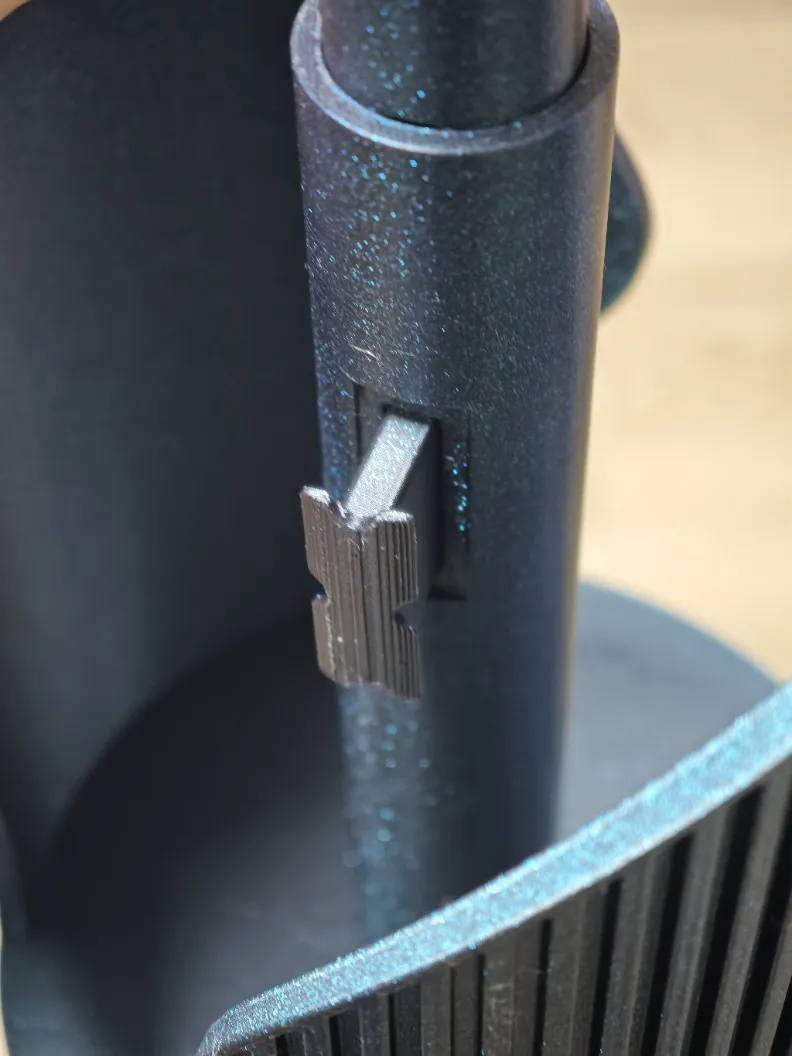
Important fitting note (do NOT glue the parts together)
The clips are designed to remain removable for future repairs (for example, if the spring ever fails and needs replacement).
If the clip fit is too loose (not enough friction)
- Apply a thin line of glue on the edge/lip of the male part (just enough to add a tiny thickness).
- Let it dry completely.
- Test the fit.
If the fit becomes too tight after the glue
- Sand/file the glued edge little by little until the part inserts smoothly with the right amount of friction.
⚠️ Warning: do not glue the parts together. The glue is only used as a thin shim to increase friction—everything must stay serviceable and removable.
Top Assembly (2 parts)
The top consists of:
- The screw piece
- The custom topper (example: the heart)
✅ To assemble:
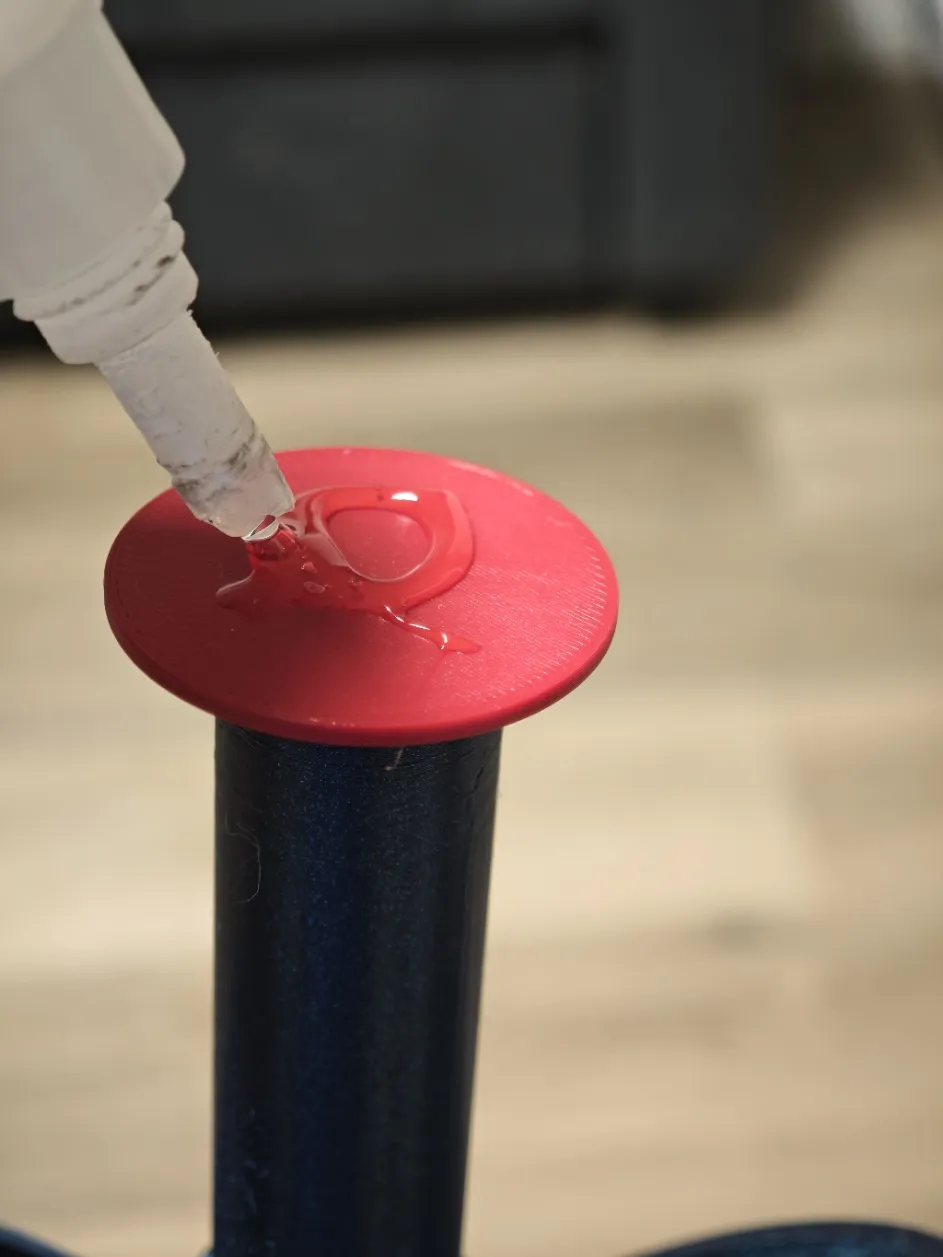
- Add a small amount of glue to the contact area
- Glue the topper onto the screw piece
- Let it dry, then install the assembled top onto the holder
How to Customize the Topper (your own design)
- Download the file called “base for customizable top” and keep it aside.
- Find your favorite topper on Makerwolrd, download it.
- Open the base for customizable top in your slicer.
- Select the object → right click → Add part → Load → choose the topper file you downloaded.
- Position the topper correctly on the base (centered and properly seated).
- Set supports if needed:
- The base has an open/empty bottom, so if your topper doesn’t need supports, you can create support only for the base reinforcement and enable manual supports where necessary.
- Use the included heart topper in the full file as a reference for how supports were handled.
Extra topper tip (flat bottom)
If your chosen topper doesn’t have a nice flat contact surface:
- Use the slicer Cut tool to make the bottom flat, then repeat the steps above.
Boost Me (for free)
LIKE IT??? BOOST IT :D THANKS
I hope you enjoy this project and have fun personalizing it with your own favorite topper.
Happy printing—and happy tearing without the roll spinning away! 😊
Did you create a custom top? Feel free to upload your own print profile,but please upload only the topper parts individually with the best print settings and fell free to commen with a pi ture of your creation!!!!
Changes for other parts of the project are not permitted.
License

You shall not share, sub-license, sell, rent, host, transfer, or distribute in any way the digital or 3D printed versions of this object, nor any other derivative work of this object in its digital or physical format (including - but not limited to - remixes of this object, and hosting on other digital platforms). The objects may not be used without permission in any way whatsoever in which you charge money, or collect fees.


Comment & Rating (80)