
Airsoft gun (for 7-8mm soft bullets) - with magazine
Print Profile(1)

Description
Boost Me (for free)
If you also like this model, please boost me~( •̀ ω •́ )y
Model Introduction:
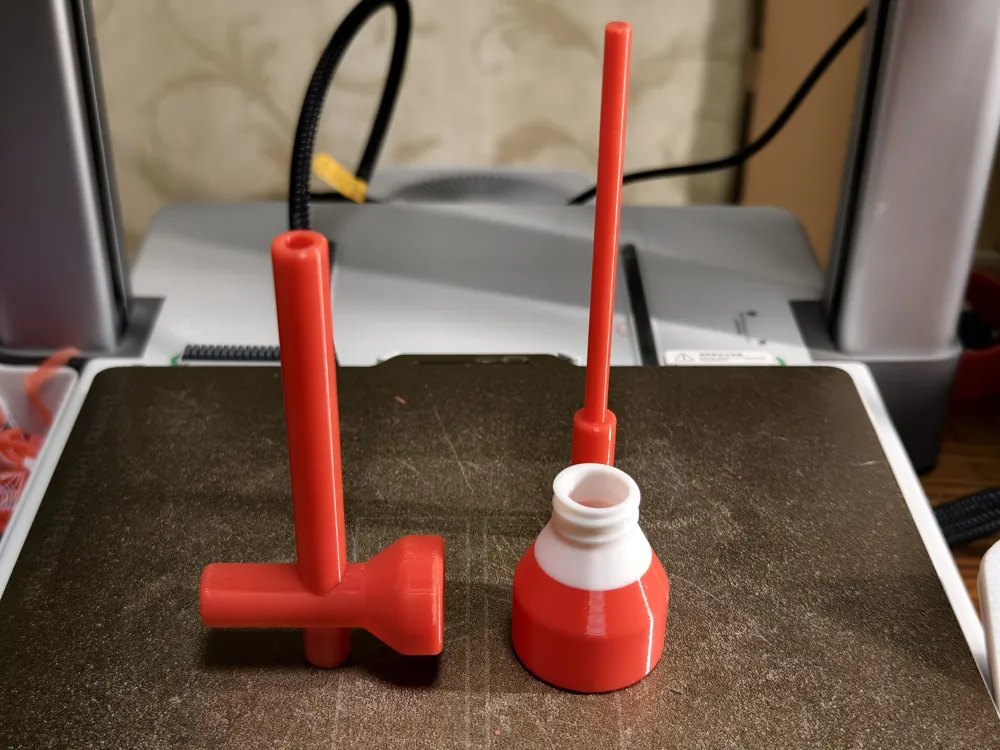
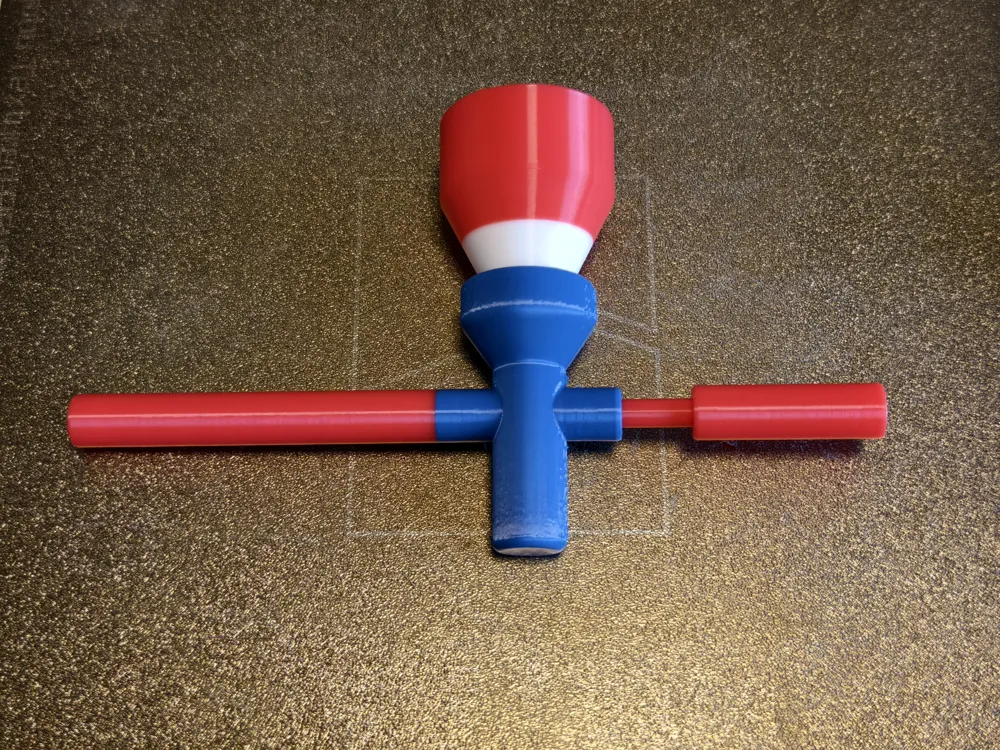
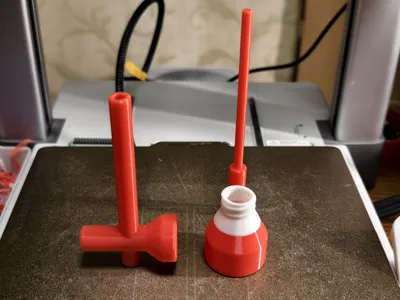
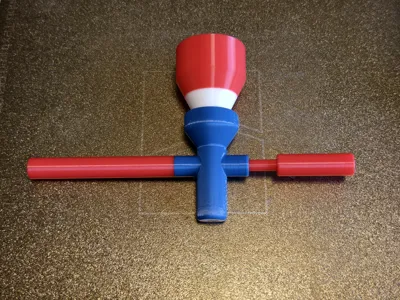
The model is divided into 3 parts: main body, compression rod, magazine
I was inspired by the Peashooter to create this model. Its principle is to use compressed air to launch darts from the opening. The model has the following advantages:
1. Anti-pinch design: The feeding position on the main body also functions to prevent pinching fingers;
2. Features a magazine: Can hold approximately 40 7-8mm soft darts;
3. Achieves automatic feeding using the darts' own gravity.
4. The dart insertion point of the main body's barrel has been rounded, making it easier to insert "darts";
The model only weighs 35g, welcome to print and play! It's a lot of fun~
Operating instructions:
Step 1: Load soft darts into the magazine;
Step 2: Connect and tighten the magazine to the main body;
Step 3: Insert the compression rod to send the first soft dart to the main body's opening;

Step 4: Pull out the compression rod. The soft dart will automatically drop into the main body's barrel. If it doesn't drop, it means the dart is stuck at the entrance; simply shake the main body as shown in the GIF;
Step 5: Re-insert the compression rod and quickly push forward with force. The dart at the opening will be shot out by the compressed air, accompanied by a "pop" sound, as shown in the GIF.
Repeat steps 4-5 until all soft darts are fired (the last one will remain in the main body's opening).
Reminder:
1. The model's orientation and supports are already set, no changes needed.
2. I uploaded a monochrome model; you can color it according to your preference.
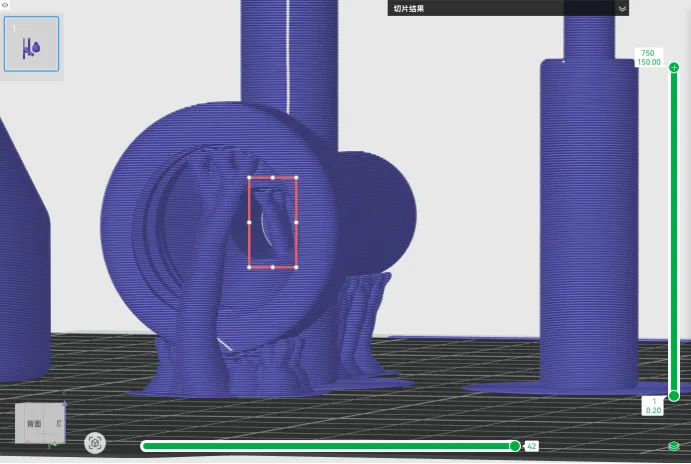
3. When removing the supports in the image below, it is recommended to first cut the parts inside the opening, then pull out the supports from the bottom.
Welcome to visit:
PS: Feel free to visit my homepage often, you'll surely find something you need (●'◡'●)
Homepage link: https://makerworld.com.cn/@Pbreak
License

You shall not share, sub-license, sell, rent, host, transfer, or distribute in any way the digital or 3D printed versions of this object, nor any other derivative work of this object in its digital or physical format (including - but not limited to - remixes of this object, and hosting on other digital platforms). The objects may not be used without permission in any way whatsoever in which you charge money, or collect fees.


Comment & Rating (0)