
Filament Rack for the A1 mini
Print Profile(4)


Description
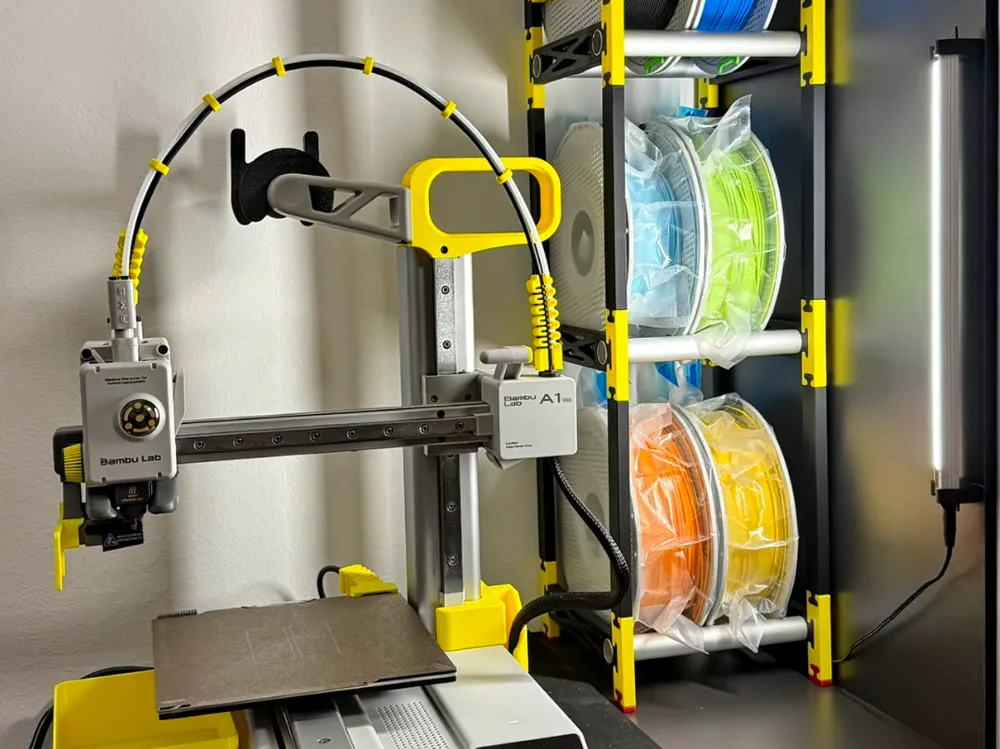
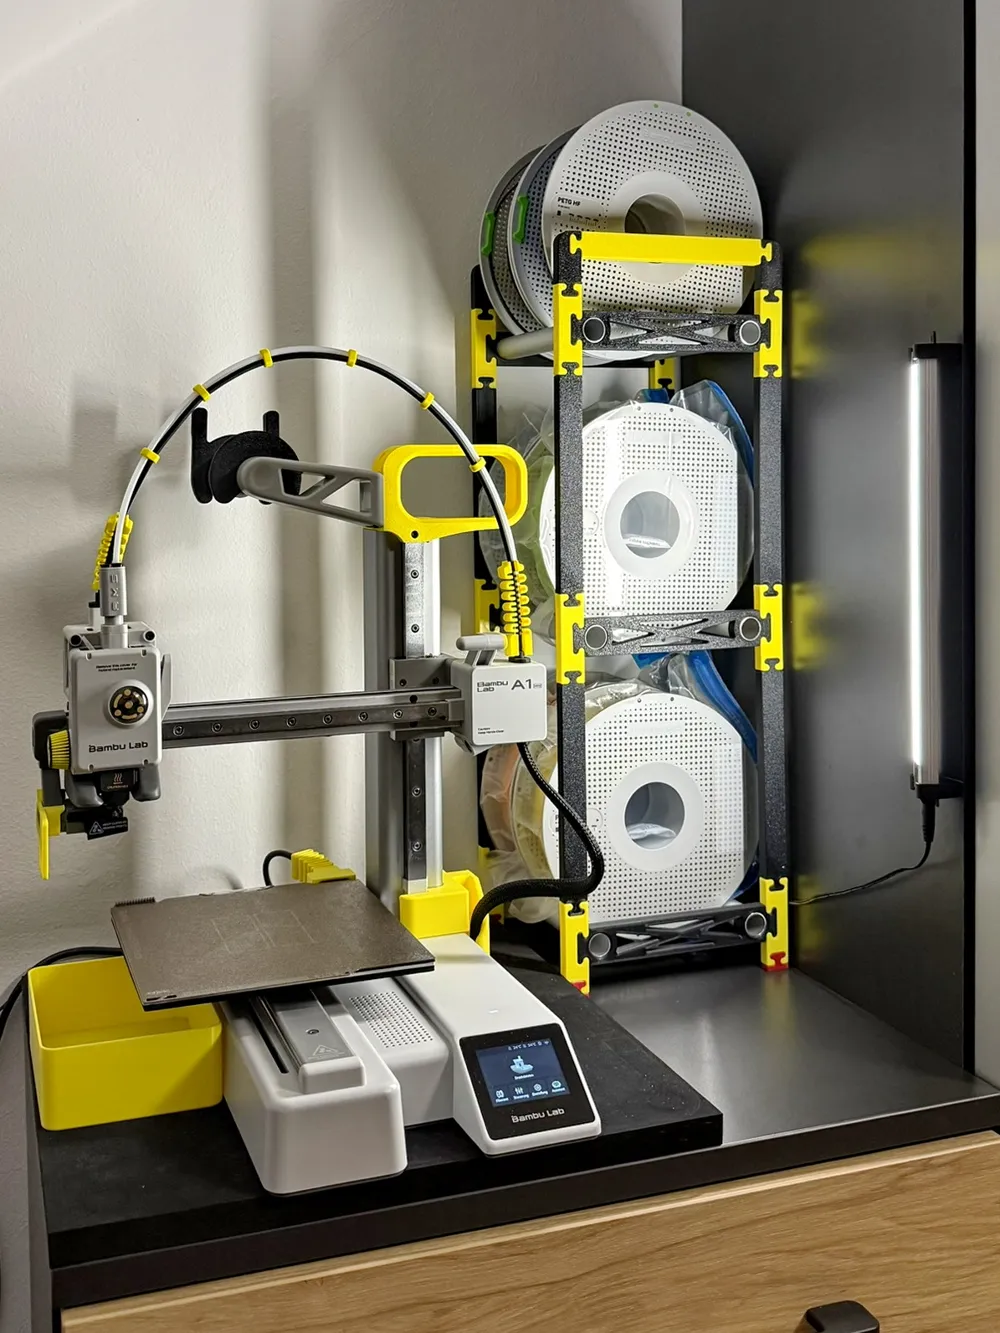
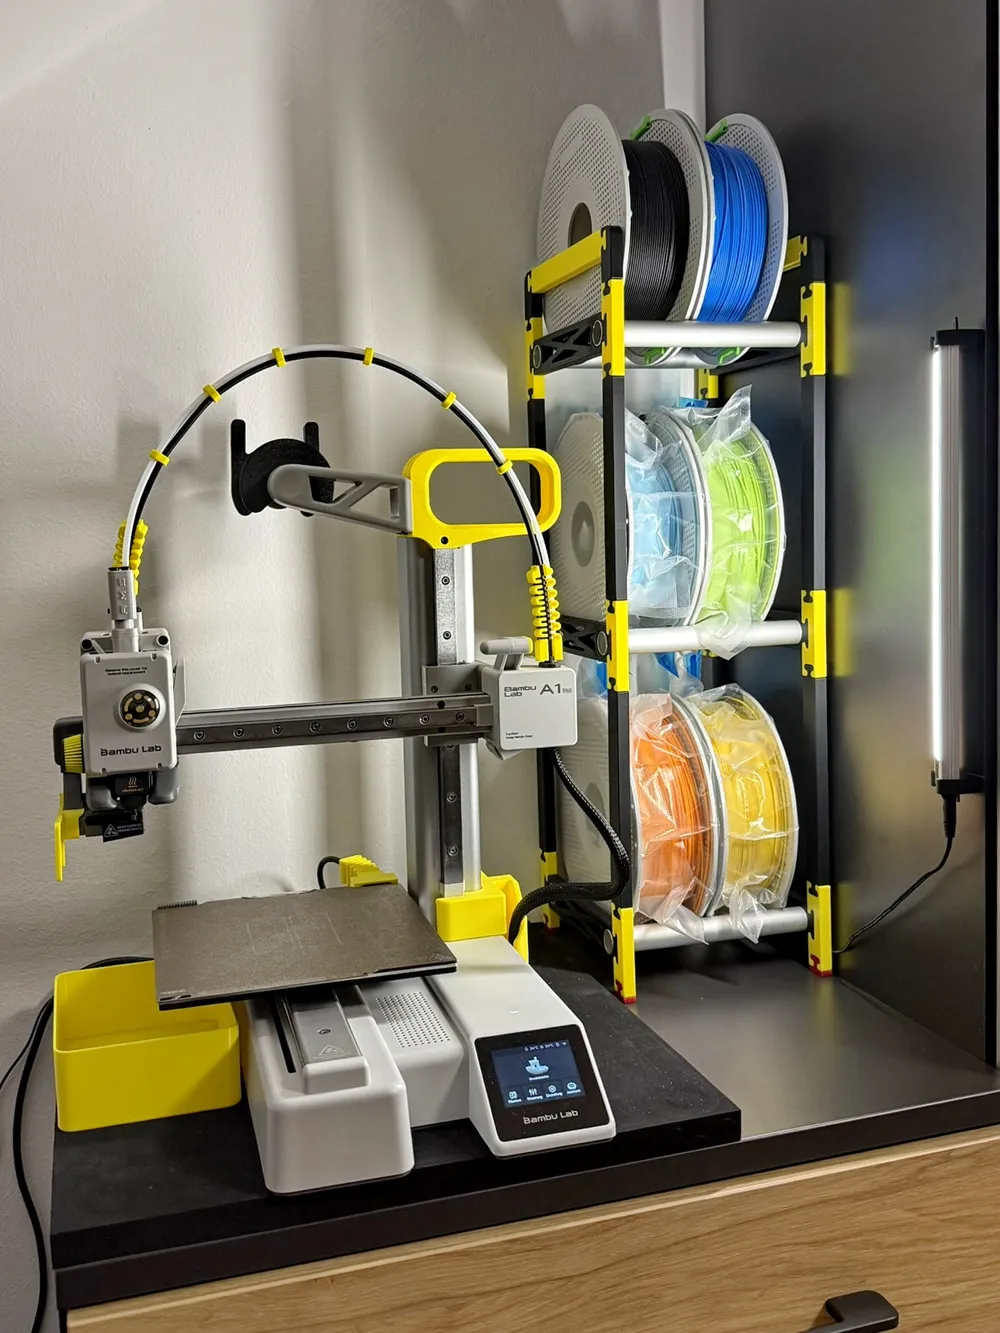
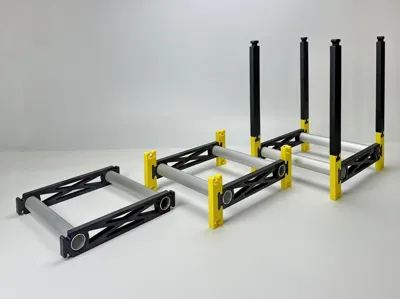
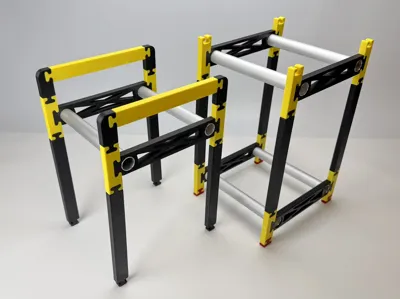
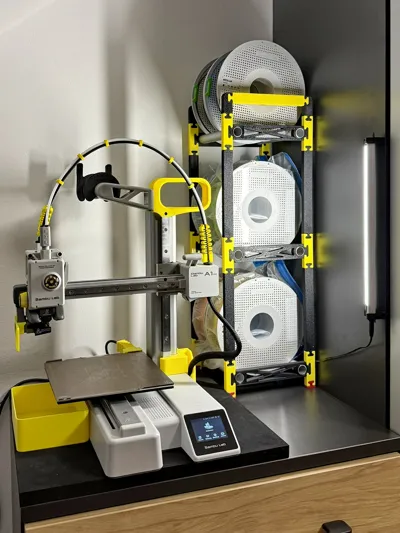
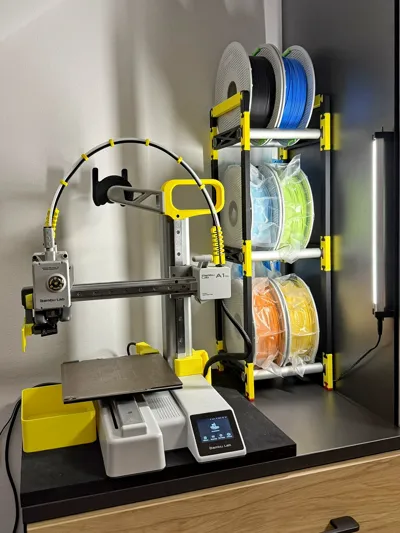
Modular Filament Rack: Flexibility and Efficiency in a Small Space
Overview
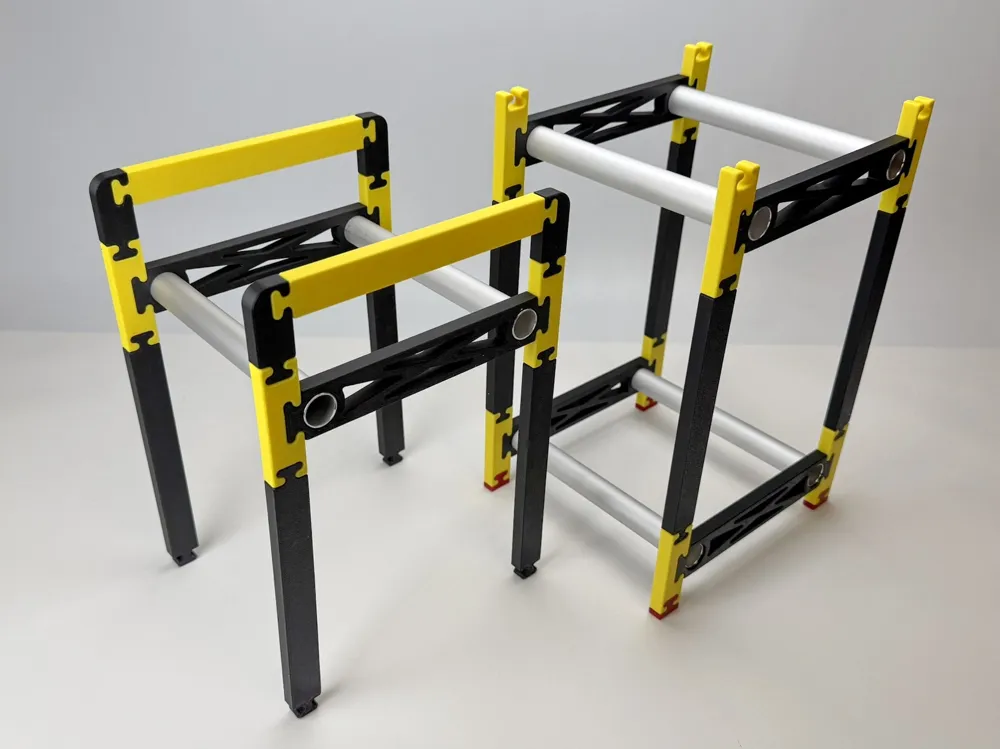
Even with the A1 mini, larger projects can be realized. Here I present a modular filament rack that is particularly space-saving and can be individually adapted. The construction uses 20 mm aluminum tubes, which not only provide excellent stability but also impress with their elegant appearance. The rack is suitable for both small 250-gram spools and large 1-kg rolls. Thanks to its narrow design with a width of only 10 mm, hardly any space is needed laterally, which makes the system ideal for environments with minimal space.
Printing the Components
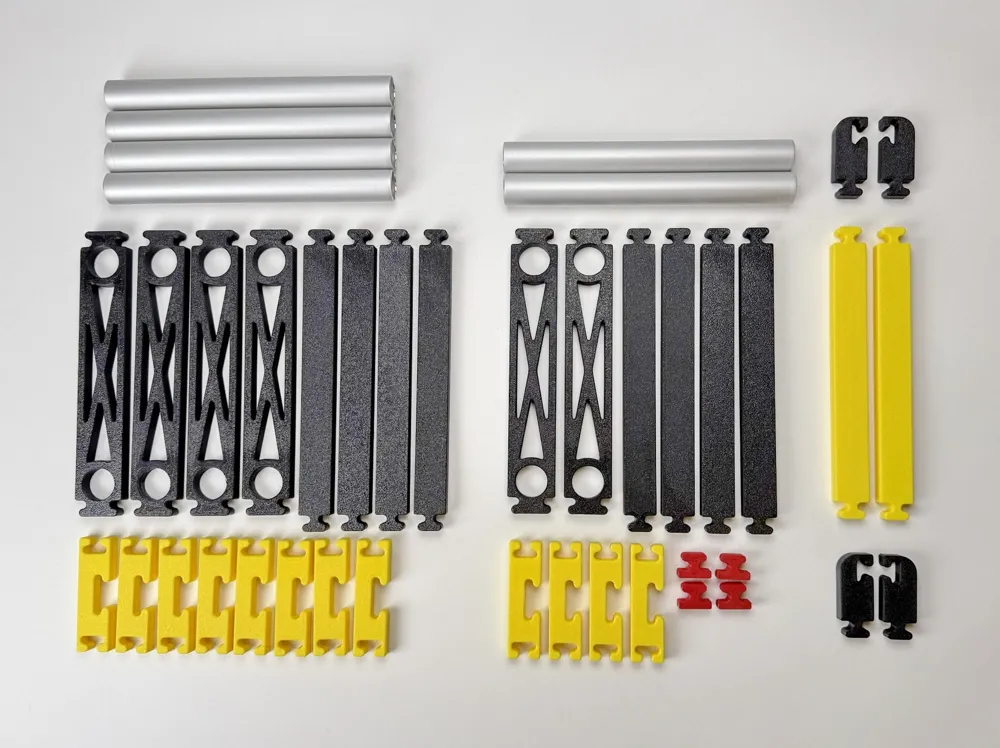
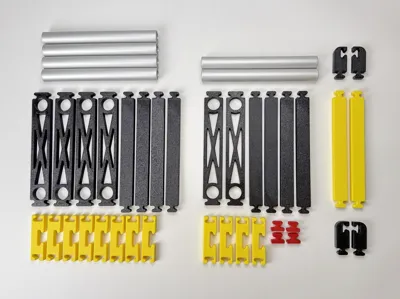
For the construction of the rack, only the required components need to be printed. The frame is made of PLA, while TPU was used for the base. Alternatively, any other material can be used. If no TPU is available, the base can also be printed from the same material as the rack and then fitted with an anti-slip pad. The printing process is straightforward, as no support structures are necessary. Due to the slim and modular design, little material is needed, and the rack can be expanded at any time.
Assembly
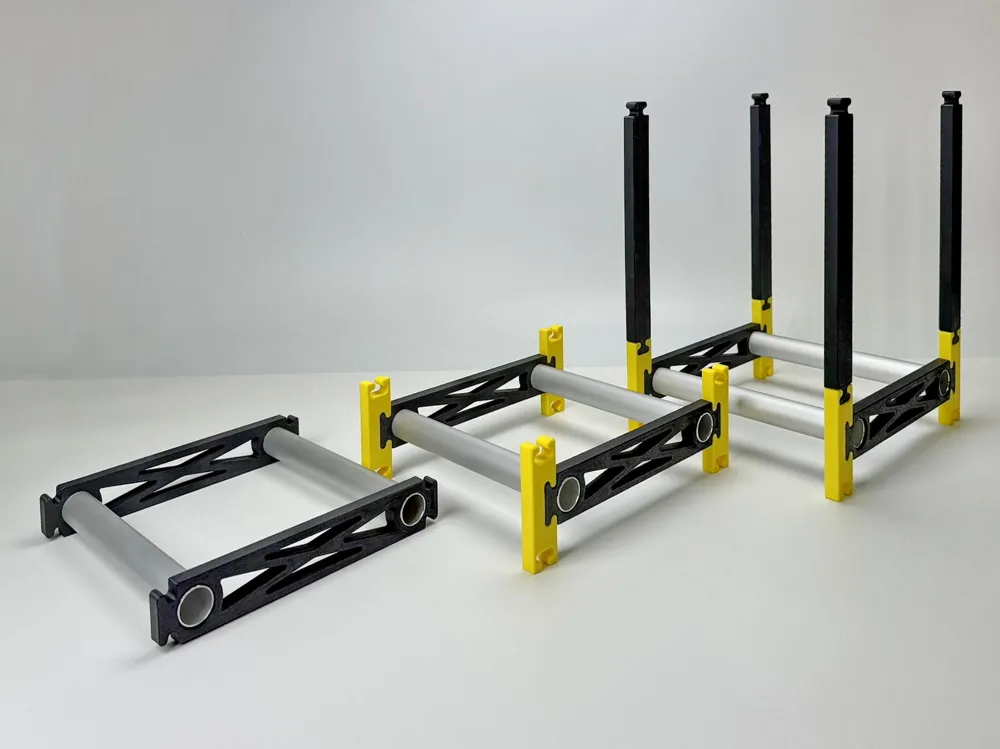
Assembly is quick and easy thanks to the plug-in connections. The aluminum tubes are cut to the desired length – a pipe cutter is suitable for this, alternatively a saw can also be used. It is advisable to deburr the tube ends. Screws or glue are not required for assembly. It is important that the tubes have an exact diameter of 20 mm, as stability suffers with tubes that are too thin and tubes that are too thick will not fit. For selecting tubes at the hardware store, I use calipers, as tolerances are sometimes very high. The side parts are assembled at the desired height, then the tubes are inserted on one side. A plastic mallet facilitates insertion; alternatively, a normal hammer with a piece of wood as protection can be used. After that, the second side is placed on top and the tubes are connected with light taps.
Setup
The finished rack is simply set up – wall mounting is not required.
More Models for the A1 Mini
Cable Protector for the Heatbed
https://makerworld.com/de/models/2443342-a1-and-a1-mini-hub-protector-for-ams-lite#profileId-2681532
A1 and A1 Mini HUB-Protector for AMS lite
https://makerworld.com/de/models/2443342-a1-and-a1-mini-hub-protector-for-ams-lite#profileId-2681532
Poops Container
https://makerworld.com/de/models/2214011-poops-container#profileId-2406982
Z-Axis Cable Holder and AMS lite Cable Holder
Spool Adapter for the A1 Mini
https://makerworld.com/de/models/2220753-spool-adapter-for-the-a1-mini#profileId-2415094

License



Comment & Rating (5)