Search models, users, collections, and posts

Modular Magnetic Watch Stand System – 3 Sizes
IP Report
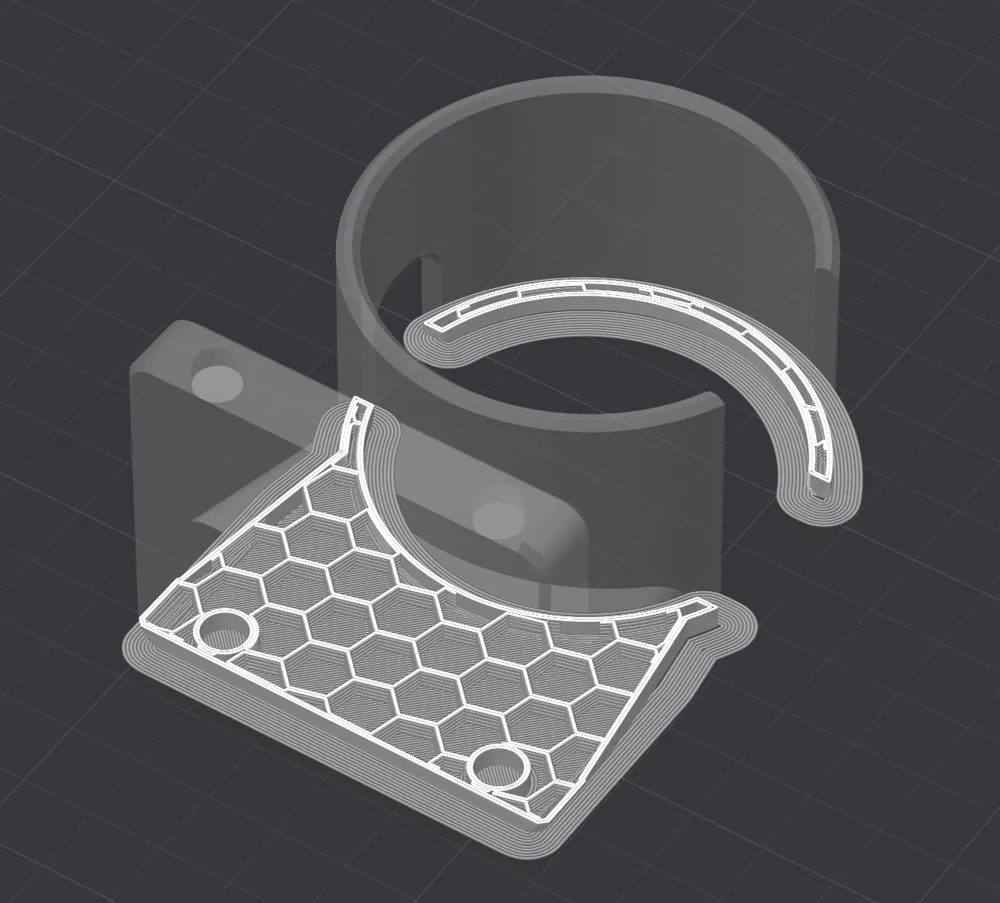
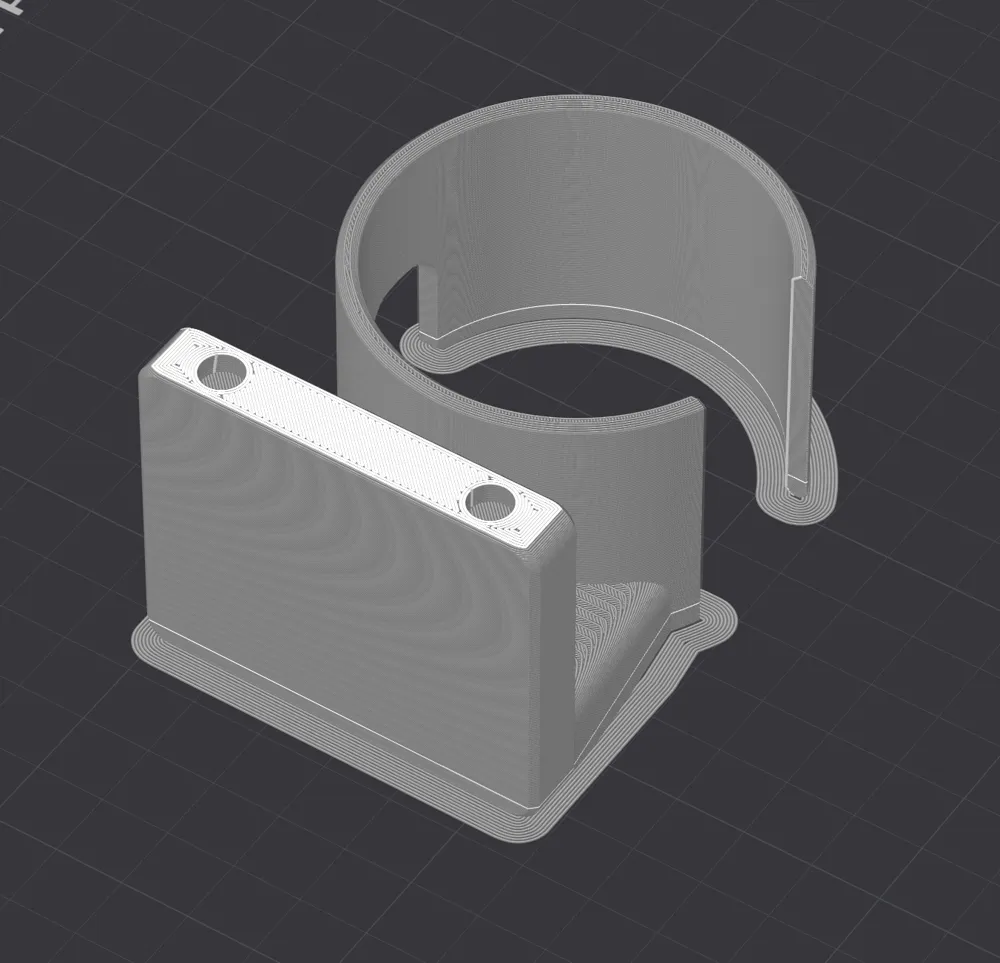
Print Profile(1)

0.2mm layer, 2 walls, 10% infill
Designer
3.8 h
3 plates
Open in Bambu Studio
Boost
1
3
0
0
2
2
Released
Bill of Materials
Maker's Supply Kits and Parts
Select all

Bambu Filaments
Select all

Description
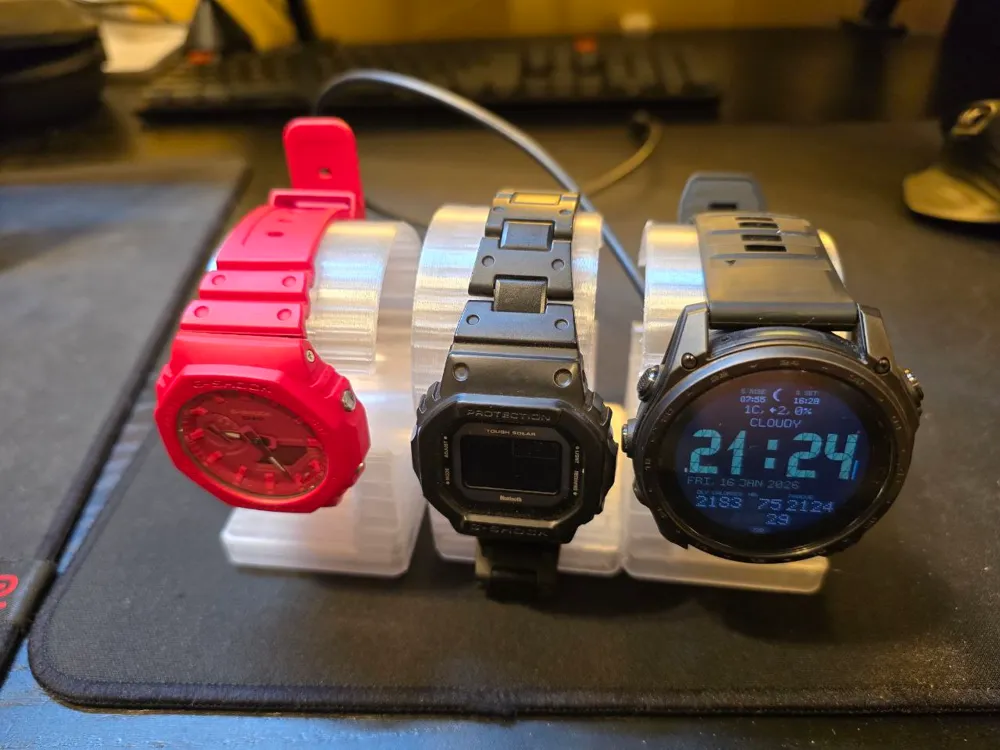
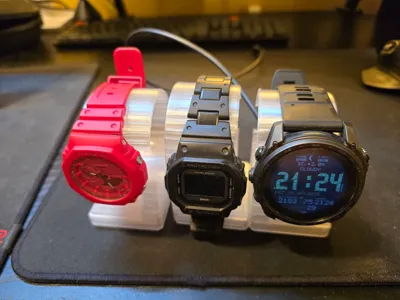
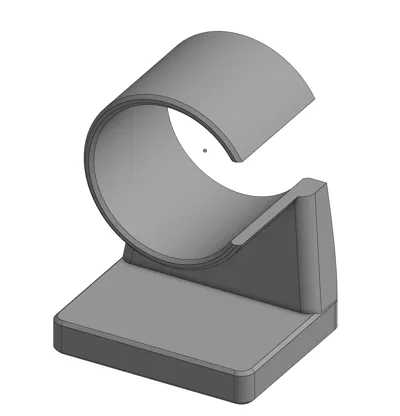
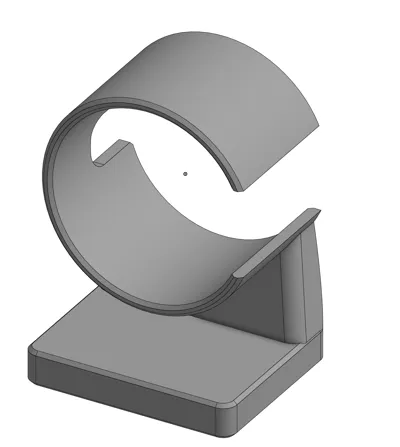
Keep your watch collection organized and elegantly displayed with this modular magnetic watch stand. Designed with a sleek, minimalist aesthetic, these stands can be used individually or snapped together to create a seamless multi-watch display.
The integrated magnet system allows you to add or remove stands from your "watch wall" easily, keeping everything perfectly aligned on your desk or shelf.
Main Features:
- Modular Design: Side-mounted magnets allow you to connect multiple stands together.
- Three Specialized Versions:
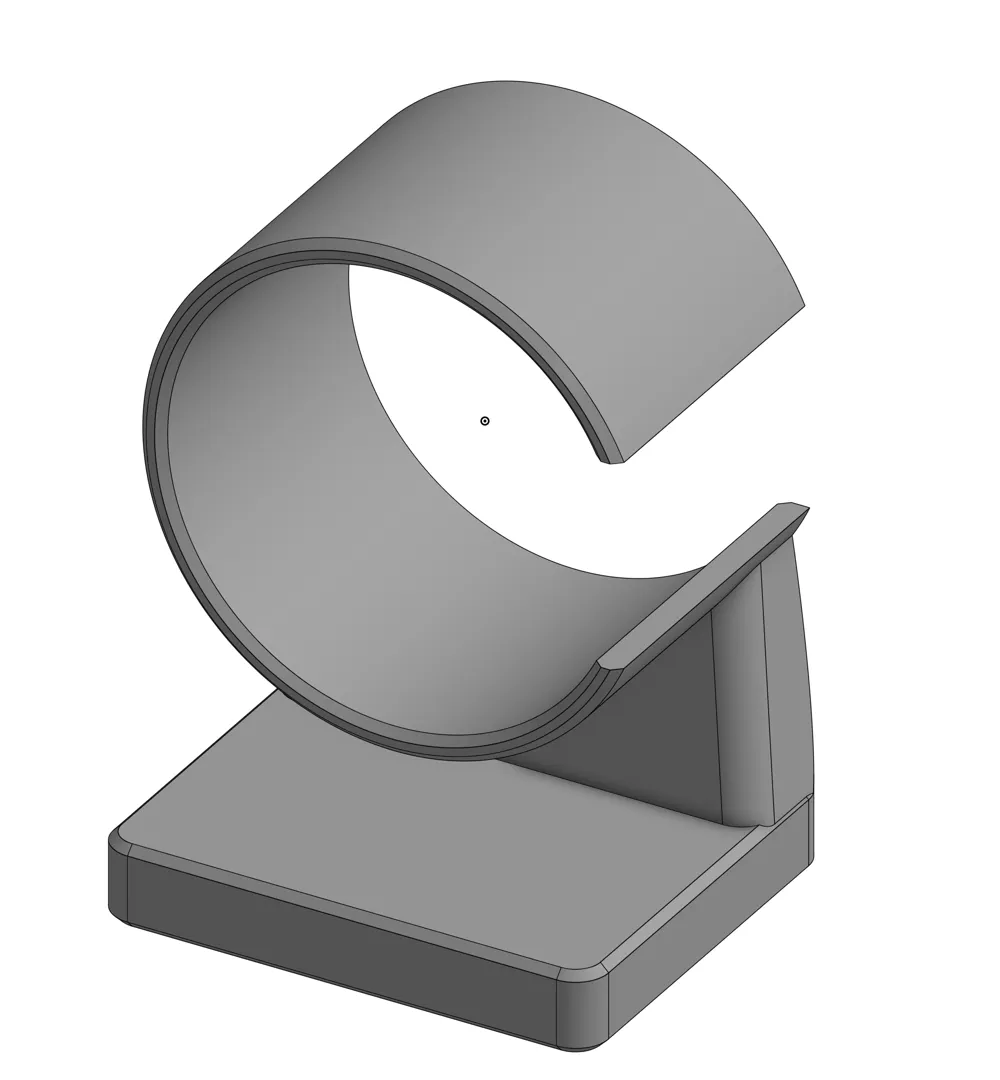
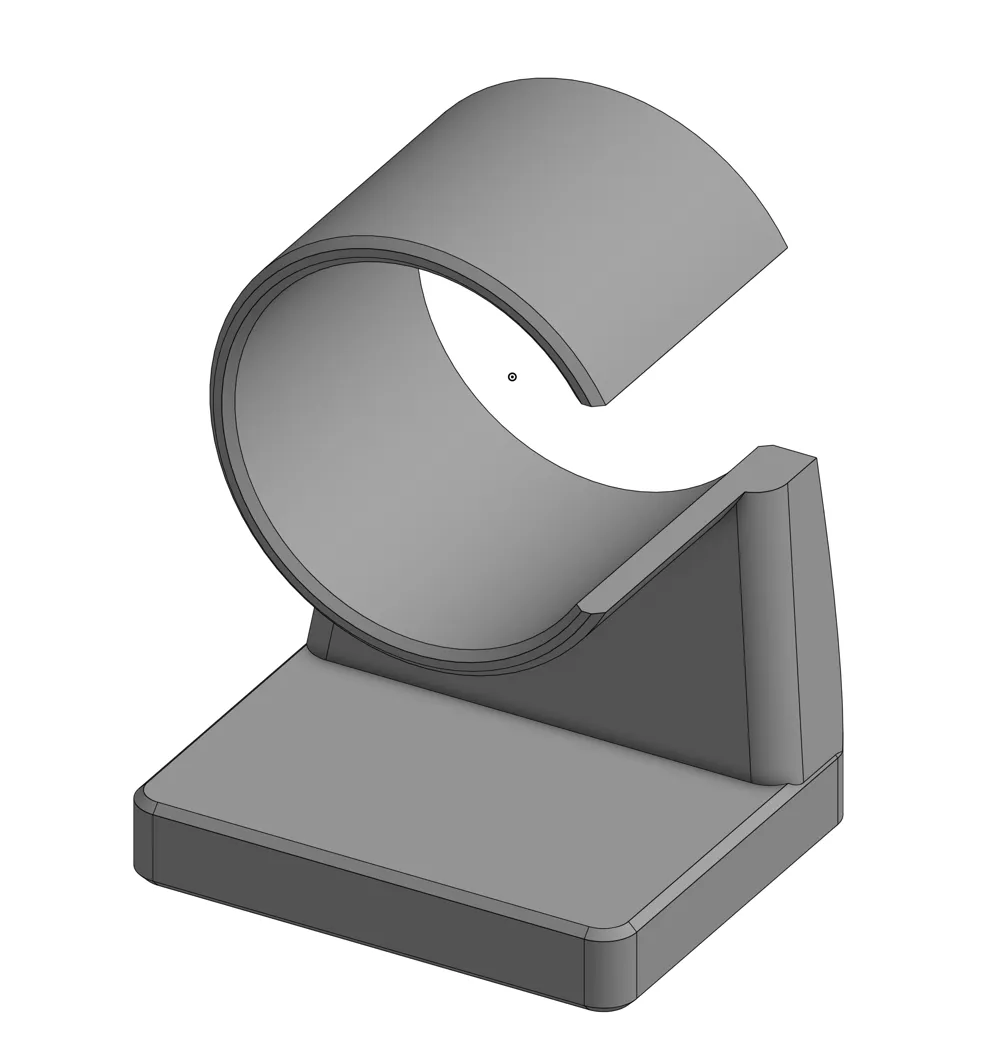
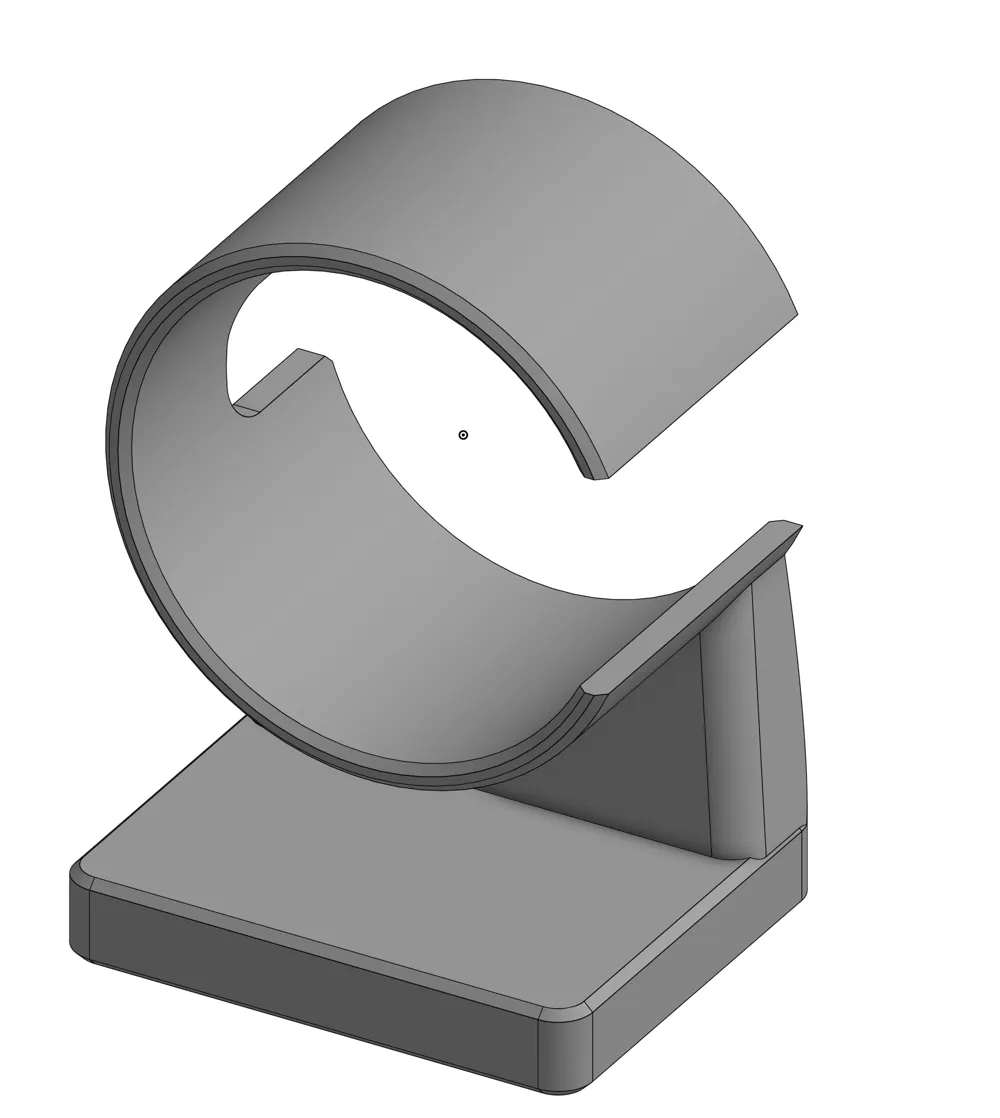
- Standard: Perfect for watches with standard-length straps.
- Short: Optimized for smaller wrists or shorter straps/bracelets.
- Sport/Large: Specifically designed for "heavy hitters" like the Garmin Tactix or Fenix series, ensuring a secure fit for larger cases and rugged straps.
- Stability: A wide base ensures the stand won't tip over, even with heavier timepieces.
Hardware Needed:
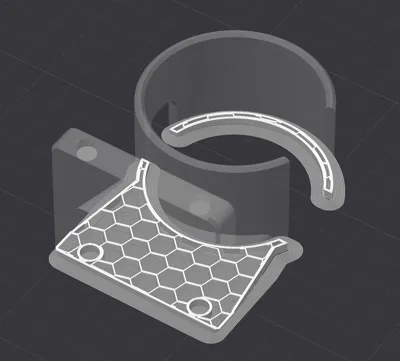
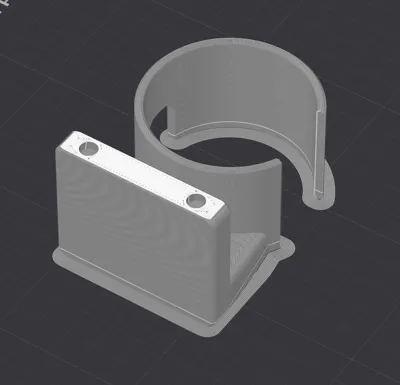
- Magnets: 4x Round Neodymium Magnets per stand (2 for each side).
- Size: max 6mm Diameter x 2mm Thickness.
- Assembly: Simply press-fit or glue the magnets into the pre-modeled side holes. Tip: Make sure to check the polarity before gluing so the stands attract each other!
Print Settings:
- Material: PLA, PETG, or Matte PLA for a premium look.
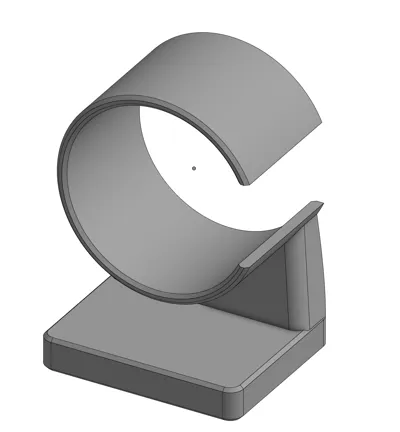
- Supports: Minimal supports might be needed for the overhanging "C" curve depending on your printer's bridging capabilities.
- Infill: 15-20% (Grid or Gyroid).
- Walls: 3 walls for better structural strength.
⚠️ Important: Magnet Polarity Warning
To ensure your watch stands connect correctly in a row, you must pay close attention to the magnet orientation during assembly:
- Consistency is Key: Before gluing, decide on a "North/South" direction for your stands. For example, ensure all magnets on the left side of every stand have the North pole facing out, and all magnets on the right side have the South pole facing out.
- The "Chain" Test: The best way to do this is to let two magnets snap together naturally. Mark the touching sides with a marker. Install one into the left hole and its partner into the right hole of the next stand.
- Dry Fit First: Always test the attraction between two printed parts before applying permanent glue. If they repel each other, simply flip the magnets in one of the parts.
If you follow the same polarity pattern for all your stands, you can mix and match the Standard, Short, and Garmin versions in any order!
License

This user content is licensed under a
Creative Commons Attribution-Noncommercial


Comment & Rating (0)