Harry Potter Honeydukes candy shop Book Nook


Print Profile(2)

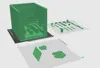
Bill of Materials


Description
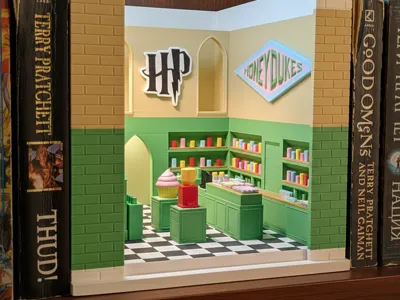
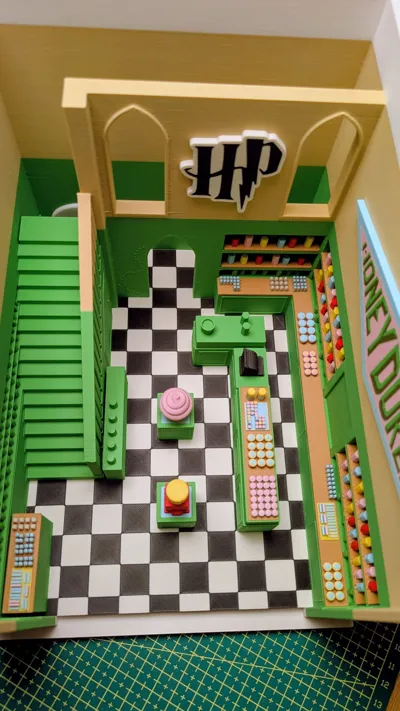
Honeydukes Candy Shop Book Nook
🛠️ Key Features
- Original design inspired by Honeydukes from Harry Potter
- Easy to print & assemble – beginner-friendly layout
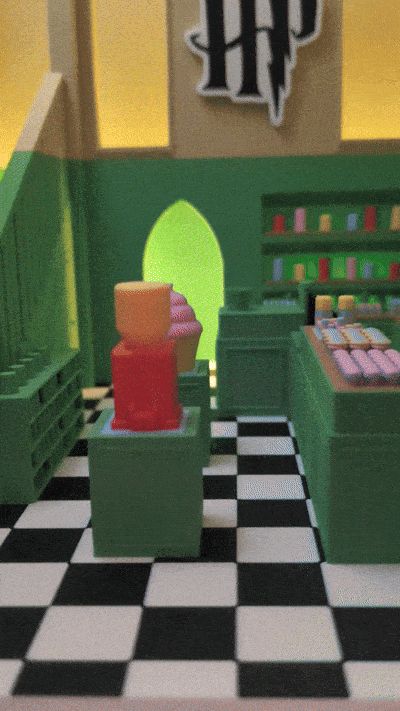
- Vibrant colors and playful candy shop details
- Compact book nook format – fits standard shelves
Perfect for fans, collectors, and gift makers
The design and profile are fully AMS‑optimized, ensuring smooth multicolor printing with minimal color changes to keep your workflow efficient. All components are arranged across six well‑organized plates, some of which use print‑by‑object optimization to reduce filament waste and shorten print time without sacrificing detail.
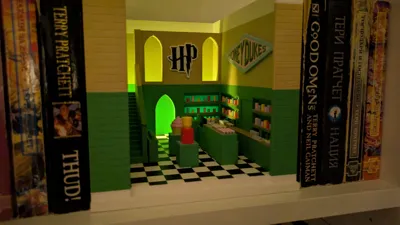
The back panel includes built‑in slots for two standard LED tea lights, creating a warm, cozy glow that brings the entire Honeydukes scene to life once assembled. Thoughtfully engineered tolerances make the assembly process straightforward, even for beginners, while still delivering a polished, display‑ready finish.
📘 Assembly Guide Included
To make your build experience as enjoyable as the final display, a full step‑by‑step assembly guide is included below. The guide walks you through every stage of the process with clear visuals and concise instructions, ensuring a smooth and stress‑free build from start to finish.
Inside the guide, you’ll find:
- A simple bill of materials with simple, accessible tools
- Exploded views of all parts for easy identification
- Detailed steps for removing supports, gluing shelves, and placing decorations
- Clear instructions for installing the LED tea lights in the built‑in rear slots
- Visual references showing before/after stages for each major step
A final layout showing how everything fits together into a polished, glowing book nook
The guide is designed to be beginner‑friendly while still offering the precision and clarity experienced makers appreciate. With an estimated assembly time of ~30 minutes, you’ll have your Honeydukes display ready to shine in no time.
____________________________________________________________
☕ If you like my designs, you can Buy Me a Coffee or
Boost Me (for free)
⚡ Check out my stash of coaster designs with holder.
🔧 For best resuts I also created Ironing Calibration Test .

Documentation (1)
License
You shall not share, sub-license, sell, rent, host, transfer, or distribute in any way the digital or 3D printed versions of this object, nor any other derivative work of this object in its digital or physical format (including - but not limited to - remixes of this object, and hosting on other digital platforms). The objects may not be used without permission in any way whatsoever in which you charge money, or collect fees.
Comment & Rating (0)