Logitech G502 Wireless Mouse - Travel Case


Print Profile(4)


Description
Description
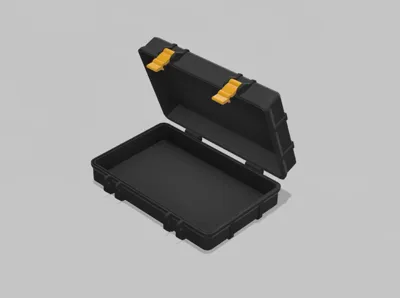
This print was created using the Rugged Box (Parametric) design by @Whity (thank you!).
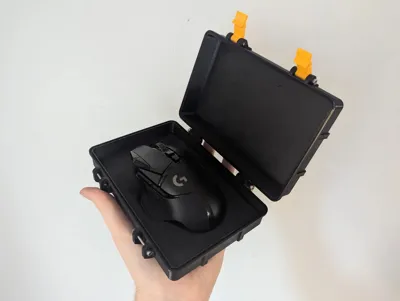
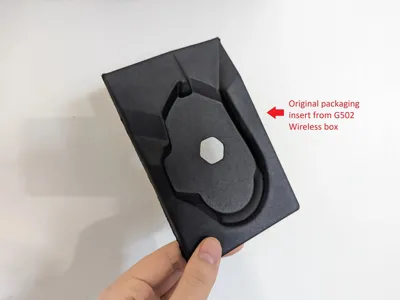
Designed for the Logitech G502 Lightspeed Wireless Mouse and to be fitted with the molded cardboard insert from the original box's packaging (see photos).
You can print a standard or an extended version. The extended has room for the insert to fold out and add more storage underneath for the mouse weights. I opted to print the standard version, trimming the insert's tabs since I don't use the weights and I prefer a slimmer case.
Note: I have not tested the extended version for fitment. If you do print this, let me know your feedback.
Update (2025-01-16): New Print Profiles for Bambu Lab Printers
I have finally updated this project with appropriate 3MF print profiles for Bambu printers now that I have one of my own. Use the AMS or Non-AMS print profiles as you please! The logo and lid will now be aligned.
If using the non-AMS, you simply need to print Plate 1 (logo) in your colour of choice, then without removing the print, change the material on the printer to your lid colour and begin printing Plate 2 (lid) directly on top. The process will fuse the two together on the build plate, just be sure to use the same material type for both (i.e. PLA + PLA or PETG + PETG).

Print settings
Layer height: 0.2 mm
Walls: 2-3
Infill: 15%
Z-hop: 0.2mm (only for Lid_Logo.stl)
Optional to print the Seal file attached in the STLs, if you do, print this in flexible TPU.
Hardware
6 x M3x20mm screws
I'd suggest button or socket hex screws. Avoid using countersunk screws, as this can break the screw-holes (unless you modify the model).
You can re-use the foam pad from the original box packaging to protect the top of the mouse from the inside of the lid as an option for more protection.
Working file
I've included the parametric f3D file for the standard size if you wish to modify screw size, height, hinge width tolerances, etc.
Standard combined inner height = 45mm
Extended combined inner height = 65mm
To change parameters in Fusion 360, go to Modify > Change Parameters
Boost Me (for free)
I appreciate you taking the time to explore my work. Boosts, likes, and follows help me share even more designs with the community!
Explore more work by Loform Studio:


Comment & Rating (49)