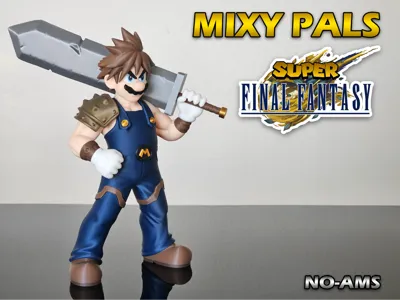
Mario Strife ( Mario Bros. + Final Fantasy) No AMS


Print Profile(1)

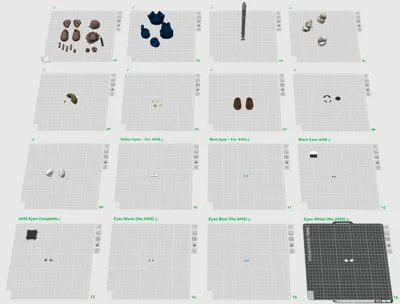
Bill of Materials


Description
Please Note: If you would like to sell printed versions of this model, you will need to subscribe to Playco3D’s Patreon for now in order to receive commercial rights. www.patreon.com/playco3d
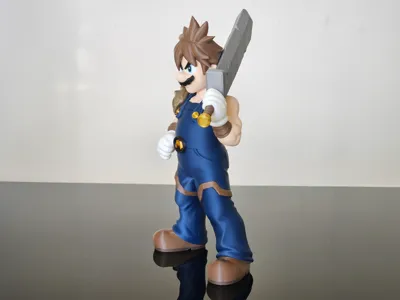
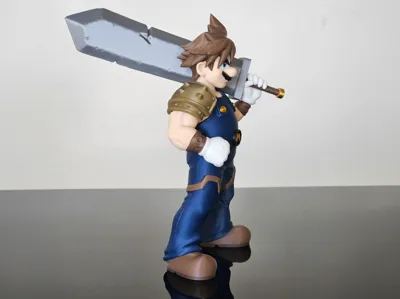
Meet Mario Strife, a bold crossover bringing Mario and Cloud Strife together in one epic 3D print. Featuring Mario’s iconic look fused with Cloud’s battle ready style, this model is packed with attitude and hero energy. A fun, eye catching print for fans of classic games, RPGs, and creative mashups.
Dimensions:
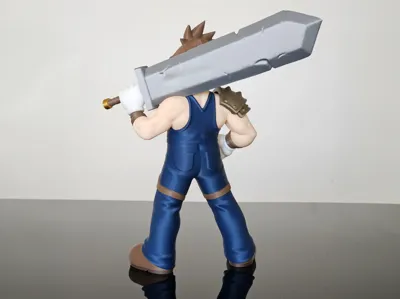
At 100% scale, Mario stands approximately 9.5 inches (241 mm) tall and 5.25 inches (133mm) to the back of his sword
Scaling up should work without any issues. If you scale down, remember that the tolerances will get smaller and some parts may be harder to assemble.
Colors Used:
- Bambu Basic: Black, White, Cocoa Brown, Bronze, Silver
- Bambu Matte: Dark Brown, Sky Blue, Dark Blue
- Geetech: Gold
- Esun PLA+: Beige (For Skin Tone)
Assembly Tips:
• Slide the handle into the hand, making sure the grooves face outward as shown in the reference image. Insert the handle into the sword, ensuring the sword is oriented correctly use the pic as reference. Once the handle is fully seated in the sword, press Mario’s hand up until it touches the sword. Finish by attaching the sword base.


• Attach the Shoulder Pad after the right arm is attached.
• Insert the eyes first before attaching the eyebrows. Make sure to attach the correct Left and Right.

Assembly Steps:
- Attach the boots and soles together.
- Attach the legs to the boots, then add the leg straps, and connect everything to the upper pants.
- Attach the upper body to the lower body using the pin.
- Attach the M emblem to his waist, making sure it is aligned correctly.
- Attach the buttons.
- Attach the left and right arms, then add the wrist straps to both sides and attach the right hand. Do not attach the left hand yet.
- Attach the shoulder pad to the arm using the pin
- Build the face by attaching the mustache, choosing which eyes (AMS or NO AMS) insert the eyes, then attach the eyebrows after. Be careful, as the left and right eyebrows can be swapped. If installed incorrectly, the hair will not fit properly.
- Note: When building the non-AMS eyes, the parts are very small. Tweezers will help with handling the smaller pieces.
- The full AMS eyes may fit slightly differently and can show a very small gap due to the printed angle versus a flat print. In my opinion, if you don’t mind working with small parts, the AMS dot version fits the best. The Mario photo shown uses the AMS dot version.
- Glue the hair pieces together and attach them to the head.
- Build the left hand with the sword connected as shown in the pictures above.
- Place the left hand and sword onto the body and test fit the alignment. Make sure the sword mid section is touching the top of his hand and the handle is fully inserted into the sword.
- Once you are satisfied with the placement, the sword should sit flat against the hair, ear, and arm. Glue all these parts together to complete the build.
That’s everything—Mario Strife is ready to join your collection. Thank you so much for printing this model and supporting MixyPals and Playco3D. I’d love to see your finished print, so be sure to share your photos! More fun mashups are on the way!
License
You shall not share, sub-license, sell, rent, host, transfer, or distribute in any way the digital or 3D printed versions of this object, nor any other derivative work of this object in its digital or physical format (including - but not limited to - remixes of this object, and hosting on other digital platforms). The objects may not be used without permission in any way whatsoever in which you charge money, or collect fees.
Comment & Rating (55)