Inspectable Waste Chute – Series P / X / H2


Print Profile(4)


Description
This chute mounts on these printers: P1P, P1S, P2S, X1C,X2D,H2D, H2S,H2C
I reviewed it on 27/01/2026 gg/mm/aaaa
Modified all the profiles and added the MAX container
I reviewed it on 04/02/2026 gg/mm/aaaa
- Modified all the profiles and added the SMALL container
I reviewed it on 26/05/2026 gg/mm/aaaa
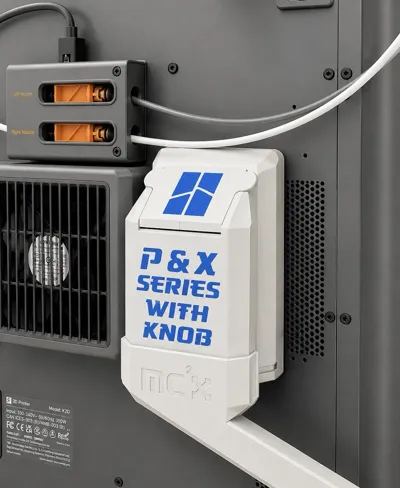
- Components also for P & X series with fan
The optional components are marked on the plate

What are this slide’s strengths?
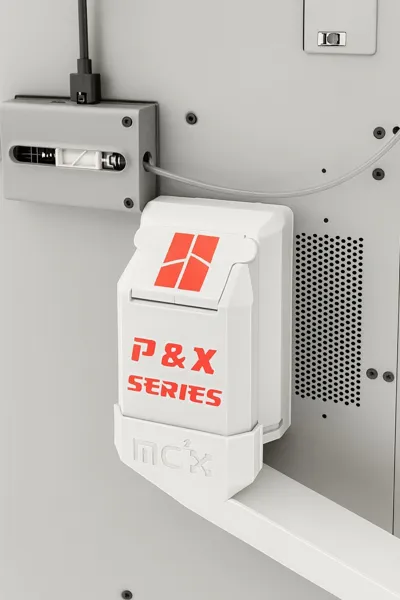
It’s quick to remove and stays compact. It doesn’t use locking joints, but guides that allow it to slide
-The nice thing is that I can remove it with my eyes closed. If the printer is placed close to a wall, this feature becomes essential
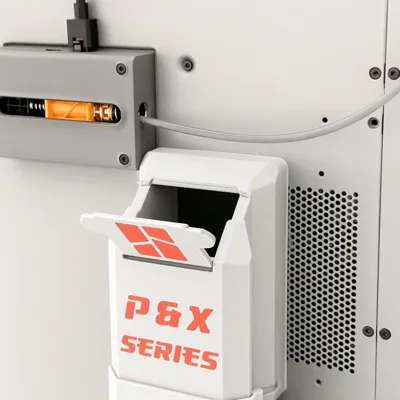
- It features a wide inspection opening that allows you to easily check whether the printer’s chute is clean
- If one day you decide to change the setup, switching from the side chute to the central one, you can do it with a single click
- You don’t need to worry if you’ve installed dampers on your printer; this slide is designed to fit all configuration types
Which printers can it be used on?
On the P series, the X series, and all H2 models.
To make it usable on all printers, I created three separate projects, but for your convenience I’m uploading it as a single project. Inside, you’ll find the various STL and 3MF files already organized.
Project:
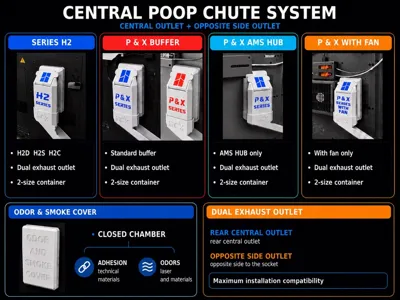
This chute is designed to be easy to install and remove for maintenance. It also features an on‑site printed window that allows you to see inside the chute. The components slide into each other, making removal very simple. Two versions are available: a side chute and a central chute, both easy to interchange.
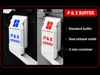
For the P (P1S, P2S) and X series, two configurations are available:
- If you don’t have an AMS, or you only have one, download the “With Buffer+Optional.3mf” file.

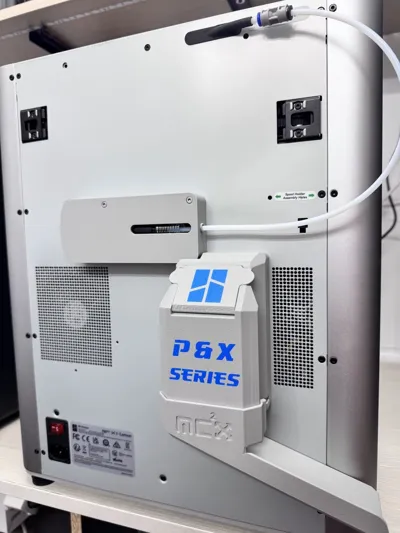
If you use multiple AMS units, you’ll have the Hub mounted on the back: in this case, download the “With AMS Hub+Optional.3mf” file.
This file includes slots that allow the assembly to be released without obstructing the system.

For the H2 series, there is a single configuration available, compatible with H2D, H2S, and H2C.

They all use two operating modes: the side chute and the central duct.
Thanks to the shape and the dedicated recess, the chute installs with a simple click. Below you’ll find the images of the two configurations.
1: Lateral configuration with the container positioned on the side of the printer

2: Central configuration with the waste container positioned behind the printer

Features:
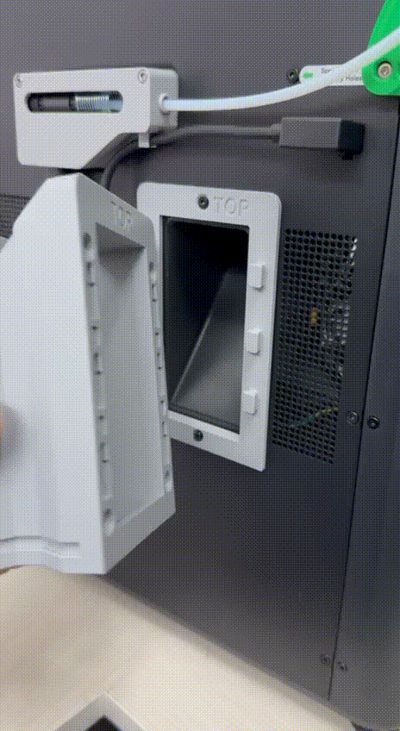
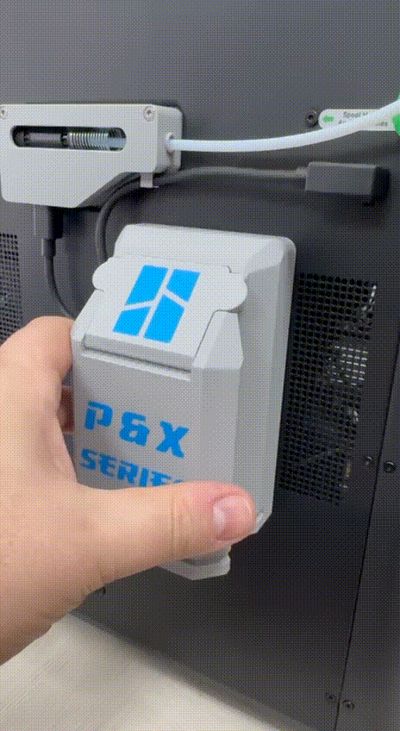
Fast assembly and disassembly: the small door closes with a click, and you can perform this operation even with the slide installed

The slide is also quick to install: you just need to align it with its slot. Additionally, as shown in the GIF, you can make the process easier by slightly lifting the tab

One feature not to overlook is the cover, which allows you to close the chamber. This is useful, for example, when printing challenging materials or when the laser is in use

Assembly Instructions:
Happy printing! If you enjoyed this project, follow me for more.
See you next time on MC2project3D
License
You may create derivative works based on this object, provided that all such derivative works are published exclusively on the MakerWorld platform and include proper attribution to the original creator. You may not share, upload, host, distribute, or publish this object—or any derivative work of this object—on any other digital platform, marketplace, or distribution channel. Commercial use of this object and any derivative works is strictly prohibited. This includes, but is not limited to, selling, renting, sublicensing, or using the object in any context in which you receive monetary compensation or other financial benefits.
Comment & Rating (358)