


Print Profile(2)


Description
Boost Me (for free)
Give me a boost too, I only make things for myself or for friends and offer them to you. Thanks
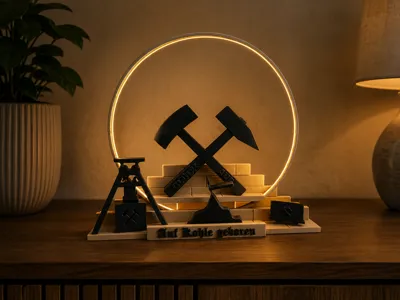
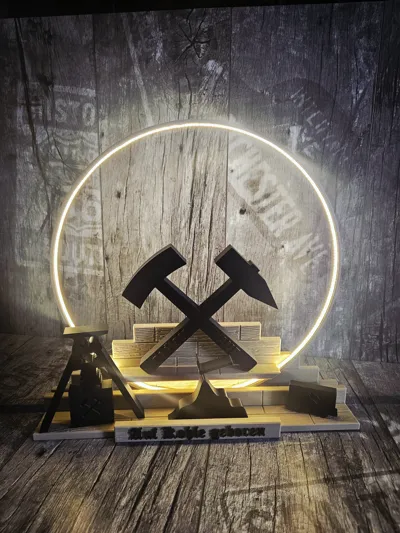
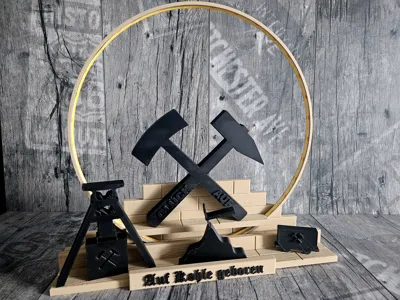
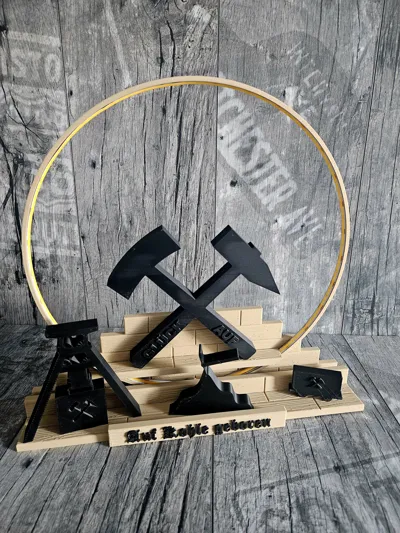
Illuminated Decorative Arch – various themes
I have designed an illuminated decorative arch that can be used for various themes – for example:
- Easter
- Birthday
- Christmas
- Mining
- and other themes that will be added gradually.
The themed objects can be easily exchanged, making the decorative arch versatile and reusable.
Already Available Themes
Theme "Easter"
Theme "Birthday"
Notes on the Themed Objects
I recommend for the individual themed objects:
- to fix them with double-sided tape
- or alternatively to scale them to 20 mm width so that they stand more stably
Currently all objects are 10 mm wide.
The front shield should also not be permanently glued, as it can be changed depending on the theme.
Materials Used
Printed with two different PLA wood filaments.
Additionally, the following were:
- back panel
- base plate
- and separator
provided with a wood grain to make the overall appearance more realistic.
The objects themselves were printed in:
- PLA Matte Black
LED Lighting
Installed were:
- 1 meter LED strip
- battery operated with 3x AA batteries
Used LED Strips
Temu
Amazon
Recommended Assembly Procedure
- Glue the base plate with the separator
- Thread the LED strip through the back panel and glue it to the ring
- Glue the ring onto the recesses of the back panel and secure with clamps
- Glue the stand pedestal into the corresponding recess
- Glue the back panel and base together and secure them as well
- Finally, glue the battery compartment to the designated spot at the back
For assembly, I recommend 2–3 clamps for securing.
Print Variations
There is:
- a version for smaller printers, where:
- ring
- back panel
- and base are split
- as well as a version for larger printers like the Bambu Lab H2D, where everything can be printed in one piece
Print Recommendations
- Material: PLA recommended
- Layer height: 0.2 mm
- Supports: minimal to none needed
- Wood filament recommended for a particularly nice look
Note
Changes, ideas, or new theme suggestions can be sent to me via PM 😊
Have fun printing and decorating :-)
License
You may create derivative works based on this object, provided that all such derivative works are published exclusively on the MakerWorld platform and include proper attribution to the original creator. You may not share, upload, host, distribute, or publish this object—or any derivative work of this object—on any other digital platform, marketplace, or distribution channel. Commercial use of this object and any derivative works is strictly prohibited. This includes, but is not limited to, selling, renting, sublicensing, or using the object in any context in which you receive monetary compensation or other financial benefits.
Comment & Rating (19)