
1.3 Comp Spec Bead Lock Crawler Wheels (APEX)
Print Profile(2)


Description
Boost Me (for free)
Boosts let me know you enjoy my models. Thank you!
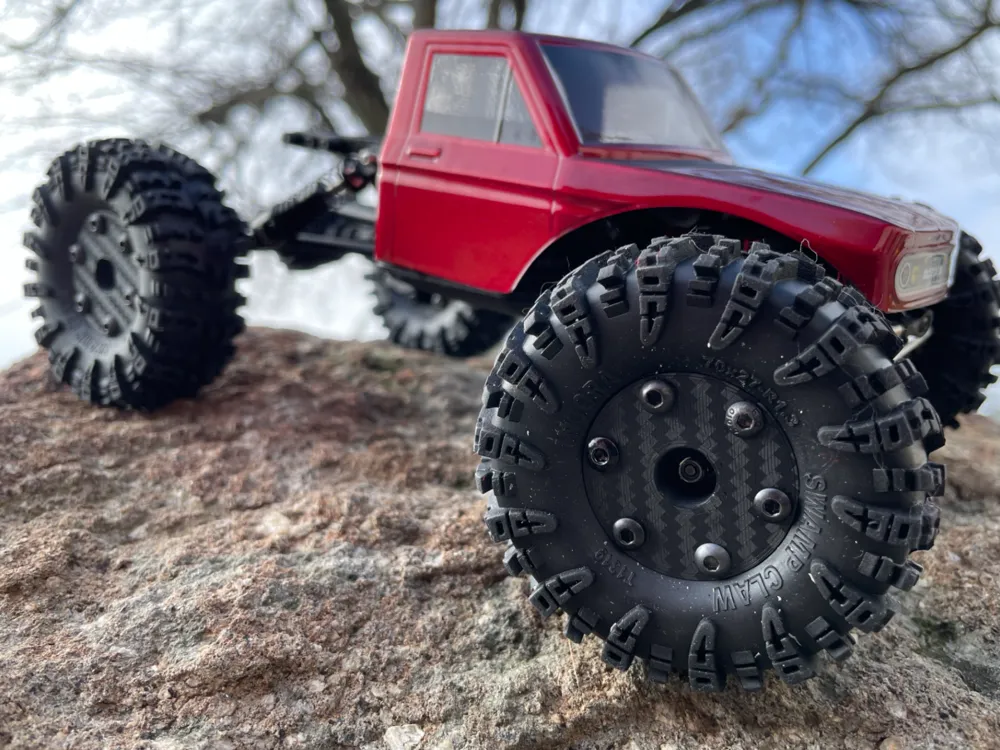
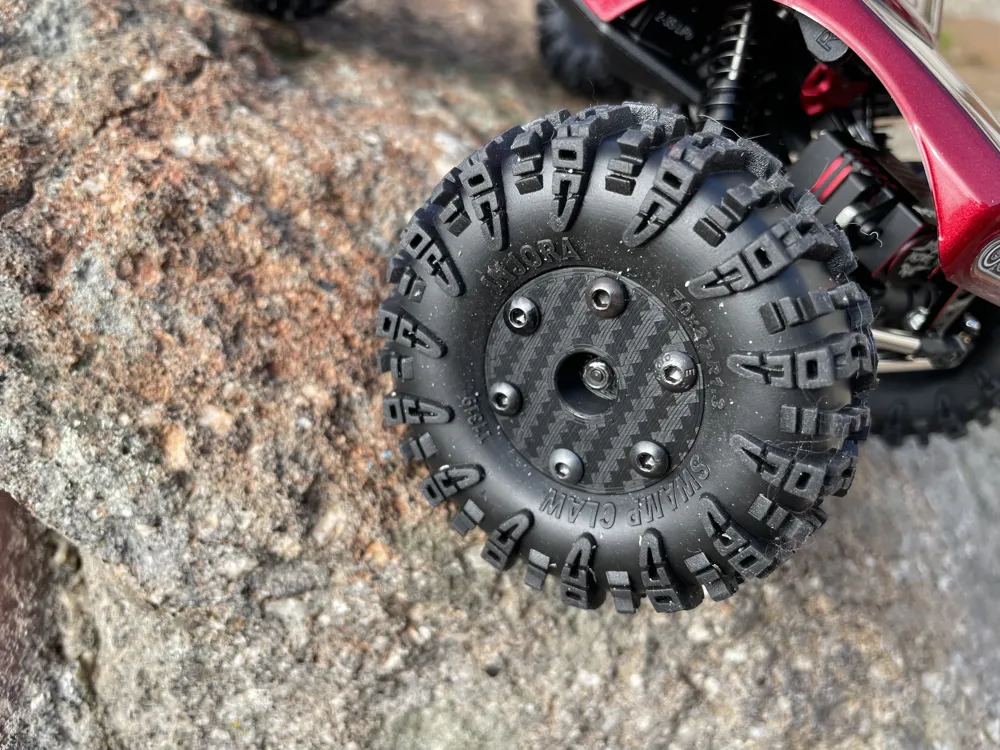
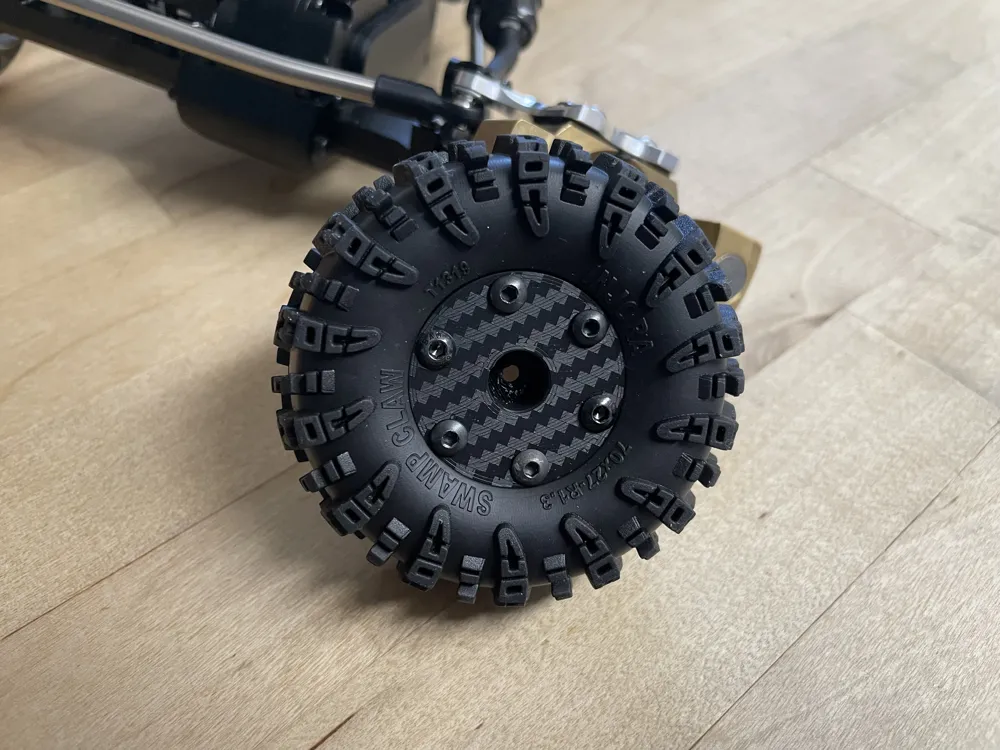
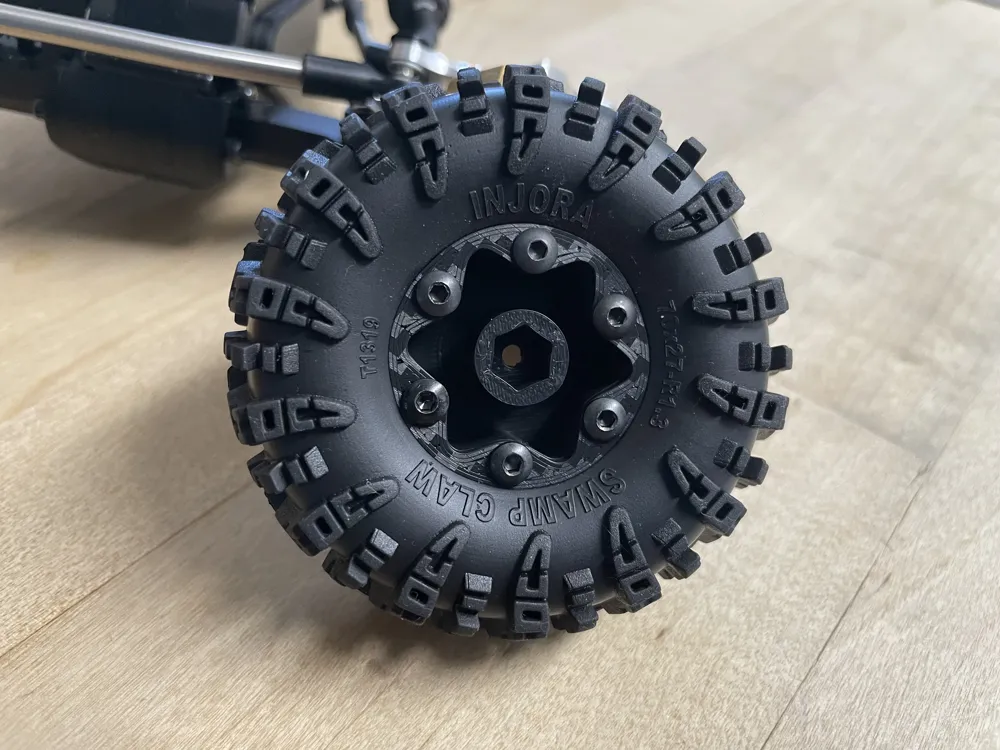
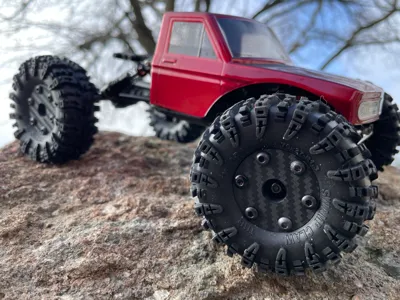
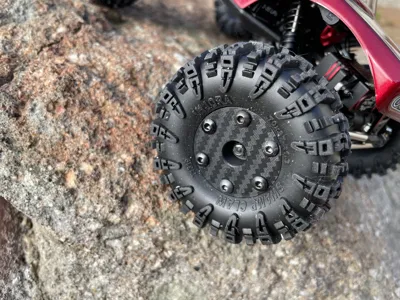
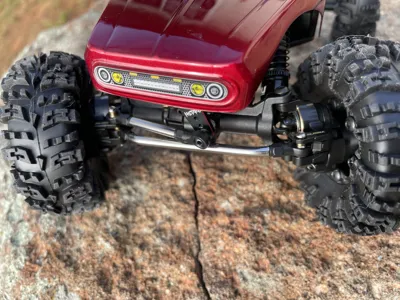
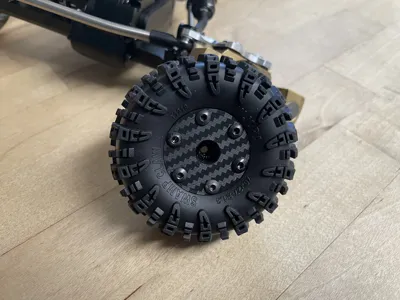
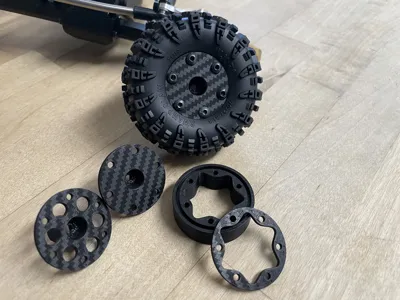
These are my 1.3 competition bead lock wheels. I designed these with the intention of creating a strong and aesthetically pleasing 3D printed bead lock wheel for 1.3 size tires.
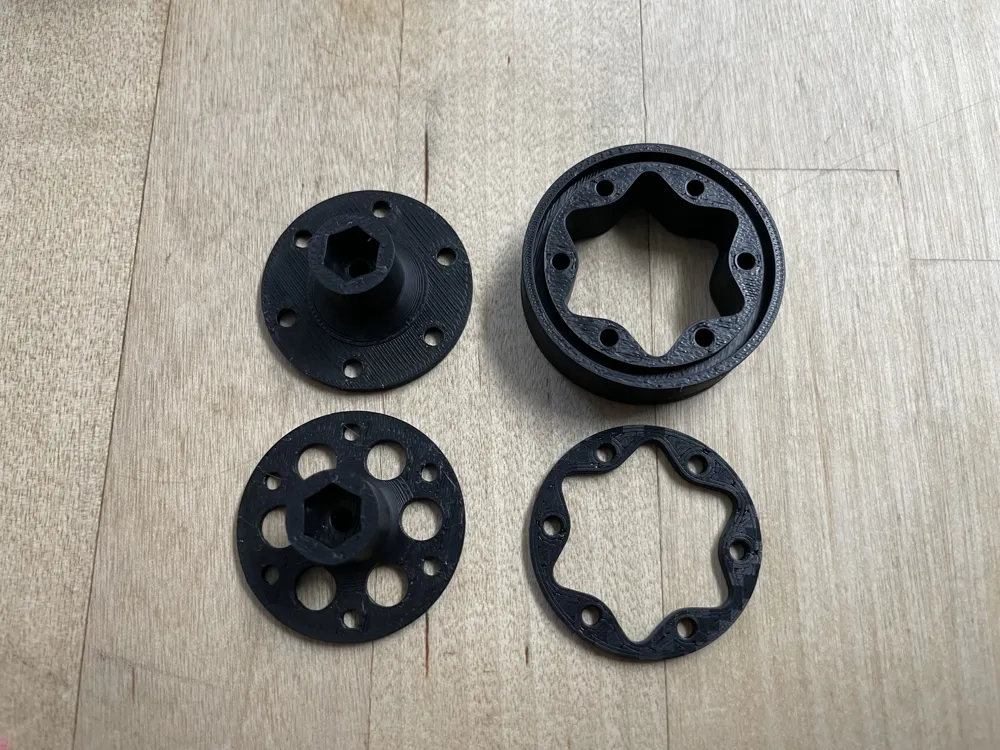
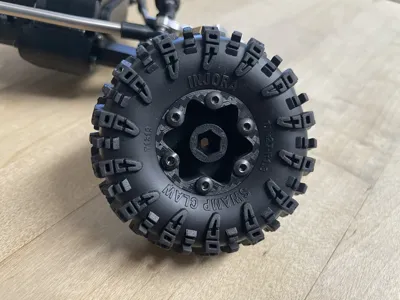
Note: The face integrates a 7mm hex hub. It was important during the design that the hex and face remain robust due to the small size factor. Furthermore, the use of M3 hardware allows for a solid complete wheel with exceptional bead clamping. Hub holes are deep and can be accessed with an RC lug wrench. Please be patient when installing on your vehicle.
Features:
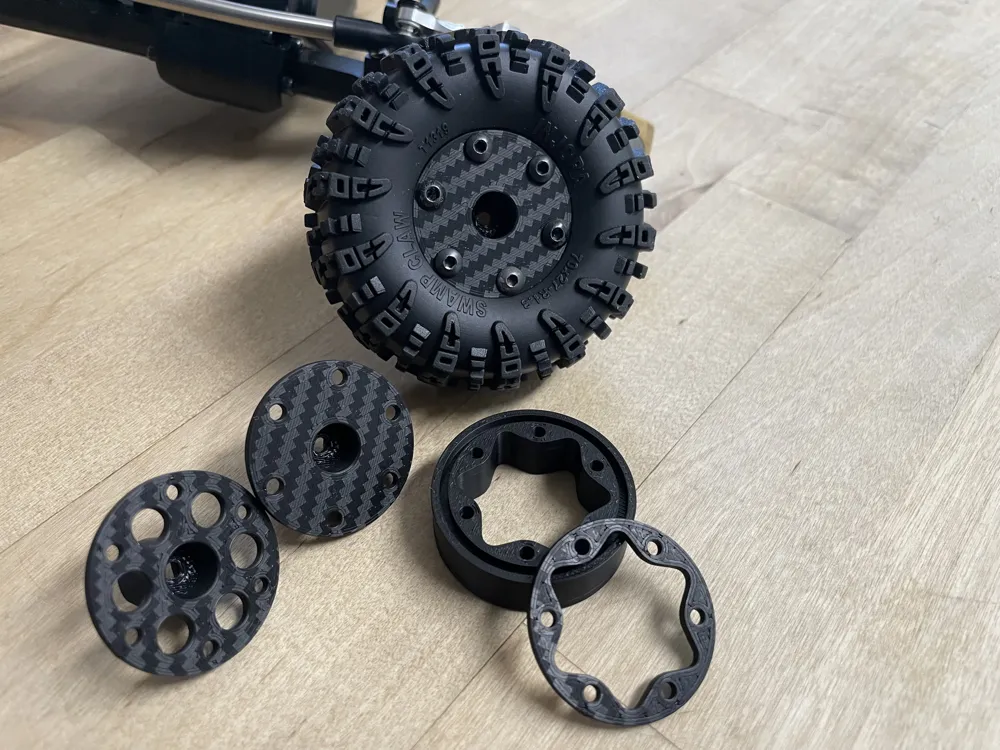
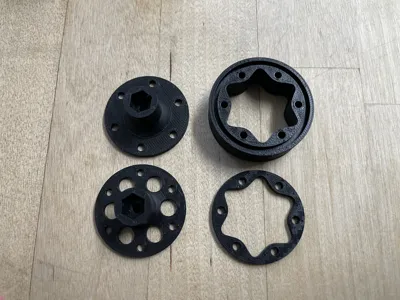
- Authentic 3 piece bead lock.
- Assembles with M3x6mm hardware.
- Extremely lightweight and strong.
- Deep bead lock groove to accept 1.3 size tire beads.
- Smooth inner bead lock barrel.
- Reinforced holes for strong bead clamping.
- 2 wheel faces available; Revolver and Comp.
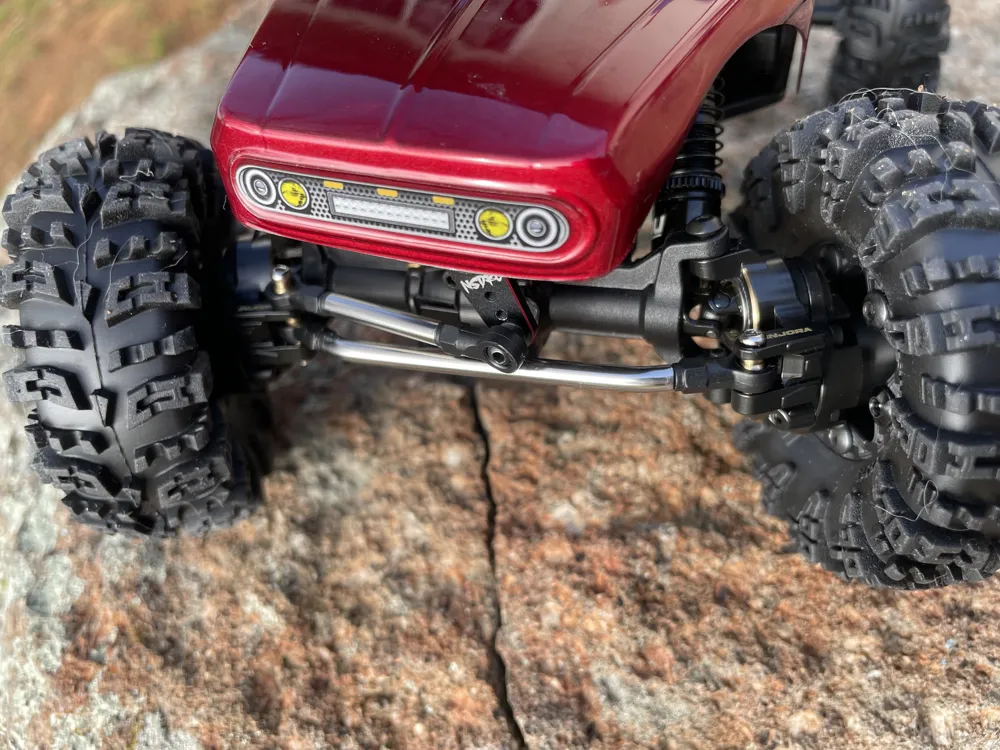
- Compatible with Injora brass knuckles and Redcat Apex heavy brass portal covers.
- Fully rebuildable
Recommendations:
- Plates are preset for a full set 4 wheels. Add/Delete items as needed.
- Everything is preset with brim/tree supports where needed.
- Textured plate is highly recommended for the bead lock bodies as smooth plates allow the model to lift and lose alignment.
- Faces can be printed on effect plates to give an optional look. i.e. carbon fiber, etc.
Installation: Due to the small size of the wheel I've included a couple installation instructions.
- Use a hex wrench to remove the tree supports from the hub area. Insert the hex into the center of the face where the hub hole is located and rotate 360 degrees a few times.
- When installing the tire into the bead groove, I find it easiest to install the face plate into the tire first. Try to line up the holes as best as possible.
This is a personal model/file and is not to be distributed or sold in any way without my written consent. Thank you and I hope you enjoy!
License

You shall not share, sub-license, sell, rent, host, transfer, or distribute in any way the digital or 3D printed versions of this object, nor any other derivative work of this object in its digital or physical format (including - but not limited to - remixes of this object, and hosting on other digital platforms). The objects may not be used without permission in any way whatsoever in which you charge money, or collect fees.


Comment & Rating (11)