
Grandfather Clock Book Nook
Print Profile(3)


Bill of Materials







Description
UPDATE - 02/07/26 - New profile added! No need for Clock Components Kit ! You can print this Clock without having the Kit if you like! Print the new piece:
Spacer_NO_KIT and you'll be able to assemble the Clock without the components from the kit! Enjoy!
Grandfather Clock Book Nook
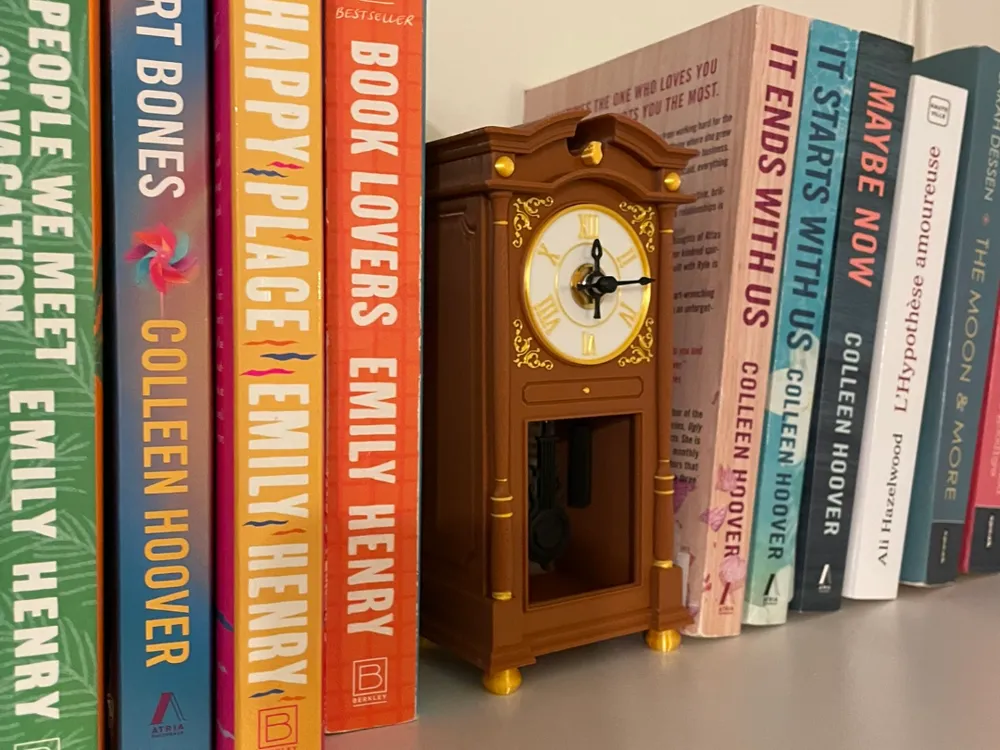
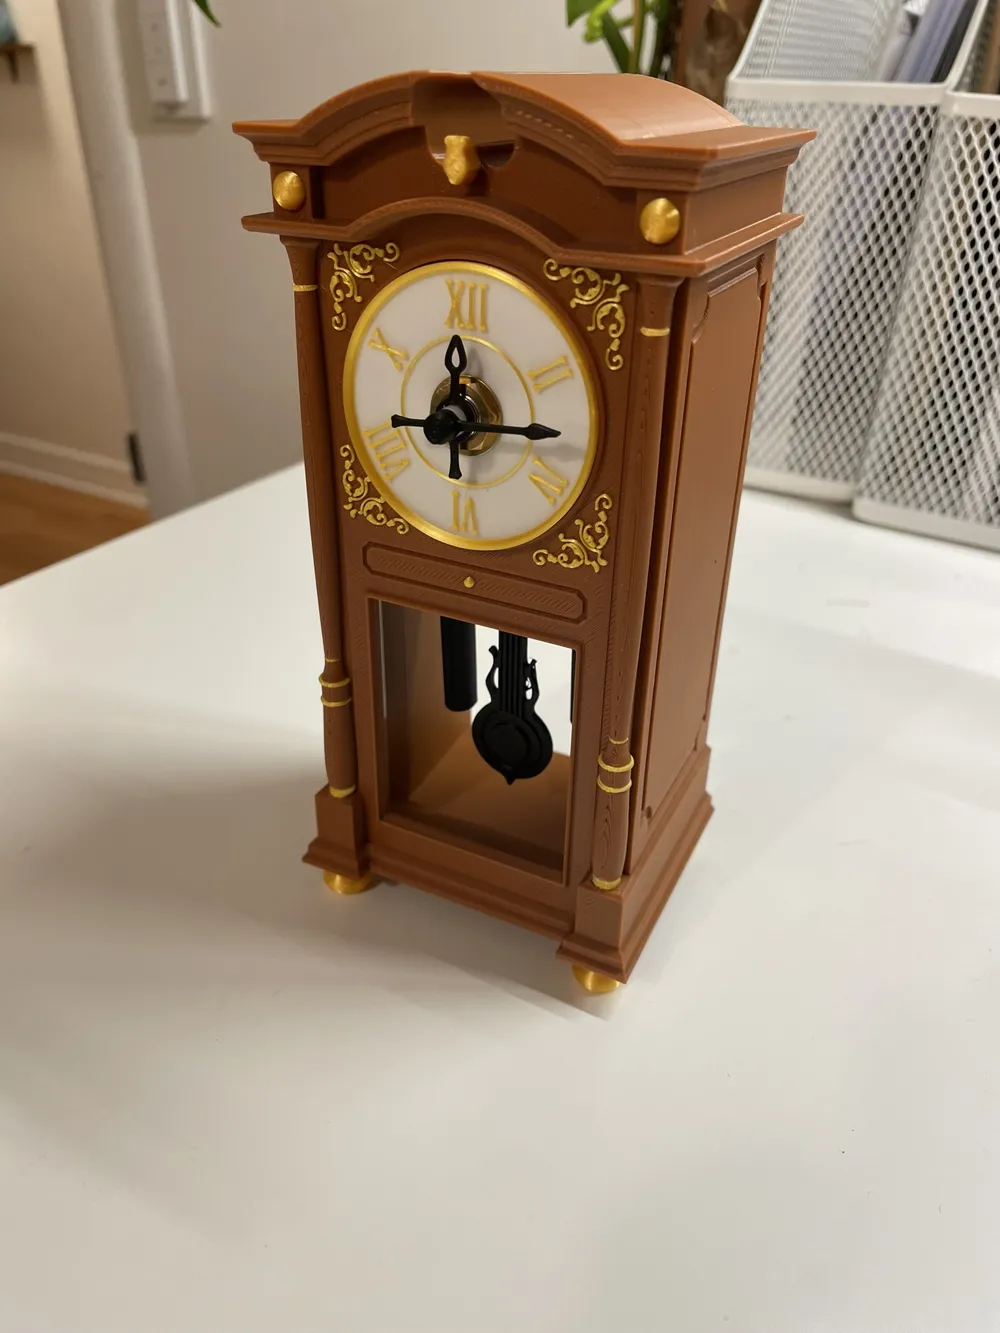
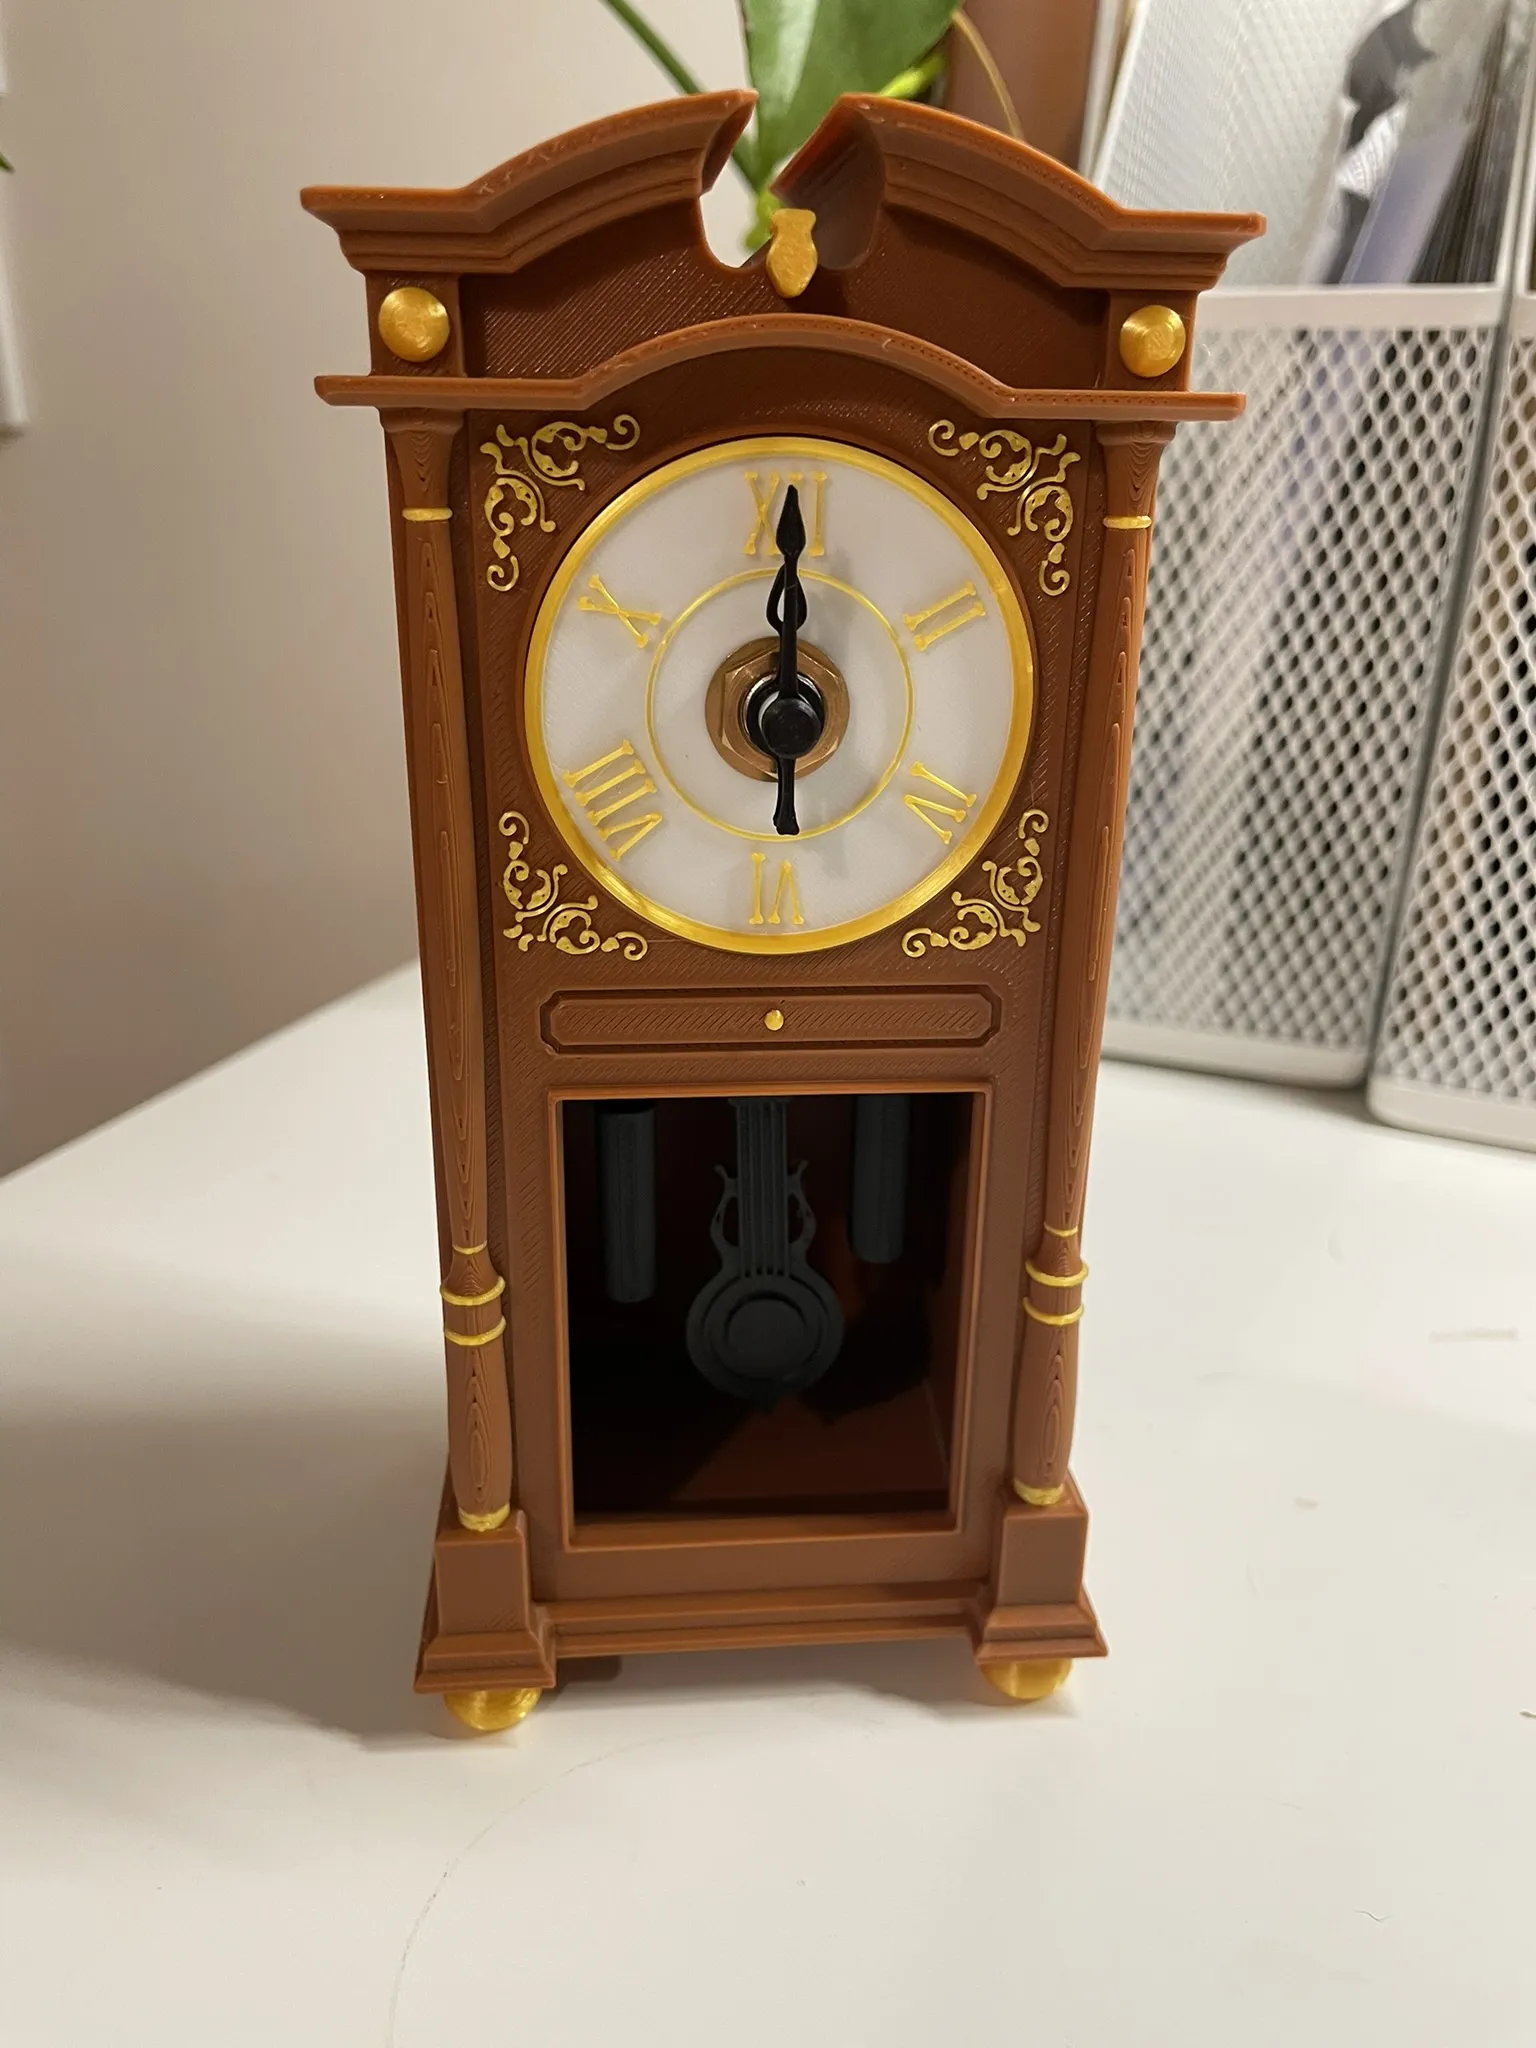
This functional grandfather clock is designed as both a working timepiece and an immersive book nook.
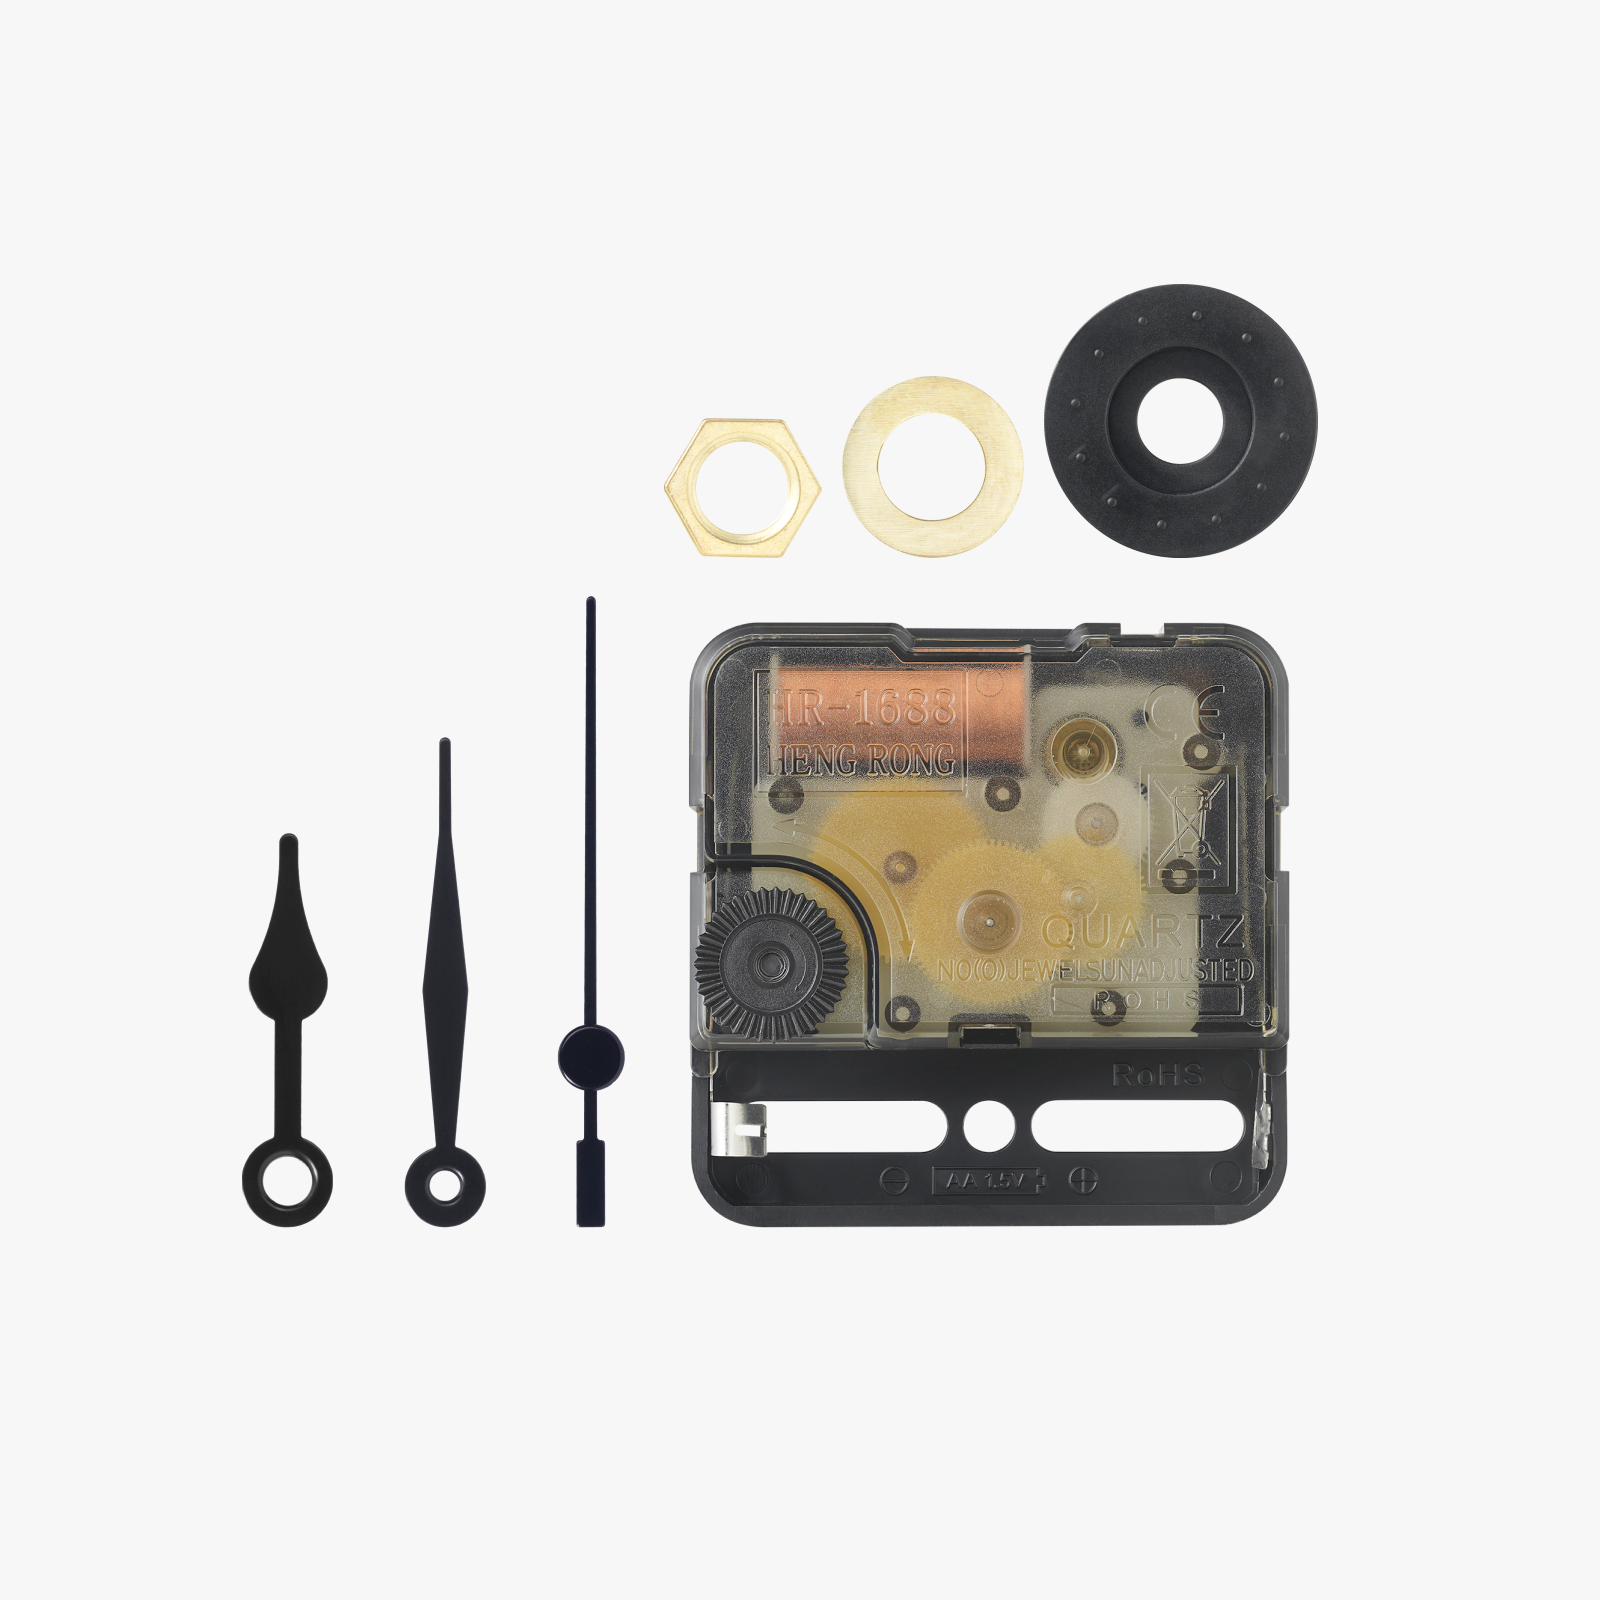
The design was created specifically to integrate the MakerWorld Clock Components Kit.
I aimed for a compact and cute design, so I focused to fitting the kit with the smallest foot print possible.
I tried my best to avoid or minimize the use of supports. However, the face that holds the clock components needed to be printed flat for proper alignment and thus, needing support.
However, it is easy to remove and this approach results in a cleaner finish on the front face.
Also, to reduce purge waste and improve print flexibility, most parts are separated into individual plates. This makes it easy to print the model in different color combinations without excessive filament waste.
As I was desiging this model, I realised that the 3D model I had for the Clock kit, didn't fully match the physical kit I had. So I designed the Clock Nook based on the kit I had. As a result, I based the final design on the actual kit in my possession. Since there may be slight variations between clock kits, I added an optional spacer that can be installed between the clock mechanism and the clock body. This helps ensure that the tip of the clock shaft is positioned at a consistent depth.
Note: The spacer is optional and may require slight height scaling to fit your specific kit properly.
There is also a optional back cover to hide the back if it's exposed.
Print Profiles:
The model is designed for straightforward printing. All parts are organized into separate plates, allowing for easy color customization and cleaner multi-color prints.
It is really important that you use Arachne wall generator to get all the small details.
Due to it's small size, the body prints under 7 hours with a total of less than 350g of filament.
As always, make sure bed is clean.
I also included a print profile at 125%.
Assembly:
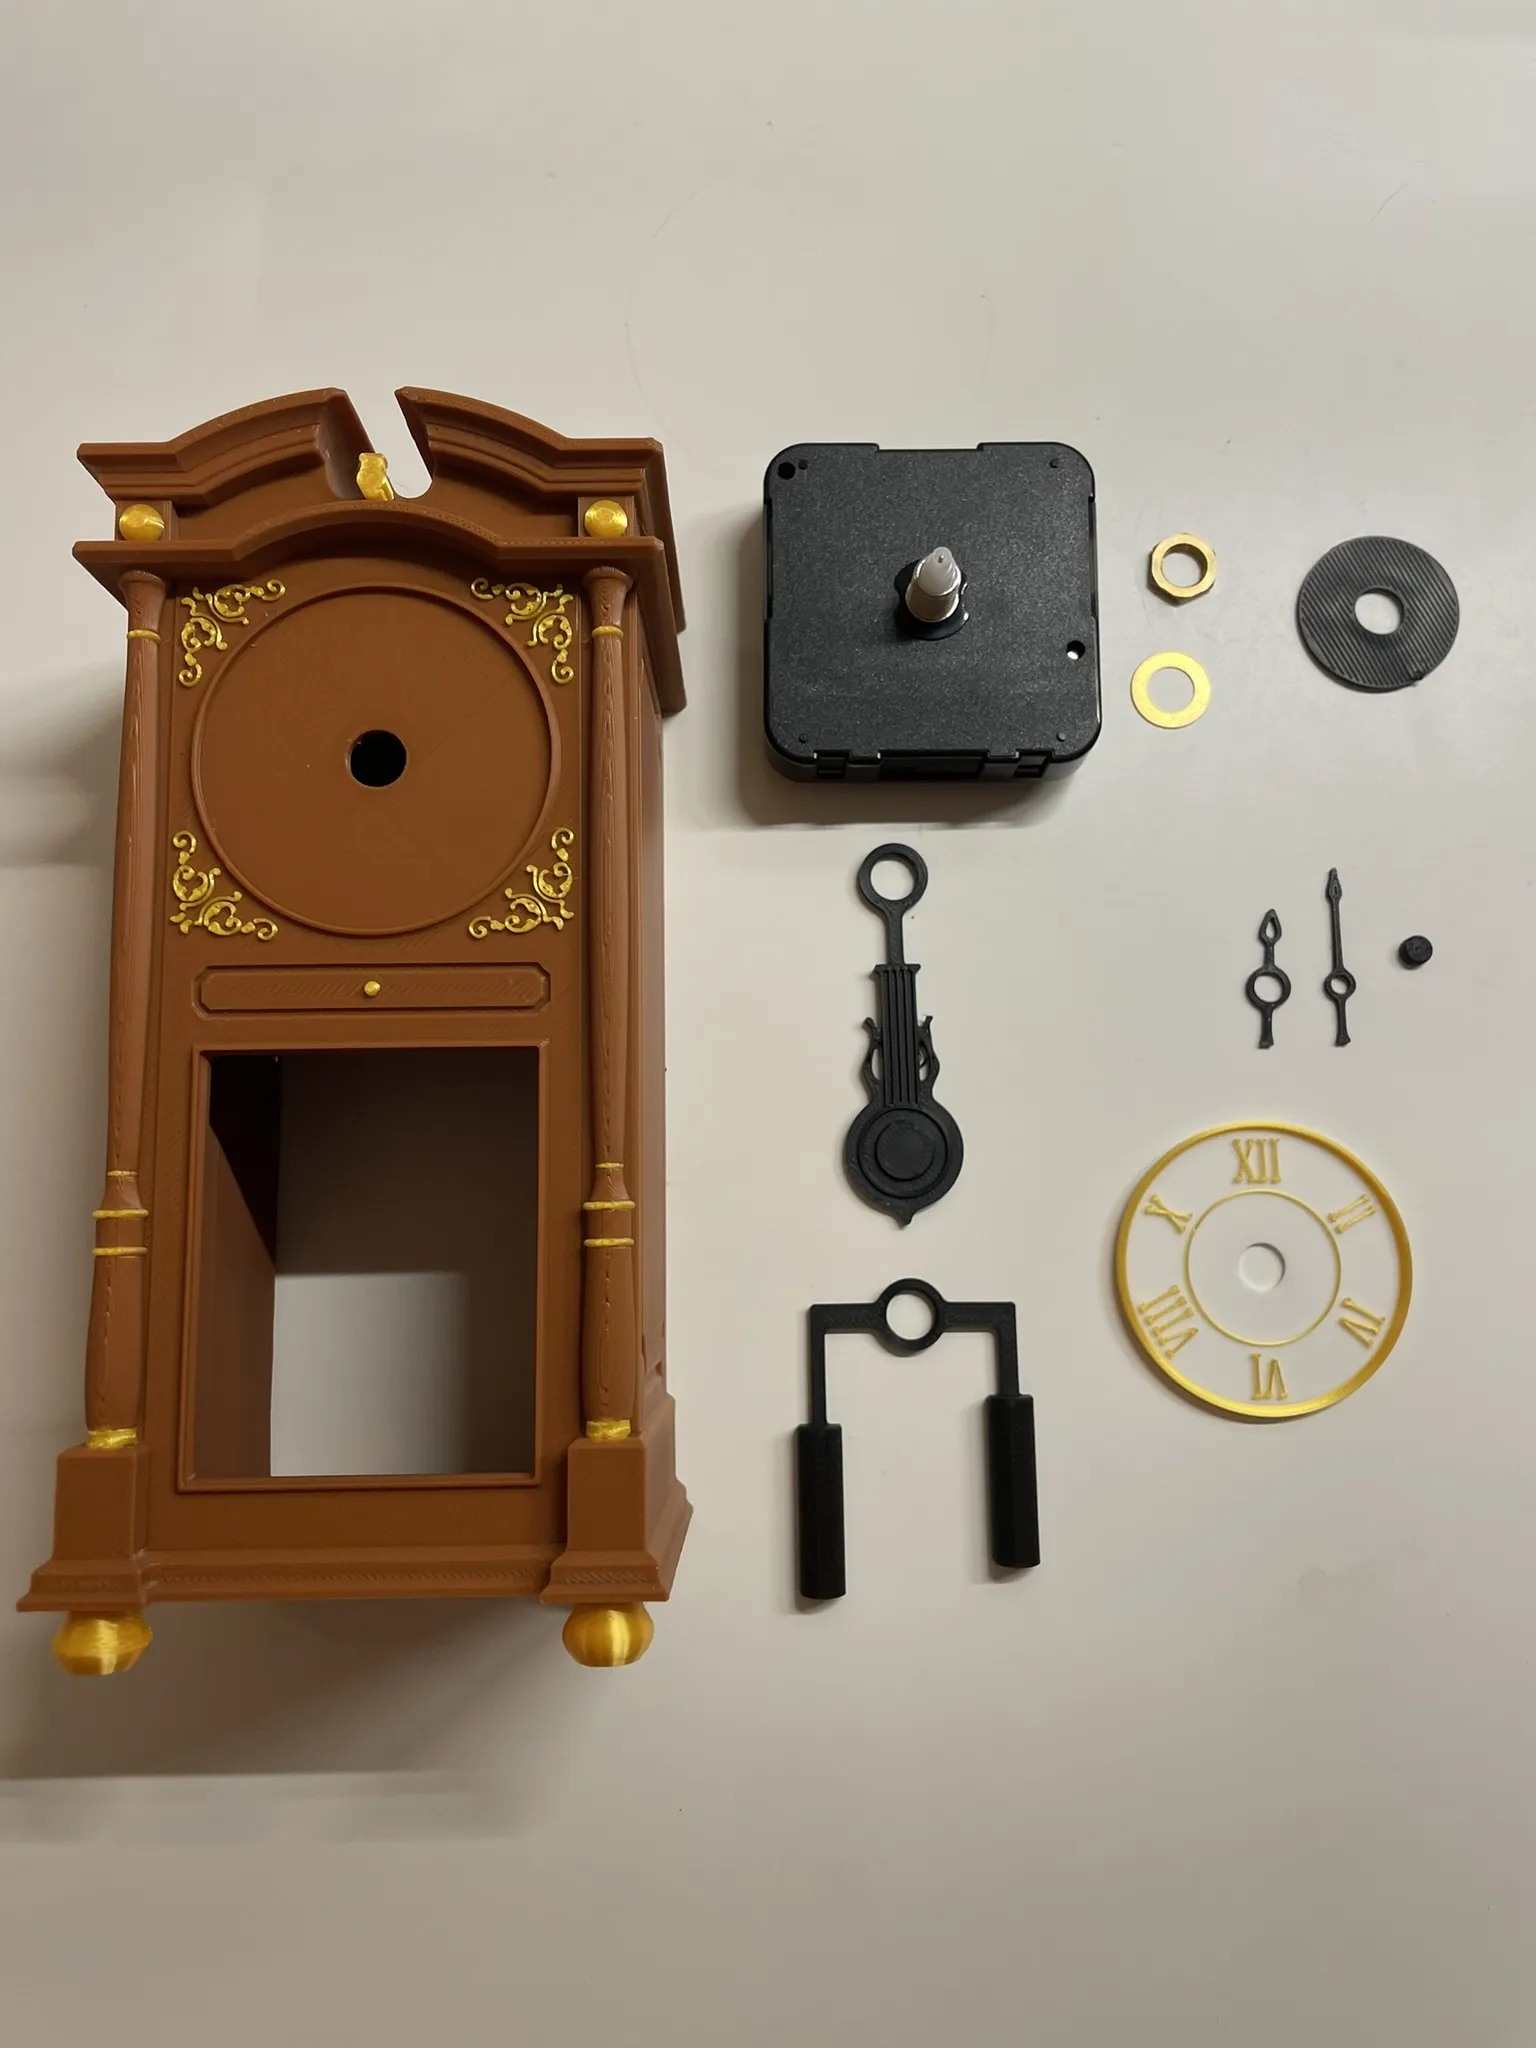
1. All parts printed
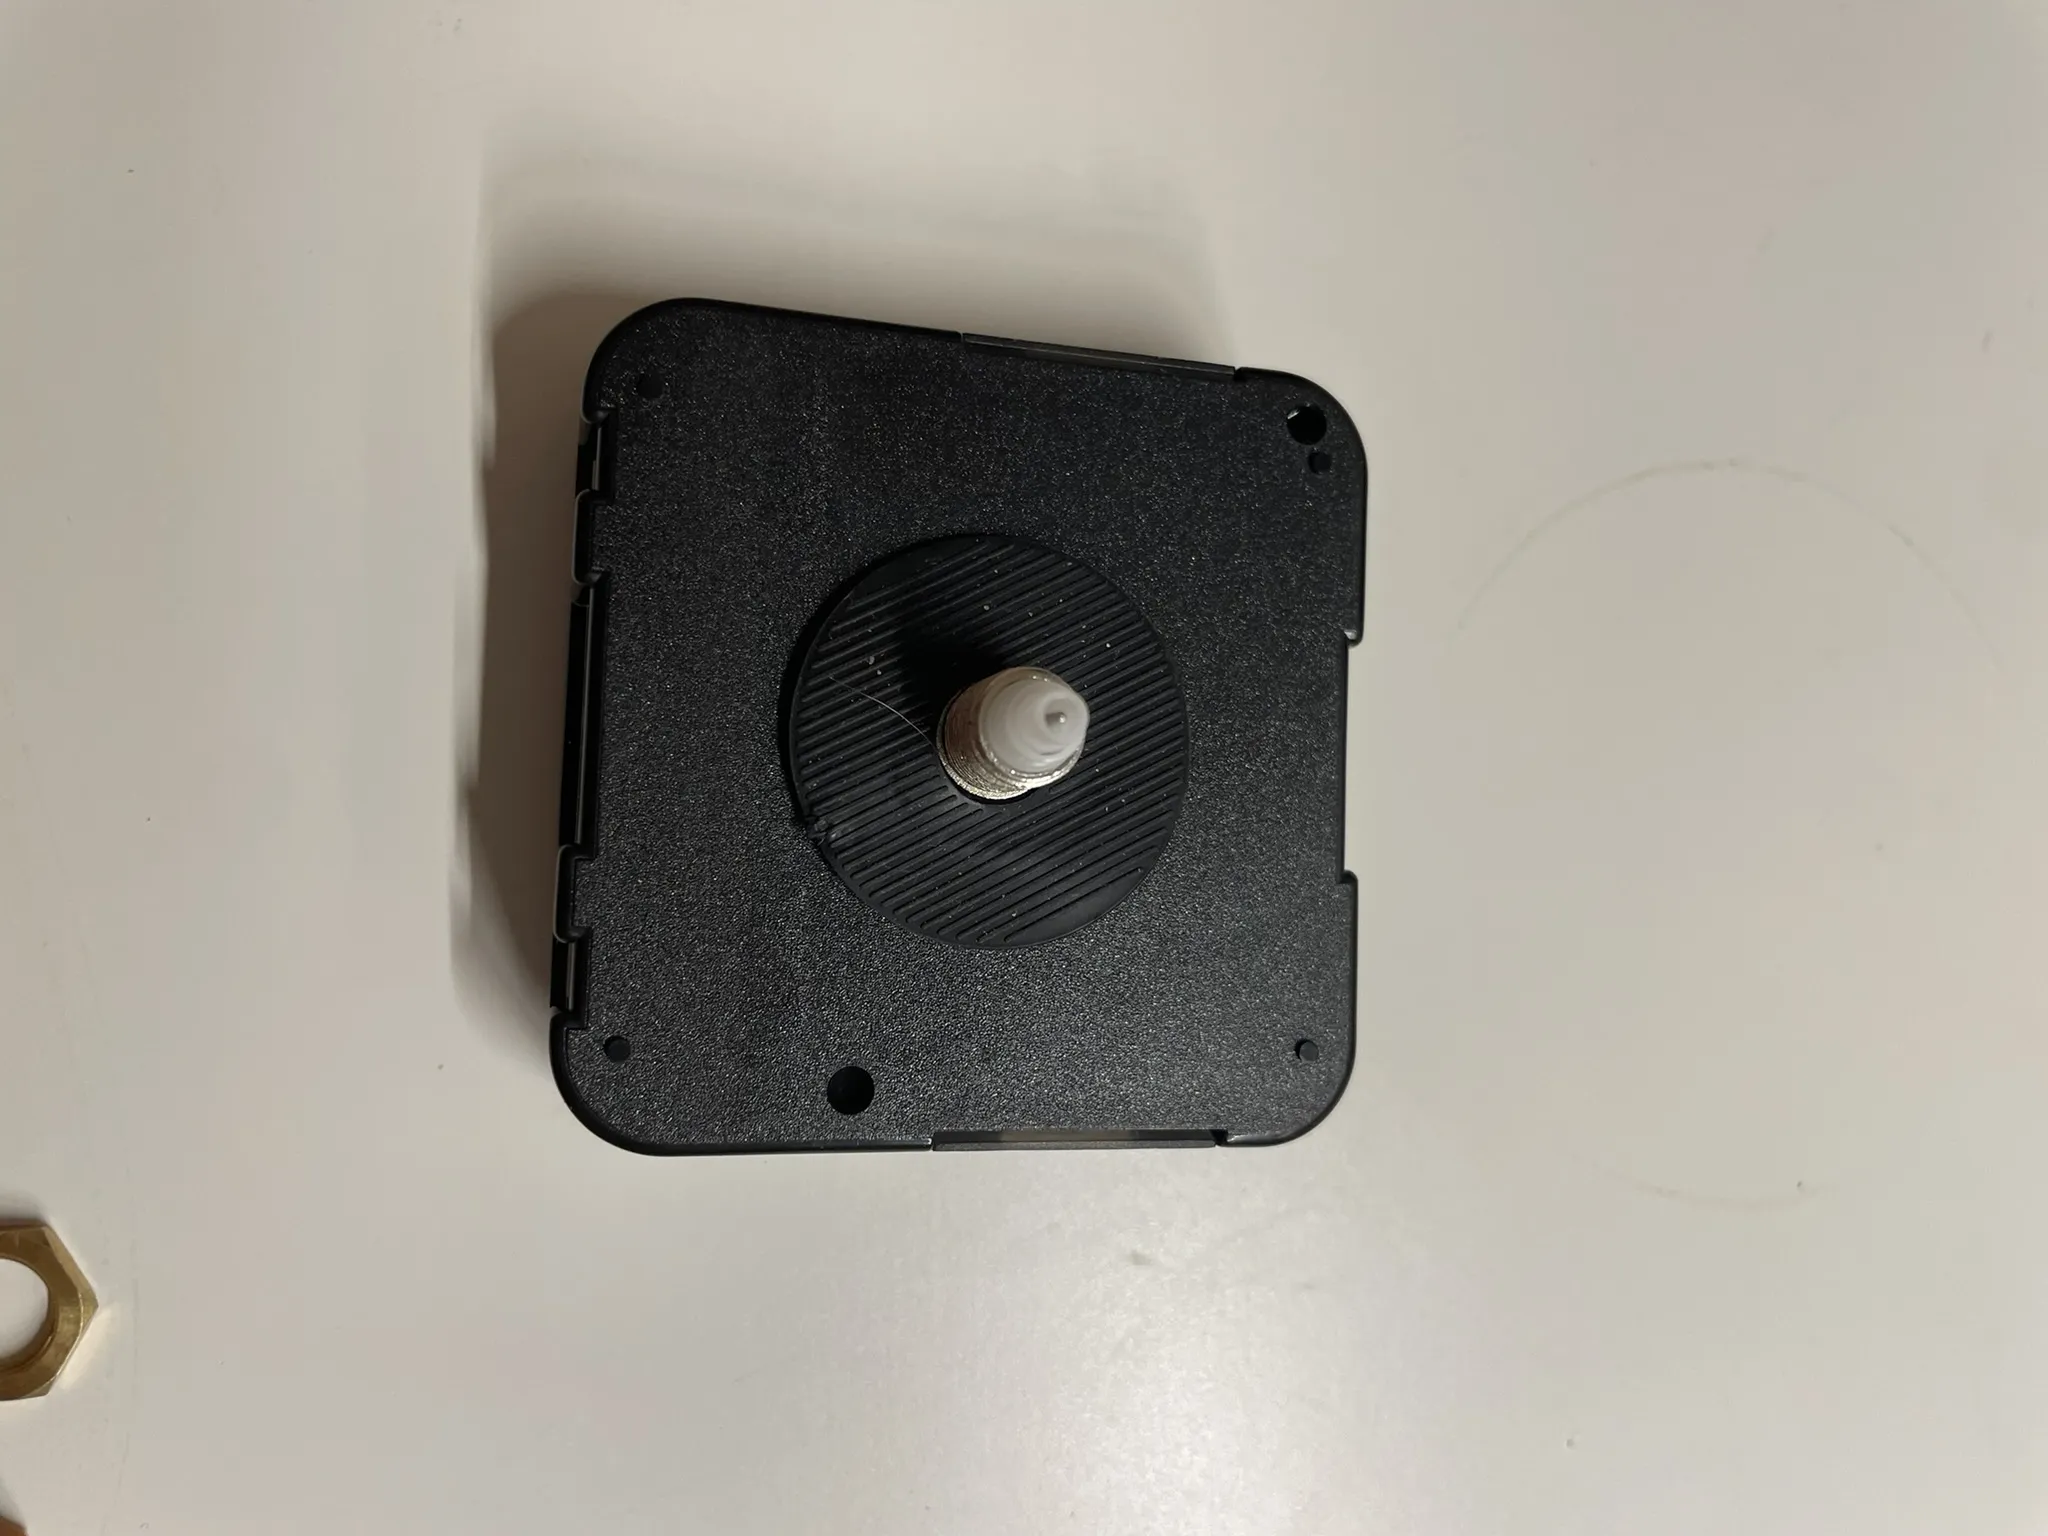
2. Assemble rubber onto clock kit
3. Insert clock face, make sure XII is on top.
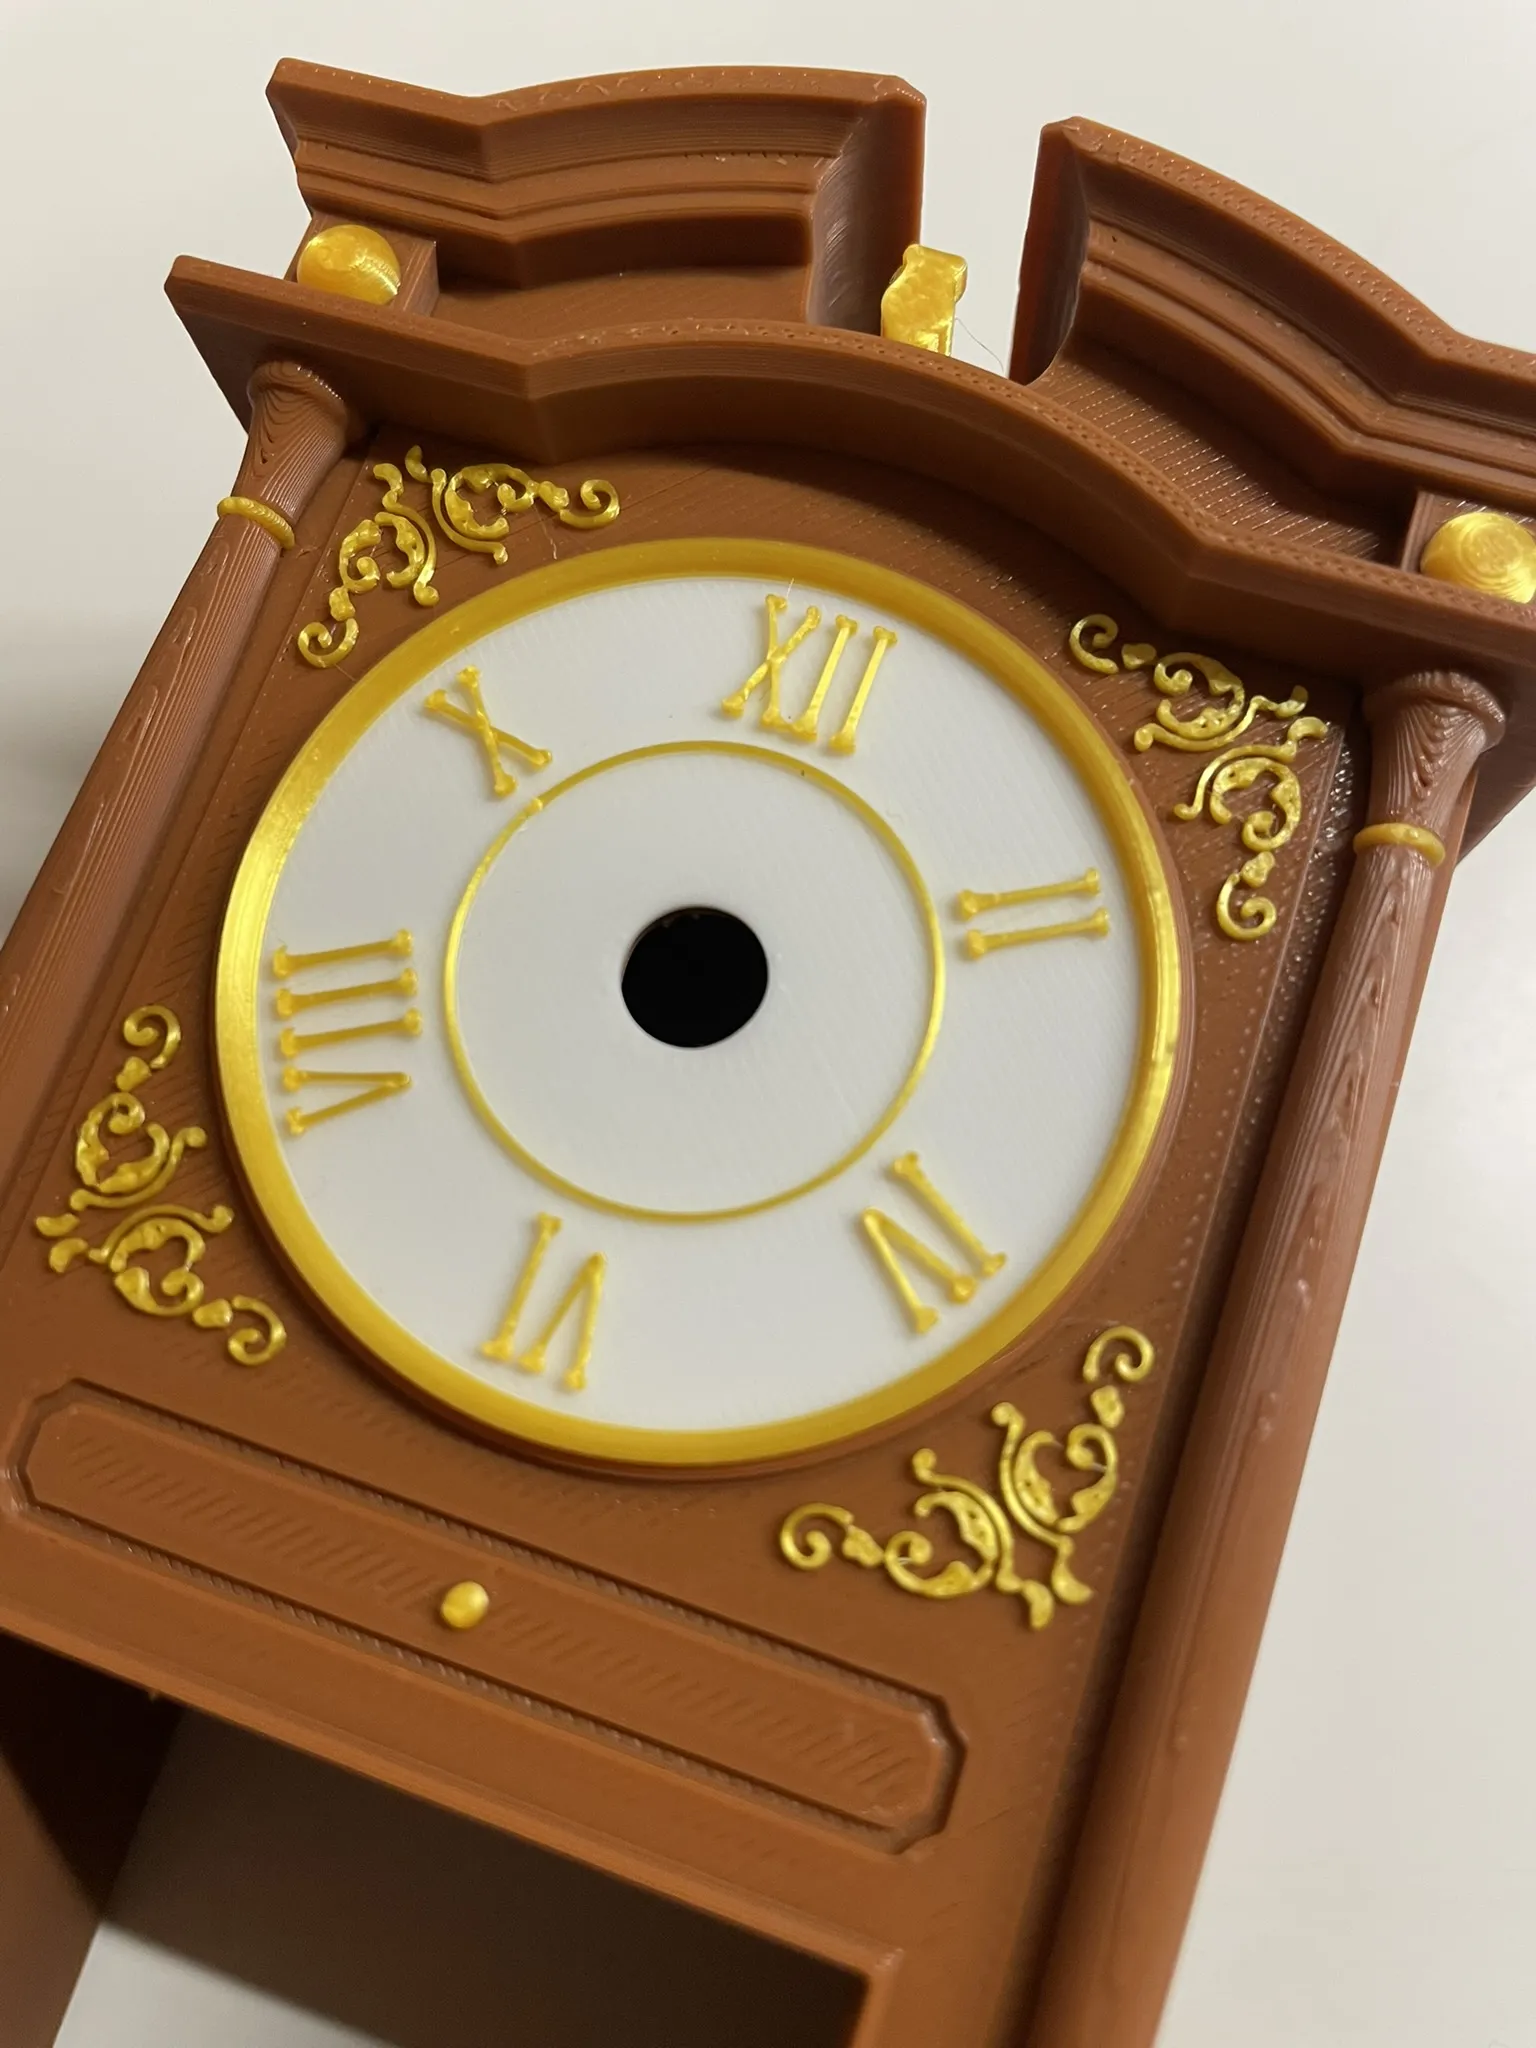
4. Insert Clock Kit, be sure the stems doesn't stick to much. Scale, print and use Spacer part if needed.
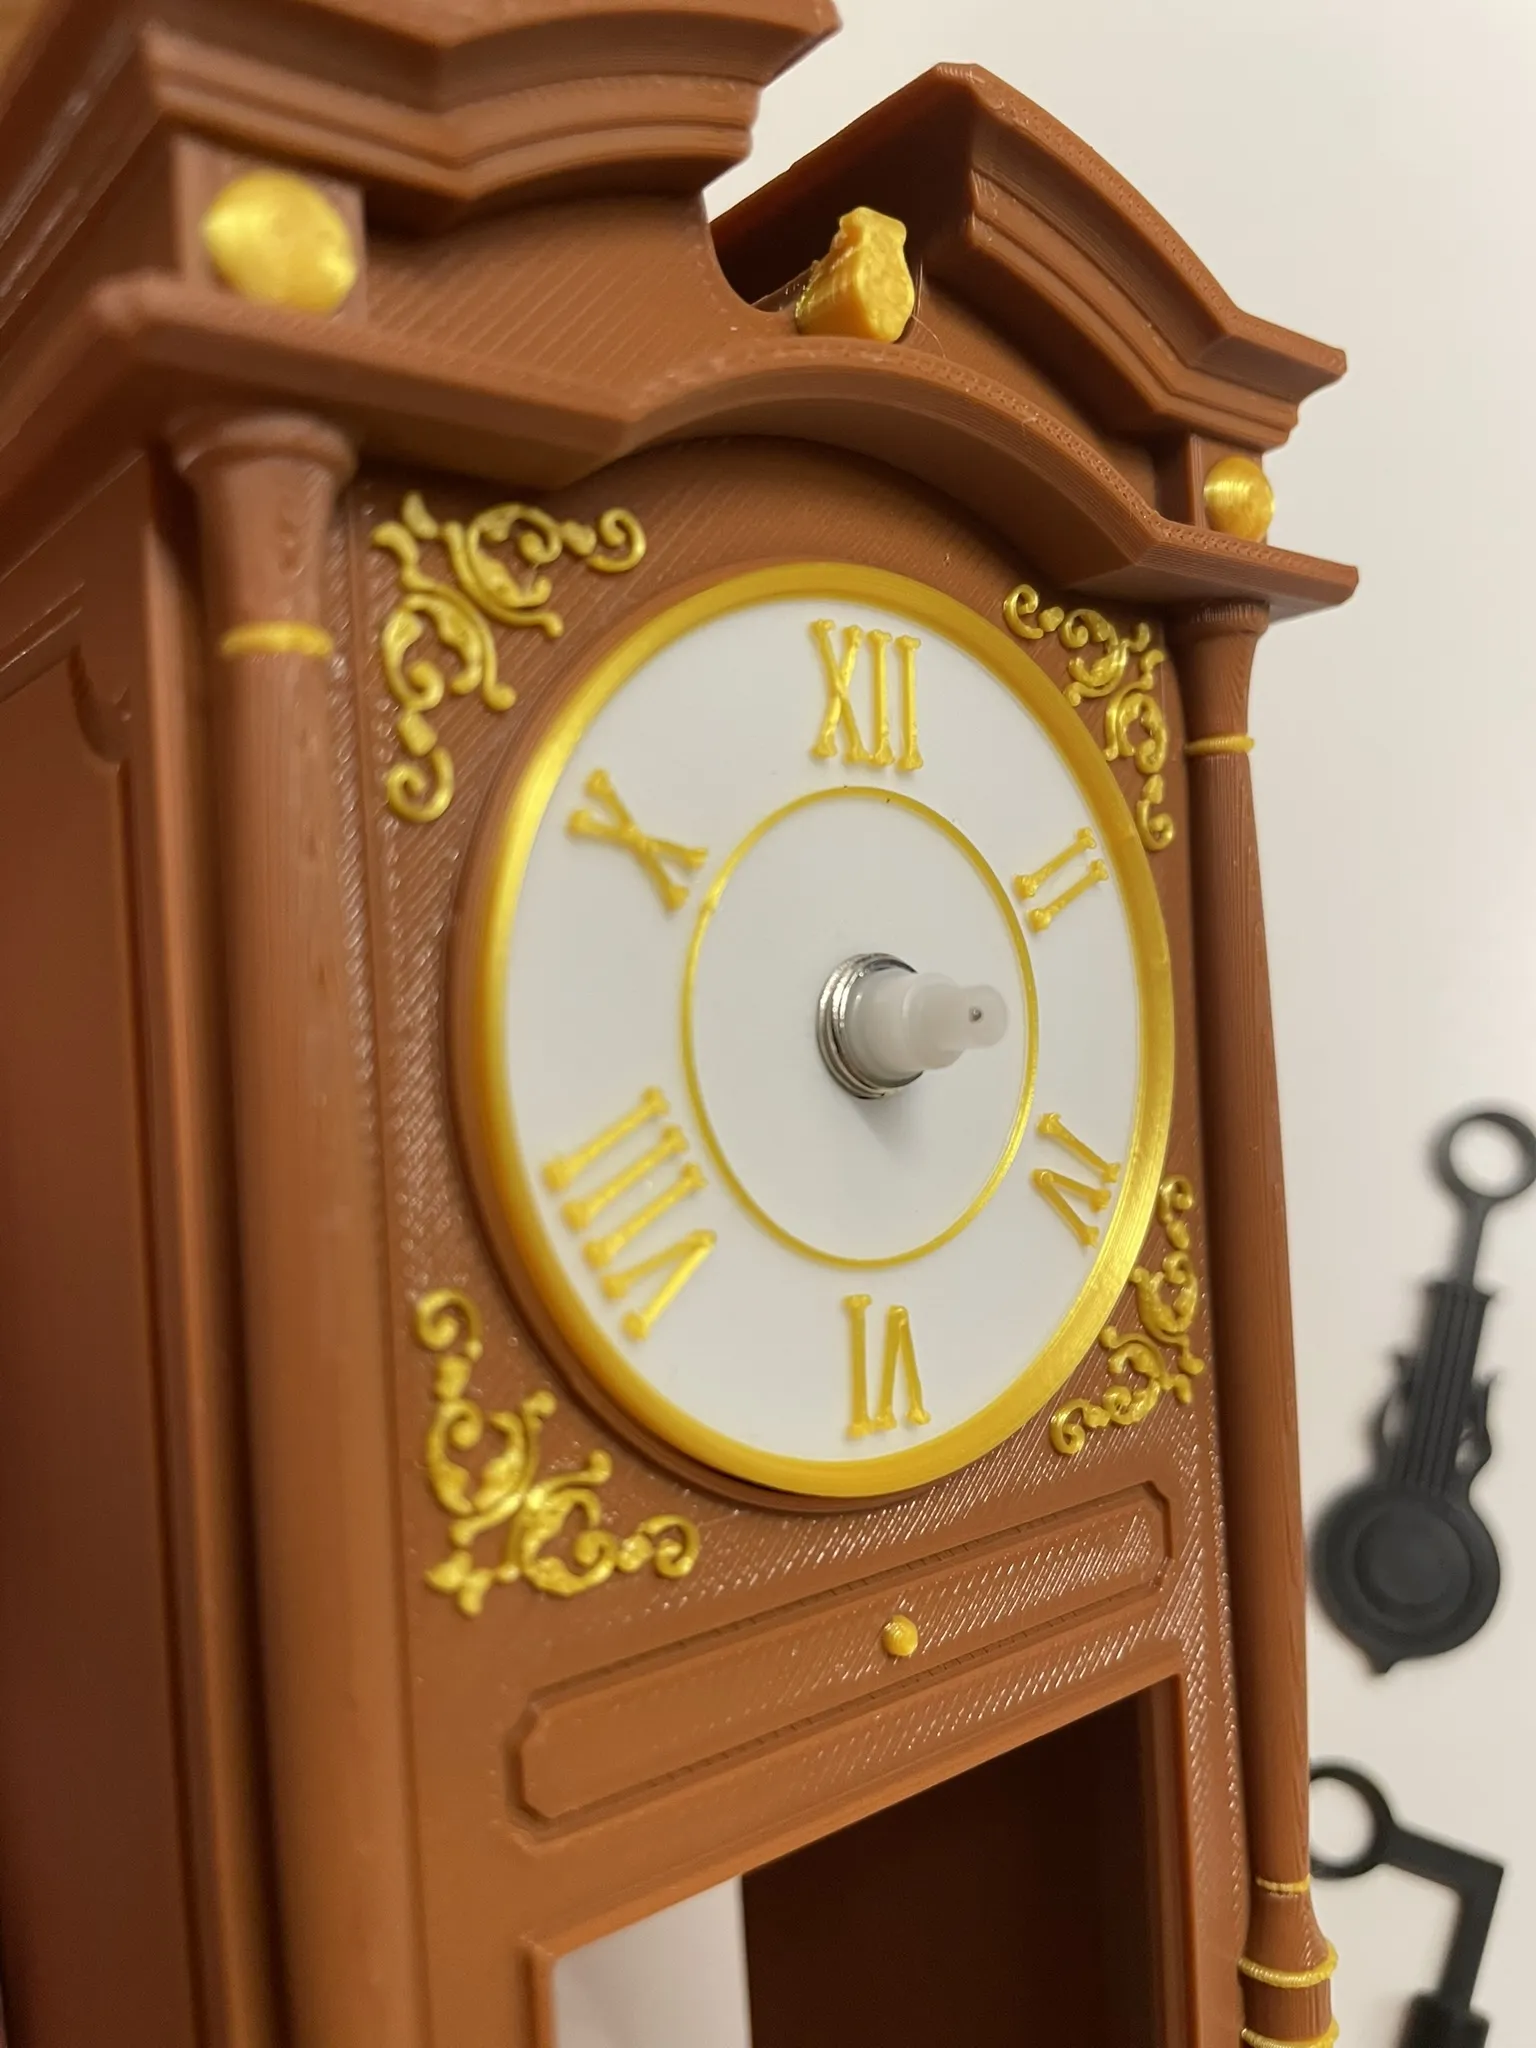
5. Screw everything in place with the nut and washer provided with the kit.
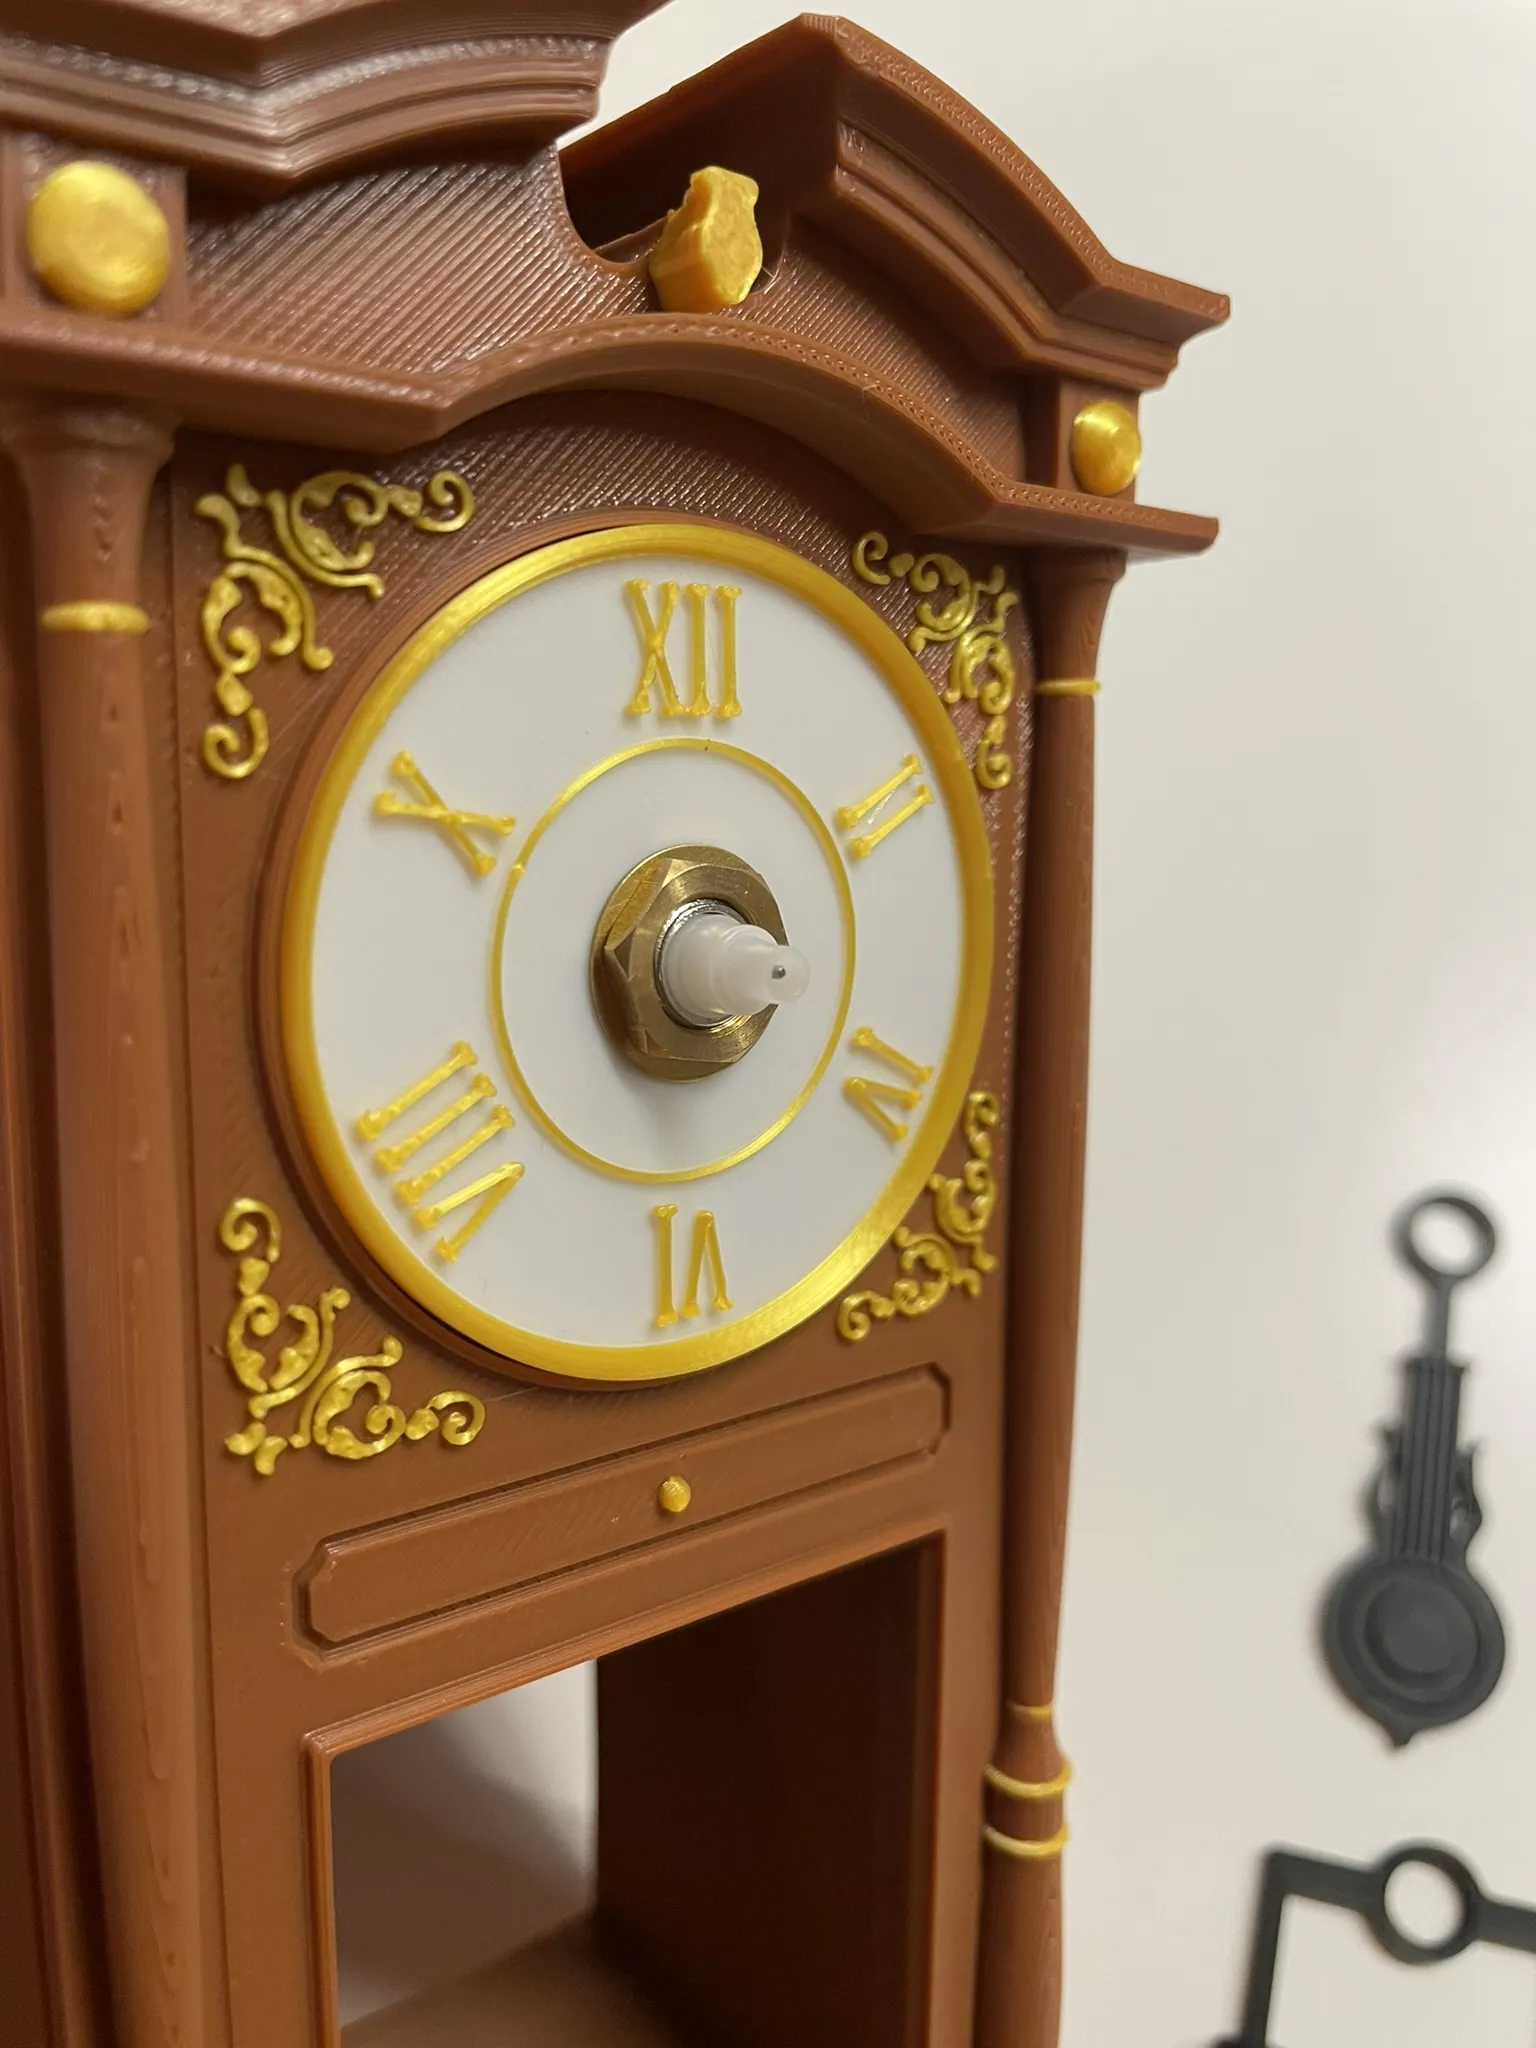
6. Insert clock pendulums
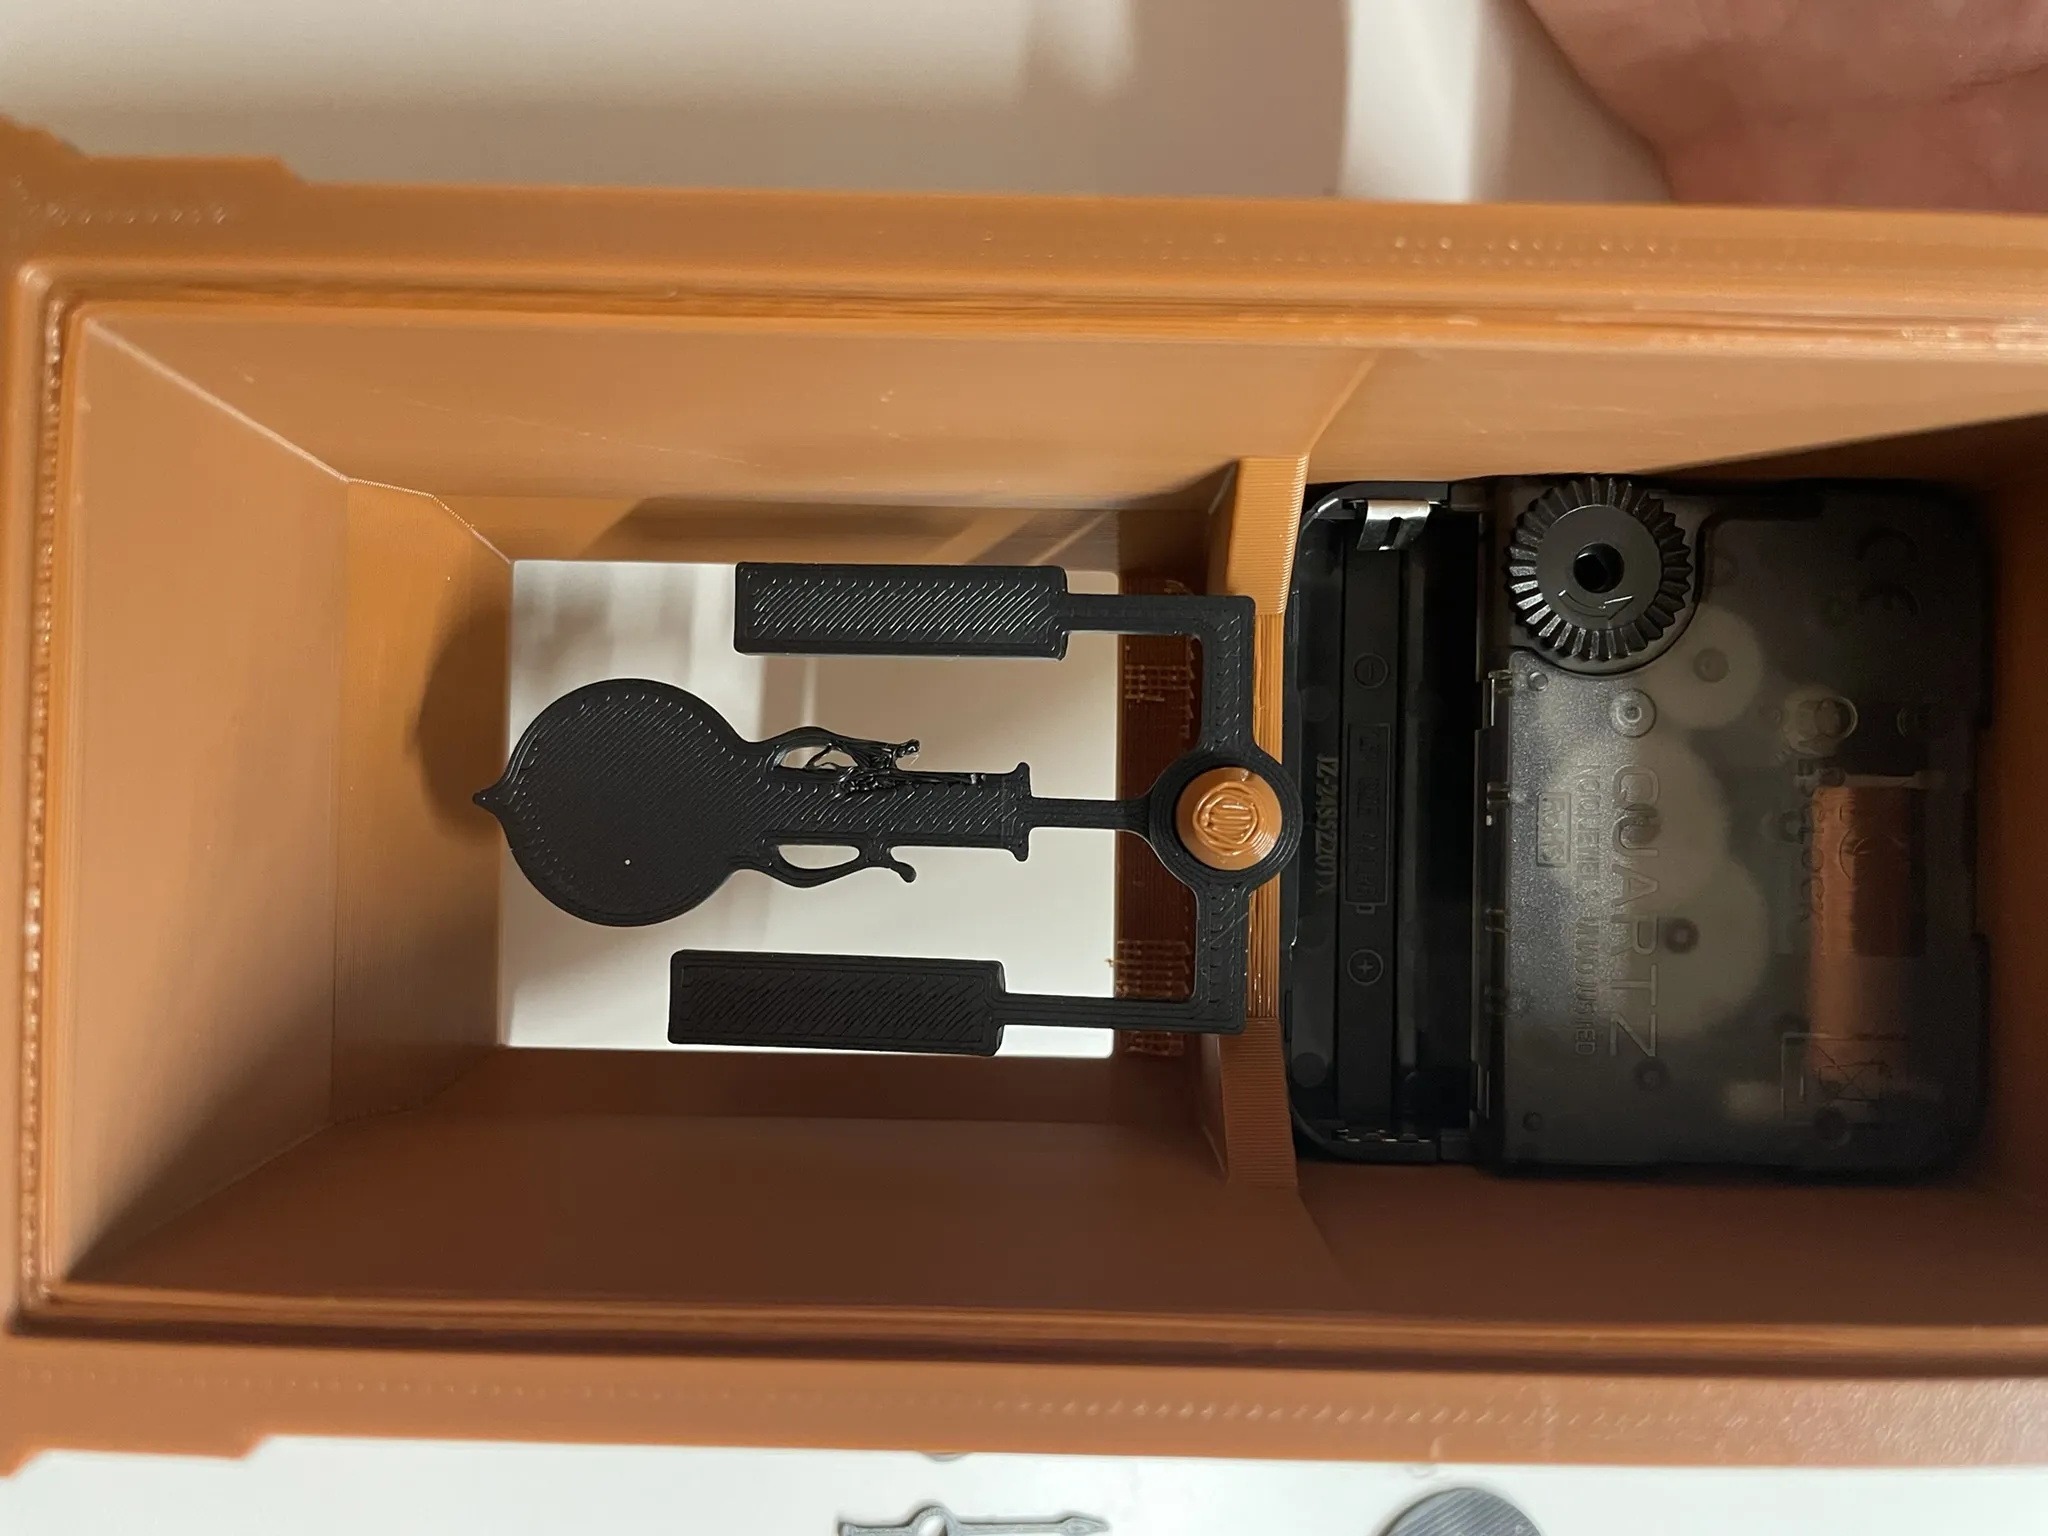
7. Finish with the hour and minute hands and cap everything with the small cap.
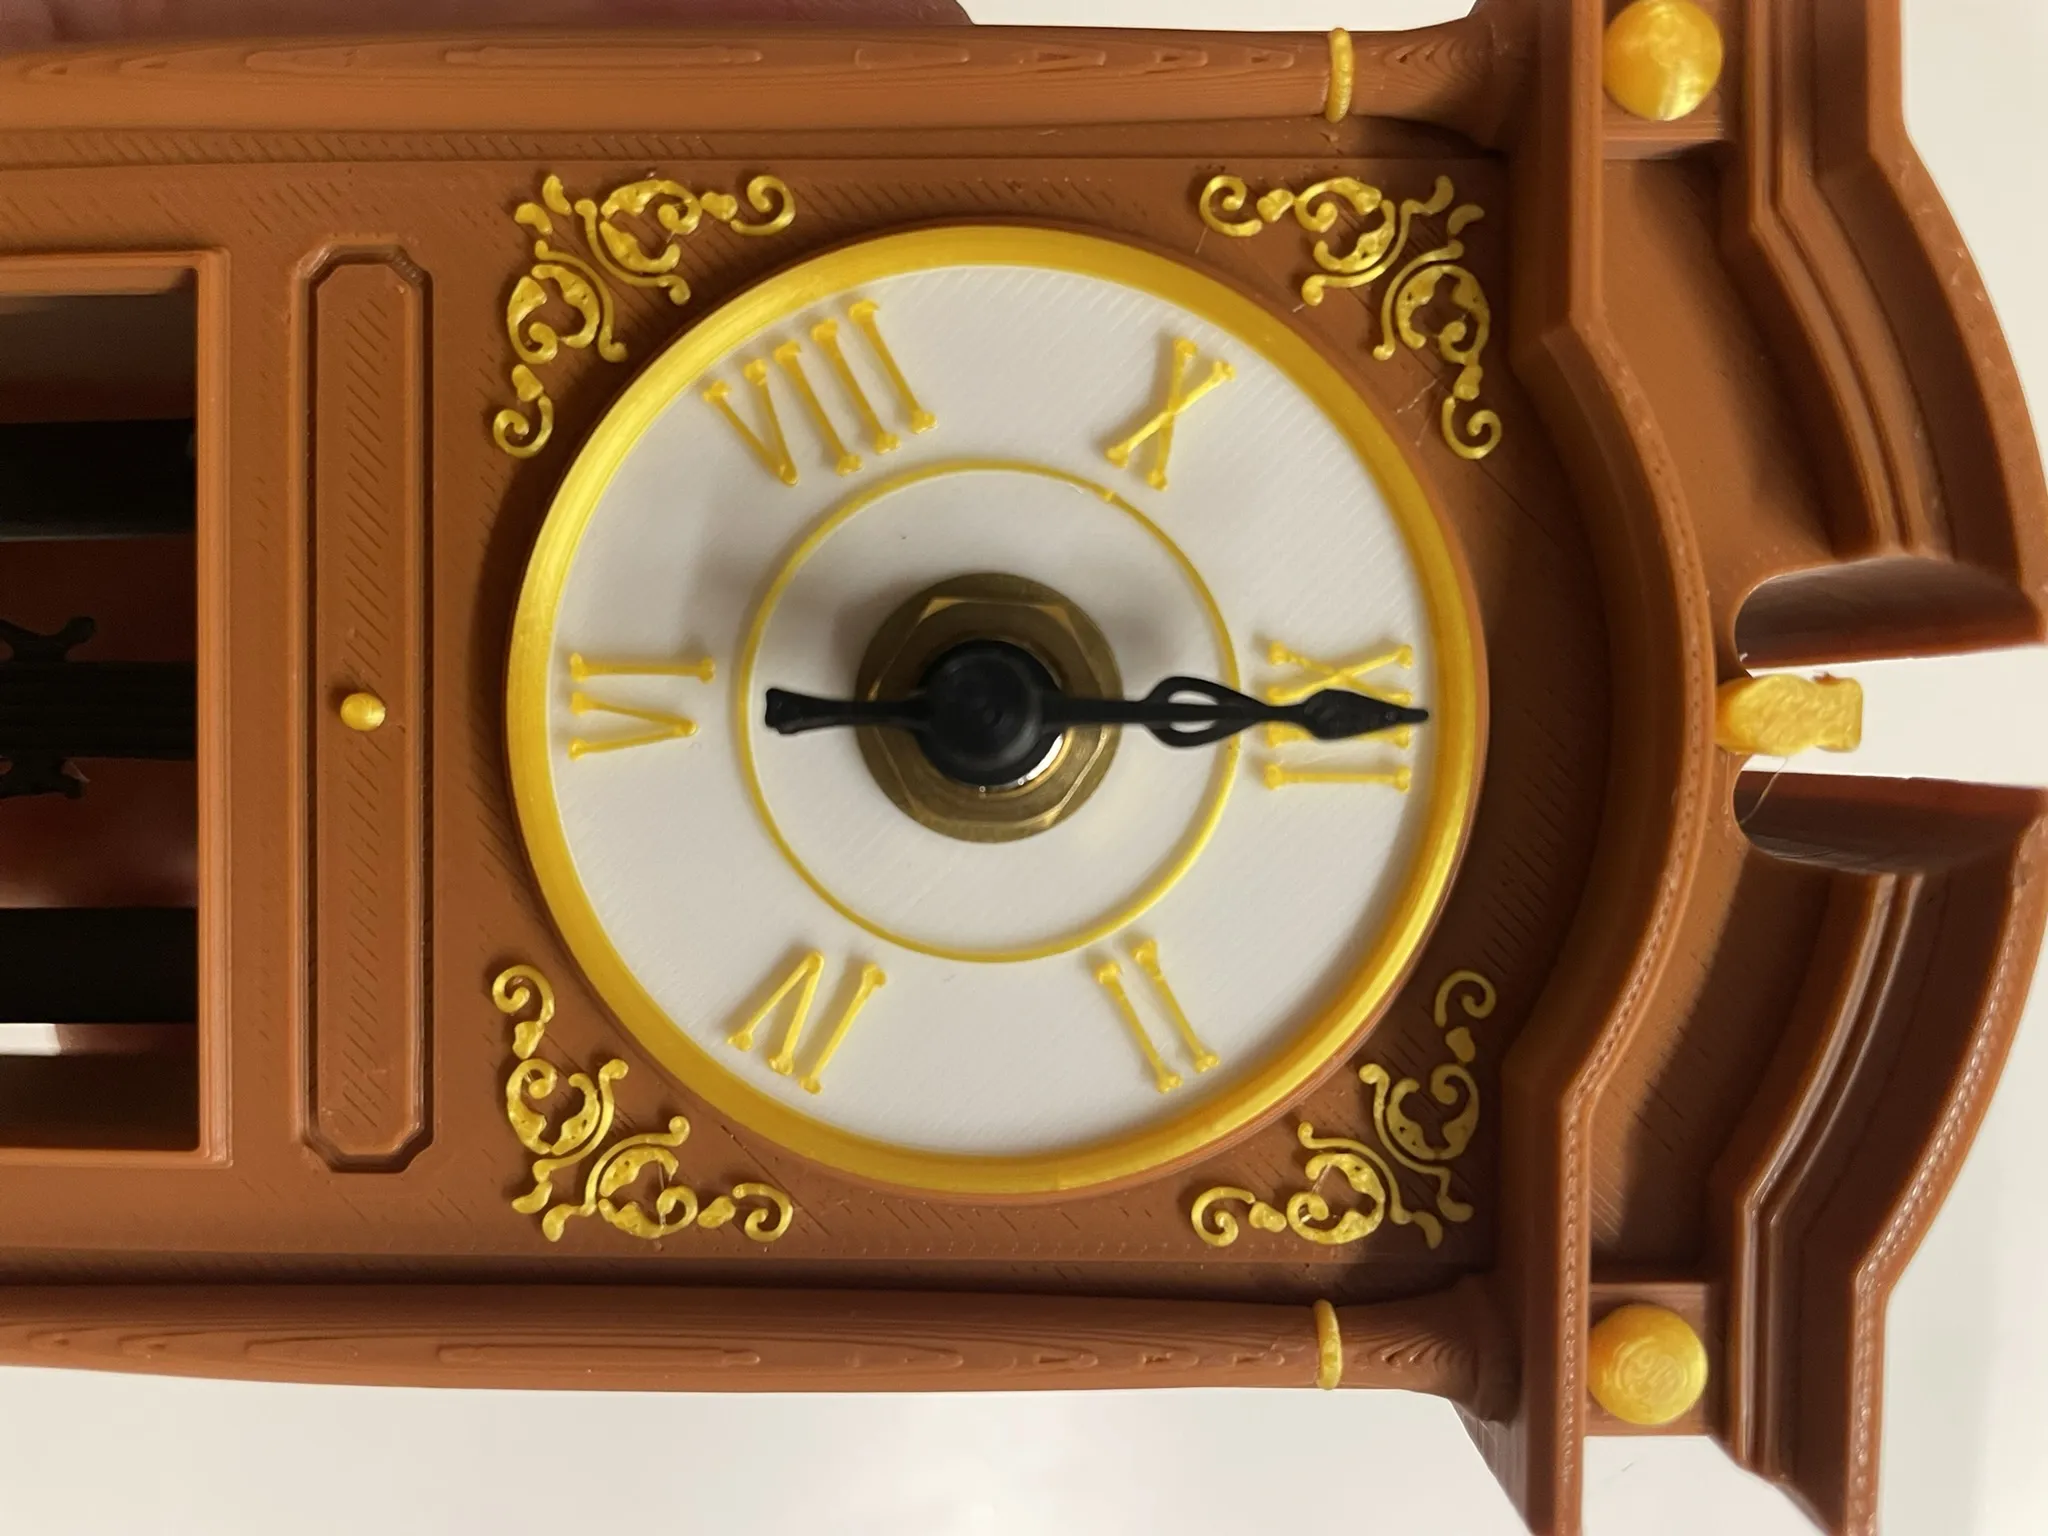
Voilà
License

You may create derivative works based on this object, provided that all such derivative works are published exclusively on the MakerWorld platform and include proper attribution to the original creator. You may not share, upload, host, distribute, or publish this object—or any derivative work of this object—on any other digital platform, marketplace, or distribution channel. Commercial use of this object and any derivative works is strictly prohibited. This includes, but is not limited to, selling, renting, sublicensing, or using the object in any context in which you receive monetary compensation or other financial benefits.


Comment & Rating (7)