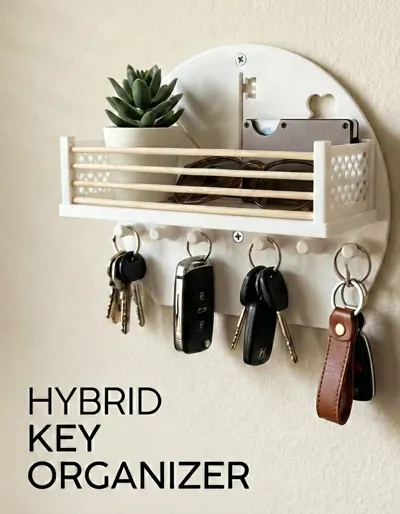
Elegant Hybrid Key Organizer & Entryway Shelf


Print Profile(1)

Description
Tidy Up Your Entryway with Style
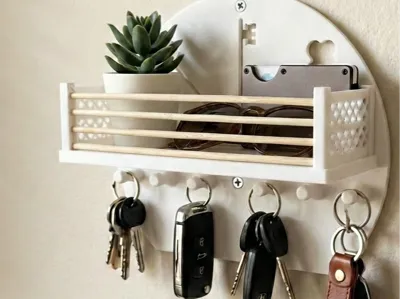
Tired of misplacing your keys or having them cluttering up the kitchen counter? I designed this Hybrid Key Organizer to solve that exact problem. It’s a functional, minimalist, and stylish solution that combines the precision of 3D printing with the natural aesthetic of wood.
Whether you have a modern apartment or a cozy cottage, this rack fits perfectly. It features a decorative backplate with key-themed cutouts and a practical shelf for your wallet, sunglasses, or mail.
Why this design?
The standout feature is the wooden railing. By using standard 4mm wooden skewers (grill sticks), you save print time and filament while giving the shelf a high-end "boutique" look. The contrast between the PLA and the wood grain makes it a genuine piece of home decor.
Features:
- Multiple Hooks: Plenty of space for car keys, house keys, and lanyards.
- Top Shelf: Perfect for small everyday carry (EDC) items.
- Hybrid Design: Uses 4mm wooden rods for a premium look and extra structural rigidity.
- Smart Assembly: Designed with separate "snap-in" pillars for the easiest possible assembly.
Materials & Assembly:
- 3D Printed Parts: Print the main body and the two separate railing pillars. PLA is recommended
- Wooden Rods: You will need standard 4mm diameter grill sticks. Cut them to a length of approximately 173mm.
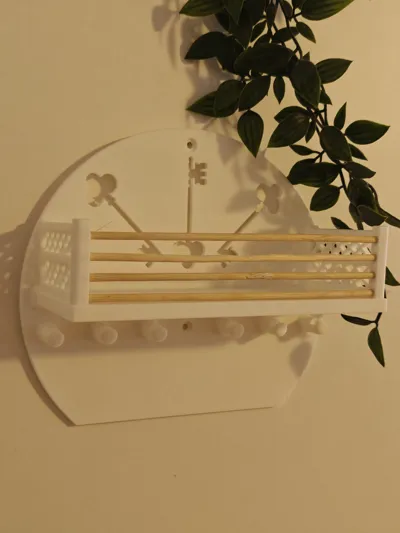
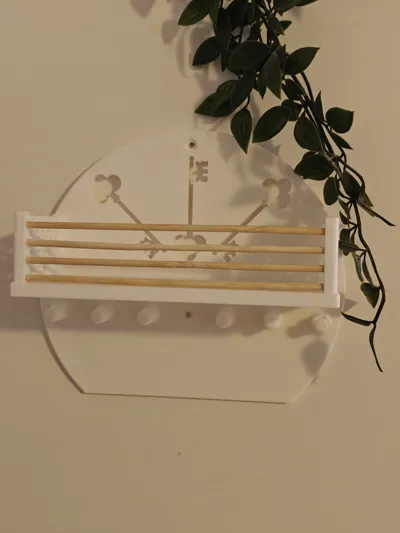
- Customizable Railing: The design features slots for up to 8 rods for a "full" look. However, I personally used 4 rods (placing them in every other slot), as I found this creates a cleaner, more modern aesthetic that balances the wood and plastic perfectly.
- The "Snap-Fit" Assembly:
- First, insert your cut wooden rods into the holes of the two separate railing pillars.
- Once you have the "railing unit" (pillars and sticks) assembled in your hands, align the pillars with the mounting points on the main shelf.
- Press the entire assembly firmly into place. This snap-fit mechanism locks the rods and pillars to the body simultaneously, ensuring a professional finish without the need for glue or trying to slide long sticks through tight openings.
Print Settings:
- Material: PLA
- Infill: 15-20% (Gyroid recommended).
- Walls: 2-4 walls
- Supports: No supports needed! The separate pillar design eliminates difficult overhangs.
- Layer Height: 0.2mm.
License
You may create derivative works based on this object, provided that all such derivative works are published exclusively on the MakerWorld platform and include proper attribution to the original creator. You may not share, upload, host, distribute, or publish this object—or any derivative work of this object—on any other digital platform, marketplace, or distribution channel. Commercial use of this object and any derivative works is strictly prohibited. This includes, but is not limited to, selling, renting, sublicensing, or using the object in any context in which you receive monetary compensation or other financial benefits.
Comment & Rating (9)