
Print Profile(2)
Description
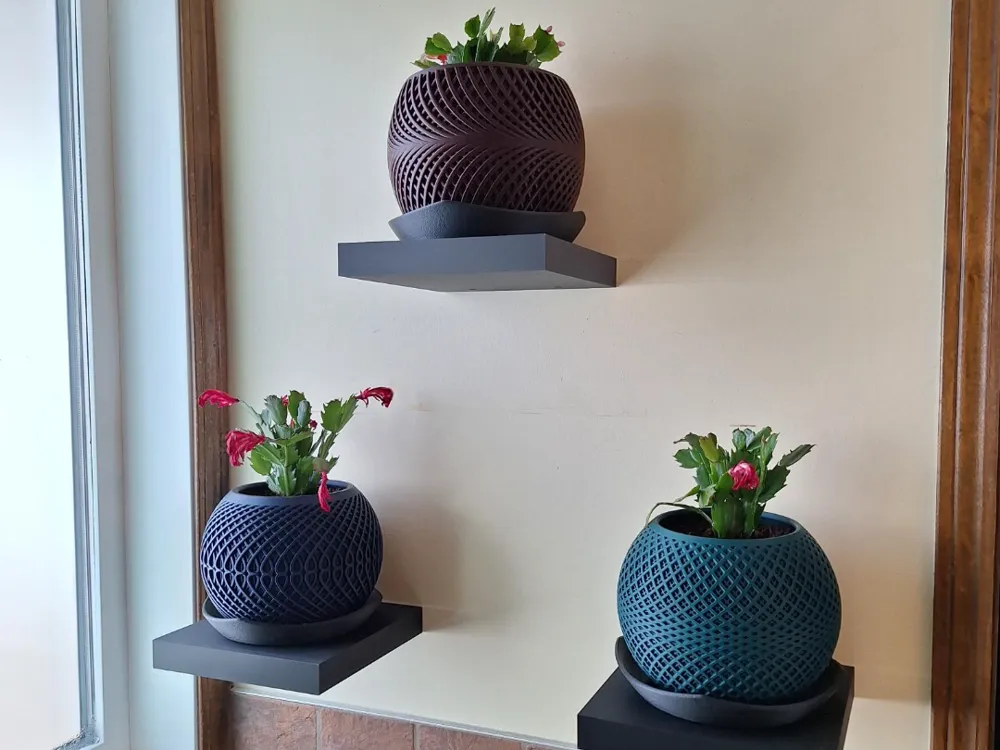
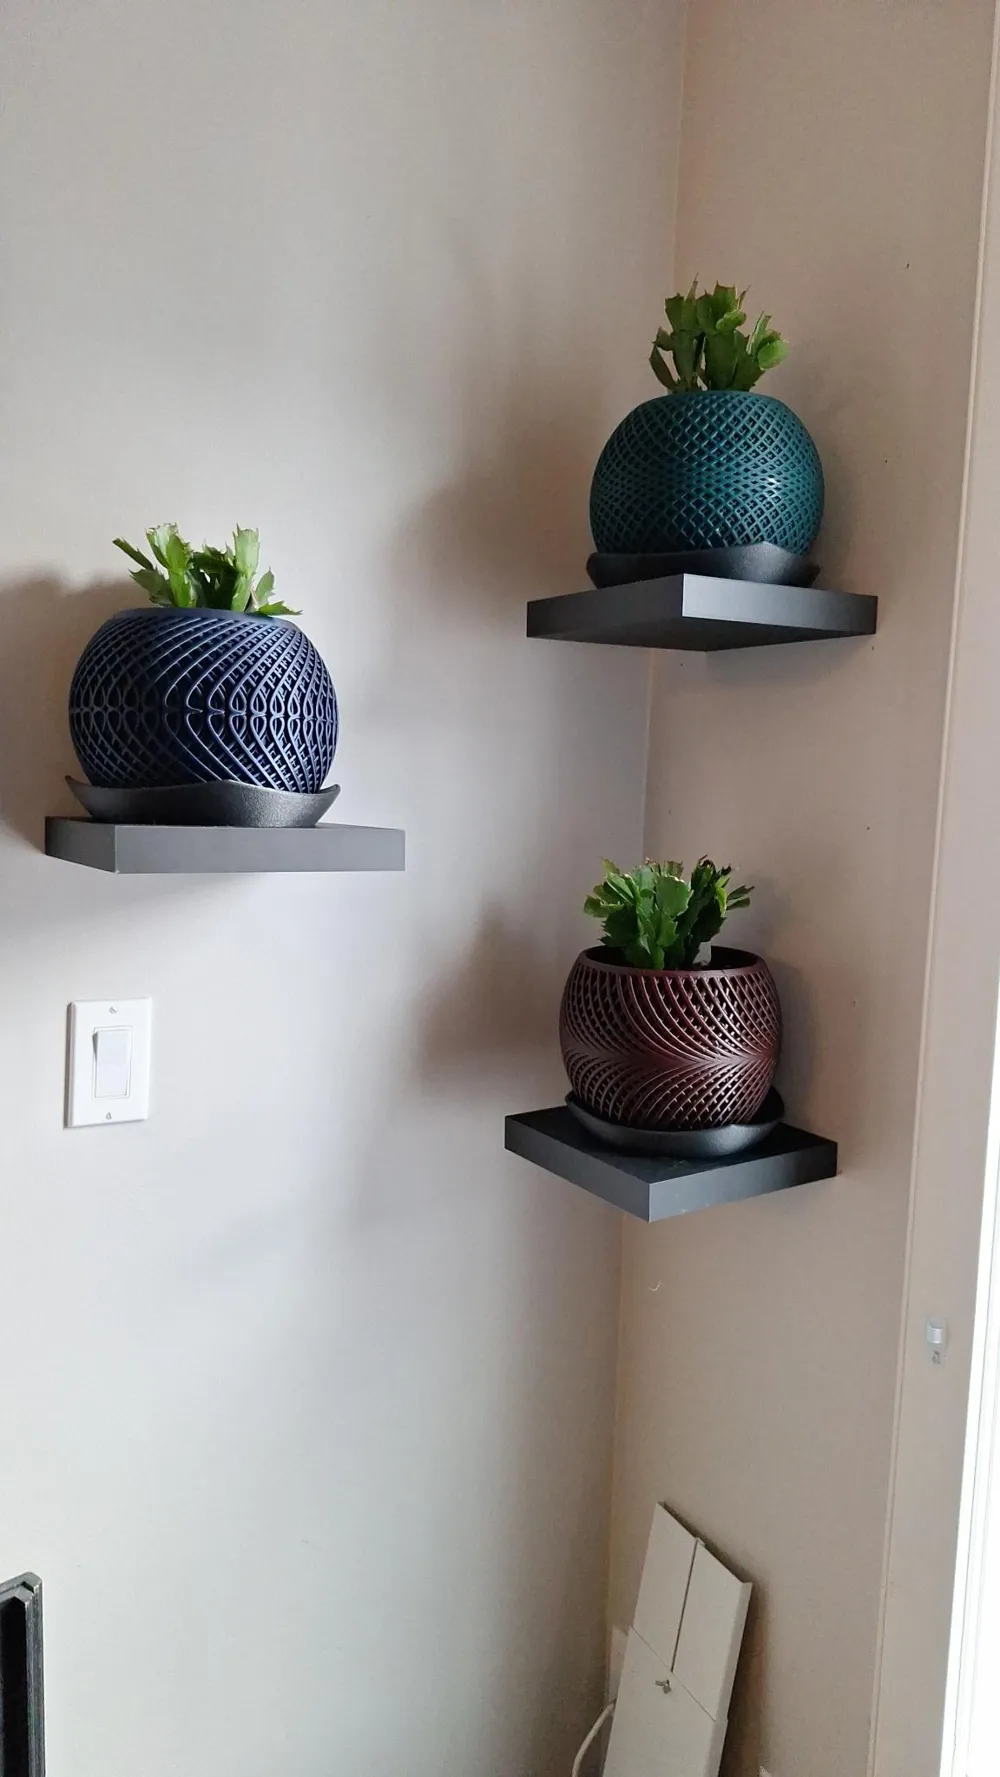
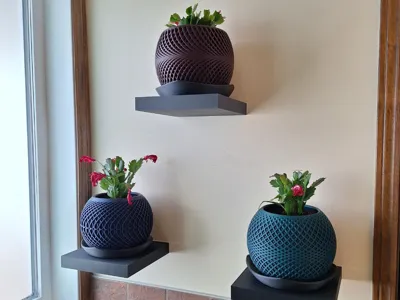
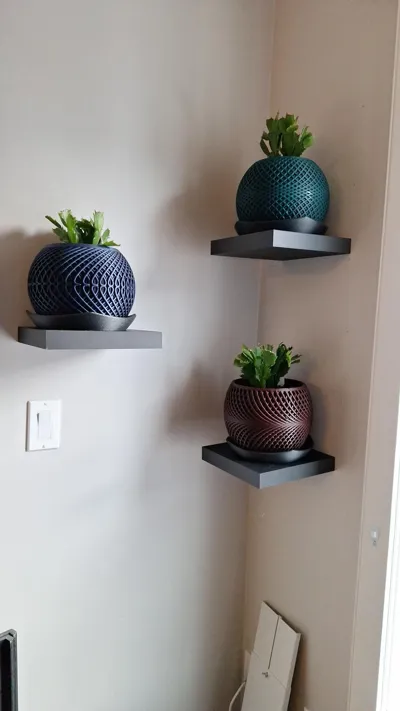
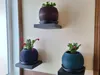
We love the planters from https://makerworld.com/en/@h3li0 and wanted a nice way to display them (and keep them away from cat paws!). I couldn't find any floating shelves that were the right size so I made this one to fit.
Filament Recommendations
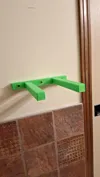
If you're planning to put decent weight on the shelves (like the planters), please use my print profiles. They've been tuned for strength. You may be tempted to print the wall mount vertically to avoid supports but it will be much weaker in that orientation. I found sliding a utility knife between the support and the model made it easy to get them off.
The shelf can be printed in anything but the wall mount should be printed in something with minimal creep like PETG, Polycarbonate (blends are great) or ASA.
I used PLA for the shelves and PETG for the wall mount.
Mounting
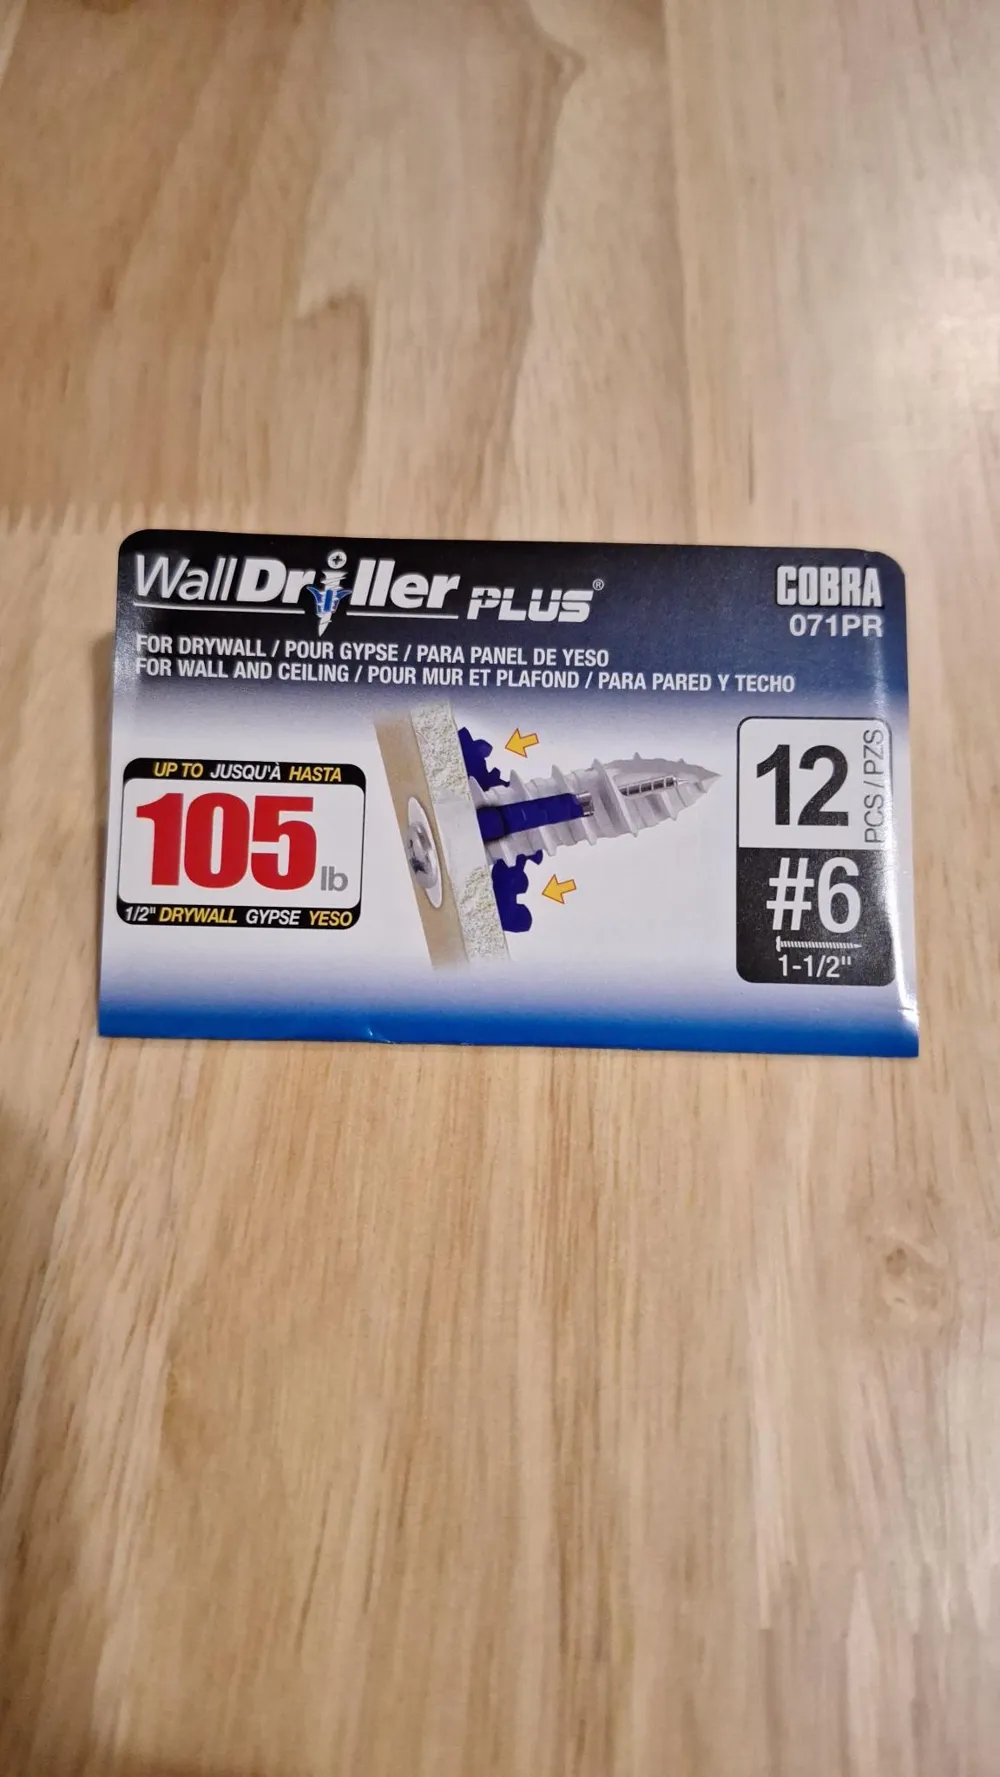
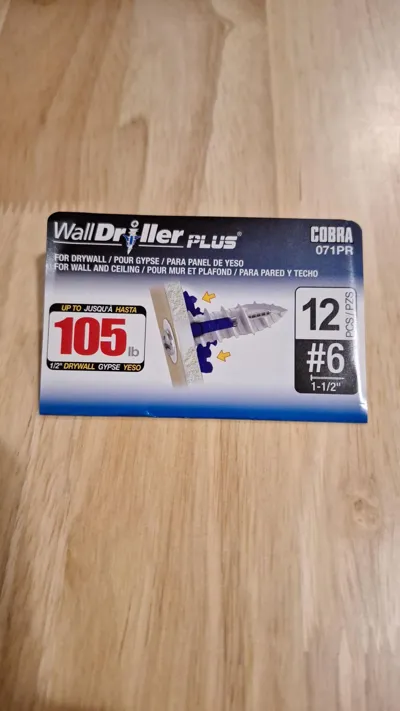
A floating shelf is a lever so you'll need strong drywall anchors. Use drywall anchors rated at > 75 pounds. Look for anchors that expand and lock in place behind the drywall. I've included the type I used in the images section. No 3D printed wall anchor is going to be strong enough and the standard wall anchors rated at 10-25 pounds are also going to fail under a load like the planters (ask me how I know).
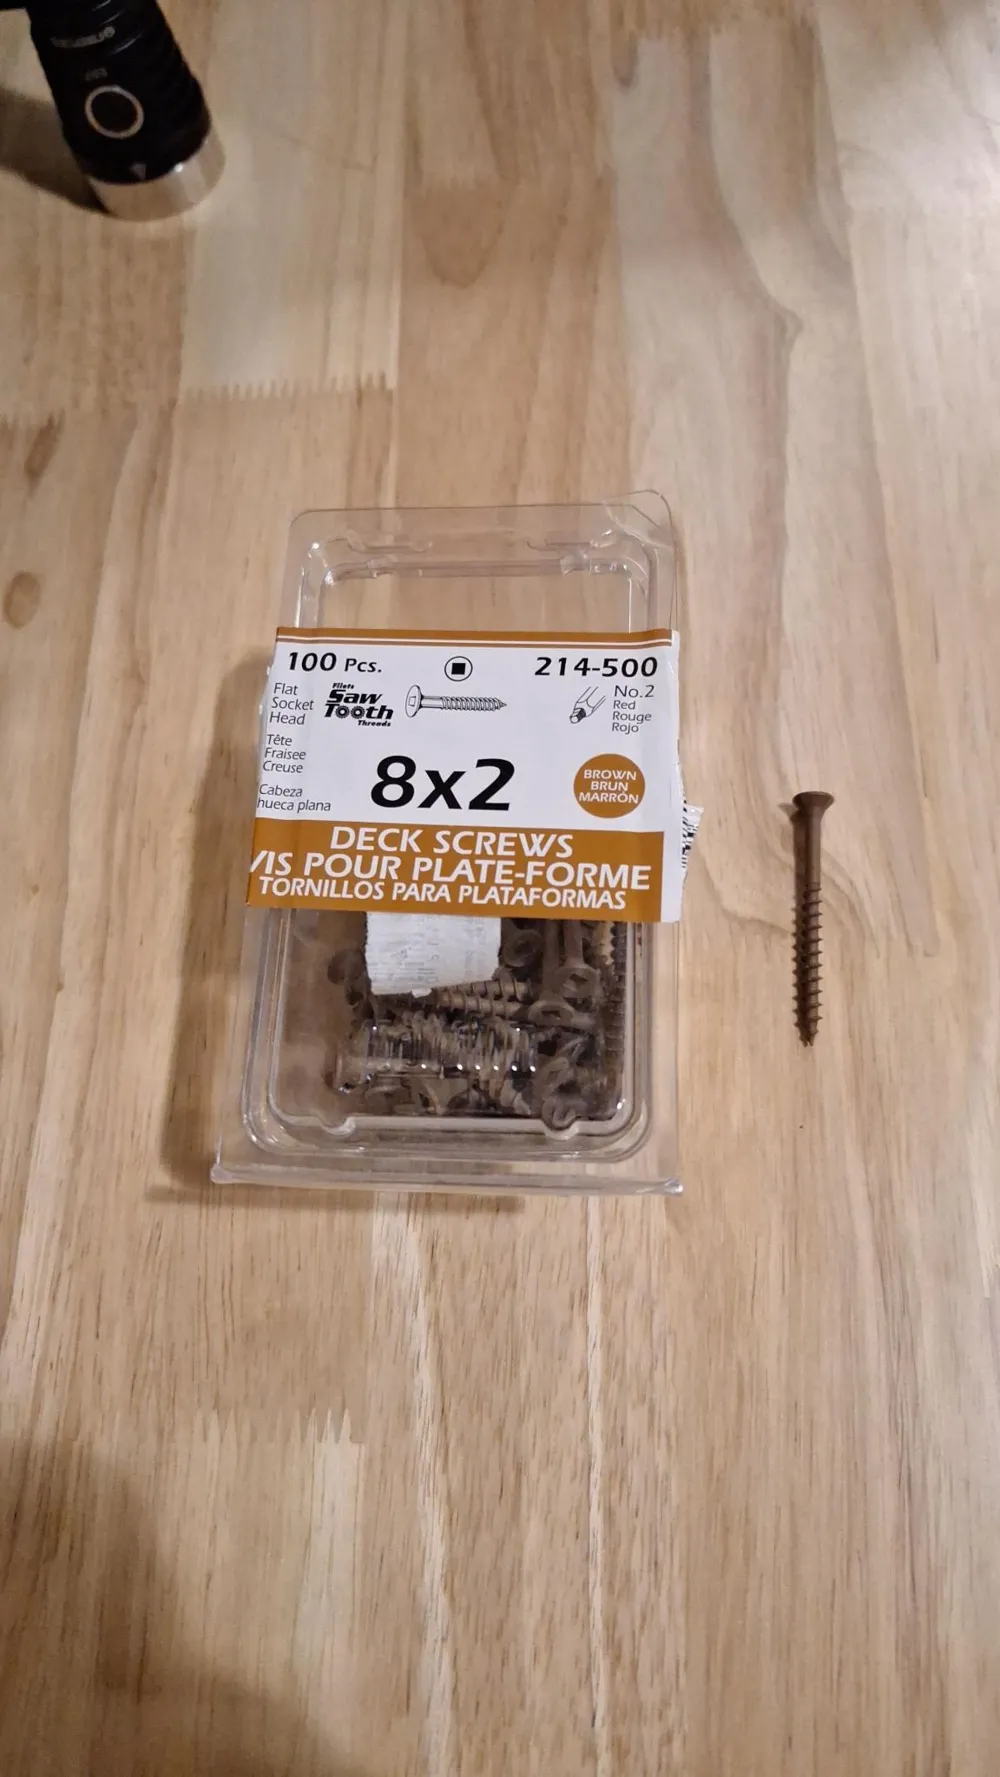
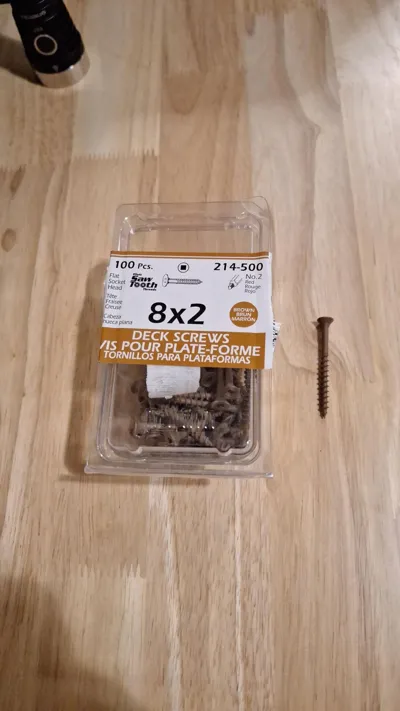
The wall mount is designed for 2 inch deck screws (see example image). If you don't use these, make sure the neck of your screw has a smooth section as deep as the wall mount so it can pull the mount tightly against the wall.
With weight like planters, you'll need to angle the wall mount slightly upwards so that it's level under weight. To do this, cut thin strips of compressed cardboard (eg. from a Kleenex box) and shim them between the wall and the bottom of the wall mount to achieve the upward angle you need. You can fold the strips onto themselves 2 - 4 times to achieve greater thickness.
More details
In the images above the planters were all uniformly scaled up to 215mm on the x axis.
I'd love to see what you do with it. Please share pictures and comments! If you have any questions, don't hesitate to ask.
Boost Me (for free)
Boosts are greatly appreciated!
License

You shall not share, sub-license, sell, rent, host, transfer, or distribute in any way the digital or 3D printed versions of this object, nor any other derivative work of this object in its digital or physical format (including - but not limited to - remixes of this object, and hosting on other digital platforms). The objects may not be used without permission in any way whatsoever in which you charge money, or collect fees.


Comment & Rating (0)