
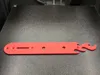
Hot Rod Flames Telecaster Plate Straight & Angled
Print Profile(1)
Description
🚀 Support My Creative Journey🚀
If you find my designs helpful or inspiring, there are two ways you can help me keep creating:
Boost Me (for free)
If you're on MakerWorld, a "Boost" helps me reach more makers and keeps the filament flowing! It's Free!!🚀
Buy me a coffee☕: For those who want to go the extra mile to support my work and my family.
📖 Description
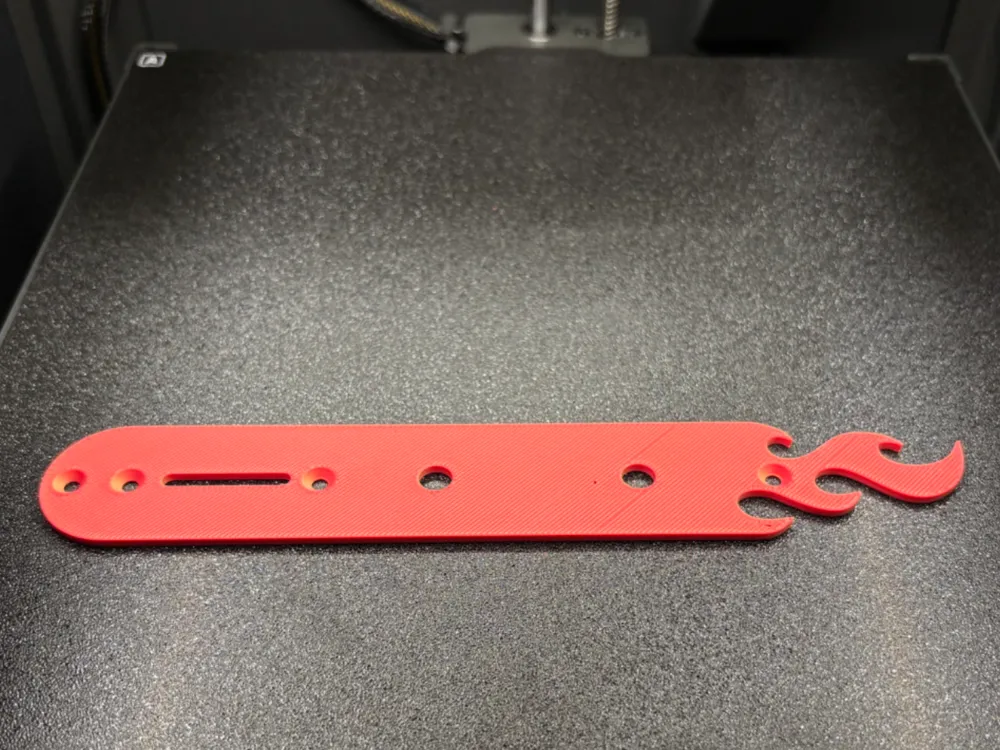
Turn your Telecaster into a high-octane tone machine!
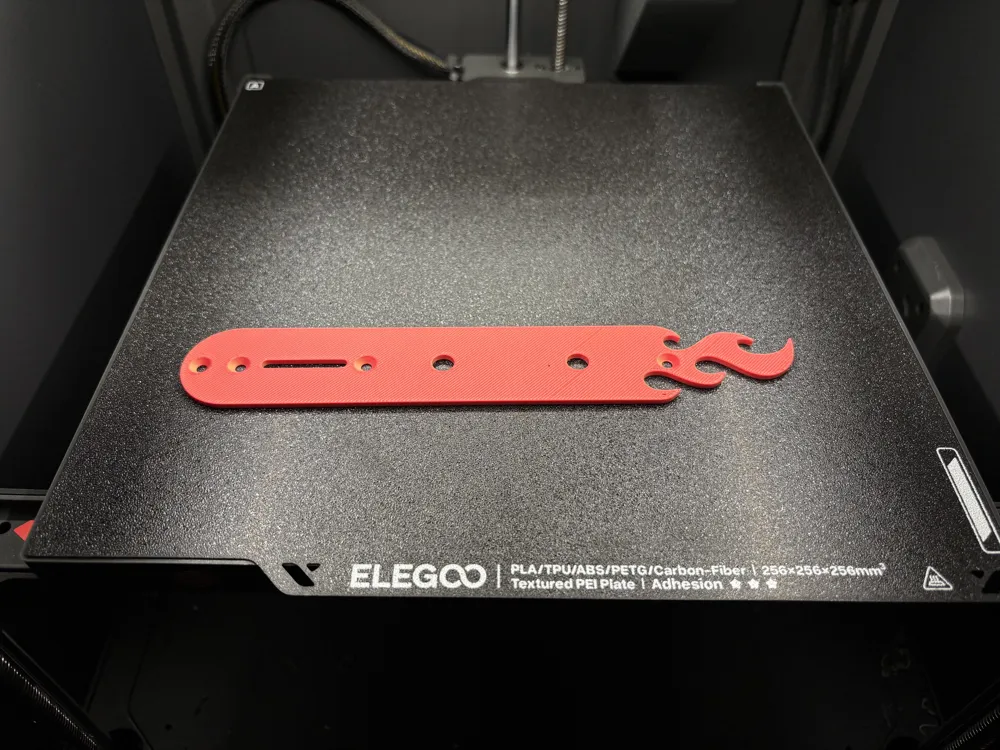
Standard chrome plates are fine, but if your playing is on fire, your guitar should look the part. This custom Hot Rod Flames Control Plate is designed for players who want to break away from the traditional look and add some "Greaser" attitude to their Fender or Squier Telecaster.
The sleek, aerodynamic flames flow from the tail of the plate, giving your guitar a sense of speed even when it's on the stand.
Two Versions Included:
- Standard Layout: The classic vertical switch alignment for a traditional feel.
- Angled Switch Layout: A popular "pro-mod" that tilts the 3-way switch. This ergonomic tweak prevents you from accidentally hitting the switch while rolling the volume knob—perfect for expressive players!
Why this is a must-have for your Tele:
- Boutique Custom Look: Instantly upgrades your guitar with a unique aesthetic without the high cost of custom metalwork.
- Pro Ergonomics: The angled version offers a modern playing experience used by top custom shop builders.
- Perfect Fit: Modeled after standard Telecaster dimensions to ensure compatibility with most pots and switches.
🔧 Assembly & Shielding Instructions
To ensure your guitar stays quiet and noise-free, follow these professional assembly steps:
- Shielding (Crucial): Since this is a 3D-printed part and not metal, it won't naturally shield your electronics. Apply conductive copper tape or aluminum shielding tape to the underside of the plate. Make sure the tape makes contact with the casings of your potentiometers. This creates a "Faraday cage" to block unwanted interference and hum.
- Hardware Mounting: Slide your pots and 3-way switch into the designated slots. If the holes are too tight due to print tolerances, a quick pass with a small round file will ensure a perfect fit.
- Grounding: Ensure your ground wire is properly soldered to the back of the pots (which are now connected via your shielding tape).
- Screw it down: Use your original pickguard/plate screws to secure the new Hot Rod plate to the body. Do not over-tighten to avoid cracking the plastic.
🎨 Printing Tips for a "Custom Shop" Finish
- Ironing: STRONGLY RECOMMENDED. Enable "Ironing" on all top surfaces to get that smooth, mirror-like finish that mimics polished metal.
- Material: PLA+ or PETG for better durability and heat resistance.
- Two-Tone Trick: If you have an AMS, try printing the plate in Black and the flames in Red or Orange for a legendary 3D Hot Rod look!
Fuel your tone and give your guitar the upgrade it deserves. Download both versions now!
This remix is based on

License



Comment & Rating (0)