
H1 Case Flag Design Back
Print Profile(1)

Bill of Materials

- M3 x 10mm socket head screw x 1: 10mm is the thread length, not the overall length
Description
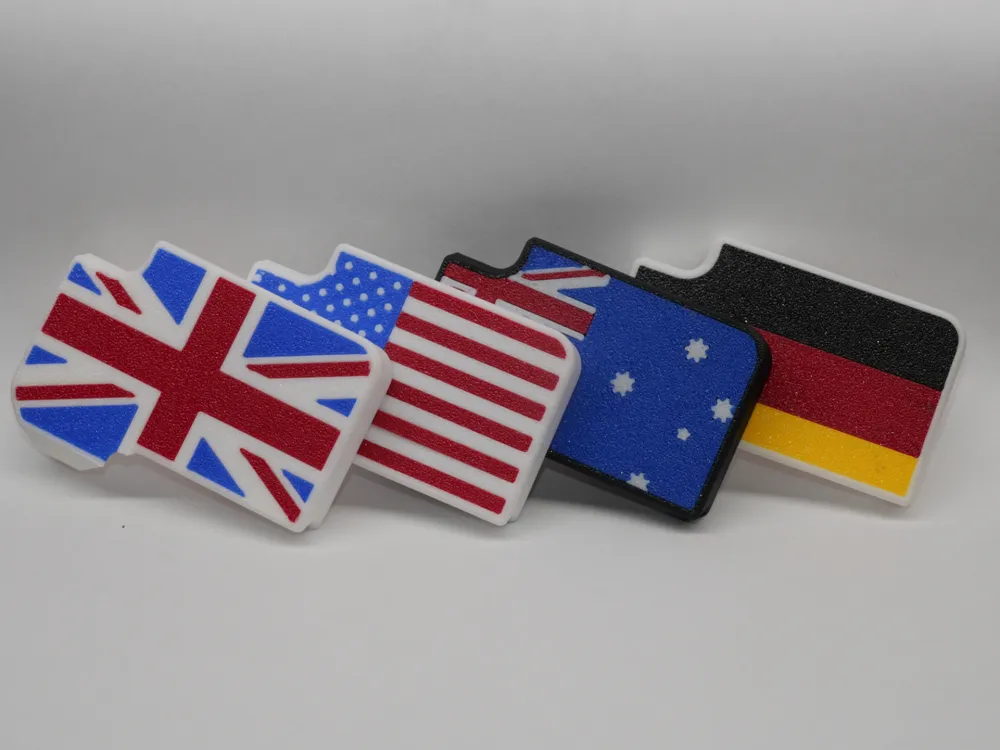
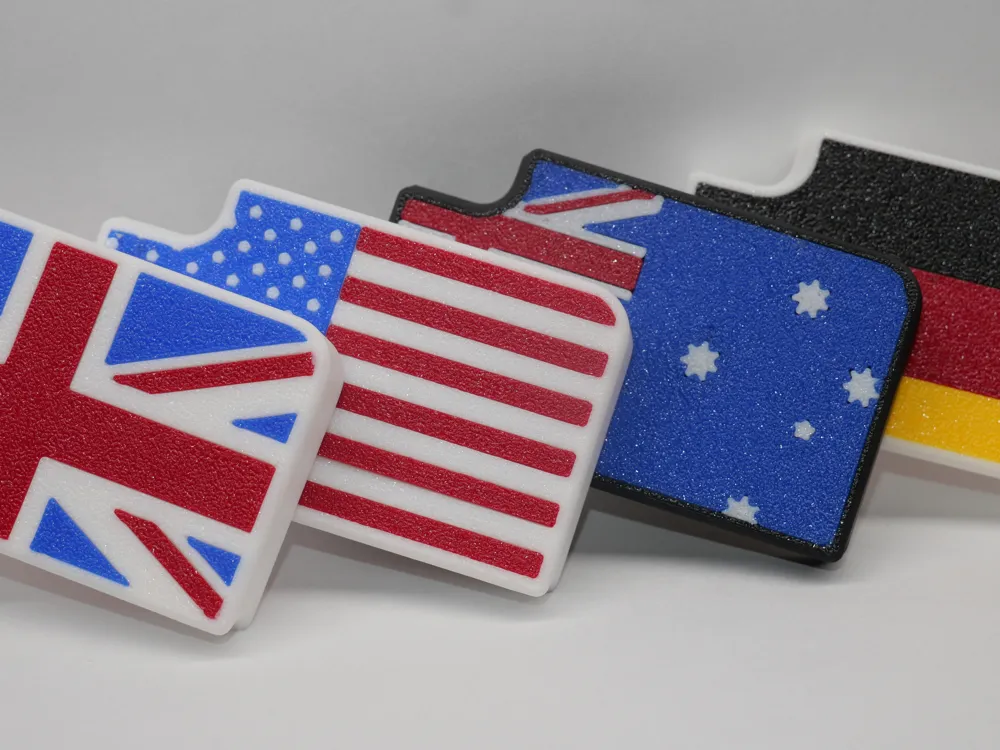
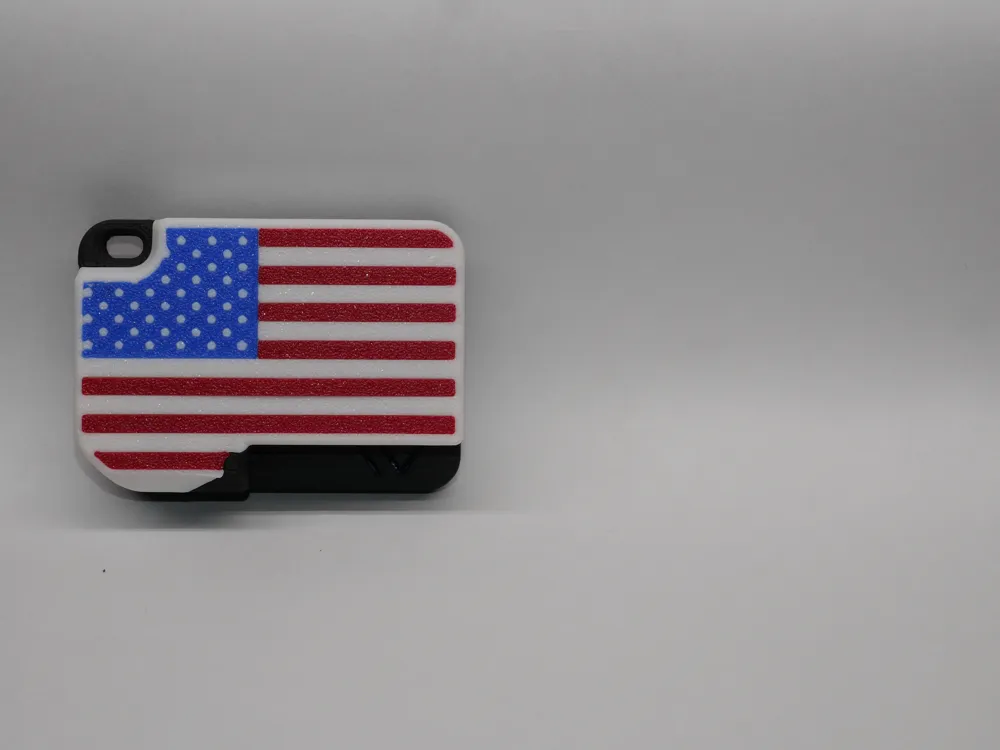
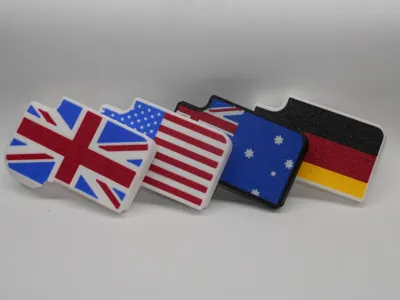
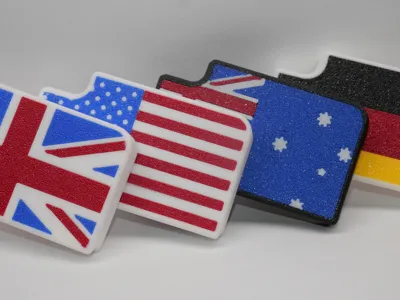
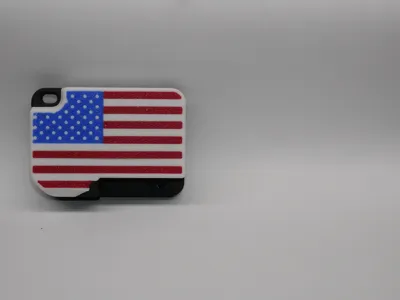
Decorative Flag Backplate (Remix) – Muzi Works H1 Case (Heltec V3)
This is my set of decorative Flag backplate remix for the Muzi Works H1 Case for Heltec V3 (Meshtastic)
Assembly: Please refer to the original Muzi Works PDF for full assembly instructions.
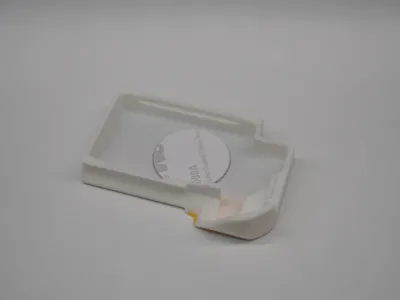
Remix Improvement (Added NFC Tag Slot)
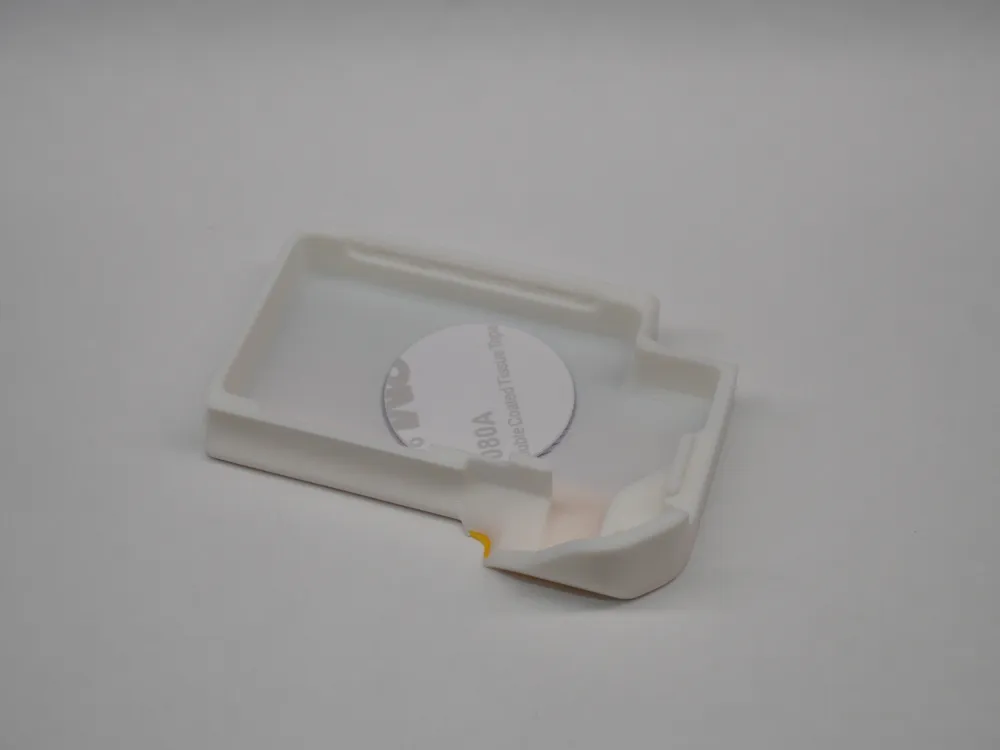
This remix adds a dedicated recess/slot for an embedded NFC tag on the backplate. Each printed case back will fit a small adhesive NFC tag, which can be programmed (“written”) using a phone app such as NFC Tools. This allows you to share:
- Group invites
- Useful Meshtastic links
- Contact info
- Setup docs / node info
- Any custom URL
To use it, someone simply taps their smartphone to the back of your Heltec V3 H1 case and it will automatically open whatever link/info you stored on the tag. To install, Peel off adhesive sticker back and apply to the indention inside the case once part has been removed from the printer
It functions similarly to a QR code, except instead of opening the camera and scanning, you just tap the phone.
Compatibility
This backplate is compatible and interchangeable with the original Muzi Works model:
Muzi Works H1 – Case for Heltec V3 running Meshtastic
It is also compatible with my own version of that case called the H1 COLOR, which includes assignable color regions so you can add pops of color and customization to your daily driver Meshtastic node:
H1 COLOR - Remix of H1 case for Heltec V3
Boost Me (for free)
Did you like this model? Please consider giving it a Boost.
Even if you can’t boost, liking, saving, or following is greatly appreciated!!
How to Customize Colors (Bambu Studio / Bambu Slicer)
- Load the model into Bambu Slicer.
- Under the Prepare tab, scroll down in the right sidebar and select Objects.
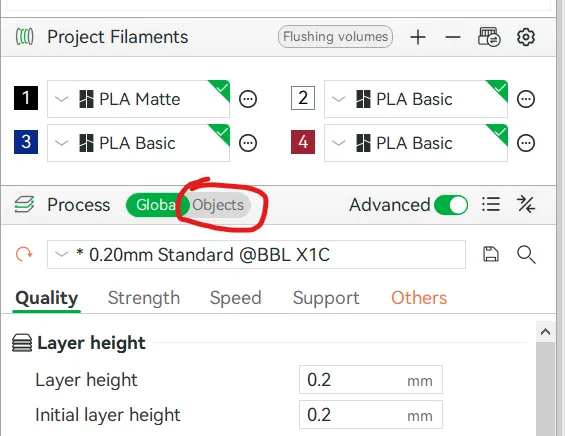
- In the Objects list, you’ll see separate sections that can have their colors assigned.
- These may be labeled by the example color used in documentation, or by a description of the section.
Click the color box on the right side and select the filament color you want (matching what is loaded in your printer).
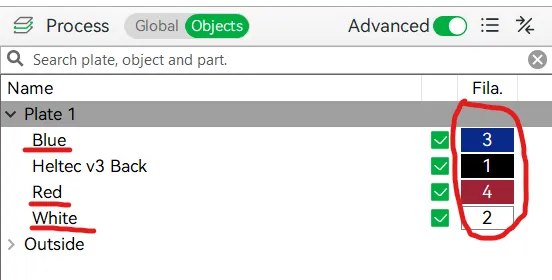
This remix is based on


License



Comment & Rating (0)