
Arcade Joystick 6 Button
Print Profile(1)
Description
Boost Me (for free)
If you like
Description
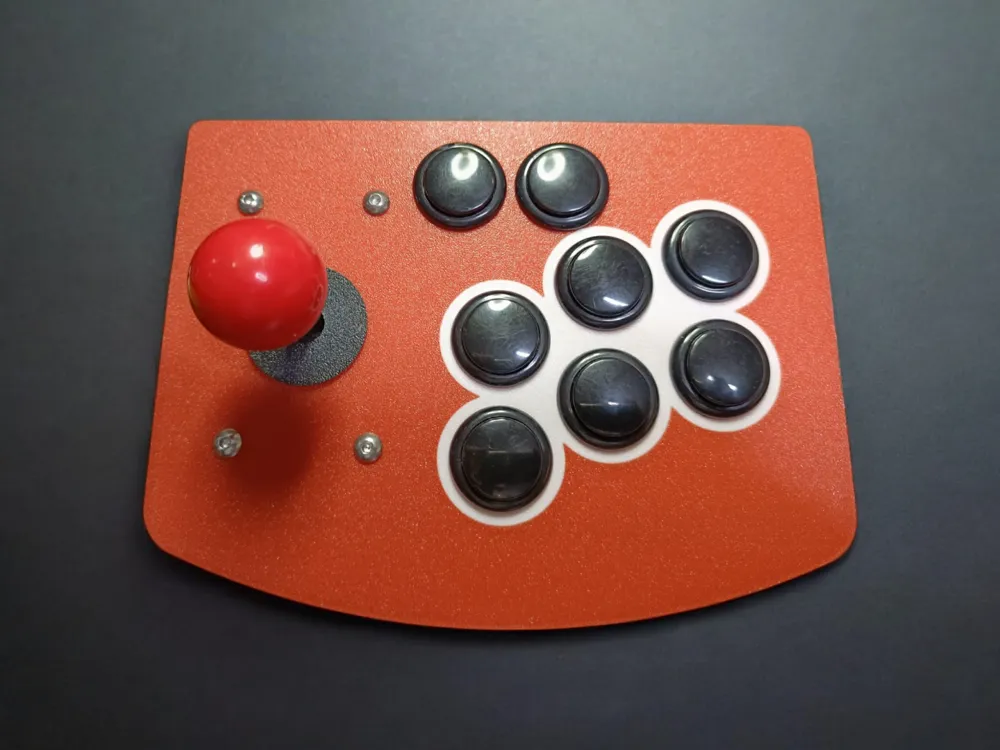
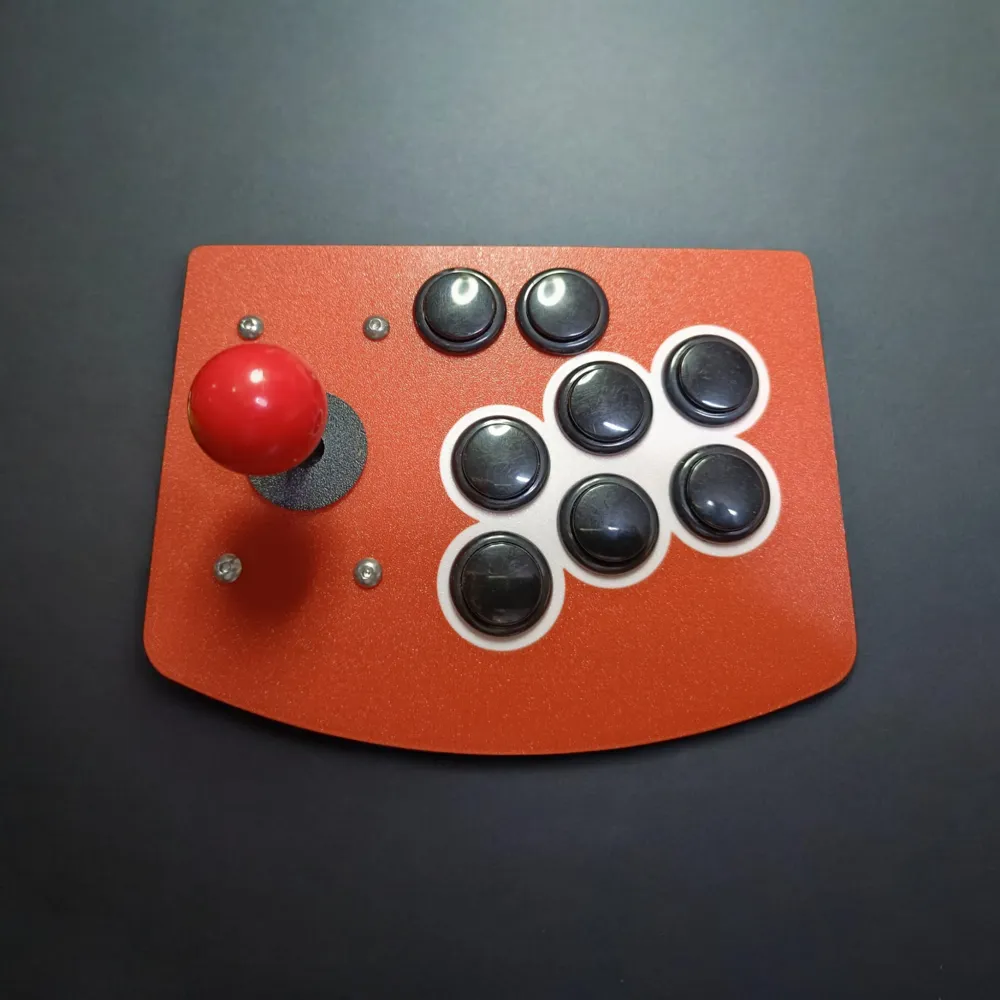
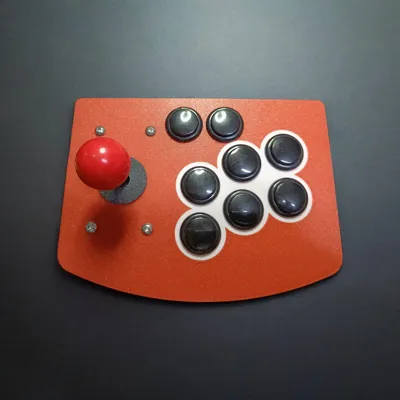
As a fan of retro games, I designed this USB Six-button arcade joystick to enhance the gaming experience. The model has several key advantages:
Durable and durable:
- A solid structural design ensures long-term stabilisation of the most intense gameplay.
- The selected material has wear-resistant and impact-resistant properties.
- Ergonomic design::
- The button layout is designed to take into account the best comfort in the game.
- The main button is easy to operate, reducing hand fatigue and improving accuracy.
- Compatibility and versatility::
- Compatible with a wide range of devices and platforms, including personal computers and retro game consoles.
- Easy integration into custom arcade cabinet projects.
- Attractive appearance.::
- Modern and attractive design, perfectly blended into any retro game setup.
- Bright colors and high-quality surface finish make it look professional.
- Easy to assemble::
- Components are easy to assemble and disassemble, and are easy to maintain and modify.
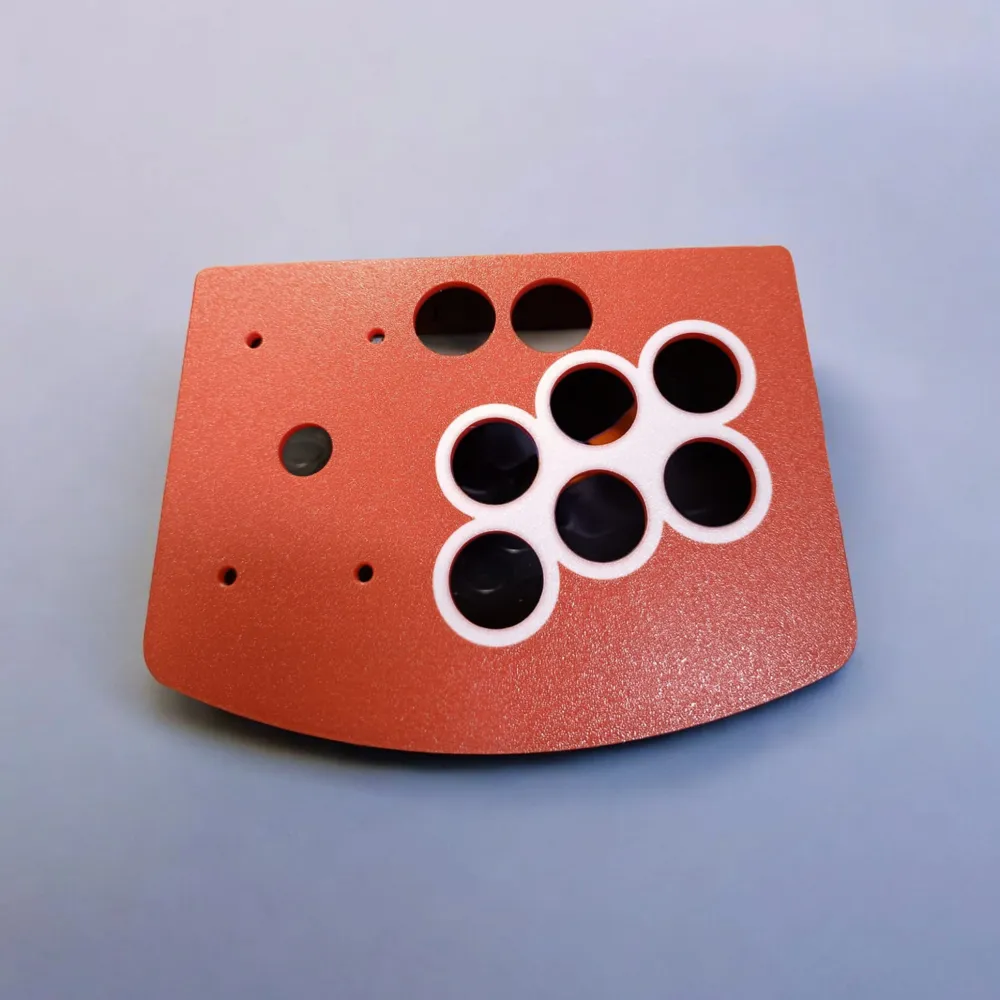
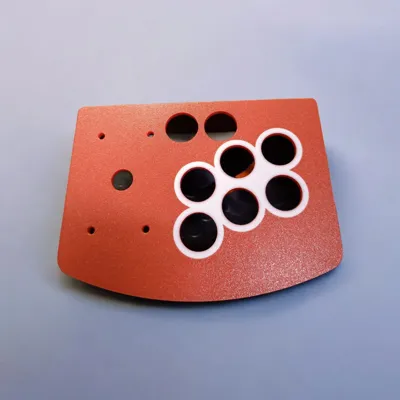
- Equipped with pre-drilled mounting holes for quick installation.
Real gaming experience:
- Precise joysticks and responsive buttons faithfully recreate the experience of classic arcade games.
- Ideal for enthusiasts who are keen on retro games, pursuing a real gaming experience.
Components:
- Joystick : The Sanwa joystick, known for its precision and durability, is available for purchase on AliExpress and Amazon.
- Button : The 30mm button, widely used in arcade settings, is available for purchase on AliExpress and Amazon.
- Full kit : Buy here on AliExpress .
Assembly Instructions:
- Encoder : Use small screws to fasten the encoder to the base.
- Manipulation rod : Use 4 M5 or M6 screws to mount the joystick at the bottom of the panel.
Base : Use a 10mm long M3 screw to fix the base.
Most families can find all the screws they need.
I wish you a pleasant print and game!
License

You shall not share, sub-license, sell, rent, host, transfer, or distribute in any way the digital or 3D printed versions of this object, nor any other derivative work of this object in its digital or physical format (including - but not limited to - remixes of this object, and hosting on other digital platforms). The objects may not be used without permission in any way whatsoever in which you charge money, or collect fees.


Comment & Rating (0)