Search models, users, collections, and posts
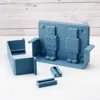
Robot Mould for Ceramic Test Tiles
IP Report


Print Profile(4)

Full Model - 0.2mm layer, 2 walls, 15% infill
Designer
2.9 h
1 plate
Full Print (High Quality) - 0.2mm layer, 2 walls, 15% infill
Designer
3.5 h
1 plate
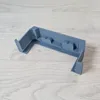
Wall with Large Slip Reservoir
Designer
57 min
1 plate
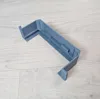
Wall with Small Slip Reservoir
Designer
59 min
1 plate
Open in Bambu Studio
Boost
248
601
72
35
583
288
Released
Description
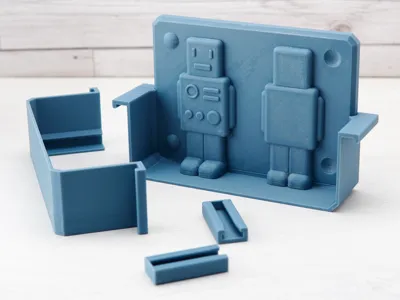
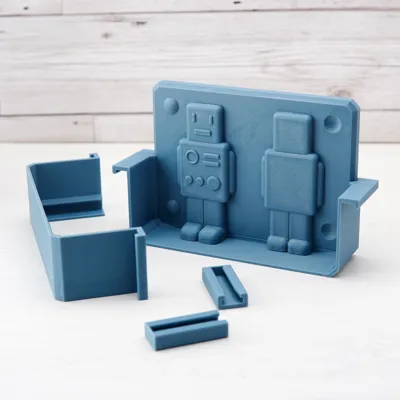
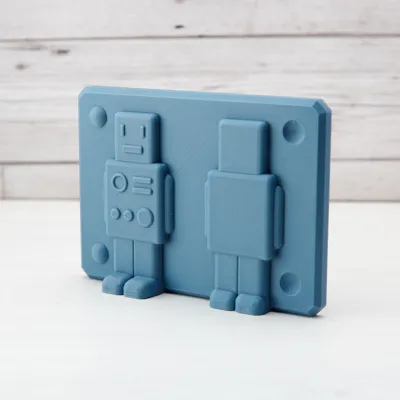
This is a multi part system for casting plaster, to produce slipcasting moulds for ceramics. This produces two-part plaster moulds to cast two robots at a time, and I'm using them as both glaze test tiles and as ornaments
- With the fully 3D printed mould, you’ll benefit from using a release agent on the base plate surface. I use a generic mouldmaker’s soap, but any product designed for plaster release should be fine.
- The full sized print needs around 350ml of plaster, and you can calculate the weight of water and plaster needed with this tool: Plaster Calculator
- You can scale the print in your slicer to get bigger/smaller robots and it should still work without modification.
- You can get a much better cast surface, even if your plaster mix is full of air bubbles, by using a paintbrush to dislodge any trapped air from the surface. I would suggest that you pour plaster until the robot’s feet are covered but it isn’t completely full, then get a relatively small paintbrush and move it around in the plaster so that you’re brushing all of the details on the base plate surface. This will dislodge air bubbles, and once dislodged they’ll float upwards. Once you’ve finished this, pour in the rest of the plaster. If you manage to avoid adding more air as you do it (just brush gently), you’ll eventually remove all the bubbles from the surface and get a perfect cast.
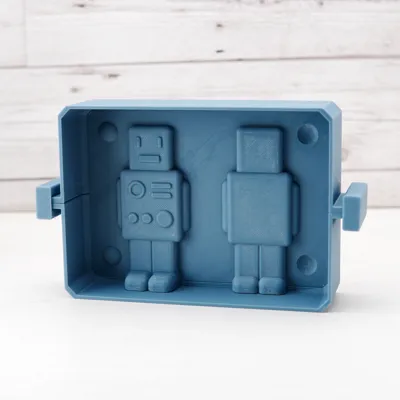
- The plaster will take a little bit of wiggling before it will release from the print. Start at the corners of the head end, and work your way down to the feet. If you have an air compressor, blowing air between the two is a great way to release them.
You can print a display rack for IKEA Skadis boards here
License
This user content is licensed under a
Creative Commons Attribution-Noncommercial-Share Alike
Comment & Rating (72)