Easter Bunny Door Corner | Easter Bunny Door Corner


Print Profile(1)

Description
🐰 Bring spring into your home – without any glue!
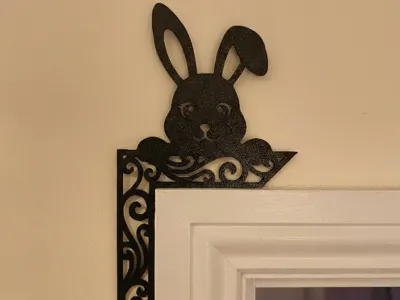
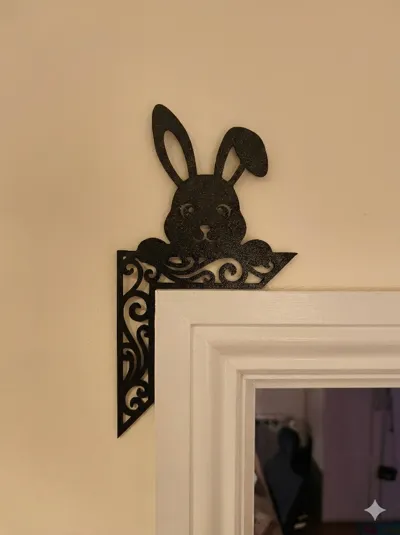
This elegant Easter bunny transforms any boring door frame into a charming eye-catcher. The design is minimalist, modern, and with its delicate embellishments, a true decorative highlight.
✨ The Special Feature: Face
-Down Design This model is specifically designed to be printed face down on the print bed.
- If you use a textured PEI plate, the bunny will have a beautiful, matte, and textured surface.
- This makes it look less like a typical 3D-printed part and more like wrought iron or milled material.
💡 Features:
- No Glue: Thanks to the exact 90° corner, the bunny sits stably on top of the door frame. Simply place it – done! No glue residue on the frame.
- Fast Print: The model is flat and prints quickly.
- no supports: No support material is needed.
🎨 Color Recommendation: I strongly recommend printing the bunny in Black (Matte). This creates a great silhouette effect on most (white) door frames. Alternatively, pastel colors can be used for a colorful Easter look.
⚙️ Print Settings:
- Orientation: The model must lie flat on its face (Face Down).
- Material: PLA (PETG works too).
- Layer Height: 0.2 mm.
- Infill: 15% (Grid or Gyroid).
- Wall Lines: 2 or 3.
- Plate: Textured PEI plate (recommended for the best look).
🔄 Tip for the other side: Do you want the bunny for the left OR right side? You can simply mirror the model in your slicer, and it will fit any corner!
Have fun printing and decorating! I'd love to see a photo of your door frame (a "Make")! 📸
Comment & Rating (2)