
P2S / X2D side spool holder with ball bearing
Print Profile(3)
Description
10.07.2026
According to a comment, the spool holder also fits an X2D
15.02.2026 Changes:
- Print profile created for the right side
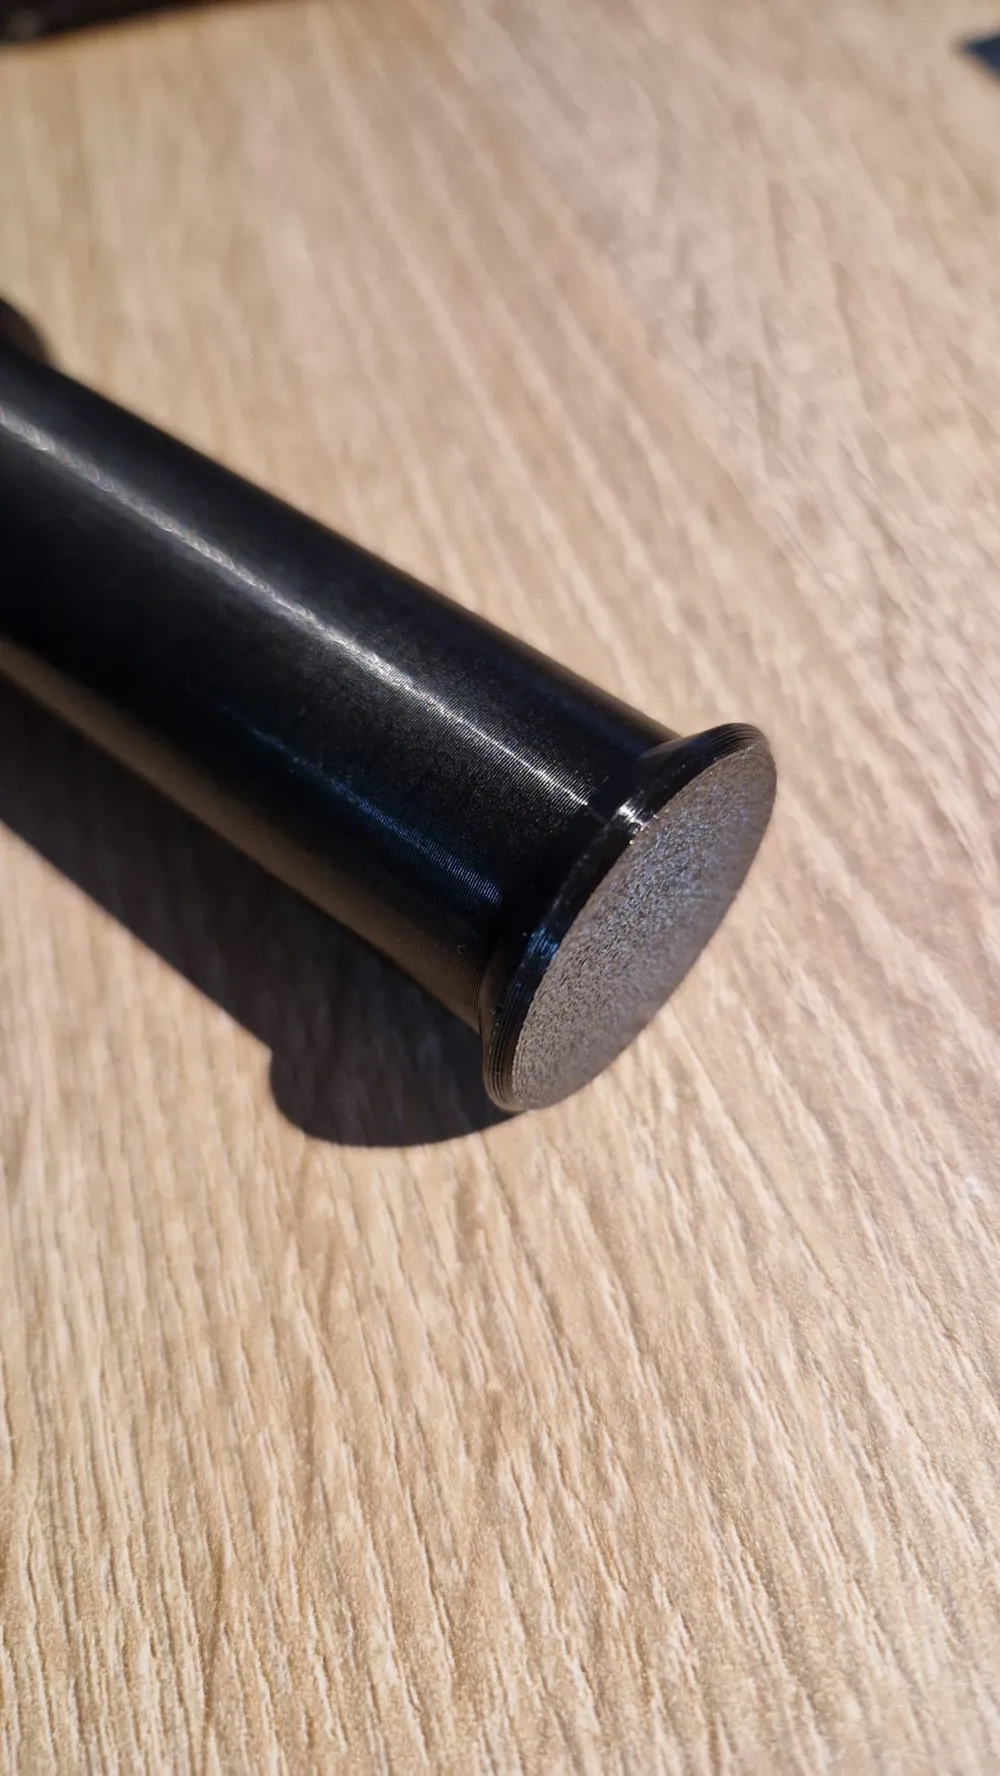
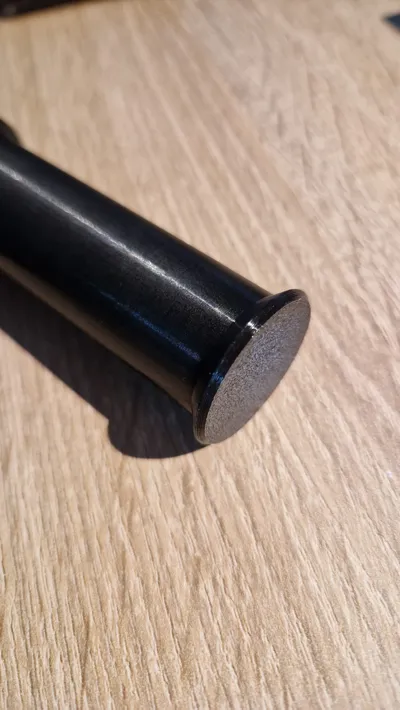
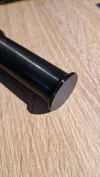
- Cover cap for the roller is now included in both profiles
- Print profile for the cap created separately
Release:
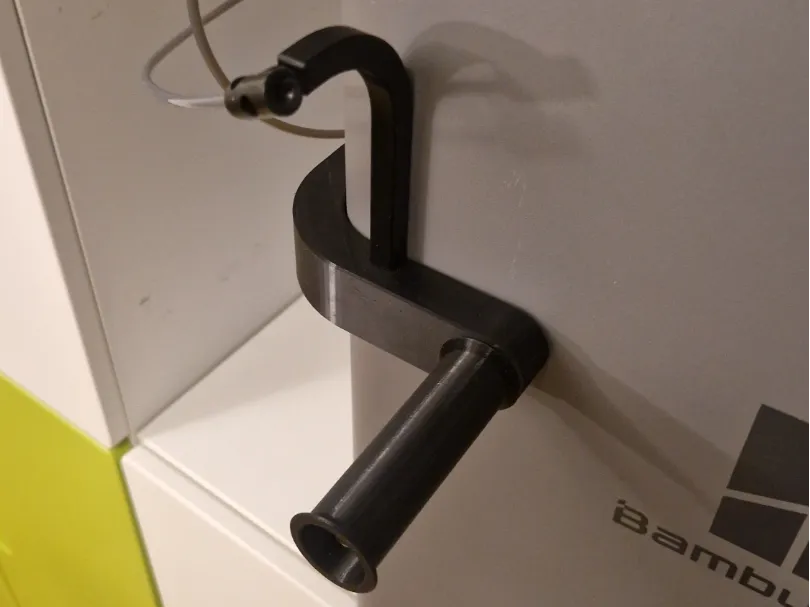
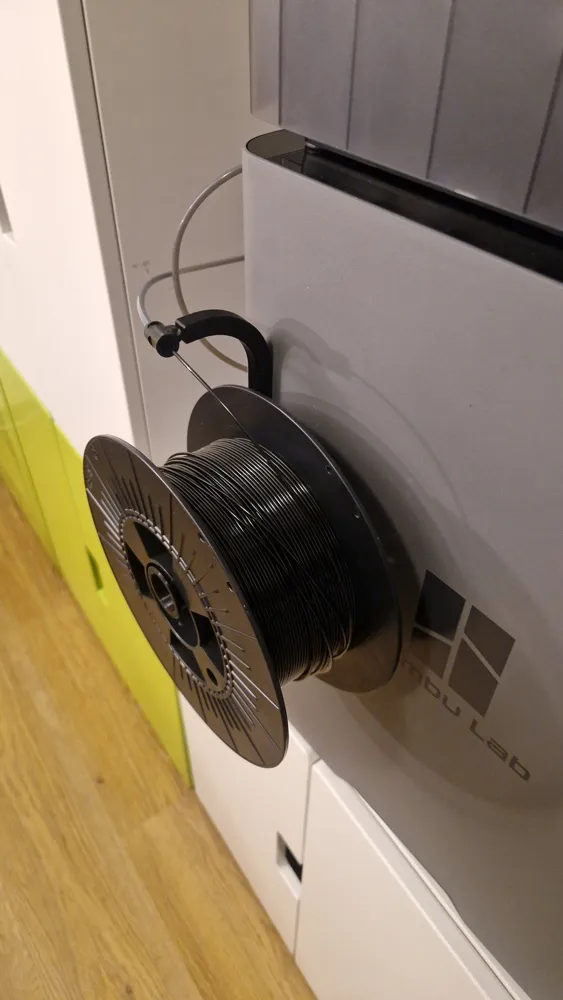
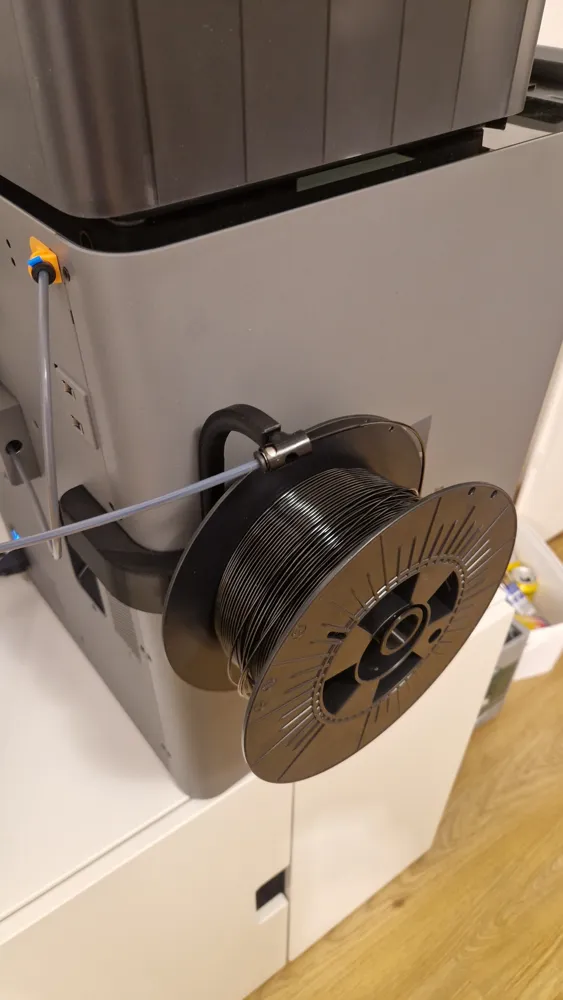
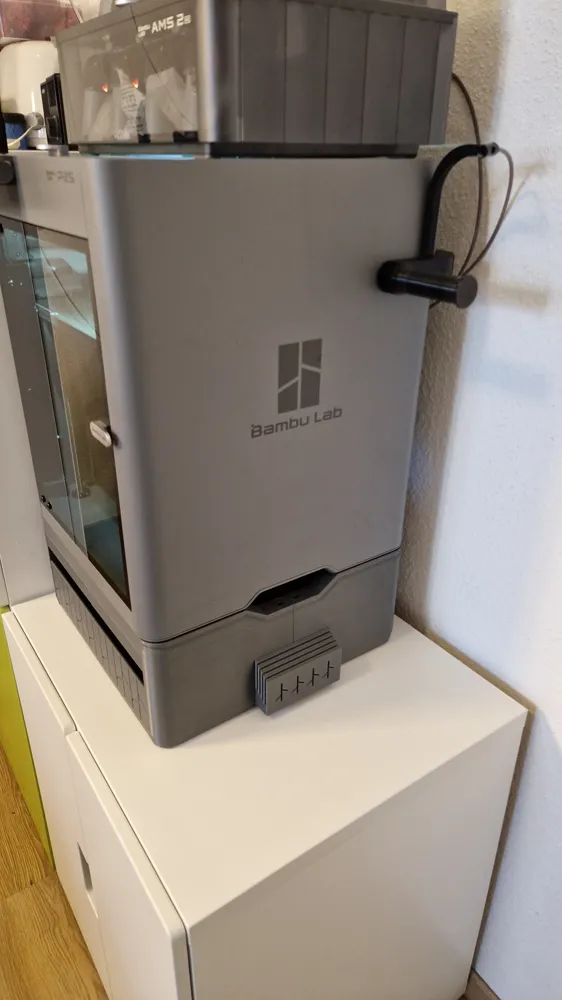
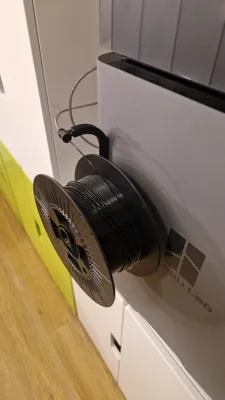
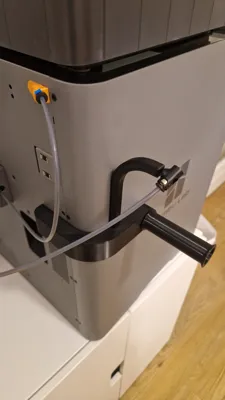
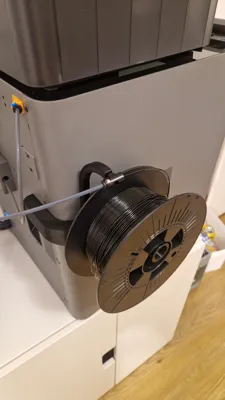
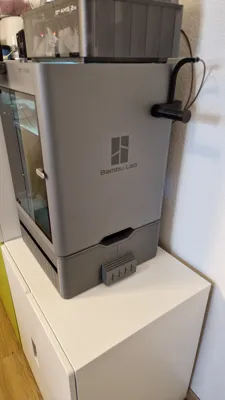
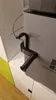
The spool holder is designed so that the spool is placed further forward on the printer. This allows the printer to be placed closer to the wall.
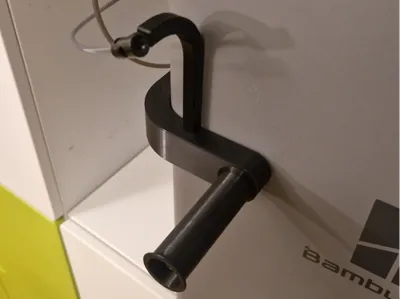
Two ball bearings (608) are integrated into the roller. This reduces friction, especially with TPU spools, when unwinding.
The roller is designed for wider spools up to 77mm.
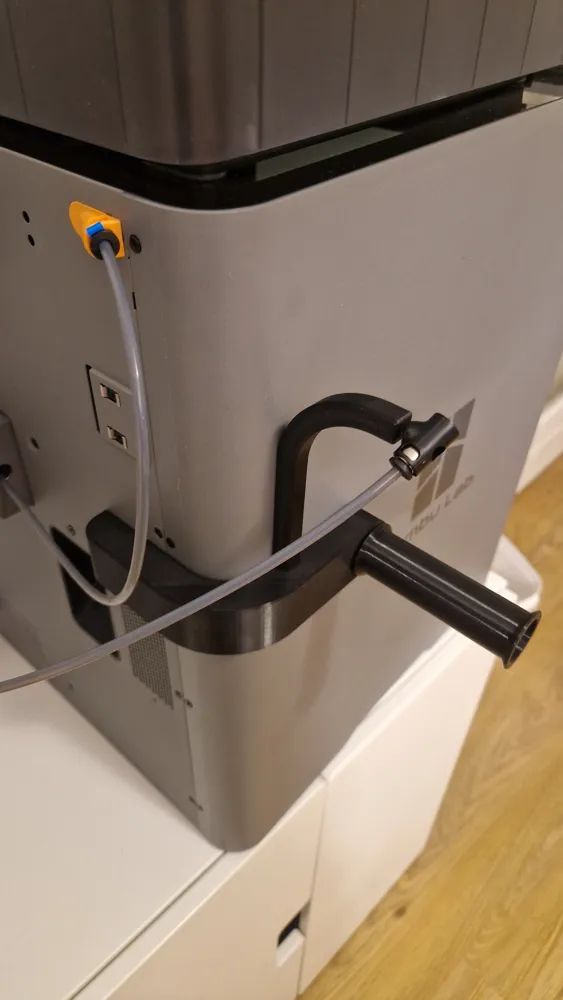
The holder slides onto the plate of the supplied spool holder on the back.
The filament guide from the supplied spool holder is used.
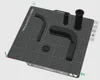
To use the spool holder on the right side, the plate can be mirrored in Bambu Studio.
A cover cap for the roller opening is still being planned.
I am still waiting for the delivery of a PTFE splitter. Then the PTFE tube will be guided directly into the printer.
Printed with PETG
The following non-printed parts are necessary:
- Ball bearing 608 (2 pcs)
- Countersunk screw M8x100 (1 pc)
- Countersunk screw M3x16 (1 pc)
- Self-locking nut M8 (1 pc)
Assembly:
Screw the small arm to the large arm with the M3 screw. Insert one bearing into the roller. Insert the spacer sleeve into the roller and install the second bearing. Attach the roller to the large arm with the M8 screw. Tighten the nut in the roller. Close the roller with the cover cap. Slide the holder onto the original plate.
License



Comment & Rating (28)